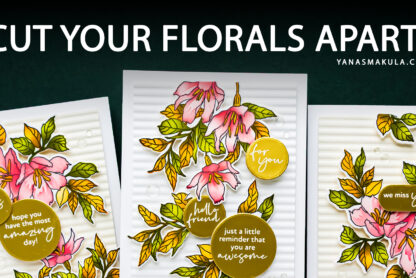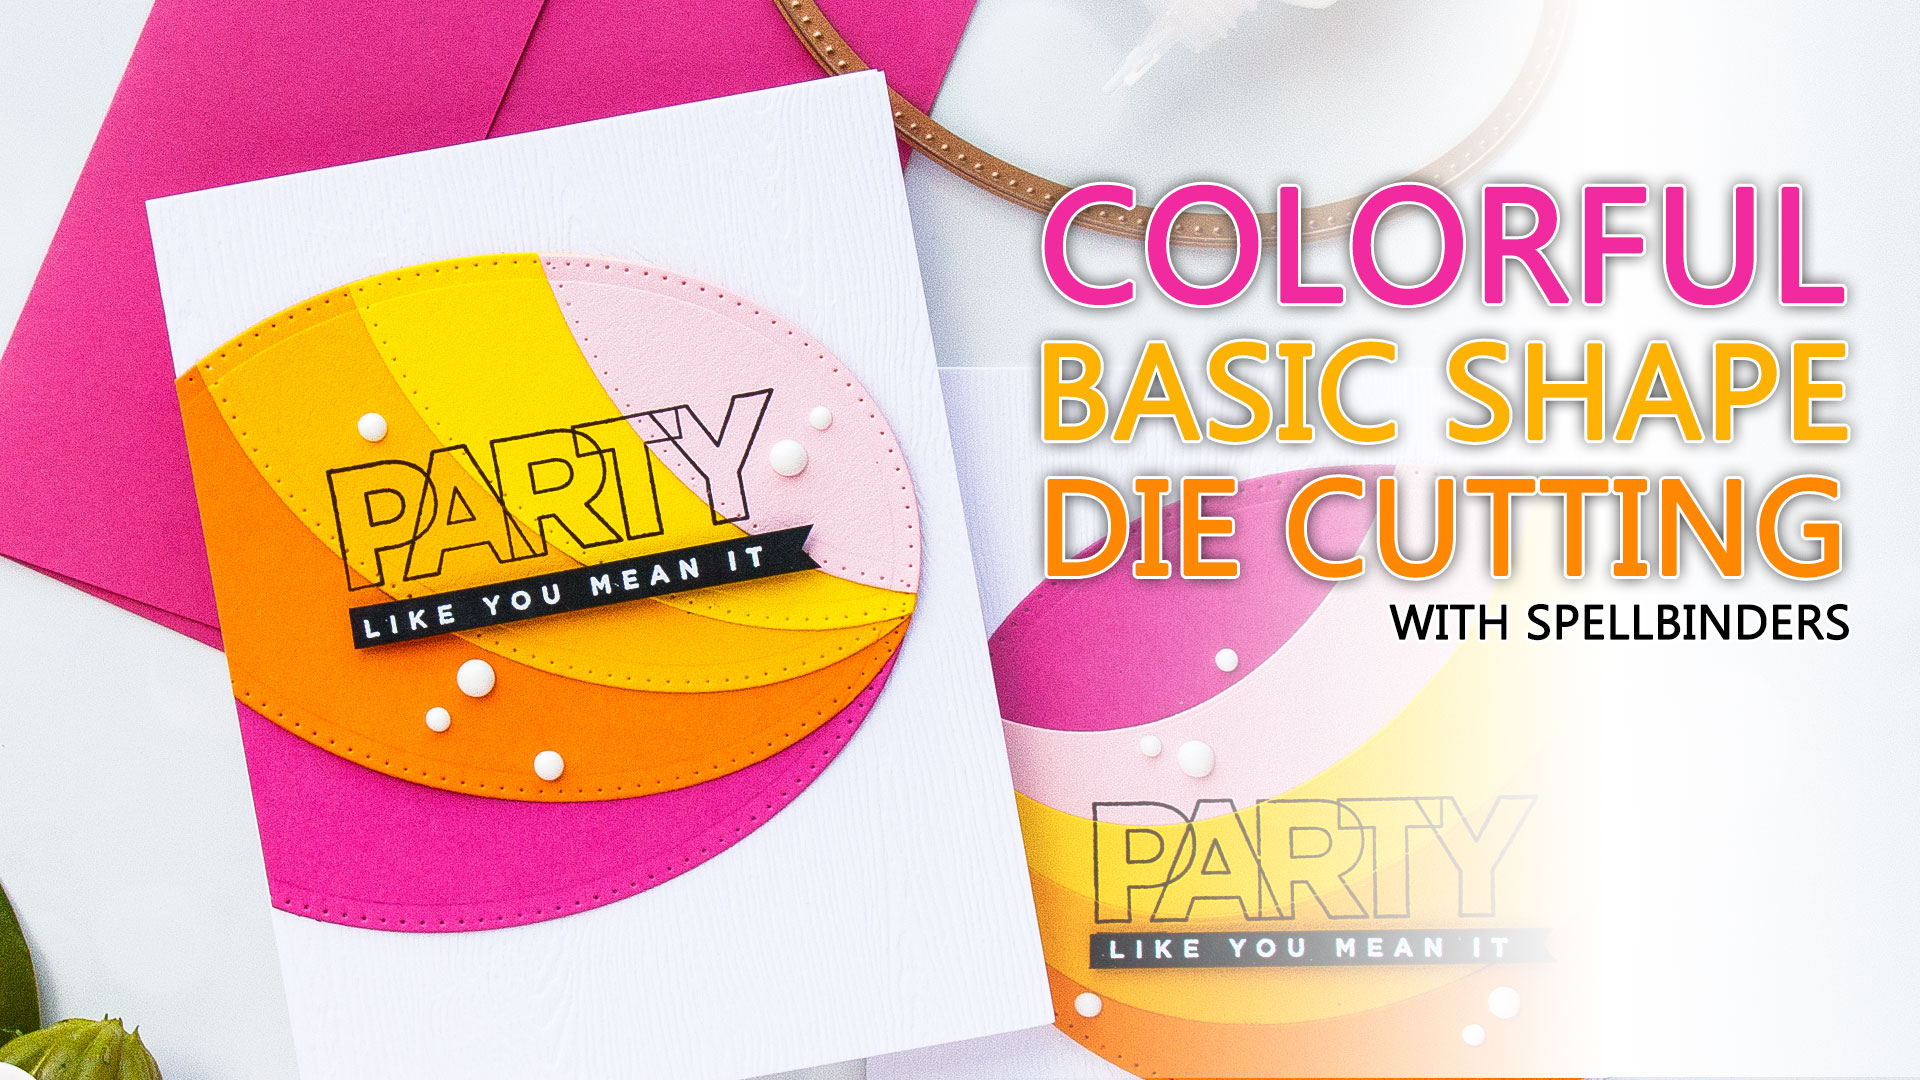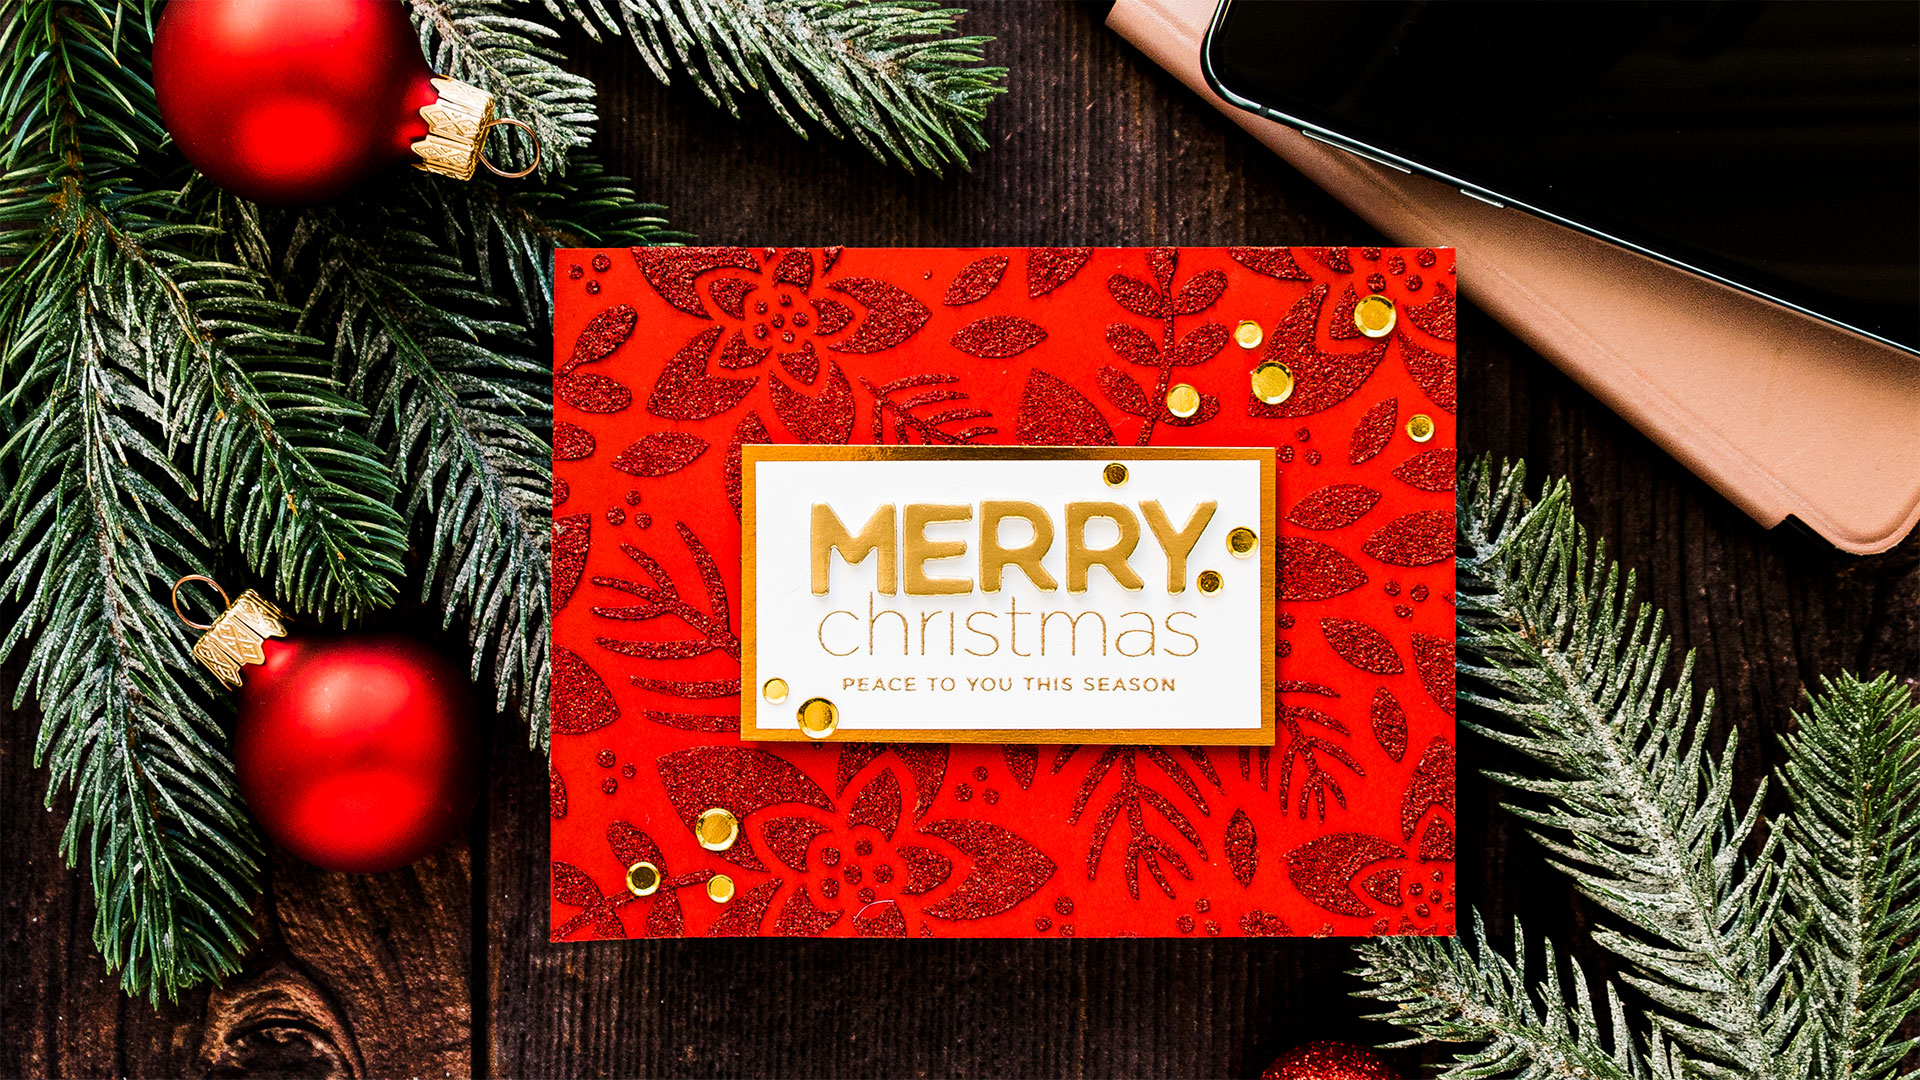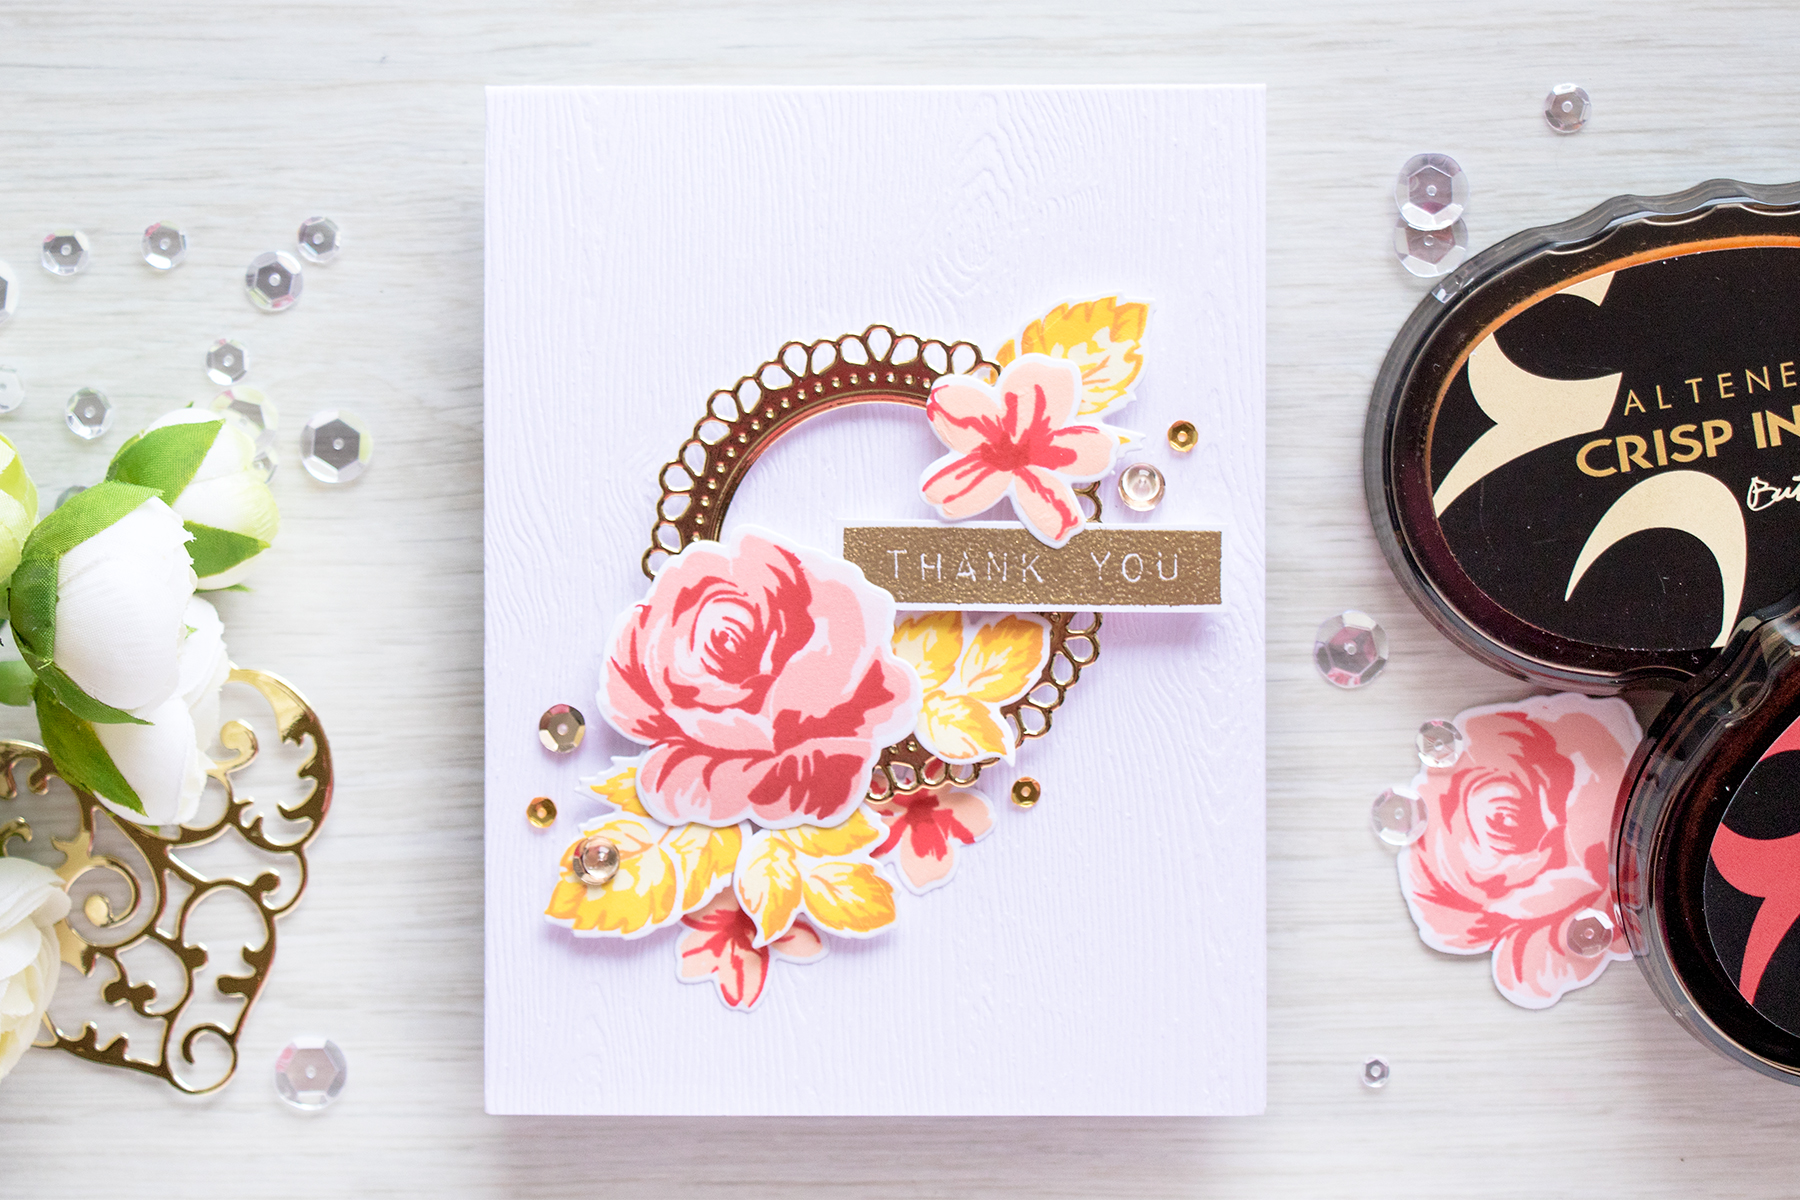

Floral dies are some of the most versatile supplies in a cardmaker’s collection, but it is easy to fall into the habit of arranging the same flowers into the same bouquet. The good news is that those little blooms, leaves, and sprigs can do much more. They can become a full background, fill an unusual card shape, decorate an object, soften a graphic design, or even help you use seasonal supplies throughout the year.
In this guide, I am sharing eight creative ways to use floral dies in cardmaking, illustrated with projects I have made over the years. These ideas range from simple accents to detailed dimensional designs, so you can adapt them to the time you have and the dies already in your stash.
Hello, crafty friends! If you have a growing collection of floral dies and want to stretch them beyond the obvious, I hope this roundup helps you see those familiar shapes in a completely new way.
Like these ideas? Pin this guide and save it for the next time you need floral card inspiration.
Floral Die Cardmaking Guide at a Glance
| Article type | Evergreen cardmaking inspiration and education |
| Project types | A2 cards, 5 x 7-inch cards, shaped cards, gatefold cards, birthday cards, and scene cards |
| Occasions | Birthday, Mother’s Day, friendship, celebration, and everyday cards |
| Skill levels | Beginner through advanced, depending on the idea selected |
| Techniques | Die cutting, layering, repeat patterns, grid composition, shaped-card design, scene building, color planning, and dimensional assembly |
| Featured supplies | Floral dies, foliage dies, cardstock, liquid glue, foam adhesive, and optional specialty cardstock or embellishments |
| Machines and tools | Die-cutting machine, paper trimmer, reverse tweezers, and basic cardmaking tools |
| Color approach | Tonal, complementary, analogous, high-contrast, or multicolor palettes |
| Dimension and finish | Flat layers, stacked cardstock, foam-mounted elements, pearls, gems, glitter paper, or metallic cardstock |
What You’ll Need
Featured Products
- One or more floral die sets
- Leaf, stem, berry, or sprig dies
- Optional object, scene, sentiment, or shaped-card dies
Cardstock and Specialty Paper
- Colored cardstock for flowers and foliage
- White or colored cardstock for card bases
- Optional glitter, metallic, brushed, or textured cardstock
Adhesives and Tools
- Liquid precision glue
- Foam adhesive in one or more thicknesses
- Die-cutting machine
- Paper trimmer and scoring tool
- Reverse tweezers or another pickup tool for small die cuts
Optional Finishing Supplies
- Pearls, gems, or sequins
- White gel pen
- Ink and blending brushes for shading
- Hot foil or BetterPress sentiments
8 Ways to Use Floral Dies on Handmade Cards
1. Build a Dimensional Floral Focal Point
The most familiar way to use floral dies is to create a bouquet, but the arrangement becomes much more interesting when you treat it as the main structure of the card rather than a small decoration. Start with the largest bloom or cluster, then add medium flowers, foliage, and tiny filler pieces. Let some elements overlap and tuck others behind the main flower to create depth.
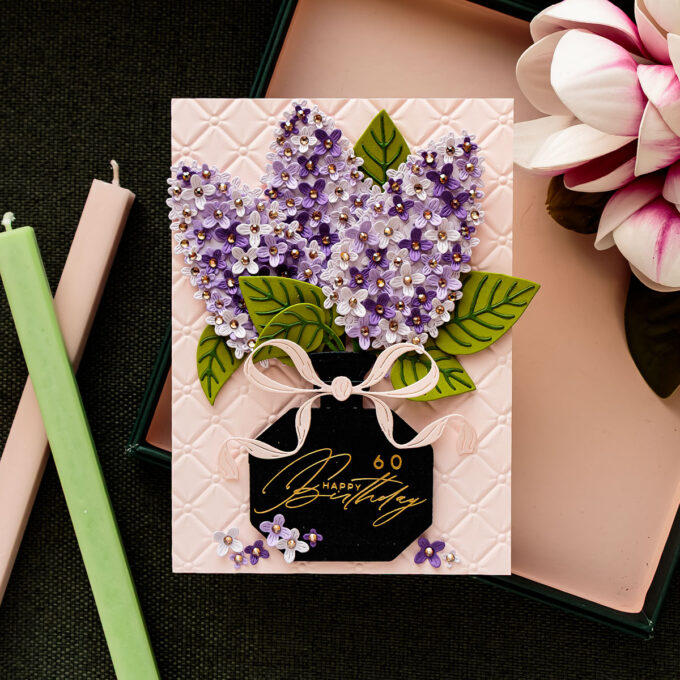
My layered lilac birthday card is a good example. The Hero Arts Layered Lilac Die Set includes a detailed base, overlay layers, individual flowers, flower centers, a stem, and layered leaves. Assembling those separate pieces transforms a simple die-cut cluster into a lifelike focal point with texture and movement.
For the best result, use several values of the same color rather than one flat shade. You can also add subtle ink blending before assembly. Attach the lower layers directly to the card and lift only selected flowers or leaves with foam adhesive. This gives the arrangement dimension without making the entire card unnecessarily bulky.
2. Turn Floral Die Cuts into a Repeat Pattern or Grid
Floral dies do not always need to form a natural bouquet. Repeating them in a structured layout creates a graphic, modern card and makes individual die cuts feel like a coordinated collection.
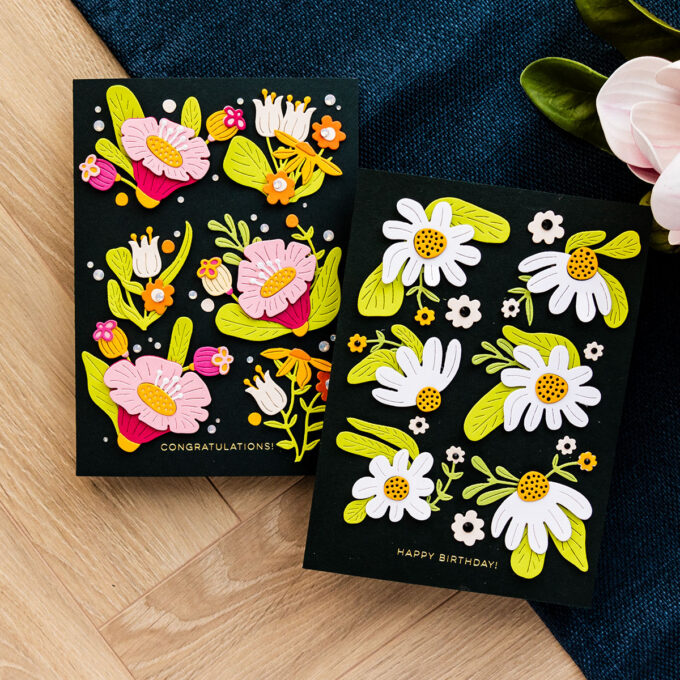
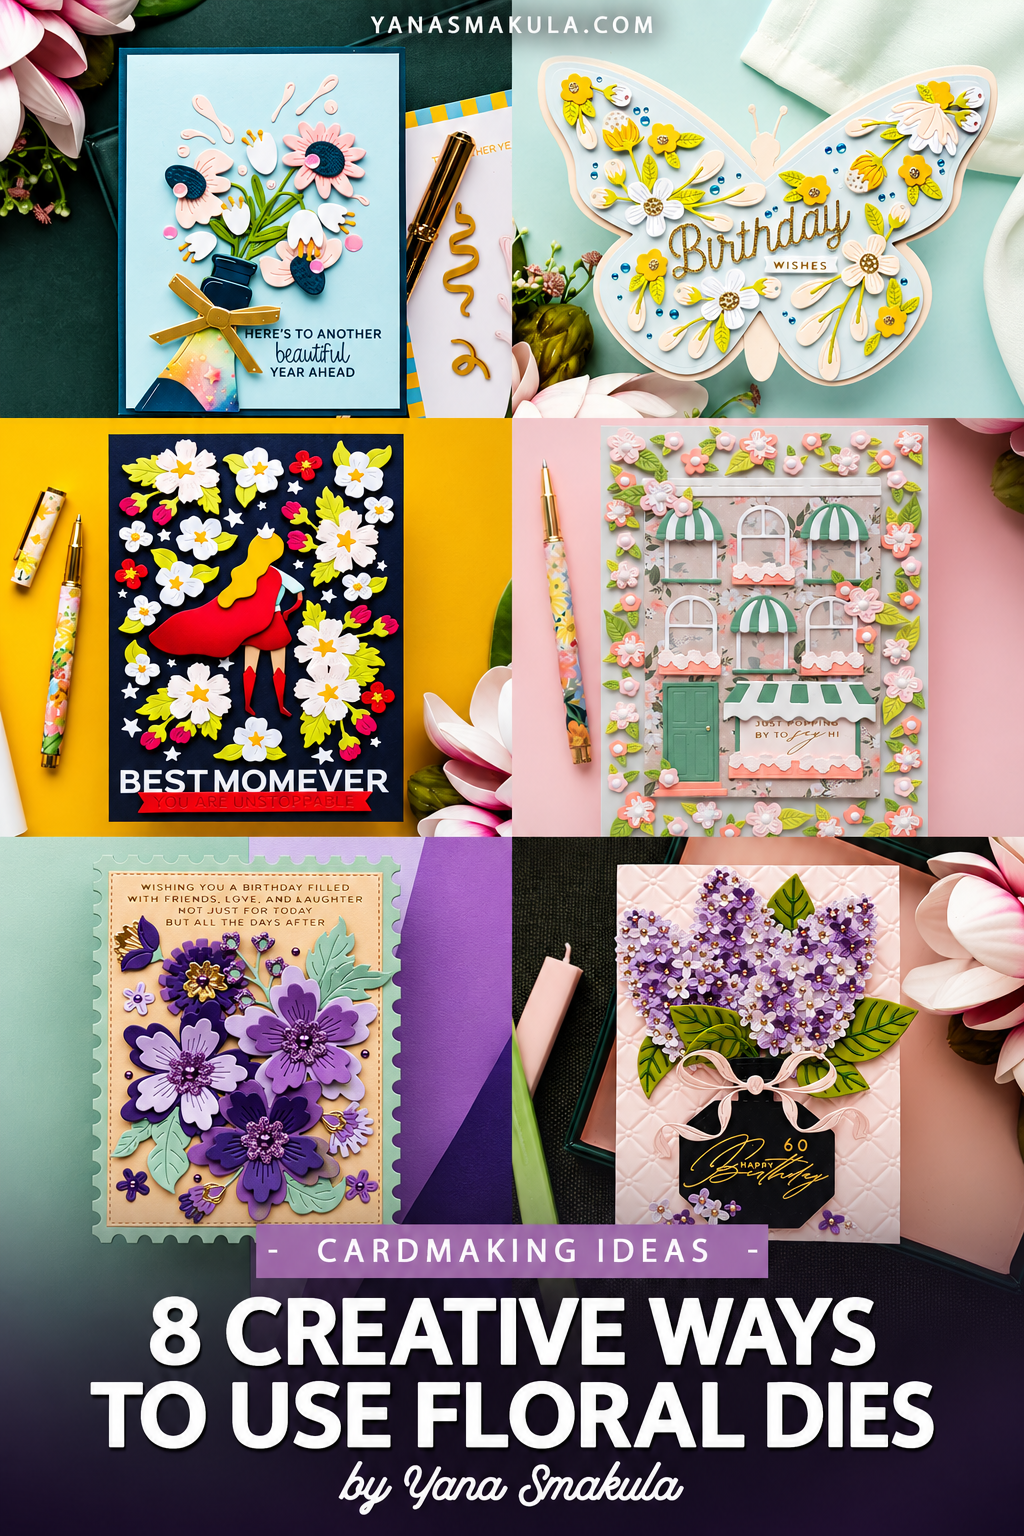
For my More Fresh Picked floral cards, I used a 2 x 3 grid with six floral clusters on a 5 x 7-inch card. The Fresh Picked flowers were designed to fill an A2 card, but separating and repeating the elements gave them an entirely different look. A grid is especially helpful when you want to use several flower styles or colors without losing control of the composition.
To create this type of design, lightly plan the grid before adding adhesive. Keep the spacing consistent, repeat at least one color across the card, and vary the direction of the flowers so the design does not feel stamped out by a machine. A narrow sentiment can sit below the grid or cross one section without covering too much of the pattern.
3. Fill a Shaped Card with Flowers
A large shaped card gives you a ready-made boundary for a floral arrangement. Instead of placing flowers around the edge of a standard rectangle, use the outline of the shape as your composition guide and fill the interior with blooms, leaves, and a sentiment.
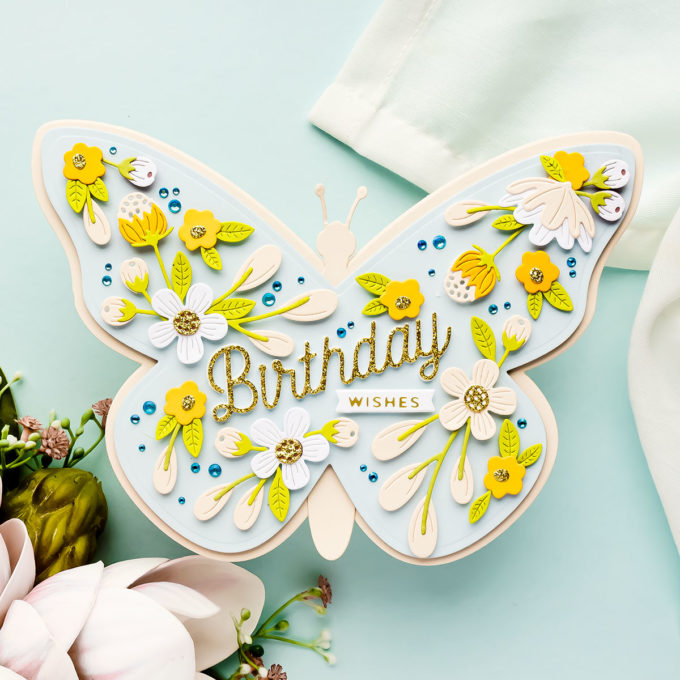
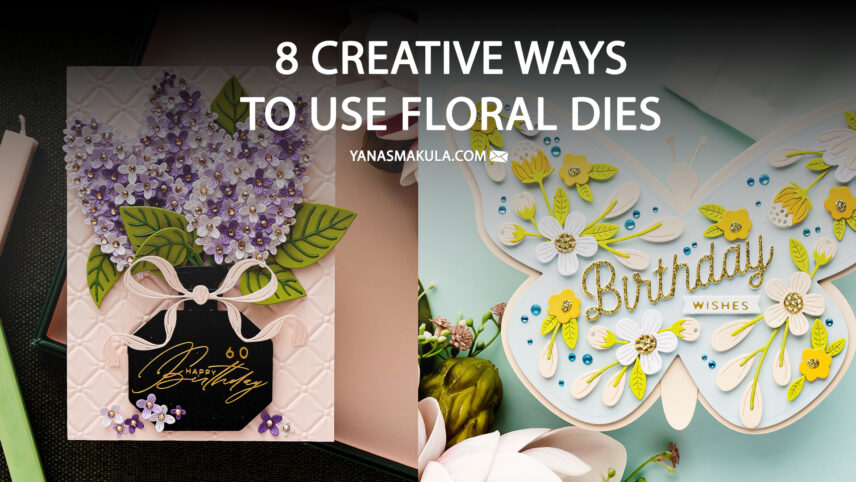
On my butterfly-shaped birthday card, I used the large butterfly as the card base, added a gold glitter birthday sentiment, and filled the remaining space with flowers from Be Bold Blooms and Mini Blooms & Sprigs. The floral pieces did not need to match the butterfly collection. Their purpose was to fill the silhouette and connect the sentiment to the card shape.
Start with the sentiment or another large anchor element. Add the largest flowers next, then use small blossoms and sprigs to close the awkward gaps. Allowing a few pieces to extend slightly beyond the edge can make the arrangement feel abundant, but keep the underlying card shape recognizable.
4. Use Flowers to Transform an Object
One of my favorite ways to stretch floral dies is to combine them with a completely unrelated object. Flowers can turn a bottle into a vase, surround a focal object like a frame, or replace the detail a die was originally designed to hold.
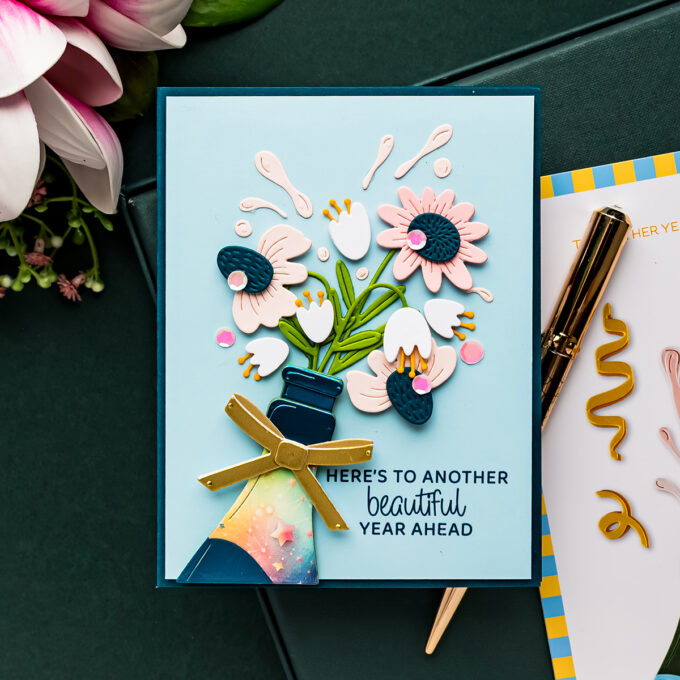
In my Confetti Pop birthday cards, I used flowers around a champagne bottle on one card, then changed the bottle into a vase on the second. The same object die moved from a celebratory scene to an elegant floral arrangement simply by changing what came out of the bottle.
This approach works beautifully with jars, cups, baskets, boots, envelopes, windows, and gift boxes. Look for an opening where stems can be tucked or a surface that can support a small cluster. You do not need to use every flower from one set. Mixing large blooms with tiny fillers from other collections usually creates a more natural result.
5. Add Flowers to a Scene
Small floral dies are excellent scene-building supplies. A flower box, garden border, windowsill, or tiny bloom beside a character can make a scene feel inhabited and complete. These flowers do not have to become the focal point. Their job is to support the story.
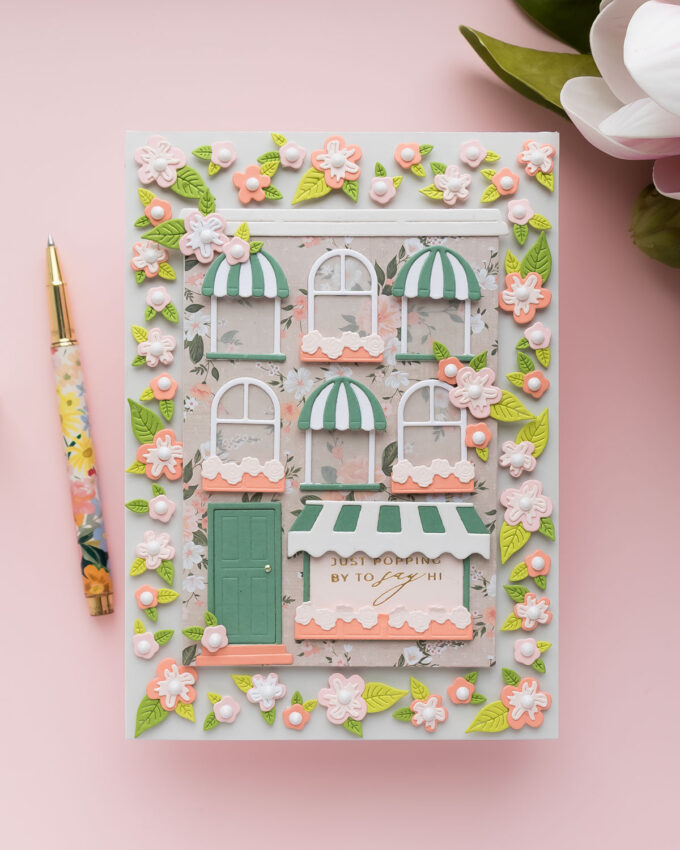
My spring floral house card combines a patterned-paper building with windows, flower boxes, and Mini Blooms and Sprigs. The floral details reinforce the spring feeling while the house remains the main subject. In a very different example, I used one tiny flower from Mini Blooms & Sprigs as an accessory on a humorous dumpster fire card. Proof that even a dumpster can benefit from a flower – cardmaking has range!
When adding florals to a scene, match their scale to the surrounding elements. Save the tiniest shapes for flower boxes, clothing, animals, or character accessories. A small amount of color repetition will connect these accents to the rest of the card.
6. Create a Floral Background
Instead of placing flowers only around a focal point, use them across the entire panel to create a background. You can arrange individual die cuts in a loose repeat, build a dense garden, or place flowers around the edges and leave a quieter area for the sentiment.
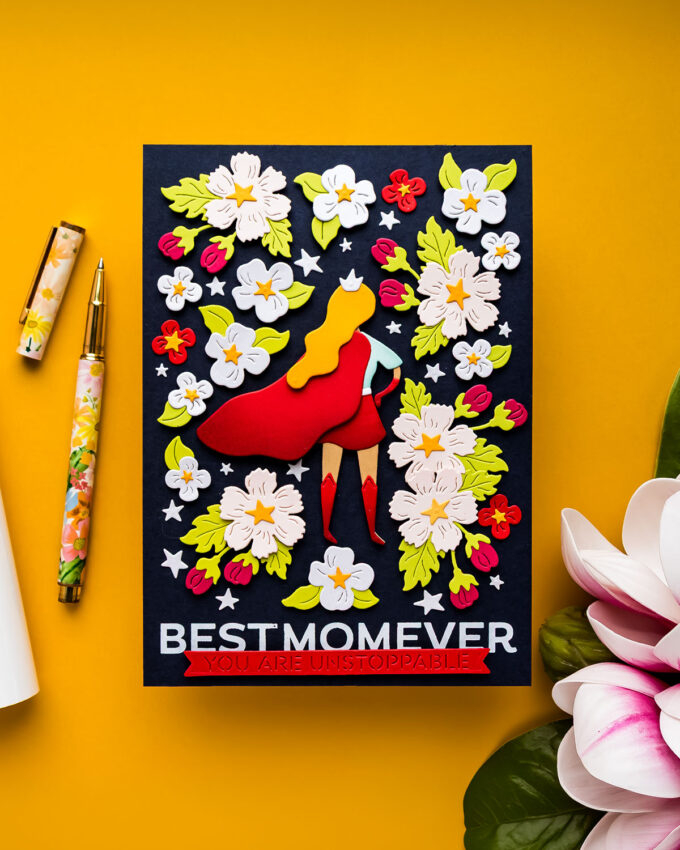
On my Super Mom Mother’s Day card, die-cut flowers and foliage create a dimensional background around the central figure. The flowers were cut from Chiffon, Brushed White, and Wild Berry cardstock with Peridot foliage. Small stars from the Super Mom set became unexpected flower centers, tying the background back to the theme.
For a balanced pattern, begin with the largest flowers and distribute them across the panel. Add leaves to establish direction, then fill the remaining gaps with smaller blooms. Let some elements continue beyond the card edges and trim them flush. This makes the design feel like one section of a larger pattern rather than a collection of pieces carefully confined inside a rectangle.
7. Repurpose Seasonal Floral Dies
Many holiday floral sets contain shapes that are only seasonal because of their original colors or the products pictured beside them. Change the palette and remove the unmistakably holiday elements, and those same dies can work for birthdays, friendship cards, or everyday projects.
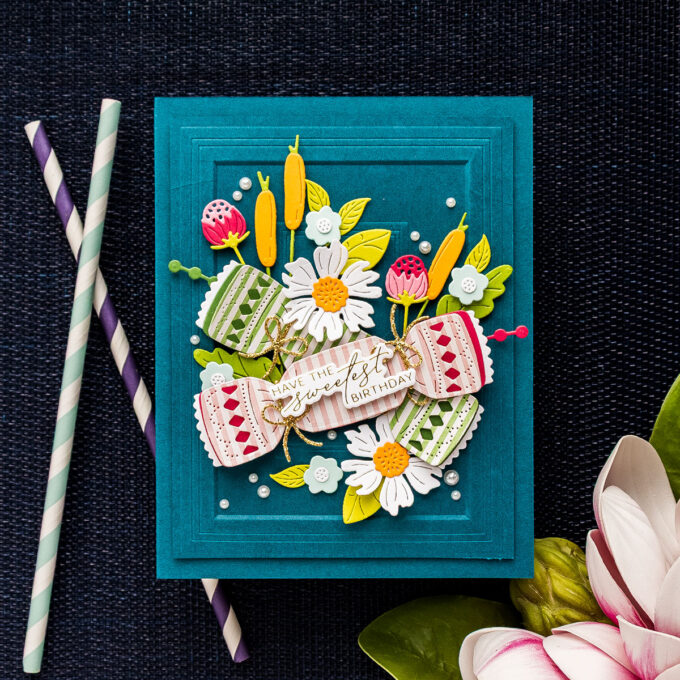
My birthday card made with Christmas dies began with the question of how to use holiday supplies outside the holidays. The Christmas Cracker became a birthday or party cracker, while the supporting details were adjusted to suit a general celebration.
When evaluating a seasonal set, look at each die as a shape rather than as part of the package illustration. Individual leaves, berries, blossoms, bows, and sprigs may be useful all year. Swap traditional red and green for blush and navy, purple and sage, or a bright rainbow palette. The new colors often remove the seasonal association immediately.
8. Let Color and Style Change the Personality of the Flowers
The same floral die can look soft, graphic, elegant, dramatic, or playful depending on the palette, background, and finish. Before buying another set, try giving a familiar flower a completely different visual personality.
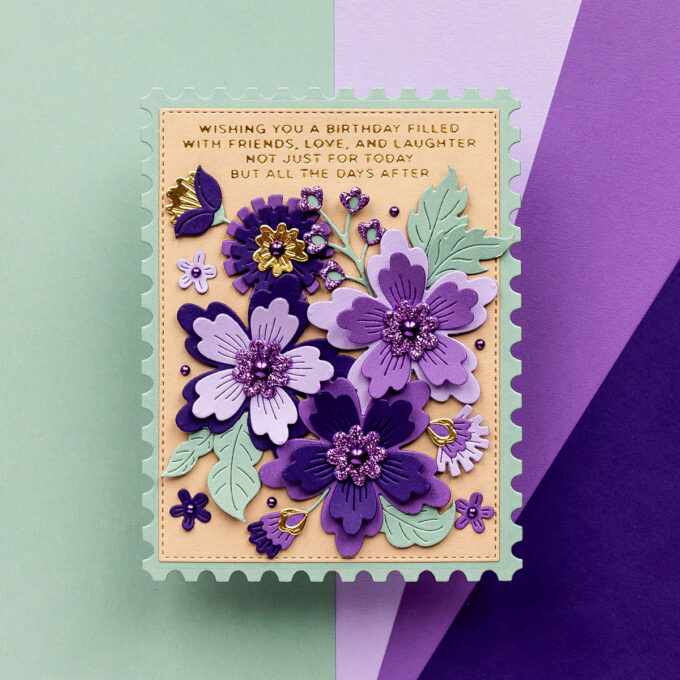
A muted green and purple palette creates a calm, sophisticated result and offers an alternative to familiar pink-and-yellow florals. Placing bright die cuts on a dark cardstock background makes their colors appear more vivid and pulls attention toward the focal point. Dark does not have to mean black – deep blue, purple, teal, or green can create the same effect.
At the other end of the spectrum, my maximalist cardmaking projects combine yellow, orange, multiple pinks, red, mirror gold leaves, and gold glitter flower centers. The abundance works because the colors move through a connected family and the metallic details repeat across the design.
Try choosing the mood first, then select the materials. Tonal cardstock feels refined, complementary colors add energy, dark backgrounds create drama, and metallic or glitter paper introduces a special-occasion finish.
Tips for Better Floral Die-Cut Arrangements
- Arrange everything before adhering it. Take a quick phone photo, then use it as a reference while gluing the pieces in place.
- Work from large to small. Position the focal flower first, add medium elements, and save tiny blooms and berries for the final gaps.
- Use more than one green. Two or three related foliage colors create depth without making the design feel busy.
- Mix flat and raised layers. Gluing some pieces directly to the panel and lifting others with foam adhesive makes the arrangement feel fuller.
- Repeat colors around the card. A flower center, sentiment layer, and small accent in the same color can make a complex design feel intentional.
- Trim as you go when decorating an object or defined shape. This makes it easier to keep the edges clean and evaluate the remaining space.
- Use tiny die cuts as problem solvers. Small flowers, leaves, berries, and dots are perfect for filling awkward gaps.
Ways to Customize These Floral Card Ideas
You can adapt all eight ideas to the dies and occasions already in your craft room. Simplify a dimensional bouquet by using one large flower and two leaves, or make it more elaborate by adding individual petals and several adhesive heights. Turn a 5 x 7-inch grid into an A2 design with four smaller sections. Fill a heart, circle, number, letter, ornament, or tag instead of a butterfly.
For occasion changes, keep the floral composition and replace only the sentiment and color palette. Soft colors can suit a wedding or new baby card, brighter combinations work beautifully for birthdays, and darker backgrounds can shift the same flowers toward an elegant evening look. You can also combine older floral favorites with a new focal die rather than purchasing another coordinating flower set.
Frequently Asked Questions About Floral Dies
How do I arrange die-cut flowers on a card?
Begin with the largest flower or focal object, then add medium flowers and foliage. Finish with the smallest blossoms, berries, or sprigs. Vary the direction and height of the pieces, but repeat colors to keep the arrangement cohesive.
How can I add dimension without making the card too bulky?
Glue most layers directly to the card and use foam adhesive only under selected flowers, petals, or leaves. You can also stack two or three cardstock die cuts for clean, controlled dimension.
What can I do with very small flower dies?
Use them as filler pieces in bouquets, flowers in a window box, accessories for characters, decorative flower centers, confetti-like accents, or repeated elements in a background.
How do I make floral die cuts stand out?
Create contrast between the flowers and the background. Bright or pale flowers will stand out against dark blue, purple, teal, green, or black cardstock. On a light background, use deeper flowers or add ink shading around the edges.
Can Christmas floral dies be used all year?
Many can. Remove strongly seasonal details and change the traditional holiday palette. Leaves, berries, blossoms, bows, and sprigs can often move easily into birthday, friendship, thank-you, and celebration cards.
More Floral Cardmaking Ideas
- Frame a perfume bottle with elegant die-cut flowers
- Combine floral dies with personalized birthday numbers
- Decorate a gatefold birthday card with die-cut florals and foiling
- Build a cohesive color palette for a bold floral card
Final Thoughts
Floral dies can be far more than one bouquet in the center of a card. Use them to build patterns, fill shapes, transform objects, complete scenes, refresh seasonal supplies, and explore new color stories. The most useful creative exercise is to pull out one familiar floral set and pair it with something unexpected from your stash. You may discover that the flowers you have used many times still have plenty of new ideas hiding in them.
Have fun creating!