My perfect cardmaking formula is something I use whenever I have a hard time coming up with a good card design. This formula or cardmaking recipe, if you will, has never let me down. It consists of ingredients and I’ll break them down for you in this video.
Like this project? Pin it and save for later | Curious about my project photography? Click for details.
VIDEO TUTORIAL
Watch the video below or on my Youtube channel.
Like this video? Please give it a big thumbs up (you can do this on Youtube video page right under the video) and share it with a crafty friend! Leave me a comment too, I love hearing from you!
There are 5 components to an easy and perfect handmade card. I’m breaking each of them down below.
#1 BACKGROUND
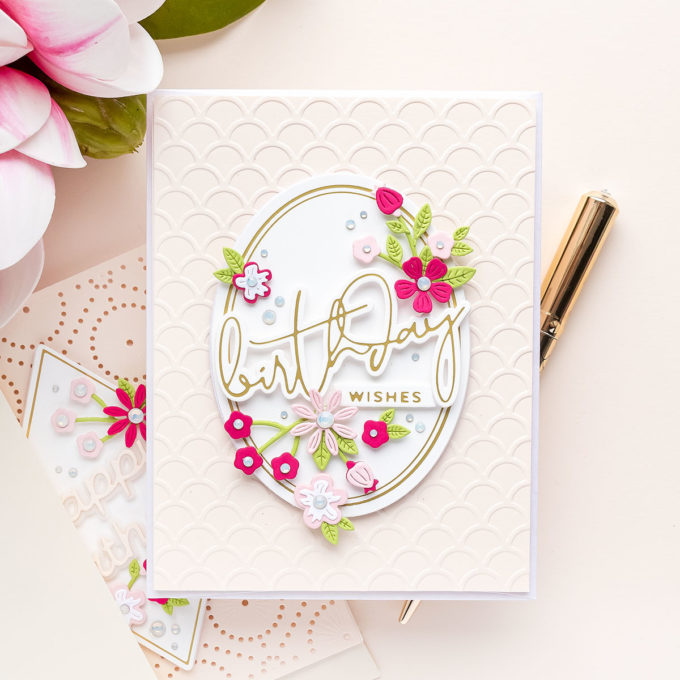
A simple backdrop creates an easy and the most perfect background for a card. Typically I like to use colored cardstock for the background of my cards. It can be either a light or dark color cardstock. I try to stay away from plain white unless I am using some sort of specialty white cardstock.
When you use colored paper you can either use it as is or take it up a notch by using it in conjunction with other products. I do try to keep things minimal and keep my background rather simple. I don’t want the background to take attention away from the rest of the card.
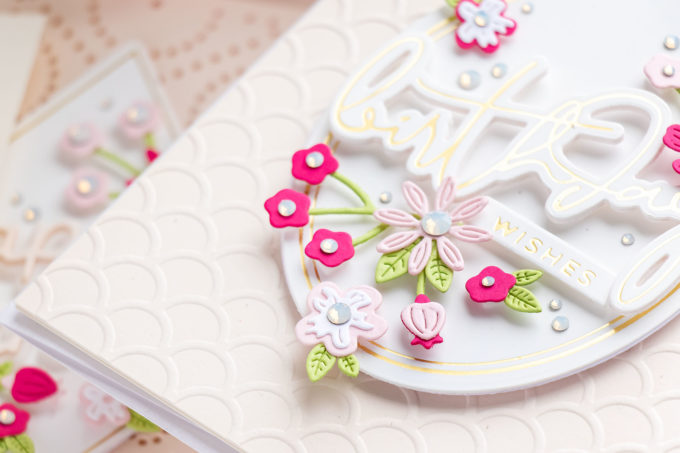
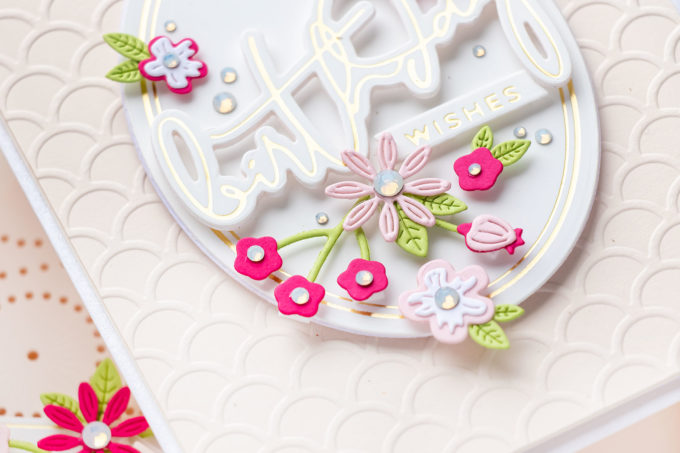
- You can dry emboss a background using an embossing folder.
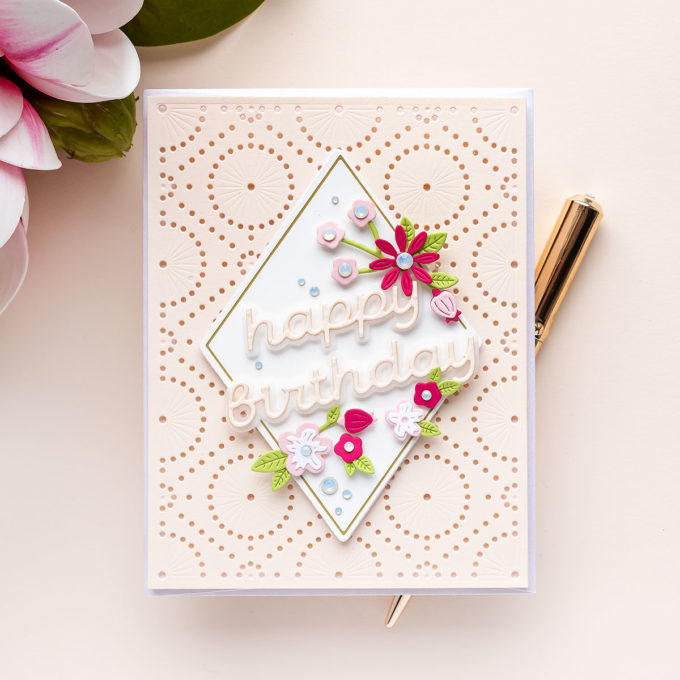
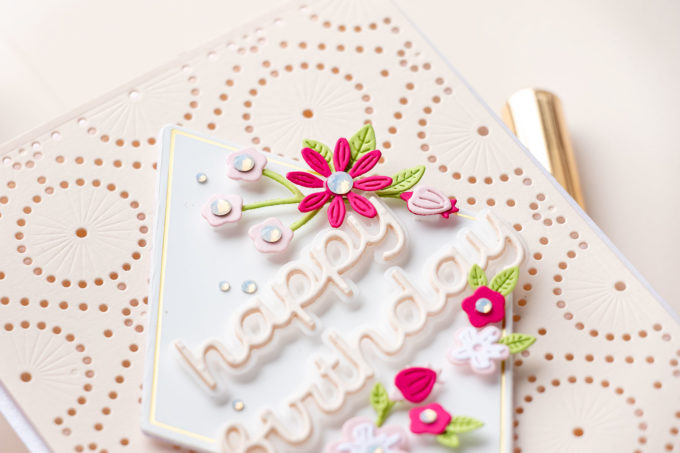
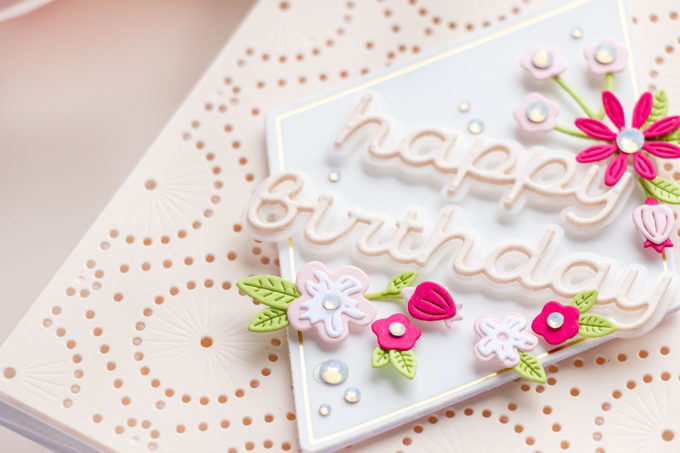
- Another option is to use a background die. It can be a regular or stitching die. If I use a stitching die I keep it unstitched, it looks a lot like die-cut lace this way.
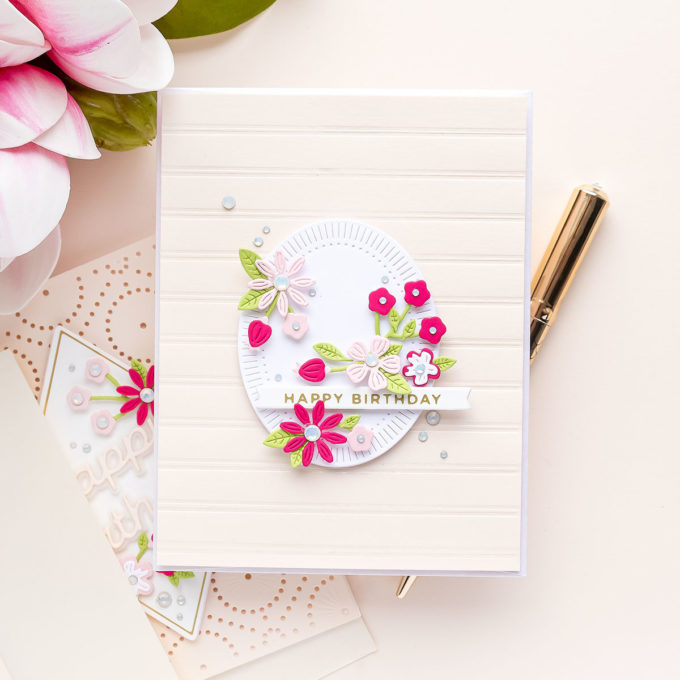
- One more option for you, if you have the hot foil machine, is to foil a background. Make sure your foiling is subtle, use matte foil or the same color foil as your background for a tone-on-tone look.
#2 FOCAL POINT LABEL
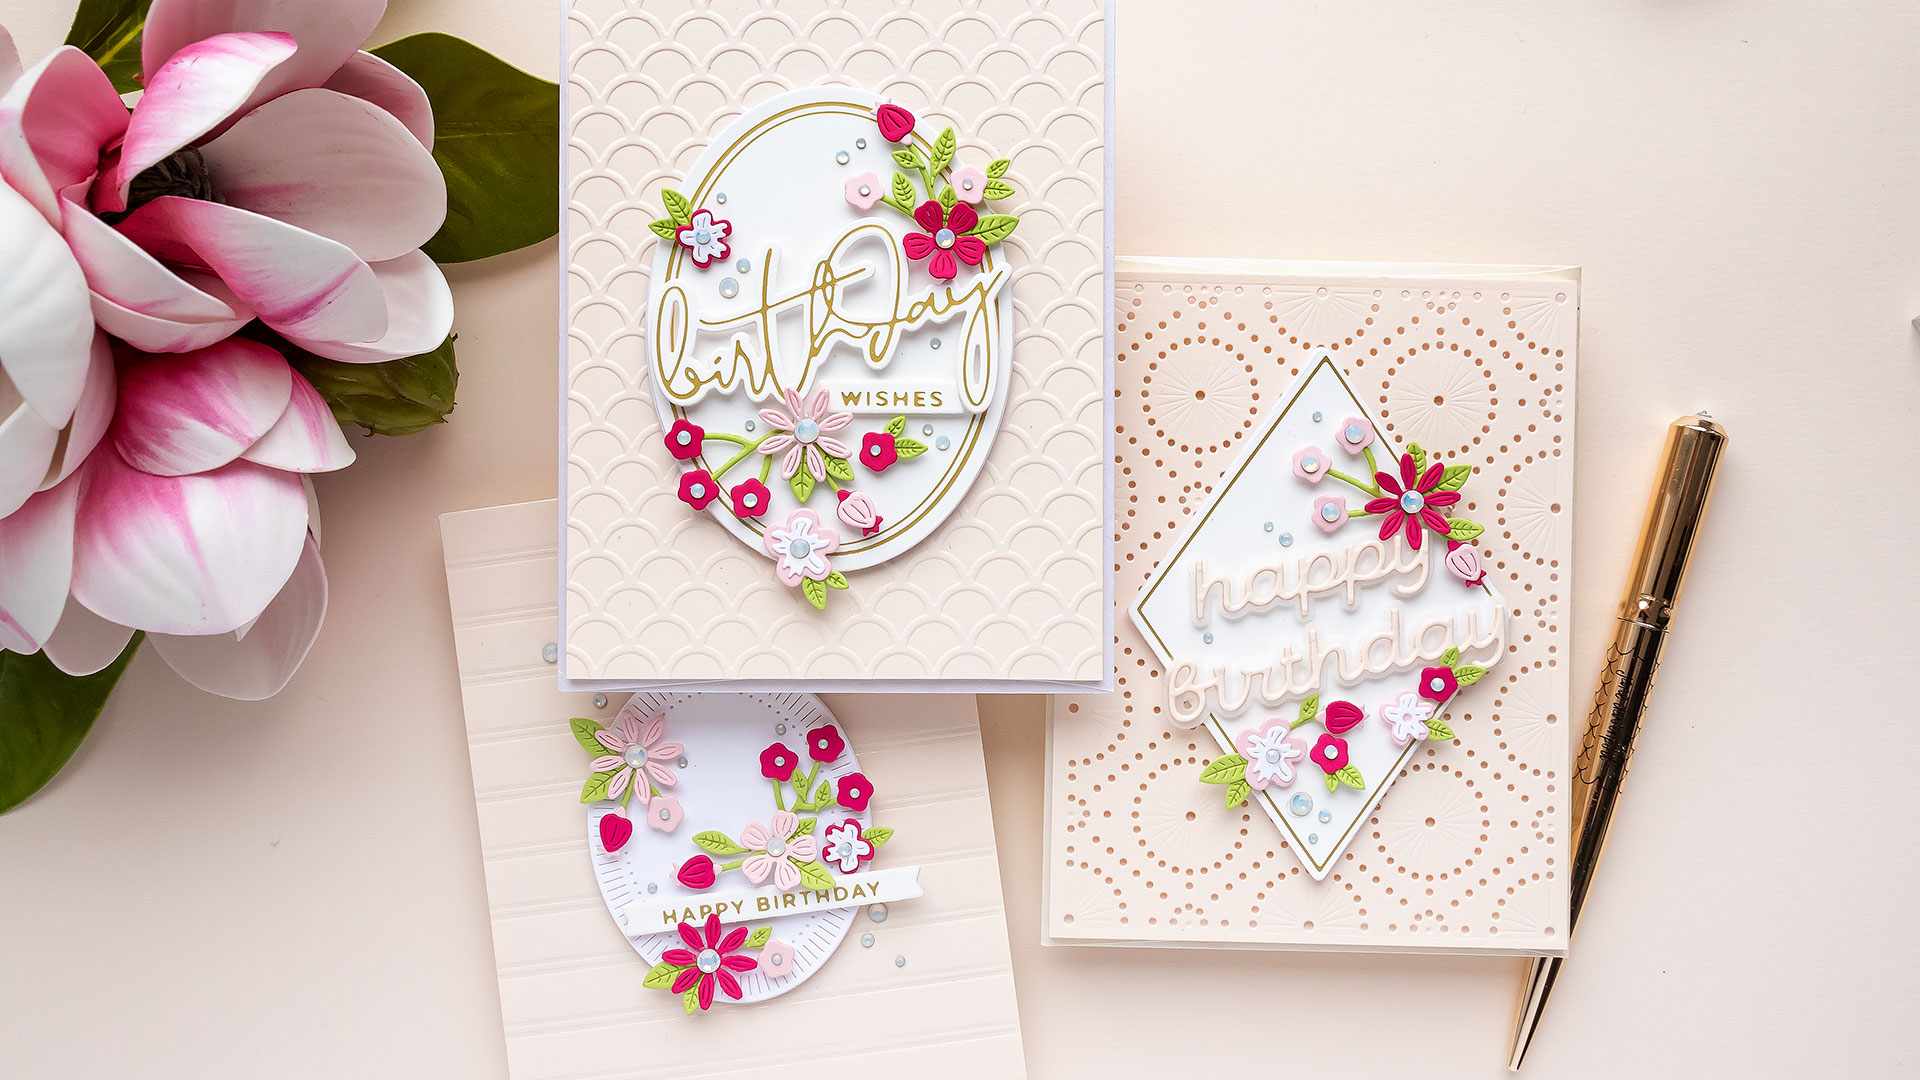
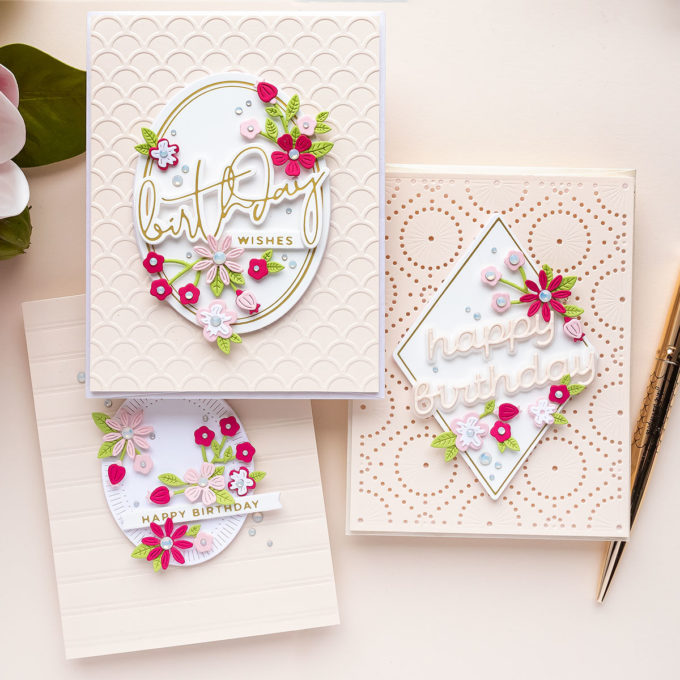
Next, I like to layer a simple, but interesting label over the background. The label will house the focal point for the card. I prefer to use oblong shapes for my labels for the A2 cards so that the label is somewhat proportional to the card. So for example, an oval, a diamond, or a rectangle. I try to stay away from using a circle or a square label on A2 cards.
There are many different products, both dies and glimmer plates, and even stamps to help you create the perfect label to place in the center of your card.
Pick a label shape to place over your background. If I can, I like to add 2 to 3 scrap layers of cardstock underneath my labels to make them sturdier. The foiled labels, for example, were foiled on the Spellbinders Specialty Glimmer cardstock, which is rather thin, it isn’t as thick as I prefer. So I back it up with additional layers to create one sturdy die-cut. I also always use foam adhesive squares to pop the label up on the card.
#3 SENTIMENT
Every card needs one, I don’t think you can have a card without a sentiment. You can create a die-cut sentiment, you can make a stamped sentiment or a foiled sentiment.
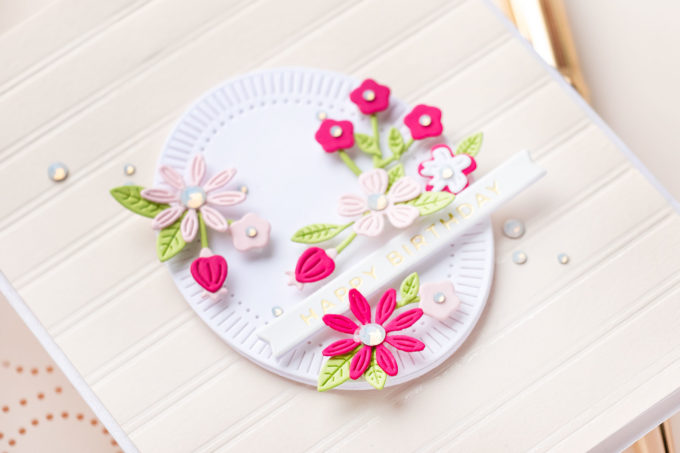
The size of the sentiment matters in this formula, I try to keep the sentiment about the size of the label I am using, I try not to go any bigger as if you use a bigger sentient it will grab all of the attention on your card. Which is good in some cases, of course, but not always. I also love to use skinny strip sentiments – these are always the best because they take very little room on a card thus allowing you to add a lot more elements to your projects and they can also work as great sub sentiments to convey an additional message.
The large foiled Birthday Wishes is a sneak peek of a glimmer plate that is coming in my new collection with Spellbinders called Yana’s Blooms, it is scheduled to release in January 2022. So you guys are getting a very early sneak peek of something that’s coming.
#4 FLORALS
You add flowers to any card and the card will pop. The florals can be die-cut, they can be stamped and colored, they can be foiled – again, whatever you have in your stash, whatever type of floral product you have in your stash – use that to add flowers to your card.
The idea here is to use the blooms as pops of color and also as accents on the card. I try to stick to using smaller size flowers, and smaller size leaves, and I alternate between the type of flowers I use.
If you have larger size flowers, it would be best to combine those with skinny stripe sentiments, one large flower would then make a focal point for your card.
#5 EMBELLISHMENTS
And the last ingredient for my perfect cardmaking formula is a small embellishment. It can be gems, jewels, sequins, dots, whatever you prefer to use, whatever you have in your stash – just something small and sparkly to add that last bit of wow to your project.
So there you have it – 5 simple components to one perfect cardmaking formula. Give it a go and let me know in the comments below if this formula works for you.
SUPPLIES
I’m listing the products I used below. Click on the link to go directly to the product. Where available I use compensated affiliate links which means if you make a purchase I receive a small commission at no extra cost to you. Thank you so much for your support!
 Spellbinders Circular Stitch Background Dies Shop at: SSS | SB |
 Spellbinders Scallops Embossing Folder Shop at: SSS | SC | SB |
 Spellbinders Skinny Stripe Background Glimmer Shop at: SSS | SC | SB | AMZ |
 Spellbinders Essential Duo Lines Glimmer Ovals Shop at: SSS | SC | SB |
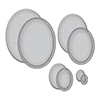 Spellbinders Essential Ovals Etched Dies Shop at: SSS | SC | SB | AMZ |
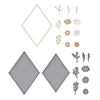 Spellbinders Diamond Floral Frame Glimmer Shop at: SSS | SC | SB |
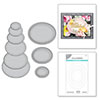 Spellbinders Fluted Classics Ovals Dies Shop at: SC | SB |
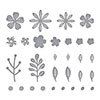 Spellbinders Mini Blooms and Sprigs Shop at: SSS | SC | SB | AMZ |
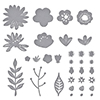 Spellbinders Simply Perfect Layered Blooms Shop at: SSS | SC | SB | AMZ |
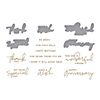 Spellbinders Yana’s Special Sentiments Glimmer Shop at: SSS | SC | SB | AMZ |
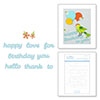 Spellbinders Layered Mix & Match Sentiments Shop at: SSS |
 Spellbinders Vellum Sheets Shop at: SC | SB |
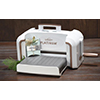 Spellbinders Platinum Die Cutting Machine Shop at: SSS | SC | SB | AMZ |
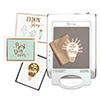 Spellbinders Glimmer Hot Foil System Shop at: SSS | SC | SB | AMZ |
 Glimmer Hot Foil – Matte Gold Shop at: SSS | SC | SB | AMZ |
 Glimmer Hot Foil Roll – Opal Shop at: SC | SB |
 Spellbinders Tool ‘n One Shop at: SSS | SC | SB | AMZ |
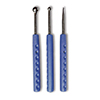 Spellbinders Stylus Tips for Tool N’ One Shop at: SSS | SB | AMZ |
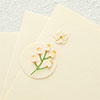 Spellbinders Barely Peach Color Essentials Cardstock Shop at: SB |
 Hero Arts Hero Hues Premium Cardstock Peony Shop at: SSS | SC | MFT | AMZ |
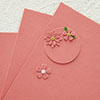 Spellbinders Dahlia Color Essentials Cardstock 8.5″ x 11″ – 10 Pack Shop at: SB |
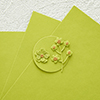 Spellbinders Rainforest Color Essentials Cardstock Shop at: SB |
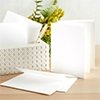 Spellbinders A2 White Card Bases – Side Fold – 25 pack Shop at: SB |
 Spellbinders Glimmer Specialty Cardstock 10 Sheet Pack Shop at: SSS | SC | SB |
 Bearly Art Mini Precision Craft Glue Shop at: SSS | SB | AMZ |
 Spellbinders Crystal Mix Color Essential Gems Shop at: SSS | SC | SB |



Thank you for this formula! I’ll be giving it a try!
hope you do! thank you 🙂
This was very interesting on how you arrive at your finished projects. Sometimes you wonder where to start. Your cards are always lovely.
thank you, Patricia! I’ve been using this “formula” for years. It has never let me down
Always gorgeous cards, Yana. Warm hugs from San Antonio, Texas.
thank you, Marisela!
This is q wonderful formula to follow. I think I do to a point but especially like the oval idea. have a tendency to use a rectangle most but will try the oval for change.m Thanks a lot Yana
As a former engineer and indecisive in making decisions about what “looks good” in my card designs, I LOVE the idea of a formula to go by. As a previous commenter stated, your cards are always beautiful! Thank you for sharing your go-to process. I have so many wonderful stamps and dies that I get overwhelmed on what to do with them. Your formula focuses the process so the decision-making is much more manageable. Thank you so much for sharing!
Love your elegant and classy style Yana! Thanks for sharing your formula, I will give it a try.
Your work is brilliant, thanks. Also, I wish you ‘safety’ in these days of troubles.
Well I worked all day on the small flowers you have been showing. I love them but oh so hard to work with. I think I will have to really love somebody to get the card I made today. I’m going to frame it and friends and family will get a card with maybe 3 or 4 flowers. Thanks for the inspiration. Dolores Good
Starting from scratch as a card maker many years ago, I’ve had to learn the basics from artists like yourself. I’m very grateful you took the time to explain your formula along with your beautiful examples. I’ve book marked it and I’m a huge fan of your work! Thank you Yana for your help and advice for everything from A to Z and then some.