
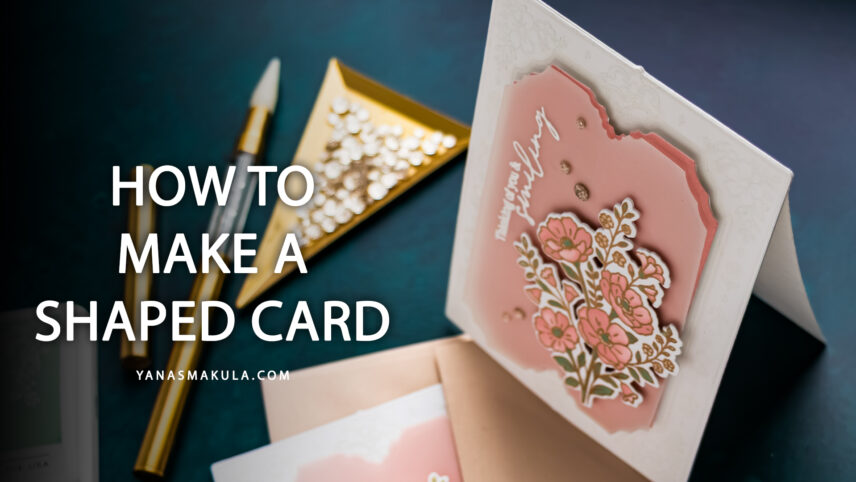

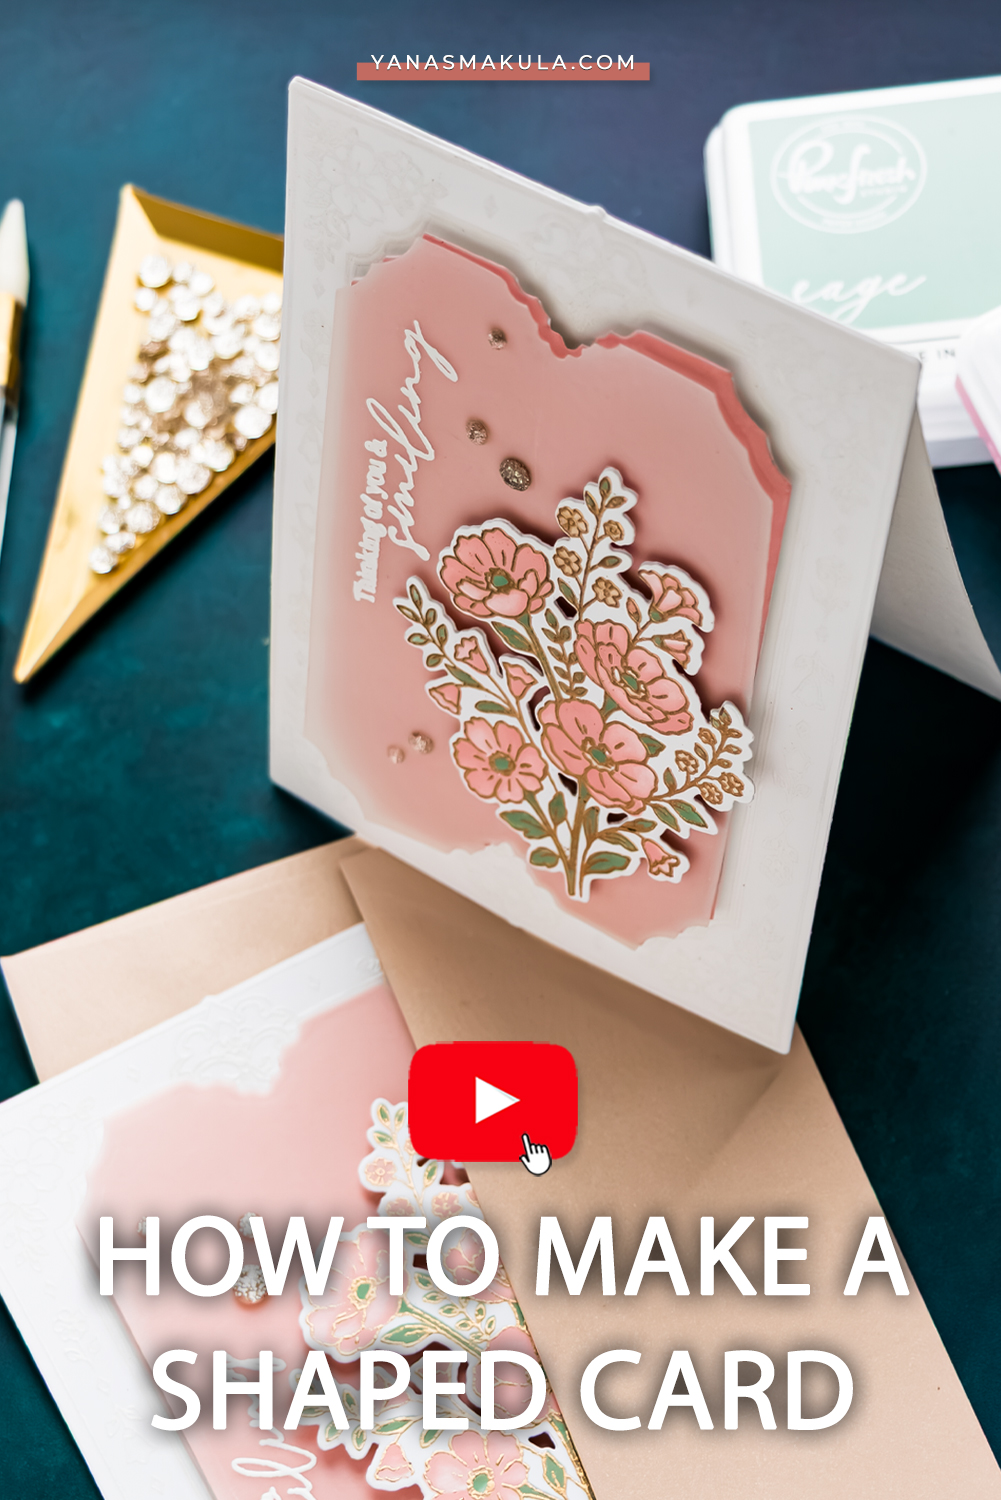
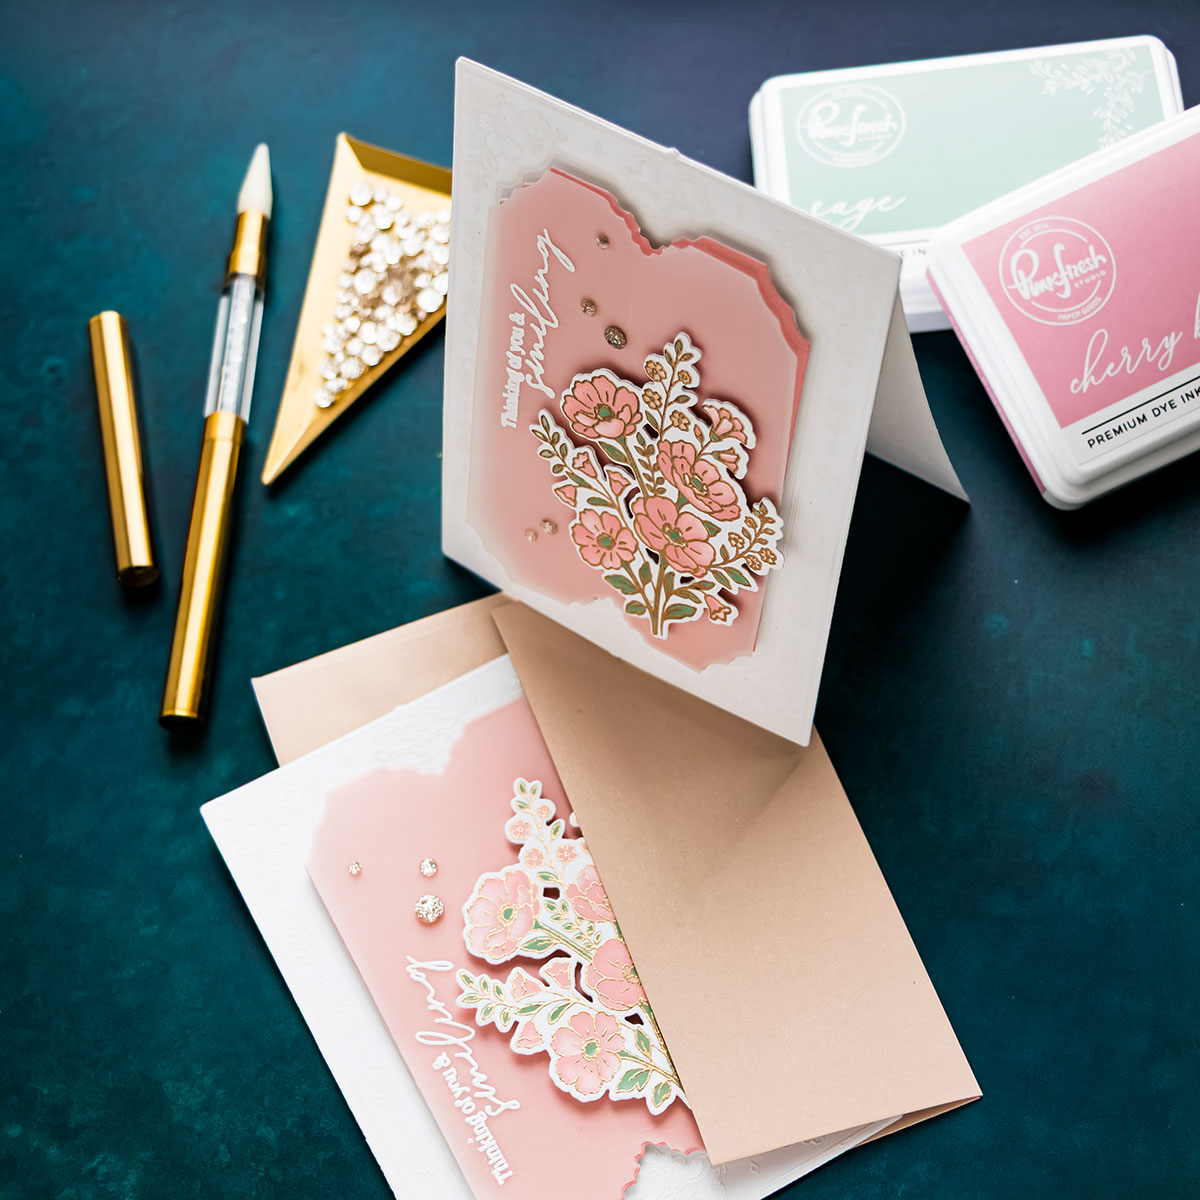
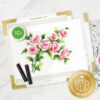
If you have a large stamp with a coordinating outline die, you can use those products to create more than a traditional card panel. In this tutorial, I am sharing how to make a shaped card using the beautiful Pinkfresh Studio Heirloom Cottage suite. The ornate frame becomes the card base, while a softly blended inner panel, vellum overlay, and dimensional floral cluster complete the design.
This project combines several useful cardmaking techniques, including white on white heat embossing, ink blending, layered stenciling, hidden vellum adhesive, and vertical sentiment placement. The finished card is slightly smaller than a standard A2 card, but it still fits comfortably inside an A2 envelope. Although I used the Heirloom Cottage products, you can adapt the same construction method to other large stamps and coordinating dies in your collection.
Project Snapshot
| Project | Shaped Thinking of You card |
|---|---|
| Skill Level | Intermediate |
| Approximate Time | 60 Minutes |
| Project Type | Shaped handmade card |
| Techniques | Heat embossing, ink blending, stencil coloring, shaped-card construction, die cutting, vellum layering, and dimensional assembly |
| Occasion | Thinking of You, friendship, encouragement, or sympathy |
| Finished Size | Slightly smaller than A2 and sized to fit an A2 envelope |
| Color Palette | White, pale pink, muted green, and antique gold |
| Featured Products | Pinkfresh Studio Heirloom Cottage stamp, die, and stencil |
What You’ll Need
Stamps, Dies, and Stencils
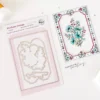
- Pinkfresh Studio Heirloom Cottage stamp
- Pinkfresh Studio Heirloom Cottage die
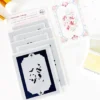
- Pinkfresh Studio Heirloom Cottage stencil
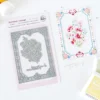
- Pinkfresh Studio Heirloom Cottage press plate – optional alternative to stamping
Ink and Embossing Supplies
- Clear embossing ink
- Detail white embossing powder
- Antique gold embossing powder
- Anti-static powder tool
- Heat tool
Paper and Embellishments
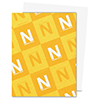
- Neenah Solar White 80 lb cardstock
- White scrap cardstock
- Vellum
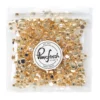
- Pinkfresh Studio Glitter Drops: Champagne
Tools and Adhesives
- Stamping platform – I used the Altenew Stampwheel 2.0
- Pinkfresh Studio Stamp Press Tool
- Pinkfresh Studio 1” blending brushes
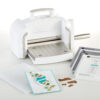
- Spellbinders Platinum Six die-cutting and embossing machine
- Score board or scoring tool
- Paper trimmer
- Scissors
- Liquid adhesive
- Foam adhesive squares or foam tape
- Low-tack tape or magnets
How to Make a Shaped Card
1. Position the Ornate Frame Stamp
Start by placing a piece of Neenah Solar White 80 lb cardstock inside your stamping platform. Position the large ornate frame stamp from the Heirloom Cottage set over the cardstock. Because this frame is detailed and rectangular, it can be a little difficult to tell whether the stamp is completely straight. To check the alignment, place the coordinating outline die on the paper first. Position the stamp inside the die and make sure the border sits evenly within the cutting line.
Once the stamp is correctly positioned, remove the die and pick up the stamp with the lid of your stamping platform.
2. Heat Emboss the Frame in White
Treat the cardstock with an anti-static powder tool. This is especially helpful with a detailed image because stray embossing powder can collect inside the delicate floral and decorative areas. Ink the frame with clear embossing ink and stamp it onto the cardstock. I used the Pinkfresh Studio Stamp Press Tool to apply even pressure across the stamping-platform lid.
I like to stamp detailed images twice when using a stamping platform. The second impression adds more embossing ink and helps create a complete image. Add detail white embossing powder and melt it with a heat tool.
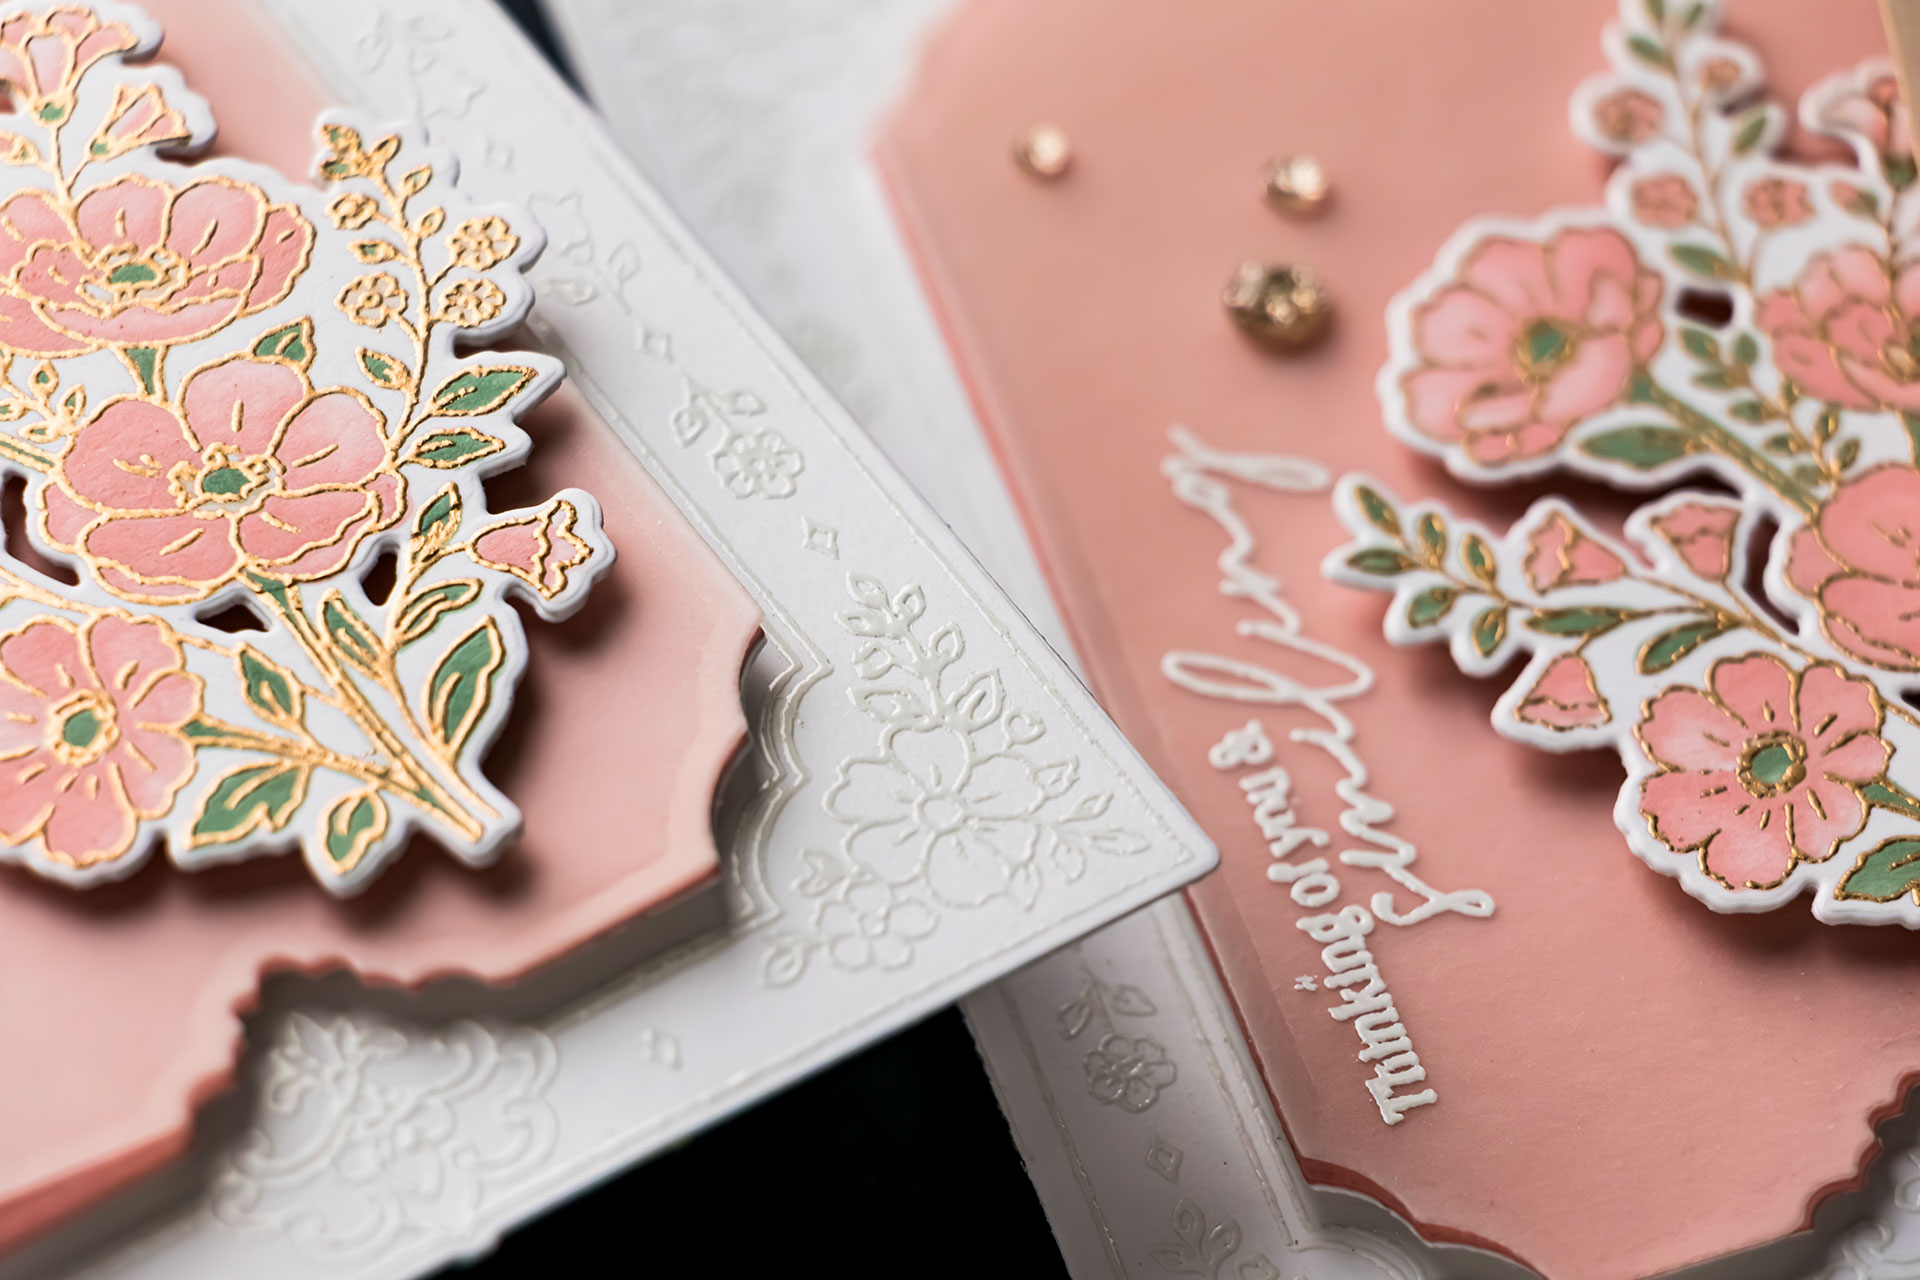
White embossing on white cardstock creates a subtle, tone-on-tone border. The design may be difficult to see before the powder melts, but the raised texture becomes much more noticeable once you tilt the panel in the light.
3. Die Cut the Embossed Card Front
Place the coordinating outer die around the heat-embossed frame and secure it temporarily. Run the panel through your Platinum Six or another compatible die-cutting machine.
When cutting a large rectangular shape, place the die at a slight angle on the cutting platform. This allows the leading edge to enter the machine gradually instead of having the entire straight edge meet the rollers at once.
4. Reinforce the Shaped Card Front
Die cut the same outer shape from scrap white cardstock. Adhere this blank die cut behind the embossed panel to make the front of the card sturdier. This extra layer is optional, but it is helpful when using 80 lb cardstock. If you begin with heavyweight cardstock, you may not need the additional backing layer.
Layering the pieces also gives the finished card a more substantial feel and helps it stand properly once the shaped base is assembled.
5. Create the Back of the Shaped Card
Die cut one more blank outer shape from white cardstock. This piece will become the back of the card. Score the die cut approximately 1/4 inch from the top. Fold along the score line and apply liquid adhesive only to the narrow folded section. Align the back panel with the reinforced card front and glue the two pieces together.
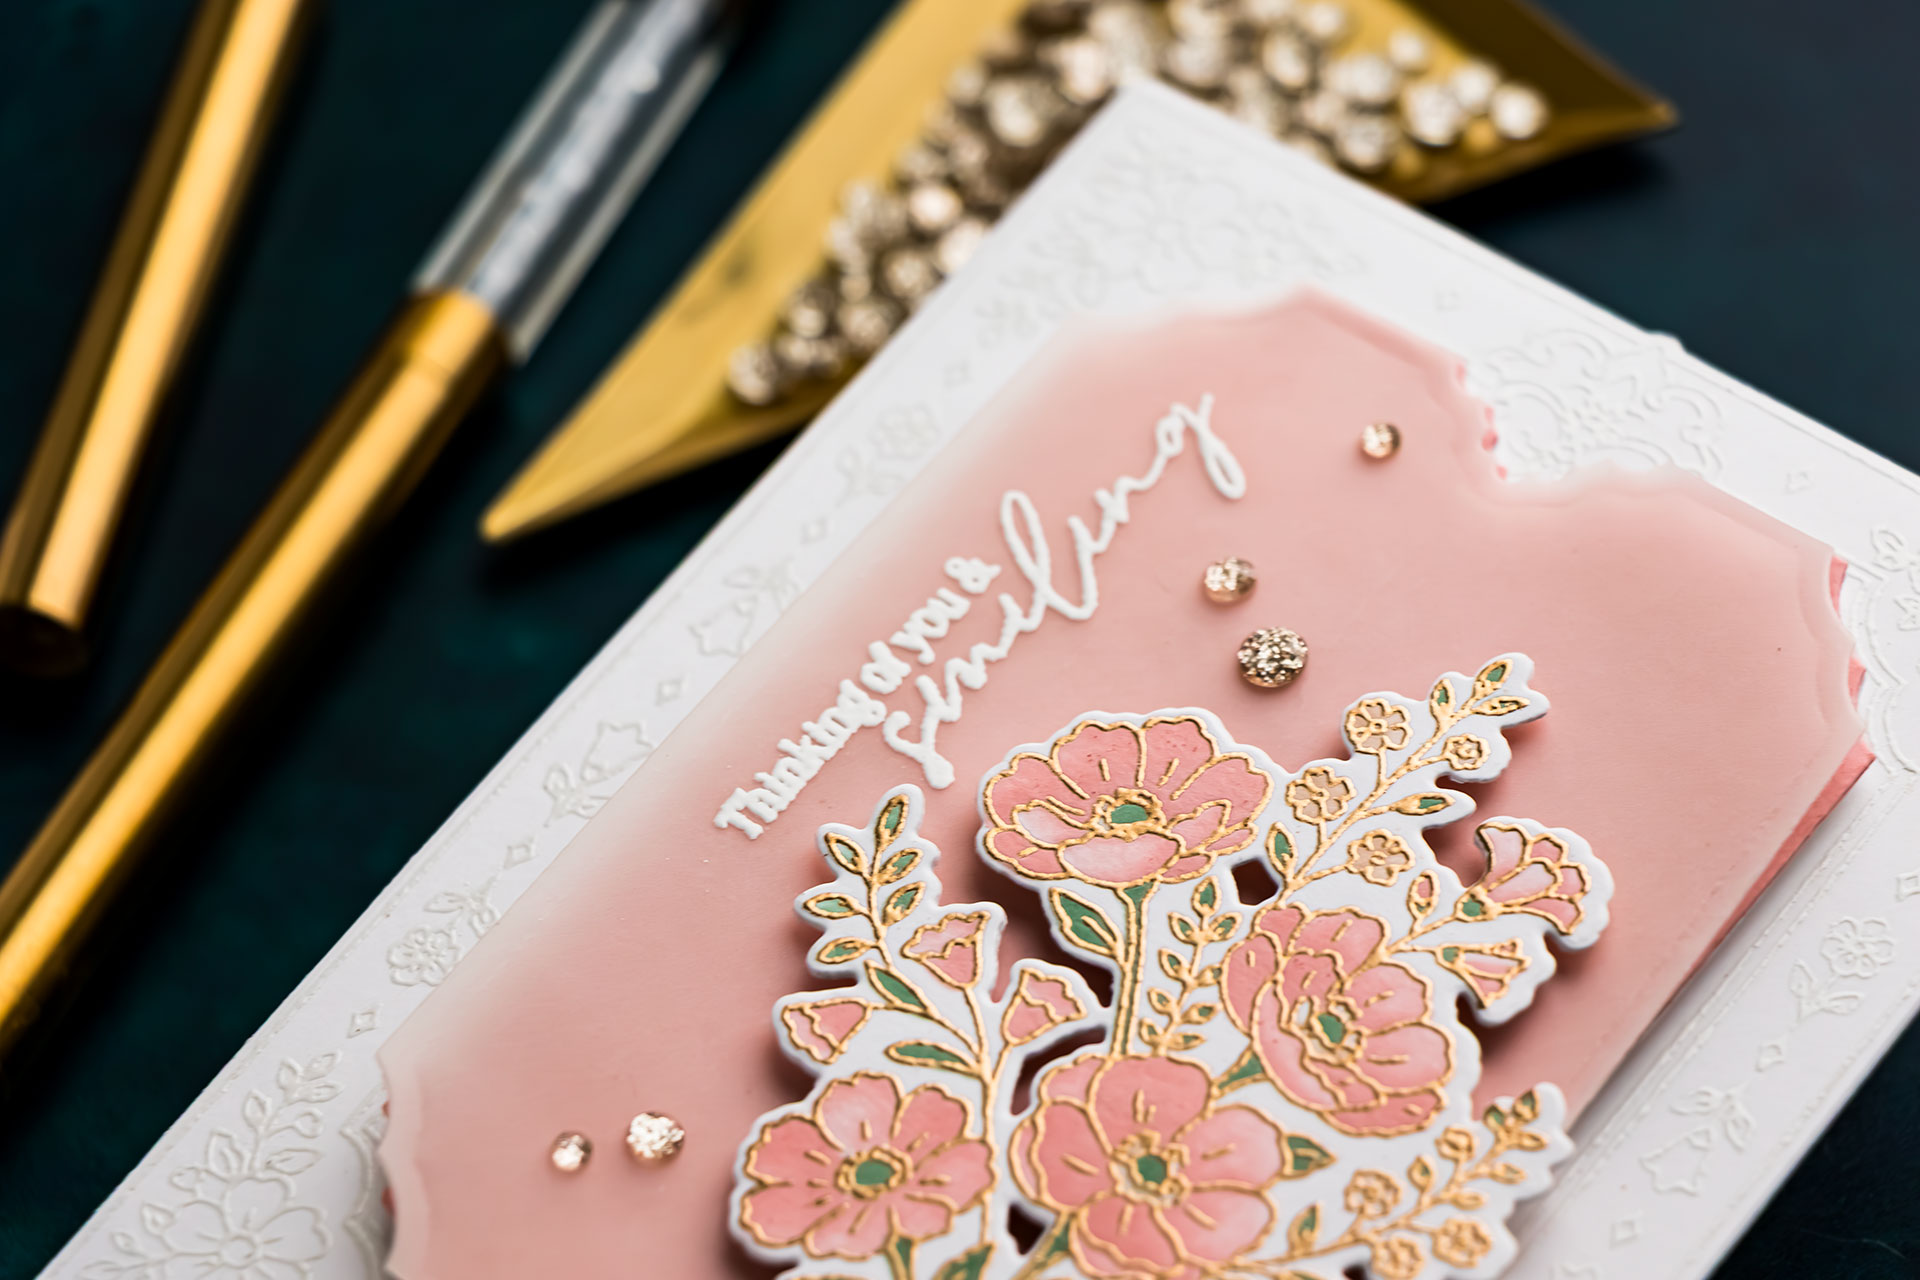
Set something heavy over the glued area while it dries. I worked on a magnetic surface, so I used magnets to apply pressure and keep the layers aligned. This simple scored hinge turns two matching die-cut shapes into a functional card base that opens from the top and stands on its own.
6. Ink Blend the Inner Label
Cut a piece of white cardstock slightly larger than the inner label die. Use a large blending brush to cover the cardstock with Cherry Blossom ink. A large brush works well for this step because the goal is to create a smooth, solid layer of color rather than detailed shading. Once the panel is evenly covered, cut it with the coordinating inner label die.
You could use pale pink cardstock instead, but blending white cardstock gives you the option to use the same ink later in the project. This helps the different elements coordinate naturally.
7. Reinforce and Attach the Pink Label
Die cut the inner label once more from scrap white cardstock and glue it behind the Cherry Blossom panel. If the white backing extends beyond the pink layer, trim the visible edges with scissors or a paper trimmer. Add foam adhesive squares or foam tape to the back of the reinforced label and center it on the shaped card base. The foam creates separation between the pink panel and the white embossed frame.
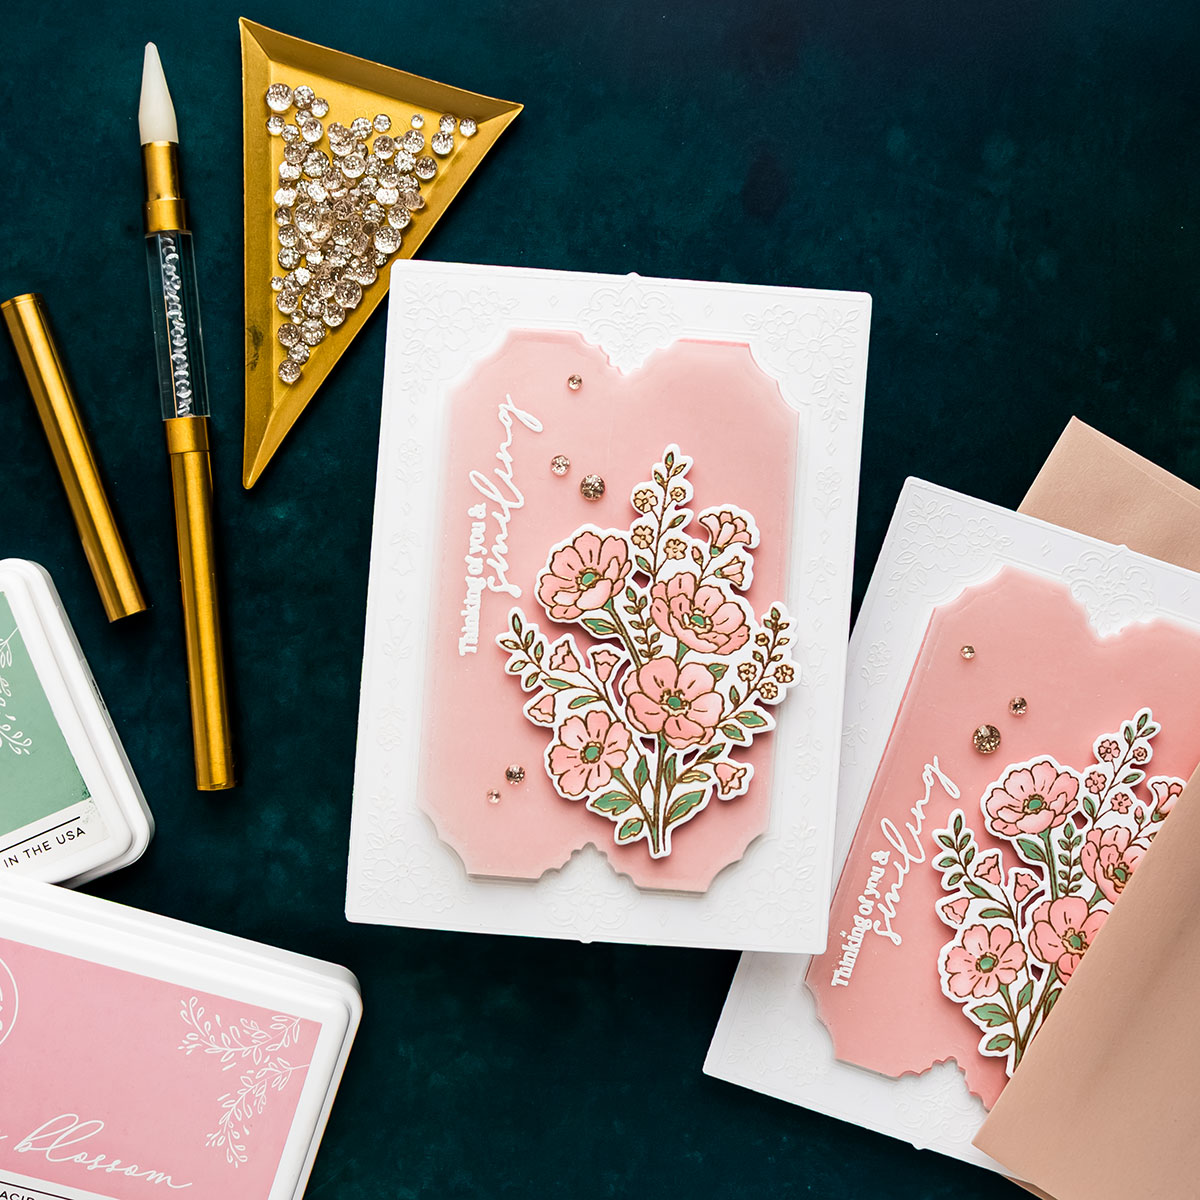
For a flatter, easier-to-mail card, adhere the label directly to the card base with liquid glue or double-sided adhesive.
8. Add a Vellum Overlay
Cut the inner label shape again from vellum. The vellum will sit over the Cherry Blossom panel and soften the pink without hiding it completely. This layer also provides a place for the sentiment. Combining two jobs in one element keeps the design clean and prevents the center of the card from becoming overcrowded.
Do not adhere the vellum yet. It is easier to heat emboss the sentiment and plan the floral placement while the piece is still separate from the card.
9. Heat Emboss the Sentiment Vertically
Treat the vellum with anti-static powder and stamp the Thinking of You sentiment in clear embossing ink. Add detail white embossing powder and carefully heat set it. Instead of positioning the sentiment horizontally, rotate it 90 degrees and place it along one side of the vellum panel. A vertical sentiment is useful when a phrase feels too long for the available horizontal space or interferes with the focal image.
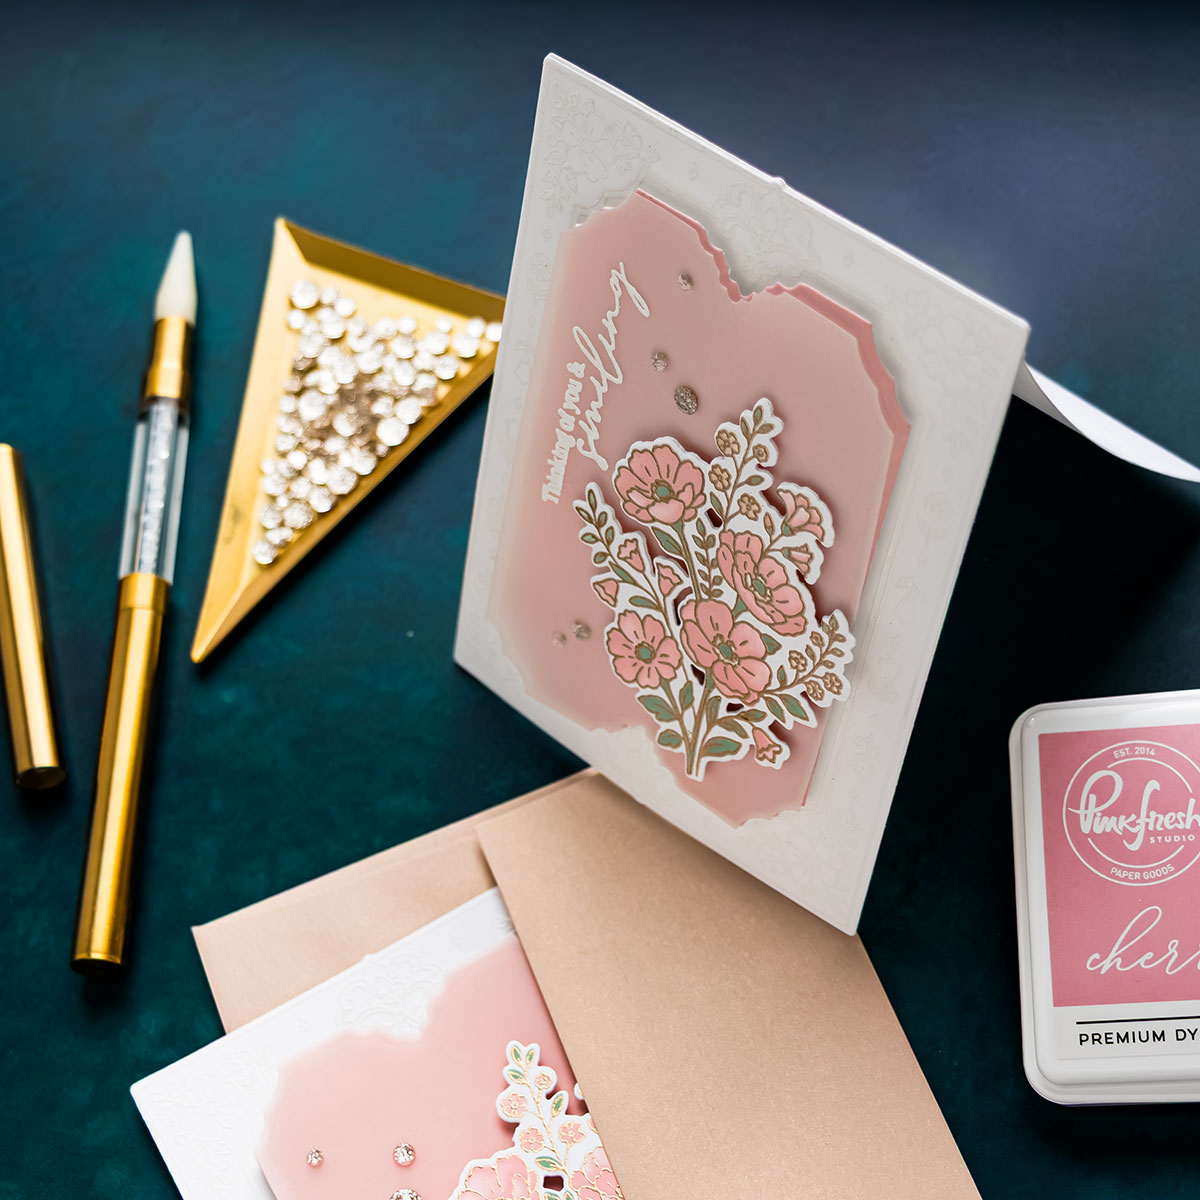
This placement also balances the floral cluster without covering the softly blended center of the card.
10. Heat Emboss the Floral Cluster in Gold
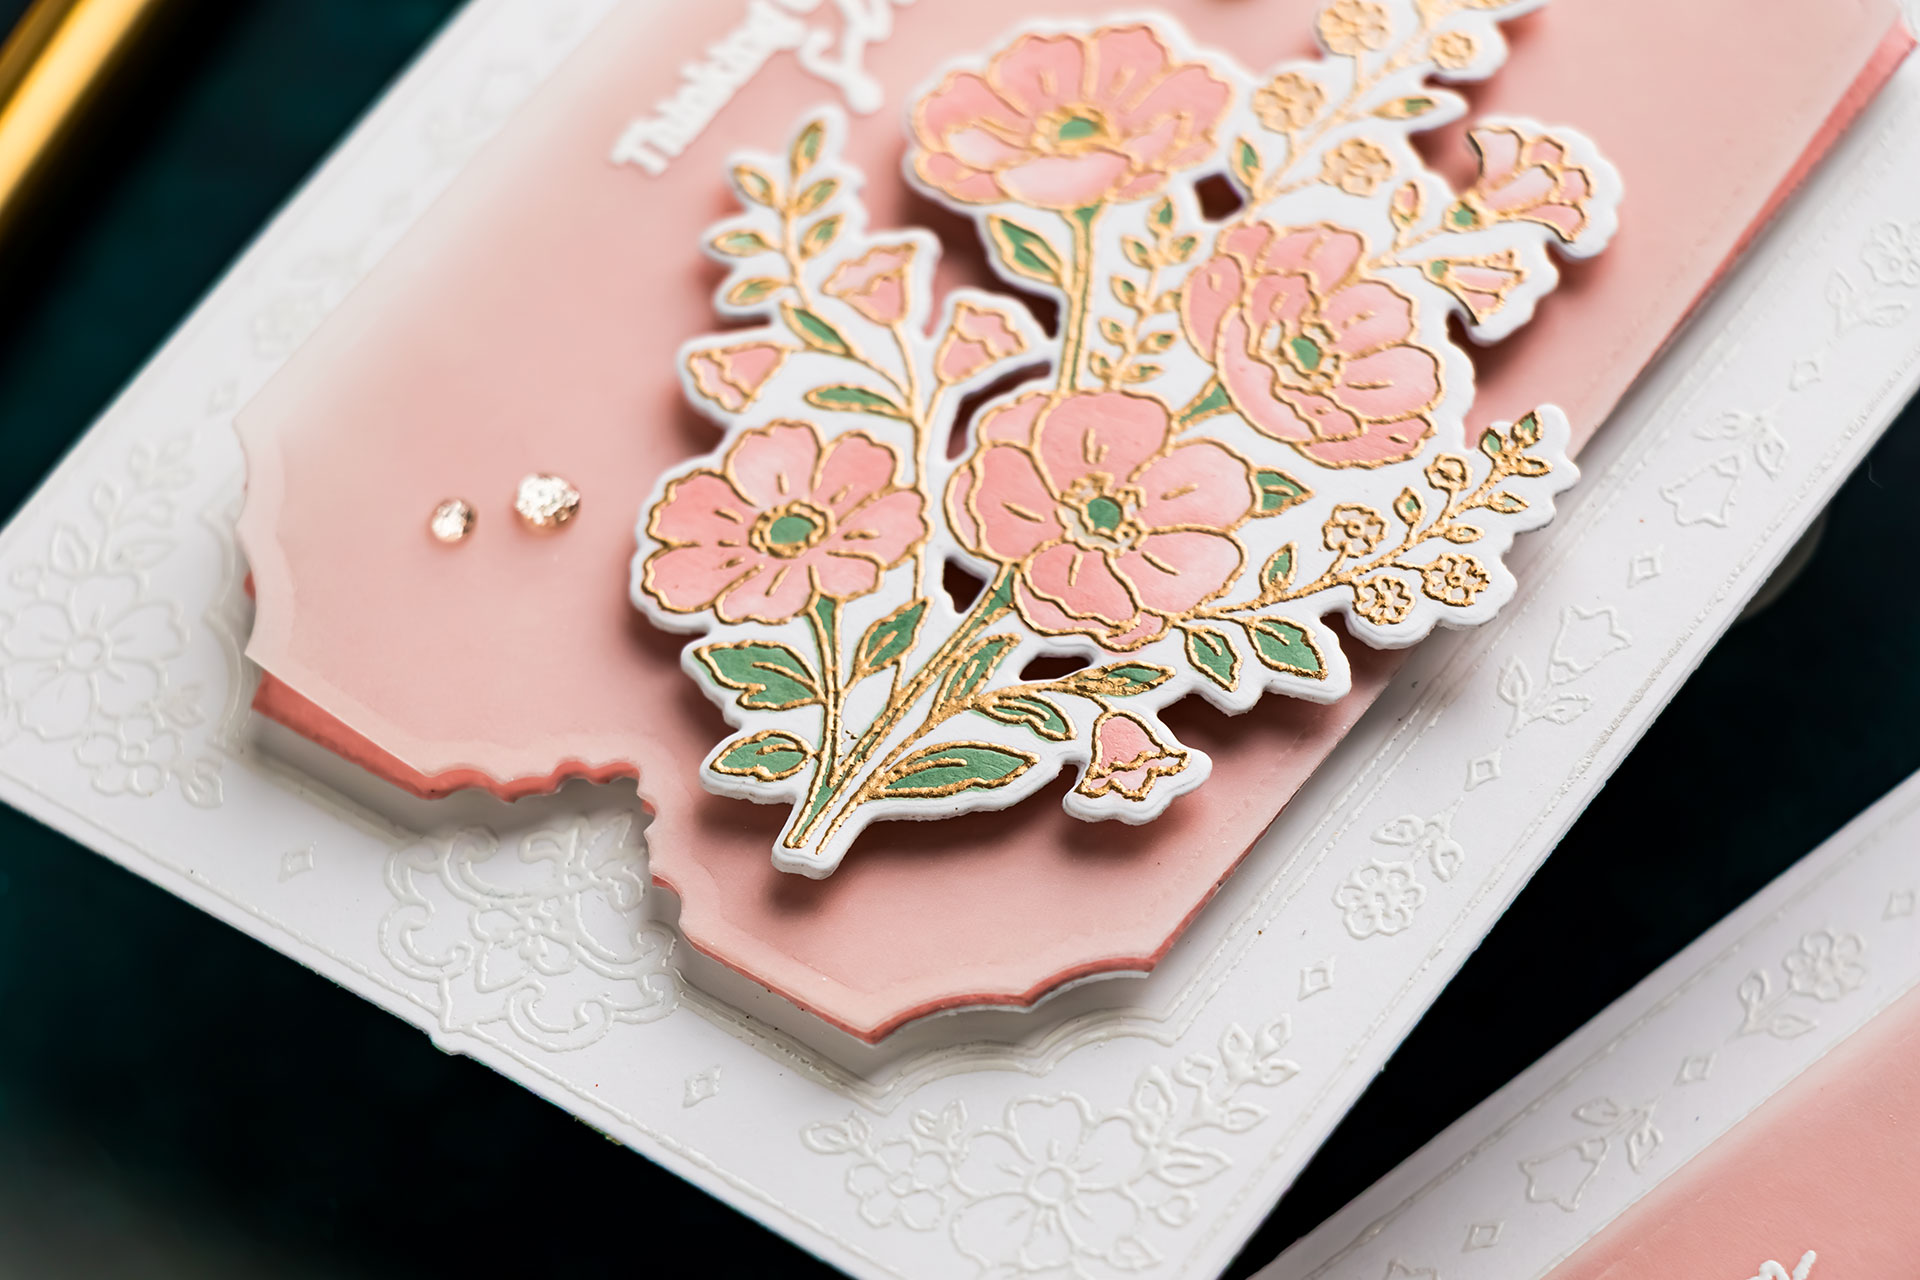
Stamp the floral cluster from the Heirloom Cottage stamp set onto white cardstock with clear embossing ink. Cover the image with antique gold embossing powder and melt it with a heat tool. I used white embossing for the background frame because I wanted that detail to remain soft. The antique gold makes the floral cluster more prominent and establishes it as the focal point.
This is an easy way to create hierarchy in a monochromatic design: keep the supporting elements quiet and use a contrasting finish for the element you want viewers to notice first.
11. Color the Floral Cluster with Stencils
Place the heat-embossed floral cluster on a magnetic work surface and align the coordinating stencils. Use magnets or low-tack tape to hold each stencil in place. Blend Sage ink through the foliage sections and Cherry Blossom through the flowers. For one of the floral layers, use a lighter hand with Cherry Blossom. This creates variation while keeping the palette limited and cohesive.
For the smaller details, I used the Warm Buff ink left on one of my blending brushes rather than adding more ink. The remaining color was enough to add a soft neutral tint without overpowering the pale pink and green.
The areas in this image are relatively small, so detailed shading is optional. A large blending brush can apply each color quickly and still produce a beautiful result.
12. Die Cut and Reinforce the Floral Cluster
Cut the stenciled floral image with the coordinating die. Die cut the same shape once more from scrap white cardstock and glue it behind the colored image.
This additional layer makes the floral cluster sturdier and helps it hold its shape when mounted with foam adhesive. Add foam squares to the back, but wait to attach it until you have finalized the vellum placement.
13. Hide the Vellum Adhesive
Temporarily position the vellum panel over the pink label and hold it in place with magnets or low-tack tape. Arrange the floral cluster over the vellum, making sure it balances the vertical sentiment. Once you are happy with the placement, attach the floral cluster to the vellum. Remove the vellum from the card and apply liquid adhesive to its back only in the area hidden behind the floral cluster.
Return the vellum to the pink panel and allow the adhesive to dry. Because the glue sits behind the focal image, it will not be visible through the vellum.
Planning the placement before adding adhesive is the key to using vellum successfully. Instead of trying to find an invisible adhesive, place the adhesive where another design element can conceal it.
14. Add Champagne Glitter Drops
Finish the card with Champagne Glitter Drops. Scatter a few around the floral cluster and the vertical sentiment, using the open areas of the design as your guide.
The champagne color connects visually with the antique gold embossing while adding sparkle without introducing another strong color.
View this post on Instagram
Why the Shaped Card Construction Works
The outer frame die does more than cut a decorative panel. By cutting the shape twice and adding a narrow scored hinge, it becomes a complete card base.
The reinforced front provides enough stability for the raised pink label, vellum, floral cluster, and embellishments. At the same time, the shaped edge remains visible and becomes part of the overall design.
This approach works especially well with large frame dies, label dies, nesting shapes, and oversized stamped images that have coordinating outline dies.
Tips for Making Shaped Cards
- Test the finished die-cut shape before assembling the card to confirm that it can stand upright.
- Score the back panel rather than the decorated front so the fold remains hidden.
- Apply glue only above the score line or inside the narrow folded section.
- Reinforce lightweight cardstock with a second die-cut layer.
- Place large rectangular dies at an angle when running them through your die-cutting machine.
- Use the coordinating die as a temporary alignment guide when positioning a detailed frame stamp.
- Plan the location of vellum adhesive before attaching dimensional elements.
- Keep embellishments away from the lowest edge if they prevent the card from standing evenly.
Alternative Ways to Use the Heirloom Cottage Suite
The Heirloom Cottage products offer several ways to change the appearance of the same basic design:
- Heat emboss the frame in gold and color the tiny flowers with alcohol markers.
- Stamp the frame in green ink for a softer, non-metallic finish.
- Use Warm Buff over the entire frame for a simple monochromatic design.
- Color the frame with several coordinating stencil layers.
- Use the press plate with the BetterPress Letterpress System instead of stamping.
- Hot foil the press plate for a polished metallic outline.
- Use the dies to create a flat panel or remove the center to make an open frame.
- Replace the vertical sentiment with a small die-cut greeting.
- Use the shaped-card construction for a wedding, anniversary, birthday, or sympathy card.
Frequently Asked Questions
How do you turn a large die-cut shape into a card base?
Cut the shape twice. Use one piece for the card front and score the second piece approximately 1/4 inch from the top. Fold the scored section and glue it behind the card front to create a concealed hinge.
How do you make a shaped card sturdy?
Cut an additional copy of the front shape from scrap cardstock and glue it behind the decorated panel. This is particularly helpful when the original panel is made from 80 lb cardstock or carries several dimensional layers.
How do you hide adhesive behind vellum?
Apply the adhesive only behind an opaque element, such as a floral cluster, sentiment strip, frame, or embellishment. The opaque element conceals the glue when viewed from the front.
Can I use the Heirloom Cottage press plate instead of the stamp?
Yes. The coordinating press plate can be used with the BetterPress Letterpress System. It can also be used for hot foiling with a compatible hot-foil system.
Will this shaped card fit in a standard envelope?
The finished card shown in the video is slightly smaller than A2 and fits inside an A2 envelope.
Final Thoughts
I love finding ways to use coordinating dies beyond simply cutting out stamped images. Here, the Heirloom Cottage frame becomes the structure of the entire card, while white heat embossing, soft Cherry Blossom ink, vellum, and antique gold details give the project a delicate look.
I hope this tutorial inspires you to look through your collection for large outline dies that could become shaped card bases. Once you understand the scored-hinge construction, you can adapt it to many different shapes, styles, and occasions.
COMPLETE SUPPLY LIST
Affiliate disclosure: Some links in this post may be affiliate links. If you purchase through one of these links, I may receive a small commission at no additional cost to you. Thank you for supporting my blog.


This card is so beautiful and the instructions are so detailed and complete……but I can’t figure out how to watch the video!!!