



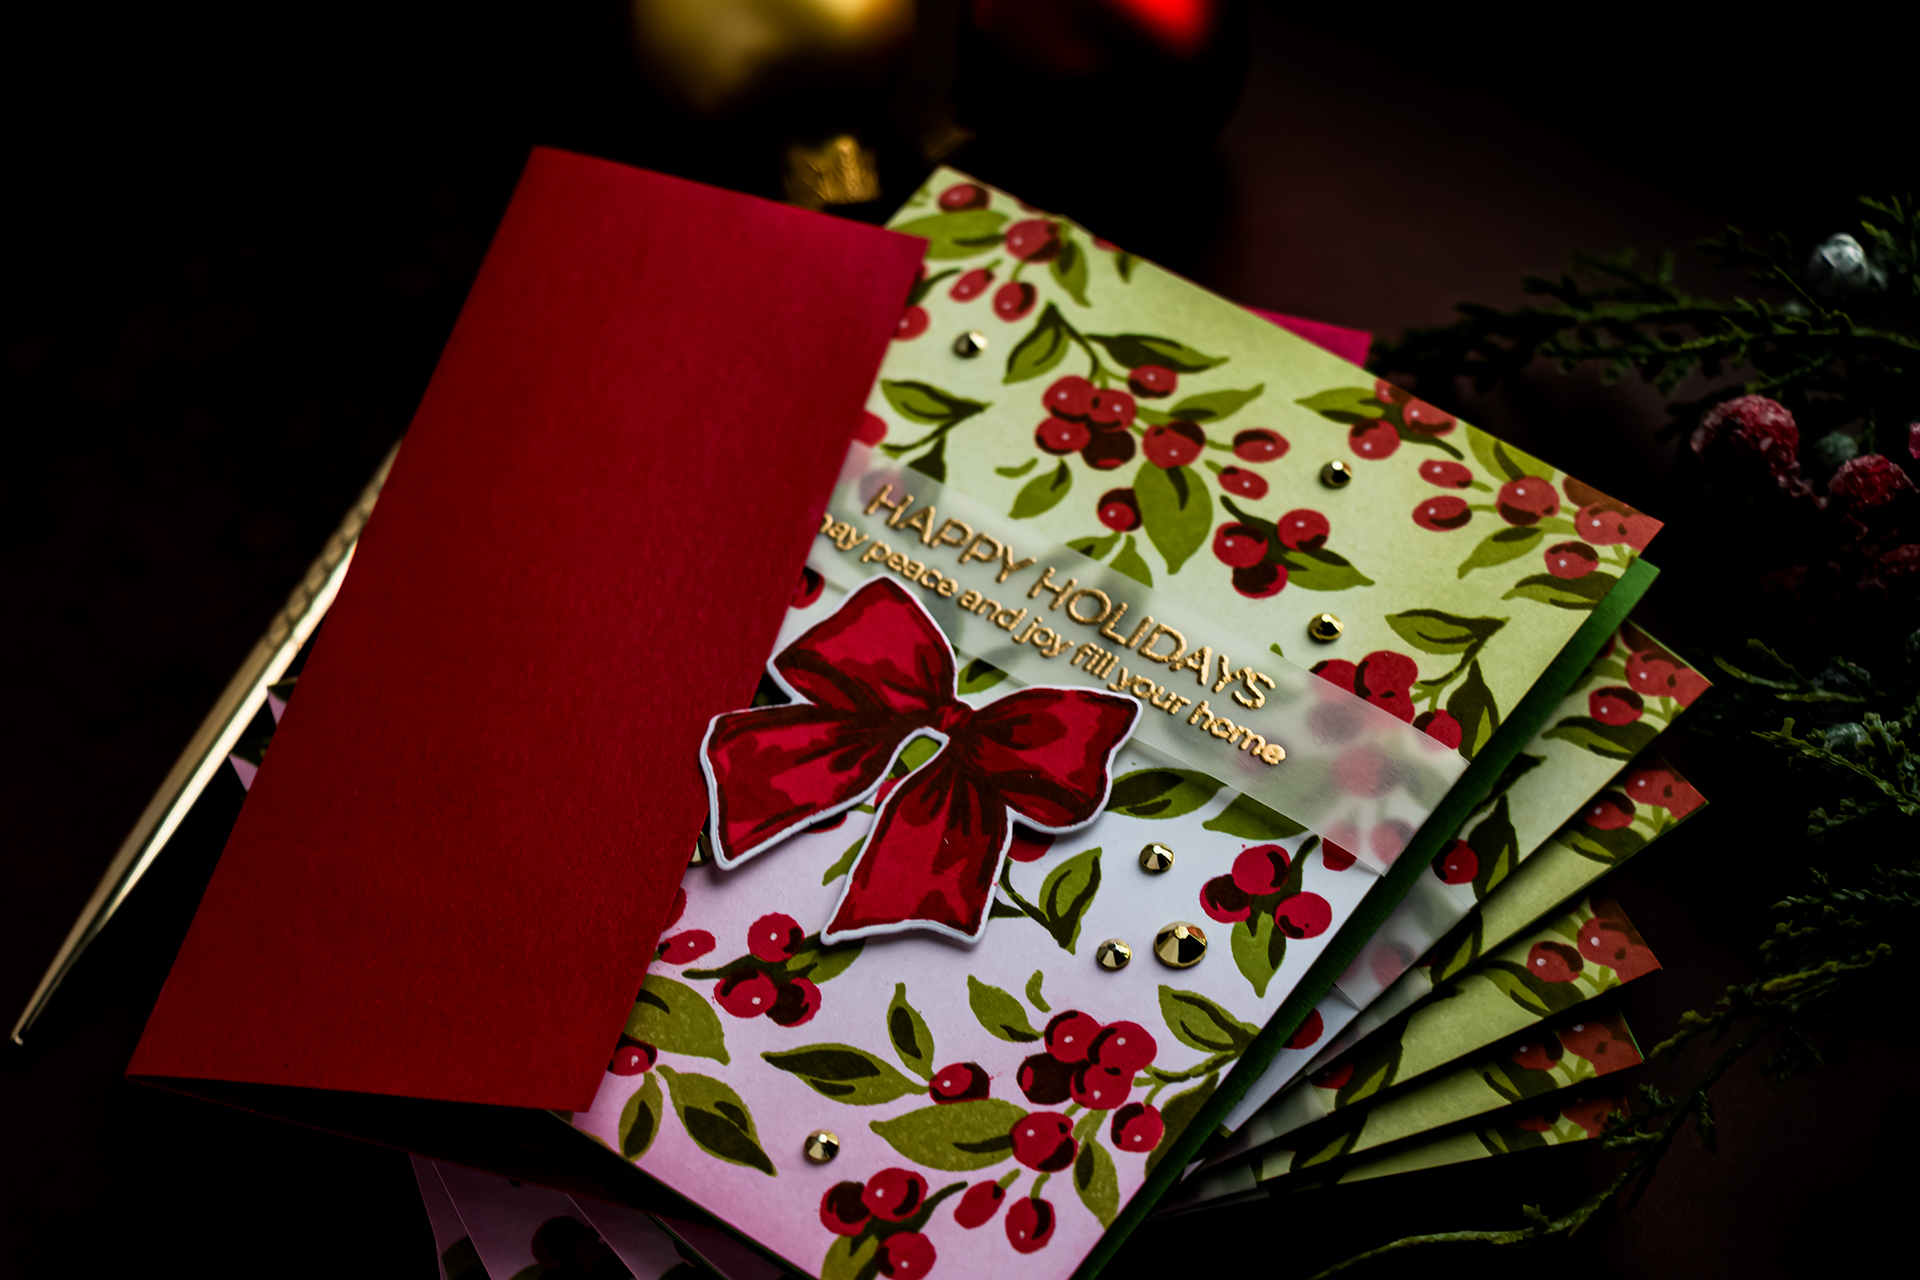
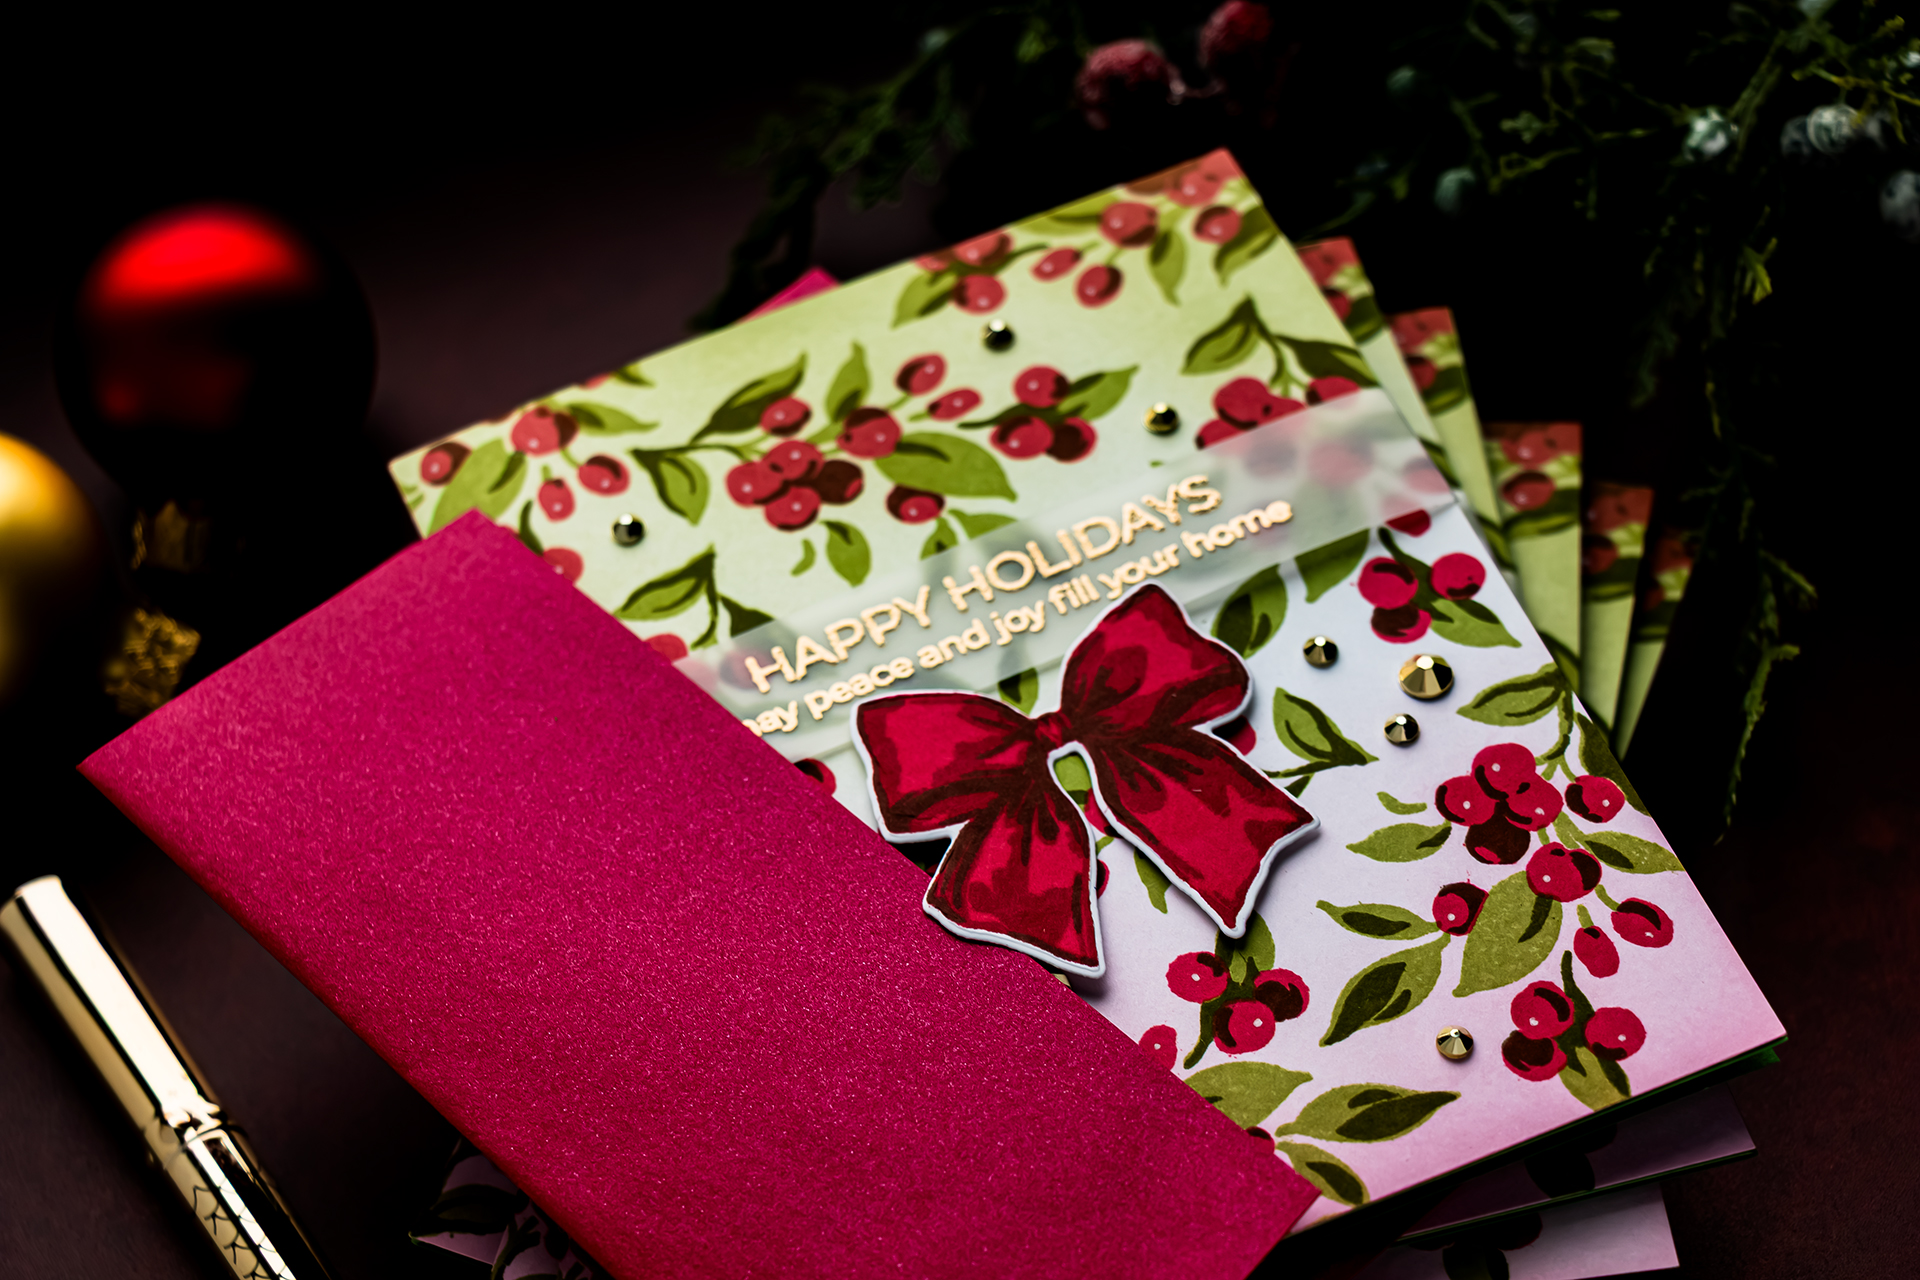
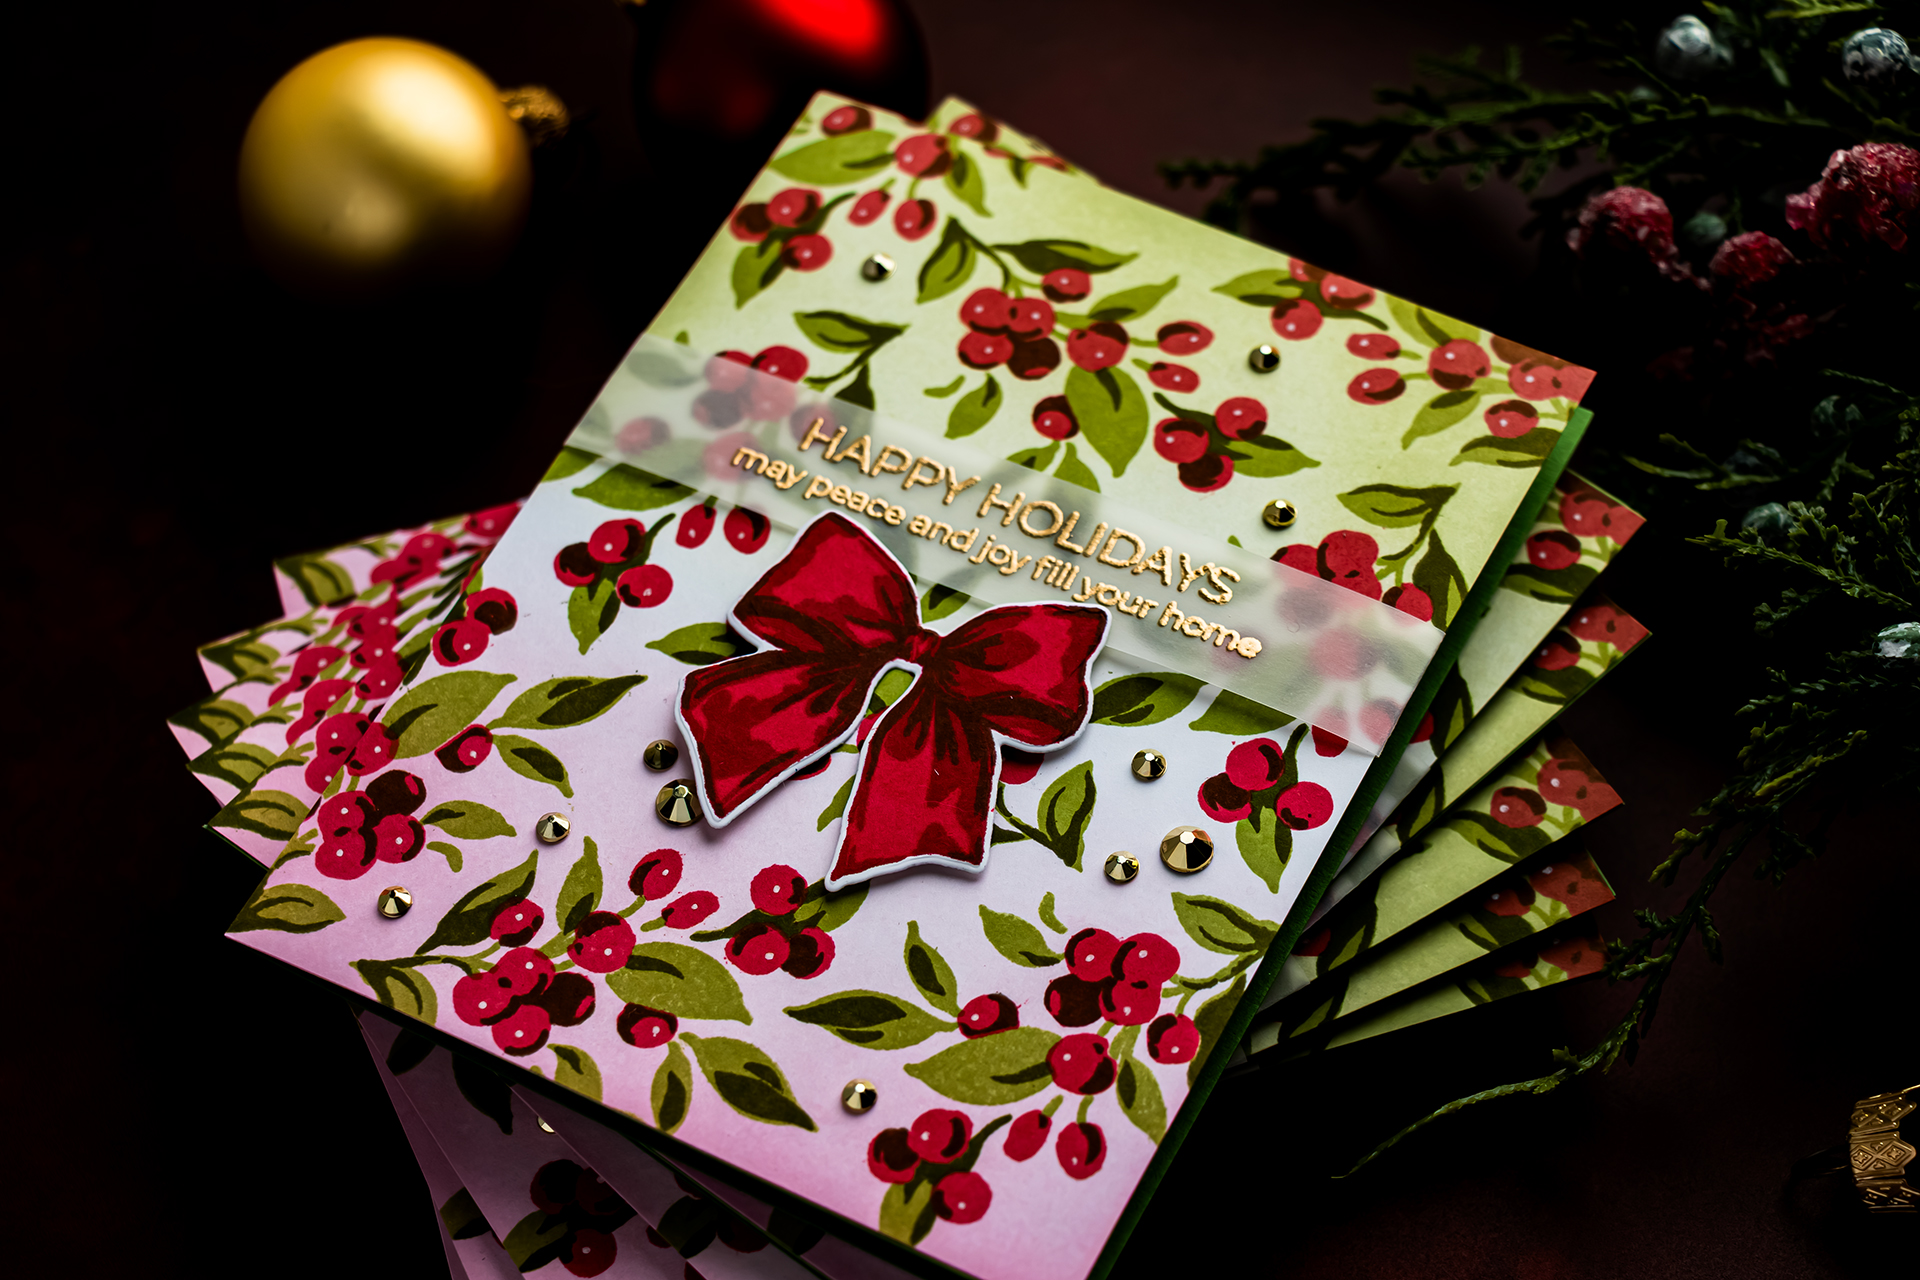
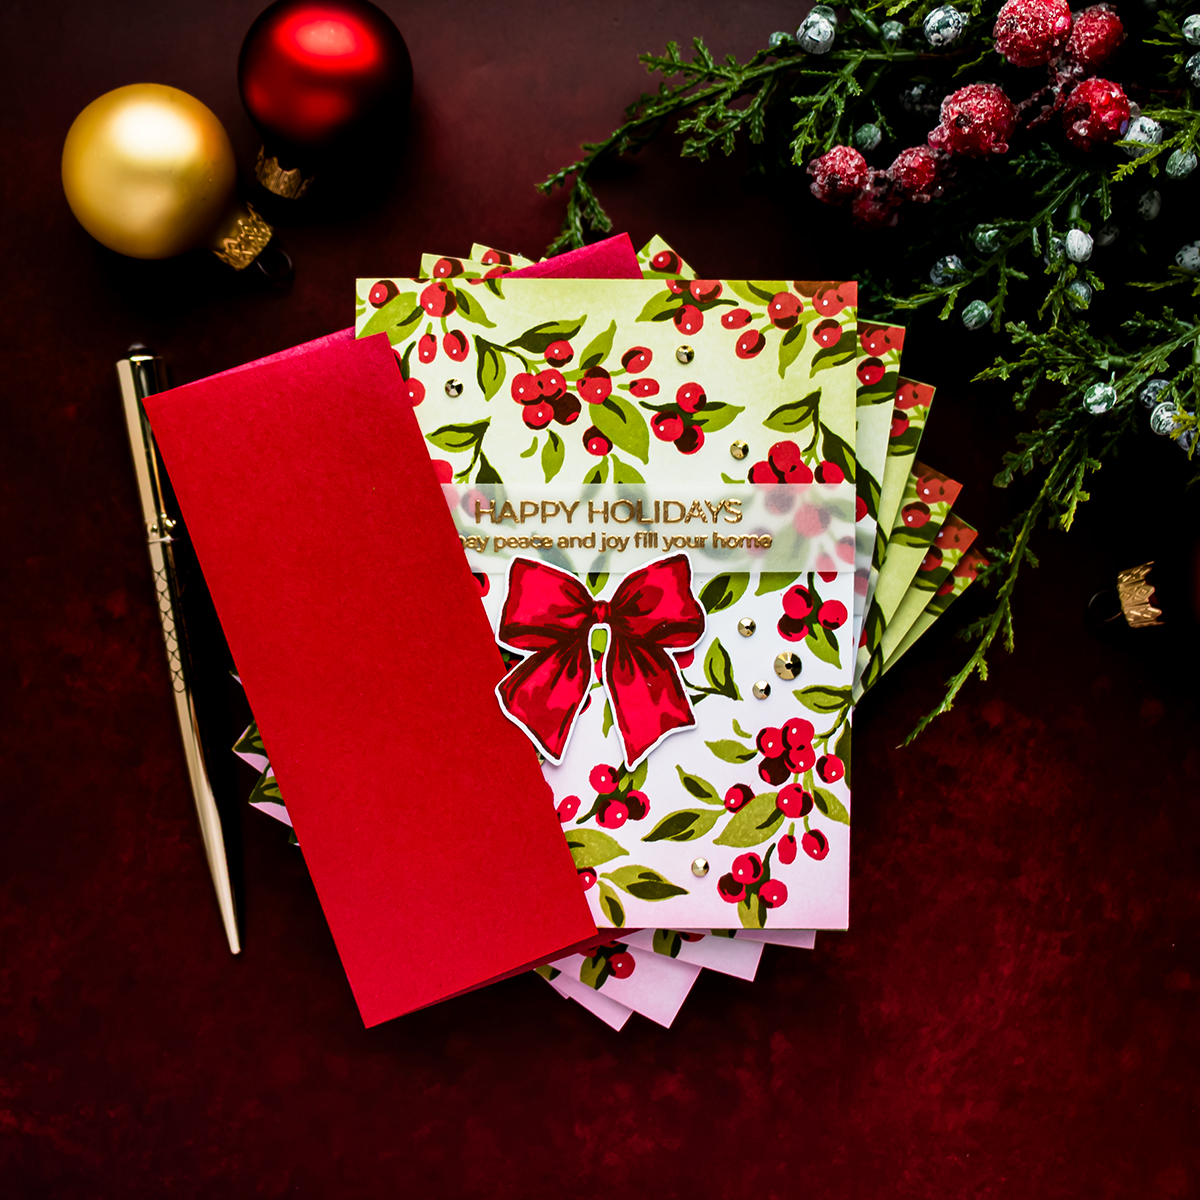
How long does it really take to mass produce handmade Christmas cards? I decided to find out by creating six easy-to-mail holiday cards while timing the entire process. From preparing the cardstock and stamping the layered backgrounds to heat embossing, ink blending, assembling, and cleaning up my supplies, these six cards took me approximately 3 hours and 47 minutes. That works out to just under 38 minutes per card.
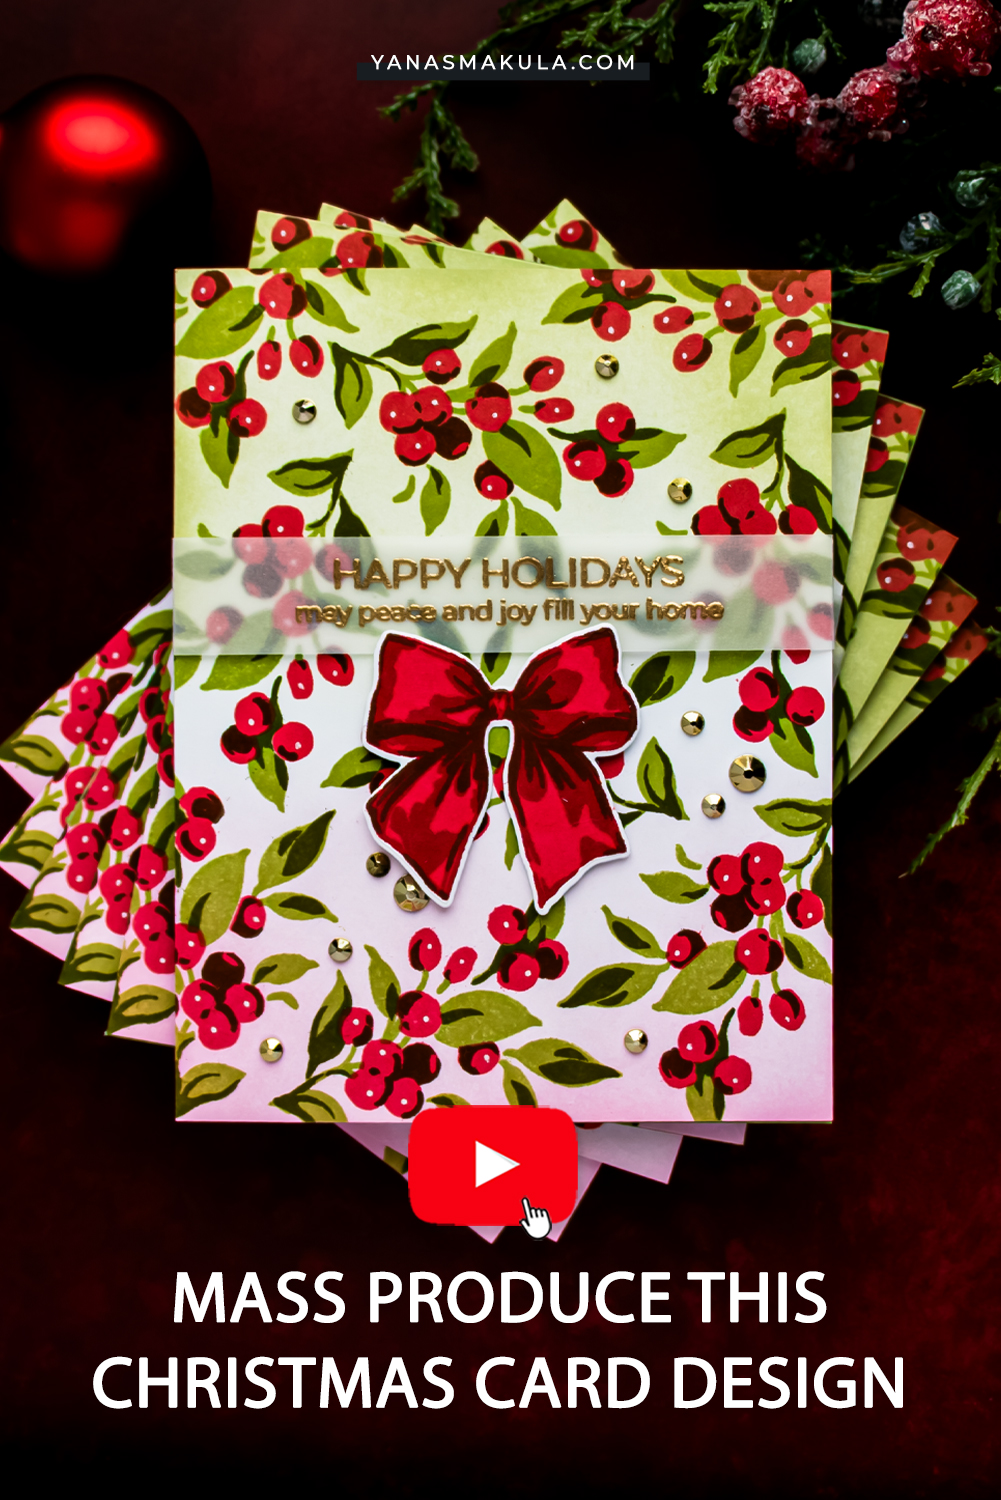
The exact timing will always depend on your chosen design and techniques. A simple stamped card will be much faster than one featuring layered stamping, heat embossing, ink blending, die cutting, and embellishments. For this project, I used an assembly-line cardmaking process to make an intricate design much more efficient. Let me show you how I organized the project and created six coordinated Christmas cards.
Project Snapshot
| Project | Set of six layered Christmas cards |
|---|---|
| Skill Level | Intermediate |
| Approximate Time | 3 hours and 47 minutes for six cards |
| Average Time Per Card | Approximately 38 minutes |
| Project Type | Mass-produced handmade Christmas cards |
| Techniques | Layered stamping, pattern stamping, heat embossing on vellum, ink blending, die cutting, and assembly-line cardmaking |
| Occasion | Christmas and winter holidays |
| Finished Size | A2 – 4 1/4 x 5 1/2 inches |
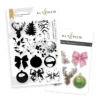
| Featured Product | Altenew Holiday Adornments Stamp & Die Bundle |
SPECIAL OFFER
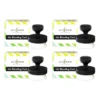
I have a special offer for you from Altenew – 40% off 4 Large Ink Blending Brush Bundle. Add the 4 Large Ink Blending Brush Bundle to your cart and use the code YANABRUSH4 at checkout to get 40% off.
Offer valid: from October 23, 2026 at 12:00 am EDT to October 24, 2026 at 11:59 pm EDT. One-time use only. Cannot be combined with other codes.
VIDEO TUTORIAL
Watch the video below or on my YouTube channel:
How to Mass Produce Layered Christmas Cards
1. Test the Christmas Card Design First
Before cutting paper for all six cards, start by testing the complete design on a scrap panel. My test panel was the same size as the finished card front – 4 1/4 x 5 1/2 inches.
I used the berry branch from the Holiday Adornments Stamp Set to build a custom background. It took nine impressions of the branch to fill one A2 panel and allow parts of the pattern to extend beyond the edges.
This test panel became my placement guide for the entire project. Taking time to develop the design before beginning the final cards helped me confirm that I liked the composition and that it could be repeated efficiently.
This is one of the most important steps when mass producing cards. A design that seems manageable for one card can become very time-consuming when repeated six, ten, or twenty times.
2. Prepare All Six Card Panels
Cut six pieces of Neenah Solar White 80 lb cardstock to 4 1/4 x 5 1/2 inches. Keeping every panel the same size as the test piece makes it much easier to transfer the planned image placement.
Use a pencil to place a small mark at the top of every panel. With so many repeated impressions, it is surprisingly easy to rotate a panel accidentally. This simple mark will help you maintain the correct orientation throughout the stamping process.
3. Stamp the First Foliage Layer
Place the completed test panel in the Stampwheel 2.0 and position the first foliage stamp over one of the stamped branches. Pick up the stamp with the Stampwheel plate, remove the test panel, and replace it with the first white cardstock panel.
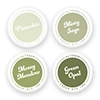
Ink the stamp with Mossy Meadow and stamp the image. Replace the first panel with the next one without moving the stamp, then repeat until the same image has been stamped on all six panels.
I double-stamped each image to create stronger, more even color. A juicy ink pad may give you sufficient coverage with one impression, but a stamping platform makes repeating an impression easy when more intensity is needed.
4. Work in an Assembly-Line Order
Once the first branch position is complete on all six panels, return the test panel to the stamping platform. Move the stamp to the next branch shown on the template and repeat the process across all six card panels.
Continue until the first foliage layer has been stamped in all nine positions. Then repeat the same process with Green Opal for the second foliage layer.
I crossed out each completed branch on my test panel as I worked. This gave me a quick visual record of which positions were finished and helped prevent accidentally stamping the same location twice.
Stamping all six panels at each position is much more efficient than completing one card from beginning to end. It also produces more consistent placement and color across the entire card set.
5. Reposition Panels for Images That Extend Past the Edges
The berry pattern extends beyond the edges of the card front, which gives the background a more natural, continuous appearance. To stamp these areas, reposition the panel against different corners of the Stampwheel workspace.
Pay close attention to the orientation of both the panel and the Stampwheel plate. Keep the top of the plate facing the same direction every time you stamp. The pencil mark on the cardstock will also help you confirm that the panel has not been turned accidentally.
Stamping the two foliage layers on all six backgrounds took approximately one hour.
6. Add the Two Berry Layers
Once the foliage was complete, I aligned the berry layers directly over the stamped card panels instead of using the original paper template. This made it easier to compensate for any slight movement that occurred during the earlier stamping.
Stamp the first berry layer with Crimson. For the shadow layer, use Espresso instead of another red. Layering the dark brown over the bright red creates deep shadows and stronger contrast without making the berries look overly dark.
Repeat the same assembly-line process until both berry layers have been added to all nine clusters on every panel.
7. Heat Emboss the Sentiments on Vellum
Cut six vellum strips to 3/4 inch wide by 8 1/2 inches long. The extra length provides enough vellum to wrap around the 4 1/4-inch-wide card panels and secure the ends on the back.
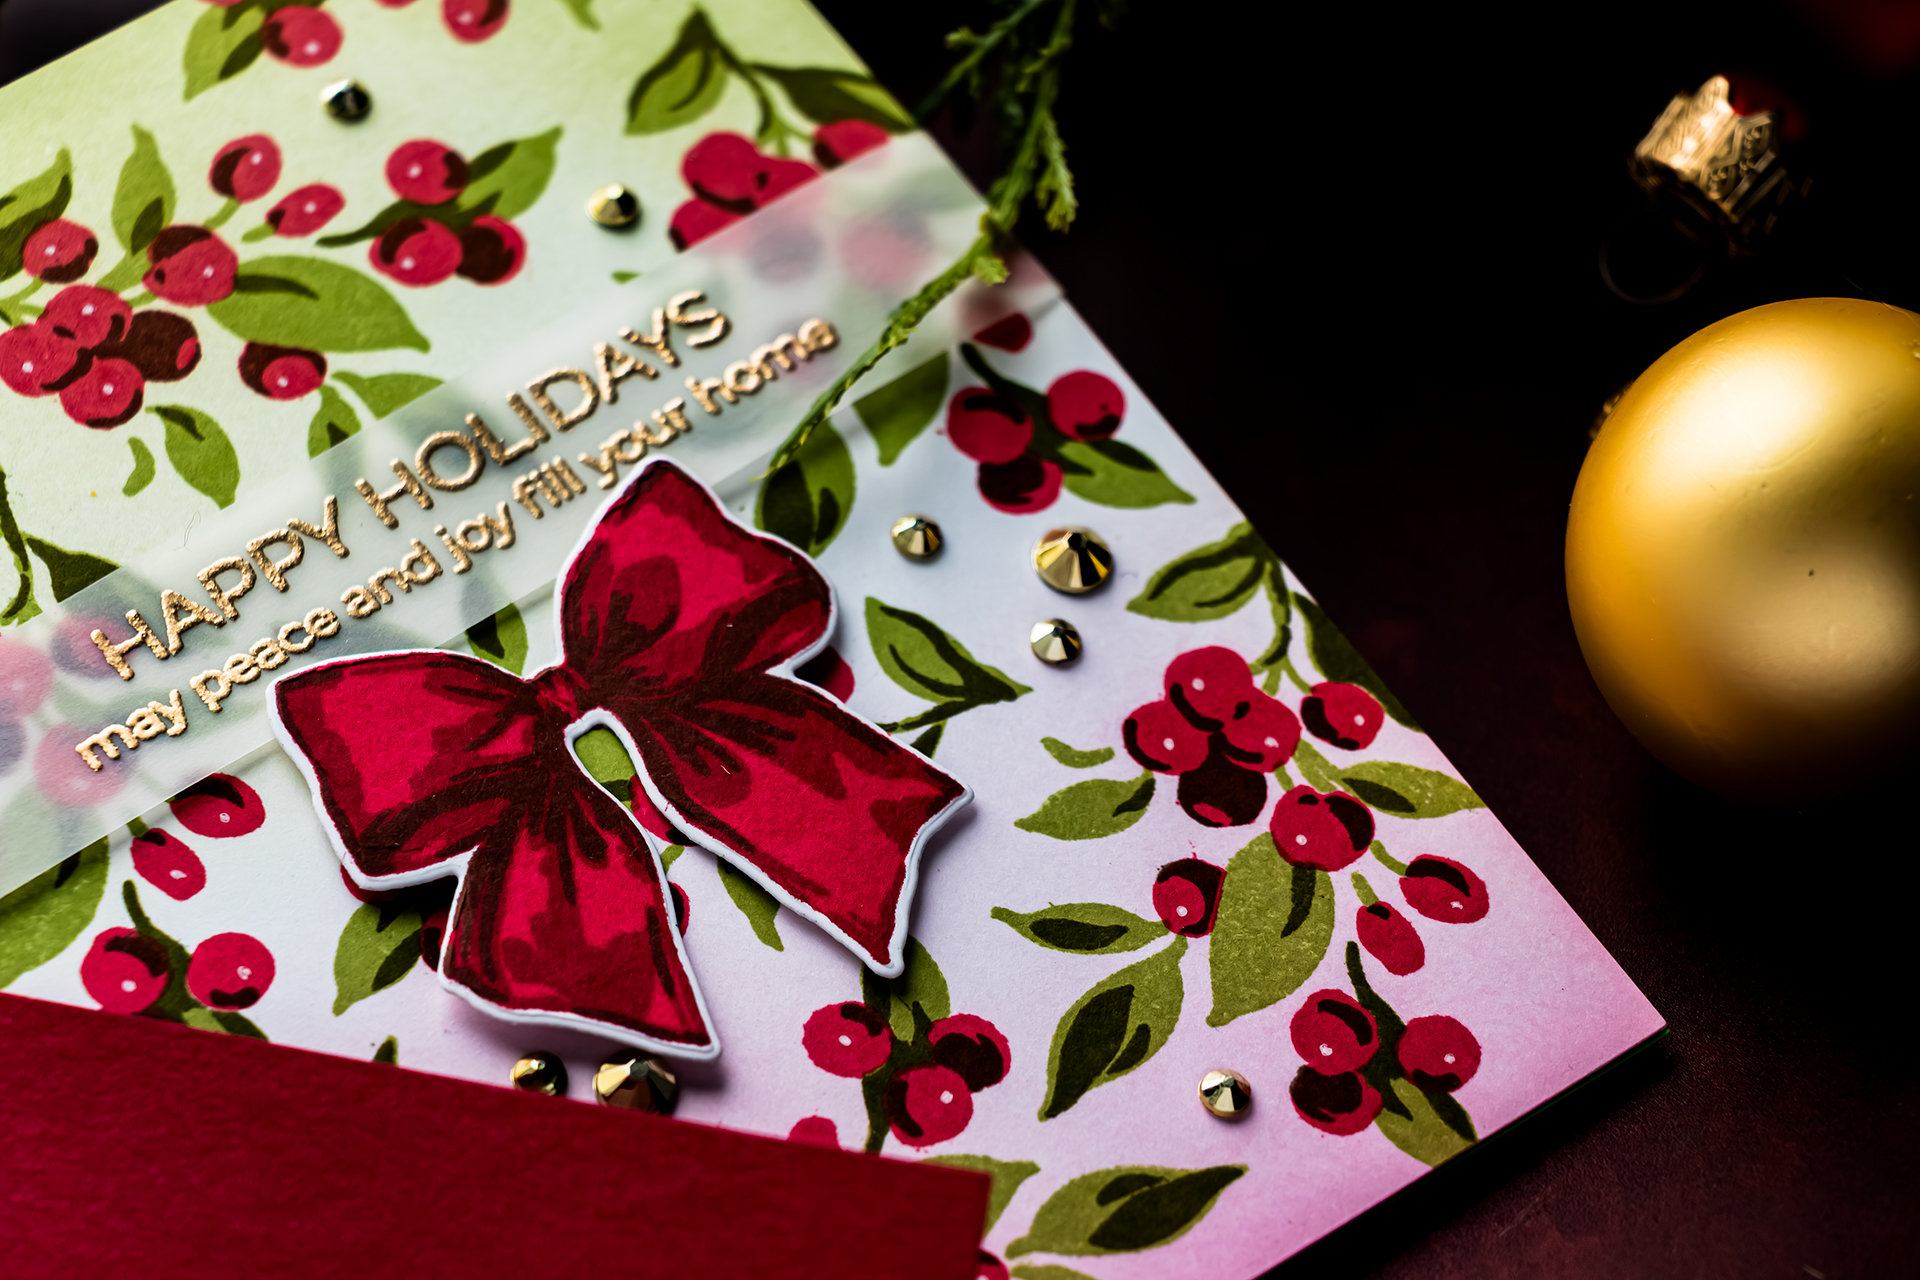
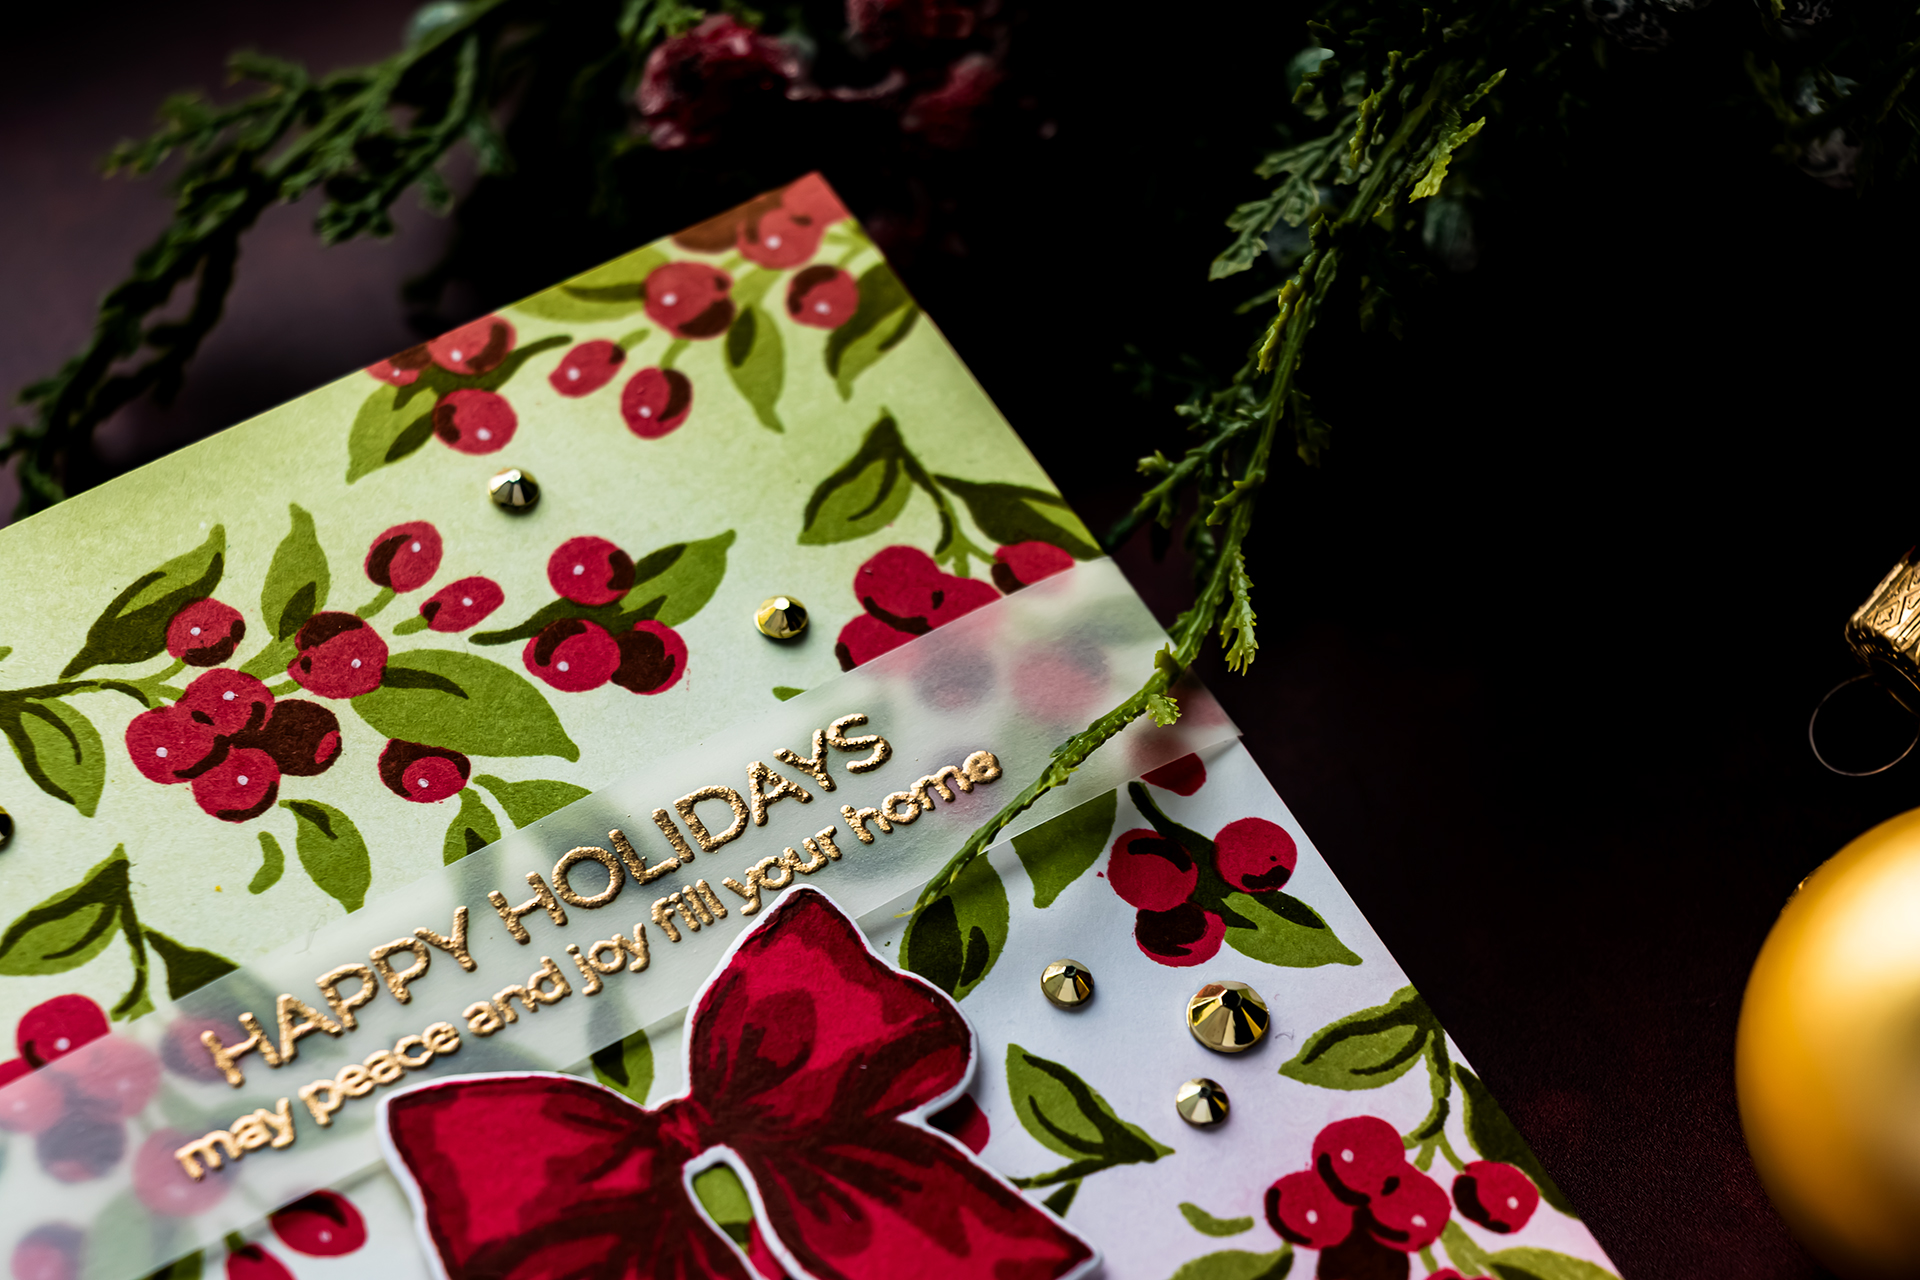
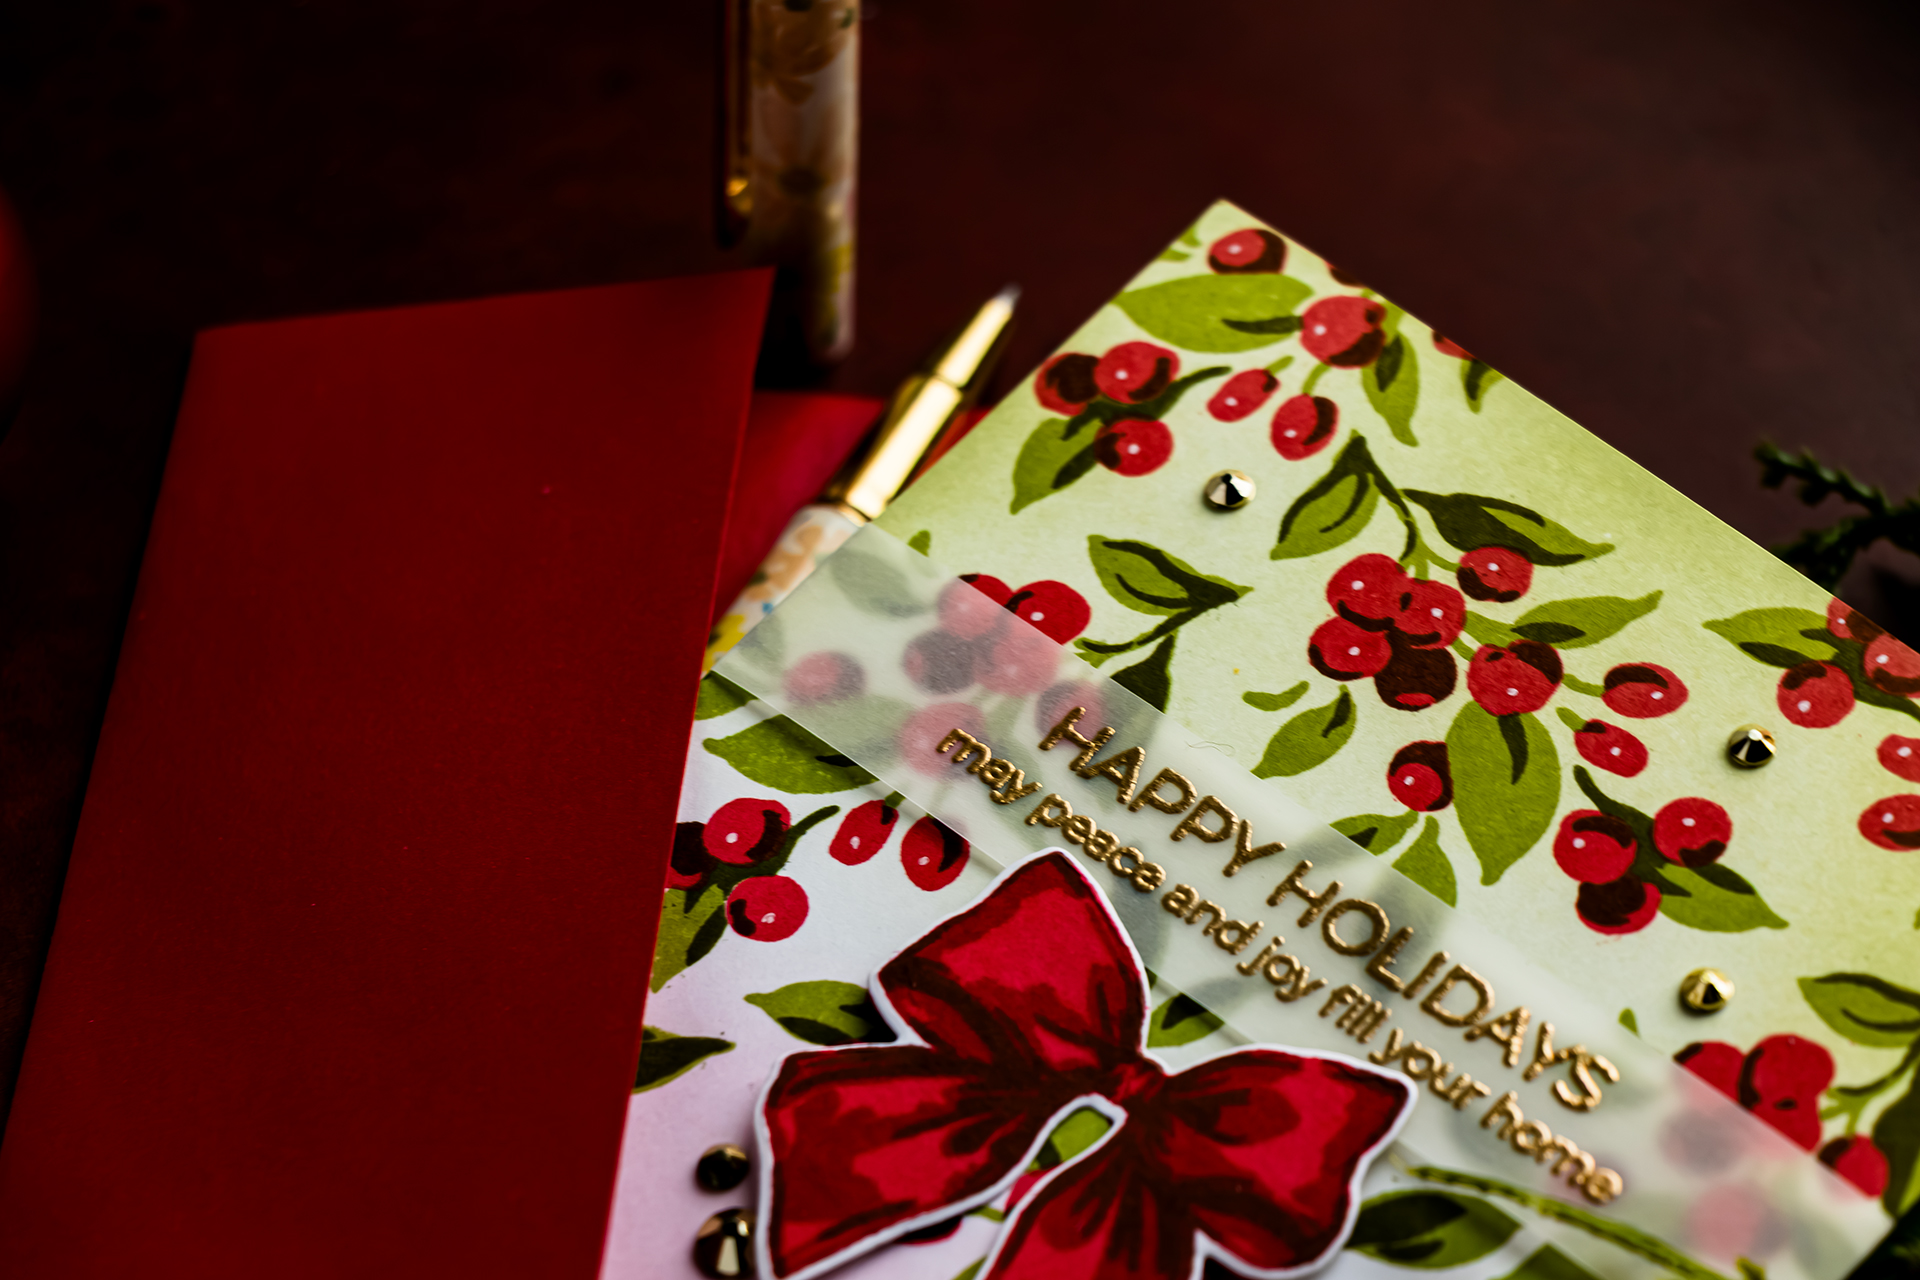
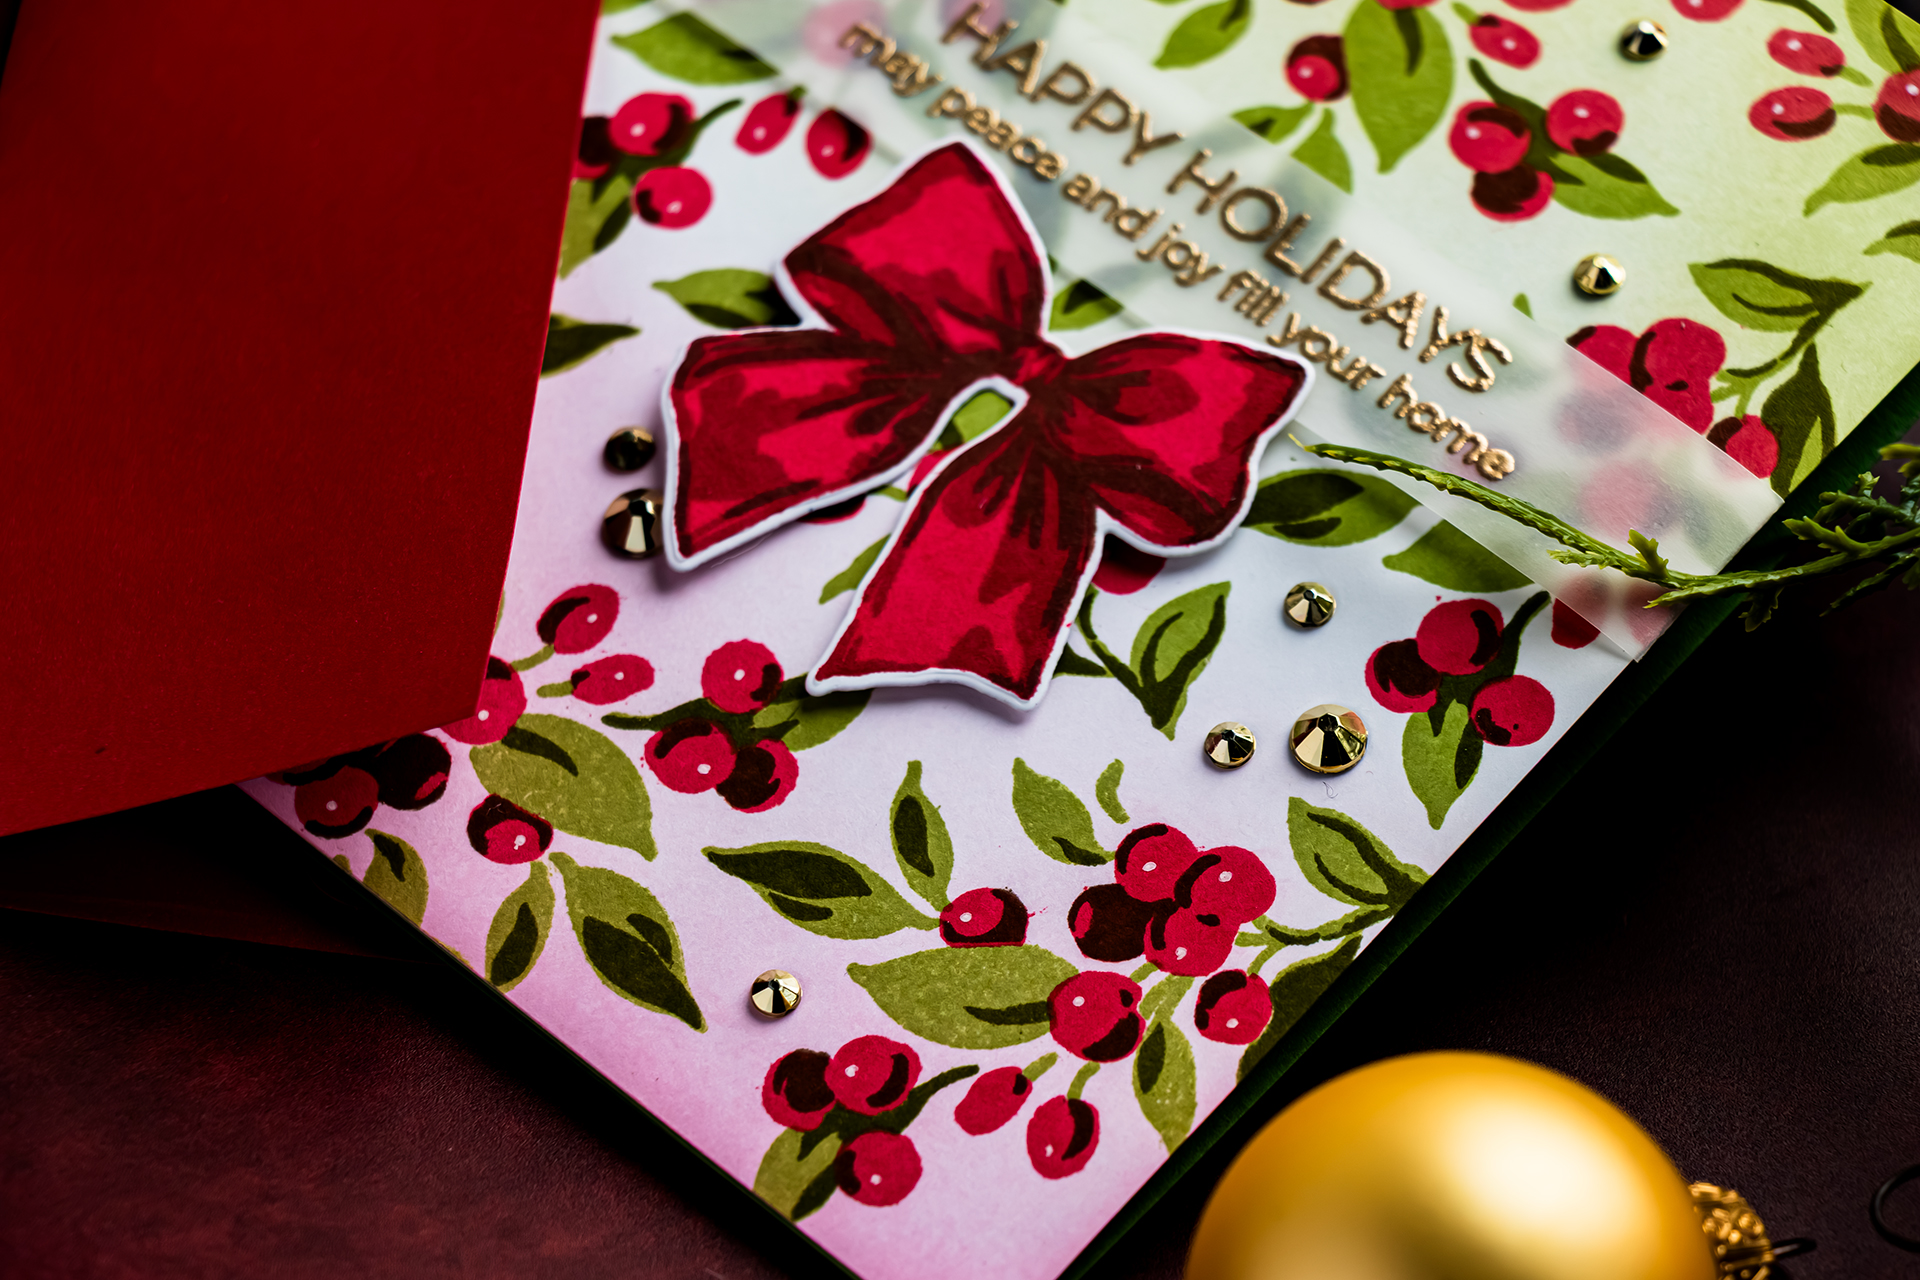
The sentiment used for these cards reads, “Happy Holidays. May peace and joy fill your home.”
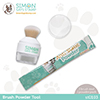
Treat each strip with an anti-static powder tool before stamping. This helps prevent stray embossing powder from sticking to fingerprints, dust, or static on the vellum.
Stamp one sentiment with clear embossing ink and immediately cover it with gold embossing powder. Repeat this for all six strips. Once every strip has been stamped and coated, heat emboss them together as one batch.
This method means the heat tool only needs to warm up once. It is a small adjustment, but these small efficiencies make a noticeable difference when producing multiple cards.
8. Add Soft Green and Pink Ink Blending
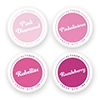
Use a large blending brush to apply Misty Sage ink over approximately one-third of each panel. Rotate the panel 180 degrees and blend Pink Diamond over the opposite end.
Leave a small area of white cardstock visible through the center. This transition prevents the two blended colors from overpowering the stamped design and gives the background a lighter, airier appearance.
The green supports the foliage, while the soft pink introduces an unexpected vintage and slightly feminine quality. I applied the green more heavily and used a lighter hand with the pink.
You can skip the ink blending for a cleaner and faster version of the card. For a warmer vintage look, try a soft tan or light brown around the edges instead.
9. Add White Highlights to the Berries
Use a white Sakura Gelly Roll pen in size 05 to add a small highlight to each berry. Although there are many berries across the six backgrounds, these tiny white details help the layered images appear brighter and more dimensional.
This step is optional. If you are working under a tight deadline, the stamped berries will still look beautiful without the highlights.
10. Wrap the Vellum Around Each Panel
Position a heat-embossed vellum strip across the card front and center the sentiment. Fold both ends around the sides of the panel and secure them on the back with tape.
Wrapping the strip solves one of the most common problems when working with vellum – visible adhesive. Because the adhesive remains on the back of the panel, the front stays clean.
11. Assemble the Colored Card Bases
Create six side-folding A2 card bases from Forest Glades cardstock. Adhere one completed stamped panel to the front of each card with strong double-sided tape.
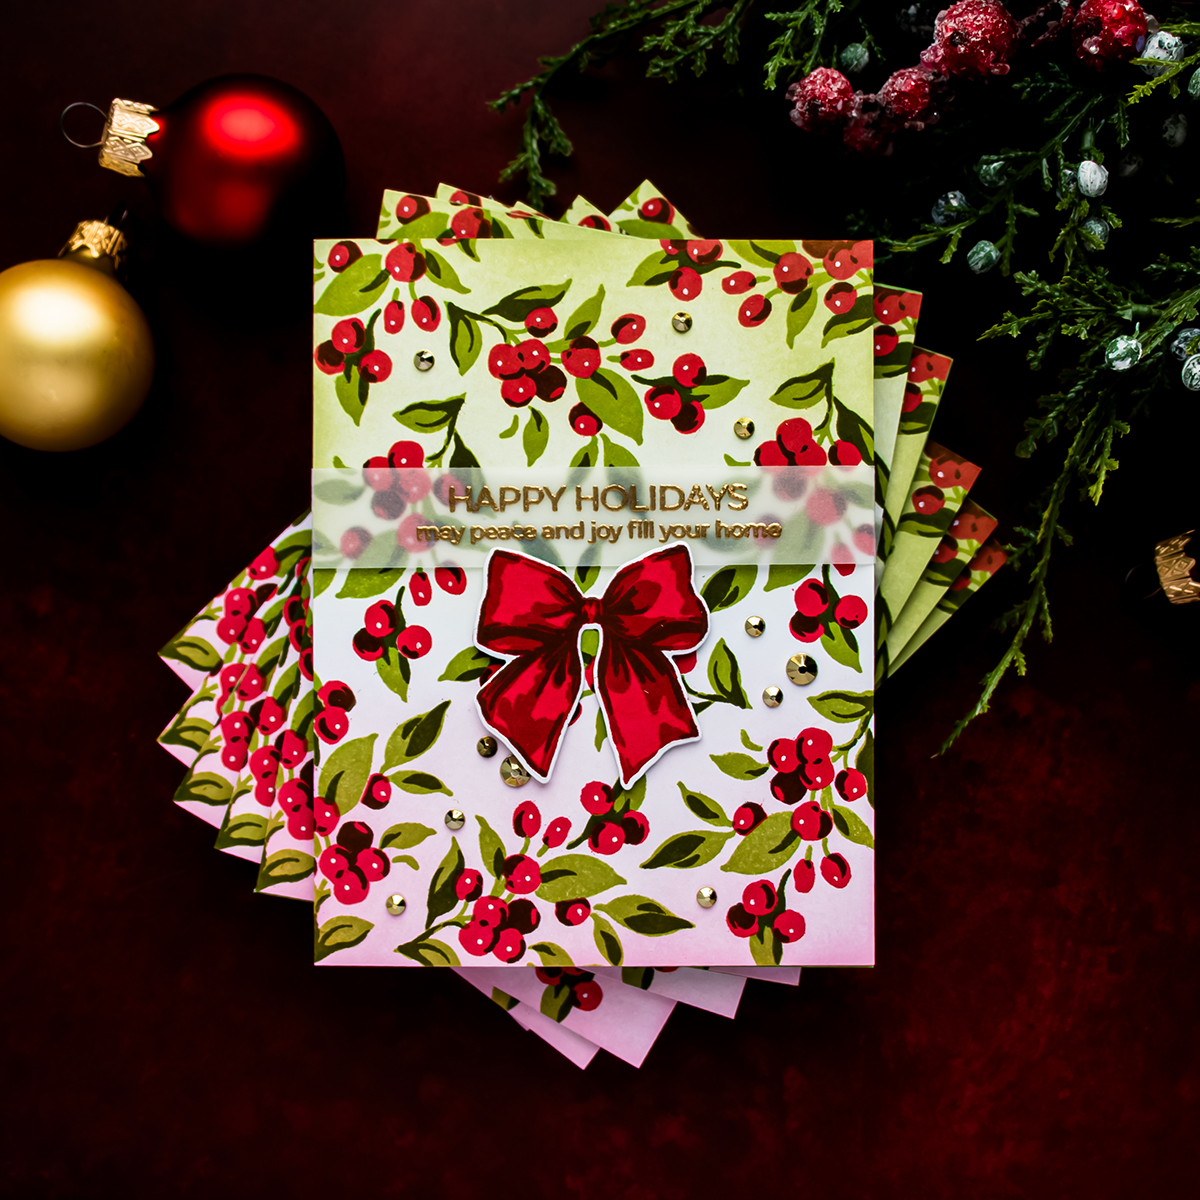
The dark green card base creates an unexpected pop of color when the card is opened. Because it can be difficult to write on darker cardstock, cut a white interior panel to 3 3/4 x 5 inches and adhere it inside each card.
If desired, stamp the back of every card with a personalized “handcrafted by” stamp before adding the final embellishments.
12. Finish with Gold Gems and Layered Bows
Add 3 mm and 6 mm gold gems in the open spaces between the stamped branches. I skipped the largest gems because they competed with the detailed background.
Using gold gems repeats the color of the embossed sentiment and makes the finished design feel coordinated. If you prefer silver gems, consider embossing some of the sentiments in silver as well.
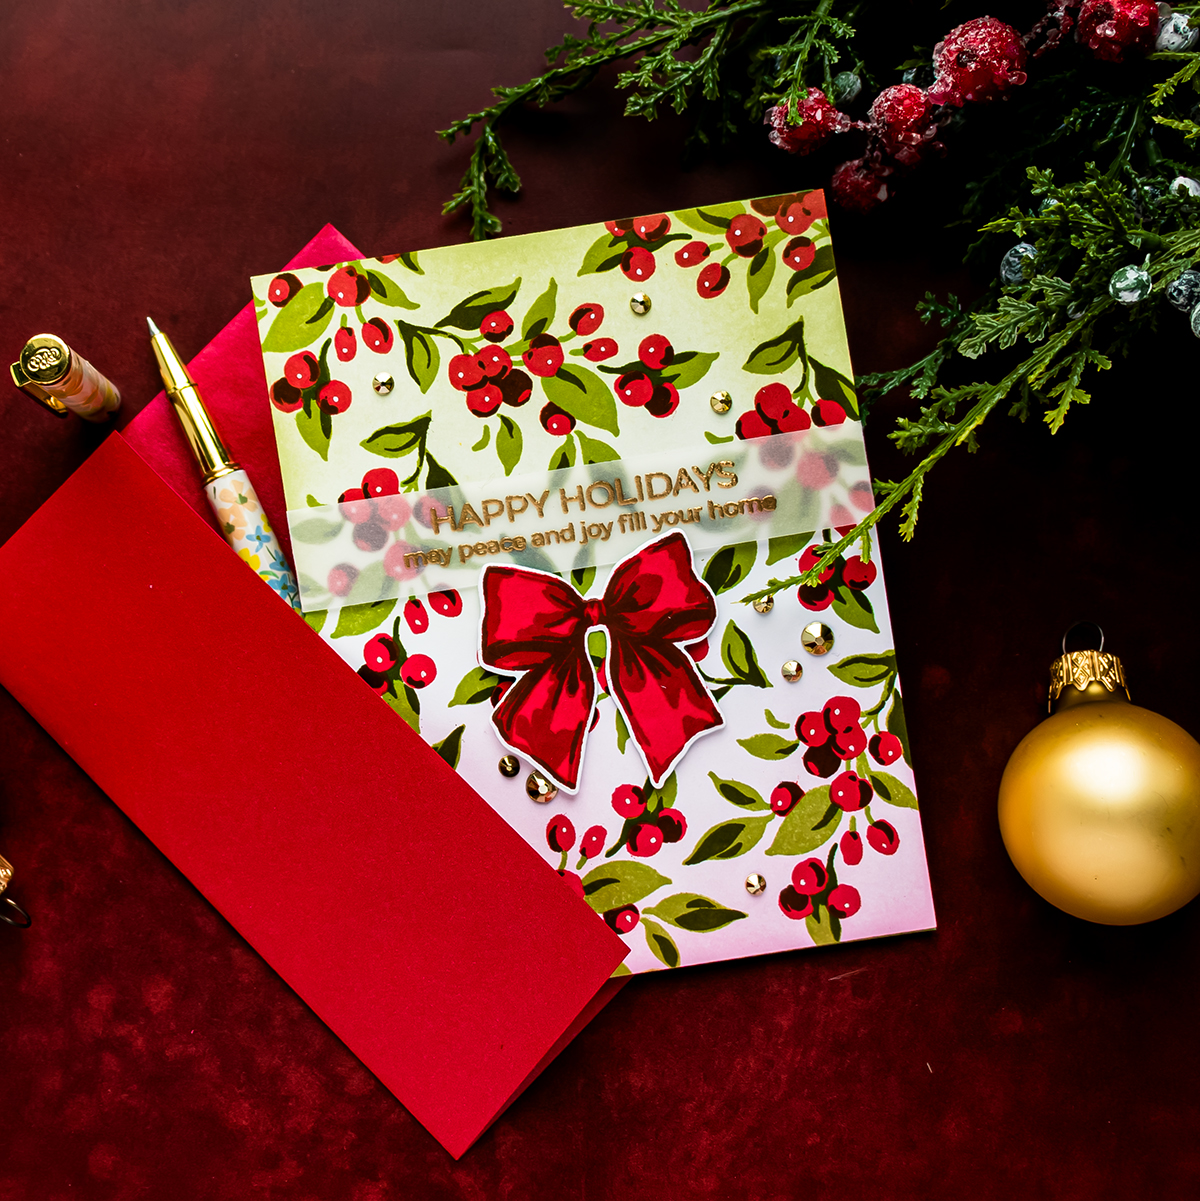
To finish the cards, stamp six layered bows from the Holiday Adornments Stamp Set. Use Crimson for the first layer and Velvet for the second layer, followed by the final detail layer. Cut the bows with the coordinating die.
Adhere one bow beneath each sentiment strip using a combination of liquid glue and foam adhesive squares. The foam adds just enough dimension while keeping the cards relatively easy to mail.
How Long Did Six Handmade Christmas Cards Take?
The complete set of six cards took approximately 3 hours and 47 minutes. Divided across six cards, that is approximately 38 minutes per card. This timing included:
- Gathering and organizing the supplies
- Cutting all cardstock and vellum
- Layered background stamping
- Heat embossing the sentiments
- Ink blending
- Adding white highlights
- Creating and die cutting the bows
- Assembling the cards
- Adding gems and other finishing details
- Putting the supplies away
I worked at a comfortable pace and did not rush. The cards could be completed more quickly by eliminating optional details, but I enjoyed the process and felt the finished set was worth the time.
Tips for Mass Producing Christmas Cards
- Complete one test card before committing to the entire batch.
- Choose a design that you will enjoy repeating.
- Cut all paper and prepare all supplies before beginning.
- Work by task rather than completing one card at a time.
- Use a placement template for repeating stamped patterns.
- Mark the top of each panel to avoid orientation mistakes.
- Cross out completed image positions on your template.
- Double-stamp only when additional color intensity is needed.
- Prepare all heat-embossed pieces before heating the tool.
- Keep optional finishing details until the end so you can stop whenever the cards feel complete.
Ways to Simplify or Customize This Design
- Make it faster: Skip the ink blending, white pen highlights, gems, or dimensional bows.
- Change the mood: Replace the pink blending with pale brown for a warmer vintage appearance.
- Try a different metallic: Pair silver embossing powder with silver gems.
- Change the format: Use the stamped pattern on gift tags, mini cards, or holiday thank-you notes.
- Reduce the stamping: Place fewer berry branches around the edges and leave more open space.
- Use another color palette: Try blue-green foliage with white berries for a frosty winter design.
Frequently Asked Questions
Is it faster to make Christmas cards assembly-line style?
Yes. Completing the same step across every card reduces repeated setup and cleanup. You only need to position each stamp once, warm the heat tool once, and prepare each supply for one stage of the project.
Should I make a sample before mass producing cards?
Yes. A sample allows you to test the layout, colors, techniques, and approximate construction time. It can also become a placement template when recreating a stamped background.
How can I attach vellum without showing adhesive?
Cut the vellum longer than the card panel, wrap both ends around the panel, and secure them on the back. The adhesive will be hidden once the panel is attached to the card base.
Can these Christmas cards be made more quickly?
Yes. Skip the ink blending, white highlights, gems, and die-cut bows. The layered stamped background and embossed sentiment can create a complete card without the optional finishing details.
Are these cards easy to mail?
The cards are relatively flat, but the gems and foam-mounted bows add some dimension. Postal requirements vary, so check the thickness and weight of the finished envelope before mailing.
Final Thoughts
Mass producing handmade Christmas cards does take time, especially when the design includes layered stamping and several finishing techniques. However, planning the design first and working in an assembly-line order makes the process much more manageable. These six cards took 3 hours and 47 minutes from setup through cleanup, and I think the results were absolutely worth it. Handmade cards are created to be shared, cherished, and enjoyed – and that makes the time spent creating them meaningful.
Would you simplify this design, or would you add every last detail? Let me know in the comments.
SUPPLIES
I’m listing the products I used below. Click on the link to go directly to the product. Where available I use compensated affiliate links which means if you make a purchase I receive a small commission at no extra cost to you. Thank you so much for your support!