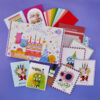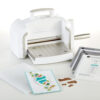

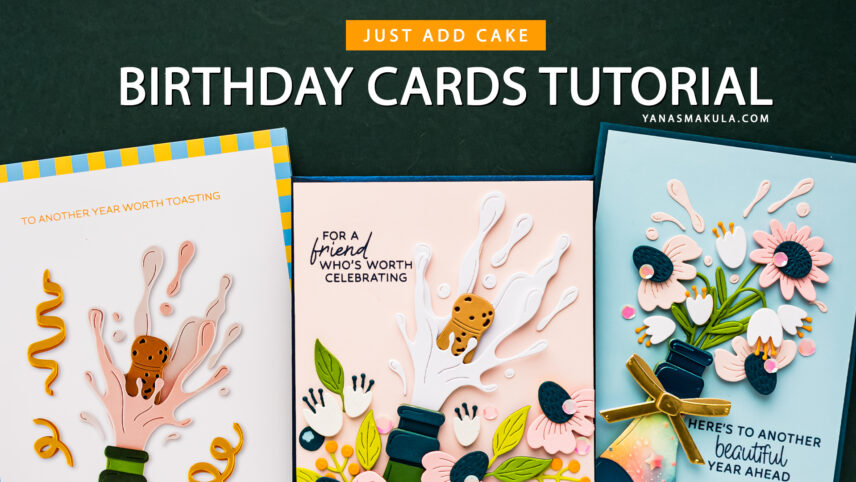

Hello, friends! Today I’m creating with the Spellbinders Just Add Cake Birthday Box and focusing on the fabulous Confetti Pop die set. I created two birthday cards with this set, and while they both feature the same champagne bottle, I used it in two completely different ways.
For the first card, we’ll create a champagne bottle bursting with confetti and surround it with dimensional flowers. For the second, we’ll completely change the purpose of the bottle and turn it into a vase filled with flowers.
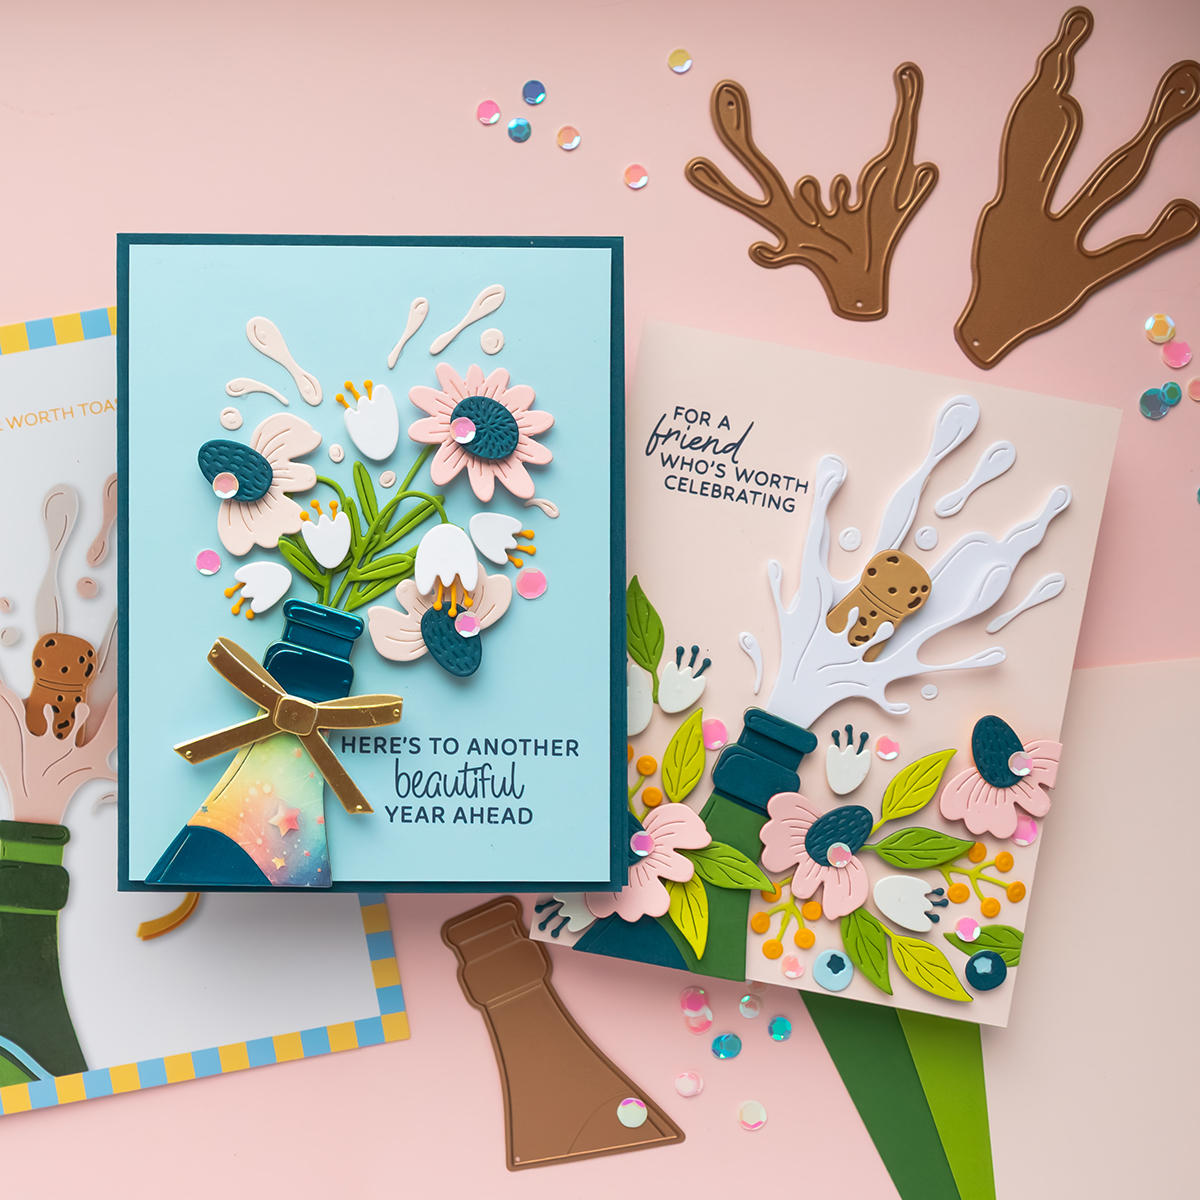
If you have the Just Add Cake Birthday Box and are looking for more ways to use the products together, I hope these ideas inspire you!
VIDEO TUTORIAL
You can watch the full video tutorial below or on my YouTube channel. You’ll also find additional tutorials featuring other products included in the Just Add Cake Birthday Box on the Spellbinders YouTube channel:
CARD 1 – CHAMPAGNE BOTTLE WITH FLOWERS
For the first card, start with a 4 1/4 x 5 1/2″ panel of Chiffon cardstock. The main element is the champagne bottle from the Confetti Pop die set. Die cut the bottle from Oceanside cardstock and add the additional bottle details using Oceanside and Fern.
One of my favorite ways to make simple die cuts look more substantial is to stack several identical pieces together. For some of the bottle details, I used four or five layers of cardstock. This creates dimension without showing the foam adhesive from the side and helps give the bottle a more dimensional appearance.
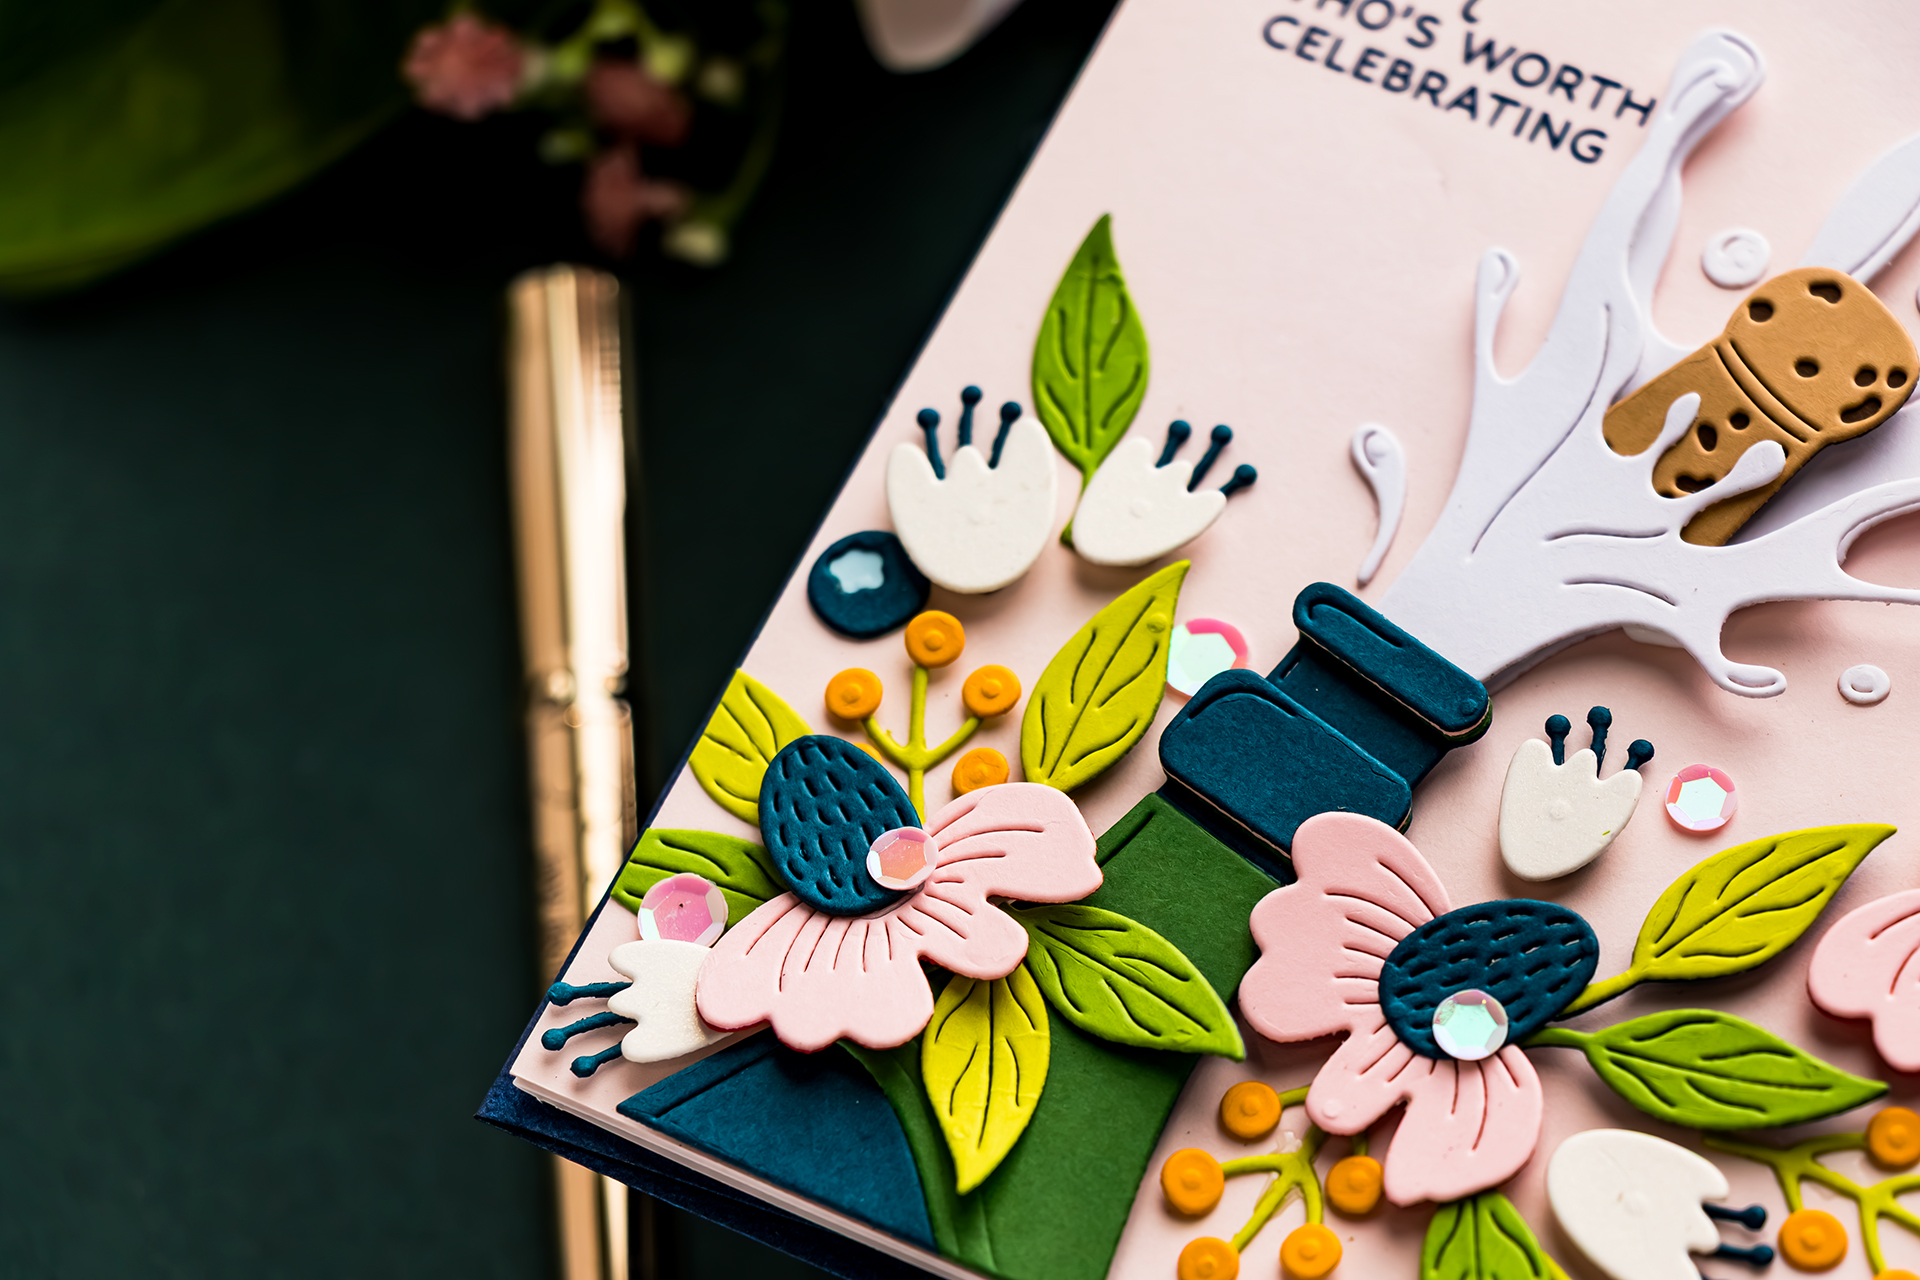
You certainly don’t need that many layers. Foam adhesive is a great alternative if you want to speed up the process.
CREATE THE CONFETTI POP
For the large splatter coming from the bottle, I used Fog cardstock from the kit. This would also be a fun place to experiment with specialty papers. Try holographic cardstock, vellum, acetate, or another interesting finish from your stash to make the champagne spray look completely different.
The cork is created with two die-cut layers. I used Fawn and Truffle cardstock to create the two-tone look before popping it up with foam adhesive.
When assembling the splatter, try combining liquid glue and foam adhesive. Adhere part of the die cut directly to the background and lift other sections with foam. This creates dimension without making the entire piece sit at exactly the same height.
ADD FLOWERS FROM OTHER SETS
Rather than using only the Confetti Pop dies, I wanted to dress up the champagne bottle with flowers. I pulled floral elements from the Garden Party die set along with leaves, berries, and other small elements from additional sets in the Just Add Cake Birthday Box.
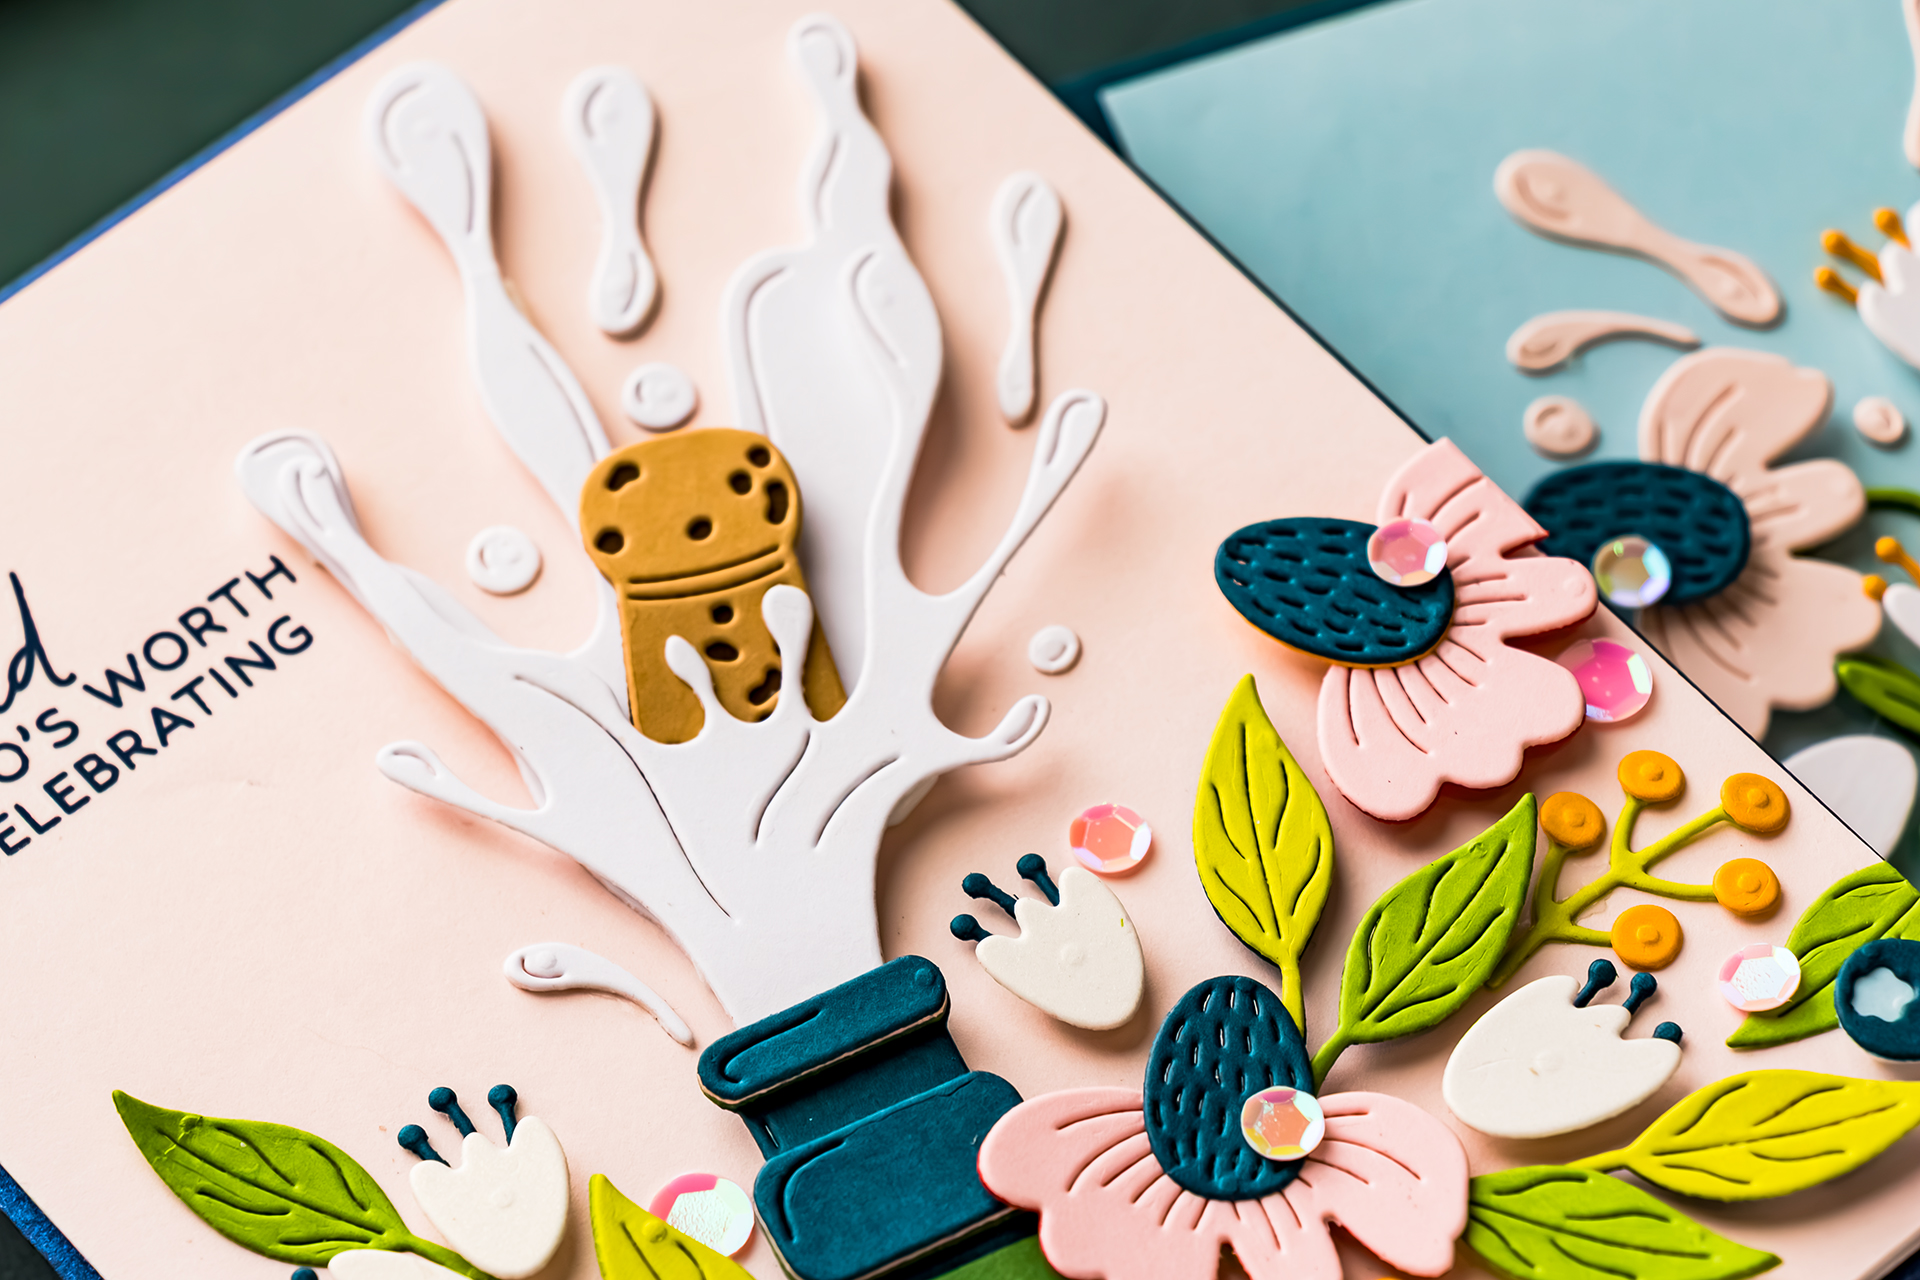
For the flowers, I used Blush and Pearl White cardstock with Oceanside centers. The Pearl White comes from the Antique White Treasured Cardstock pack and adds a subtle specialty finish among the regular cardstock.
For the foliage, I mixed Rainforest with Peridot from my stash. The little berry sprigs combine Peridot and Saffron. Using several shades within the same color family is an easy way to add variety without making the card feel too busy. Here, I kept returning to the same blues and greens throughout the design so all the individual pieces would work together.
BUILD THE FLORAL ARRANGEMENT
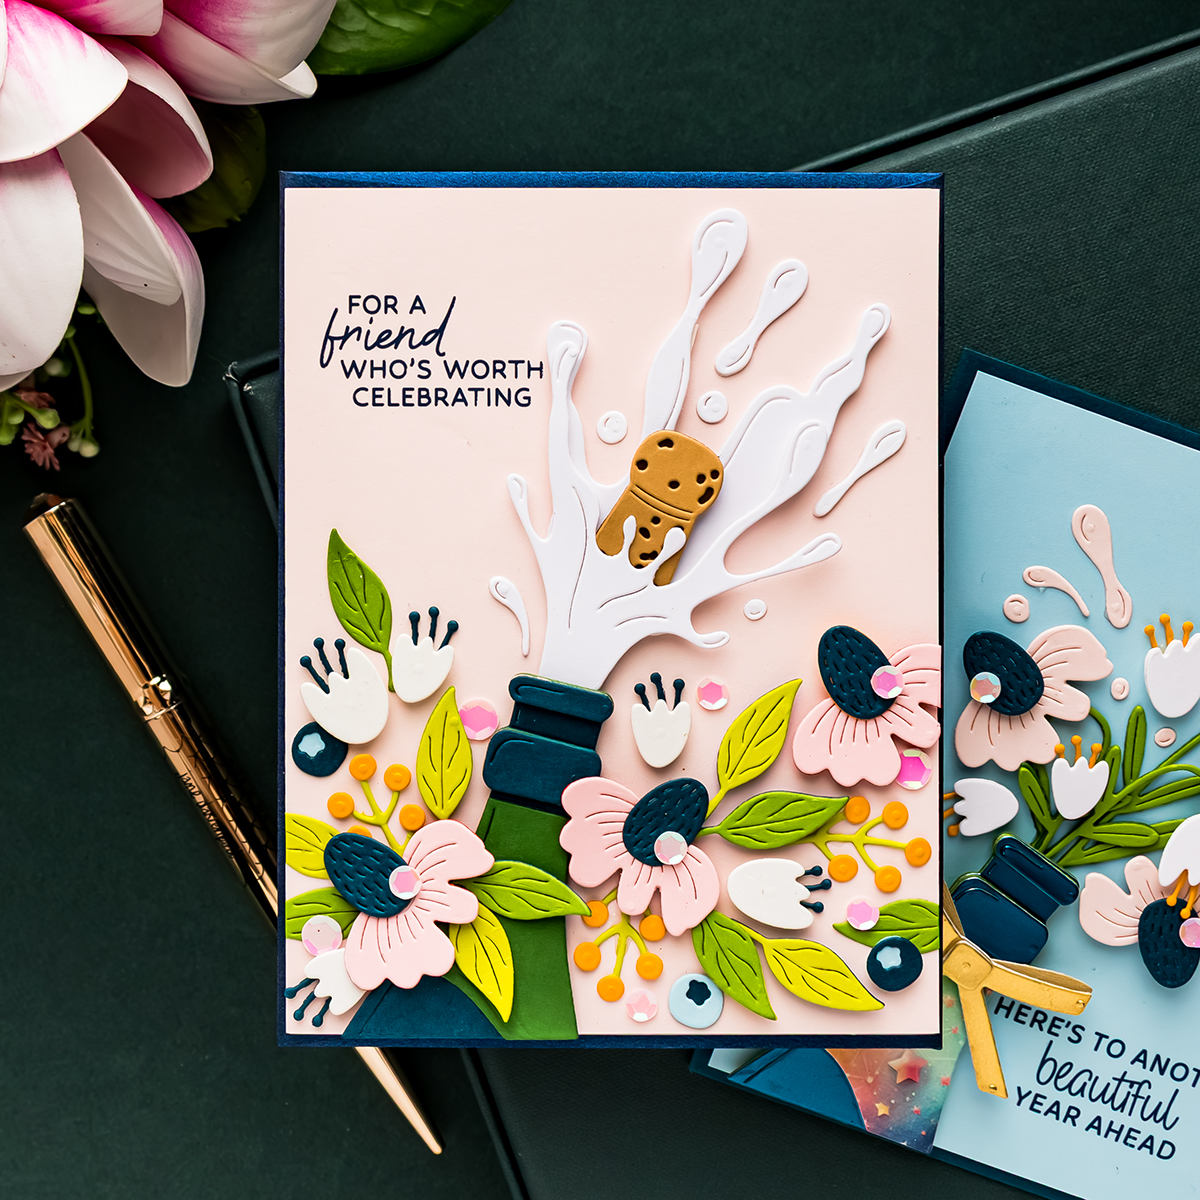
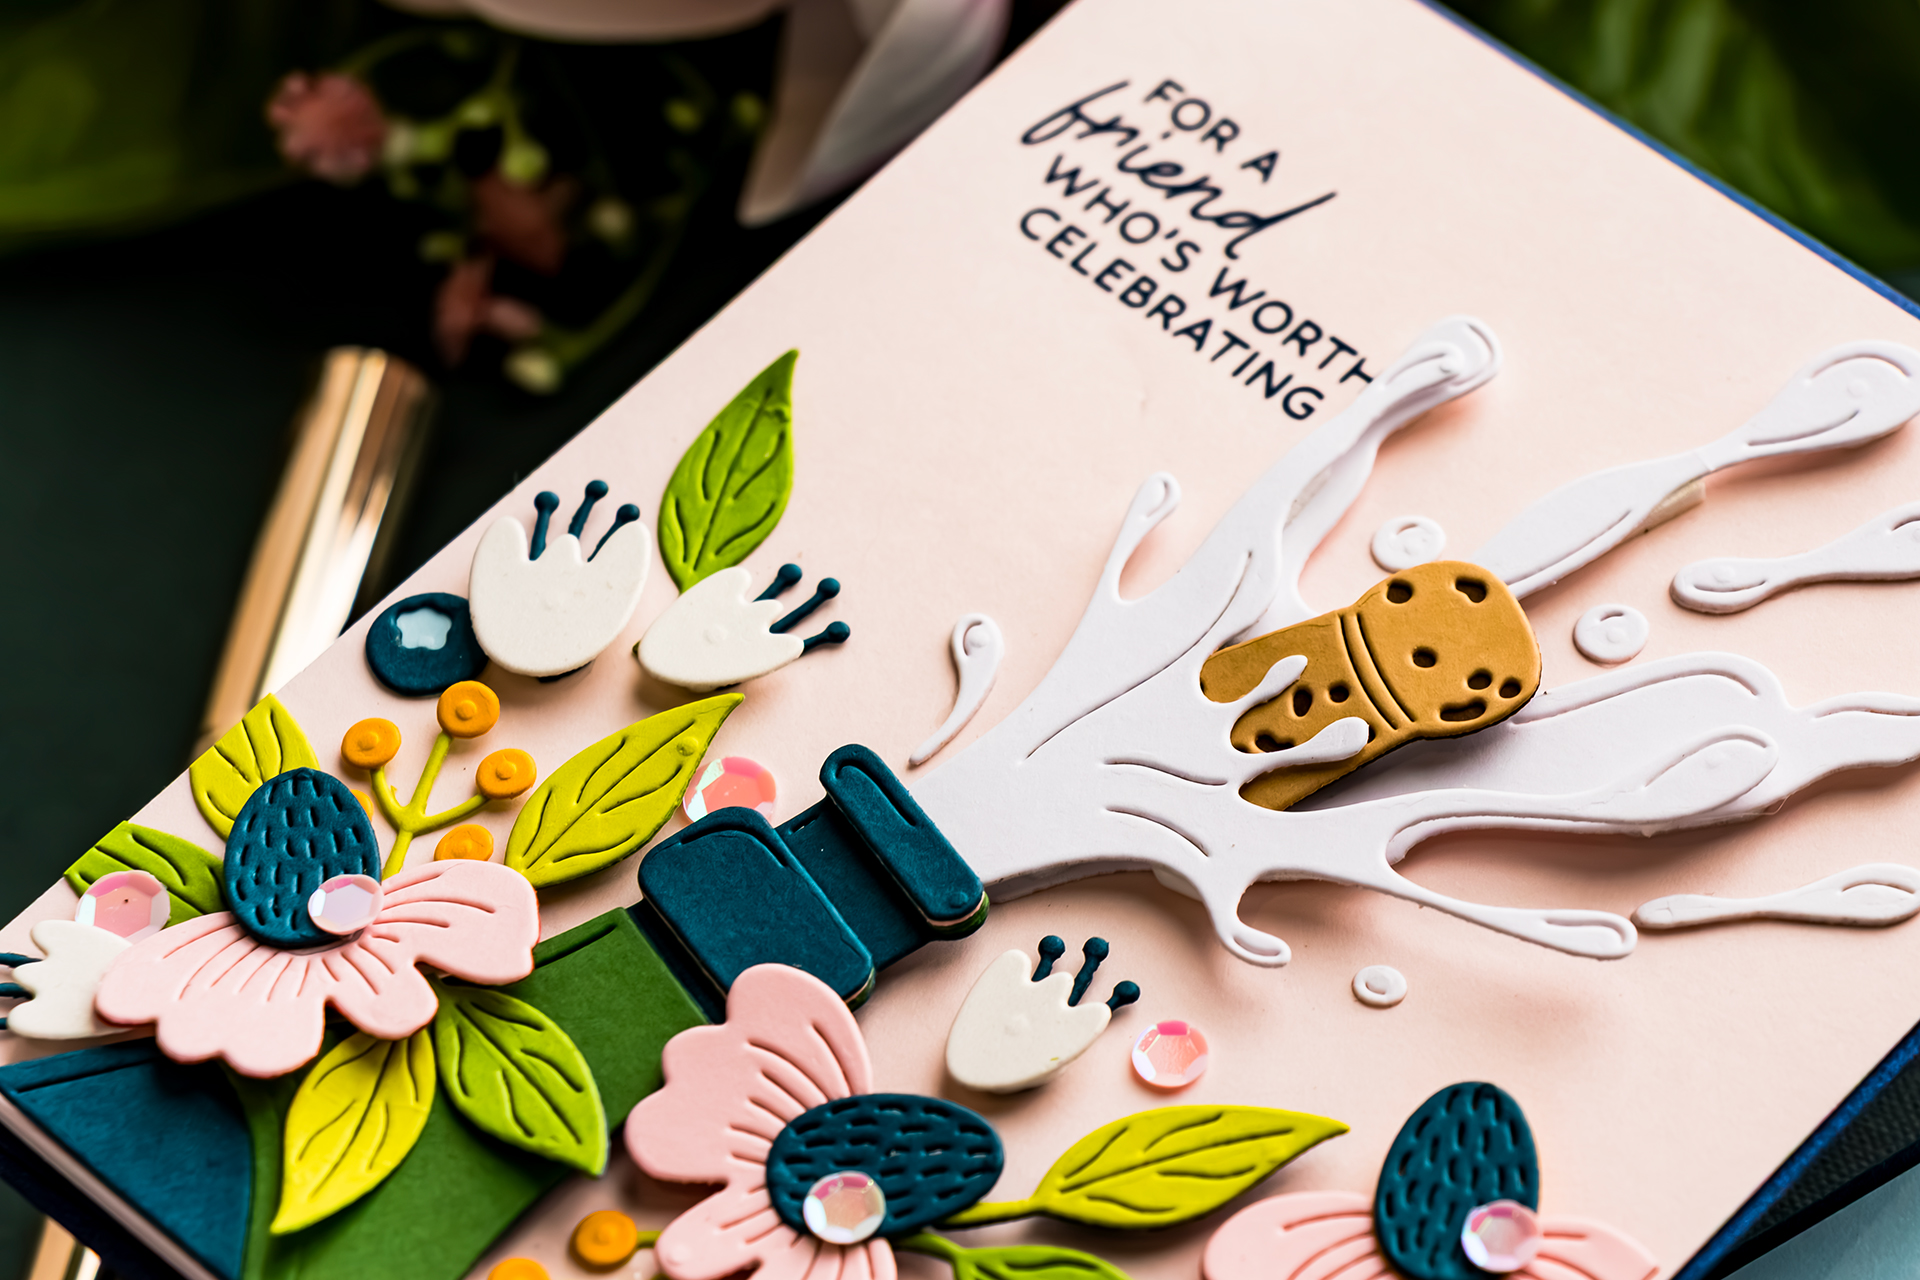
Position the champagne bottle diagonally across the background, leaving space in the upper left corner for the sentiment. Begin arranging the larger flowers around the bottom portion of the card and fill the spaces with smaller flowers, leaves, and berry sprigs. Some elements can overlap the bottle while others can tuck underneath it.
And don’t worry about connecting every single flower and leaf into one continuous arrangement. A few small flowers can appear to “float” nearby. As long as they visually support the overall composition, they don’t necessarily need to connect.
I also mixed dimensional and flat elements. Some flowers and leaves are mounted with foam adhesive, while others are glued directly to the background. Those different heights help make the arrangement feel fuller.
Here’s another tip: when planning a detailed card like this, arrange everything before adhering it and take a quick photo with your phone. You can then use the photo as your reference while assembling the card. It saves a lot of time trying to remember exactly where everything was supposed to go!
USE THE SMALL DIE CUTS AS FILLERS
Tiny flowers, berries, leaves, and splatter pieces are perfect filler elements. The small flower die in the kit cuts several flowers at once, so you could easily create a larger floral arrangement by cutting it from several cardstock colors.
I also added a few blue berries using Oceanside and Breeze cardstock. These small elements helped fill awkward gaps without overwhelming the larger flowers. Once the floral arrangement was finished, I added the remaining small splatter pieces around the champagne bottle.
ADD A RUB-ON SENTIMENT
For the sentiment, I used one of the rub-ons from the Just Add Cake Birthday Box: “For a Friend Worth Celebrating.” Cut the individual sentiment from the sheet, position it on the background, and rub firmly to transfer the design. If you’re having trouble transferring a rub-on, try working on a surface with a tiny bit of give rather than a completely hard surface. I switched surfaces while working on mine and found it easier to apply enough pressure for a clean transfer. Once the sentiment was in place, I trimmed away any leaves or flowers extending beyond the edges and adhered the finished panel to the card base.
For a final celebratory touch, add a few sequins from the kit. I placed some directly onto the background and others over the die-cut flowers to help integrate the sparkle throughout the design.
CARD 2 – TURN THE CHAMPAGNE BOTTLE INTO A VASE
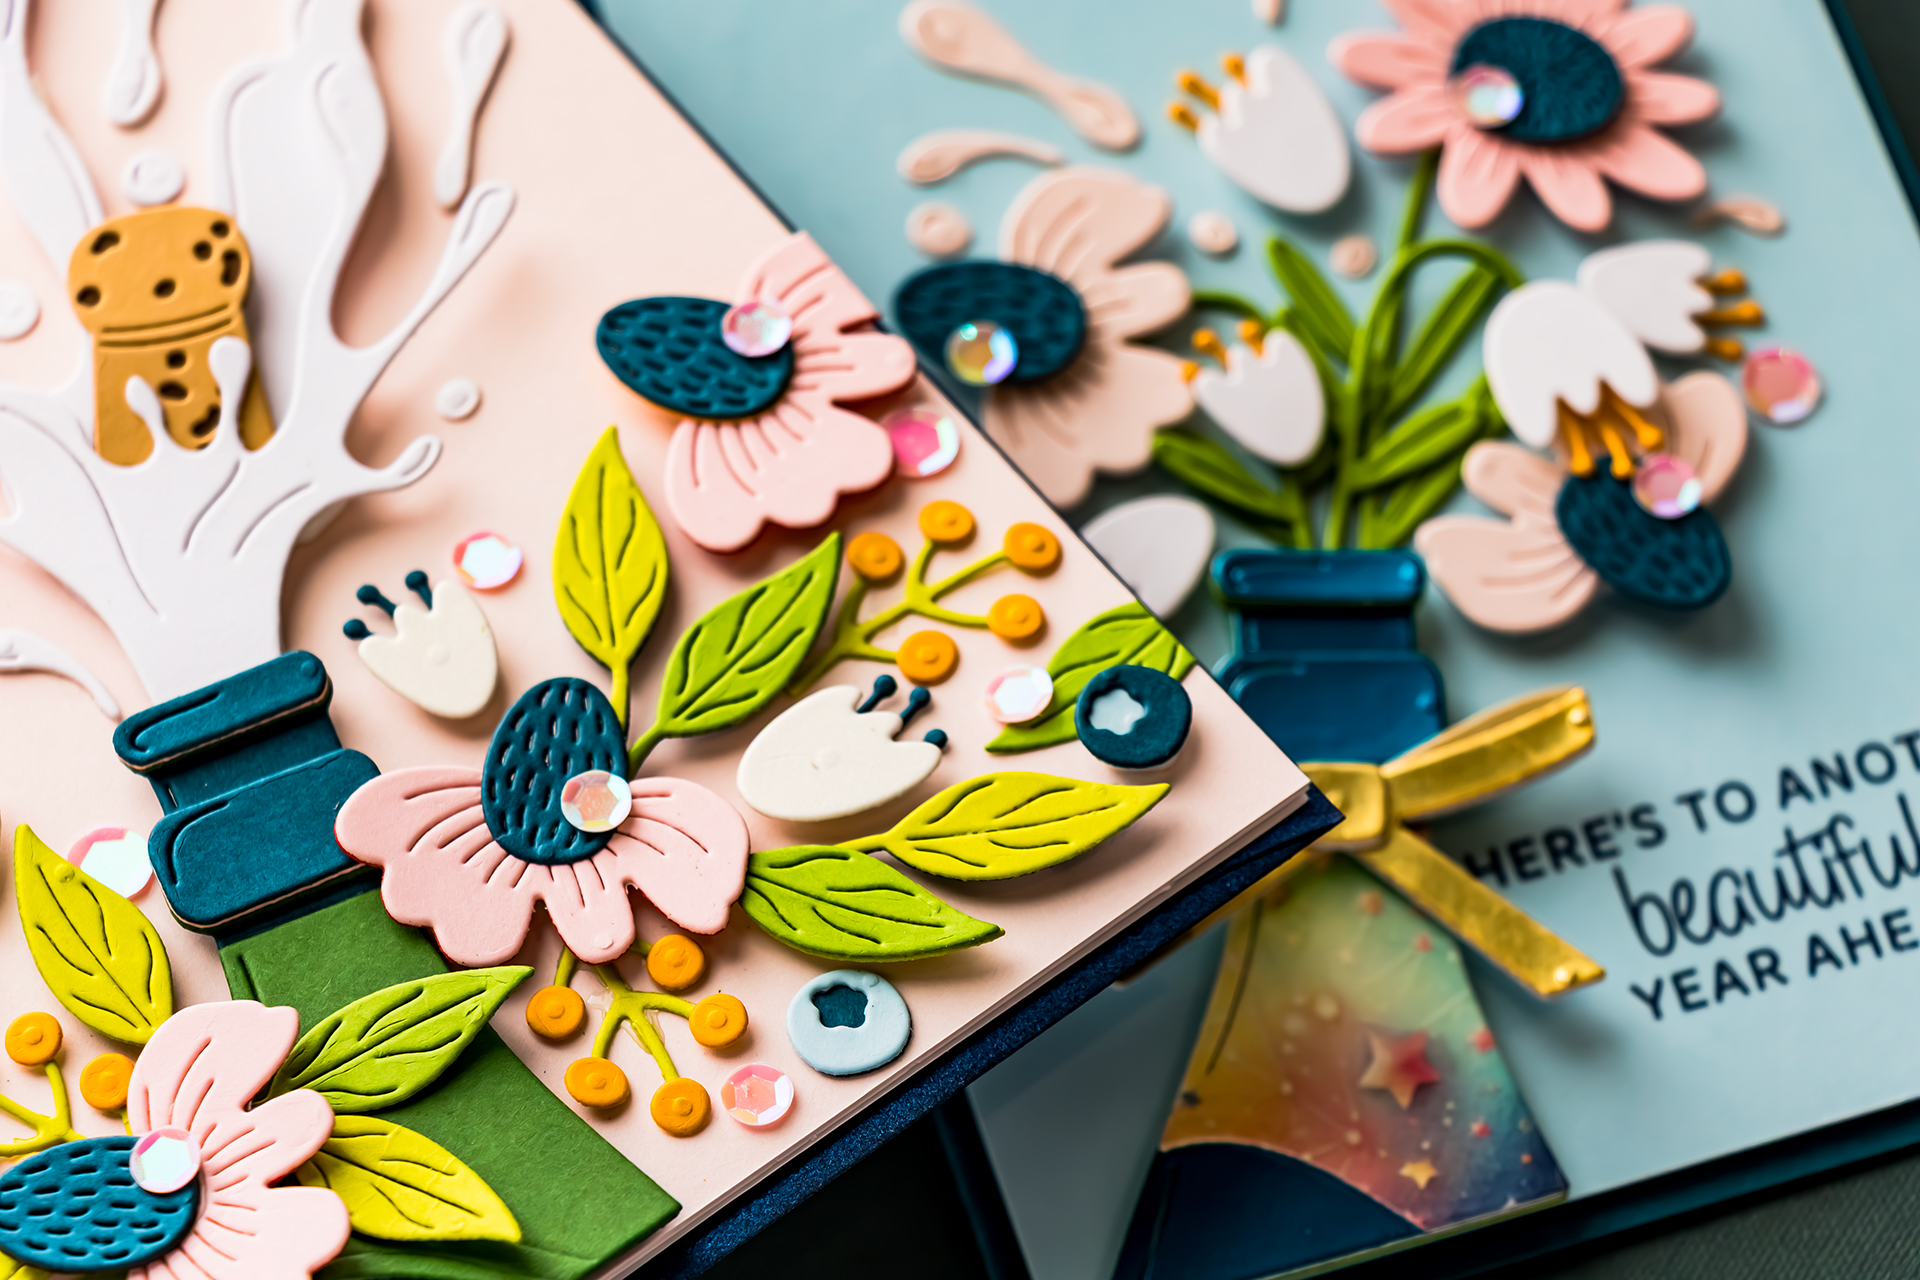
For my second card, I wanted to show another way to use the same Confetti Pop die set. Instead of creating a champagne bottle bursting with confetti, turn the bottle into a vase! For the background, I used Breeze cardstock and created a darker card base with Oceanside cardstock.
The bottle was die cut using the Matte Metallic cardstock from the Spellbinders Aquamarine Assorted Cardstock pack. That specialty finish gives the bottle a completely different look.
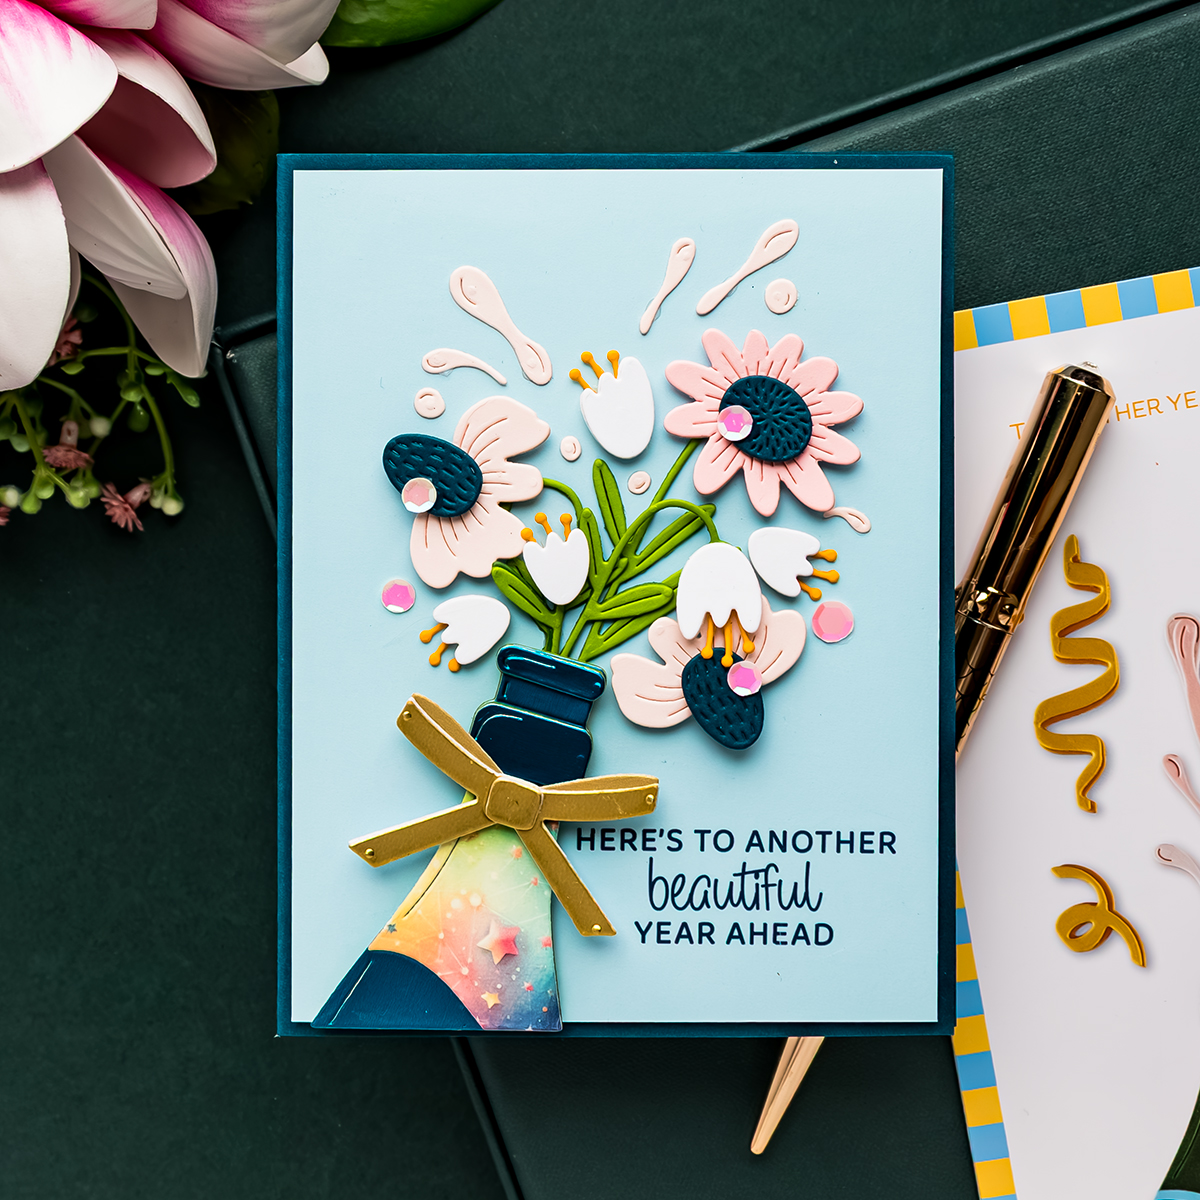
I also found an unexpected way to use one of the rub-ons from the kit. There was a balloon rub-on that I knew I wasn’t going to use as a balloon, so I transferred the design onto white cardstock and then die cut the bottle detail from it. This gave me a decorative patterned piece perfectly sized for the bottle.
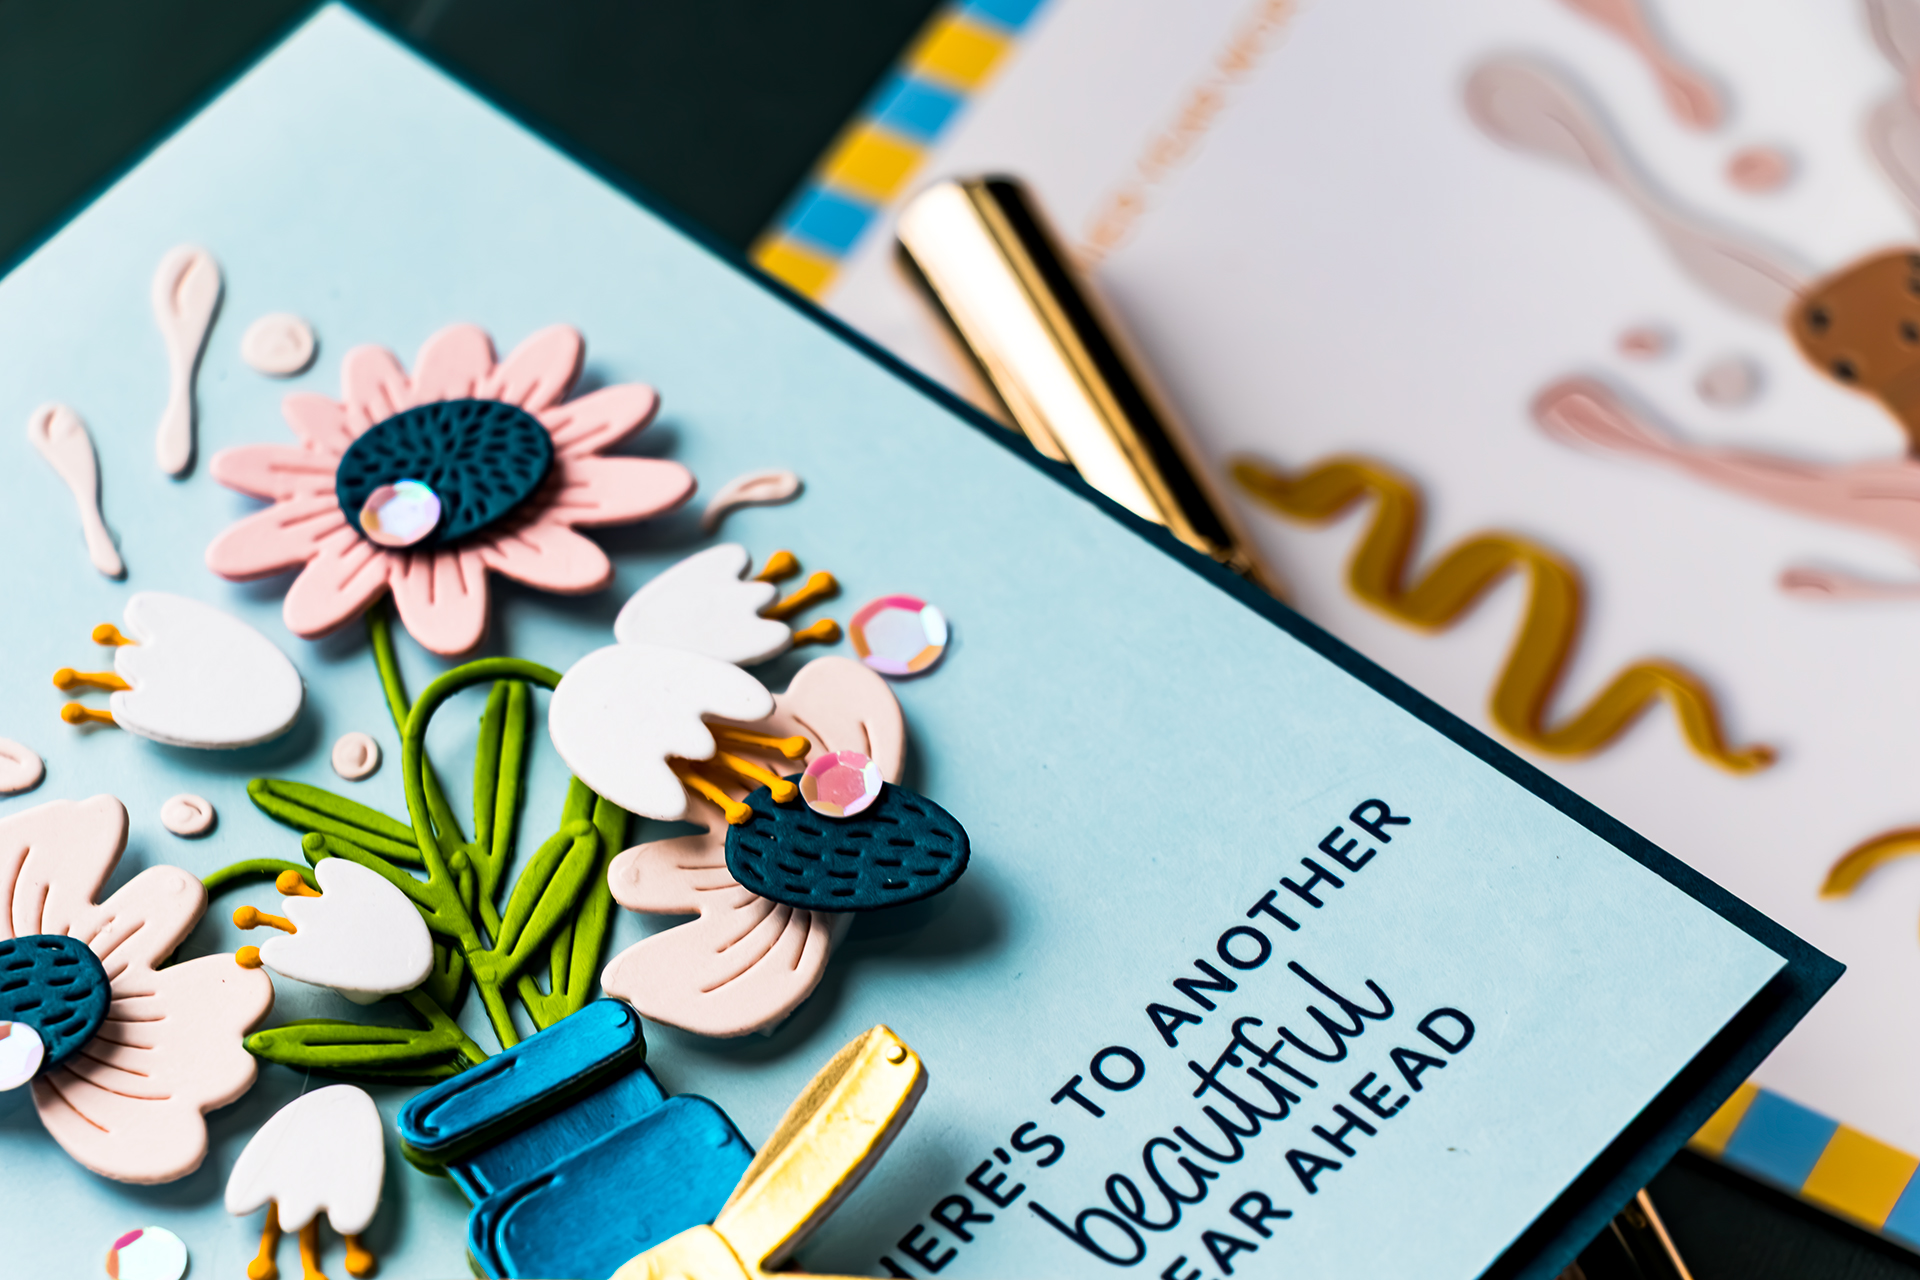
It’s a great reminder to look at rub-ons as more than finished images. You can apply them to cardstock first and then die cut that cardstock to create completely new embellishments.
TURN YOUR DIE CUTS INTO SOMETHING ELSE
For this version, skip the large champagne splatter and tuck flowers from the Garden Party die set into the opening of the bottle instead. Suddenly, the champagne bottle becomes a flower vase. I also added the little bow I considered using on the first card and tucked several smaller splatter elements around the flowers to make the arrangement feel fuller.
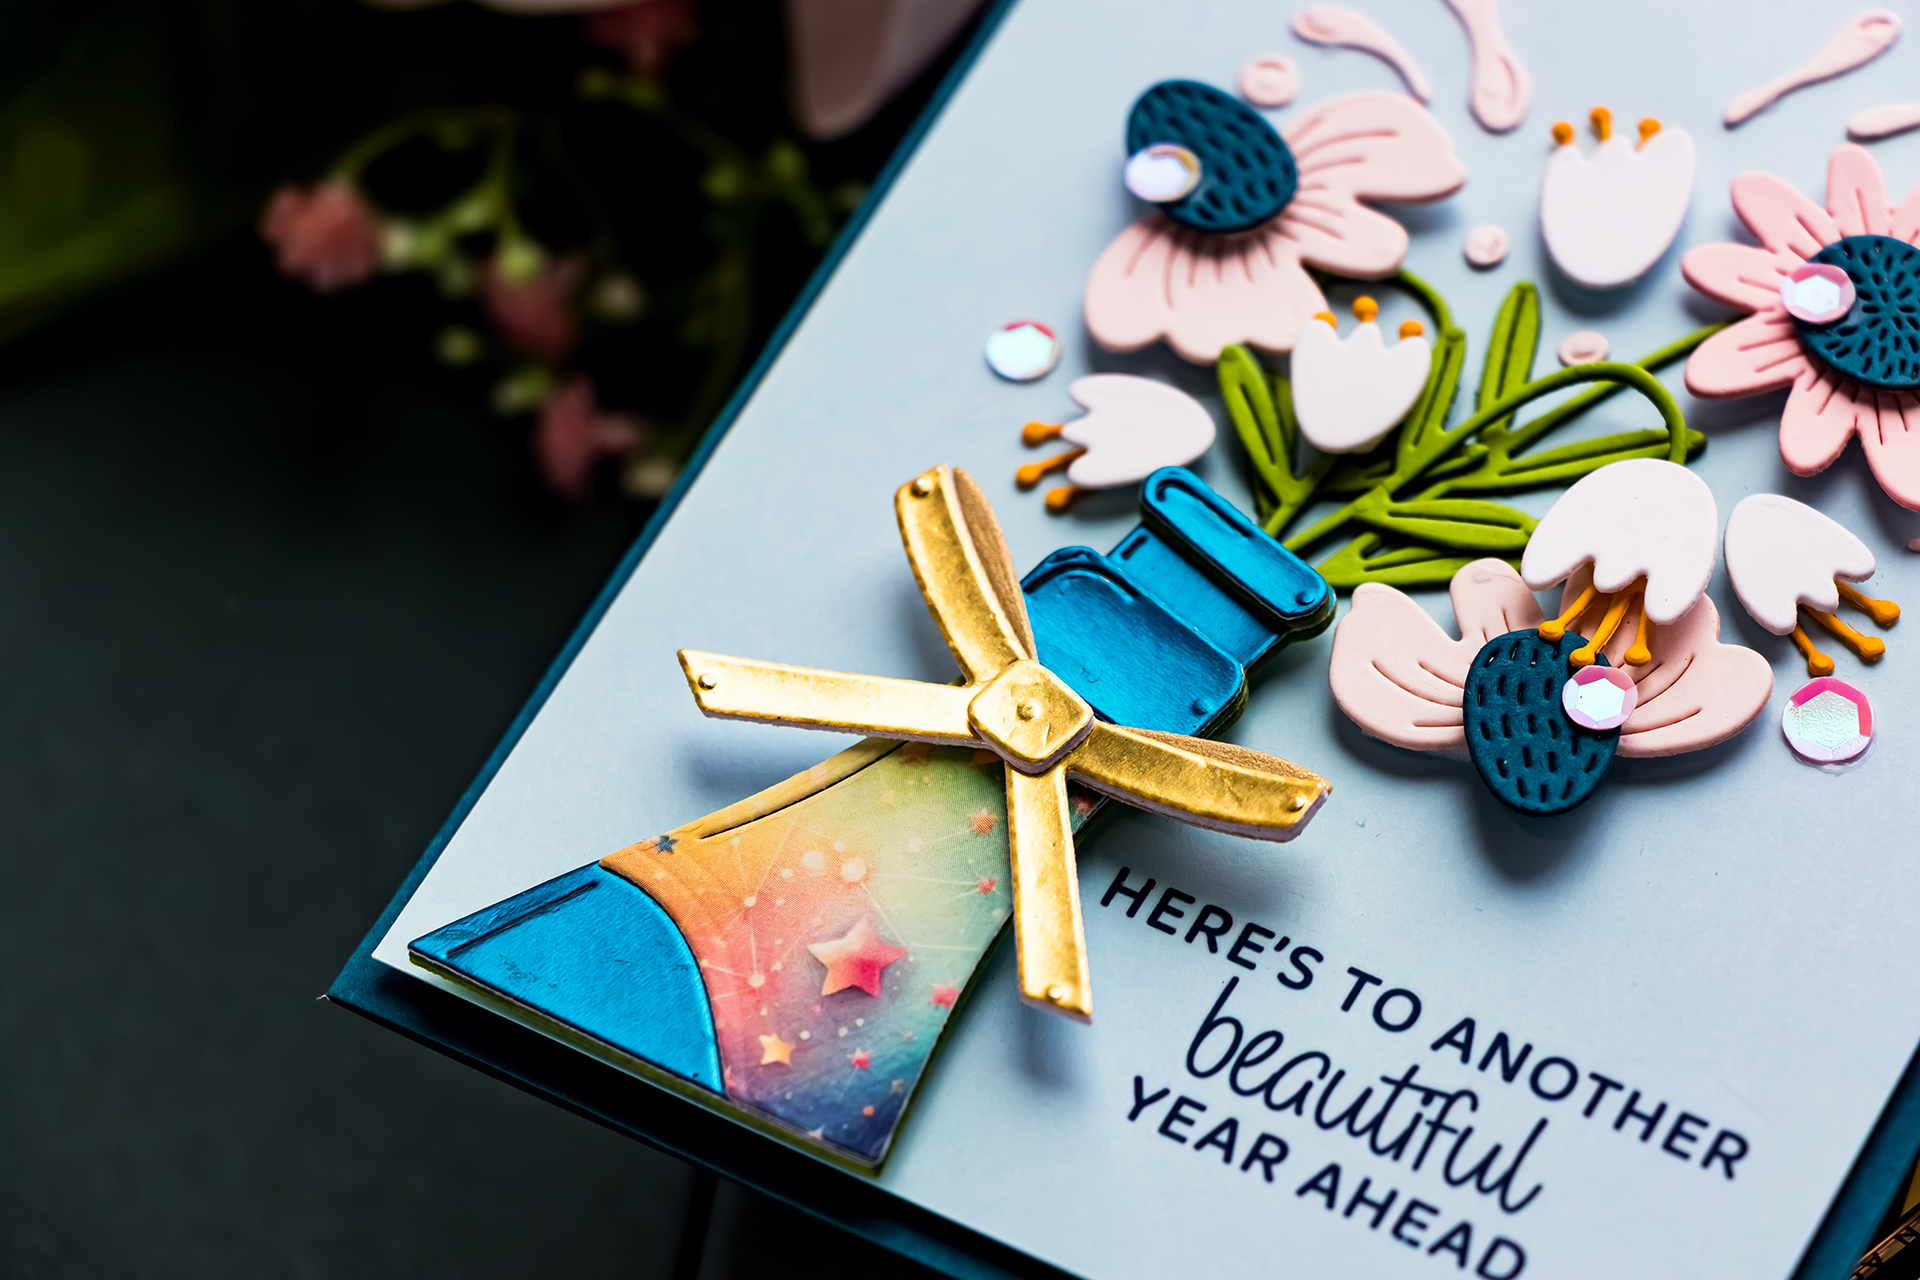
Finish the card with the rub-on sentiment “Here’s to Another Beautiful Year Ahead” and a few sequins for sparkle.
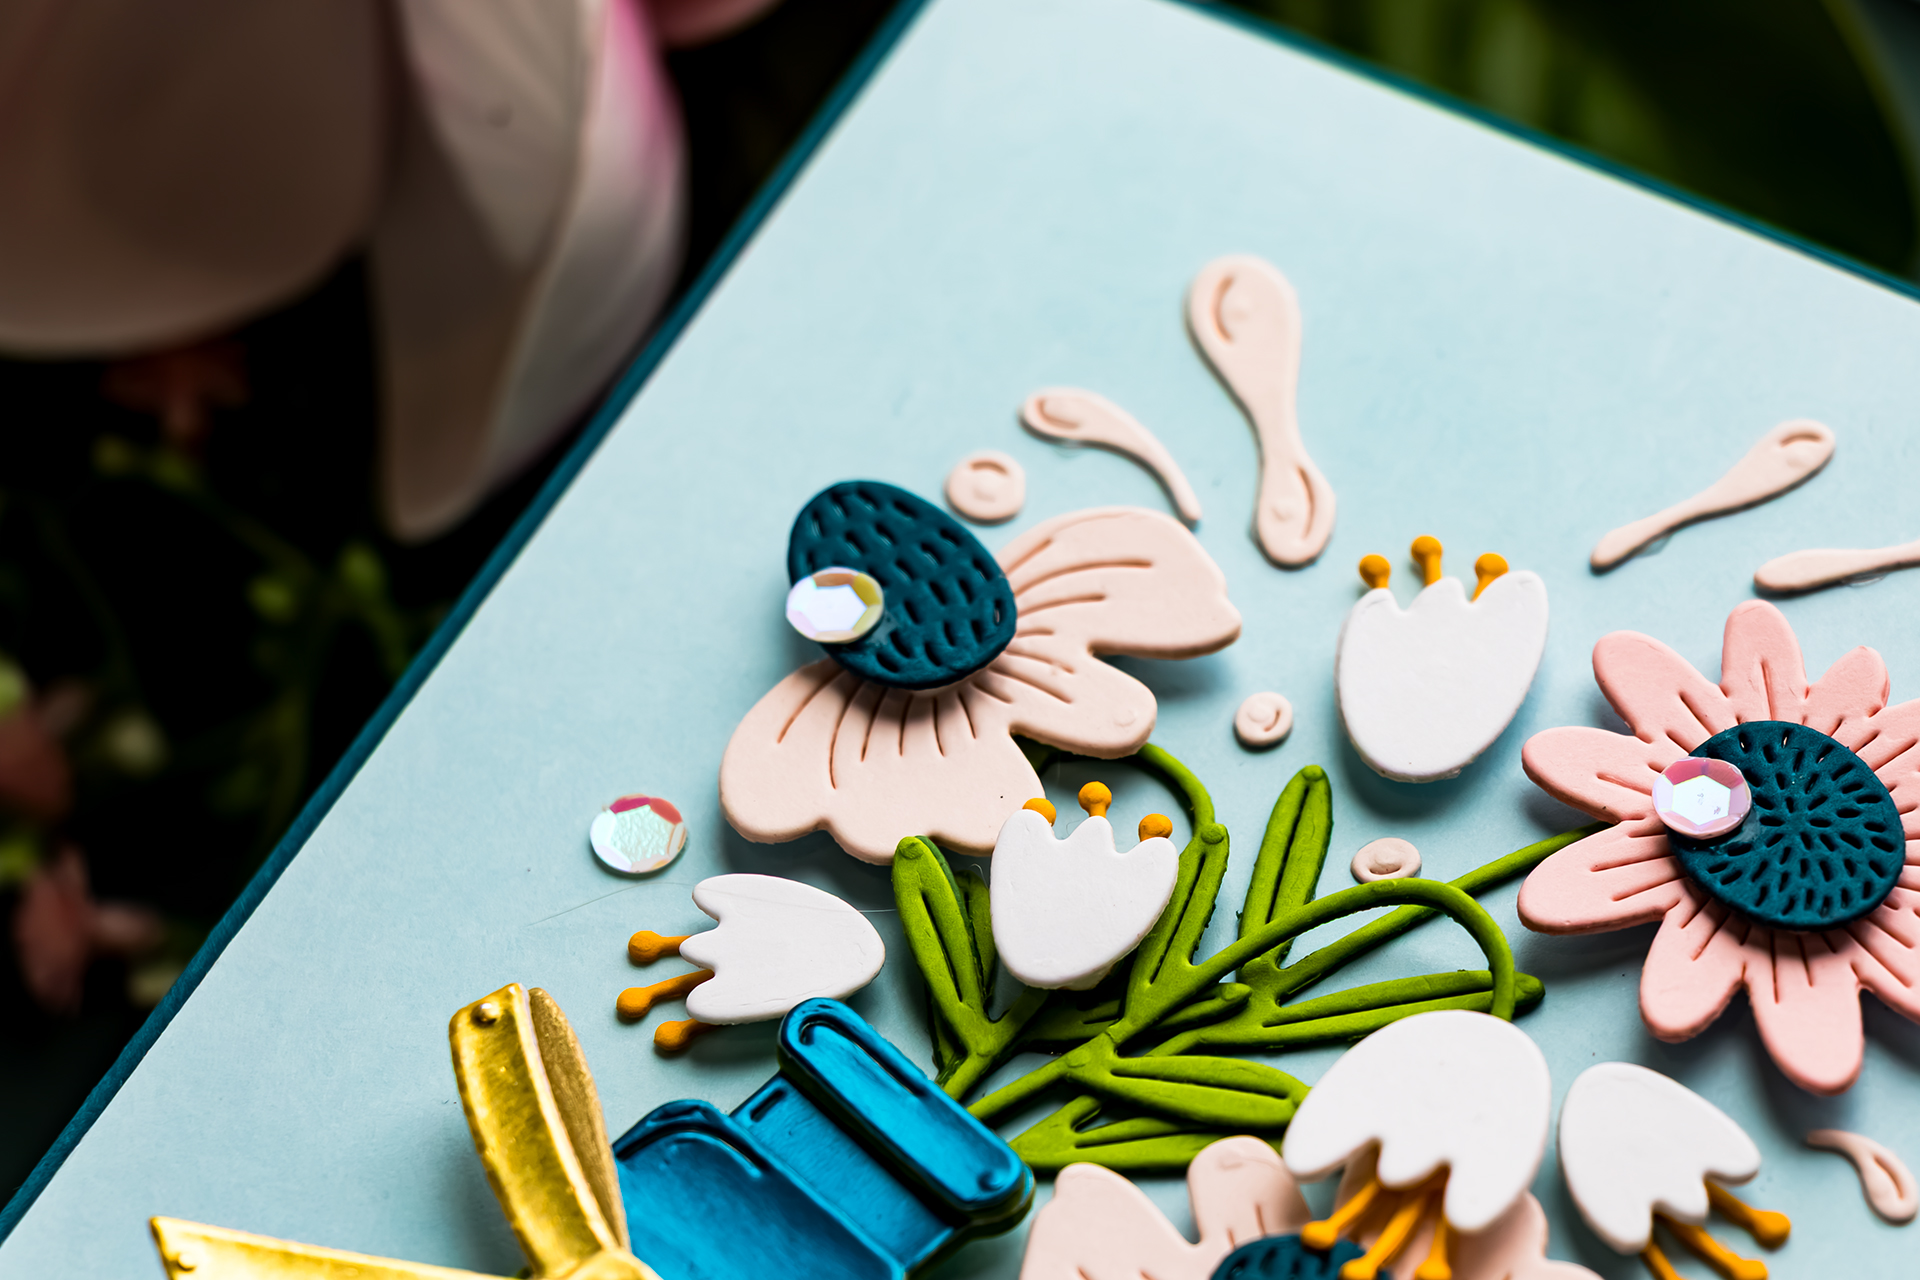
This second design is one of my favorite examples of stretching a die beyond its obvious purpose. Just because a die is designed as a champagne bottle doesn’t mean champagne is the only thing it can be!
ONE DIE SET, TWO VERY DIFFERENT CARDS
I love how different these two cards look even though they begin with the same Confetti Pop die set. On the first card, the bottle is the center of a festive birthday celebration with confetti, a flying cork, flowers, and lots of dimension. On the second, the exact same bottle becomes an elegant vase for a floral arrangement.
Whenever you’re working with a kit, don’t feel that you need to keep each die set separate. Mix flowers, leaves, bows, berries, rub-ons, and other small elements from different sets. Those combinations can give you many more ways to use the products you already have.
I hope these two birthday card ideas inspire you to pull out your Just Add Cake Birthday Box and give the Confetti Pop die set a try!
Have fun creating!
SUPPLIES
Affiliate links are used at no additional cost to you. Shopping via my affiliate links helps support my YouTube channel and blog. Thank you!