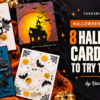
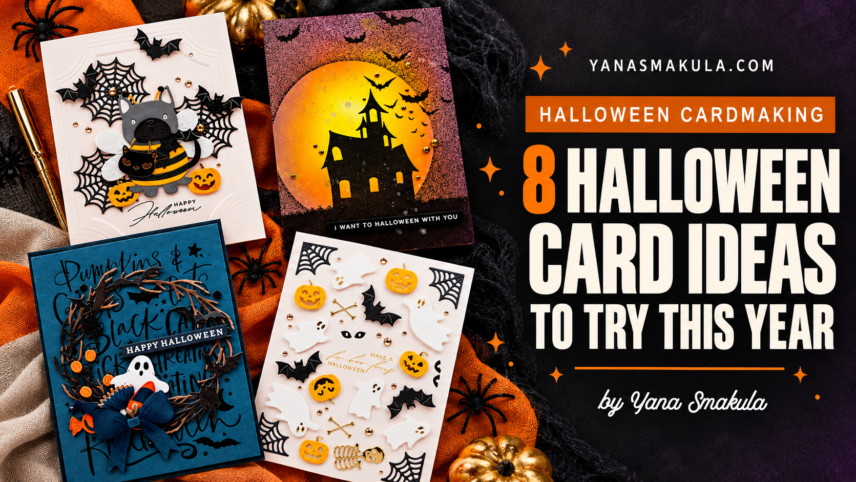

Halloween cards can be cute, elegant, colorful, spooky, or wonderfully dramatic. That freedom is exactly what makes them so much fun to create. You can build an entire haunted house from die cuts, stamp a quick silhouette over an ink-blended sky, arrange tiny Halloween icons into a pattern, or dress a favorite character in a costume.
In this guide, I am sharing eight Halloween card ideas based on projects I have created over the years. The techniques include die cutting, stamping, stenciling, Copic coloring, ink blending, dimensional layering, and interactive scene building. Some designs are quick and beginner-friendly, while others are detailed projects to enjoy over a longer crafting session. Use the ideas exactly as shown or adapt them with the Halloween supplies already in your stash.
Hello, crafty friends! Whether you prefer adorable Halloween cards or something a little moodier, I hope these projects inspire you to play with color, texture, and storytelling this season.
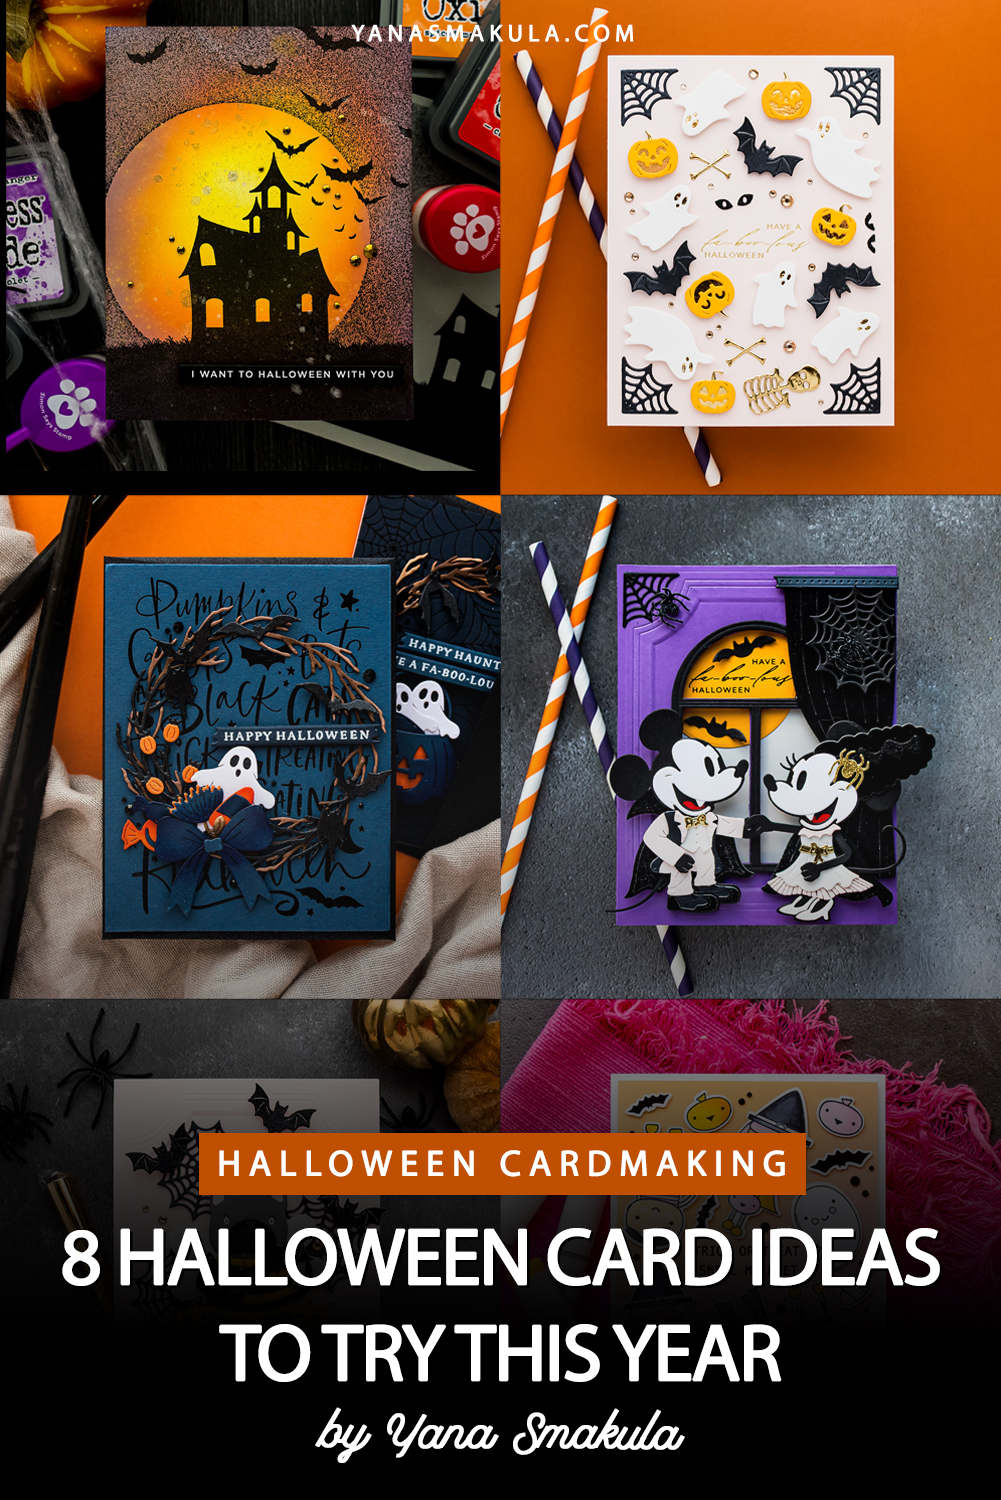
Like these ideas? Pin this guide and save it for your next Halloween crafting session.
Halloween Cardmaking Guide at a Glance
| Article type | Evergreen cardmaking inspiration and education |
| Project types | A2 cards, 5 x 7-inch cards, interactive window cards, scene cards, pattern cards, and wreath cards |
| Occasion | Halloween |
| Skill levels | Beginner through advanced, depending on the selected design |
| Techniques | Die cutting, stamping, ink blending, stenciling, Copic coloring, embossing, foiling, pattern building, and dimensional assembly |
| Featured themes | Haunted houses, windows, pumpkins, bats, wreaths, costumed characters, monsters, skeletons, ghosts, and spiderwebs |
| Machines and tools | Die-cutting machine, stamping platform, blending brushes, paper trimmer, scoring tool, and optional hot foil system |
| Color approaches | Traditional Halloween colors, soft elegant palettes, monochromatic black, bright rainbow combinations, and pink-and-yellow Halloween palettes |
| Dimension and finish | Flat stamping, foam-mounted layers, stacked cardstock, embossed texture, glitter, metallic paper, gems, and foil |
What You’ll Need
Halloween Images and Dies
- Halloween stamps, dies, or stencils
- Bats, pumpkins, ghosts, spiderwebs, skeletons, monsters, or costumed characters
- Optional house, window, wreath, or background products
- Halloween sentiments
Cardstock and Coloring Supplies
- White and colored cardstock
- Black cardstock in matte, metallic, glitter, pearl, brushed, or mirror finishes
- Blending inks and brushes
- Alcohol markers for stamped images or cardstock-edge corrections
- Optional metallic, glitter, or specialty paper
Adhesives and Tools
- Liquid precision glue
- Foam adhesive in one or more thicknesses
- Die-cutting machine
- Stamping platform
- Paper trimmer and scoring tool
- Reverse tweezers or another pickup tool for small die cuts
Optional Finishing Supplies
- Embossing folders
- Hot foil or BetterPress supplies
- Gems, sequins, pearls, or mica spray
- White gel pen and clear embossing powder
8 Creative Halloween Card Ideas
1. Create an Interactive Halloween Window Scene
A window instantly gives a Halloween card a story. Instead of arranging every element on one flat card front, cut an opening and let the scene continue inside. A partial moon, flying bats, a sentiment, or even another character can appear through the window when the card is closed and be fully revealed when it opens.
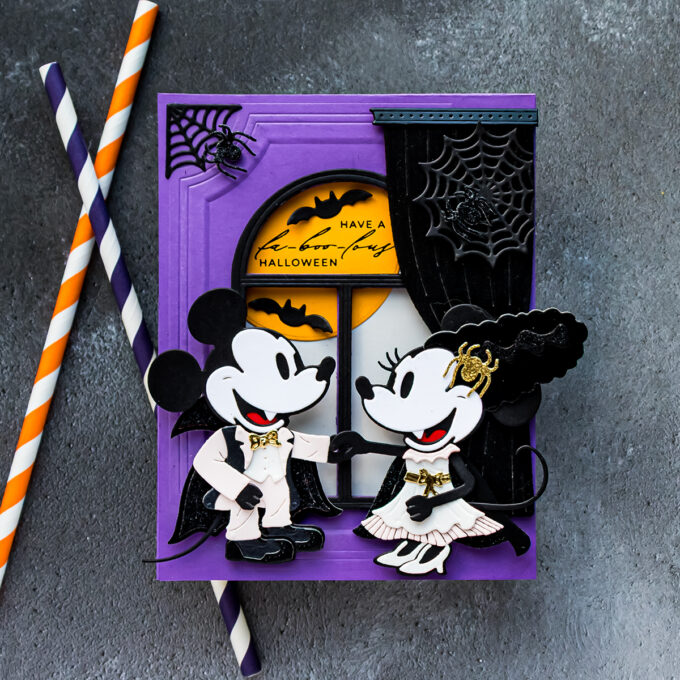
My Classic Mouse Halloween window card combines costumed mice, a dimensional black frame, a curtain, spiderwebs, bats, and a moonlit interior. The card front represents the inside of a room, while the view through the opening establishes the Halloween night outside.
To align openings in a card base and a decorative panel, die cut the window from an oversized panel first. Position it over the card base, align the two openings, trace the finished card dimensions, and trim the panel afterward. This is much easier than trying to measure two window positions perfectly. If you also want to emboss the front panel, complete the die cutting first and emboss second so another pass through the machine does not flatten the texture.
2. Build a Detailed Haunted House
A haunted house card is perfect when you want a project with plenty of tiny details. Start with the building structure, then change its personality through the roof, windows, doors, color palette, and Halloween decorations.
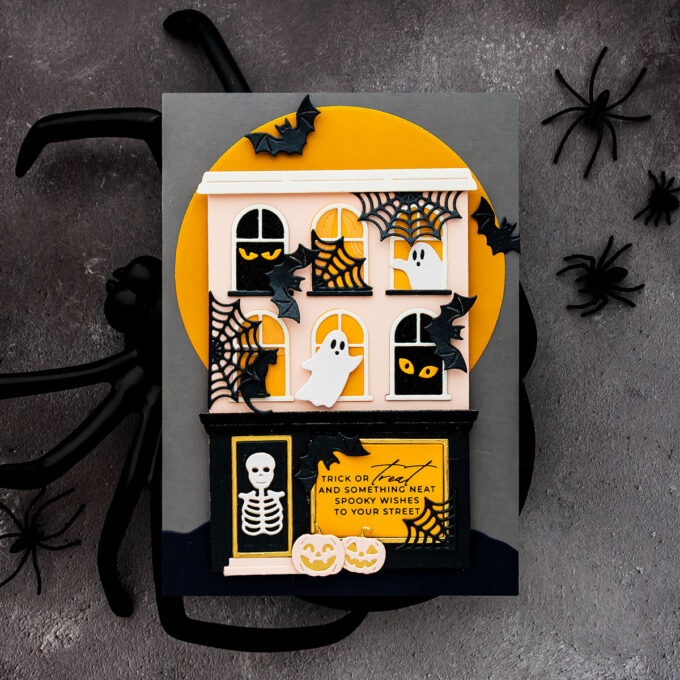
For my Halloween City Holiday haunted house card, the original City Holiday townhouse becomes a spooky 5 x 7-inch scene filled with ghosts, bats, pumpkins, spiderwebs, spooky eyes, and glowing windows. The Halloween add-on changes a cozy city building into something completely different without requiring an entirely new base design.
Build the largest pieces first and save the tiny decorations for the end. Use the windows to create a focal point – a warm yellow or orange layer behind a dark building gives the impression of light glowing from within. Place decorations in clusters rather than spacing every bat, pumpkin, and ghost evenly. This makes the house look detailed while still giving the eye places to rest.
3. Turn Small Halloween Dies into a Pattern
Small dies are not limited to being accents. Arrange them across the entire panel and they become a custom Halloween background. This is a particularly useful approach for add-on sets filled with tiny icons.
My Halloween pattern card uses ghosts, pumpkins, bats, spiderwebs, a skeleton, bones, and spooky eyes around a foiled sentiment. The design stretches the Halloween City Holiday Decorations beyond the building they were designed to decorate.
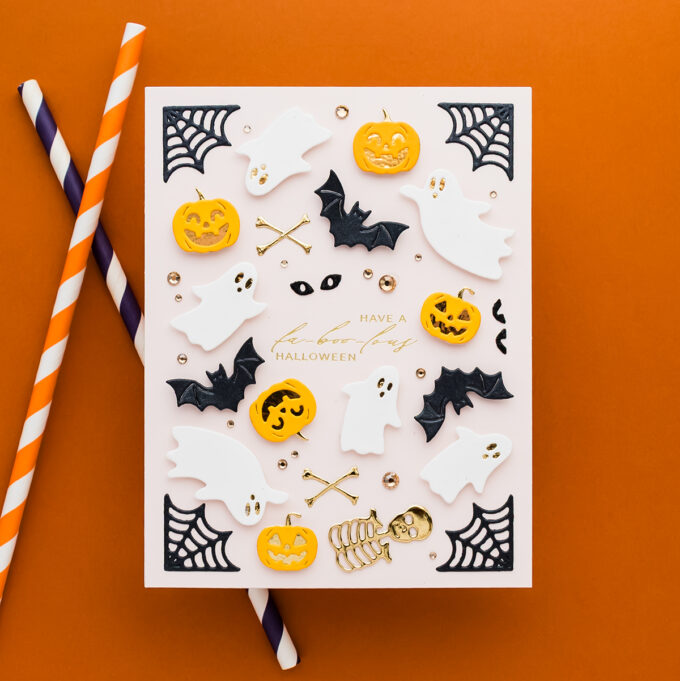
Begin with the sentiment so you know how much space must remain open. Add the largest images first, rotate their direction, and place them in a loose visual triangle. Fill the remaining gaps with smaller bones, bats, eyes, or stars. Let a few pieces extend beyond the edge and trim them flush. The cropped shapes make the pattern appear to continue beyond the card.
You can also change the personality of the pattern through color. Chiffon, Saffron, white, Brushed Black, and Mirror Gold create a softer, more elegant Halloween design than the expected orange, green, and purple.
4. Make Cute Halloween Cards with Costumed Characters
Halloween does not have to be scary. Costumed animals, friendly monsters, and playful skeletons are ideal for cards made for children, friends who prefer cute designs, or anyone who considers spiders a firm no-thank-you.
The Buzzy Pup Bee Halloween card features a puppy dressed as a bumblebee, complete with wings, antennae, and a cat-shaped trick-or-treat bag. I combined the character with Halloween City Holiday elements and the Ornate Molded Frame Embossing Folder to create a finished scene using products from several collections.
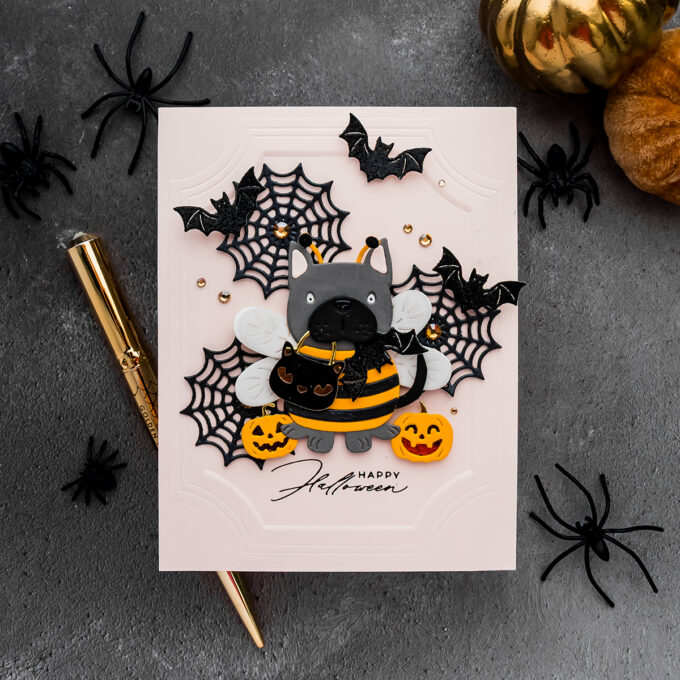
You can take the same approach with an adorable one-eyed monster and pumpkin or a cute skeleton with a broom and cauldron. Assemble the character first, then design the card around its pose and accessories. A detailed figure often needs only a textured background, a few supporting icons, and a sentiment.
When working with intricate character dies, save or print the manufacturer’s assembly guide and store it with the set. It makes the product much easier to revisit next Halloween.
5. Stamp a Silhouette over an Ink-Blended Sky
For a quick Halloween card with plenty of drama, create a glowing ink-blended background and stamp a solid black silhouette over it. This gives you strong contrast without requiring detailed coloring or many layers.
On my Spooky Silhouette Halloween card, an orange-to-purple Distress Oxide blend becomes the backdrop for a black background stamp. The panel is trimmed to A2 size and finished with a simple sentiment.
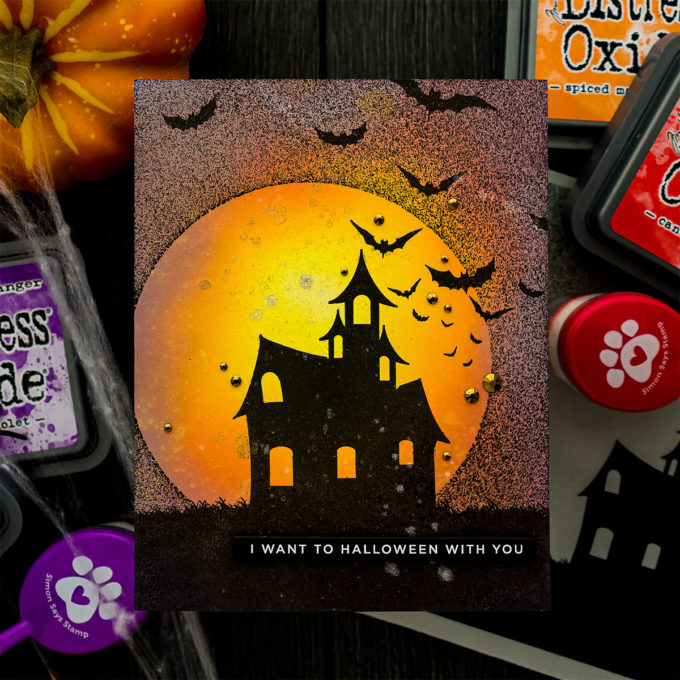
Start with the lightest yellow or orange ink and gradually move through deeper orange, red, and purple. Allow the panel to dry before stamping so the black image stays crisp. A stamping platform is helpful because a large silhouette may need a second impression. If your black ink looks dull over the Oxides, stamp again after the first layer has dried.
This technique also works with individual bats. My I’m Batty for You card uses Honey Cardstock, Clay and black ink blending, stamped bats, and Antique Bronze Distress Mica Spray for a simple background with extra movement and shine.
6. Transform an Everyday Wreath into a Halloween Wreath
A wreath is one of the easiest designs to adapt from season to season. The circular structure stays the same; the colors and small decorative elements establish the occasion.
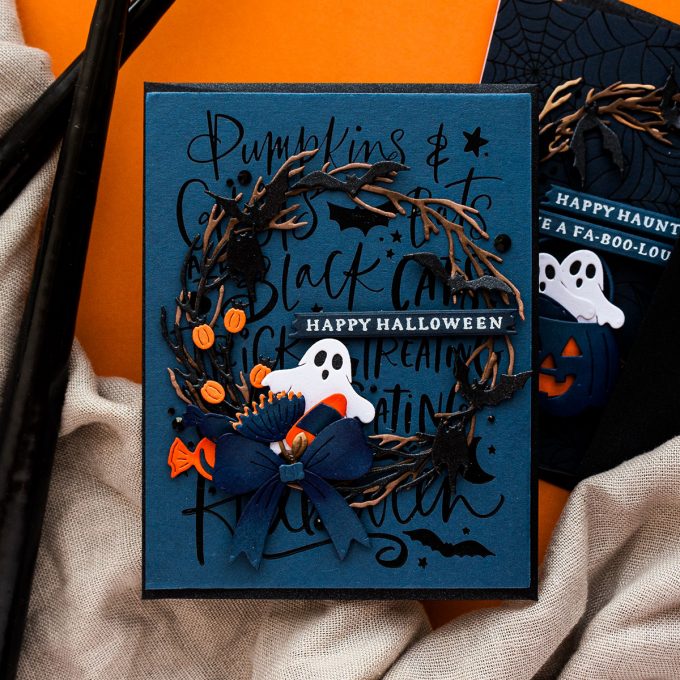
My Halloween and Christmas wreath cards use the same basic Build-a-Wreath elements with seasonal add-ons. The main set includes several branch sizes, a bow, and flowers, providing a foundation that can be changed for different holidays.
For Halloween, cut the branches from black, charcoal, deep purple, or dark green cardstock. Add bats, pumpkins, ghosts, bones, or spiderwebs in place of traditional berries and flowers. Keep the embellishments unevenly grouped around the circle for a more natural arrangement. A sentiment can sit in the center or overlap the lower portion of the wreath.
7. Use Stencils for Quick Custom Halloween Images
Stencils are ideal when you want a Halloween focal point without assembling many tiny pieces. Layering or mix-and-match stencils also give you control over expressions, colors, and placement.
For my Trick or Treat jack-o’-lantern card, I used a pumpkin stencil that allows different faces to be combined. Distress Oxide inks in Wild Honey, Spiced Marmalade, Rusty Hinge, Ground Espresso, and Black Soot create the dimensional orange pumpkins and dark facial details.
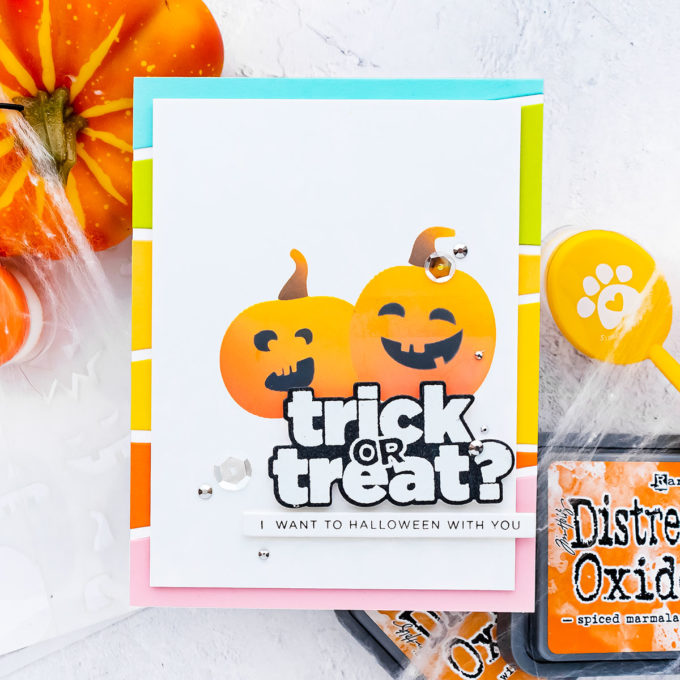
Blend the lightest color over the full pumpkin first, then add deeper orange and brown near the outer edges. Use Black Soot sparingly for the darkest shadows or facial features. When several pumpkins overlap, vary the direction and intensity of the shading so the individual shapes remain easy to see.
8. Replace Traditional Halloween Colors with Something Unexpected
Halloween imagery is recognizable enough that you do not need orange, purple, black, and green on every card. A different palette can make an older stamp set feel new and help you match the card to the recipient.
My Halloween Friends card uses pinks and yellows for a girly, utterly adorable result. The stamped characters were colored simply with Copics, arranged on pink-to-yellow color-blend paper, and foam mounted for dimension.
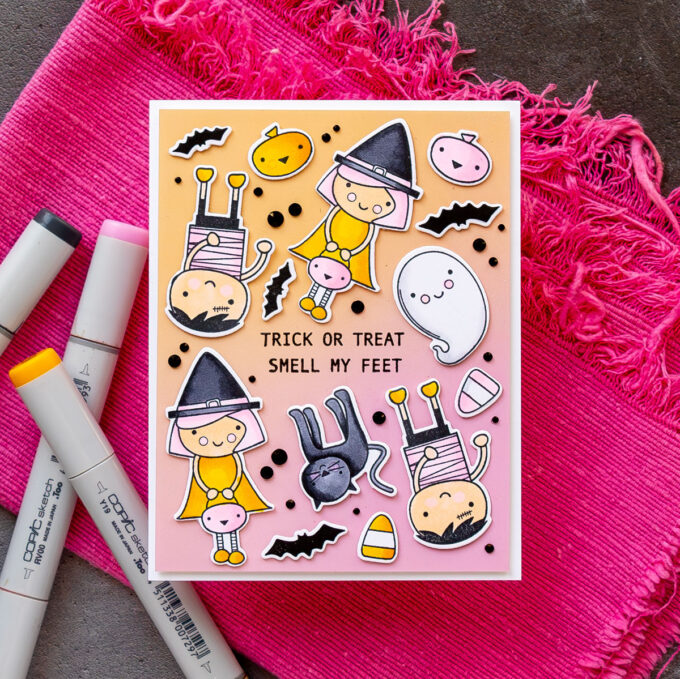
For another colorful approach, the I Love You So Much It’s Spooky card replaces a traditional palette with pink, yellow, orange, blue, and green. The images were stamped, Copic colored, restamped for crisp outlines, heat embossed with clear powder, and cut with coordinating dies.
Choose the mood before choosing the colors. Pink and yellow feel playful, pale neutrals with black and gold feel elegant, and deep teal or navy can replace black for a softer nighttime background. Repeat two or three colors across the characters, background, and sentiment so the unexpected palette still feels cohesive.
Tips for Making Better Halloween Cards
- Choose cute or spooky before selecting supplies. A clear mood makes decisions about color, imagery, and typography much easier.
- Use texture when working in one color. Matte, glitter, pearl, metallic, brushed, and mirror black cardstock can separate layered details without adding more colors.
- Color exposed white cardstock cores. Run a coordinating alcohol marker along the edge of dark specialty paper so the white core does not distract from the finished die cut.
- Die cut before embossing. A later die-cutting pass can flatten dimensional embossing.
- Mix collections by function. A character, window, embossing folder, sentiment, and small Halloween decorations can come from different releases if they help tell the same story.
- Let small images fill gaps. Bats, stars, bones, gems, spooky eyes, and tiny pumpkins are excellent finishing elements.
Ways to Customize These Halloween Card Ideas
Each idea can be simplified or expanded. Turn an elaborate window card into a flat scene by adhering the moon directly behind the frame. Reduce a haunted house to one doorway and two windows, or extend it into a 5 x 7-inch card with more rooms and decorations. Create a pattern with stamped images instead of die cuts, or make a mail-friendly version by gluing every layer flat.
To change the audience, adjust the mood rather than replacing every supply. Use smiling pumpkins, pastel colors, and friendly characters for children. Choose black, cream, gold, and deep jewel tones for an elegant card. Add humor with a playful sentiment, or turn a romantic message into a Halloween card with bats and an unexpected color palette.
Frequently Asked Questions About Halloween Cards
What colors can I use besides orange and purple?
Try pink and yellow for a cute card, cream with black and gold for an elegant design, or deep teal, navy, burgundy, and charcoal for a sophisticated nighttime palette. Halloween icons will still communicate the occasion.
How do I make a Halloween card look spooky without making it too dark?
Use a light background with a few high-contrast black elements, such as bats, spiderwebs, silhouettes, or a sentiment. Metallic gold, white, and warm yellow can keep the design bright while preserving the Halloween mood.
What can I do with tiny Halloween dies?
Arrange them into a repeat pattern, place them around a sentiment, decorate a haunted house, fill a wreath, add them to a window scene, or use them as small accessories for characters.
How can I make an interactive Halloween card?
Cut a window into the card front and continue the scene inside. Position a moon, sentiment, bats, or character so only part is visible through the closed card and the full design appears when it opens.
How do I keep a detailed Halloween card cohesive?
Limit the color palette, repeat the same cardstock finishes, group small decorations into clusters, and establish one clear focal point. Not every empty space needs another bat – even on Halloween!
More Halloween Cardmaking Ideas
- Explore the Spellbinders Halloween City Holiday collection
- See Halloween card inspiration from the August 2026 Spellbinders Club Kits
- Create a layered bats Halloween card
- Color a cute pink-and-yellow Halloween Friends card
Final Thoughts
The best Halloween card ideas begin with a mood rather than a rule. Build a layered haunted house, create a quick silhouette, turn tiny dies into a pattern, or choose colors no one expects. You can make the project cute, spooky, elegant, romantic, or funny while using many supplies already in your craft room. Pick one technique from this guide and let it lead your next Halloween card.
Have fun creating!
Oh my goodness, Yana , thank you so much for these wonderful ideas for Halloween cards. You put so much work into the detailed instructions and videos. You are marvelous!!
My pleasure, Debbie! I’m glad you’ve found these ideas useful! have fun with your supplies 🙂