

Hello, friends! Today, let’s use the Halloween City Holiday Decoration Dies in a completely different way. These dies were designed as an add-on to the original Spellbinders City Holiday Die Set, allowing you to transform the apartment building into a detailed Halloween haunted house. However, you do not need the original building to enjoy all of the small Halloween elements included in this set.
Like this project? Pin it and save it for later.
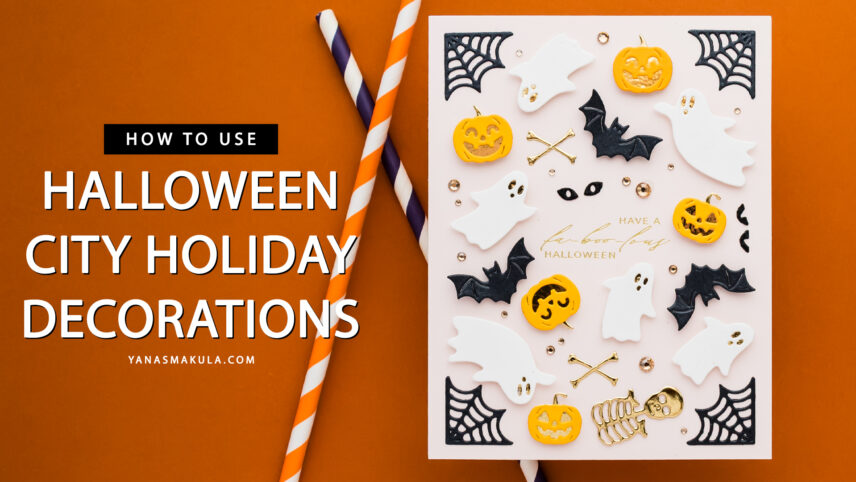
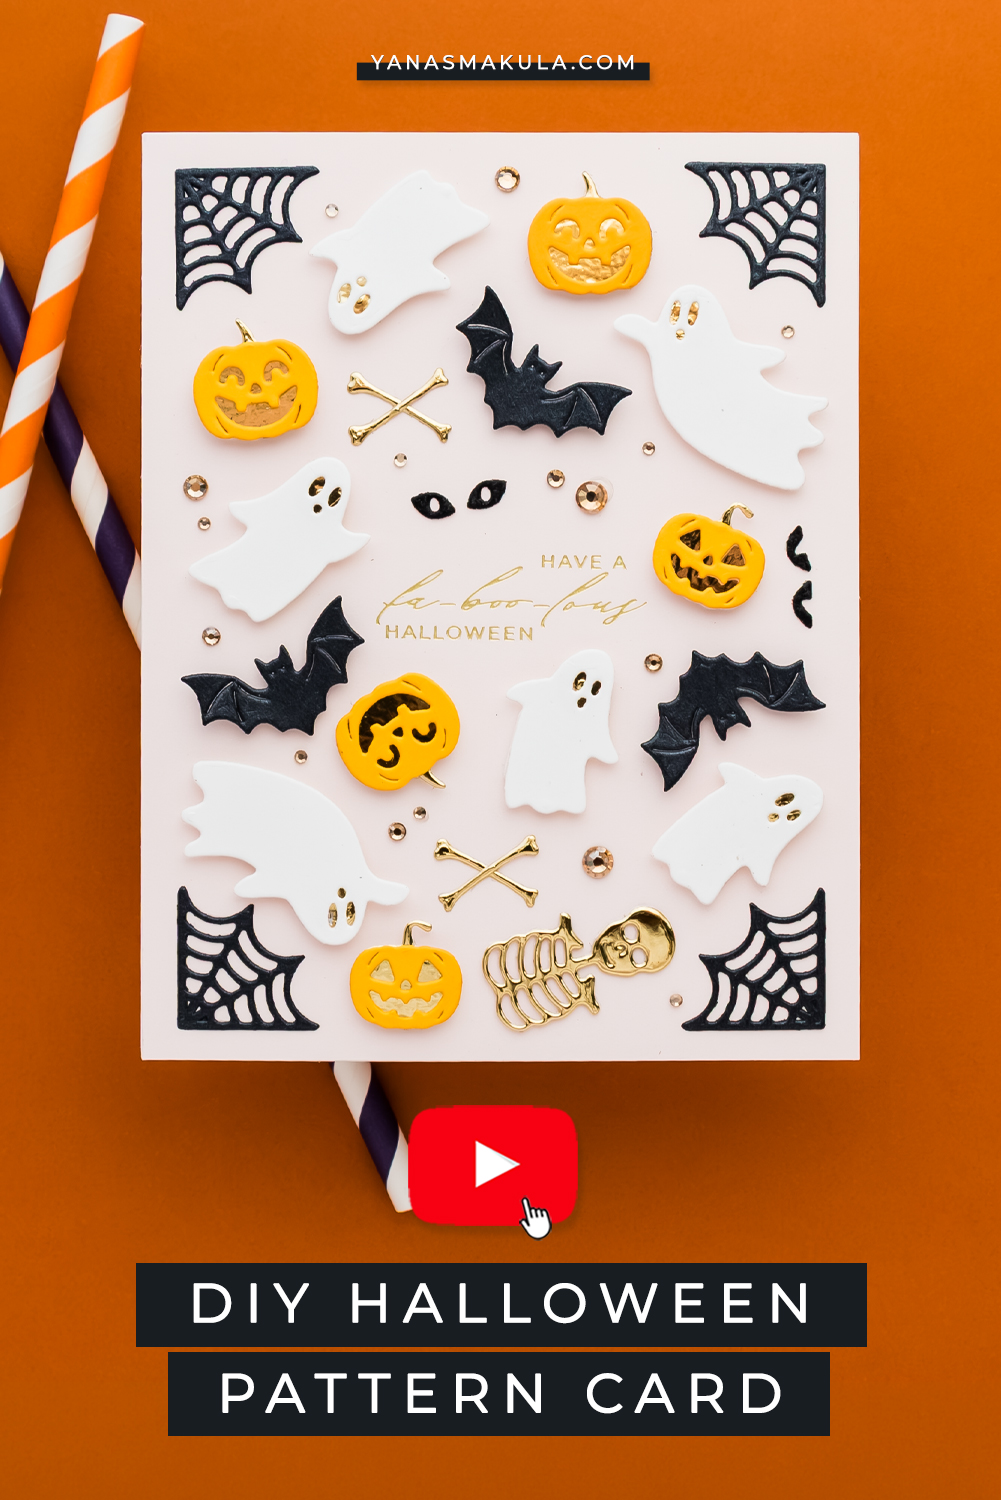
For this card, use the ghosts, pumpkins, bats, spiderwebs, skeleton, bones, and spooky eyes to build a decorative Halloween pattern around a foiled sentiment.
This approach is a great way to stretch the collection because the small dies can become background elements, focal points, decorative accents, or additions to completely different cards already in your creative stash.
Instead of using the traditional orange, green, and purple Halloween color combination, this project features a softer palette of Chiffon, Saffron, White, Brushed Black, and Mirror Gold. The result still feels unmistakably Halloween, but the lighter background and metallic accents give the card a slightly more elegant look.
VIDEO TUTORIAL
Watch the video tutorial below or on my YouTube channel to see how the die-cut pattern comes together.
I have also shared a separate collection introduction and a detailed haunted house tutorial showing how to combine these dies with the original City Holiday building. This project focuses entirely on using the Halloween City Holiday Decoration Dies on their own.
START WITH THE FOILED SENTIMENT
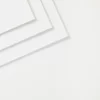
- To create the card, begin with a 4 1/4 x 5 1/2 inch panel of Spellbinders Chiffon Cardstock.
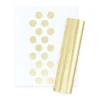
- Position one of the Happy Halloween BetterPress Sentiments in the center of the panel and foil it using Matte Gold Hot Foil.
Although these sentiments are BetterPress plates, they can also be used for hot foiling. This gives you two ways to work with the same plate – press the sentiment with ink using the BetterPress system or foil it for a metallic finish.
The sentiments in this collection were intentionally designed as four individual plates rather than one large plate containing several phrases. “One and done” sentiment plates are very convenient when you want to create several sentiments at once. A coordinating die can cut all of them in a single pass, giving you a collection of ready-to-use greetings. However, individual plates offer much more flexibility when you want the sentiment to become part of the card background.
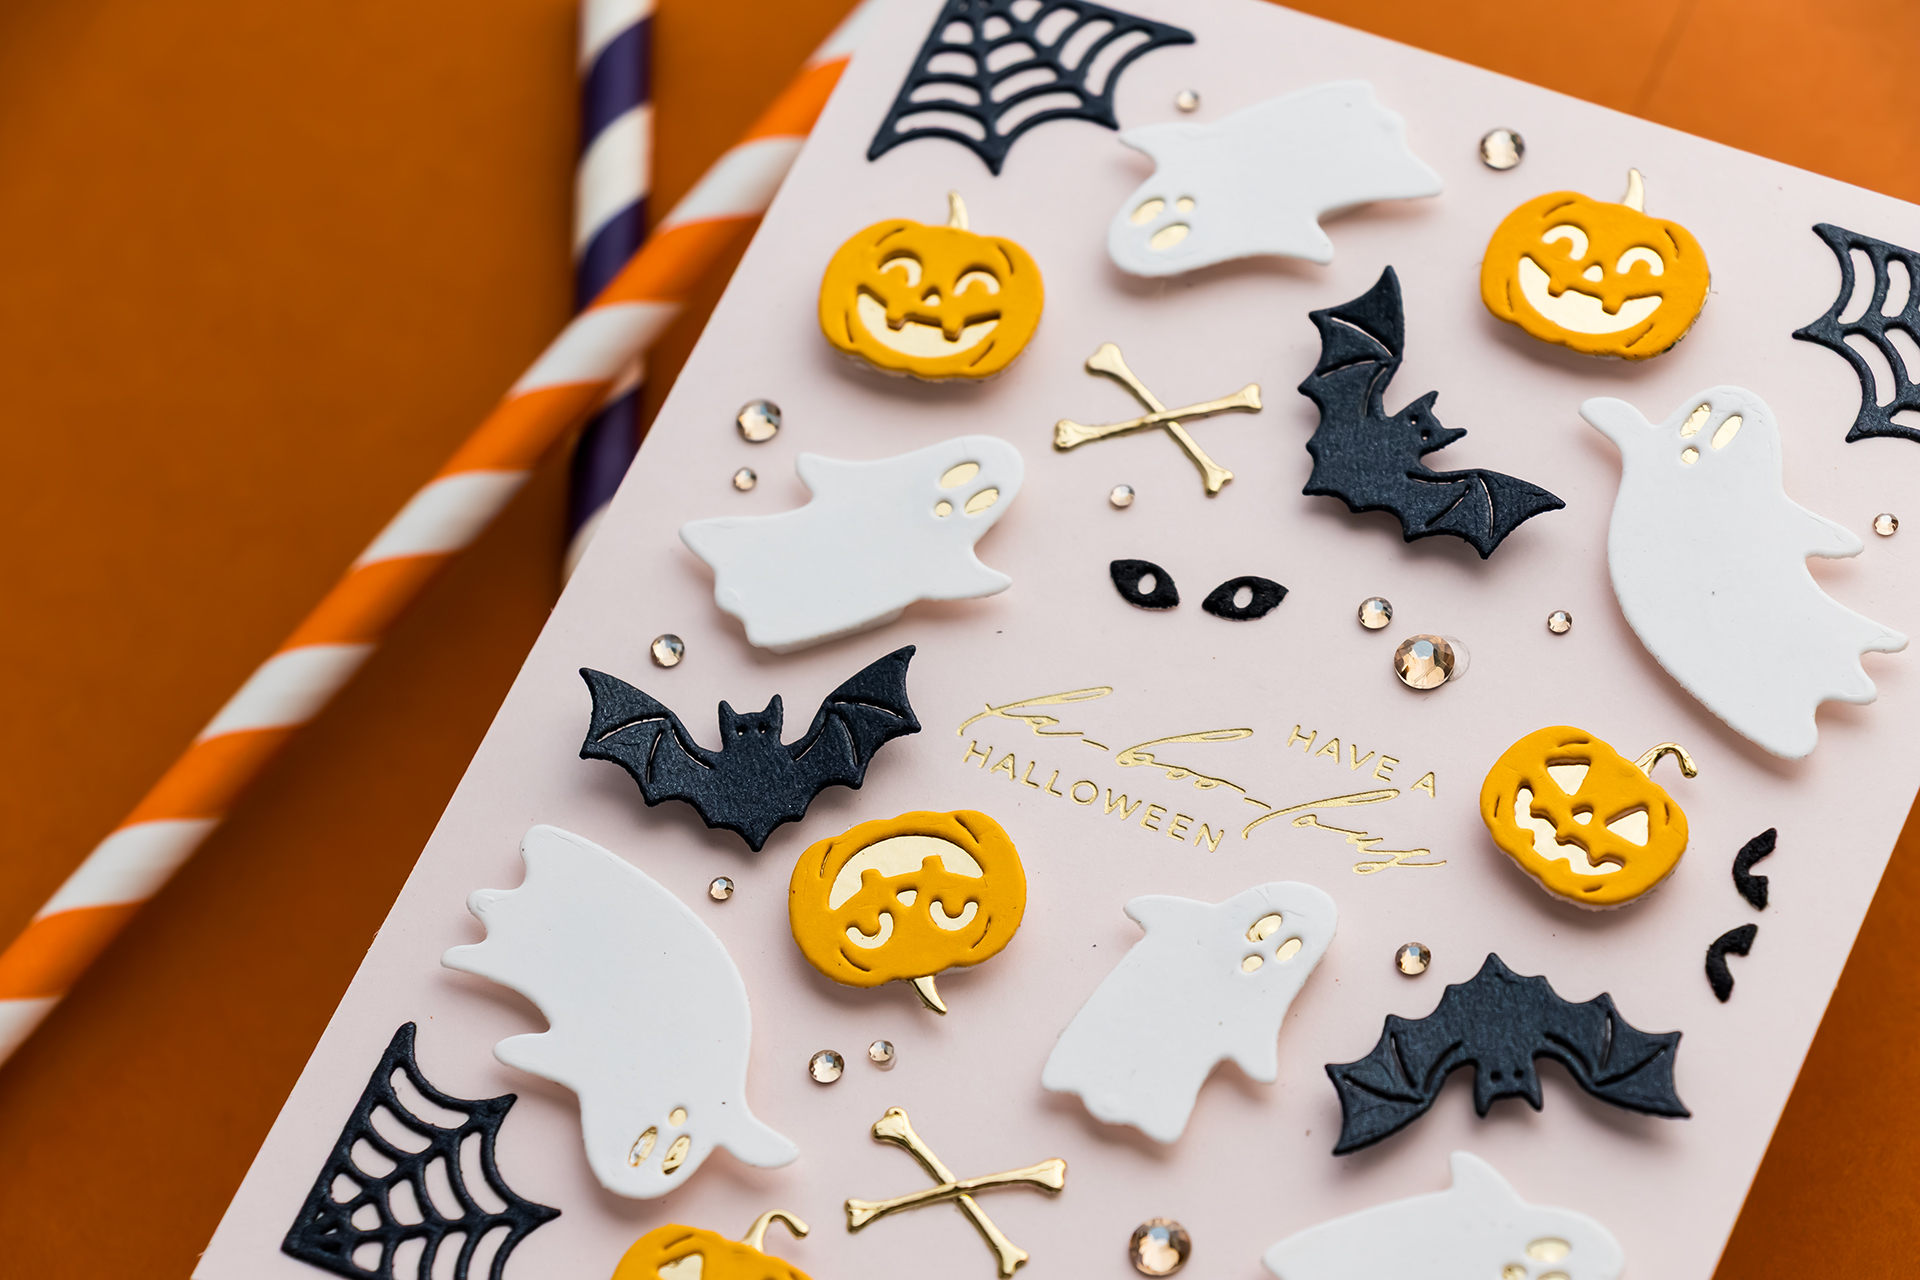
Because each phrase in this collection is separate, you can foil one sentiment directly in the center of a panel, place it near the bottom, position it at the top, or incorporate it into a larger scene. For this pattern card, centering the sentiment first creates a clear focal point and gives you a fixed area around which to arrange the die-cut elements.
- Once the foiling is complete, adhere the Chiffon panel to a white A2 side-folding card base.
You can also build the entire pattern before attaching the panel to the base. However, adhering it first provides a firm surface and helps prevent the panel from shifting while you arrange the individual die-cuts.
DIE CUT ALL OF THE HALLOWEEN ELEMENTS FIRST
- Before building the pattern, complete all of the die cutting and assemble each decorative element.
- Die cut every shape several times so you have more pieces than you think you will need.
Having extras available makes the pattern much easier to plan. You can test different arrangements, replace a piece that does not fit, and fill any awkward spaces without stopping to die cut again. For this card, include several pumpkins, ghosts, bats, spiderweb corners, spooky eyes, the skeleton, and loose bones.
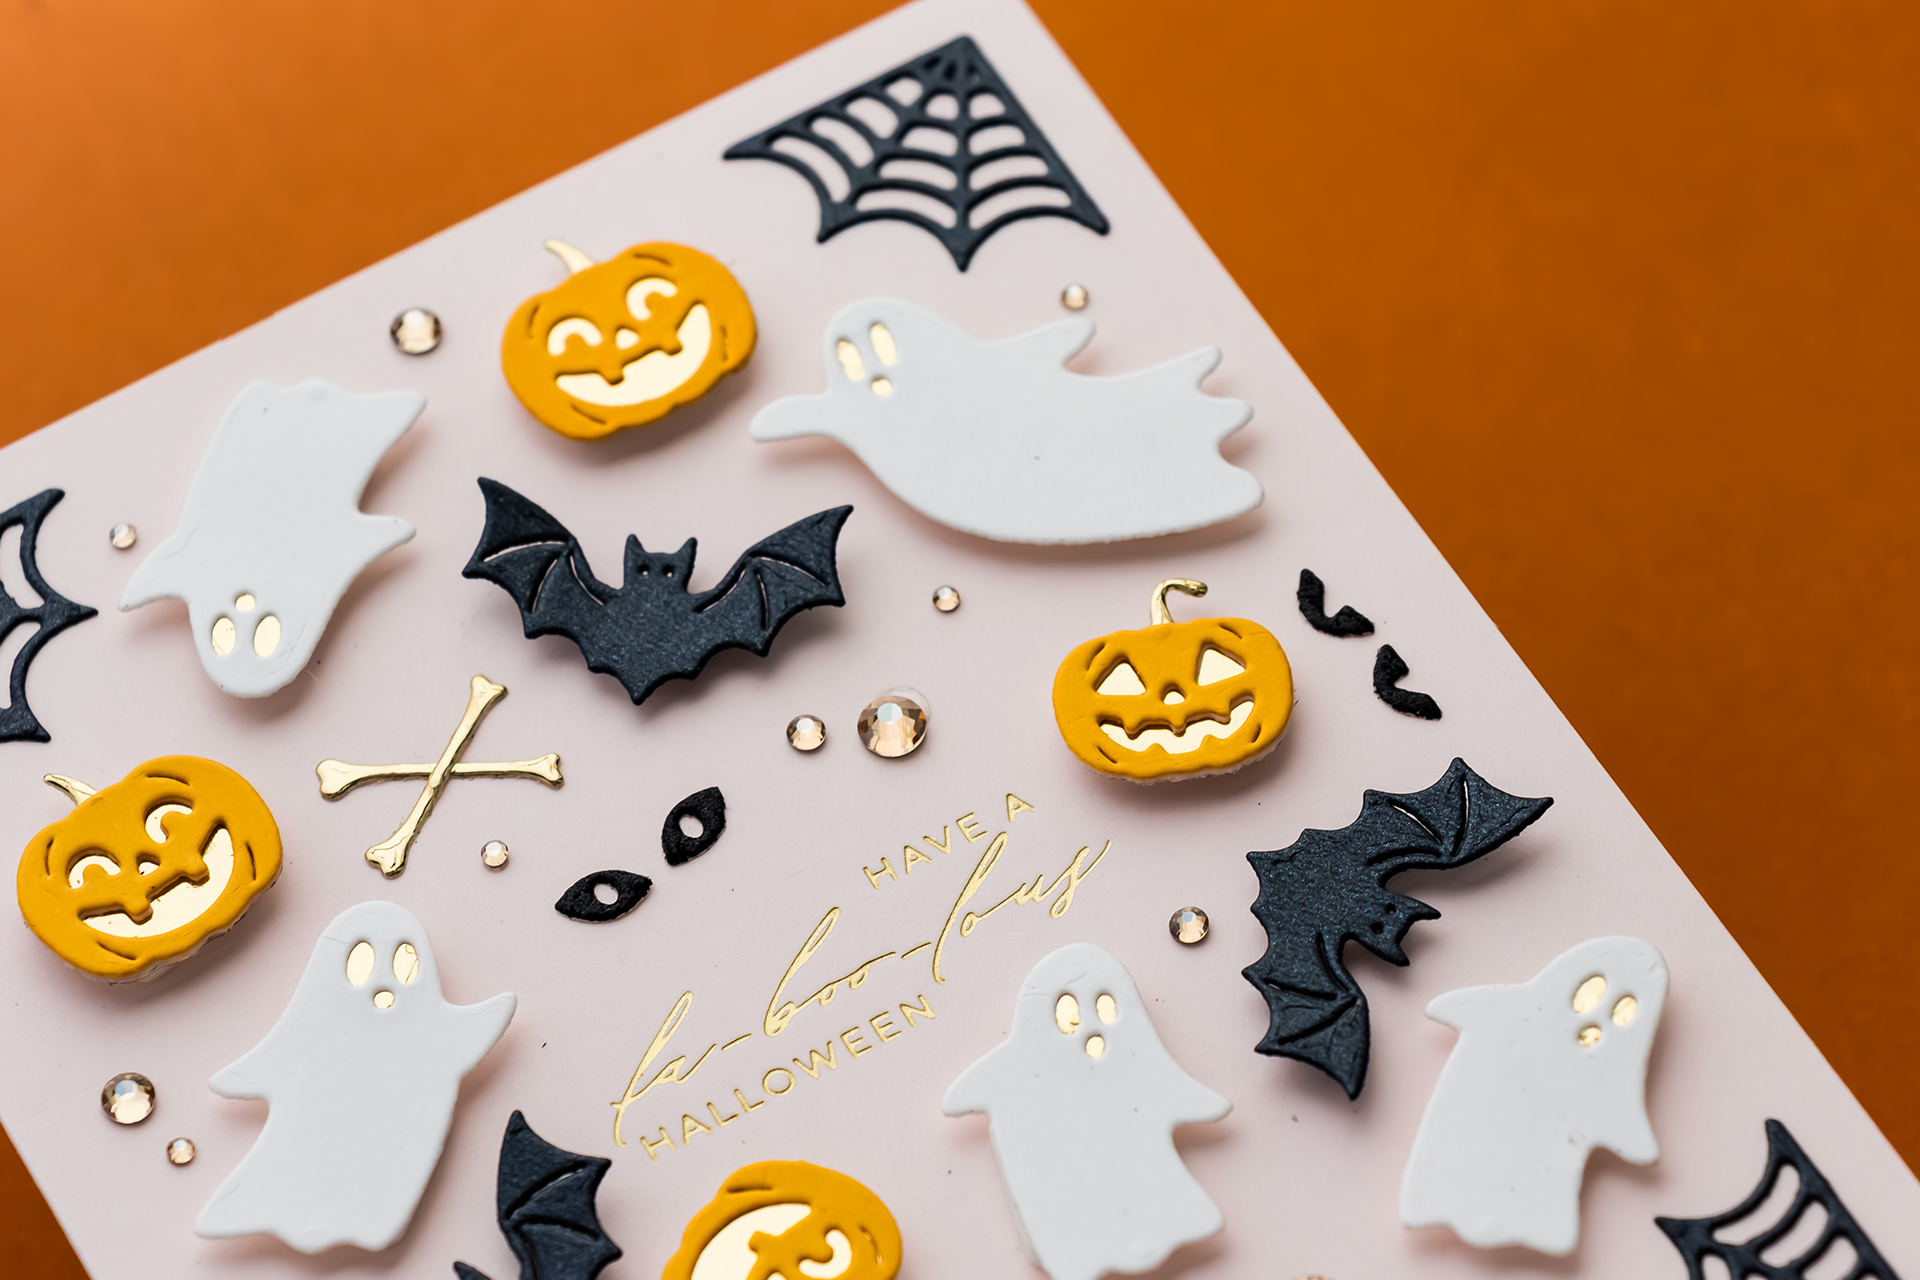
Small die-cut elements are particularly well suited to pattern building because you can repeat the same shapes without the card feeling overly busy. Repetition creates rhythm, while changing the direction and spacing keeps the design interesting.
Crafty tip: Complete all of the die cutting and assembly before arranging the pattern. Planning is much easier when you can see every shape, color, and size together.
CREATE A SOFT HALLOWEEN COLOR PALETTE
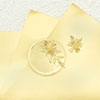
- To create the pumpkins, die cut the top layer from Spellbinders Saffron Cardstock.
Saffron is a warm yellow that still feels seasonal but offers a softer alternative to traditional Halloween orange.
- Back each pumpkin with a second layer cut from Spellbinders Mirror Gold Cardstock.
The reflective gold changes depending on the angle of the card. In some photographs, the carved openings may look dark. As the card moves and catches the light, the gold reflects through the jack-o’-lantern faces and creates the appearance of a light glowing inside.
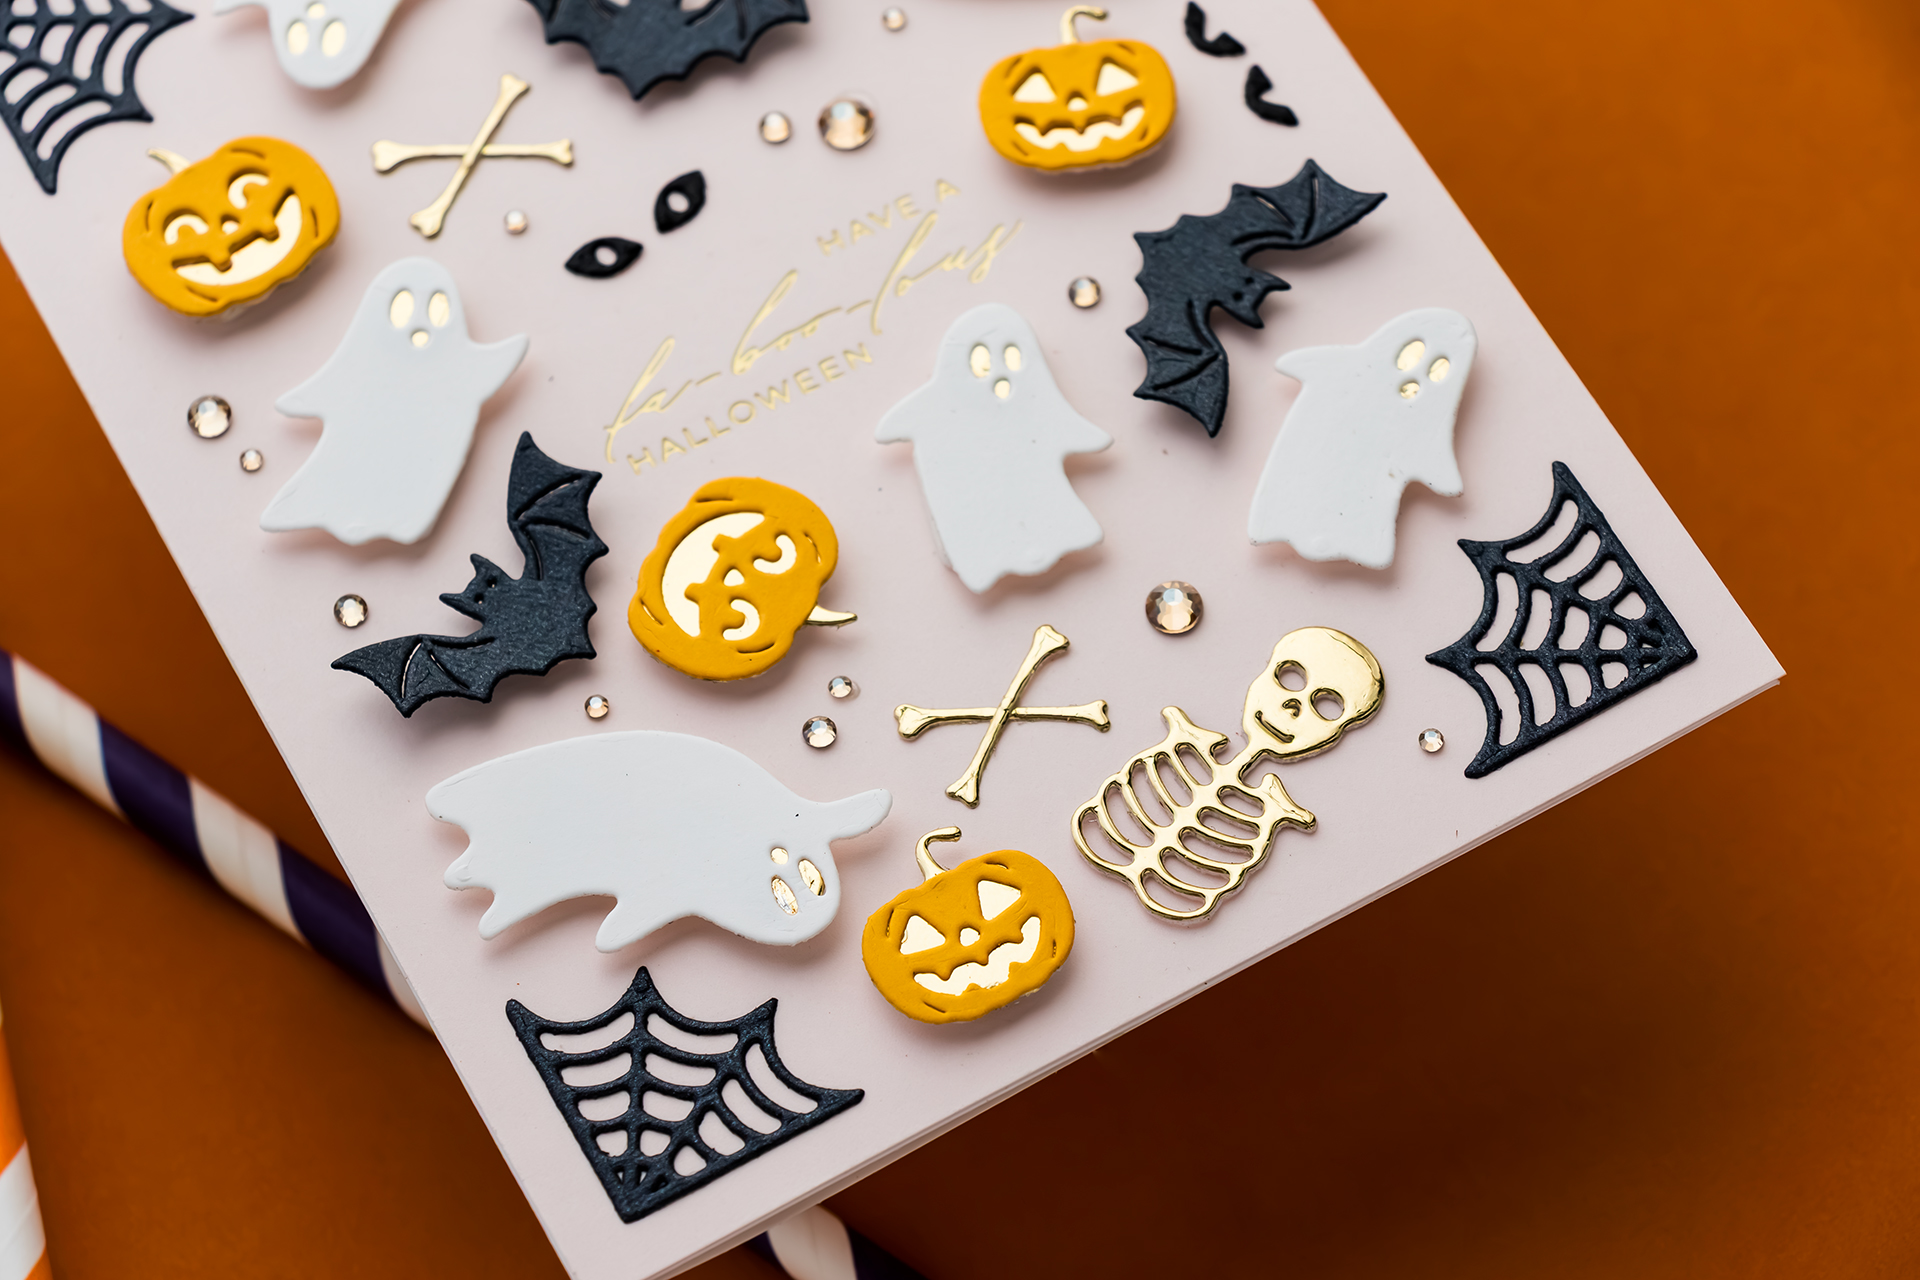
This is an easy way to create visual interest without adding additional pieces or an actual light source.
- Die cut the bats and spiderwebs from Spellbinders Brushed Black Cardstock.
Brushed Black is one of my favorite alternatives to plain black cardstock because it has a subtle shimmer. It still provides the strong contrast needed for Halloween designs, but the finish gives the die-cuts more depth and keeps the black areas from looking flat.
- Die-cut the ghosts from white cardstock. Use the separate backing dies to add black cardstock behind the ghost eyes and mouths. This creates clean, defined faces instead of leaving the openings empty.
You do not have to use black behind the ghosts. Try yellow, orange, metallic, or even glow-in-the-dark cardstock to create a completely different effect.
- Die cut the skeleton and loose bones from Mirror Gold Cardstock.
The gold skeleton connects visually with the foiled sentiment and the gold layers behind the pumpkins. Repeating the same metallic finish in several areas helps the color palette feel intentional rather than random.
The completed color combination includes:
- Chiffon for the background
- Saffron for the pumpkins
- White for the ghosts
- Brushed Black for the bats and spiderwebs
- Mirror Gold for the pumpkin backings, skeleton, bones, and metallic accents
- This palette is limited, but it includes enough contrast to keep every die-cut visible.
Design tip: When using an unusual seasonal color palette, repeat each color more than once. Repetition helps the combination feel cohesive, even when the colors are not traditionally associated with the holiday.
MARK THE OUTER EDGES OF THE PATTERN
To create a contained pattern, begin by positioning one corner spiderweb in each corner of the Chiffon panel. Do not place the webs directly against the edges. Leave approximately 1/4 inch of space between each spiderweb and the edge of the panel. This creates a small border around the finished pattern. You can increase the border to 1/2 inch for a more open design or reduce it to 1/8 inch if you want the pattern to fill more of the card front.
Use Bearly Art Precision Craft Glue to adhere the spiderwebs. These four corner pieces act as visual anchors. They establish the outer boundary of the pattern and make it easier to distribute the remaining elements evenly. Because the pattern stays entirely within the card panel, no die-cuts need to be trimmed along the edges. This gives the design a clean, framed appearance and keeps the surrounding border consistent.
PLAN THE PATTERN BEFORE ADHERING EVERYTHING
Once the spiderwebs are in place, begin arranging the remaining Halloween die-cuts around the foiled sentiment. Do not adhere the pieces immediately. Add small pieces of foam adhesive to the backs of the larger icons, but leave the release paper in place while planning.
The foam gives the die-cuts enough grip to stay where you place them, yet still allows you to move them around until you are happy with the composition. It also creates visual separation between the shapes and the Chiffon background. Start with the larger elements, such as the ghosts, pumpkins, and skeleton. Space them around the sentiment to create balance.
Next, add medium-size shapes, including bats and bones. Finally, use the smallest pieces, such as spooky eyes, to fill open areas. Keep checking the entire card rather than focusing on one corner at a time. A balanced random pattern should feel evenly filled, even though the pieces are not arranged in straight rows.
Crafty tip: Photograph the planned layout with your phone before removing the foam adhesive liners. If pieces shift during assembly, the photo gives you a quick placement guide.
ROTATE AND ALTERNATE THE ICONS
To make the pattern feel natural, rotate the die-cuts and vary their direction. Turn each pumpkin at a slightly different angle. Place one upright, tilt another to the side, and turn one upside down. Use the three different ghost designs throughout the background, rotating each one slightly so the repeated shapes do not appear too uniform.
Angle the bats in different directions to create movement. The only elements that need structured placement are the four spiderweb corners. Everything else can feel playful and random. Rotation is especially important when creating patterns with recognizable icons. If every pumpkin or ghost faces the same direction, the arrangement can begin to look rigid. Changing the orientation makes the eye travel around the card and helps the pattern feel more organic.
You can also use these dies to create a completely different pattern style. For a linear design, place the three ghosts across the card in a straight row and repeat that row several times. Create the same type of repeating pattern with pumpkins, bats, bones, or spiderwebs. Position the sentiment in the center, at the top, or near the bottom depending on the pattern.
For another option, use only one icon and create a monochromatic background. A panel filled with Brushed Black bats over Chiffon Cardstock would create a graphic and modern Halloween design.
Try this: Create one row of ghosts, one row of pumpkins, and one row of bats. Use consistent spacing to turn the same die set into a structured striped pattern.
ADD THE SPOOKY EYES
To create the spooky eyes, apply a double-sided adhesive sheet to the back of black glitter cardstock before die cutting. Die cut the two eye designs, keeping both the small eye pieces and the negative cardstock. Use the negative die-cut as a placement guide. Position the negative piece over the card panel, then place each eye back into its original opening. Press the eyes onto the panel and carefully lift the guide away.
This keeps the pairs properly spaced and makes the tiny pieces much easier to handle. Add two pairs of eyes to the background or repeat them several times for a much spookier effect. Black glitter cardstock works beautifully with this color palette, but the eyes could also be cut from yellow, orange, Mirror Gold, or glow-in-the-dark cardstock. Using a bright color would make them look as though they are glowing from the background.
Crafty tip: Adhesive sheets are ideal for very small die-cuts. Adding adhesive before die cutting turns the pieces into stickers and removes the need to apply tiny dots of liquid glue.
ADHERE THE FINISHED PATTERN
Once you are happy with the arrangement, begin attaching the die-cuts permanently. Remove the foam adhesive liners from the raised pieces and press them into place. Use Bearly Art Precision Craft Glue for flat elements and any small pieces that do not need dimension.
Keep the central sentiment clear and readable. The surrounding pattern should frame the greeting rather than compete with it. Check the spacing between nearby icons. Small gaps help each shape remain recognizable, especially where black, gold, and white elements meet.
The foam-mounted pieces create subtle shadows, while the flat spiderwebs and smaller accents sit closer to the background. Mixing these two levels of dimension gives the card more depth without making it difficult to mail.
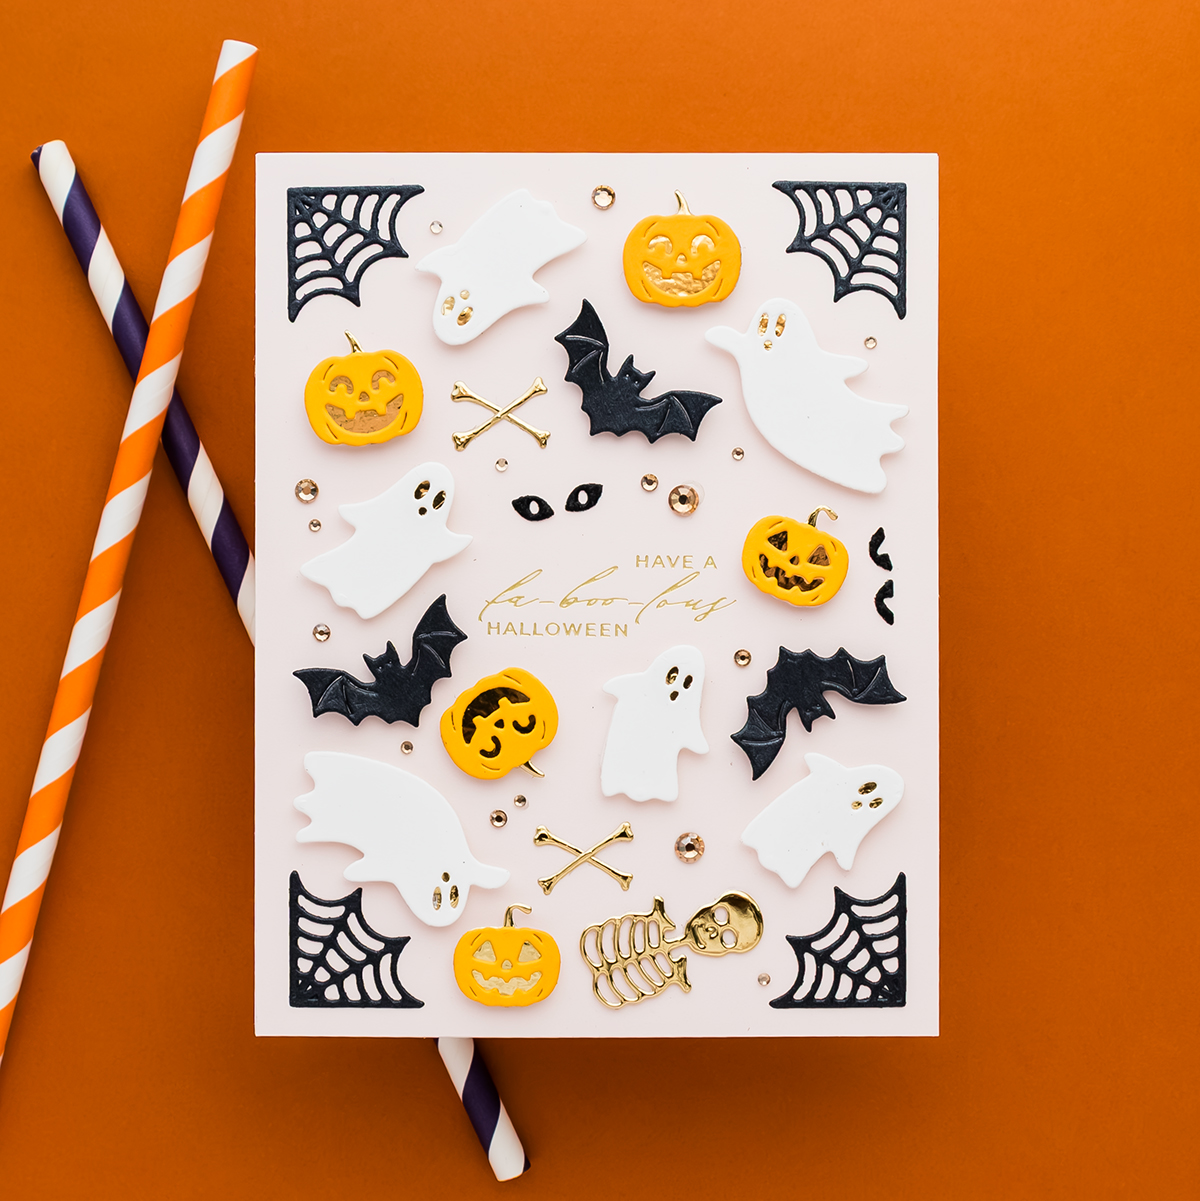
The individual dies may have been designed to decorate an architectural scene, but they also work beautifully as independent cardmaking elements.
Use them to build patterns, embellish stamped backgrounds, add details to other Halloween scenes, create tags, decorate envelopes, or combine them with plates, stencils, and dies already in your stash. The pattern used here is random and contained within the card front, but you can easily adapt the idea. Try a full-bleed pattern extending beyond the edges, a repeating linear design, a circular arrangement around the sentiment, or a border made from one repeated icon.
That versatility is one of the reasons I enjoy designing small supporting dies. They may begin as details for a larger collection, but they can often become the starting point for completely new projects.
Would you create this pattern with the same soft color palette, or would you use traditional Halloween orange, green, and purple?
Have fun creating!
SUPPLIES
Affiliate links used at no additional cost to you.

This is so fun
Great work! TFS – I have a hard time finding time for Halloween cards. By that time, I am already stressing about getting Xmas cards going, so I jump over Halloween, make 10 or so Thanksgiving cards and then start on Xmas.