

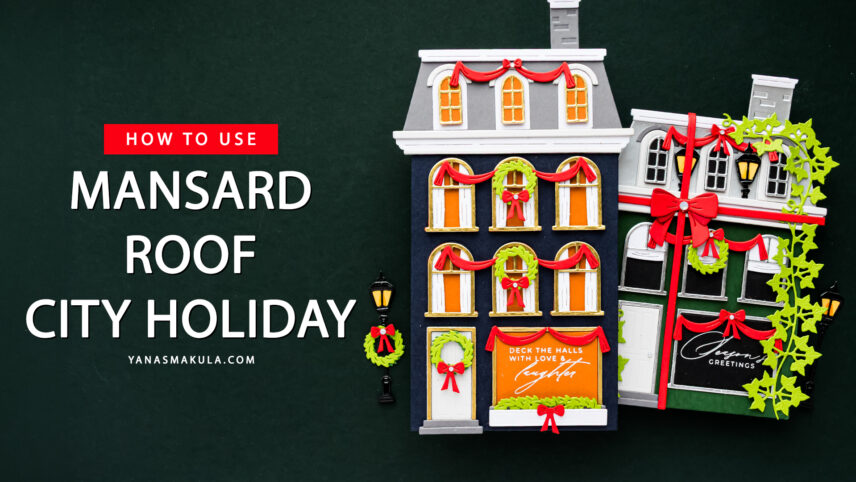

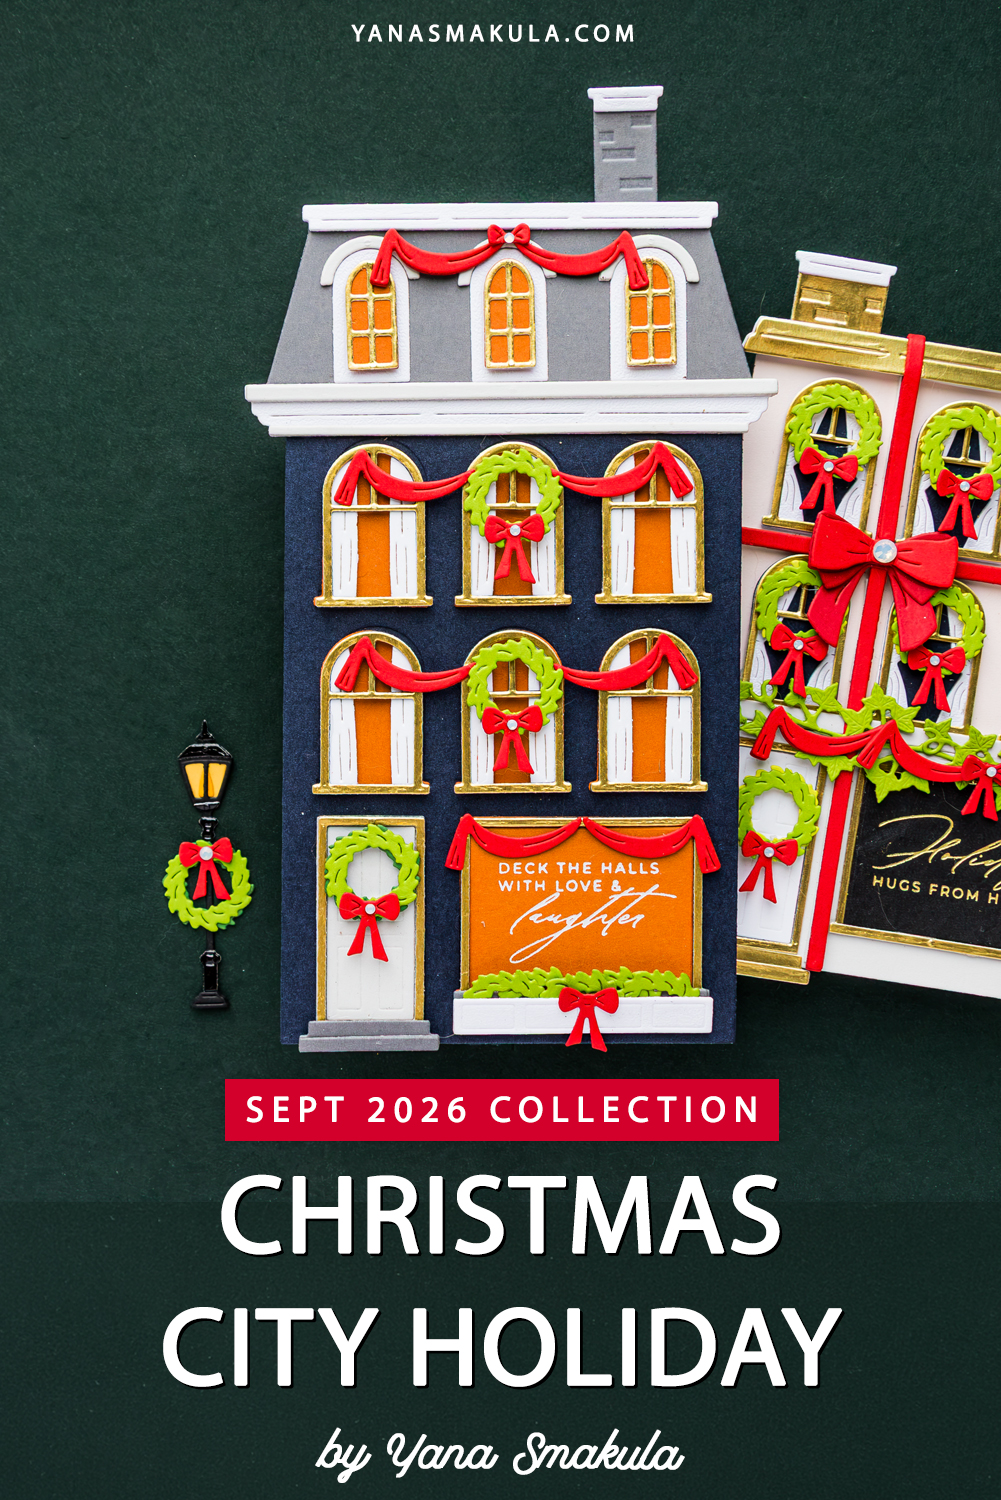
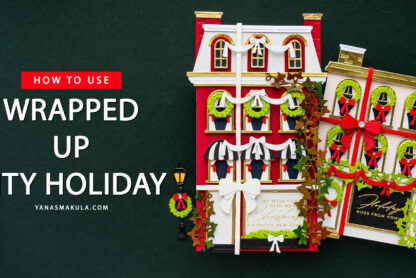
Hi, crafty friends! I’m excited to share another project featuring my Christmas City Holiday Collection for Spellbinders! Today we’re taking a closer look at the Mansard Roof Etched Dies, a new add-on designed to work with the original City Holiday Etched Dies. If you’ve been enjoying building little neighborhoods with the City Holiday collection, this new roof completely changes the personality of the house and gives it a beautiful European feel.
One of my favorite things about this collection is that it continues to grow. Instead of replacing the original building, each new add-on gives you another way to use it. The Mansard Roof Etched Dies instantly transform the original building into something that reminds me of the beautiful townhouses and boutique hotels I love photographing whenever I travel through Europe.
Like this project? Pin it and save it for later
VIDEO TUTORIAL
In today’s video, I’ll show you how to assemble the Mansard Roof Etched Dies step by step while sharing many of the little design decisions that help bring this building to life. You can watch the full tutorial below or on my YouTube channel.
Choosing a Color Palette
Whenever I start working on a new City Holiday project, I begin by choosing my color combination. One of my favorite sources of inspiration is architecture. Every time I travel through Europe, I find myself taking countless photos of beautiful buildings. Later, those photos become inspiration for my cards. Looking at real buildings often leads to unexpected color combinations and architectural details that translate beautifully into paper crafting.
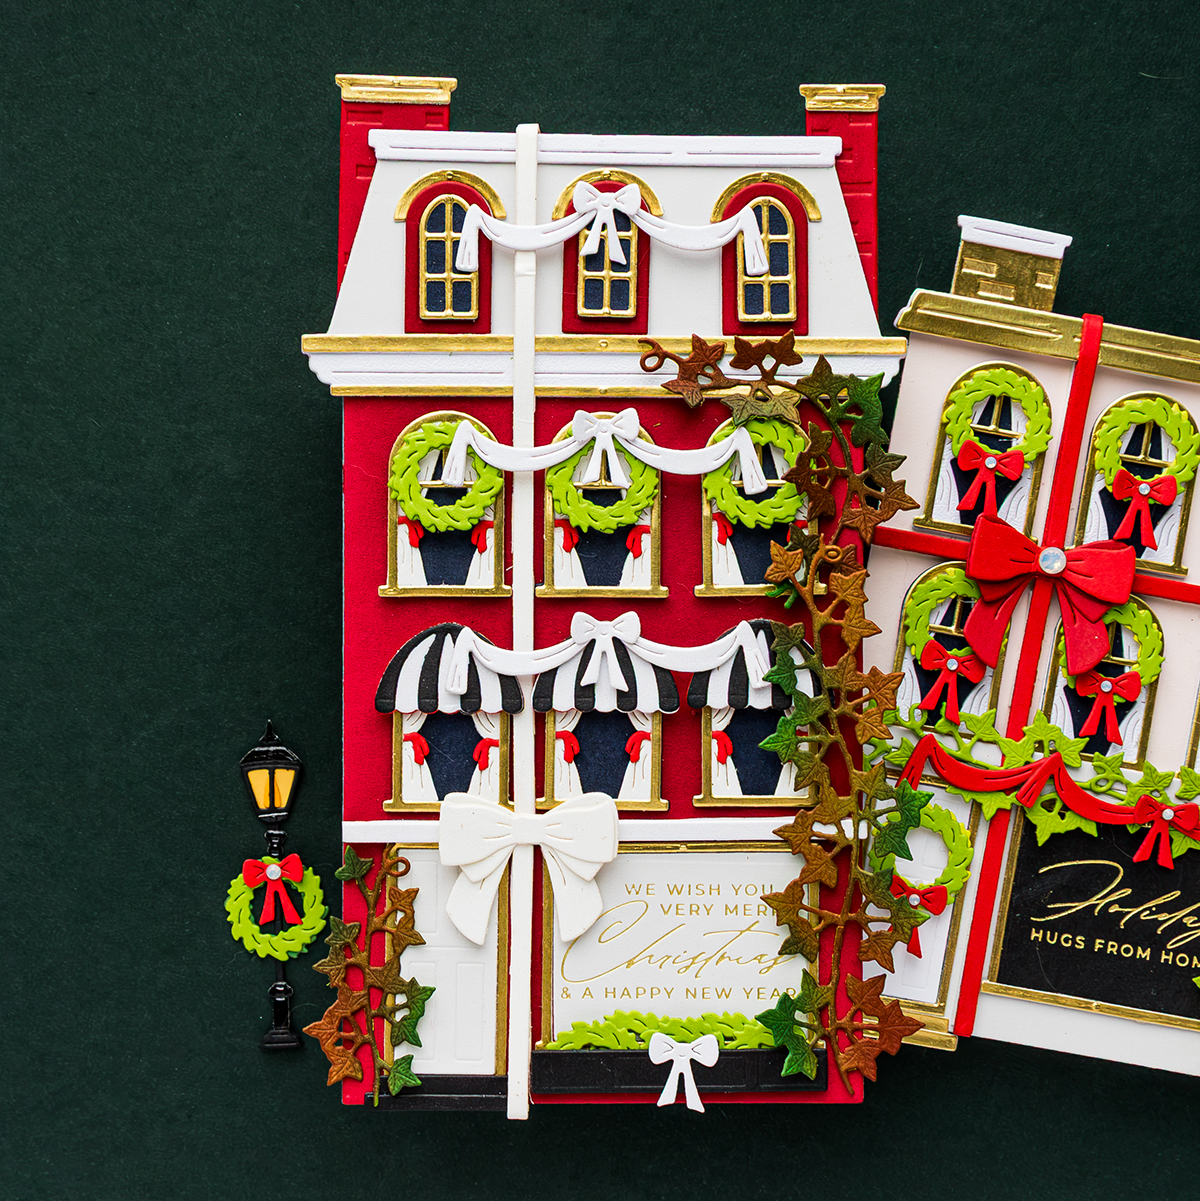
For this house, I wanted the look of a classic brick building, so I chose Spellbinders Cranberry Cardstock for the exterior. Rather than using a bright holiday red, Cranberry creates a deeper, richer tone that feels timeless and elegant.
To complement the red, I used Spellbinders Satin Gold Cardstock for the window frames, door, door frame, and gallery window. Gold windows may not exist in real life, but they add warmth and sophistication that works beautifully on a handmade card.
Creating Realistic Windows
The windows are one of my favorite parts of the City Holiday collection because they allow you to completely change the mood of the building. For this card, I wanted a daytime scene, so I used Spellbinders Indigo Cardstock behind the windows to create the look of dark glass.
If you’re creating an evening scene instead, simply replace the Indigo with Saffron Cardstock or Terracotta Cardstock to give the impression that the lights are glowing inside.
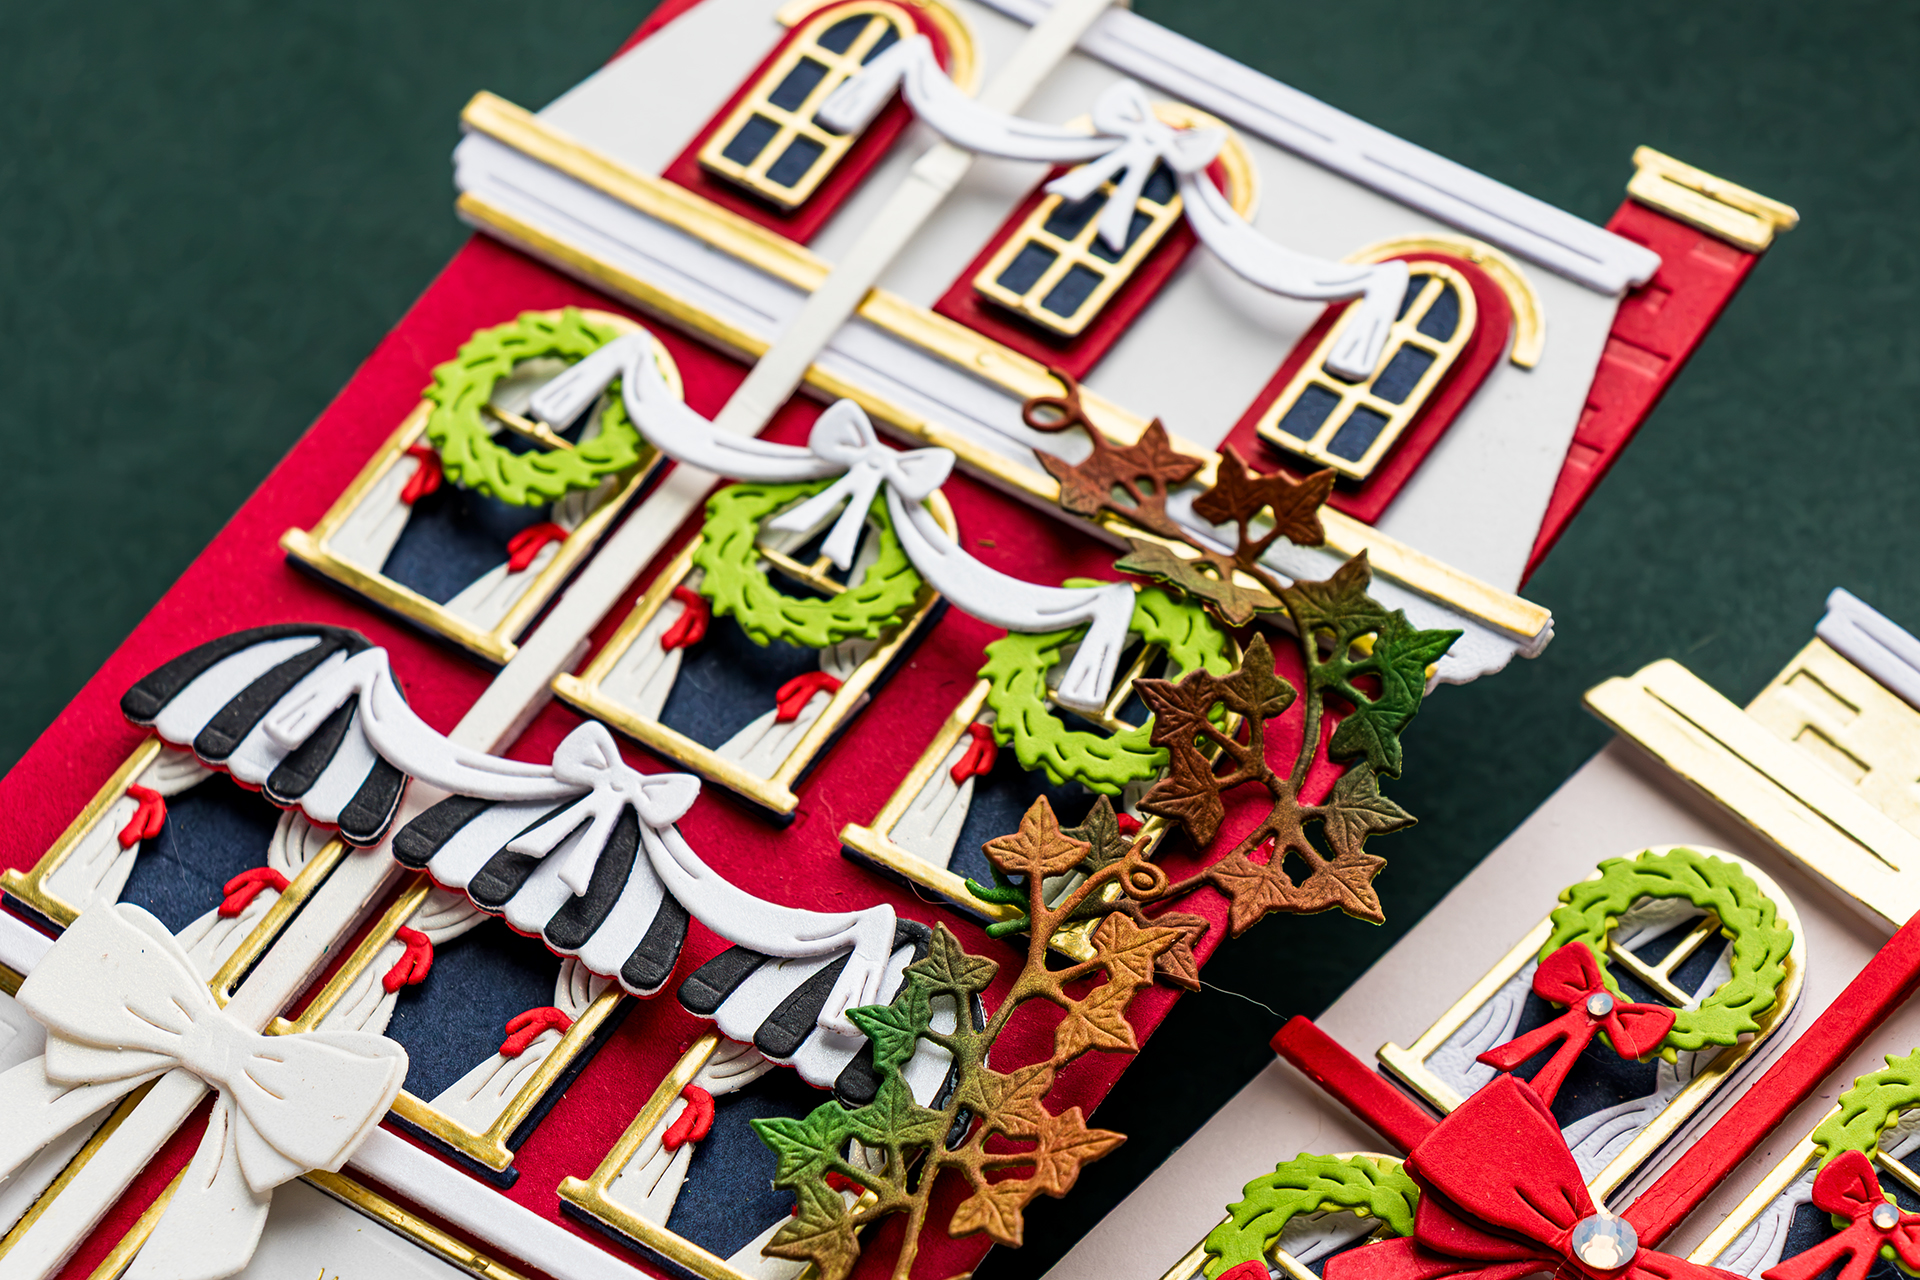
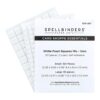
To make assembling the windows easier, I applied Double-Sided Adhesive Sheets to the back of the satin gold cardstock before die cutting the frames. This turns each frame into a sticker and makes assembly quick and precise.
Building the Mansard Roof
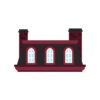
The new Mansard Roof Etched Dies were designed to coordinate perfectly with the original City Holiday Etched Dies. For this project, I cut the main roof from Spellbinders Fog Cardstock, although it also looks beautiful cut fromMirror Silver Cardstock orAnchor Cardstock.
The decorative trim was die cut from textured white cardstock. Using textured cardstock on architectural trim helps mimic the look of real building materials and gives the roof much more character.
I also like to stack two or three die cuts together before assembling the roof. Layering cardstock instead of relying solely on foam adhesive creates sturdy die cuts with beautiful dimension.
Assembling the Roof Windows
The Mansard Roof includes three decorative roof windows that become one of the focal points of the building.
I assembled the windows using:
- Satin Gold Cardstock for the window frames
- Indigo Cardstock for the window backing
- Cranberry Cardstock for the outer window frame
To create realistic depth, I popped the outer window frames up using 1 mm foam adhesive squares. Real Mansard roof windows project outward from the roof, and adding that small amount of dimension recreates the same architectural effect. Each die includes embossed placement guides, making assembly straightforward. I also added the optional decorative trim above the windows using satin gold cardstock. Although it’s an extra step, it adds so much detail that I highly recommend including it.
Chimneys with a Purpose
The chimneys aren’t just decorative, they were designed to hide the corners of the original City Holiday building whenever you shorten the house to fit on an A2 card. Of course, you can also use them simply as decorative elements or even add them to the original roof if you aren’t using the Mansard Roof at all.
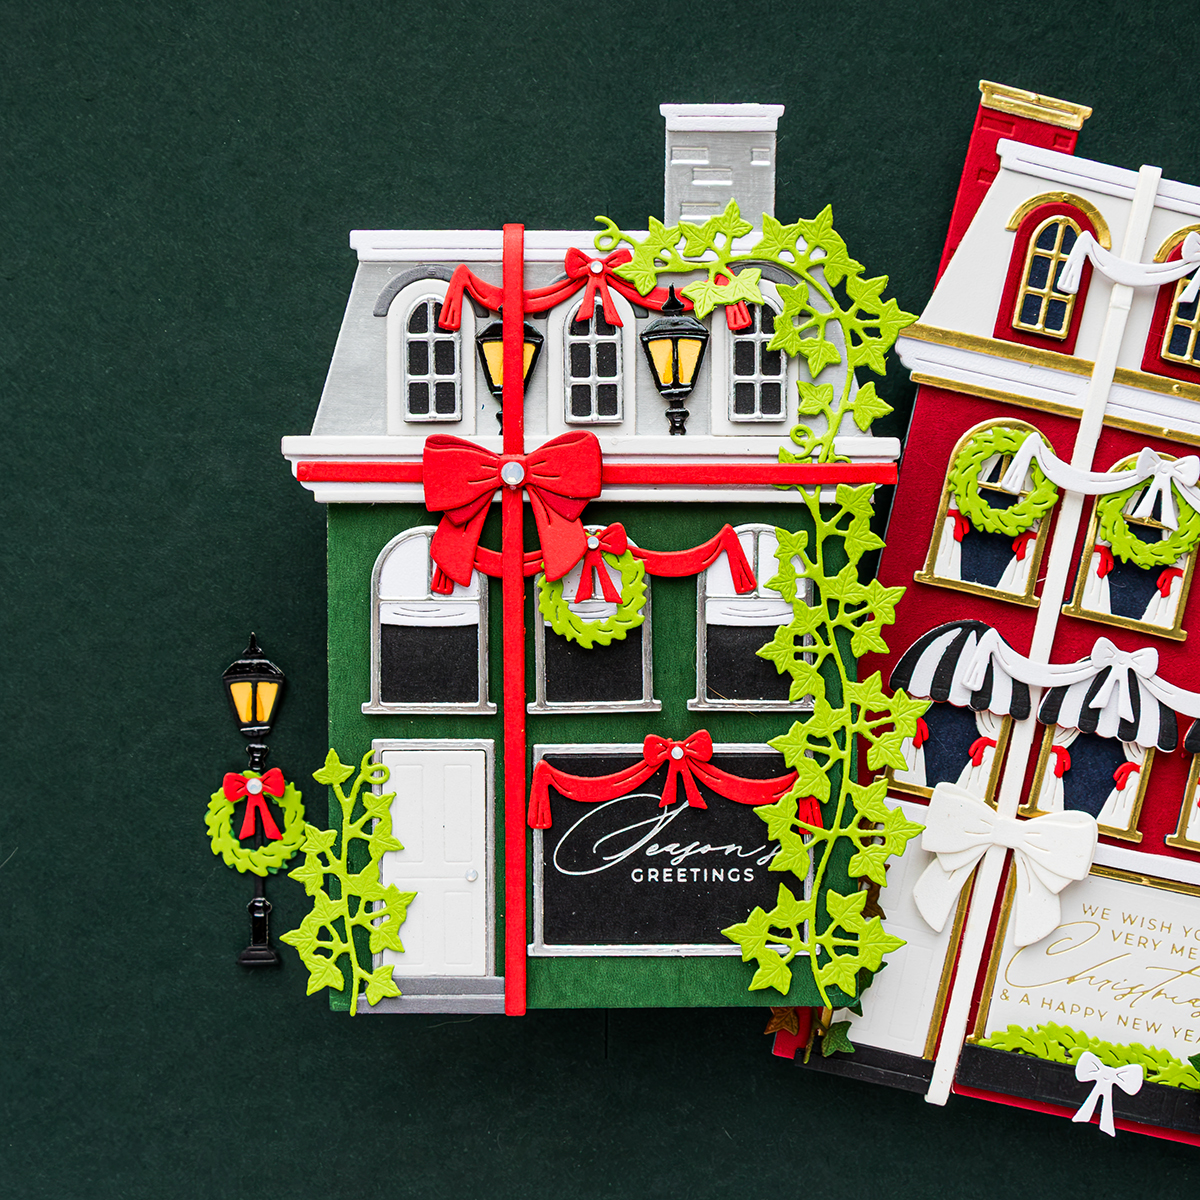
It’s one of those little design features that gives you additional flexibility depending on the size of your finished card.
Bringing Everything Together
Once the building was assembled, I added the Mansard Roof along with both chimneys. Next came the awnings, which were die cut from Brushed White Cardstock and layered withBlack Cardstock. Each awning was popped up using 1 mm foam adhesive to add another layer of dimension.
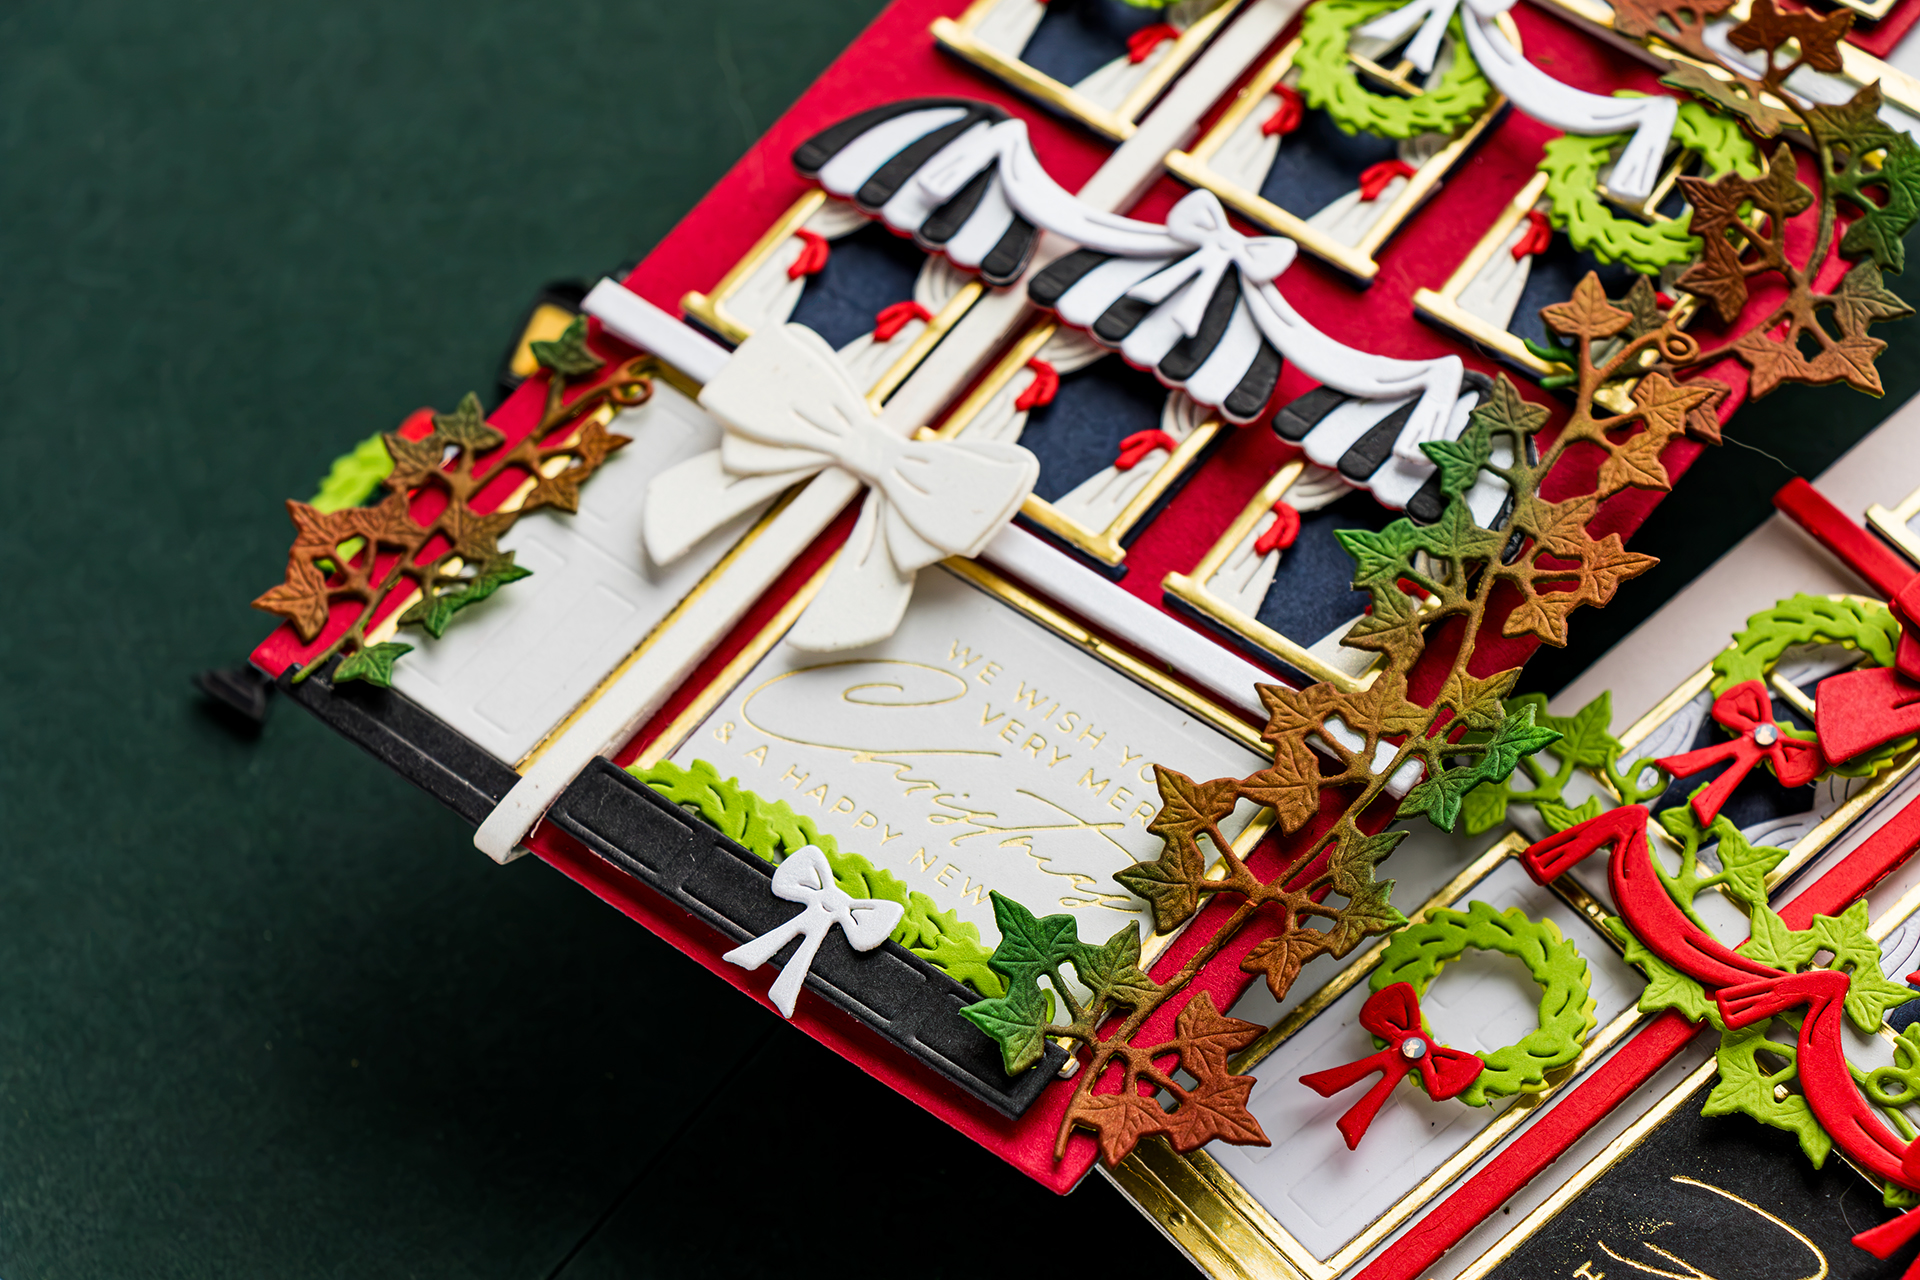
One thing I love about the City Holiday collection is that all of the add-ons work together. For example, I borrowed the flower boxes from the Everyday City Holiday Add-On Etched Dies and even tucked half of a wreath inside to create the look of evergreen planters. Mixing elements between the collections lets you create completely custom buildings that feel unique every time.
The Finished House
The completed building has exactly the classic European feel I was hoping for. The Cranberry exterior paired with satin gold windows creates a rich holiday palette, while the Mansard Roof changes the silhouette of the original City Holiday building.
It’s one of my favorite additions to the collection because it gives the original building an entirely new personality while still working seamlessly with everything that came before it.
I hope today’s project inspires you to experiment with different color combinations, cardstock finishes, and architectural details to create your own charming holiday village.
Happy crafting!
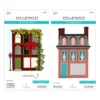
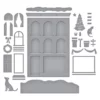
SUPPLIES
I’m listing the products I used below. Click on the links to go directly to the products. Where available, I use compensated affiliate links, which means if you make a purchase, I receive a small commission at no extra cost to you. Thank you so much for your support!


So pretty! Ordered my set today…