

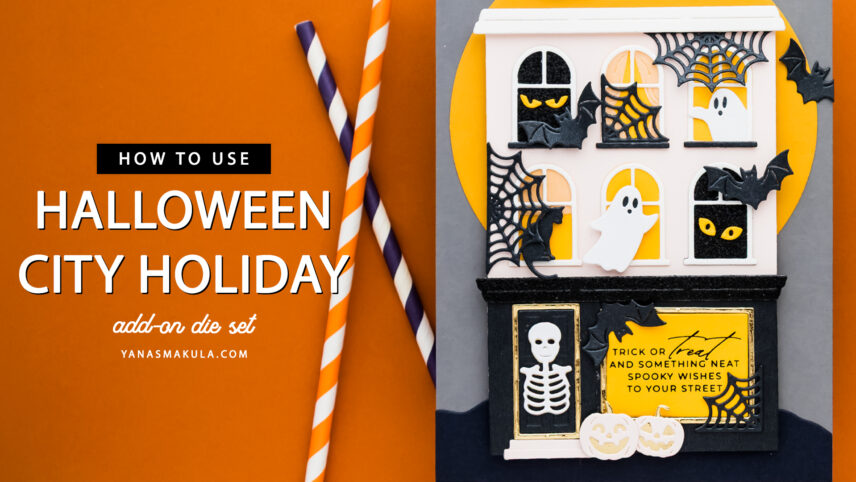

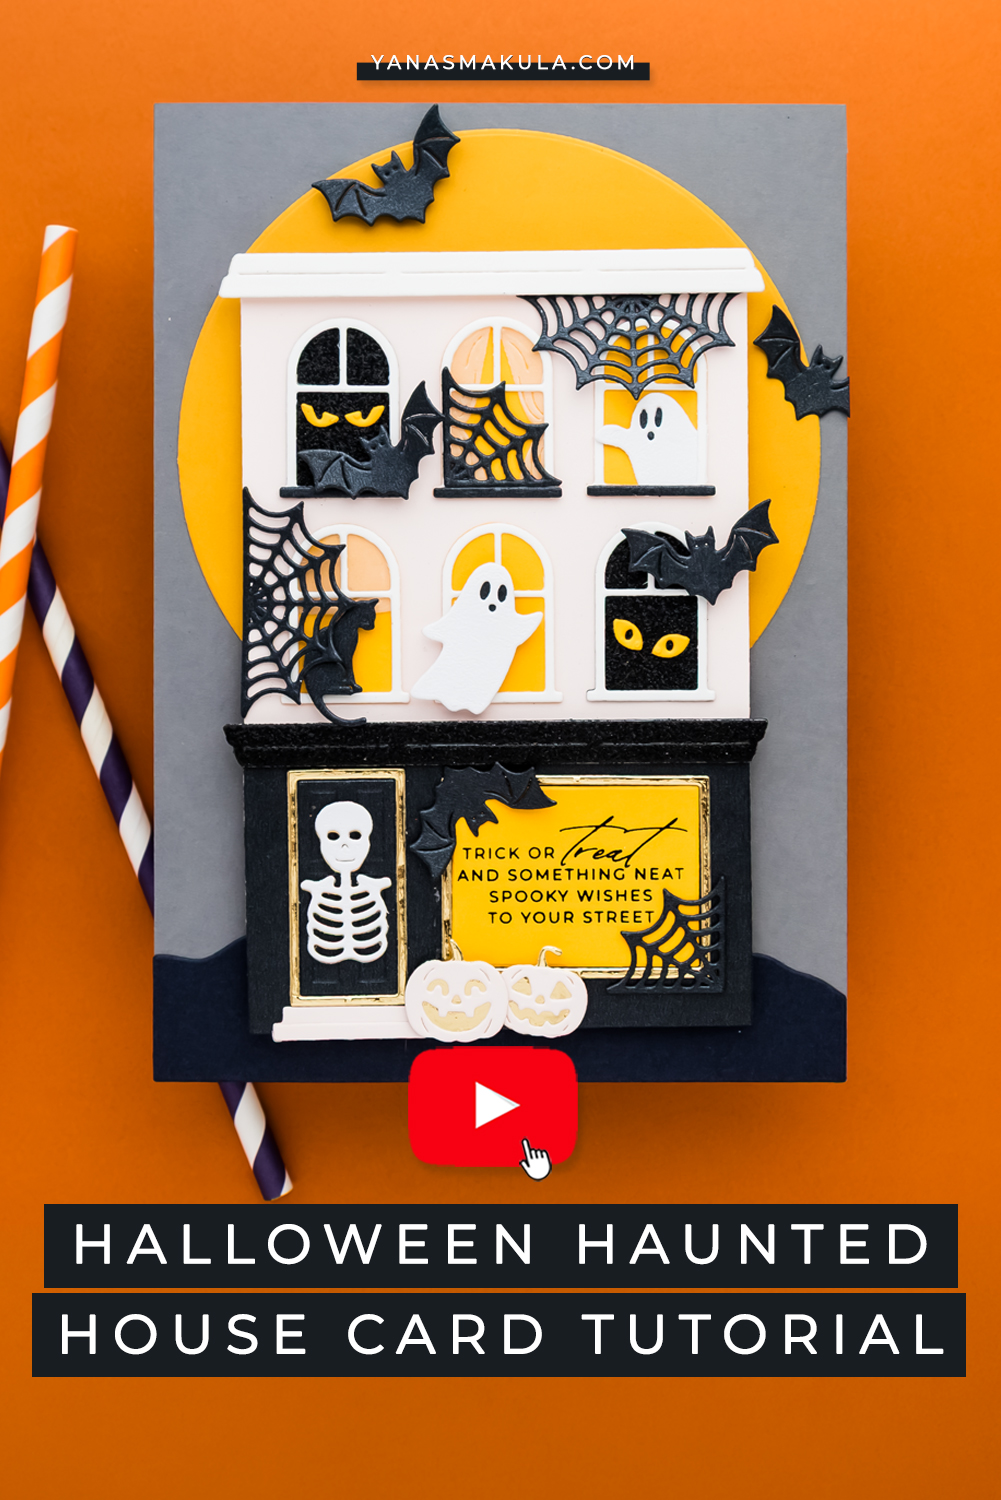
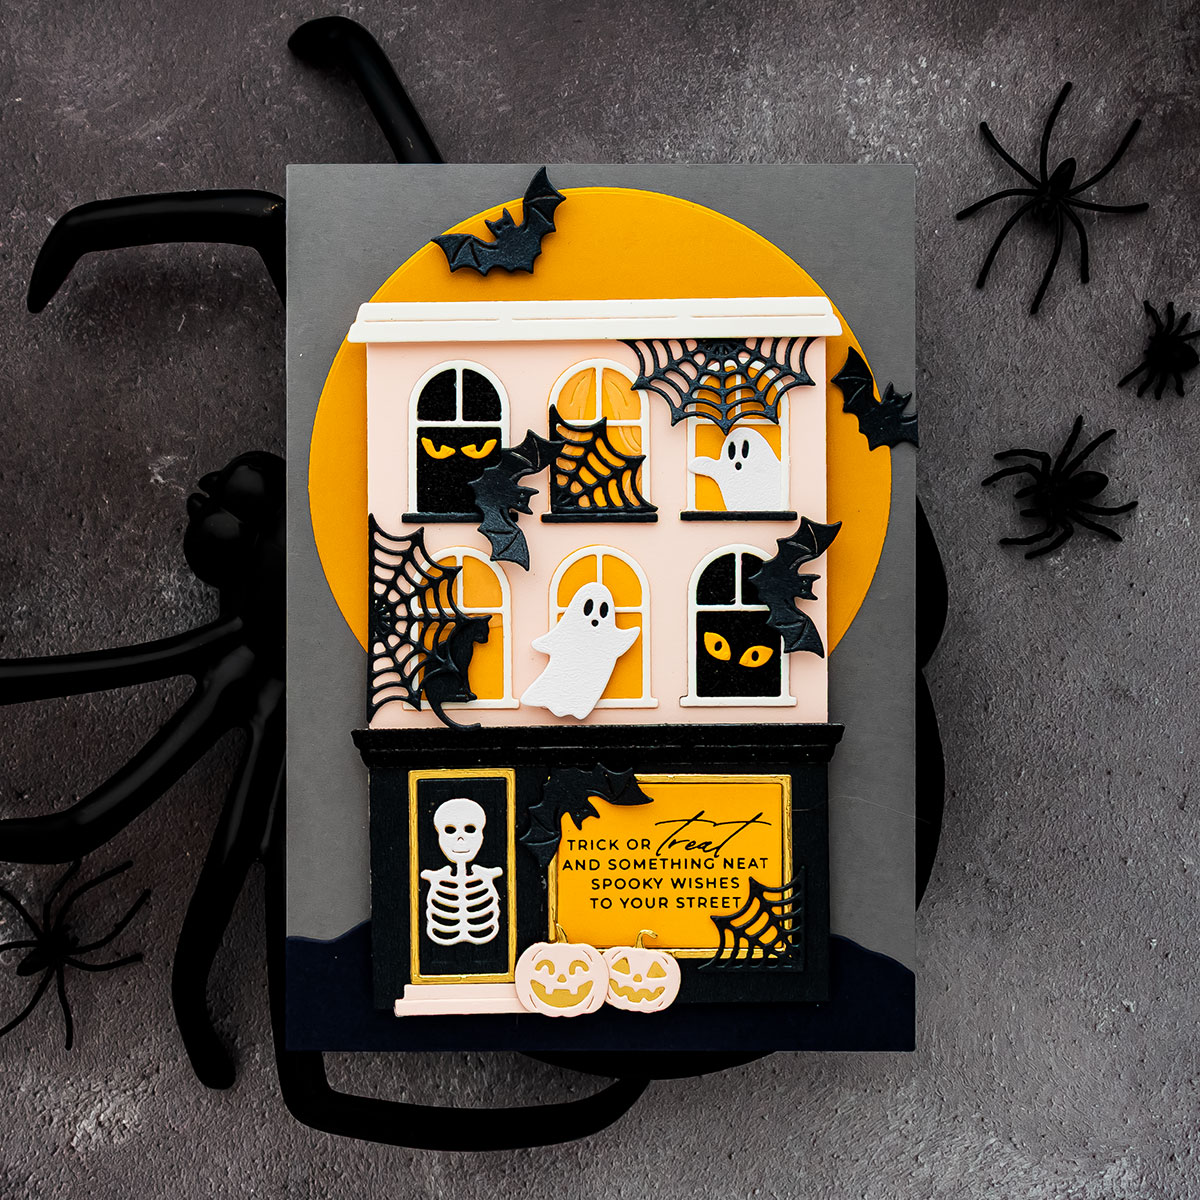
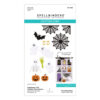
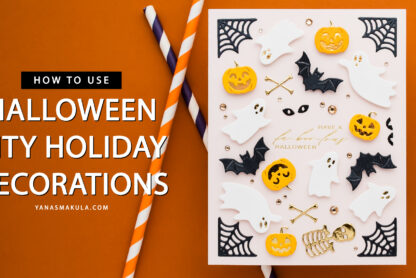
Create a spooky Halloween haunted house card using the Spellbinders City Holiday Die Set together with the Halloween City Holiday Add-On Dies.
This add-on gives the original townhouse an entirely new look. Instead of building a cozy city home, transform it into a haunted house filled with ghosts, bats, pumpkins, spiderwebs, spooky eyes, glowing windows, and lots of small Halloween details.
Like this project? Pin it and save it for later.
The Halloween City Holiday Add-On Dies can also be used on their own, but for this project, combine them with the original City Holiday building to create a detailed 5 x 7 card.
VIDEO TUTORIAL
Watch the video tutorial below or on my YouTube channel to see the full assembly process.
If you are new to the City Holiday collection, begin with the original City Holiday assembly tutorial. That video explains how to build the basic structure before adding the seasonal details.
CREATING A TWO-TONE CITY HOLIDAY BUILDING
Begin by die cutting two complete City Holiday buildings.
- Die cut one building from Spellbinders Brushed Black Cardstock. Die cut the second building from Spellbinders Chiffon Cardstock (learn more about Spellbinders Color Wheel Cardstock HERE).
- Use a paper trimmer to cut the first floor away from the Brushed Black Cardstock building.
- Keep the first floor black, then use the second and third floors from the Chiffon Cardstock building.
- Adhere the Chiffon section above the black first floor to create one complete building.
This simple color-blocking technique immediately gives the structure more character and creates stronger contrast between the floors.
For a more customized look, die cut each floor from a different cardstock color. Alternate light and dark sections, combine several neutral shades, or repeat part of the building to make the structure taller.
The original City Holiday die creates the basic architecture, but changing the cardstock colors completely changes the personality of the building.
USE THE ROOF DIE AS DECORATIVE MOLDING
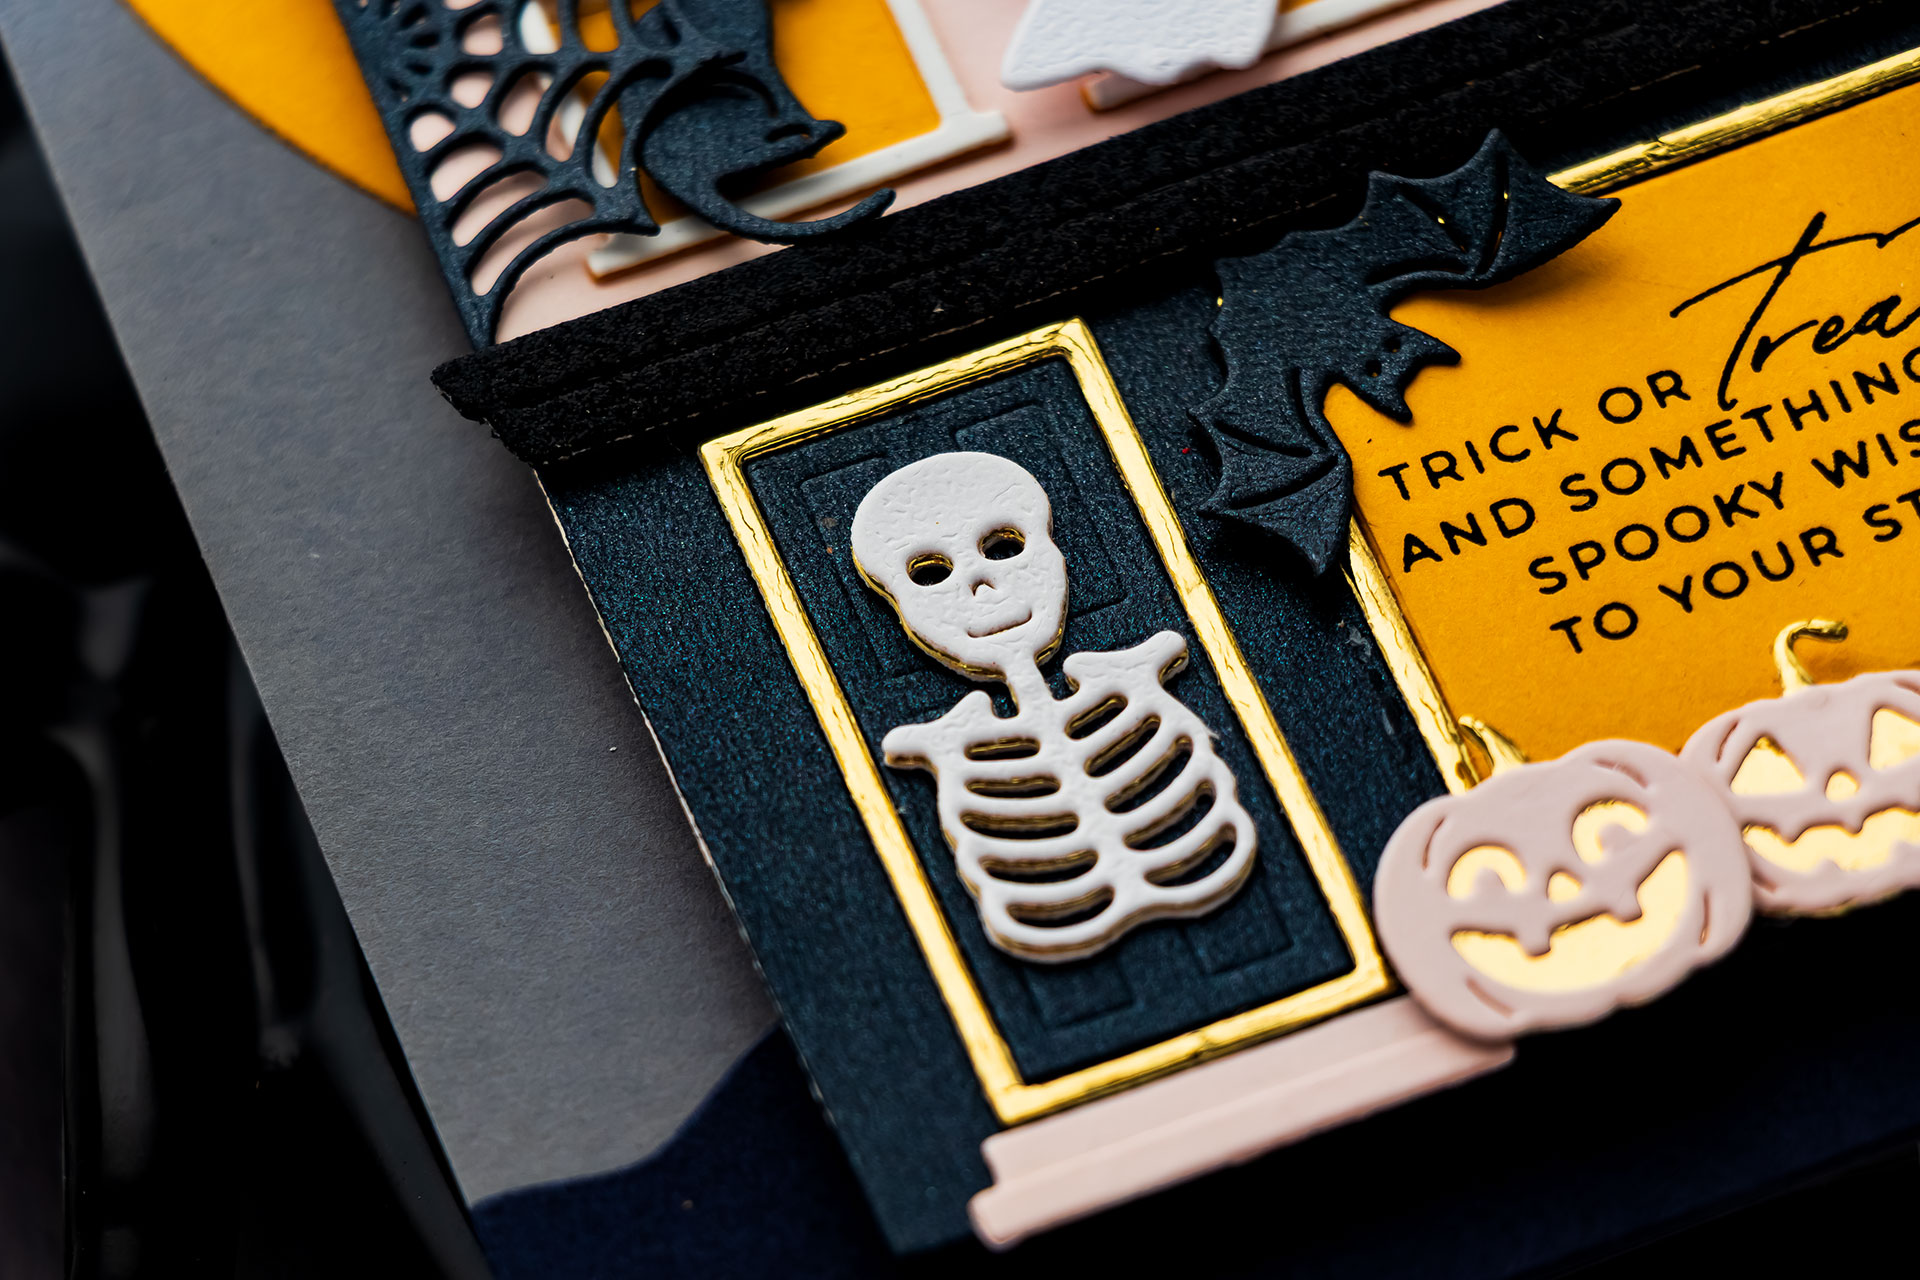
- Die-cut the roof piece from black glitter cardstock from the Spellbinders Treasured Cardstock Pack. Instead of placing the die-cut at the top of the building, flip it upside down.
- Position it between the first and second floors to create decorative architectural molding.
This simple change turns the roof piece into ornate trim and adds another layer of detail to the house.
- Use a long foam adhesive strip to attach the molding.
- Choose a continuous strip instead of several small foam squares so the entire die-cut remains supported. This also helps keep the piece straight and prevents the narrow ends from lifting.
- Attach the roof to the top of the building.
When assembling intricate die-cut projects, work on a Glassboard Studio Magnetic Glass Craft Mat. Use the magnets to hold the building and small die-cuts in place while checking the placement and allowing the adhesive to dry.
CREATE THE WINDOW FRAMES
- Before die cutting the window frames, apply Spellbinders Double-Sided Adhesive Sheets to the back of Neenah Classic Crest Solar White 80 lb Cardstock.
- Die cut all of the window frames from the adhesive-backed cardstock.
- Peel away the release paper from each frame and use the die-cuts like stickers.
This technique eliminates the need to apply liquid glue to the narrow edges of every window frame. It also helps keep the front of the cardstock clean.
Use adhesive sheets for other intricate pieces as well, especially detailed borders, small sentiments, thin frames, and decorative die-cuts.
CREATE GLOWING AND DARK WINDOWS
- Die cut window backing pieces from Spellbinders Saffron Cardstock. Place the Saffron Cardstock behind the windows that should appear illuminated.
- Die cut additional backing pieces from black glitter cardstock. Place the black glitter cardstock behind the windows that should remain dark.
Mix the lit and dark windows throughout the building instead of making every window identical. This variation makes the house feel more realistic because not every room would have the lights on at the same time. The Saffron Cardstock creates the look of warm indoor lighting without adding an actual light source.
ADD SPOOKY EYES
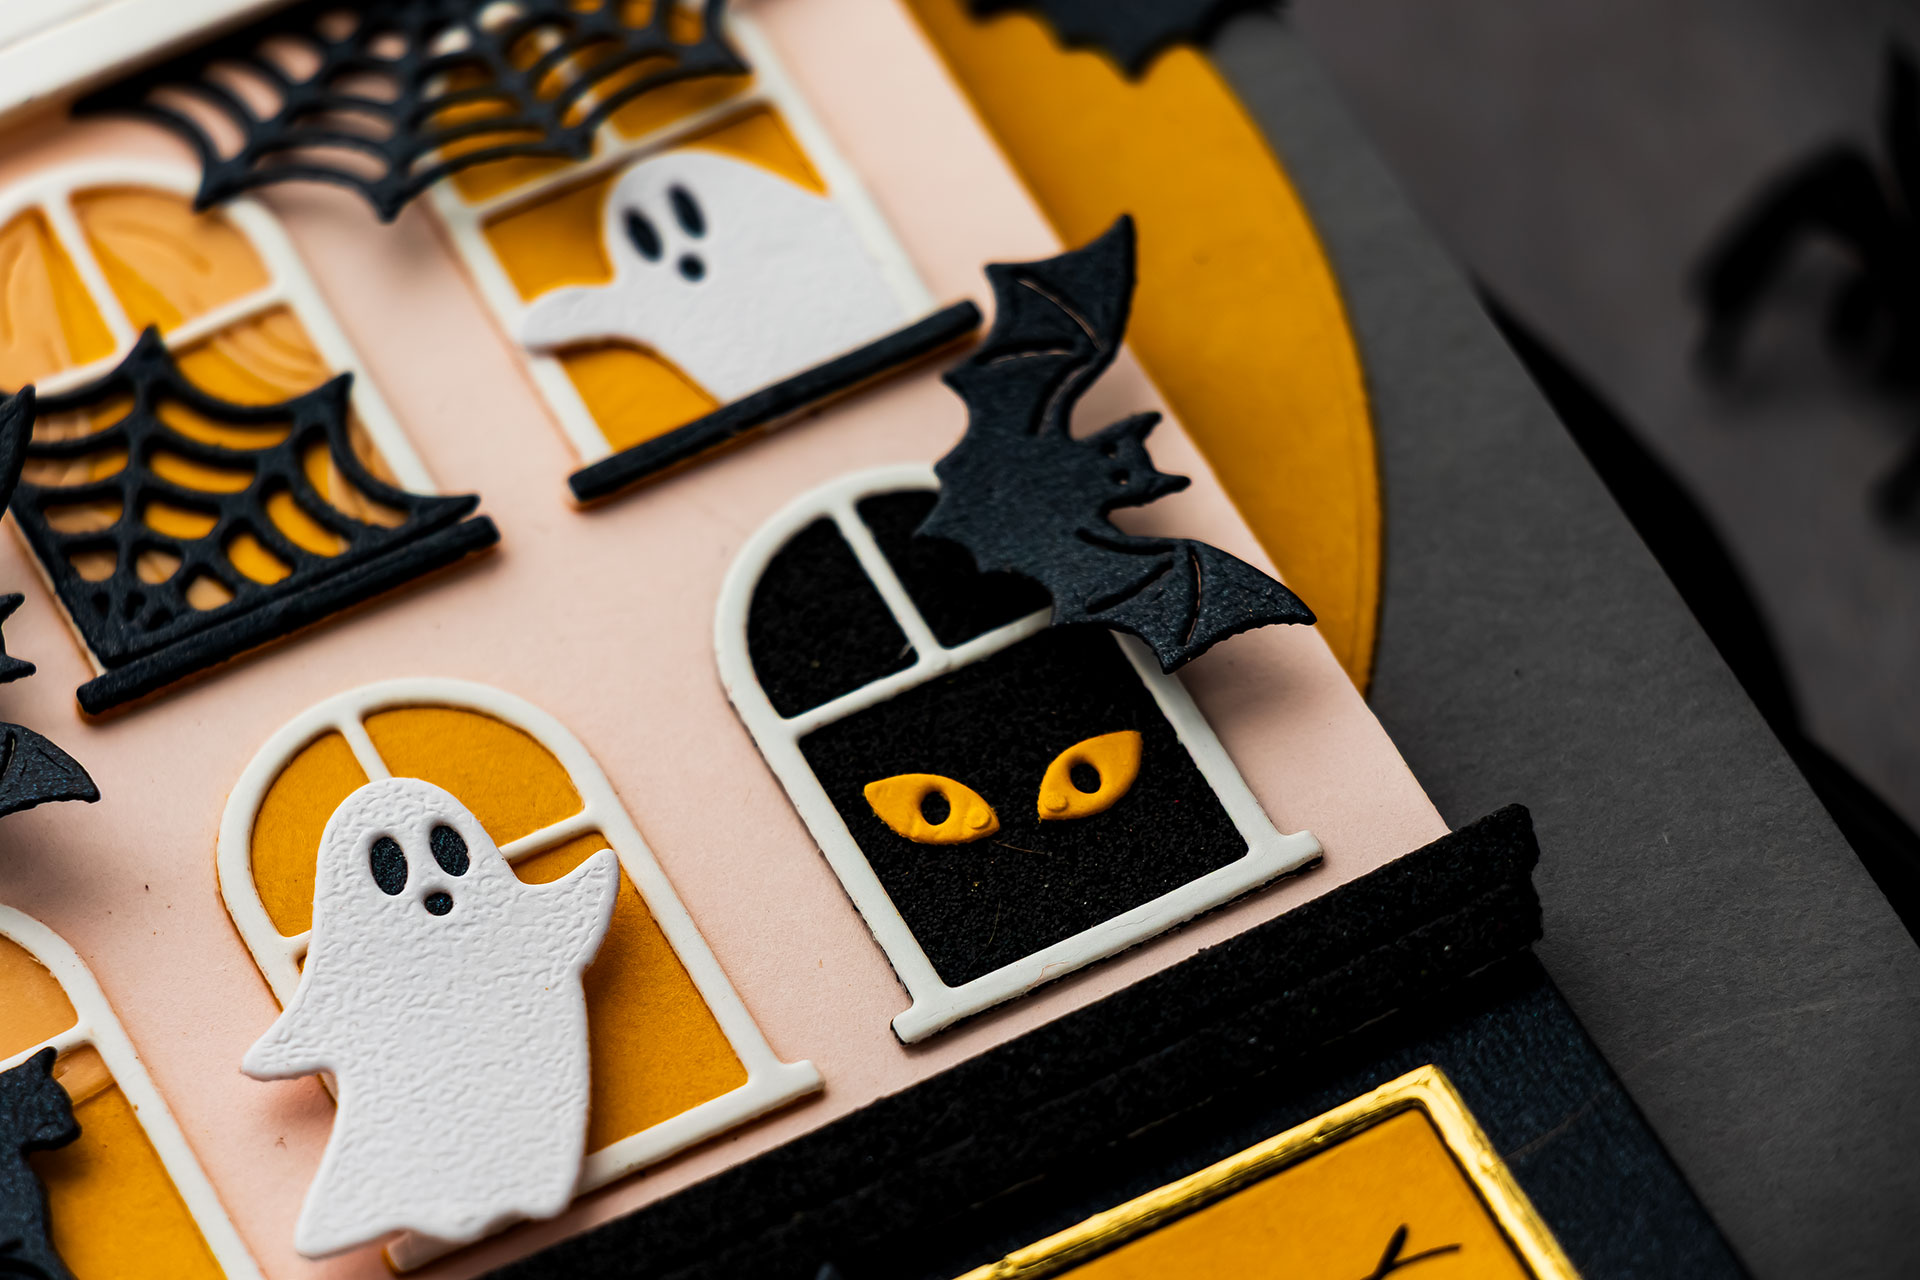
- Die cut the small spooky eyes included in the Halloween City Holiday Add-On Dies.
- Keep the negative piece left behind after die cutting.
- Position the negative cardstock over one of the dark windows.
- Use tweezers to place each eye into the corresponding opening.
- Adhere the eyes inside the openings, then carefully lift away the negative piece.
Using the negative die-cut as an alignment guide keeps the eyes evenly spaced and makes the small pieces much easier to position.
Use this technique whenever several tiny die-cuts need to remain in a precise arrangement.
CREATE THE GHOSTS
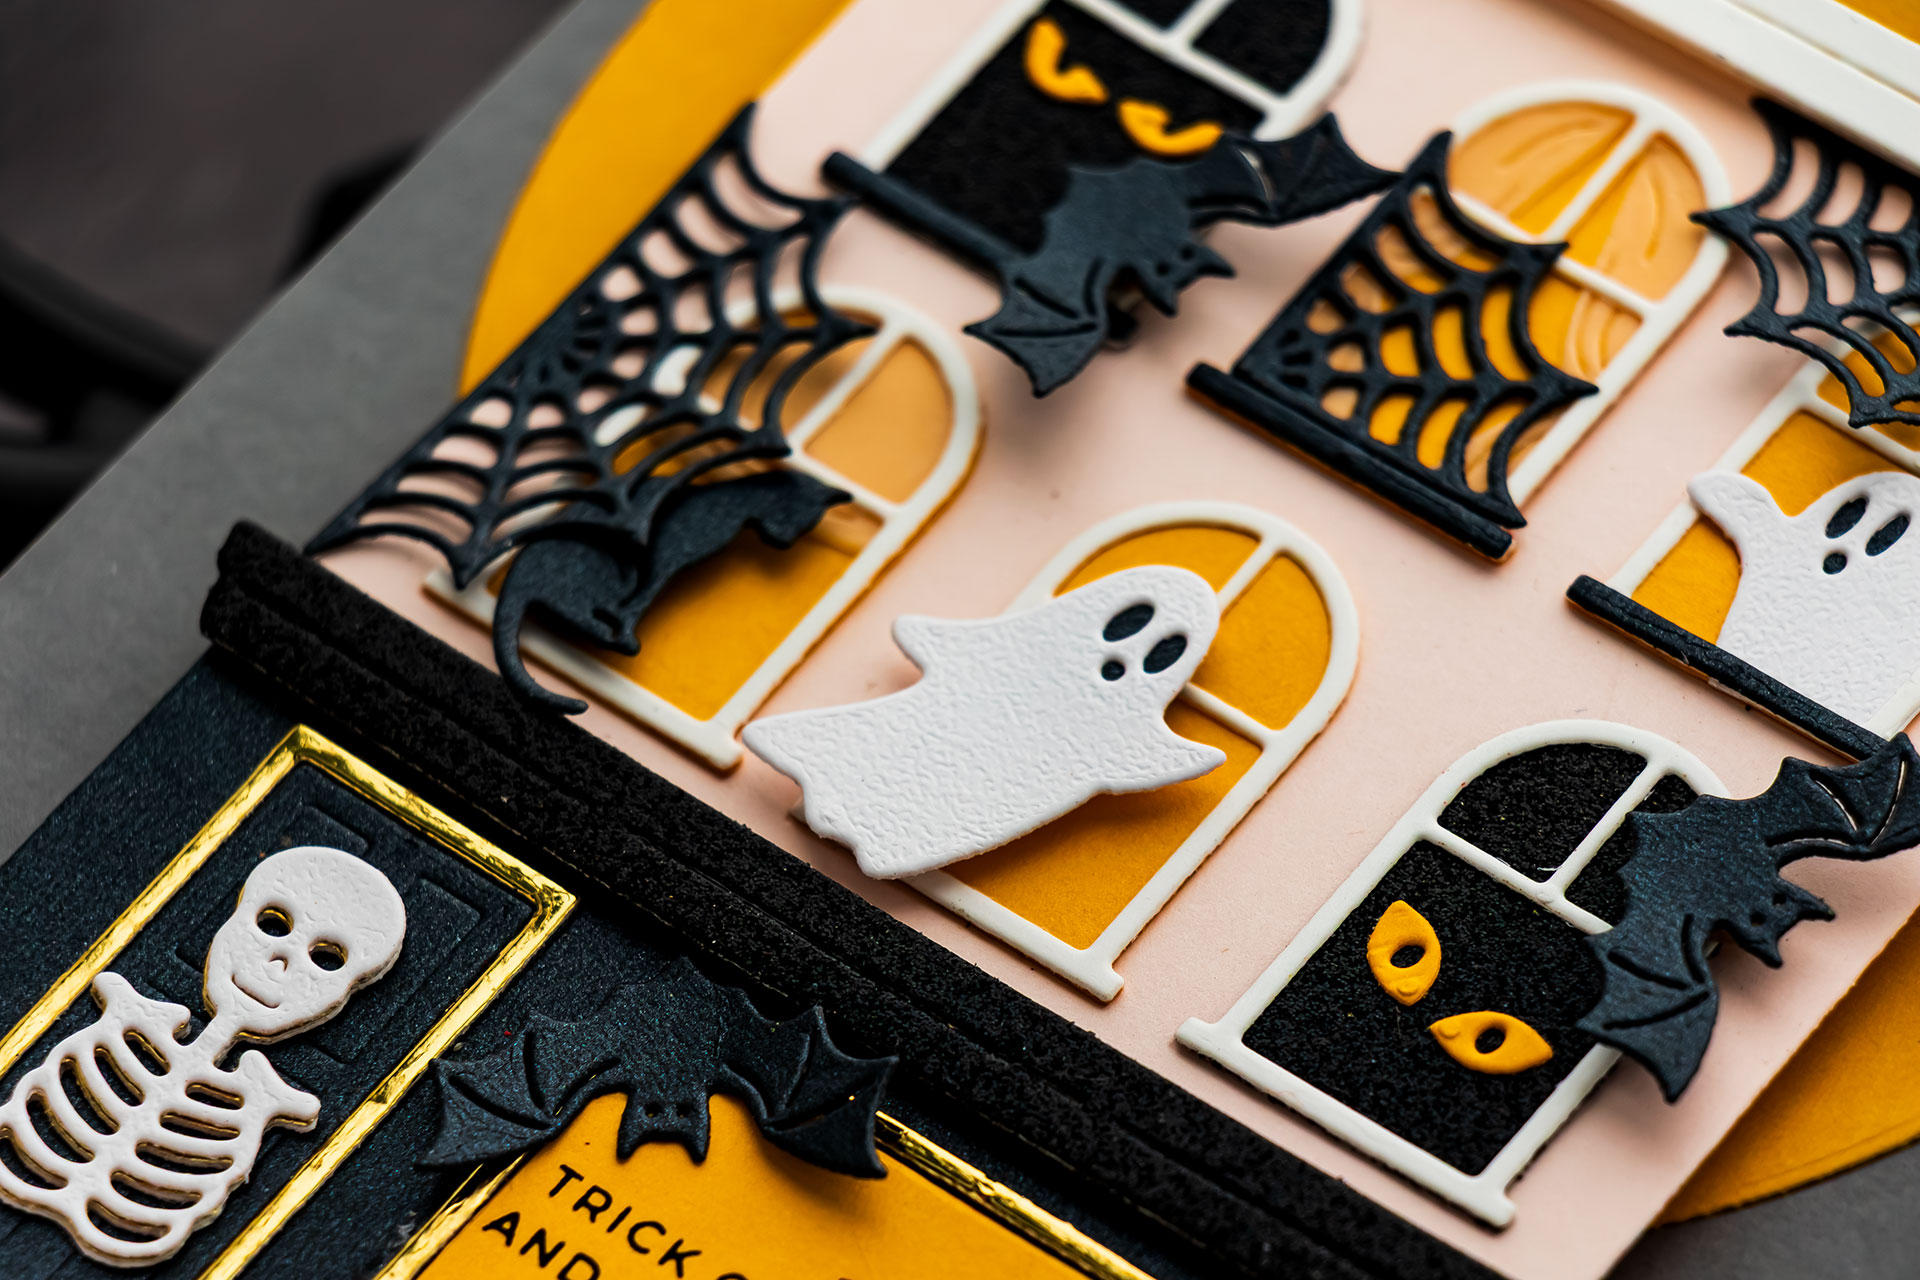
- Die cut the ghost designs from white textured cardstock. Use textured cardstock instead of smooth white cardstock to separate the ghosts visually from the smooth white window frames.
- Die cut the small backing pieces for the ghost faces from black cardstock.
- Adhere the black backing pieces behind the eyes and mouths.
- Add one ghost behind the window so it appears to be peeking out from inside the haunted house.
- Place another ghost on the outside of the building so it appears to be floating through the scene.
The ghosts are designed in different sizes and poses, so several can be used together while still looking natural. For an interactive variation, attach a ghost to a spinner and position it in front of the building.
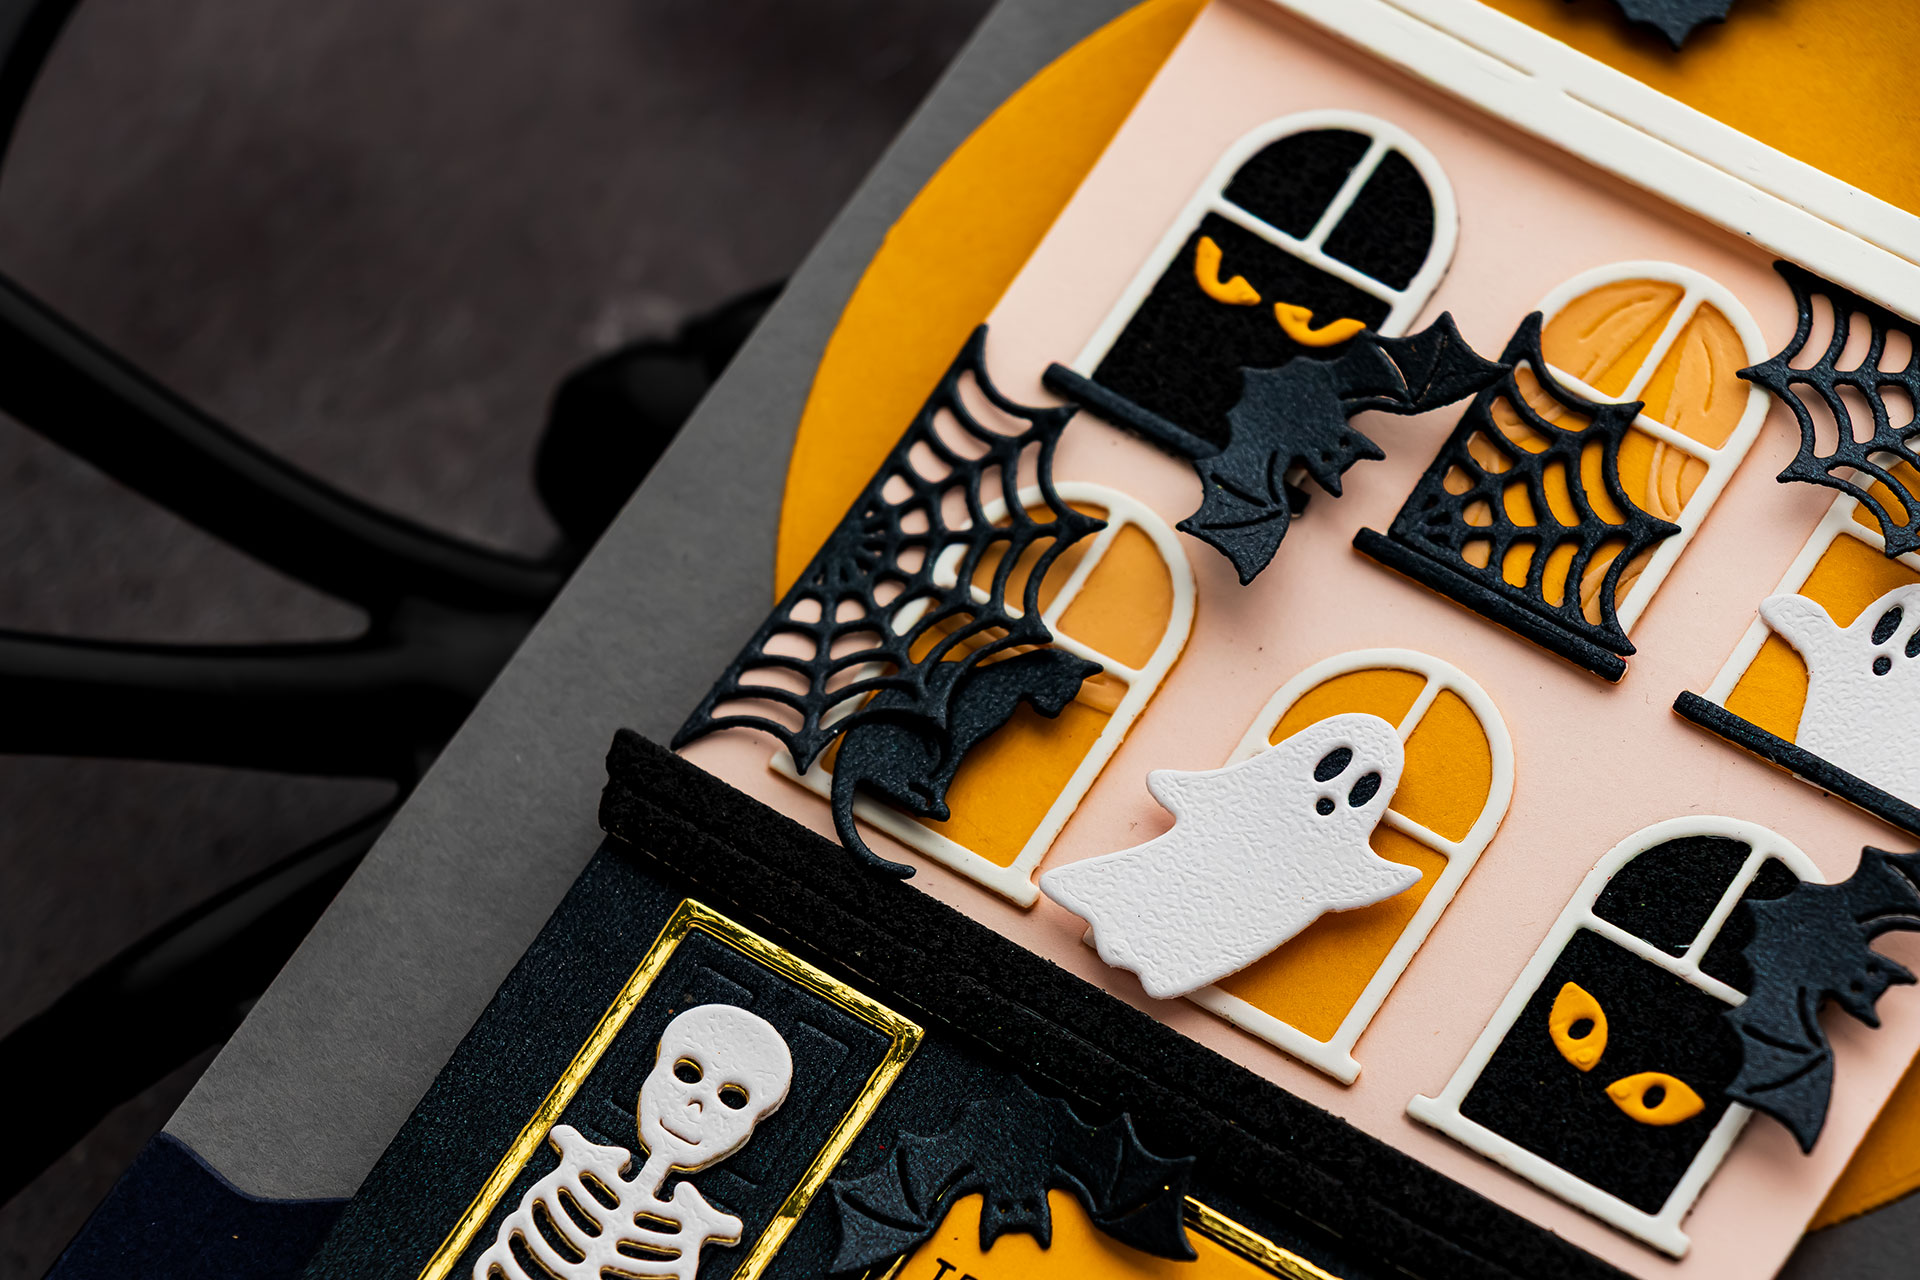
The same ghost die-cut can tell a completely different story depending on whether it is placed behind a window, attached to the house, or suspended in front of the card.
KEEP THE RIGHT TOOLS NEARBY
- Use fine-tip tweezers to position the smallest die-cuts.
- Use the Spellbinders Pickup Tool to lift and move delicate pieces.
- Keep detail scissors nearby for trimming window backings, vellum, or small areas that need adjustment.
- Use Bearly Art Precision Craft Glue for the narrowest pieces. Apply only a small amount of liquid adhesive to avoid excess glue spreading beyond the edges.
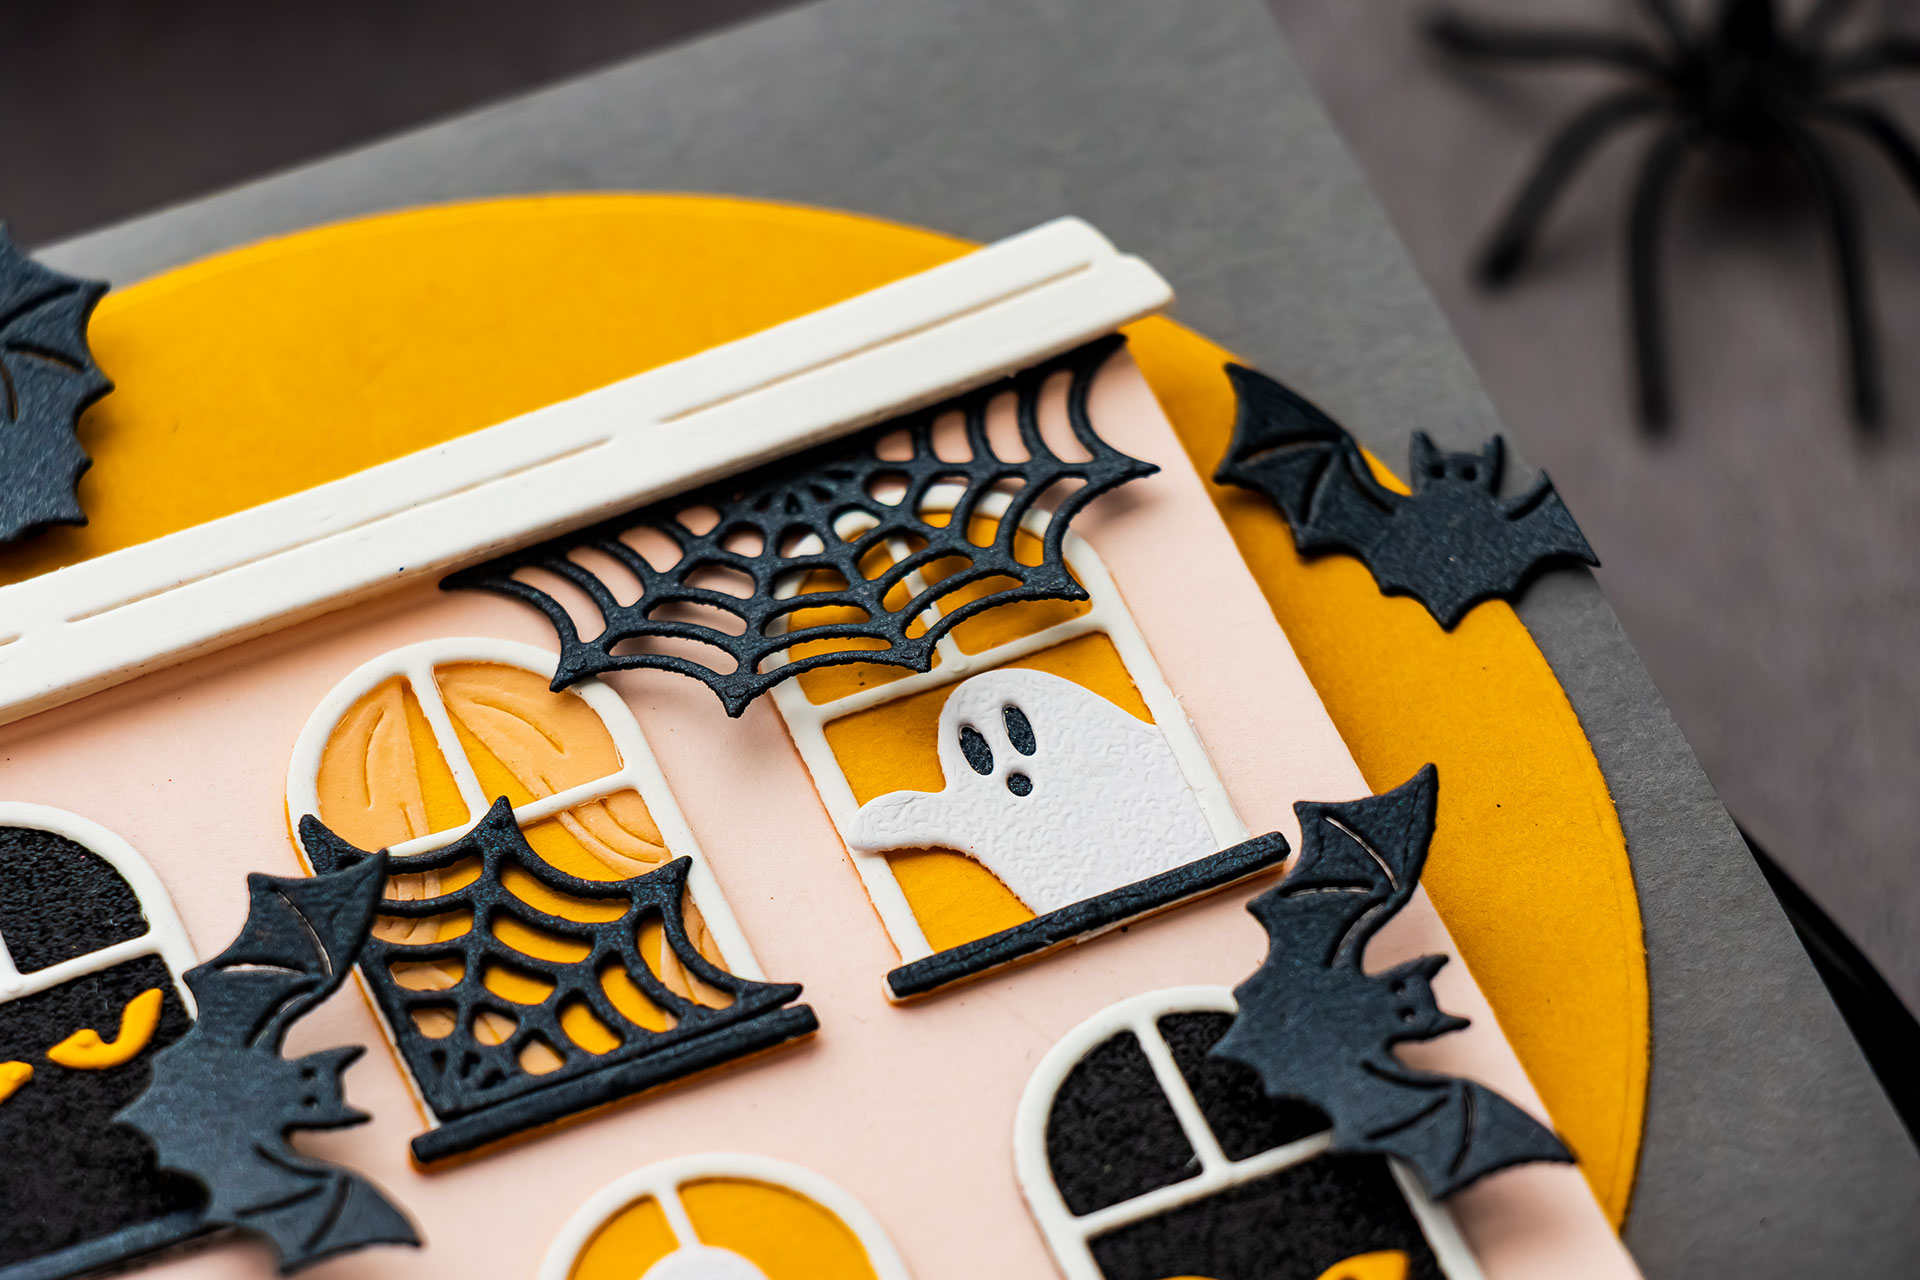
These tools are not required, but they make the assembly process easier when working with tiny eyes, spiderwebs, window frames, and other intricate details.
ADD VELLUM CURTAINS
- Die cut the curtain pieces from regular vellum. Place the vellum curtains behind the window frames.
- Use vellum to add softness and detail without introducing another cardstock color.
- Keep the color palette limited to black, white, gray, yellow, and small touches of gold.
- Avoid adding bright curtain colors that might compete with the Halloween details.
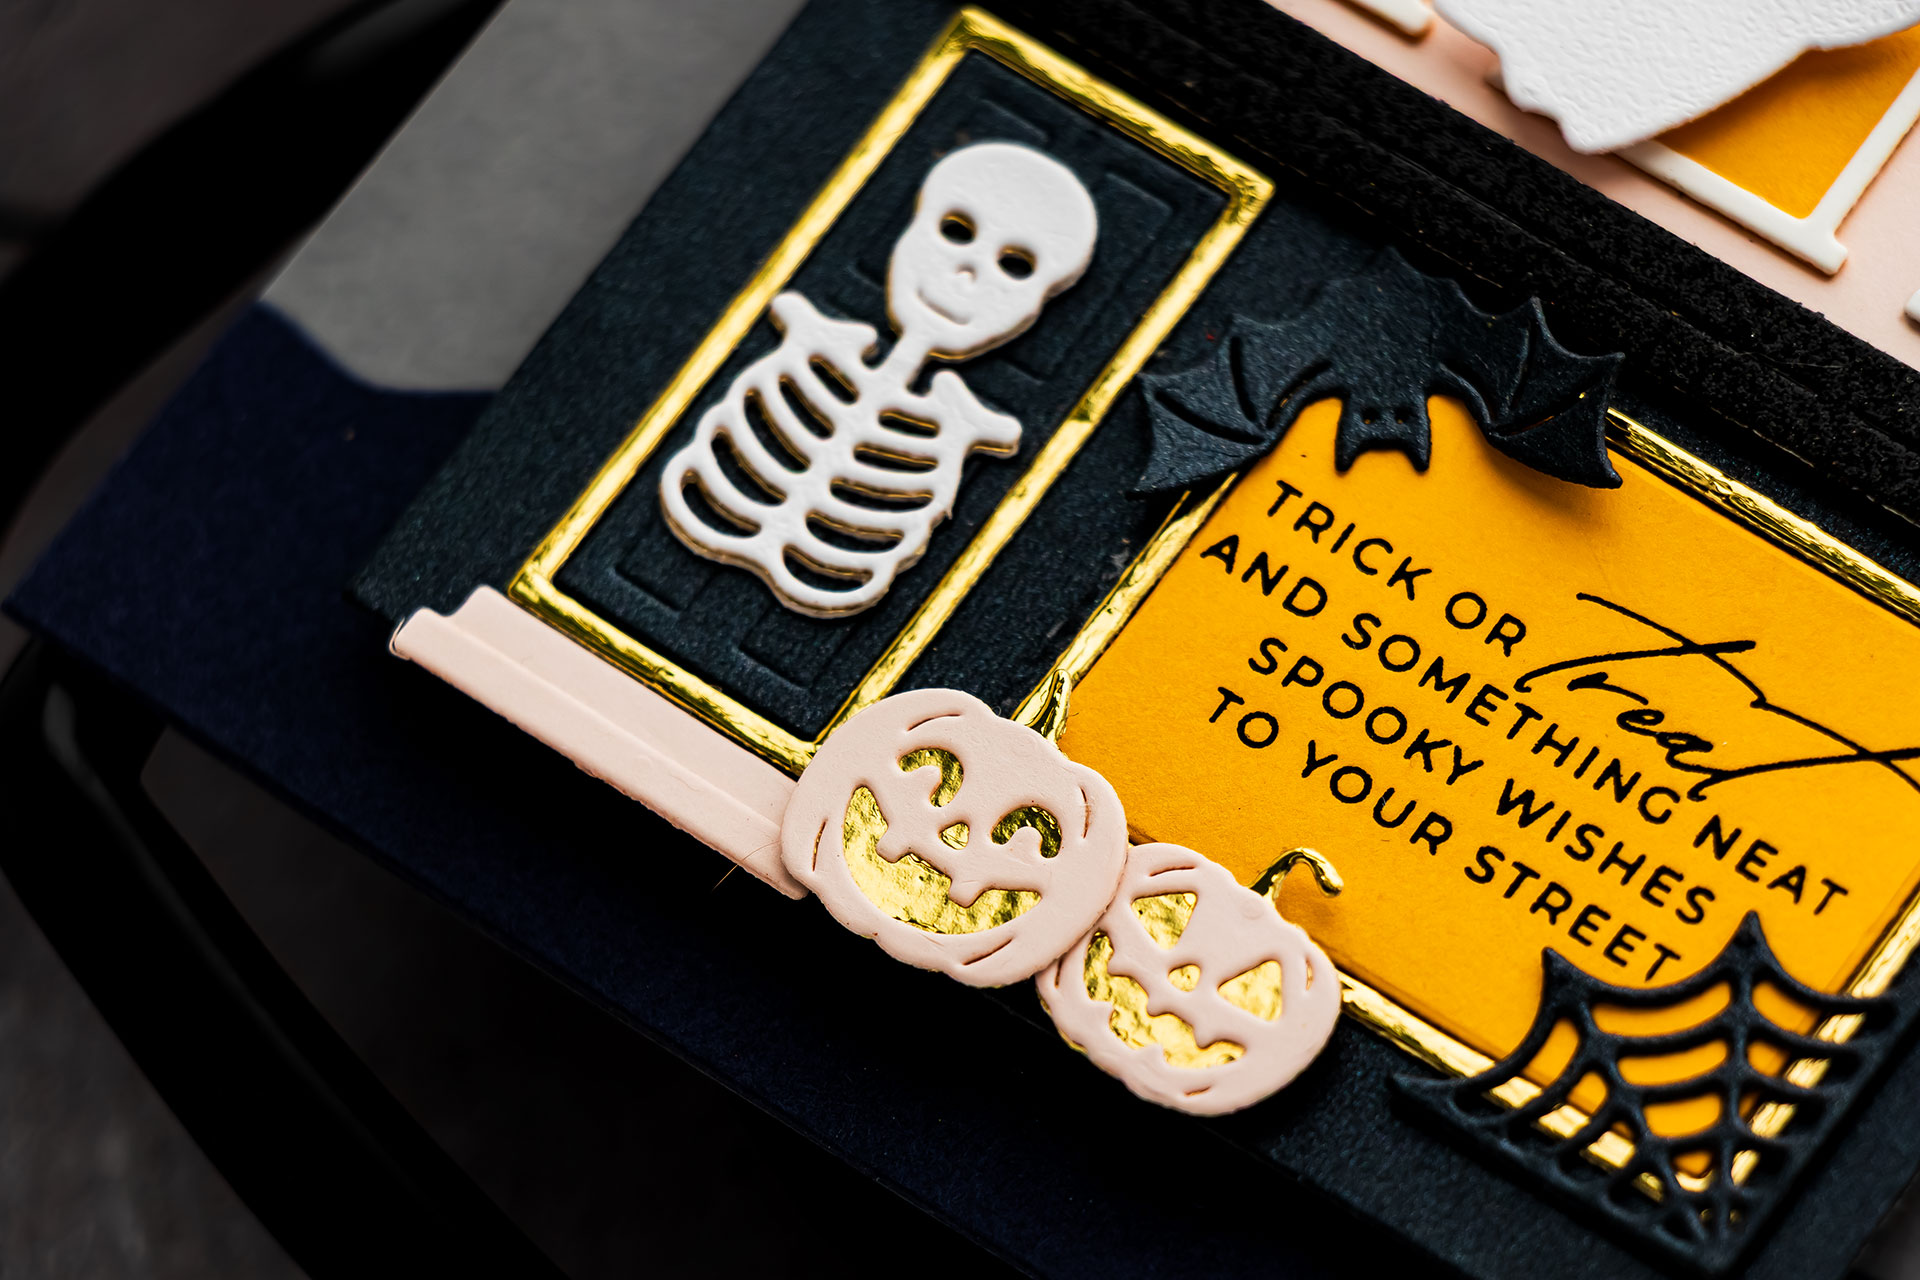
The translucent vellum creates a subtle layered effect and gives the windows a softer appearance.
ASSEMBLE THE WINDOWS
- Begin with the window backing pieces.
- Adhere Saffron Cardstock behind the illuminated windows and black glitter cardstock behind the dark windows.
- Add the vellum curtains where desired.
- Position the ghosts behind selected windows.
- Add the spooky eyes to some of the dark windows.
- Adhere the white window frames over the completed layers.
- Use the embossed guides and the T-Square Ruler to keep the spacing and alignment consistent.
BUILD THE FRONT DOOR AND GALLERY WINDOW
- Die cut the door frame and large gallery window frame from Spellbinders Mirror Gold Cardstock.
- Adhere the gold door frame to the first floor.
- Adhere the gallery window frame beside it.
The metallic gold cardstock adds a small elegant accent and helps the door and storefront-style window stand apart from the other windows.
HOT FOIL THE SENTIMENT
- Hot foil one of the coordinating Halloween sentiments using matte black foil.
- Die cut the sentiment to fit inside the large gallery window.
- Adhere the sentiment inside the gold gallery window frame.
The coordinating sentiments were designed to fit inside this large window, creating the appearance of a message displayed in a storefront. The sentiments can also be used with BetterPress or die cut and placed elsewhere on the card.
ADD THE HALLOWEEN DETAILS
- Die cut several bats from black cardstock.
- Die cut spiderwebs from Spellbinders Brushed Black Cardstock. Adhere the spiderwebs around the corners of the building and near selected windows.
- Die cut the jack-o’-lanterns from Chiffon and Mirror Gold cardstock. Tuck two carved jack-o’-lanterns below the gallery window.
- Die cut the skeleton from White and Mirror Gold cardstock. Adhere white onto gold and offset slightly. Place the skeleton on the front door as Halloween door decor.
- Use the little cat from the original City Holiday Die Set. Position the cat on one of the windowsills.
CREATE INTERACTIVE SPINNING BATS
- Attach selected bat die-cuts to Spellbinders spinner discs.
- Position the spinners in front of the house so the bats can move freely.
- Test the movement before permanently adhering the surrounding elements.
- Make sure the bats have enough open space to rotate without catching on the roof, windows, or other die-cuts.
Add additional bats directly to the card without spinners to create a fuller nighttime scene. Using both fixed and moving bats creates more visual interest and makes the interactive elements feel integrated into the design.
CREATE THE 5 X 7 CARD
- Cut Spellbinders Anchor Cardstock to create a side-folding 5 x 7″ card base.
- Cut a second piece of Anchor Cardstock to 5 x 7″. Adhere the panel to the front of the folded card base.
Using a separate panel creates a clean surface for building the scene and makes it easier to position the background elements before attaching them to the card.
- Use the hill die from the original City Holiday Die Set. Die cut the hill from Spellbinders Indigo Cardstock.
- Position the hill along the bottom of the Anchor Cardstock panel. Adhere the hill to the card front.
Although this die was originally designed as a snowy hillside, changing the cardstock color transforms it into a nighttime foreground.
- Select a circle die measuring approximately 4 1/2″ in diameter.
- Die cut the circle from Spellbinders Tuscan Cardstock. Position the circle behind the upper portion of the haunted house. Allow part of the moon to extend beyond the top or side of the building for a more dramatic composition.
- Adhere the moon to the Anchor Cardstock panel.
Use an oversized moon rather than a smaller, realistic circle. The exaggerated scale creates a stronger Halloween atmosphere and frames the roof and upper windows.
- Apply Altenew Instant Dimension Foam Tape to the back of the completed haunted house. Use the thicker foam tape to create noticeable separation between the house and the background.
- Position the haunted house over the Indigo hill and Tuscan moon.
The finished card combines the original City Holiday structure with the Halloween City Holiday Add-On Dies, creating a completely different use for the same base building.
Use contrasting cardstock colors, mix smooth and textured finishes, repurpose architectural pieces, and add interactive elements to customize your own haunted house.
Try changing the window colors, adding more ghosts, creating a taller building, or placing the scene against a purple, navy, or gray background.
Have fun creating!
SUPPLIES
Affiliate links used at no additional cost to you
What a fabulous collection and lovely card!! I just bought City Holiday at a recent Spellbinders sale and am so excited to open it up and use it. I love that you’re releasing these add-on sets as well. Such a great idea.
This is amazing