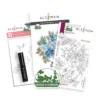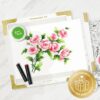
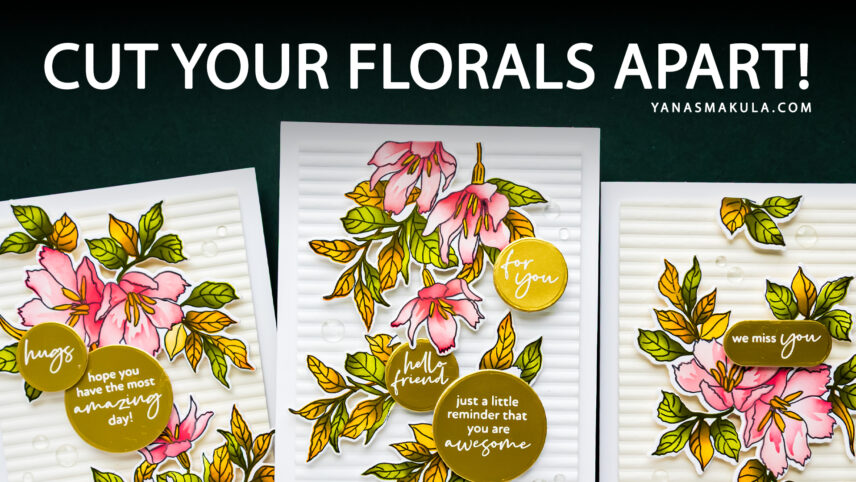

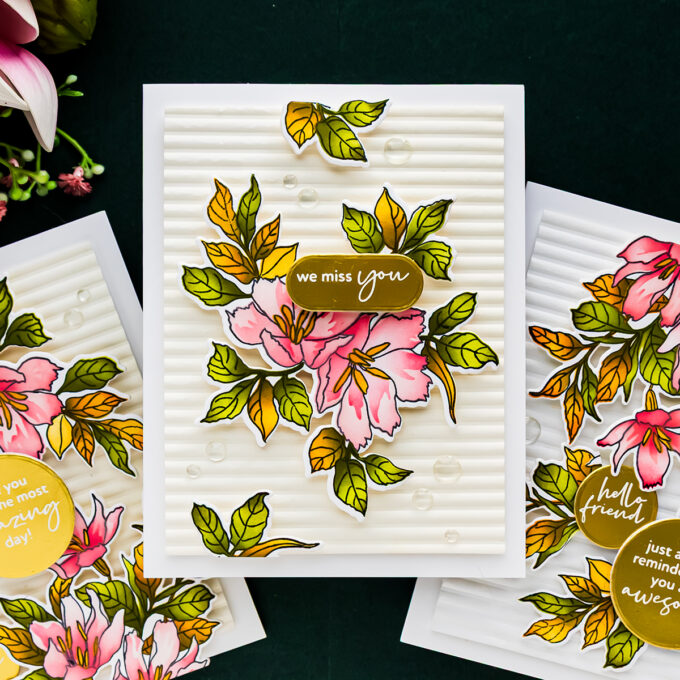
Hello, friends! Today I’m creating three simple and elegant floral cards featuring the Altenew Harvest Bouquet Stamp Set, coordinating dies, and layering stencils.
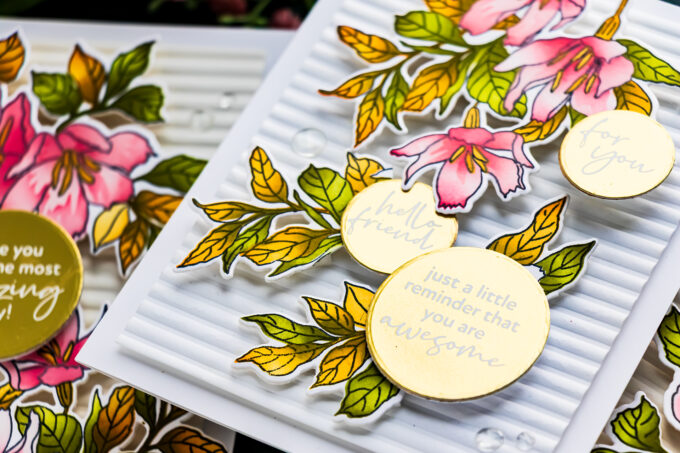
I love a beautiful floral cluster, but one of my favorite things to do with a large image like this is look beyond the obvious. You certainly can use the entire bouquet exactly as designed, but you can also cut it apart, rearrange the flowers, use only a section of the image, or add individual leaves wherever your composition needs a little something extra.
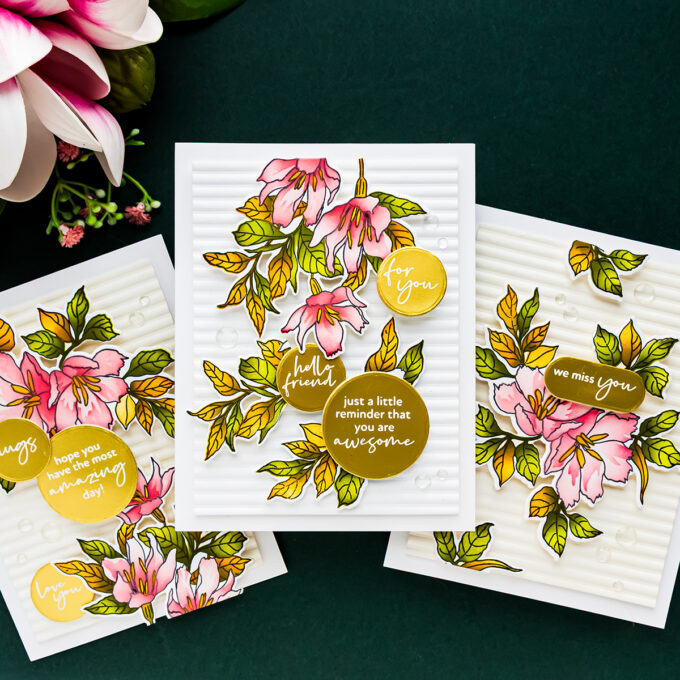
For these cards, I’m combining soft fall-inspired ink blending with Matte Gold foiled sentiments and a subtle 3D embossed background. The finished cards are relatively simple, but all of those little details help make them feel much more special.
VIDEO TUTORIAL
Watch the video tutorial below to see these cards come together from start to finish. I’m sharing tips for directional ink blending, working with the Harvest Bouquet layering stencils, cutting apart large floral die cuts, creating textured backgrounds, and adding beautiful solid foiled sentiments.
SPECIAL OFFER
Special Offer: If you love ink blending as much as I do, Altenew has a special offer on the 10mm Micro Blending Brushes! From September 25 through September 26, 2026, purchase one Micro Blending Brush (10mm) and get the second one 50% off.
Use code YANABRUSH at checkout to receive the discount, or shop through my special link with the code already applied. The offer is valid for one-time use only and cannot be combined with other discount codes.
STAMP THE HARVEST BOUQUET
Start with Neenah Solar White 80 lb cardstock cut to 4 1/4 x 5 1/2″. I stamped the Harvest Bouquet using Memento Tuxedo Black Ink and my Altenew Stampwheel 2.0. Memento is alcohol marker-friendly, so you could absolutely color this image with Copic markers or another alcohol marker if you prefer.
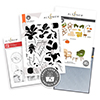
For these cards, however, I wanted a quicker way to add color, so I used the coordinating layering stencils. The Harvest Bouquet stencil set includes five stencil layers. One thing to pay attention to is that some layers contain sections on both sides of the stencil. Blend one section, then rotate the stencil 180 degrees to continue coloring the remaining areas.
CREATE MUTED FALL COLORS WITH INK BLENDING
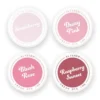
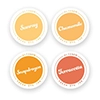
Although this is a fall-inspired bouquet, I didn’t want to use only traditional oranges and browns. Instead, I started with pinks, yellows, and greens and adjusted the way I blended them to create a softer, more muted fall palette. For the flowers, start with Strawberry Ink. This is a very pale pink and creates a beautiful soft base.
Next, add Blush Rose with a smaller 10 mm blending brush. Rather than covering the entire petal with the darker color, concentrate it in selected areas to create directional shading.
This is where having several sizes of blending brushes becomes particularly helpful. Use a larger brush to quickly apply the base color and a smaller brush to place the darker color exactly where you want it. You can also vary the pressure you use while blending. A light hand gives you just a hint of color and texture, while additional pressure creates a much more saturated result.
MIX COLORS TO CREATE FALL LEAVES
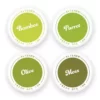
For the first set of leaves, I started with Chamomile and then added Snapdragon near the base. At this point, the leaves are quite yellow, so bring in a tiny amount of Moss using a small 7 mm blending brush. Add the green selectively near the bases and tips of the leaves.
That little touch of green completely changes their appearance. Instead of looking like bright yellow leaves, they begin to resemble green foliage transitioning into fall.
For another leaf layer, start with Bamboo and shade with Moss. Bamboo is a much brighter green, but adding the deeper Moss helps tone it down and makes it work beautifully with the rest of the muted palette.
Finally, use Chamomile to add color to the flower centers.
DESIGN TIP: Don’t feel that every opening in a layering stencil has to be filled with one solid color. Try combining two or even three colors within the same stencil opening. This gives a simple ink-blended image much more depth.
CUT YOUR FLORAL CLUSTERS APART
Once the ink blending is finished, use the coordinating die to cut out the Harvest Bouquet. I also die cut additional blank bouquets from scrap white cardstock and adhered them behind my colored pieces. This is one of my favorite tricks when I know I’ll be popping a detailed die cut up with foam adhesive. The extra layer makes the entire piece sturdier and much easier to handle.
Now comes the fun part – cut the bouquet apart! Just because a coordinating die creates one large floral cluster doesn’t mean you have to use it that way.
Use scissors to separate flowers, leaves, and smaller sections of the bouquet. I even created an additional ink-blended piece with mostly foliage because I knew I wanted extra leaves for my arrangements.
This is such an easy way to stretch a large floral stamp and die set. One bouquet suddenly becomes several smaller floral elements that you can arrange differently on multiple cards.
CREATE A SUBTLE 3D EMBOSSED BACKGROUND
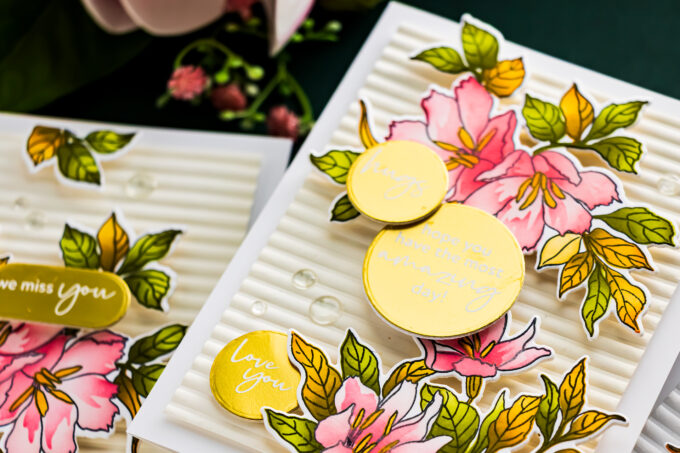
For the backgrounds, I used the Altenew Cozy Spaces 3D Embossing Folder. Because this folder creates a deep impression, I chose a thicker watercolor paper from my stash. Before embossing, lightly mist the paper with water. The moisture helps relax the fibers so the cardstock can accept that deep embossing more easily.
I used my Spellbinders Platinum 6 to emboss the panels and then trimmed them to 3 3/4 x 5″. These smaller panels will eventually sit on A2 card bases, leaving a clean 1/4″ border around the textured background.
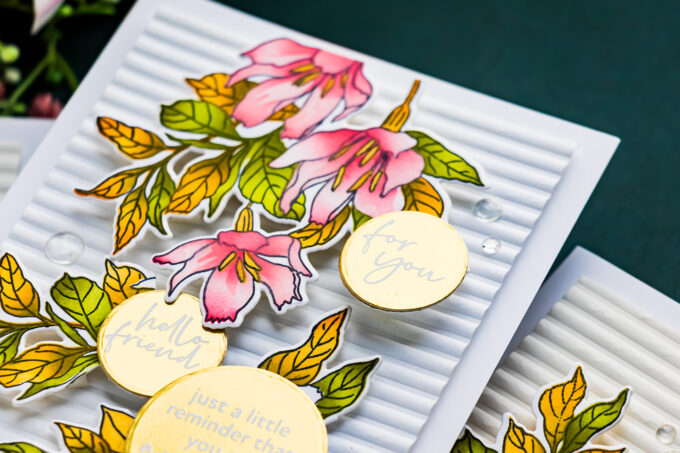
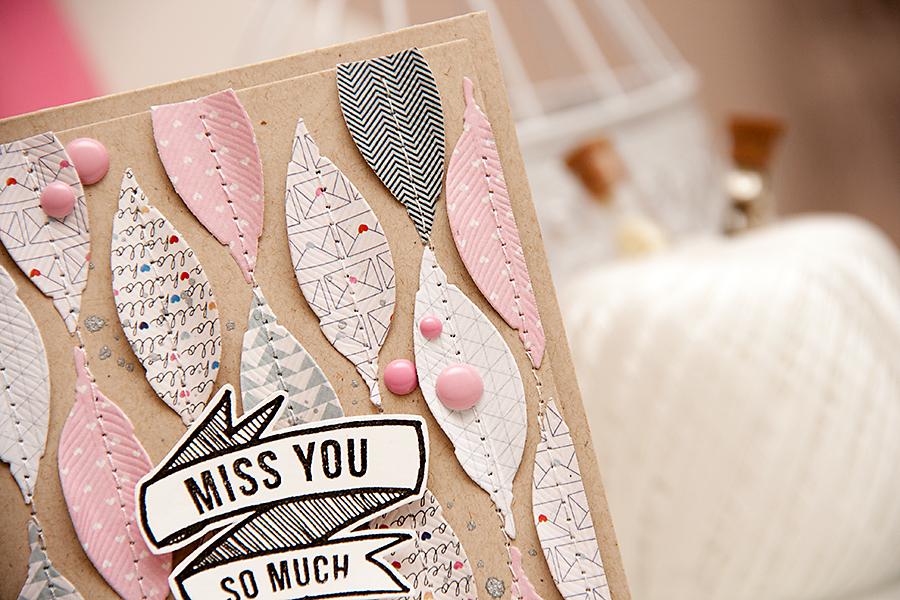
I love this embossing folder for these cards because the design adds texture without competing with the flowers. The subtle horizontal pattern also gives us a nice geometric contrast against the organic floral shapes.
ADD MATTE GOLD FOILED SENTIMENTS
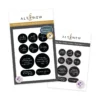
For the sentiments, I used the Altenew One-Go Solid Circular Sentiments Press Plate and coordinating die. These sentiments are fabulous because the coordinating die cuts directly along the edge of each foiled circle. There isn’t a white border around the finished sentiment, which gives them a very polished look.
I hot foiled mine using Spellbinders Matte Gold Hot Foil and Glimmer Specialty Cardstock.
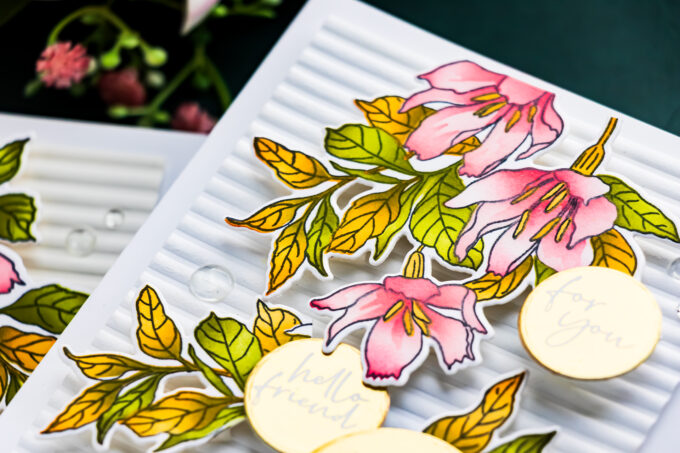
For solid hot foiling like this, paper really matters. Glimmer Specialty Cardstock has an extremely smooth surface and works beautifully for solid foil designs. I used my new Spellbinders Glimmer 2 Hot Foil System to foil the sentiments, then cut them all at once with the coordinating die.
Because the Glimmer Specialty Cardstock is quite thin, I also added another cardstock layer behind the sentiments. This makes those little circles sturdier before adding them to the cards.
ASSEMBLE THREE DIFFERENT FLORAL CARDS
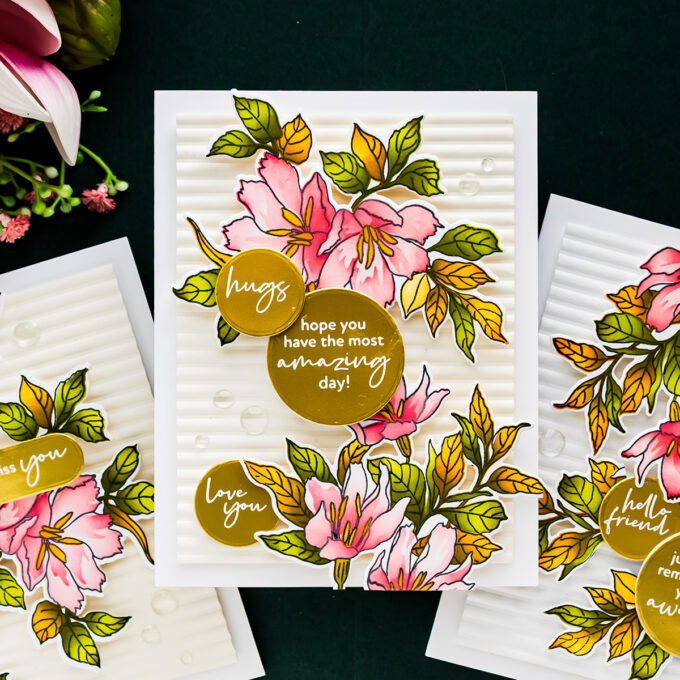
Now we can start playing with all of our pieces. Adhere the embossed panels to white A2 side-folding card bases and begin arranging the floral sections over the backgrounds. Because we cut the original Harvest Bouquet apart, each card can have a slightly different composition. Try using a larger floral section on one card, a smaller portion on another, and tuck those extra leaves around the flowers wherever the arrangement needs more fullness.
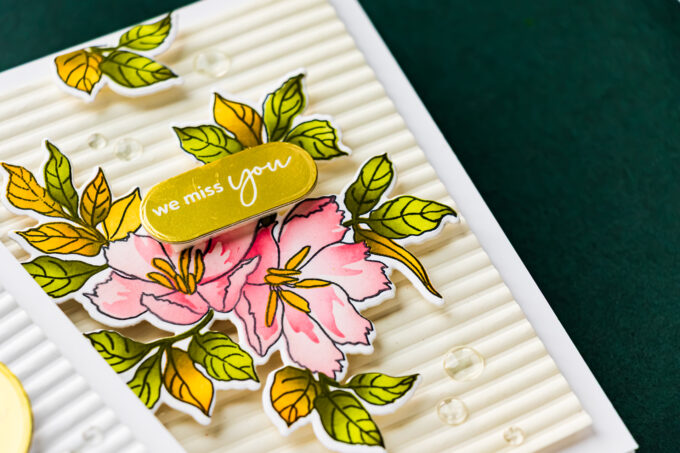
Use foam adhesive in different thicknesses to create dimension between the background, florals, and sentiments.
I also used more than one sentiment on some of the cards. The One-Go Solid Circular Sentiments set includes different sizes, so you can cluster a larger sentiment with a smaller one rather than limiting yourself to a single greeting.
FINISH WITH CLEAR ENAMEL DOTS
To finish the cards, I added Altenew Crystal Clear Enamel Dots. The backgrounds already have horizontal lines, while the sentiments introduce circular shapes. Adding a few more small circles with the clear enamel dots helps repeat that shape throughout the design without introducing another color.
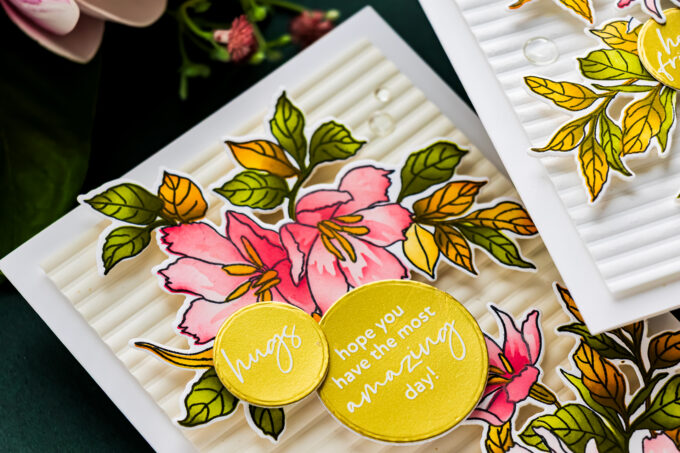
They also add just a little bit of shine while allowing the florals and Matte Gold sentiments to remain the focal points.
STRETCH YOUR LARGE FLORAL SETS
I really enjoyed creating these cards with the Harvest Bouquet collection. The biggest takeaway from today’s projects is to remember that you don’t have to use a stamped and die-cut image exactly as it comes out of the die.
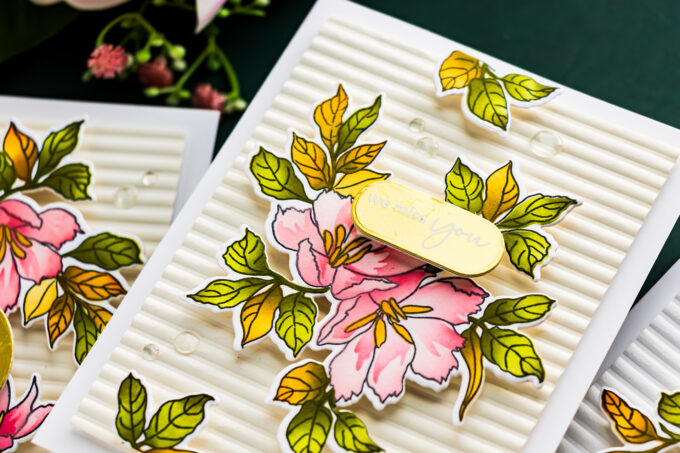
Cut it apart. Use only the flowers. Save the leaves. Add extra foliage. Rotate pieces. Tuck portions underneath other elements. One large floral cluster can give you the building blocks for several completely different arrangements.
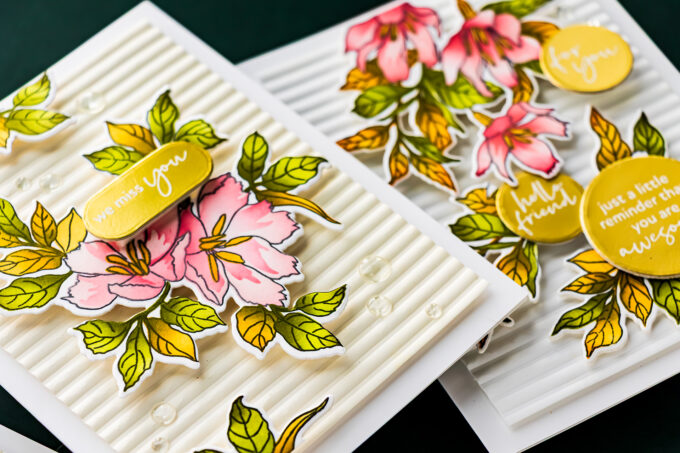
Combine that with directional ink blending, a beautiful textured background, and a little Matte Gold foiling, and you can create elegant floral cards without making the design overly complicated.
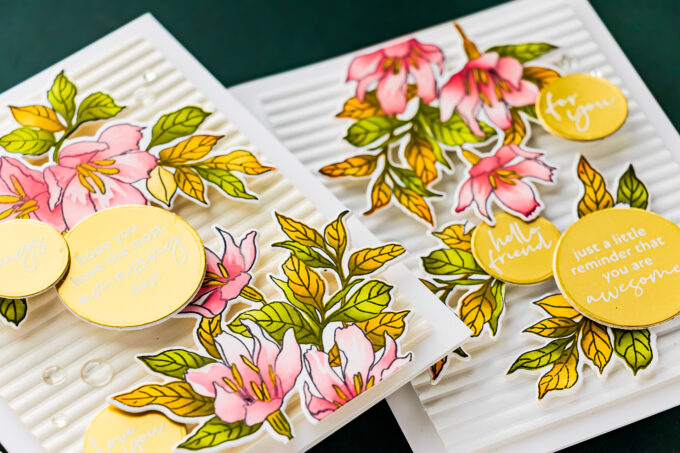
I hope these cards inspire you to look at the larger floral images in your stash a little differently and see how many new arrangements you can create from them!
SUPPLIES
I’m listing the products I used below. Click on the links to go directly to the products. Where available, I use compensated affiliate links, which means if you make a purchase, I receive a small commission at no extra cost to you. Thank you so much for your support!