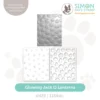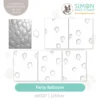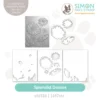


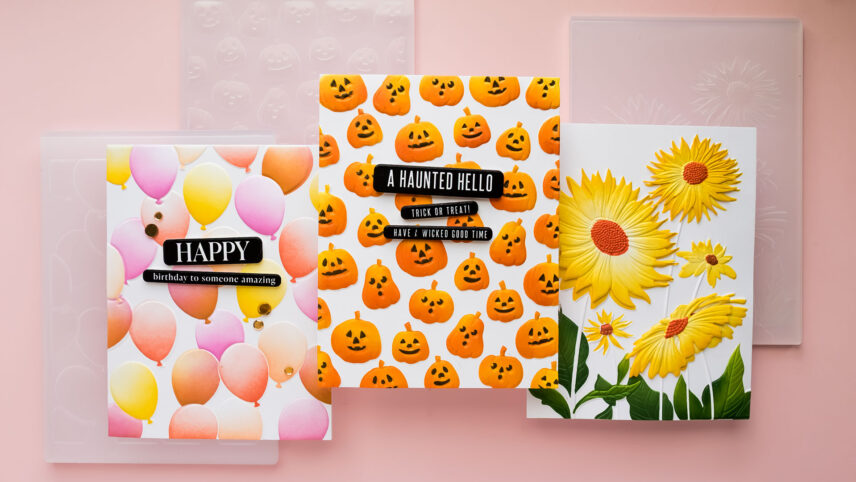

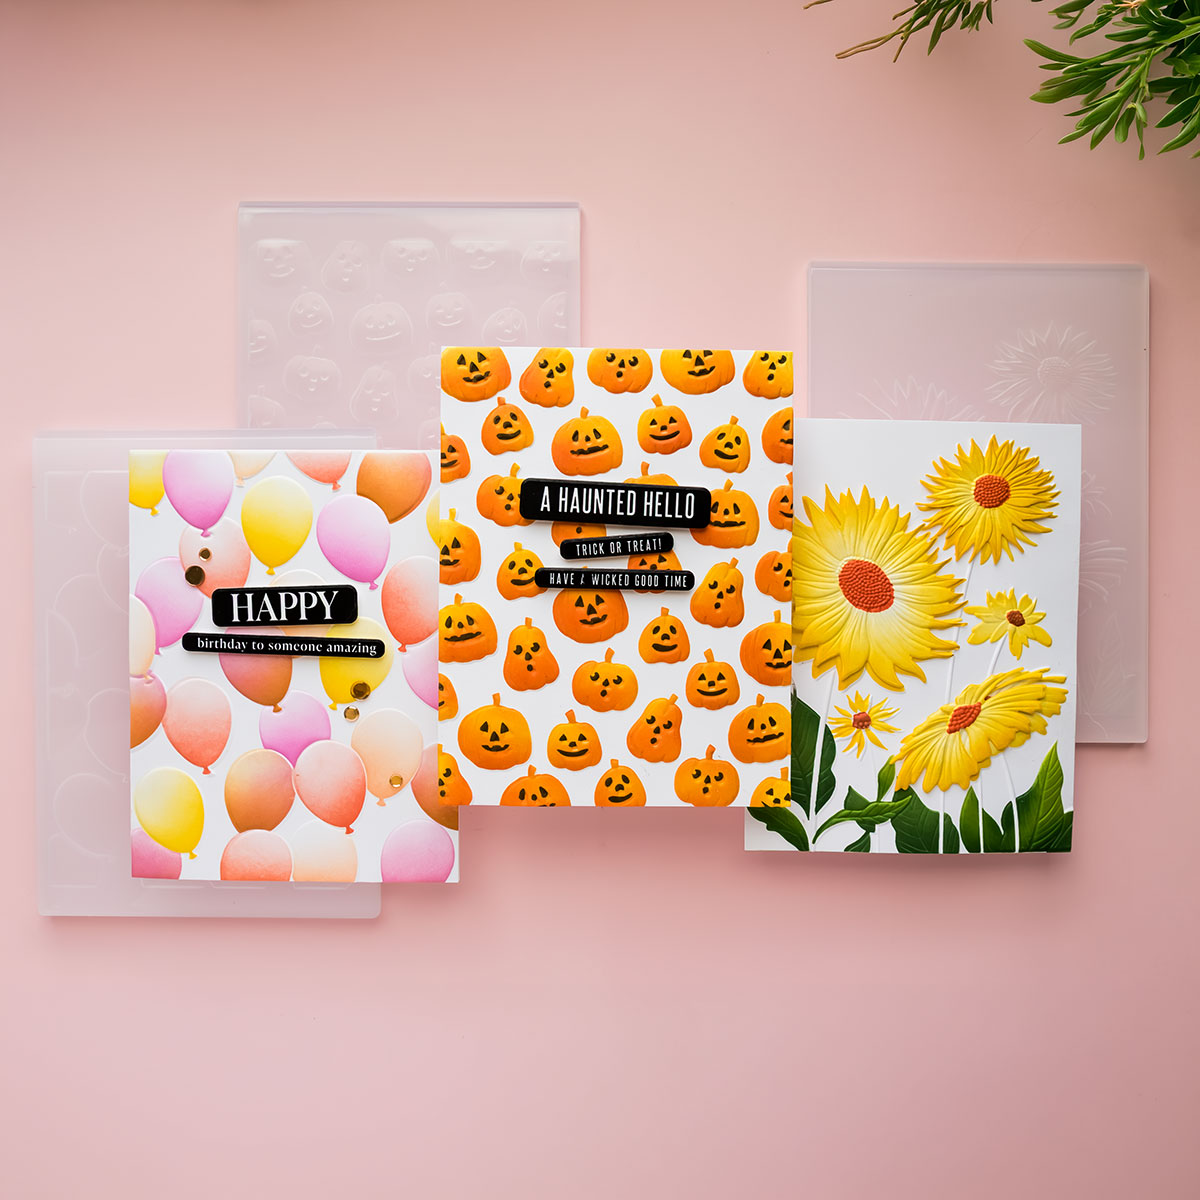
Hello, friends! Happy STAMPtember! Today I’m sharing a closer look at three new Simon Says Stamp 3D embossing folders and their coordinating stencils – Glowing Jack O Lantern, Splendid Daisies, and Party Balloons.
These products make it easy to combine ink blending with incredible dimensional texture. The most important thing to remember is the order: stencil and die cut first, emboss last.
VIDEO TUTORIAL
Watch the video below or on my YouTube channel to see all three backgrounds come together.
GLOWING JACK O LANTERN
For my first card, I started with a 4 1/4 x 5 1/2″ panel of Neenah Solar White 80 lb cardstock and the Glowing Jack O Lantern coordinating stencils. I blended the pumpkins with Honey Pawsitively Saturated Ink, then added Coral toward the bottoms for extra shading. A smaller blending brush makes it easy to control where the darker color goes without masking. For the jack-o’-lantern faces, I used Mocha ink and a small detail brush.
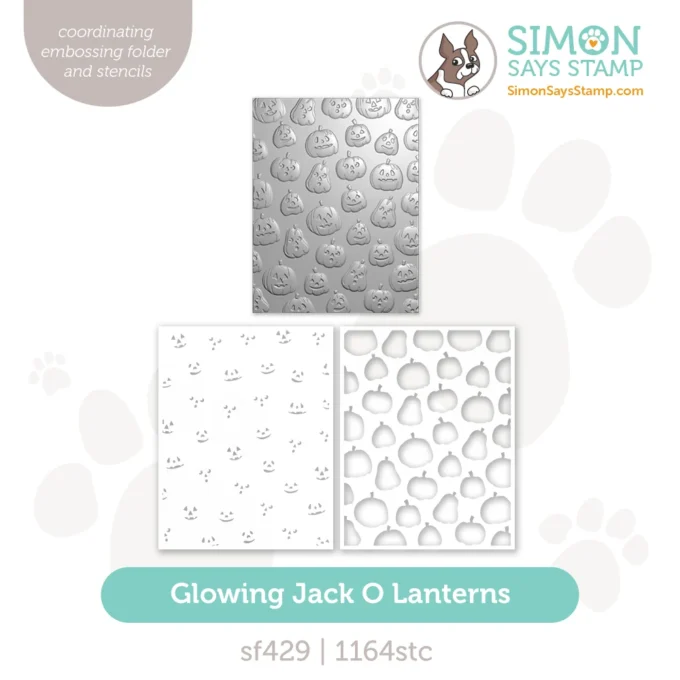
Once the stenciling was finished, I placed the panel inside the coordinating 3D embossing folder. When aligning a stenciled panel inside one of these folders, pay particular attention to the top of the design. The cardstock changes slightly under the pressure of embossing, so don’t worry if everything doesn’t appear perfectly aligned before running it through the machine.
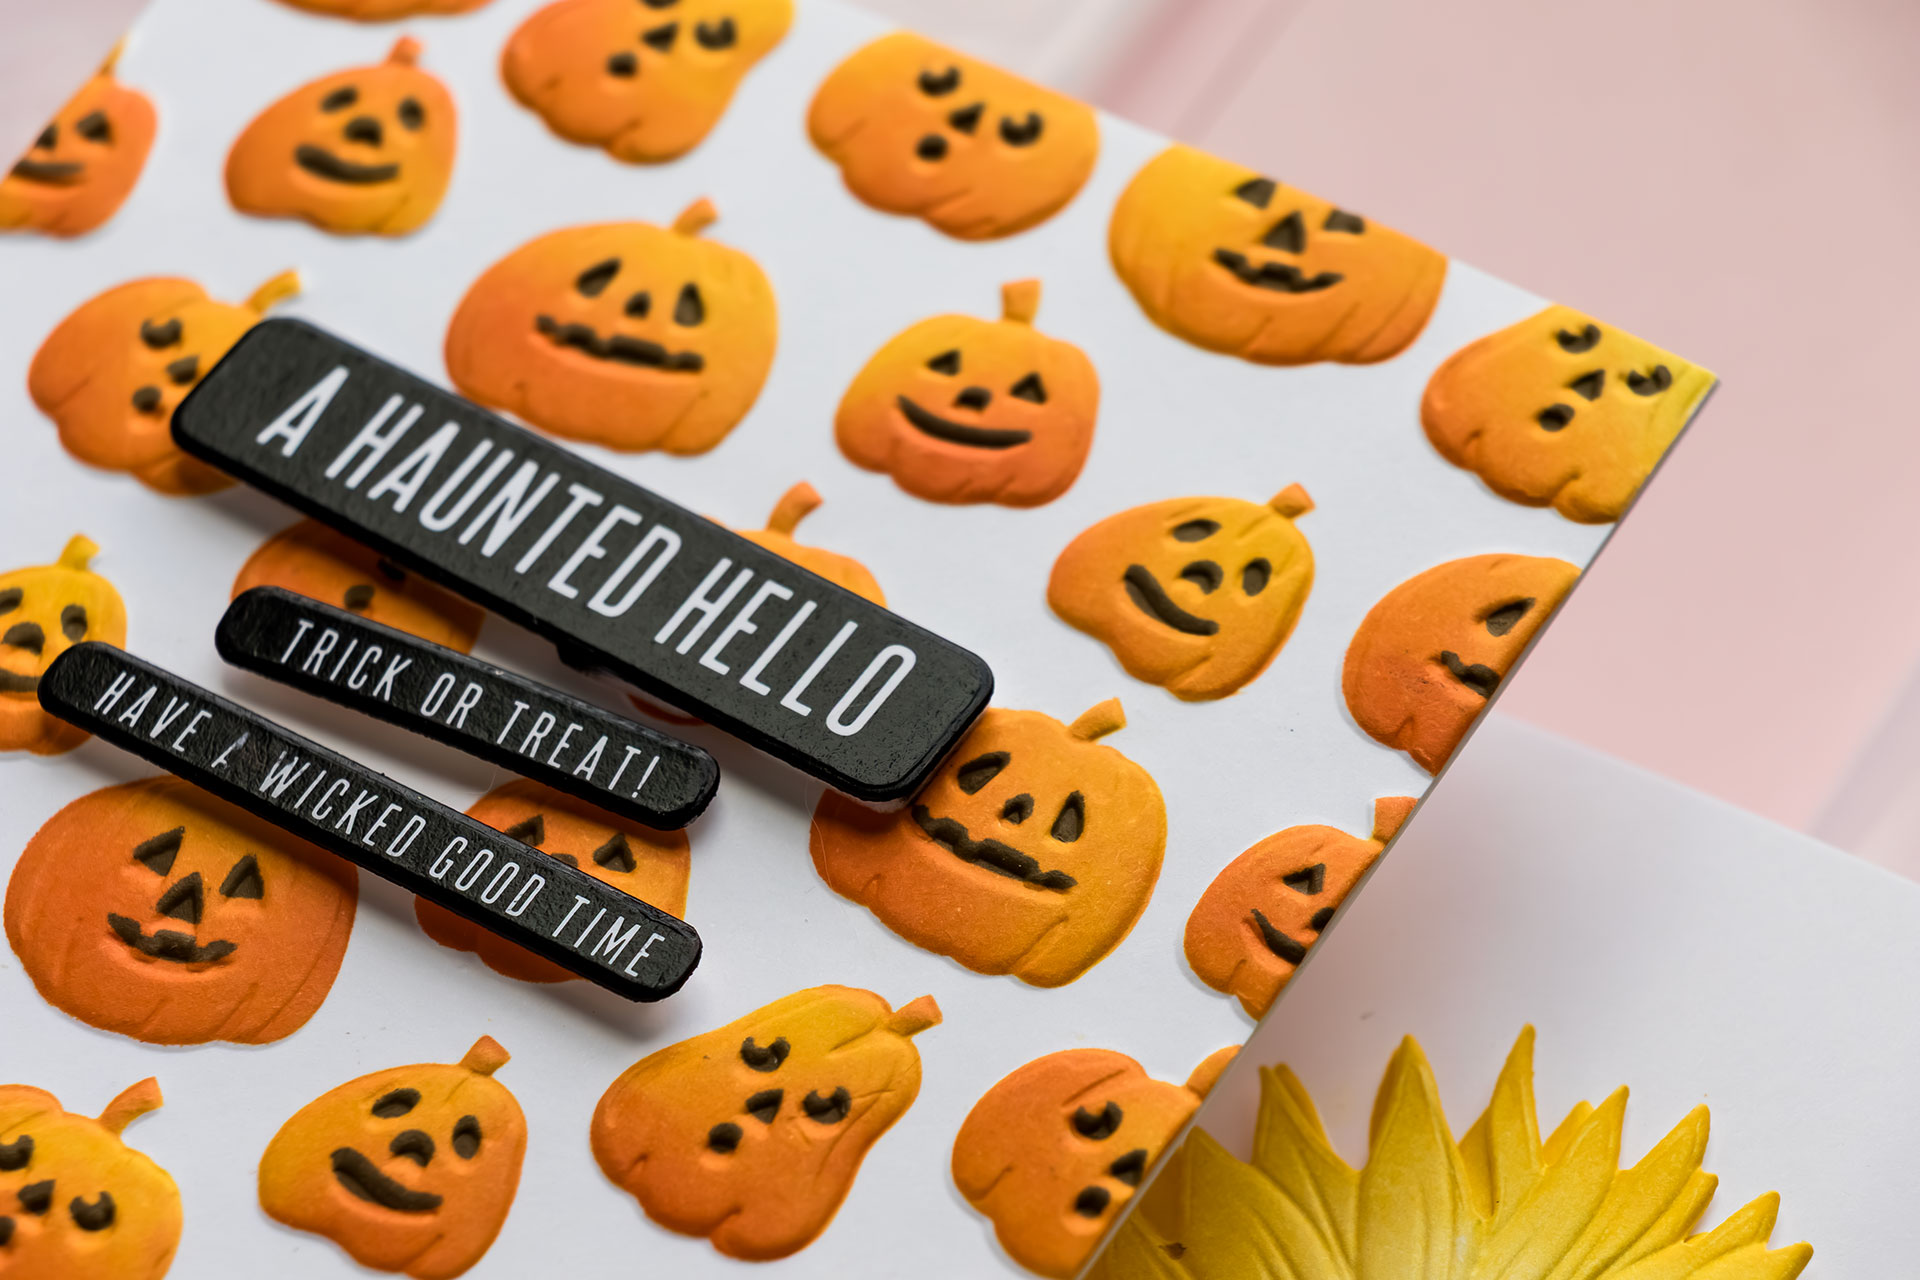
I also like placing the embossing folder at a slight angle when feeding it through my Platinum 6. This makes it much easier to crank through. The finished texture is absolutely beautiful and incredibly tactile! I completed the card with Reverse Spooky Halloween EZ Strips, mounting the sentiments with foam adhesive at slight angles for a playful look.
SPLENDID DAISIES
Next, I worked with the Splendid Daisies 3D Embossing Folder, stencils, and coordinating dies.
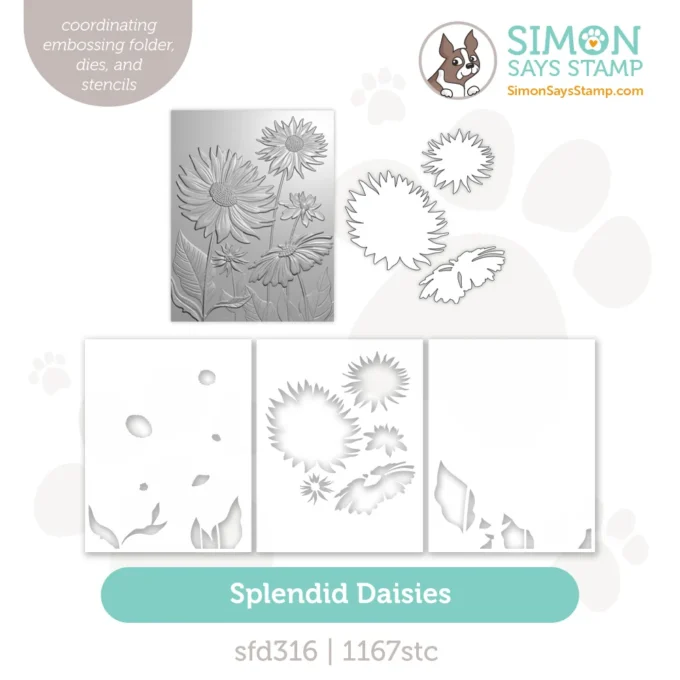
For the flowers, I blended Honey ink toward the tips of the petals, allowing the color to fade toward white near the centers. I added Coral and Mocha to the flower centers and used several shades of green for the leaves.
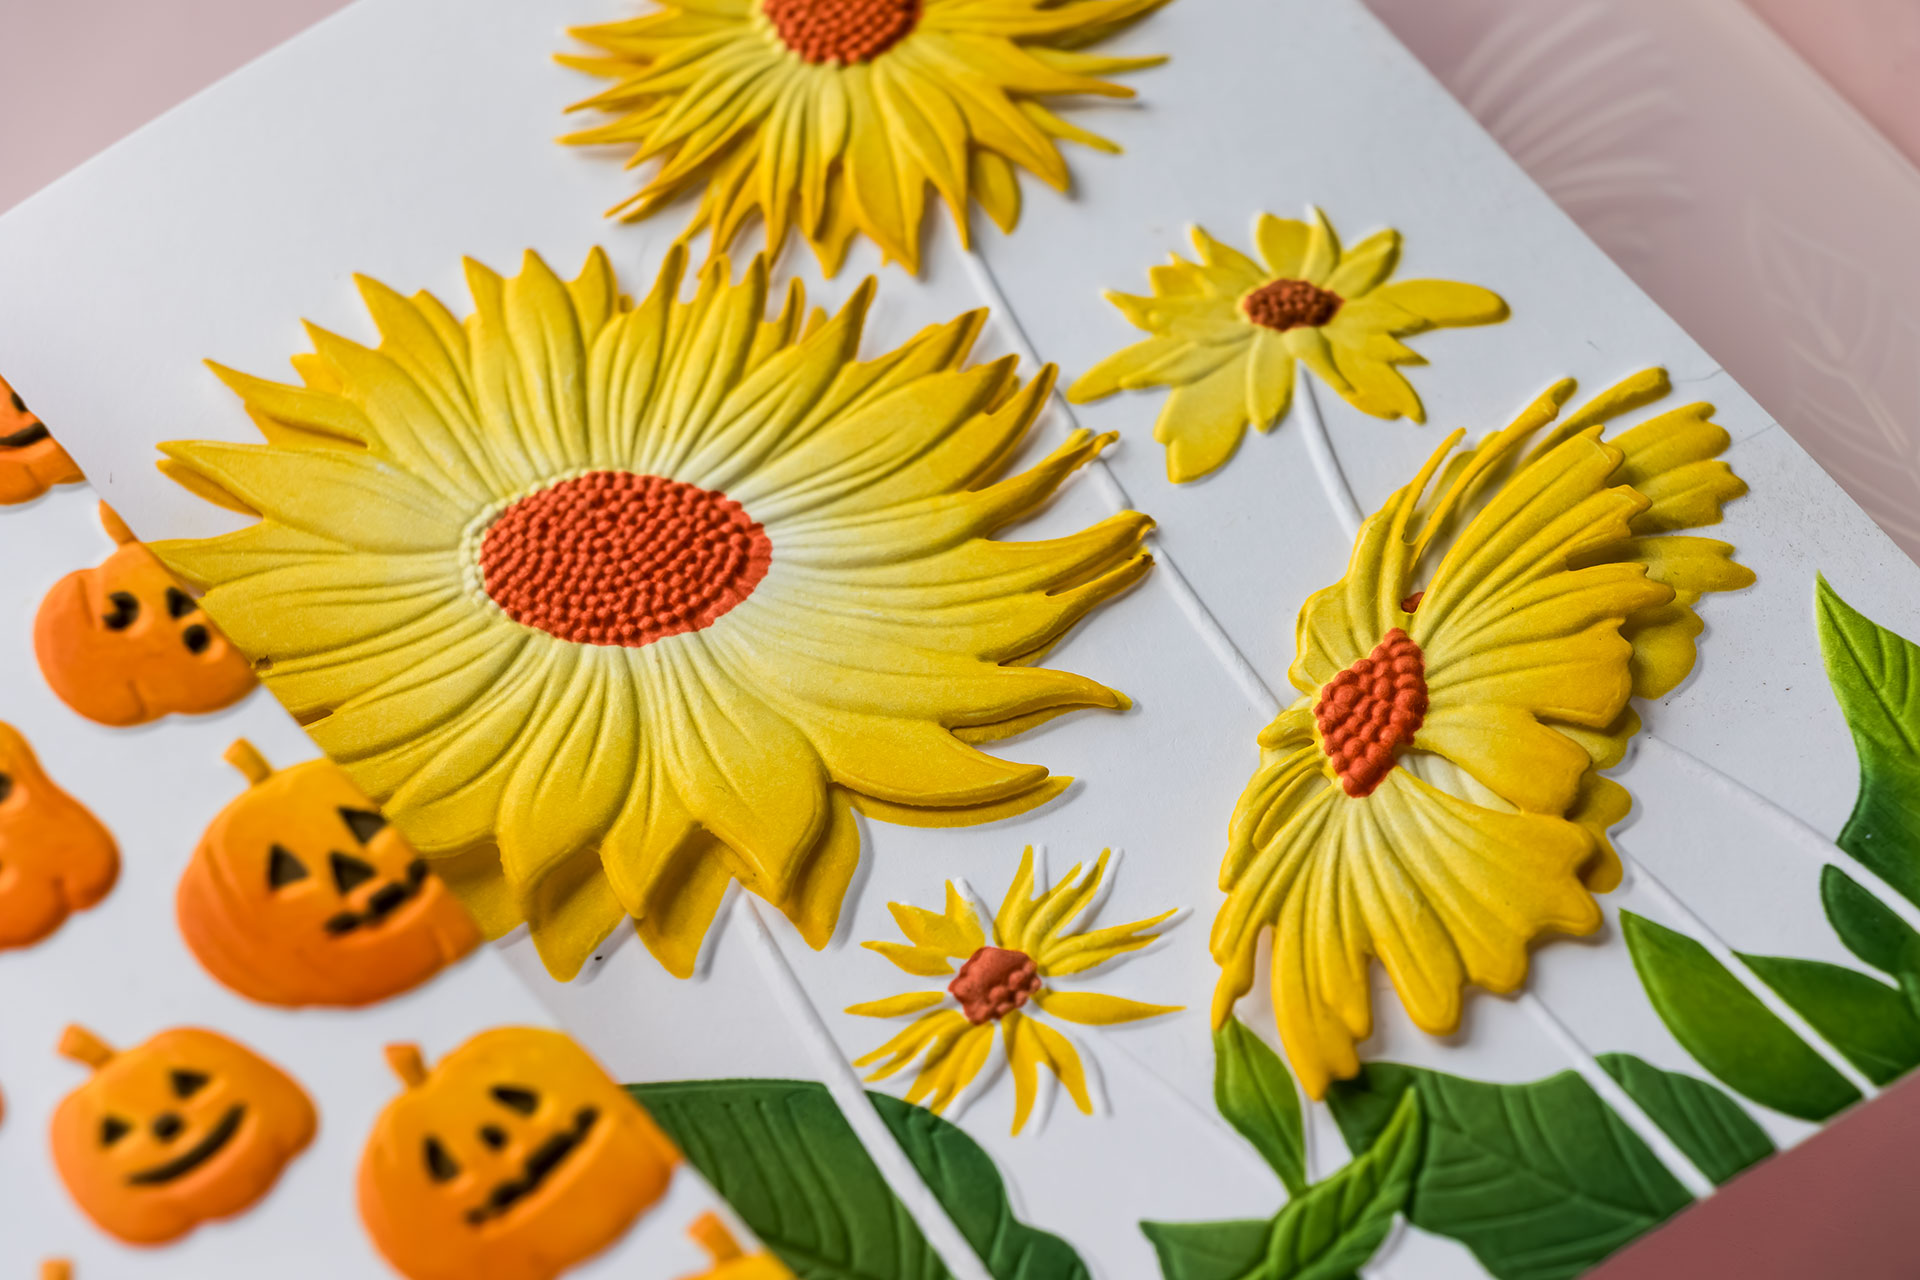
After stenciling, I embossed the entire panel to bring all of those beautiful floral details to life. This set also includes coordinating dies that cut three of the flowers.
To create individual dimensional blooms, die cut the flowers first, add the ink blending with the coordinating stencils, and then emboss each flower. You can layer these over the background with foam adhesive or use them separately on another project.
PARTY BALLOONS
For the Party Balloons background, I wanted the balloons to have a lighter, almost translucent appearance. Instead of blending each balloon with solid color, I concentrated the ink toward the bottom and faded it toward white at the top.
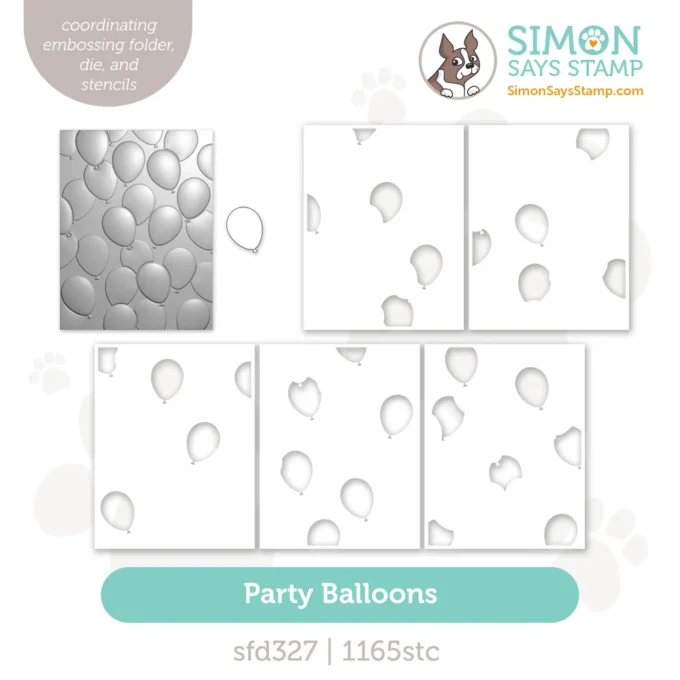
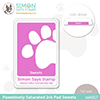
I used Citrine, Coral, Melon, Carnation, and Sweets Pawsitively Saturated Inks for a cheerful mix of colors.
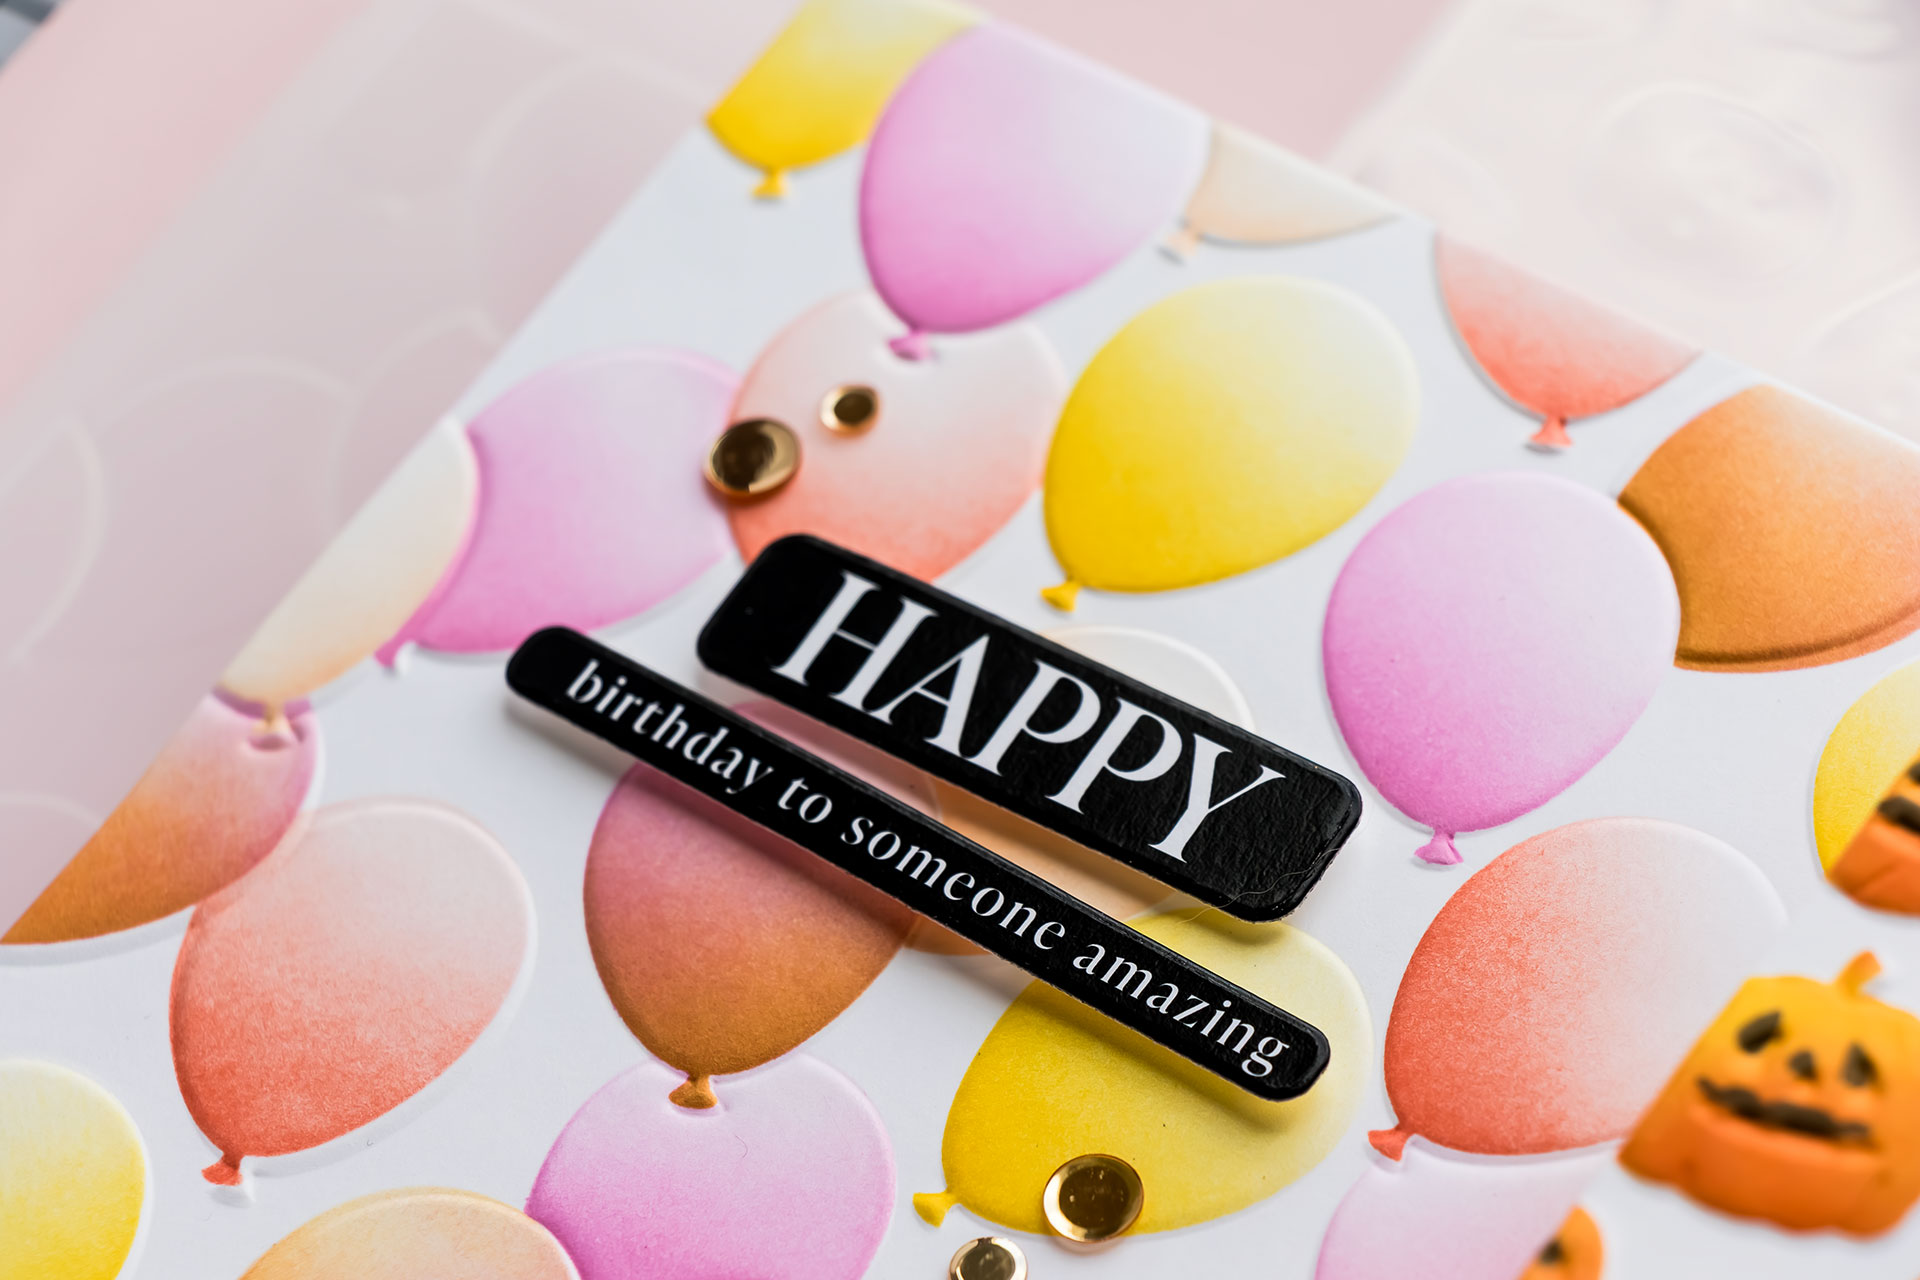
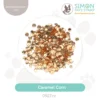
After completing all five stencil layers, I embossed the panel with the coordinating 3D embossing folder. The set also includes a balloon die, so you can create individual balloons to layer over the background or use on completely different projects.I finished this card with a sentiment from the Reverse Happy Everything EZ Strips and a few sequins from the Caramel Corn Embellishment Pack.
STENCIL FIRST, EMBOSS LAST
If you remember just one tip from today’s projects, make it this: Stencil first. Die cut first. Emboss last. Add your color before embossing, and if you’re creating individual die-cut elements, cut and stencil those pieces before placing them inside the embossing folder.
It’s a simple workflow that makes these coordinating products incredibly easy to use while giving your cards beautiful color and dimensional texture.
Which design is your favorite – Glowing Jack O Lantern, Splendid Daisies, or Party Balloons?
Have fun creating!
SUPPLIES
Affiliate links are used at no additional cost to you. Shopping via my affiliate links helps support my YouTube channel and blog. Thank you!