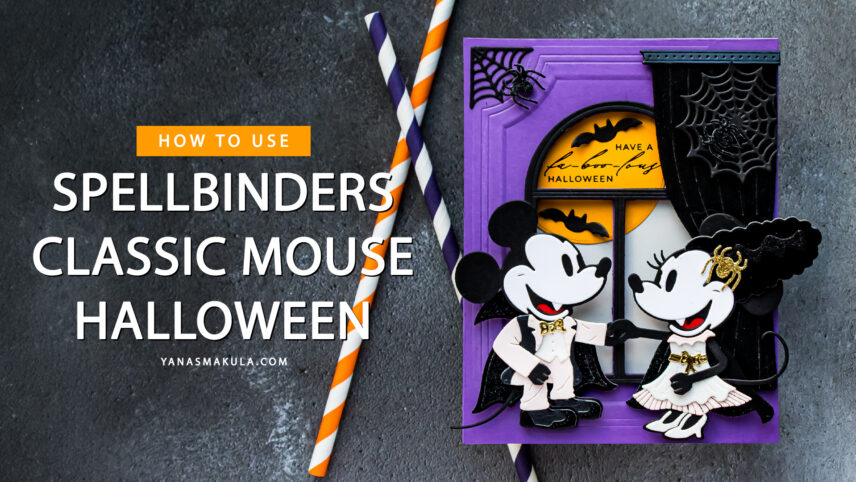

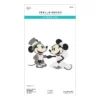
Hello, friends! Halloween crafting continues today with an interactive window card featuring the darling Classic Mouse characters from Spellbinders. You might recognize these mice from previous releases. Spellbinders has created a collection of Classic Mouse dies and accessories, featuring different poses and all sorts of little details that let you customize the characters for different seasons and occasions. I’ve previously shared an interactive graduation card with one of these mice tossing his graduation cap into the air, and today we’re dressing up another adorable mouse couple for Halloween.
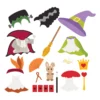
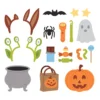
The Halloween Costume Party add-on gives the mice Halloween costumes and accessories, but there are some fun possibilities beyond Halloween, too. You’ll find pieces that can work for Thanksgiving as well as some unusual magic-themed accessories. There’s even a playing card, so Mr. Mouse could easily become a magician!
Like this project? Pin it and save it for later.
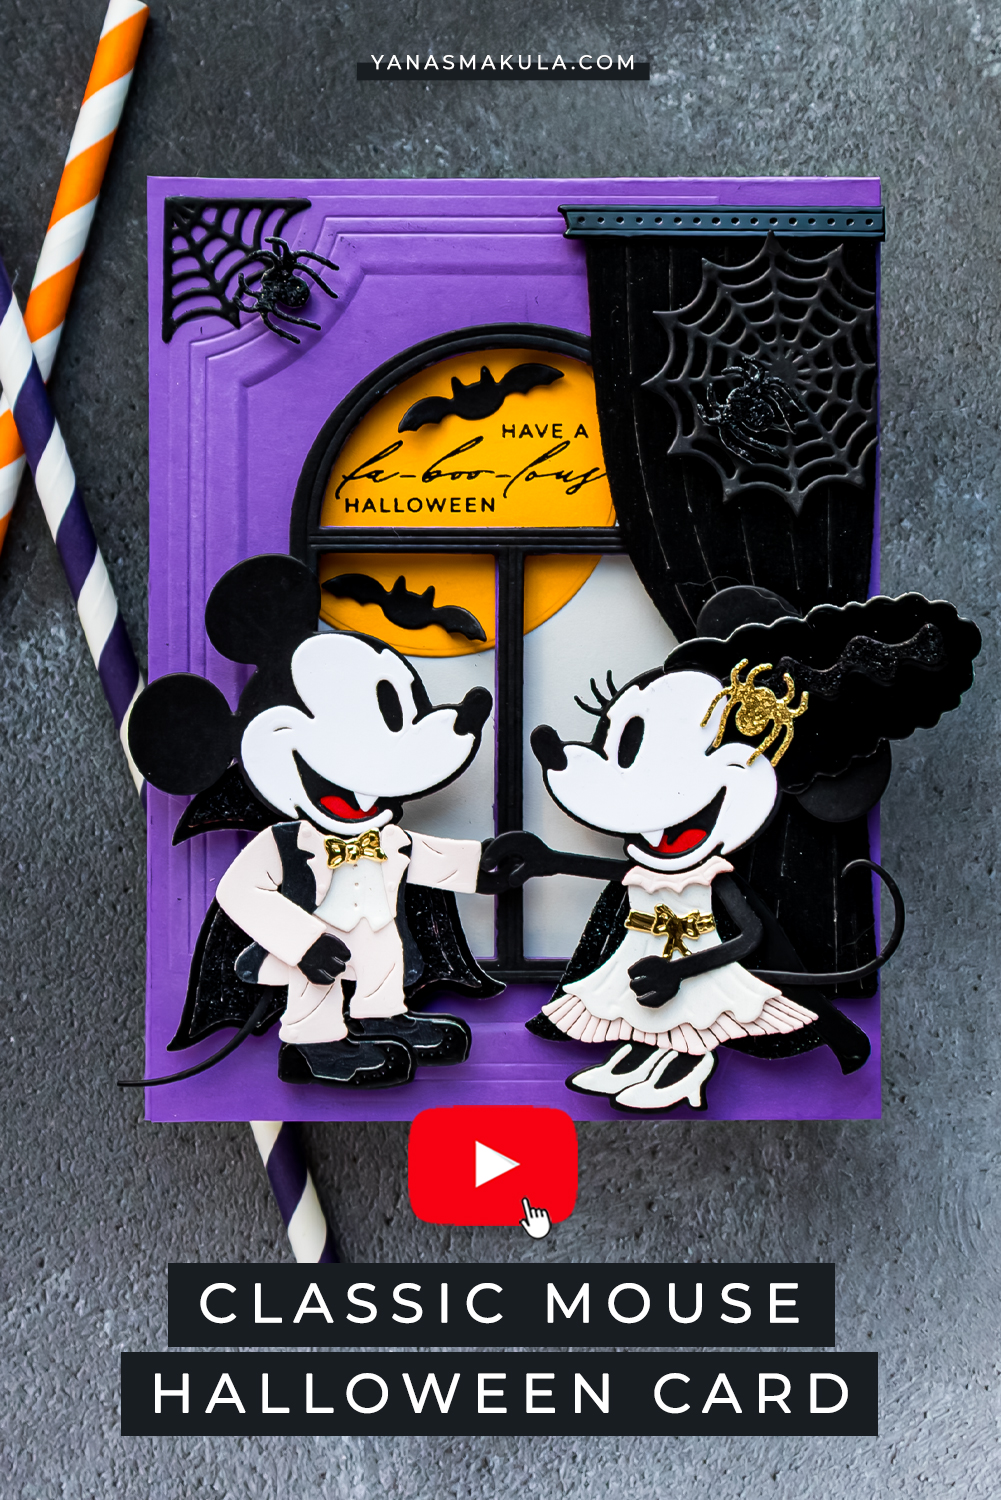
For today’s card, though, we’re going all in on Halloween. Rather than simply placing the dressed-up mice onto a card front, let’s build an entire scene around them. The card features a dimensional window, a moon visible through the opening, a curtain, bats, spiderwebs, and plenty of different black cardstock finishes. Best of all, the scene continues onto the inside of the card.
VIDEO TUTORIAL
Watch the video tutorial below or on my YouTube channel to see how this Halloween window card comes together.
CREATING THE CLASSIC MOUSE HALLOWEEN CHARACTERS
The Classic Mouse Halloween Costume Party set is an add-on, so you’ll also need the previously released Classic Mouse Wedding Dies to create the mouse bodies.
There are quite a few pieces involved in assembling these characters, but that’s also what makes them so much fun. All those tiny layers allow you to customize their clothes, accessories, colors, and even the different finishes within one costume. I assembled my mice before filming this card tutorial, following the assembly guides available from Spellbinders.
Crafty Tip: If you enjoy detailed character dies, download the assembly guides from the Spellbinders website and save them to your computer. You can also print the guides and store them with the coordinating dies. It makes returning to a set months later so much easier.
For this card, I wanted the costumes to feel sophisticated and dramatic, so I worked with a limited palette and let different cardstock finishes create the detail.
MIX BLACK CARDSTOCK FINISHES INSTEAD OF ADDING MORE COLORS
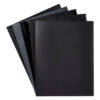
The Onyx Treasured Cardstock Pack is perfect for a project like this because it gives you several black finishes that can be layered together without losing the individual details.
- Start the mouse body with Spellbinders Raven Cardstock.
- For the back of his cape, use the matte metallic black. It has a soft metallic finish with just enough shine to catch the light without becoming overly reflective.
- For the inside of the cape, switch to black glitter cardstock.
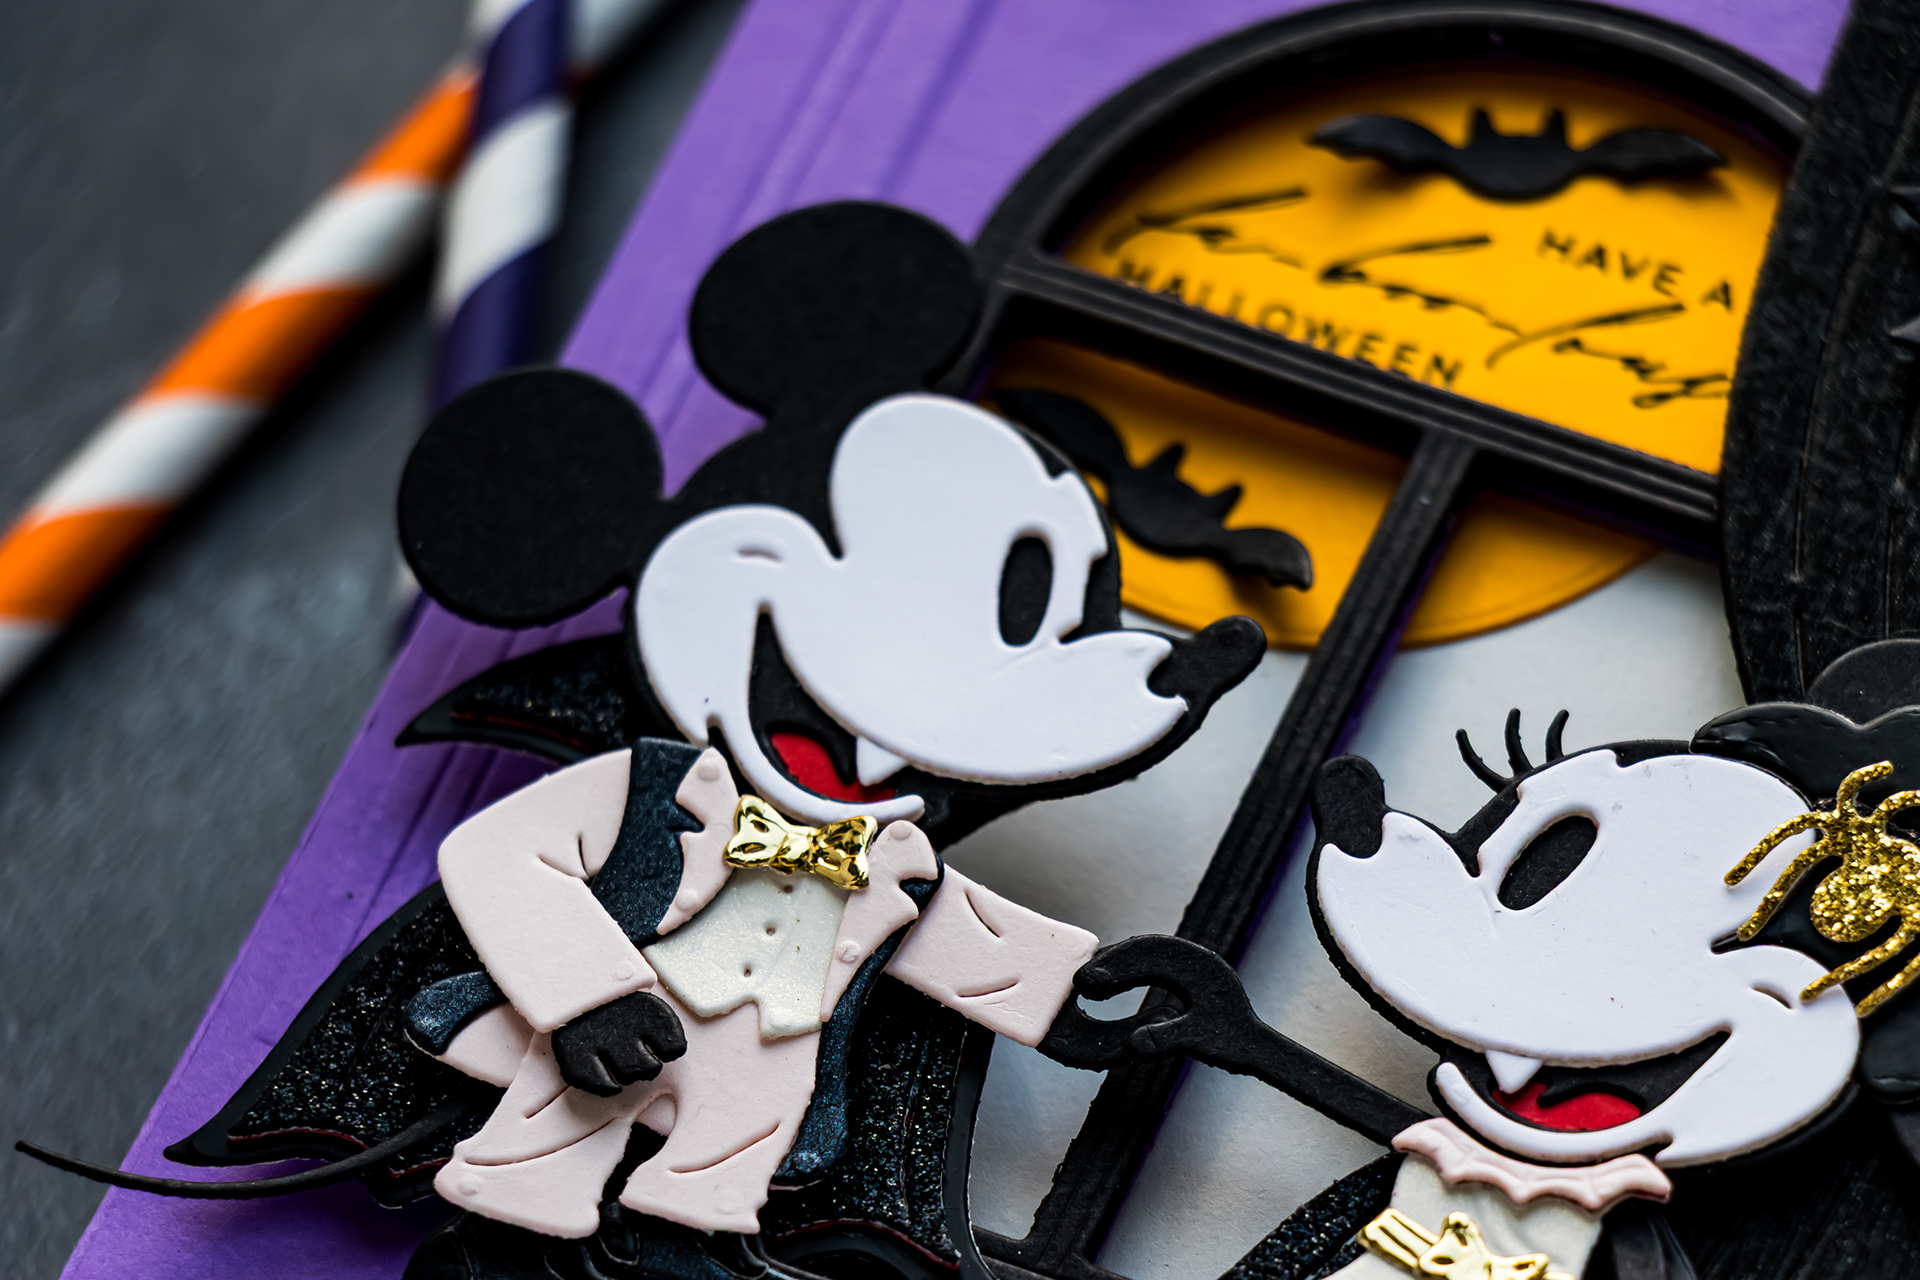
Even though both pieces are black, the contrast between matte metallic and glitter immediately separates the layers. This is one of my favorite ways to work with a monochromatic palette. You don’t always need another color to create contrast. Sometimes changing the texture and finish is enough.
Design Tip: When you’re working with several layers in the same color, combine matte, metallic, pearl, glitter, brushed, and mirror finishes. The light interacts differently with every surface, allowing individual die-cuts to remain visible while the overall palette stays cohesive.
HOW TO HIDE A WHITE CARDSTOCK CORE
There is one little detail to watch when working with some specialty cardstock. The glitter cardstock and several other papers in the Treasured Cardstock Packs have a white core. When the paper is die-cut, that white core can sometimes become visible along the edge. On a black die-cut, even a very narrow white edge can stand out.
The fix is simple. Use a coordinating alcohol marker or black pen to color the exposed edge. I tested the same technique with red specialty cardstock and used a red Copic marker along the white core. Match the marker to the cardstock and that distracting white edge practically disappears. This is especially helpful for dimensional die-cuts that will be viewed from the side.
CONTINUE BUILDING THE MOUSE COSTUMES
For the shoes, use both Pearl Metallic and Matte Metallic black cardstock. Again, the goal isn’t to introduce another color. Instead, use two slightly different finishes to distinguish the separate parts of the shoes.
For Mr. Mouse’s costume, add Spellbinders Chiffon Cardstock along with Pearl Metallic cardstock for the lapels. Die-cut the bow from Mirror Gold Cardstock and create the vest with Pearl Metallic cardstock from the Antique Treasured Cardstock Pack.
The Pearl Metallic cardstock has a finish somewhat similar to the Brushed cardstock I’ve used so often in previous projects, although there are subtle differences in both the finish and thickness.
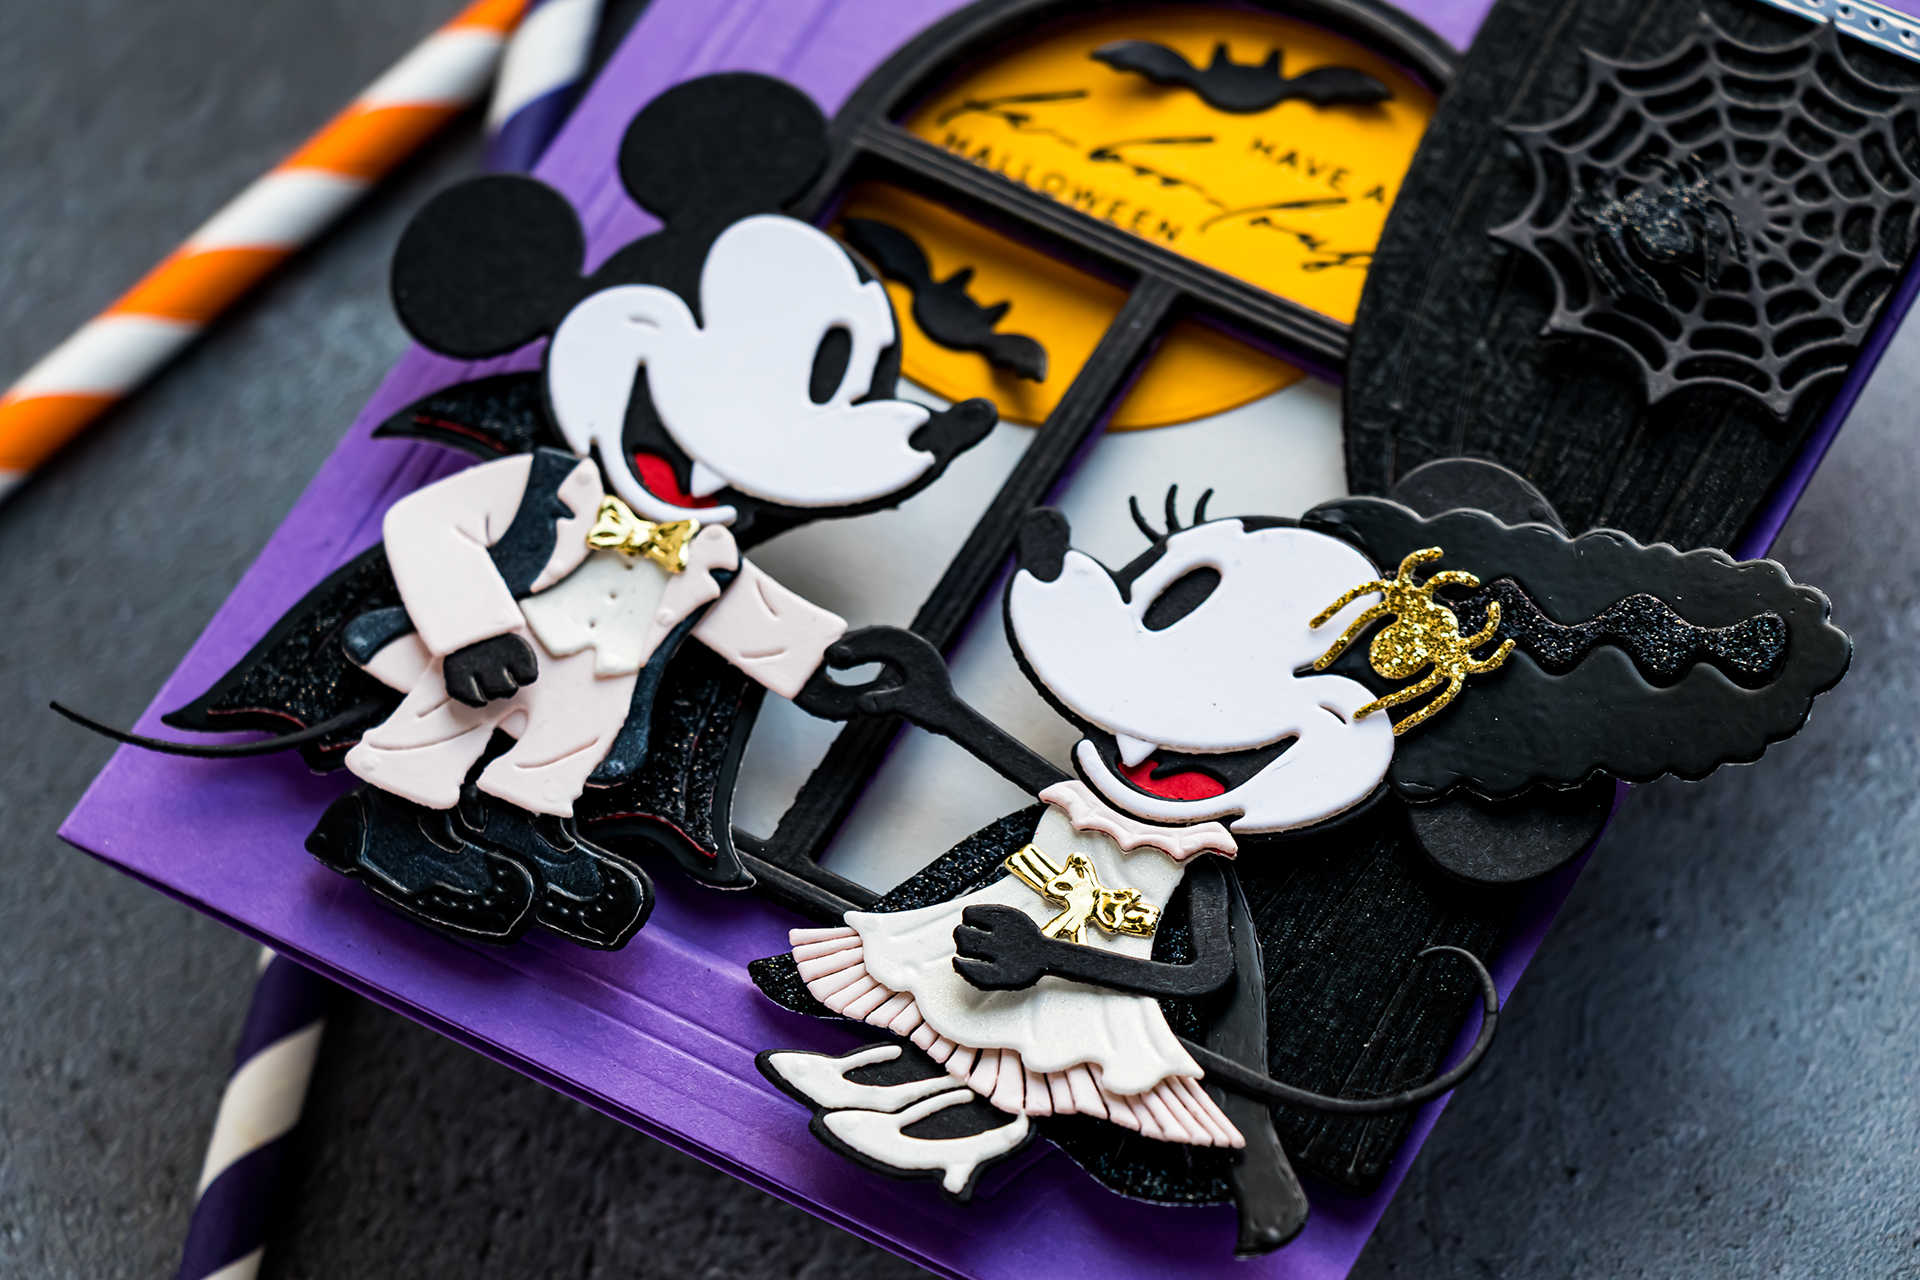
For Mrs. Mouse, repeat many of those same cardstock colors and finishes for her dress, cape, and hair. Keeping the two characters within the same palette makes them immediately read as a pair even though their costumes are different.
CREATE A WINDOW THAT CONTINUES INSIDE THE CARD
With the mice assembled, let’s build the card. Start with an A2 side-folding card base made from Spellbinders Lilac Cardstock. Use the window die to cut an opening directly into the front of the card base. This opening is important because the Halloween scene isn’t going to stop at the card front. We’re going to see through the window and into the inside of the card.
Next, cut a second piece of Lilac Cardstock slightly larger than the A2 card front and die-cut the same window opening into it. Why start with an oversized panel? Because getting two separately die-cut windows to line up perfectly can be surprisingly tricky. Instead of trying to measure and position the second window on an already trimmed 4 1/4 x 5 1/2 inch panel, line up the openings first.
Place the oversized panel over the card base and adjust it until the two window openings align as closely as possible. Hold everything securely, flip the pieces over, and trace around the card base with a pencil. Trim along those pencil lines.
You’ll end up with an A2 panel whose window is positioned to match the opening in the card base.
Crafty Tip: When two die-cut openings need to align perfectly, work backward. Cut the opening into an oversized panel first, align the openings, and trim the outside dimensions afterward. It removes a lot of unnecessary measuring and guesswork.
ALWAYS DIE CUT BEFORE EMBOSSING
Next, add texture to the front panel using the Ornate Molded Frame Embossing Folder. The order here matters. Whenever you want to combine die cutting and embossing on the same cardstock panel, complete the die cutting first and emboss second.
If you emboss first and then run the panel through your die-cutting machine again, the pressure required for die cutting can flatten much of that beautiful dimensional embossing. The design may still be visible, but you lose the depth that makes a dimensional embossing folder so special.
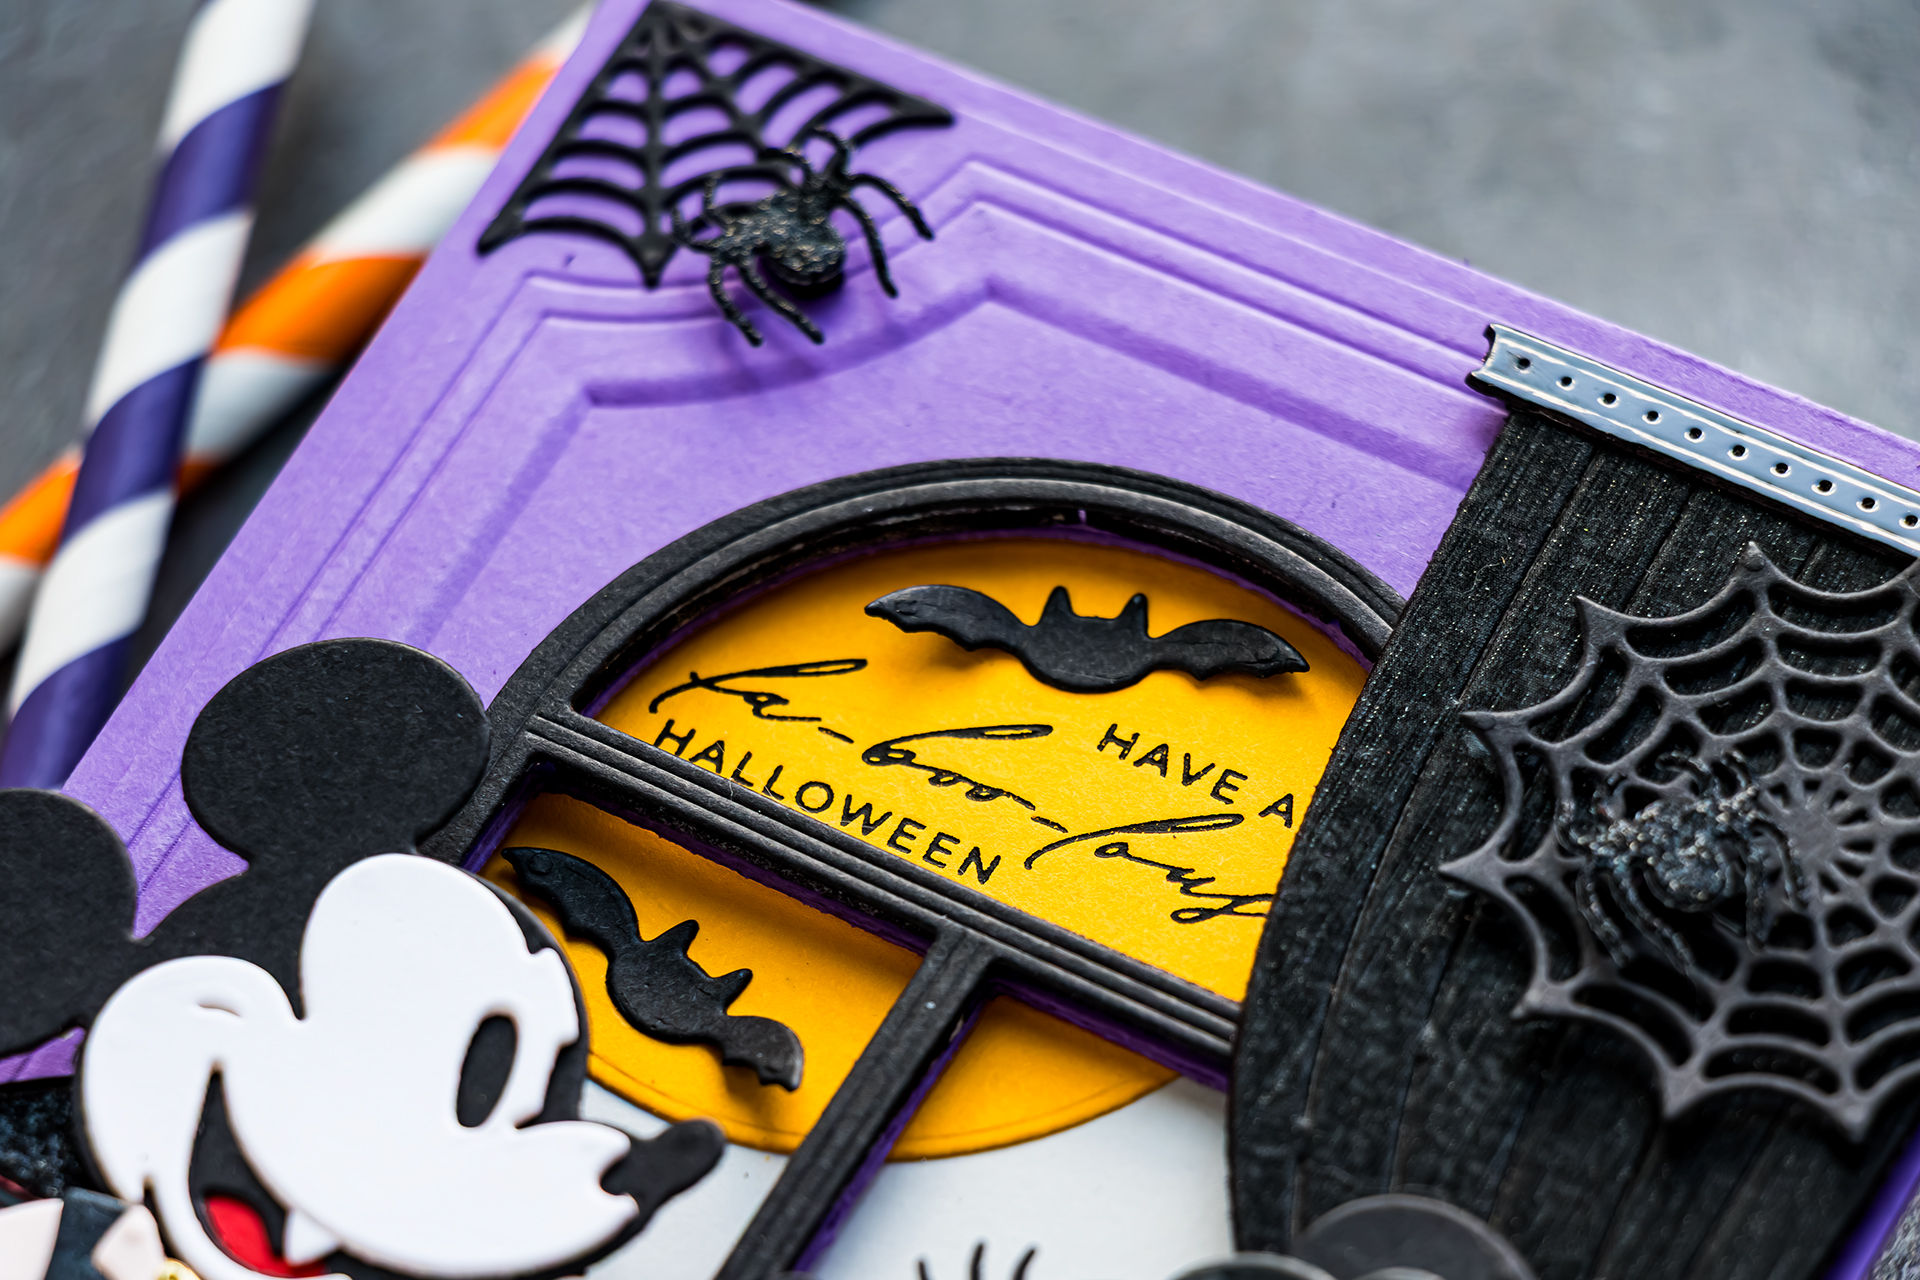
Once the window is cut, place the panel inside the Ornate Molded Frame Embossing Folder and run it through your die-cutting machine.
WHY ADD A SEPARATE EMBOSSED PANEL?
You could certainly emboss the front flap of the card base itself. I chose not to. Embossing stretches and manipulates the paper fibers, and I prefer my actual card base to remain sturdy and flat. Adding a separately embossed panel gives me all that beautiful dimension on the front while preserving the strength of the card underneath.
Adhere the embossed panel to the card base with Bearly Art Precision Craft Glue, carefully matching the two window openings.
I like working on my Glassboard Studio Magnetic Glass Mat for this type of assembly because magnets can hold everything flat while the liquid adhesive dries.
Also, open the card while you’re gluing this layer in place. If any adhesive squeezes through the window opening or along an edge, you don’t want to accidentally glue the card shut.
CREATE A DIMENSIONAL BLACK WINDOW FRAME
Next, die-cut the window frame from black cardstock. I wanted the frame to sit above the embossed background, so I used thin foam adhesive strips behind it. There was one problem: my foam strips were white.
Because the black window frame is narrow, white foam could easily be visible when viewing the card from an angle. Rather than accepting the white edge, use a black marker to color the foam adhesive while it is still attached to the carrier sheet. This is much easier than attaching the foam first and trying to color its exposed sides afterward. I tested both methods. Trust me – color it first.
Crafty Tip: If you’re altering the color of foam adhesive, do it before removing it from the carrier sheet. You can color several strips quickly without trying to hold a tiny die-cut at the same time.
To make the foam follow the curved arch of the window, remove the liner and gently curve the adhesive strip as you attach it. Add foam throughout the back of the frame rather than only in a few areas. Consistent support prevents the narrow frame from sagging.
Don’t want to use foam? Die-cut three or four identical black window frames and adhere them together. The stacked cardstock will give you dimension with perfectly matching black edges.
BUILD THE MOONLIT SCENE INSIDE THE CARD
Now let’s continue the scene through the window. Cut a 4 x 5 1/4″ panel for the inside of the card. Create a large moon from Spellbinders Saffron Cardstock and add a “Have a Fabulous Halloween” sentiment using a Halloween sentiment plate and black foil.
Position the moon by looking through the window from the front of the card. The goal is to reveal only part of the moon when the card is closed.
Once you find the placement, adhere the moon to the interior panel. Close the card and check the view through the window. From the front, you see a partial moon. Open the card, and suddenly the entire moon and sentiment are revealed.
That’s the little surprise that makes this card so much fun. You could certainly add ink blending to the interior panel, stencil clouds across the sky, or create a much more elaborate background. I kept mine fairly simple because there is already a lot happening on the front.
ADD CURTAINS TO TELL THE STORY
The front of this card represents the inside of a room, while the moon visible through the opening tells us we’re looking outside. Adding a curtain helps communicate that story immediately.
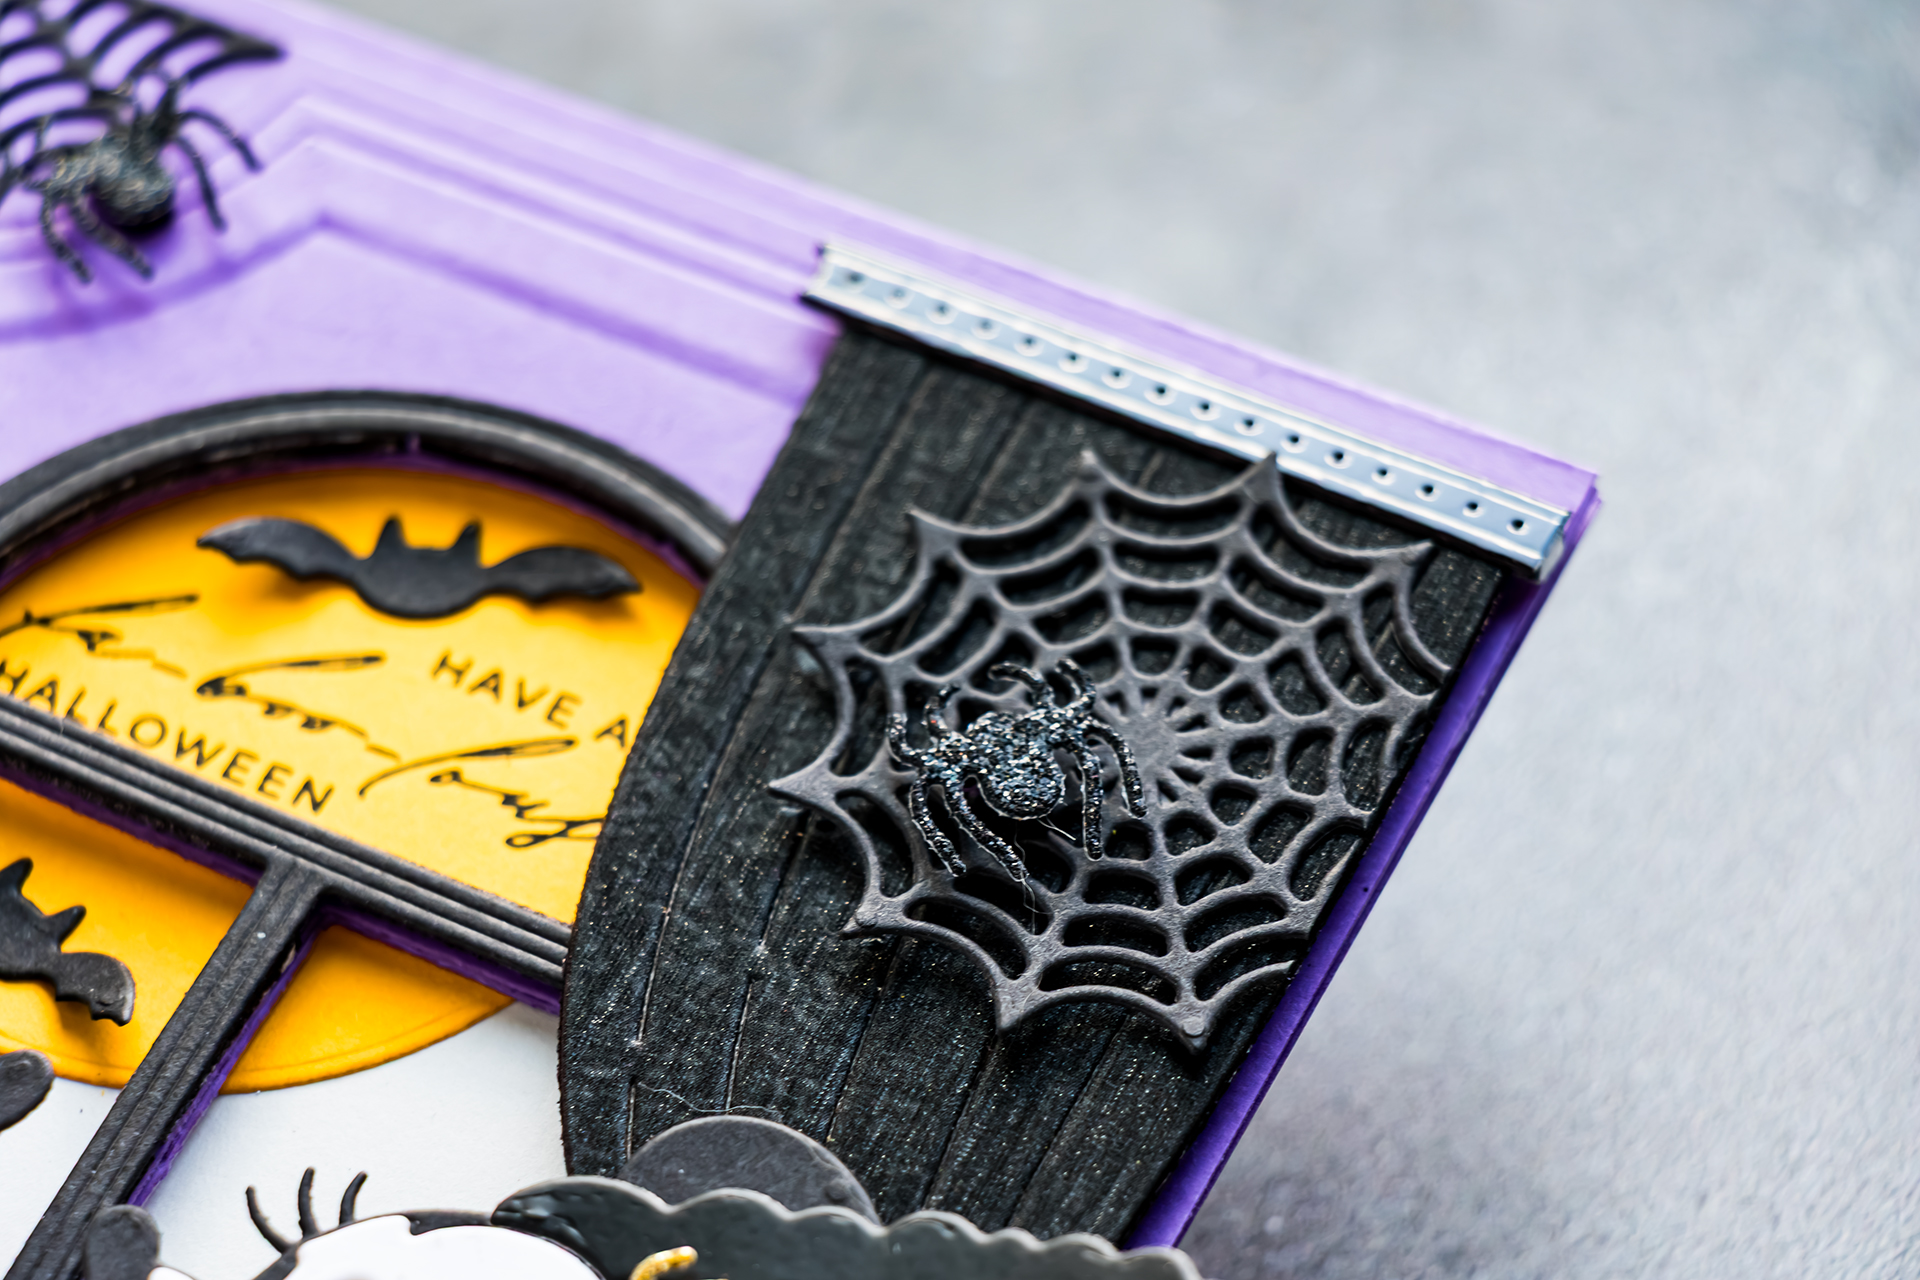
Die-cut the curtain and position it along one side of the window. Technically, the curtain could sit farther across the opening, but that placement covered too much of the sentiment. Instead, move it slightly toward the right. This is a good example of letting the overall composition determine placement rather than feeling obligated to use a die-cut exactly as originally intended.
Foam mount the curtain and add the curtain rod above it. I again colored the white foam adhesive black before using it behind the narrow black curtain rod.
Design Tip: Realistic placement isn’t always the best placement. If an element blocks your sentiment or focal point, move it. The scene only needs to be visually believable – it doesn’t need to pass an architectural inspection.
ADD SPIDERWEBS, SPIDERS, AND BATS
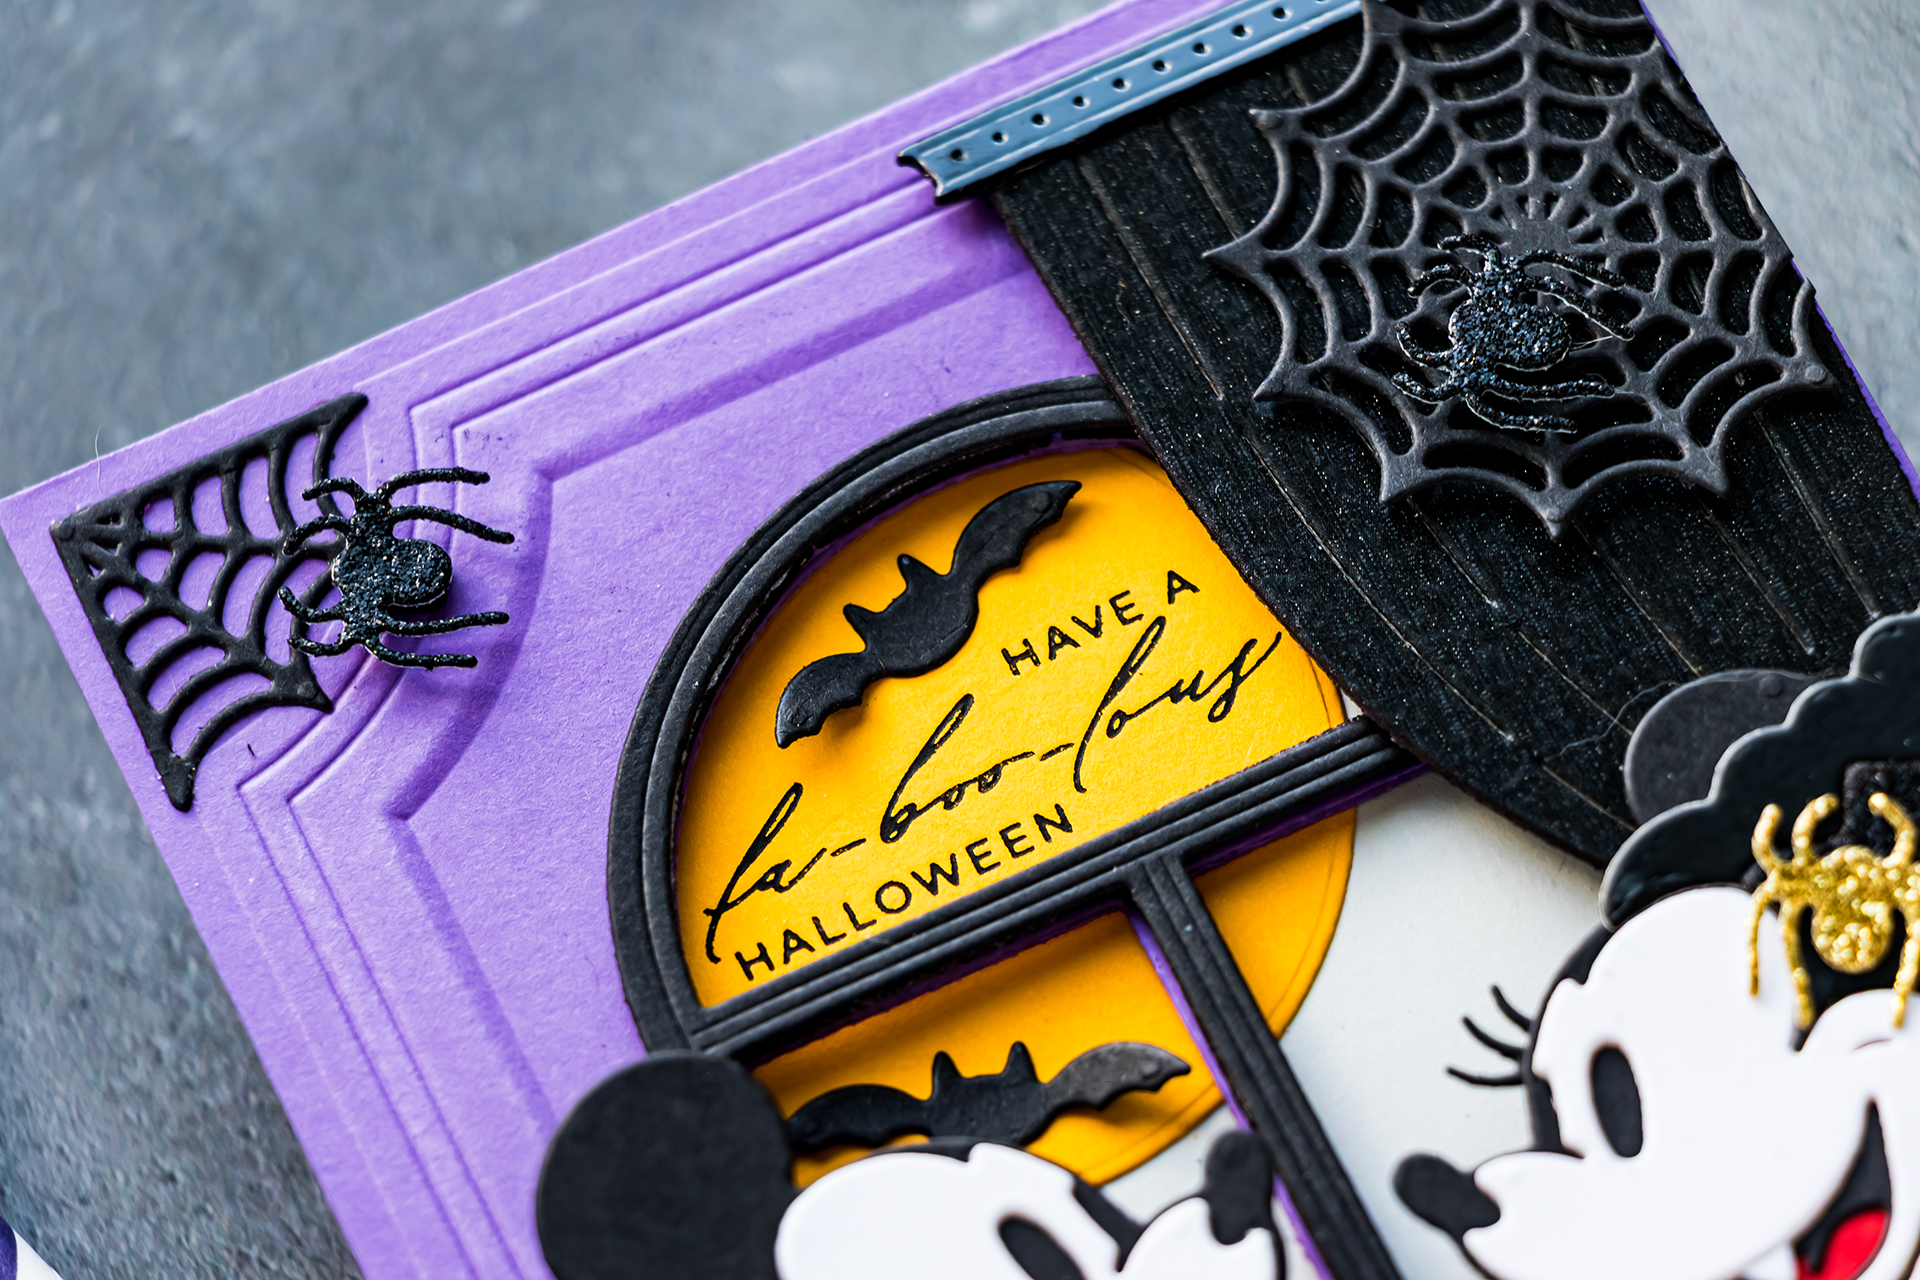
Now we can make the room properly spooky. Add the large spiderweb from my Halloween City Holiday Decoration Dies near the window. Trim the web slightly so it works with the available space rather than overwhelming the scene. The spider itself comes from the Classic Mouse Halloween add-on and fits beautifully inside the larger web.
I’m not particularly into spiders, which is why you won’t find one in my Halloween City Holiday Decoration Dies, but this little guy is cute enough that I allowed him onto the card.
Add another corner spiderweb to one of the openings created by the Ornate Molded Frame design. Those corners are wonderful little spaces for embellishment. On a Halloween card, tuck in a spiderweb. For an everyday project, try flowers, gems, leaves, or another small decorative die-cut.
Next, place bats over the moon. Because they’re positioned on the inside panel, they become part of the view through the window and reinforce the idea that the mouse couple is standing indoors looking out at a Halloween night.
ADD THE HALLOWEEN MOUSE COUPLE
Finally, bring in the stars of the card. Position Mr. and Mrs. Mouse at the base of the window so they’re standing together and holding hands. I initially added adhesive mainly behind their capes where they overlap the dimensional window frame. Once their placement was established, additional foam adhesive could be tucked underneath where needed.
You could easily change the interaction between these characters. Have them hold trick-or-treat bags, pumpkins, Halloween accessories, or other tiny die-cuts from your stash.
I wanted mine holding hands. And because Mrs. Mouse clearly needed one more accessory, I added a tiny spider to her hair. Don’t worry – we’re calling it a spider brooch. Much more sophisticated.
THE FINISHED HALLOWEEN WINDOW CARD
Here’s the completed card. This one was definitely a labor of love, but projects like this are some of my favorites because they allow me to combine products from different collections to tell a complete story.
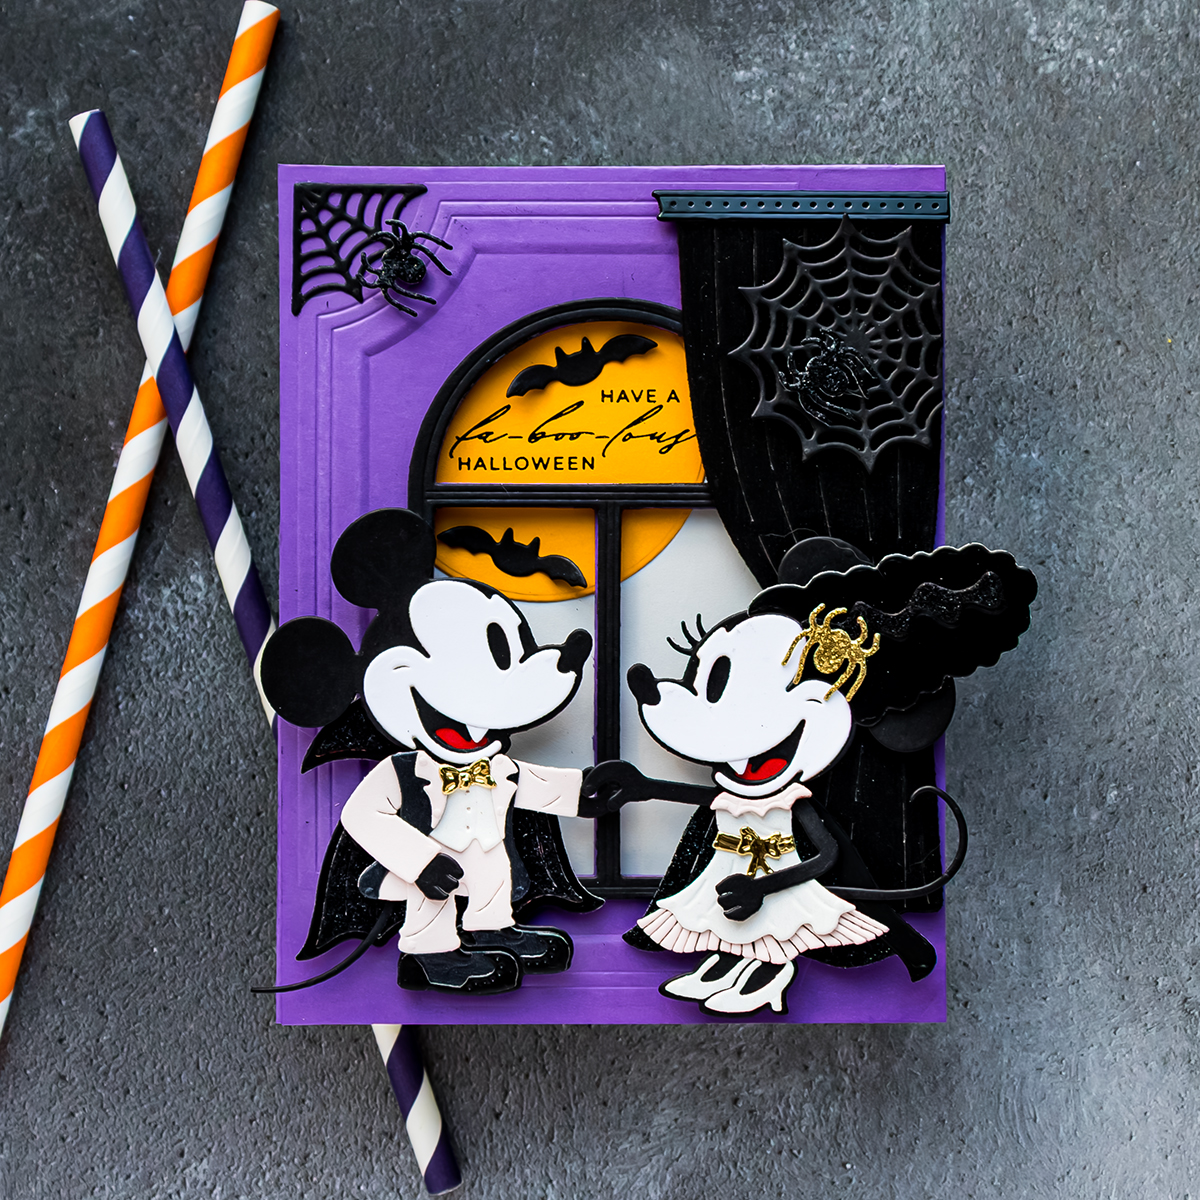
The variety of black cardstock finishes adds so much texture without introducing unnecessary colors. The dimensional frame gives the mice a place to stand, the curtain establishes the indoor setting, and the partial moon creates curiosity before the card is even opened.
Then you open it and discover the rest of the scene.
Inside, there’s still room beneath the moon for a personal message. If you need even more writing space, you could turn that interior panel into another flap that opens either to the side or toward the top.
You could also take the interior scene much further with clouds, ink blending, stars, additional bats, or even another little character. I kept mine relatively simple because I wanted the detail on the front of the card to remain the star.
This project is also a good reminder to look through your existing supplies when you’re working with a new collection. The products don’t all need to come from the same release. A window from one collection, an embossing folder from another, Halloween decorations from another, and a completely different set of characters can come together beautifully when they’re all helping tell the same story.
What would you put outside your Halloween window – a moonlit sky like this one, a spooky haunted house, or something completely different?
Have fun creating!
SUPPLIES
Affiliate links are used at no additional cost to you. Shopping via my affiliate links helps support my YouTube channel and blog. Thank you!

OMG too too cute!