

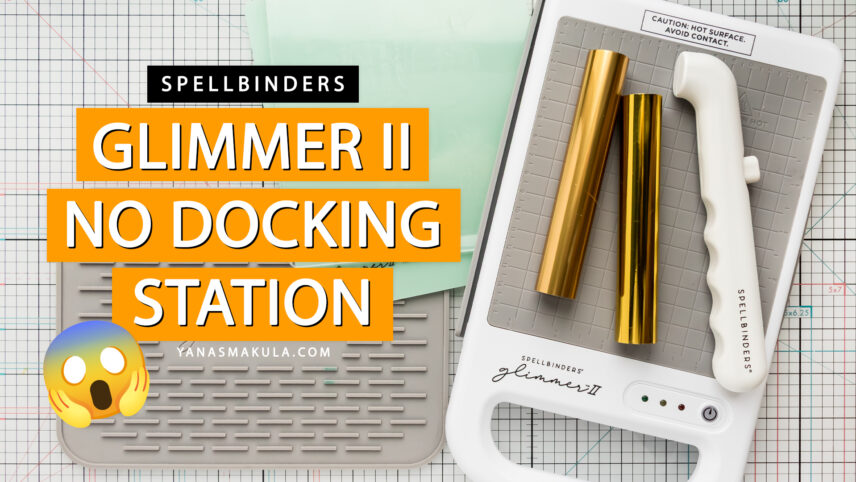

Hello, friends! Today I’m taking a first look at the new Spellbinders Glimmer II Hot Foil System. My box had just arrived when I filmed this video, and I intentionally waited to open it on camera so I could share a true unboxing and first impression with you.
I’ve been using the original Glimmer Hot Foil System for years, and it has become one of my most-used tools. If I can add foil to a card – even if it’s only a tiny foiled sentiment – chances are, I will! So, naturally, I was very curious to see what Spellbinders changed with Glimmer 2 and, more importantly, how it actually performs.
VIDEO TUTORIAL
Watch the video below or on my YouTube channel to see the complete unboxing, my first impressions, and my very first hot foiling test with the new Glimmer 2.
WHAT IS GLIMMER II?
If you’re completely new to hot foiling, the Glimmer system allows you to add beautiful foil details to your handmade cards using heat and pressure. You can foil sentiments, focal points, backgrounds, and more, and many Press & Foil plates also have coordinating dies.
Glimmer II uses essentially the same hot foiling process as the original system. The original Glimmer still works beautifully, so if you already have one and are happy with it, you don’t necessarily need to replace it. Glimmer II is an updated system with several improvements to the original design.
WHAT’S NEW WITH GLIMMER II?
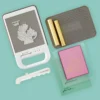
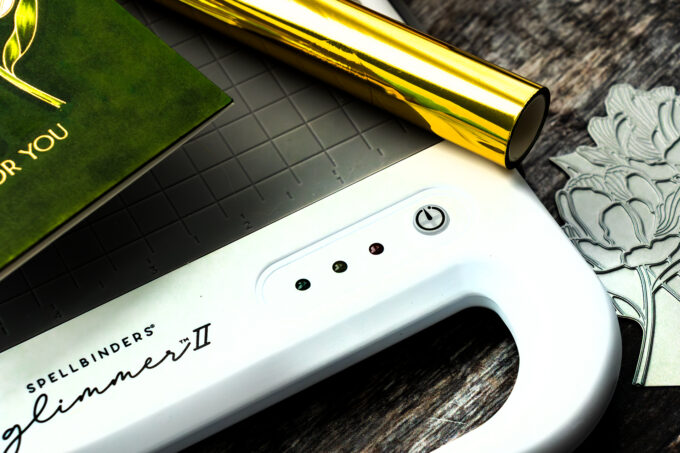
One of the first differences you’ll notice is that there is no separate docking station. With the original Glimmer, the heating platform connected to a separate docking station that remained plugged in on your desk. With Glimmer 2, the power connects directly to the platform using a magnetic charging cable.
Simply bring the connector to the platform and it snaps into place magnetically. I really like how easy and convenient this feels. The heating system has also been updated. According to the information included with the machine, Glimmer 2 features an improved heating element designed for better foiling results. There are also audible beeps and status lights that tell you where you are in the heating process.
The audible alerts might seem like a small improvement, but I love this feature. I am constantly multitasking in my craft room, so having the machine actually beep when it is ready is very useful.
WHAT COMES IN THE BOX?
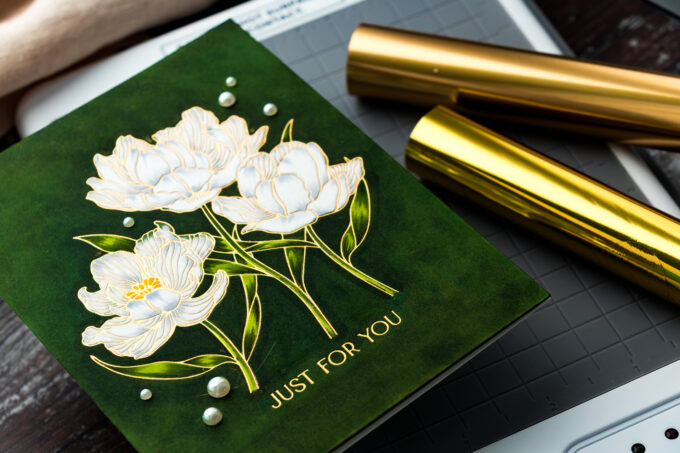
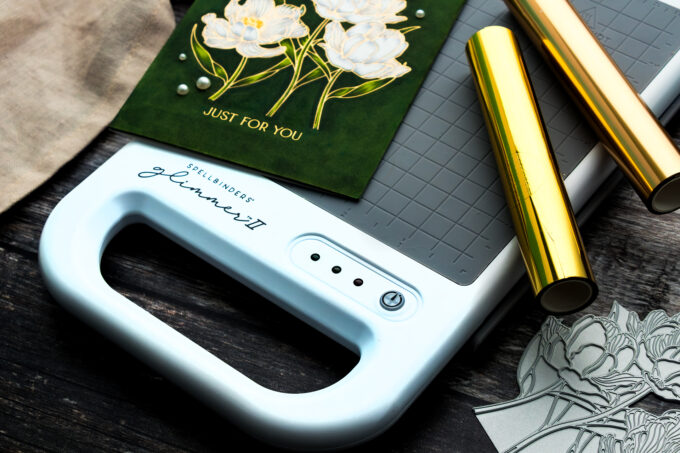
The Glimmer 2 box includes the platform, magnetic charging cable, power supply and power cord, heat-resistant acrylic spacer pad, heat-resistant acrylic thin shim, silicone platform base, silicone cooling pad, magnetic pickup tool, a Press & Foil plate, and starter rolls of Gold and Satin Gold foil.
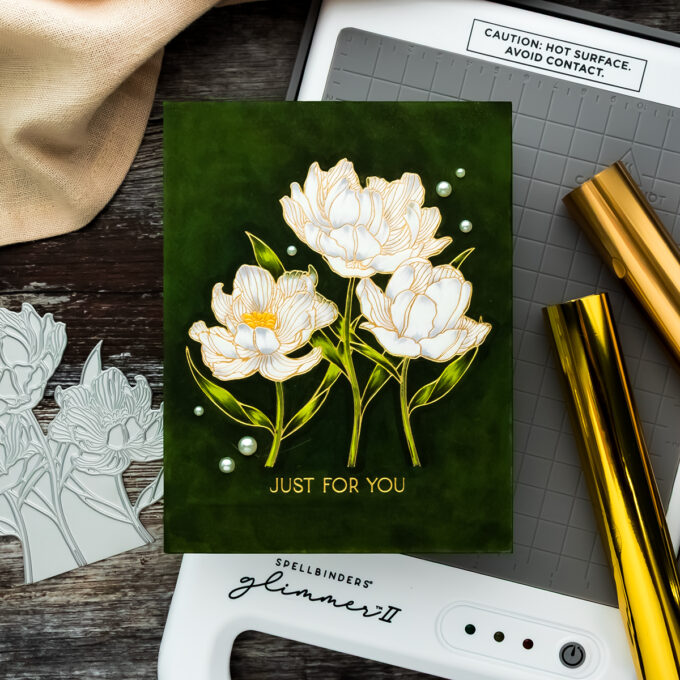
The included floral Press & Foil plate features a beautiful floral cluster along with two sentiments – “Just for You” and “Thinking of You.” There are four regional versions of Glimmer 2 – North American, European, UK, and Australian – so be sure to select the correct version for your location. The difference is in the power cord supplied for each region.
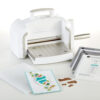
One more important thing to know if you’re completely new to Glimmer: you also need a compatible manual die-cutting machine. I’m using my Spellbinders Platinum 6.
MY FIRST HOT FOILING TEST
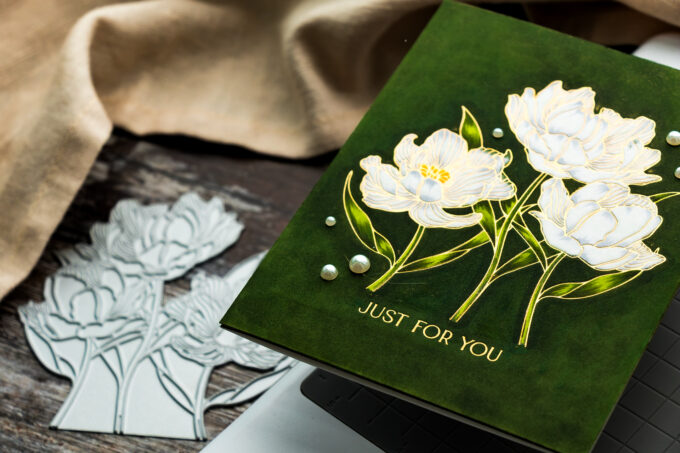
Of course, I couldn’t unbox the machine without immediately trying it! For my first test, I used the floral plate included with Glimmer 2, Satin Gold foil, and Spellbinders BetterPress cardstock.
When hot foiling, smooth cardstock generally gives you the best results. BetterPress cardstock has a smoother side and a more textured side, so I worked on the smoother surface.
I also used my usual hinge method to position the plate. Start by placing the Press & Foil plate design-side down onto the cardstock and secure one edge with low-tack tape. Flip the plate away from the cardstock, position the foil, and then flip the plate back into exactly the same position.
It’s a simple method, but it makes positioning your foiled designs much easier.
HOW TO USE GLIMMER 2
Glimmer 2 takes approximately six minutes to initially heat. Once the platform is ready, place your Press & Foil plate onto the heated surface and press the white timer button.
The machine then heats the plate for approximately 1 1/2 minutes. The lights and audible alerts let you know when everything is ready for foiling. Add your foil and cardstock along with the included thin shim and spacer pad. Disconnect the magnetic power cable, lift the platform from its silicone base, and slowly run the entire platform through your compatible die-cutting machine.
Going slowly is important because hot foiling relies on both heat and pressure to transfer the foil design.
DO YOU NEED EXTRA SHIMS?
My suggestion is to start with only the shims included with the Glimmer 2. Don’t automatically add extra shims before you’ve tested your machine. The amount of pressure can vary depending on your die-cutting machine and how much it has been used.
Try the standard sandwich first, look at your result, and adjust only if necessary.
HOW TO FIX OVERFOILING
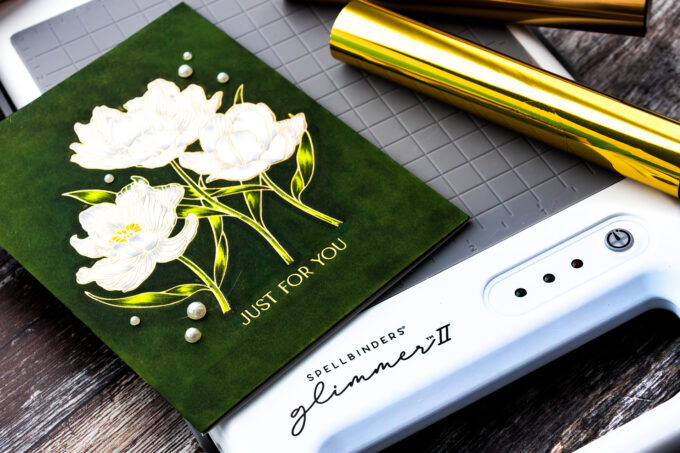
My first attempt gave me a beautiful foiled floral image, but I did have some overfoiling around the design. If this happens to you, don’t panic!
One of my favorite tricks is to use a pencil eraser to gently remove unwanted foil. For more stubborn areas, try low-tack tape. Press the tape carefully over the unwanted foil and lift it away.
Just be careful around the actual design because the tape can potentially lift foil you want to keep as well.
TURNING MY FIRST FOILED PIECE INTO A CARD
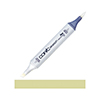
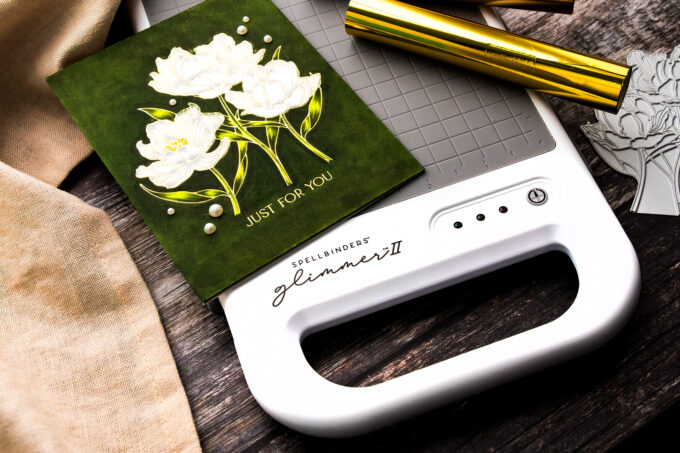
After foiling, I colored the floral design with Copic and OLO markers. I used YG93, YG94, and YG99 for the leaves, C1 and C3 for the flower petals, and Y17 for the flower centers. For the dark background, I started with OLO YG 8.7 and then used YG99 after running out of the OLO color. The combination of the dark background, light flowers, green foliage, and Satin Gold foil created a dramatic finished look.
One thing to keep in mind is that BetterPress cardstock absorbs quite a bit of alcohol marker ink. If you’re coloring only smaller images, that may not be particularly noticeable, but coloring a large background like this can use a significant amount of ink.
MY FIRST IMPRESSION OF GLIMMER 2
After this first test, I’m excited about the updated Glimmer. It feels more compact on my desk, and eliminating the separate docking station is a welcome change. I also really like the magnetic power connection and audible alerts. And most importantly, I was able to create a beautiful foiled result on my very first try.
But I also want to emphasize that the original Glimmer Hot Foil System is still a fantastic tool. Glimmer 2 isn’t an entirely different way of hot foiling – it’s an updated version of a system many of us already know and love.
If you already have the original Glimmer and it works well for you, you don’t necessarily need to replace it. If you’re new to hot foiling, however, Glimmer 2 gives you the newest version of the system with these updated features.
I’ll definitely be doing a lot more hot foiling with Glimmer 2 and experimenting with different plates, cardstock, and foil combinations.
Have you tried hot foiling yet, or would Glimmer 2 be your first hot foil system? Let me know in the comments!
Have fun creating!
SUPPLIES
Affiliate links are used at no additional cost to you. Shopping via my affiliate links helps support my YouTube channel and blog. Thank you!