


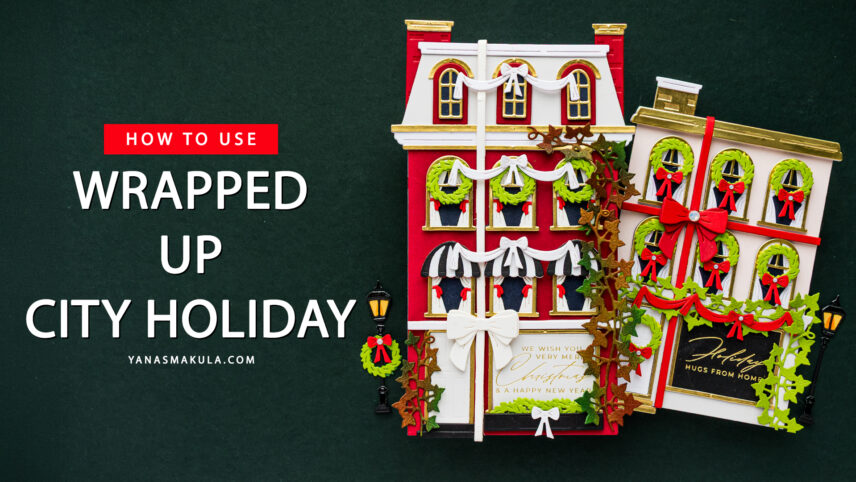

Hi, crafty friends! Today I’m sharing the final installment in my Christmas City Holiday Collection series! If you’ve been following along, we’ve already taken a closer look at the collection introduction, assembled the Mansard Roof Etched Dies, and built our beautiful holiday house. Now it’s time for my favorite part – decorating it!
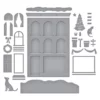
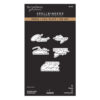
The All Wrapped Up Etched Dies were designed as another add-on for the original City Holiday Etched Dies, giving you even more ways to customize your buildings for the holidays. This set includes elegant ivy, oversized gift ribbons, and a lantern that transform your building into a festive European storefront.
One of the things I love most about the City Holiday system is that every add-on can be mixed and matched. You can use the All Wrapped Up Etched Dies with the original City Holiday Etched Dies, pair them with the Mansard Roof Etched Dies, or combine everything together to create a completely custom holiday scene.
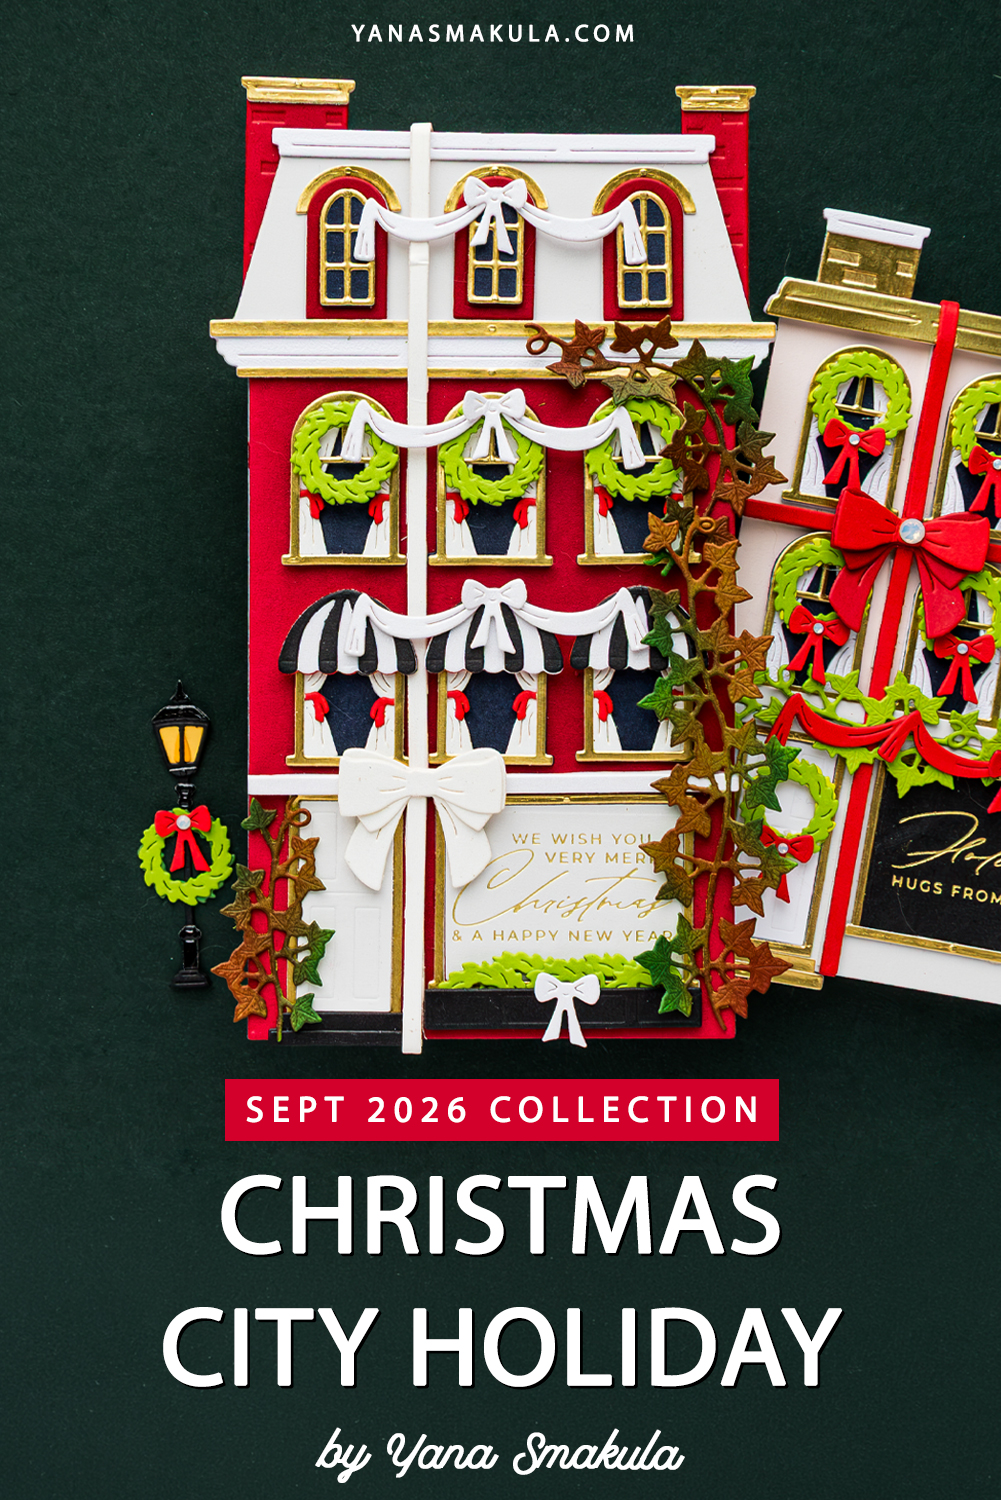
Like this project? Pin it and save it for later
VIDEO TUTORIAL
In today’s video, I’m sharing how I assemble each element from the All Wrapped Up Etched Dies and how I use them to decorate my City Holiday building. You can watch the full tutorial below or over on my YouTube channel.
Adding Beautiful Ivy
The first element I wanted to create was the ivy. There are three separate ivy dies included in the set, allowing you to create anything from a small accent to ivy that climbs all the way around the building and across the roof. I die cut all of my ivy from Spellbinders Rainforest Cardstock, then added a little extra character with ink blending using Simon Says Stamp Pawsitively Saturated Ink in Pine and Brick.
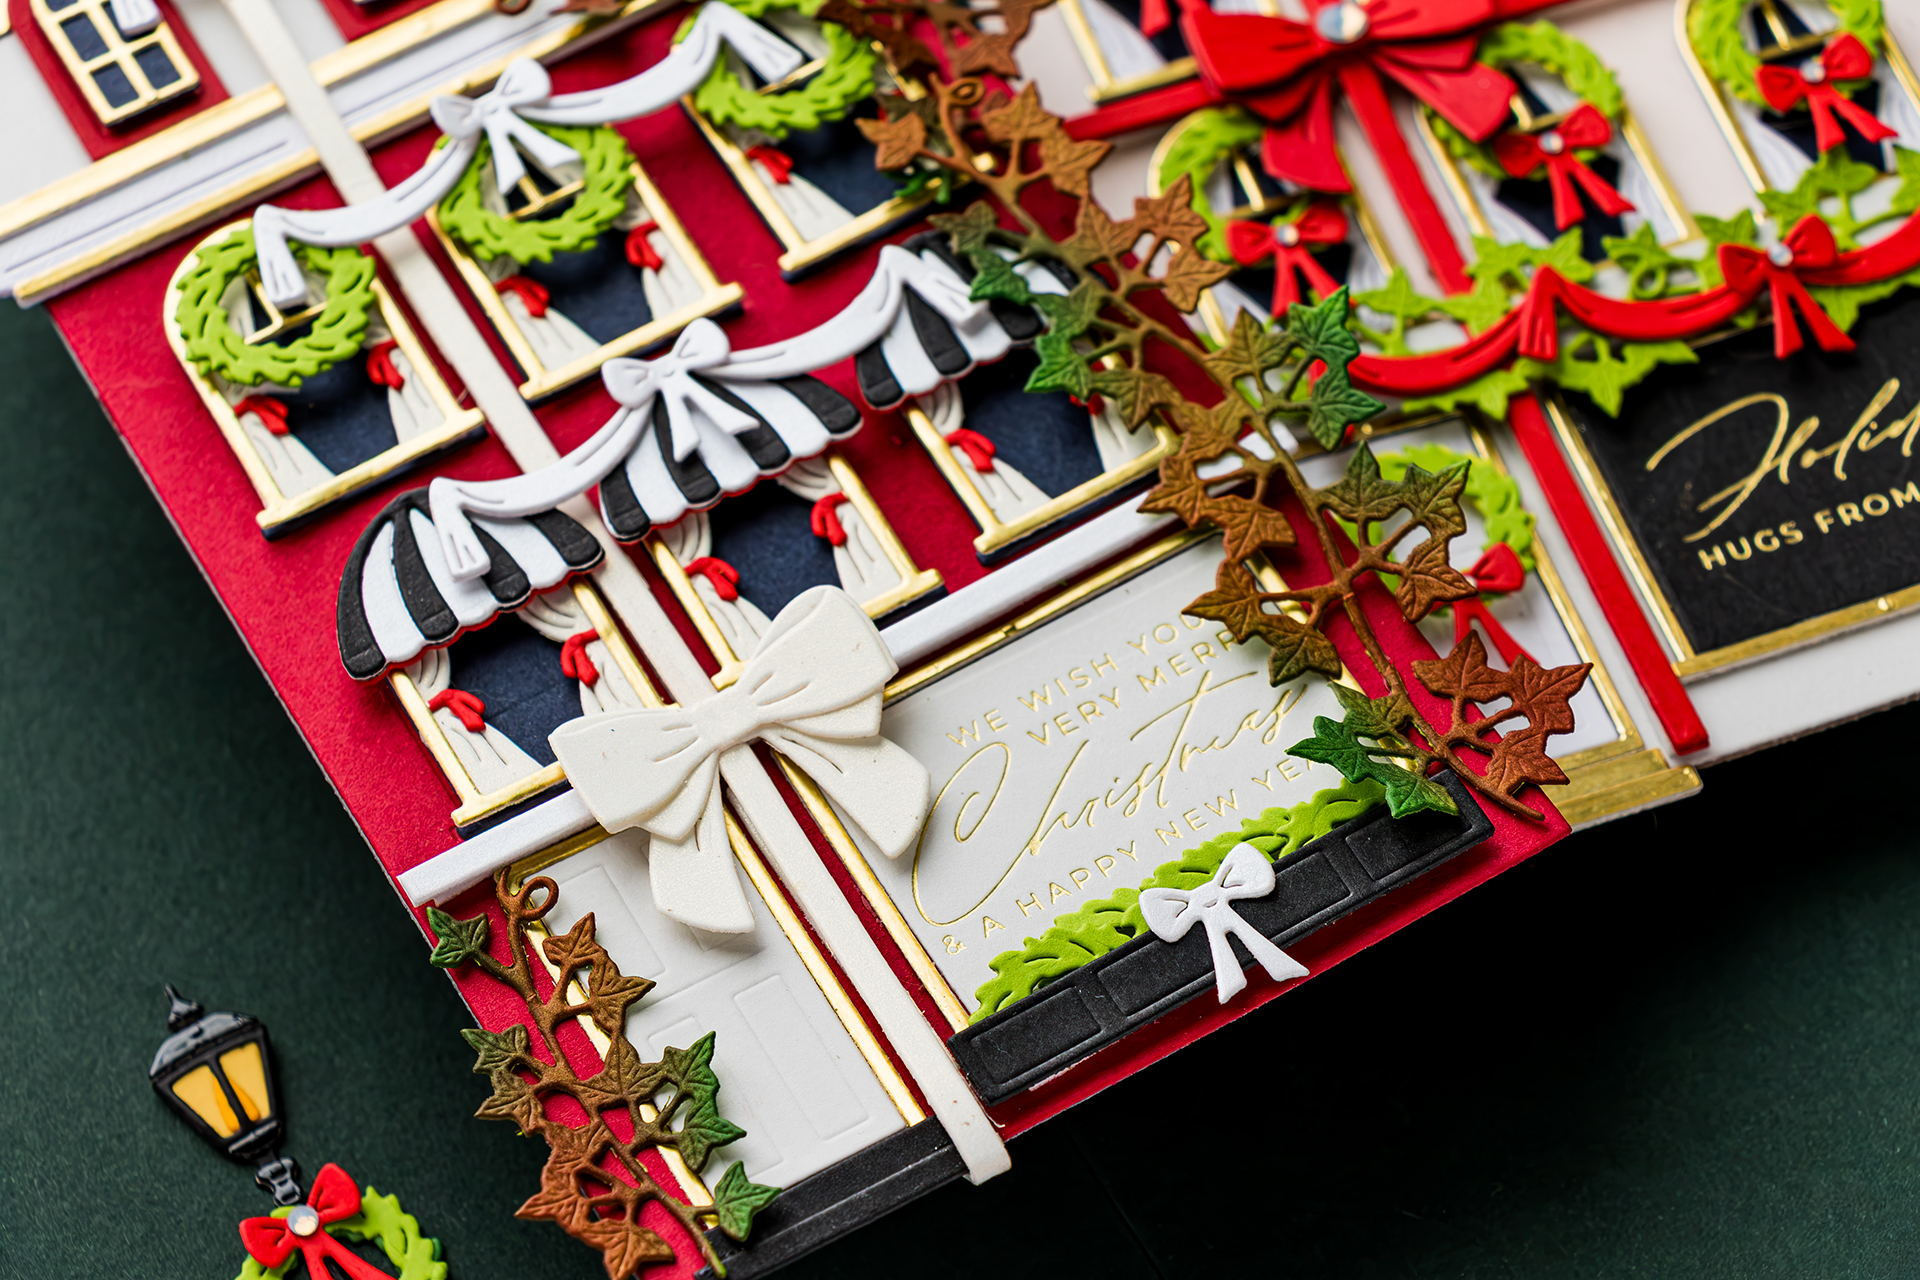
Rather than covering the entire die cut with ink, I added color in just a few areas to mimic the natural color changes you often see in ivy during the fall and early winter.
Creating Dimension with Ivy
Before attaching the ivy to the building, I gently shaped each piece with my fingers. This small step gives the die cuts natural movement instead of leaving them completely flat against the building.
There are several different ways to arrange the ivy. You can have it climb one side of the building, wrap around the roof, or even layer multiple die cuts together for a fuller, more established look. I decided to keep the ivy concentrated along one side of the building, allowing it to frame the architecture without covering too many of the other decorative elements.
Wrapping the Building Like a Gift
One of my favorite elements in this collection is the oversized ribbon. The inspiration actually came from a trip to Naples, Italy, where I spotted a beautiful storefront decorated with an enormous holiday bow wrapped around the entire building. I couldn’t stop thinking about it, so I knew I had to include that idea in this collection.
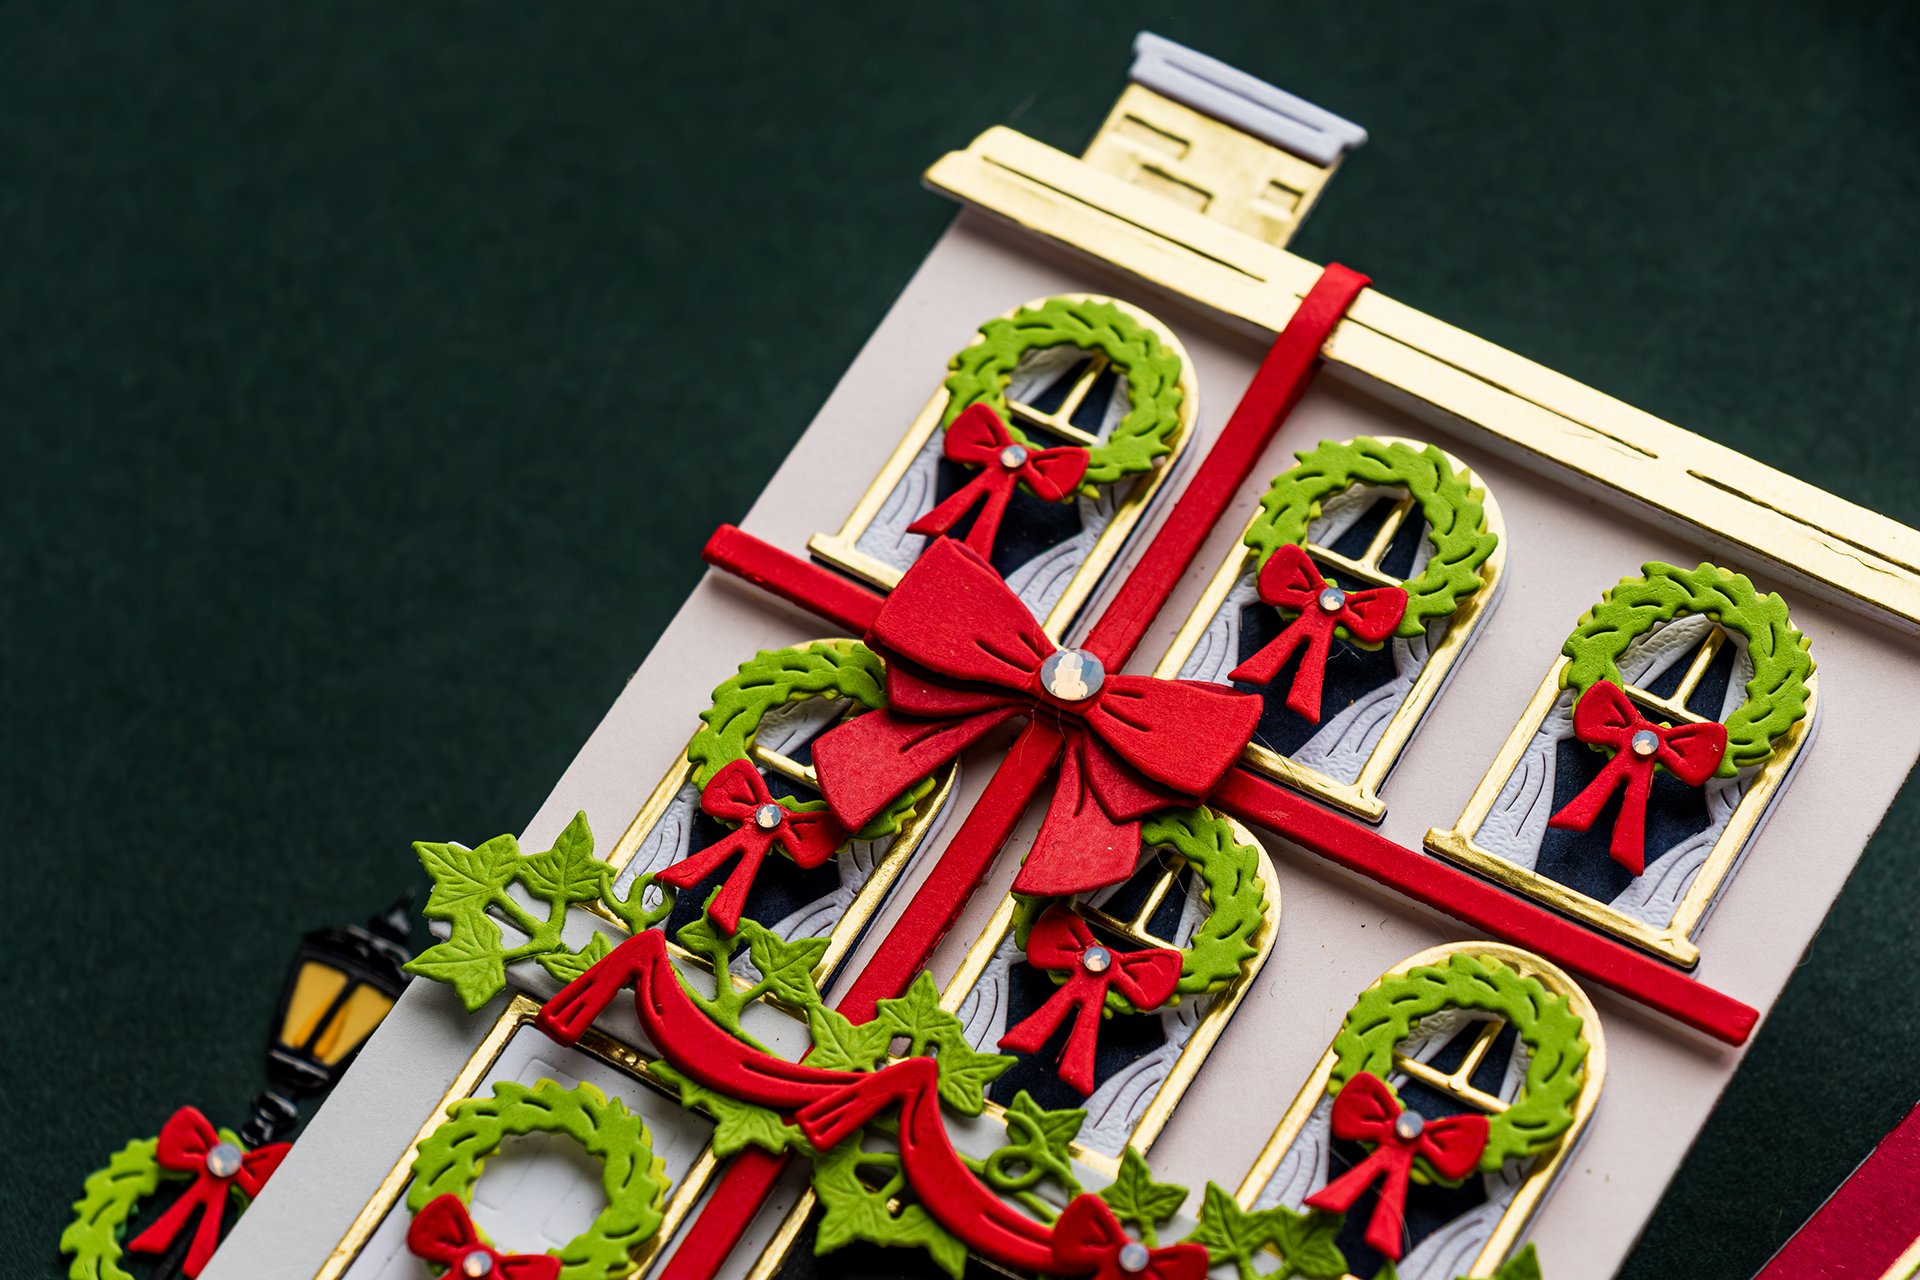
The ribbon is designed in multiple sections so it works with both the original City Holiday Etched Dies and the taller version created with the Mansard Roof Etched Dies.
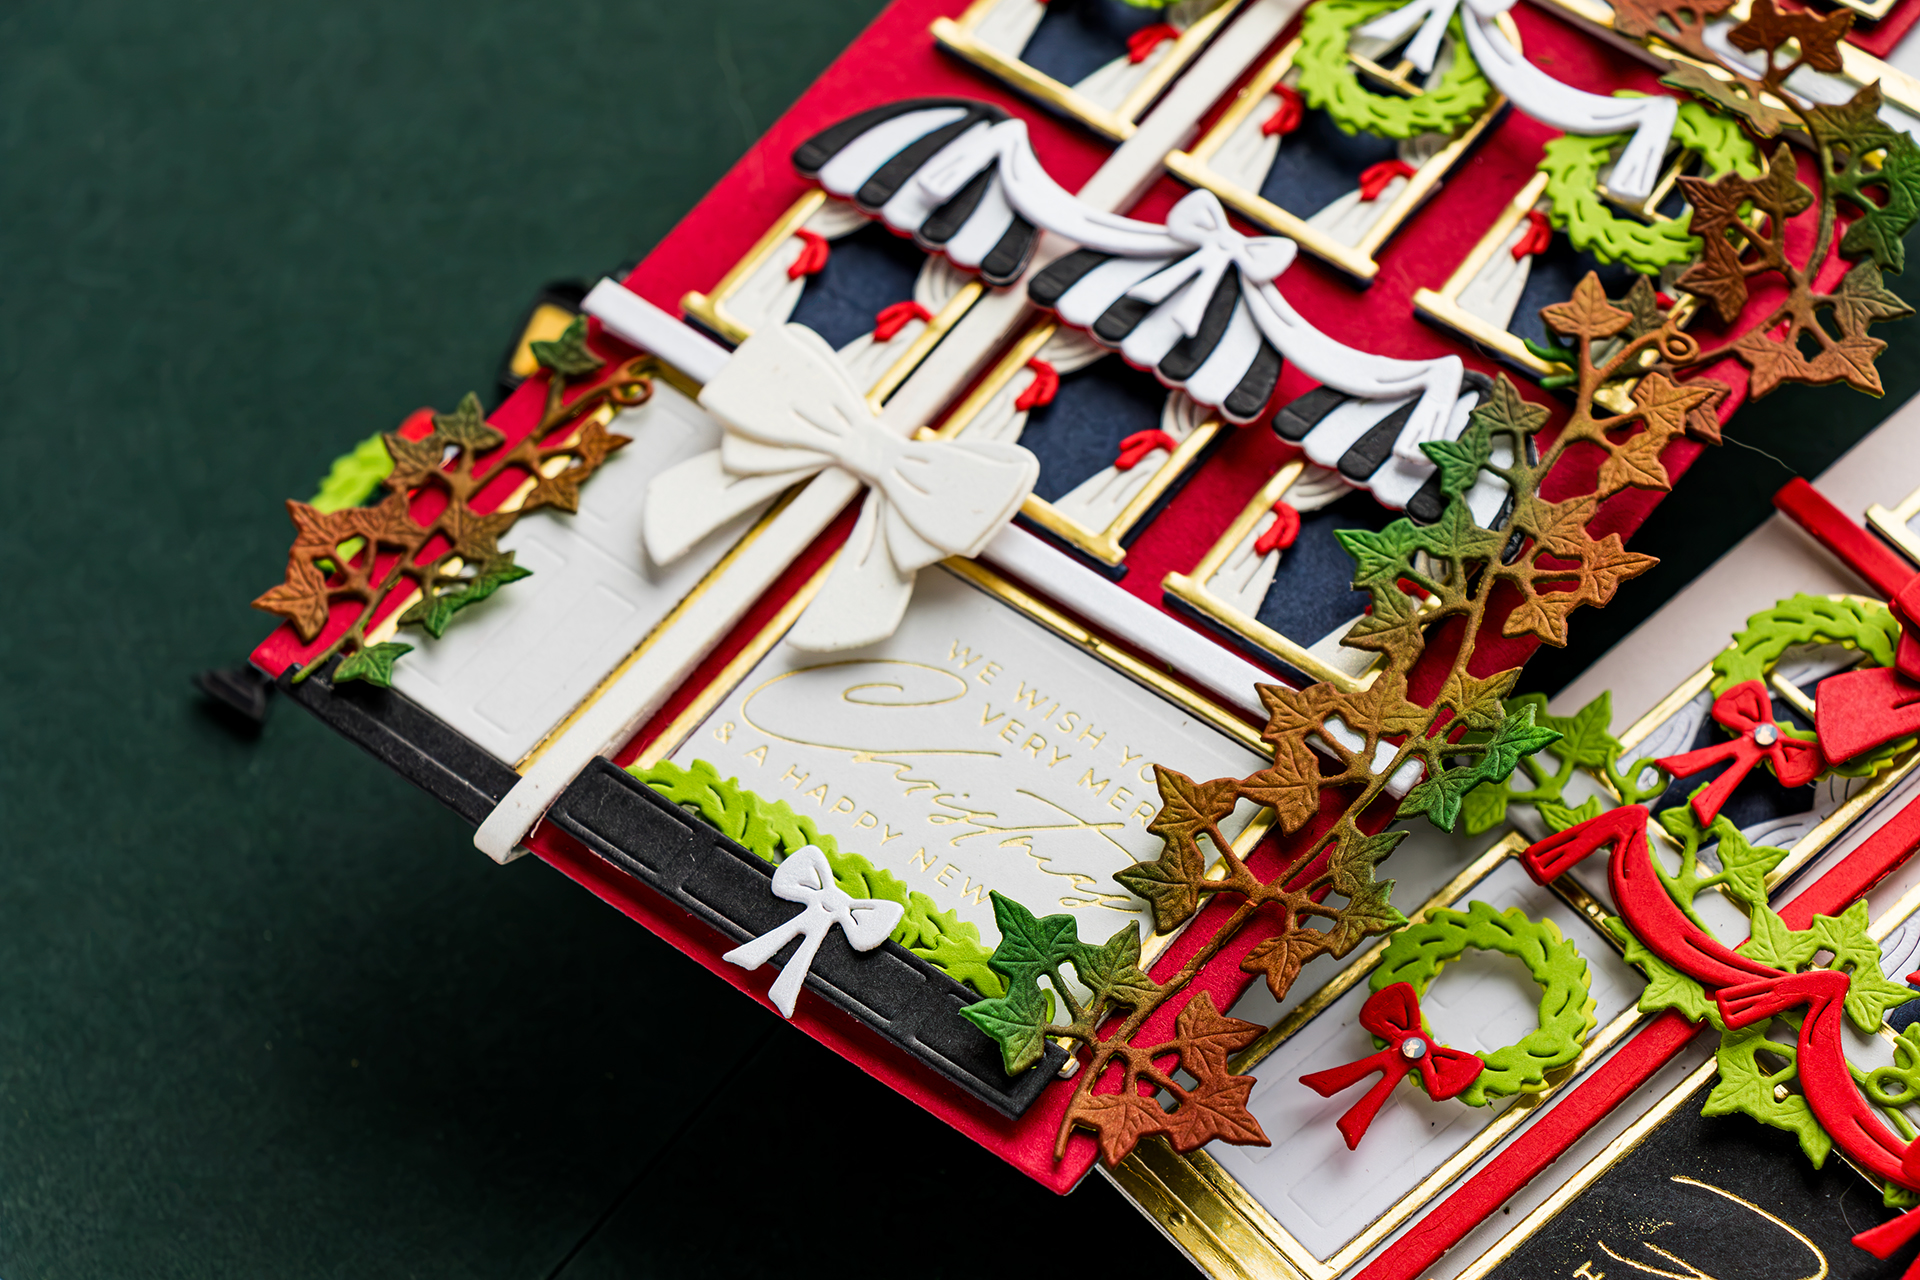
For this project, I wrapped the ribbon around the entire building, threading it beneath some of the architectural details before attaching it with Spellbinders Foam Adhesive Strips. Using foam adhesive lifts the ribbon away from the building just enough to create the illusion that it’s actually wrapped around the house rather than simply glued to the front.
Building the Perfect Bow
The bow itself is assembled from several separate die cuts. I designed it this way so you can easily mix cardstock colors and create natural-looking shadows. For one of my samples, I used Spellbinders Poppy Cardstock and Spellbinders Pomegranate Cardstock together, allowing the darker cardstock to represent the underside of the ribbon.

For today’s project, I used Pearl Metallic Cardstock from the Spellbinders Treasured Antique White Cardstock Pack, the same cardstock I used for the curtains, creating a cohesive look across the building.
Once assembled, the bow perfectly hides the seam where the ribbon pieces meet.
A Charming Holiday Lantern
The final element in the set is the decorative lantern. Although it was designed to coordinate with the building, it also works beautifully on tags, standalone cards, or winter scenes.
I die cut the lantern body from Spellbinders Raven Cardstock, then used Spellbinders Mirror Black Cardstock for the decorative overlay. The glossy finish gives the lantern a realistic painted metal appearance.
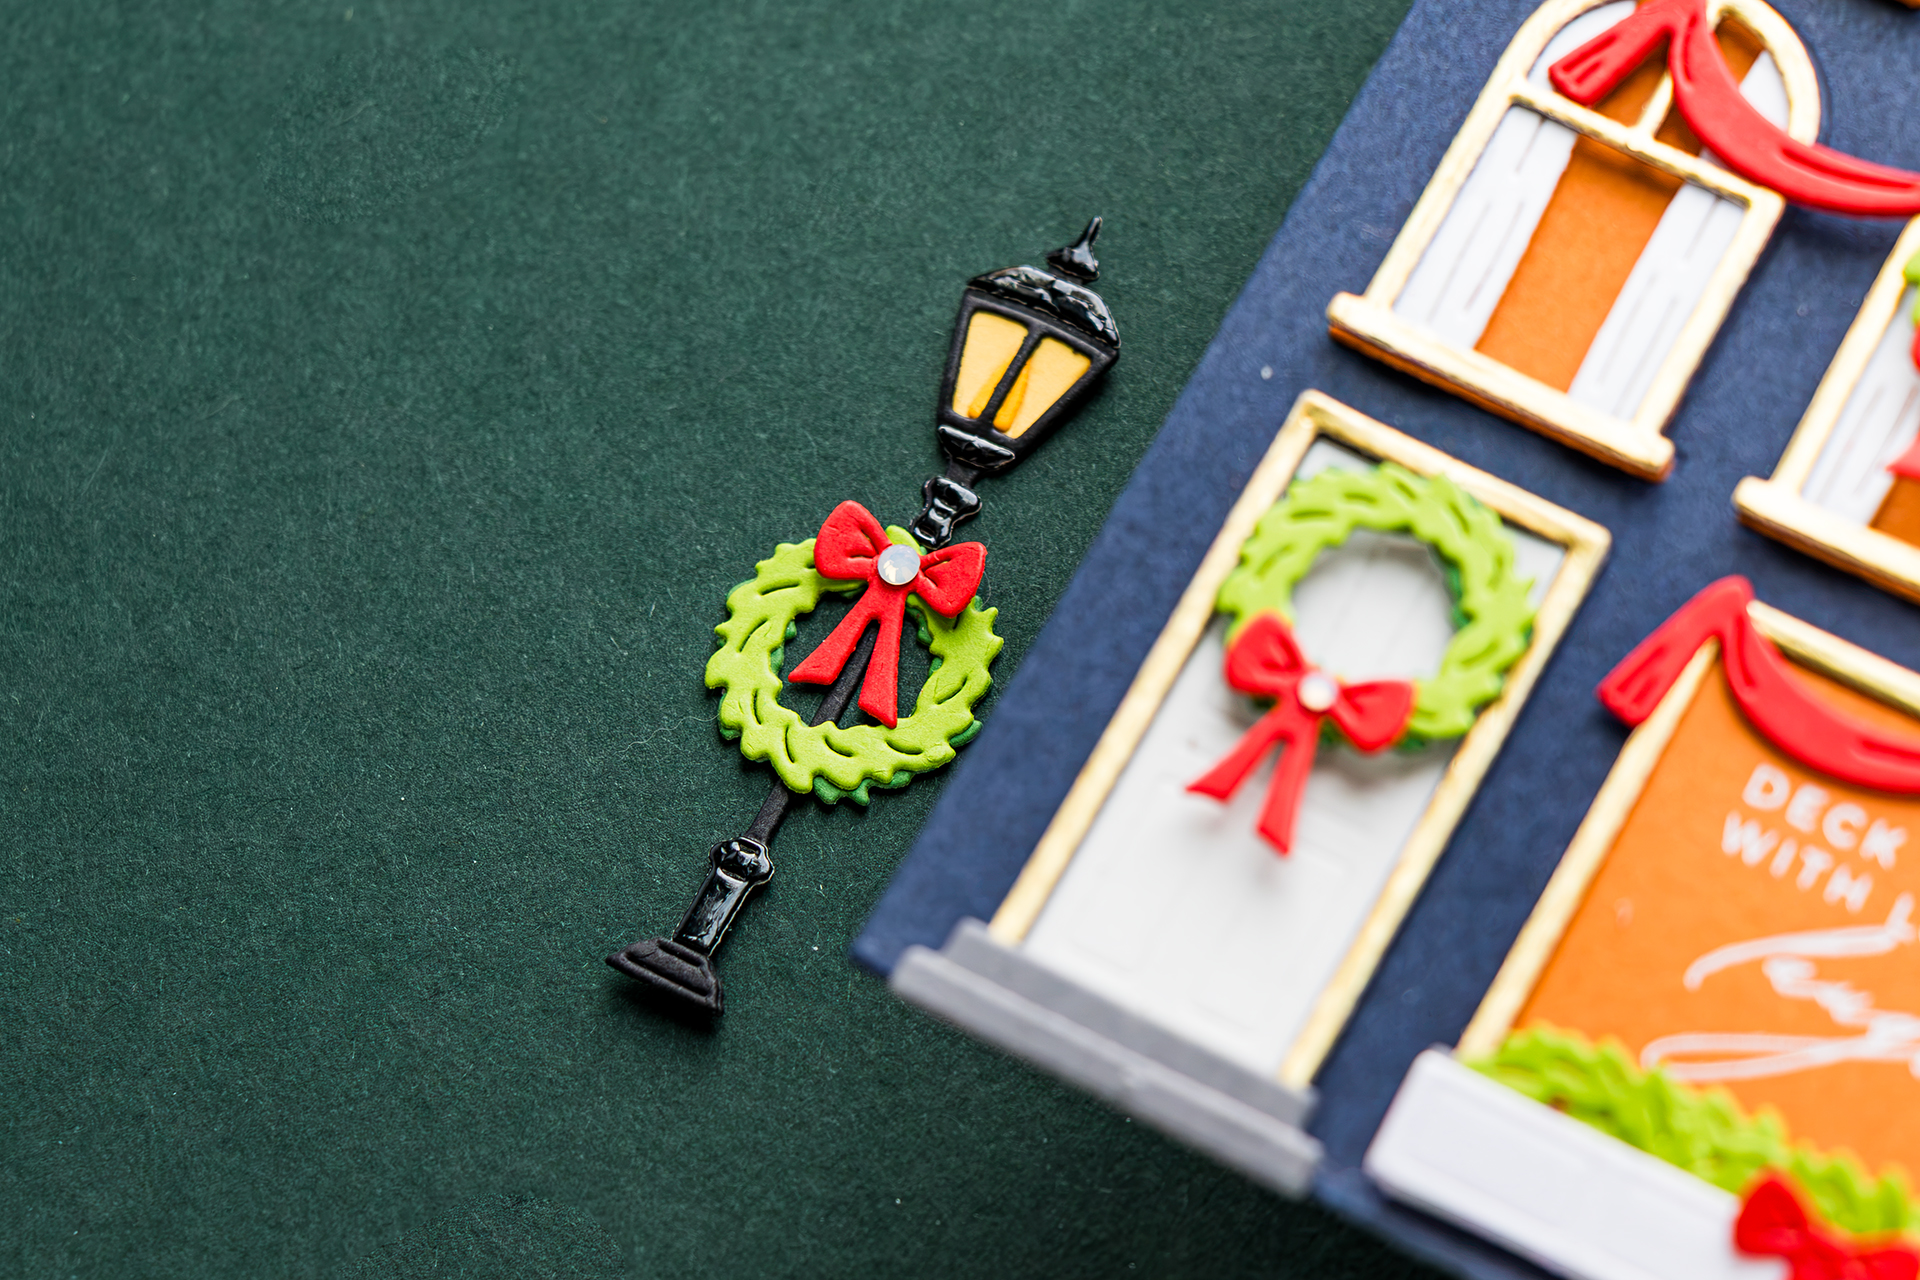
For the light inside the lantern, I used a clever shortcut. Rather than layering two shades of yellow cardstock, I die cut the entire light from yellow cardstock and simply colored the center using a Y17 alcohol marker. This creates the same dimensional look while avoiding unnecessary bulk, making the lantern much easier to assemble.
Bringing Everything Together
With the ivy, ribbon, bow, and lantern complete, the building finally feels finished. The ivy softens the architecture, the oversized ribbon creates a wonderful holiday focal point, and the lantern adds even more European charm. One of the things I enjoy most about this collection is how every new add-on expands the possibilities without replacing what you already own.
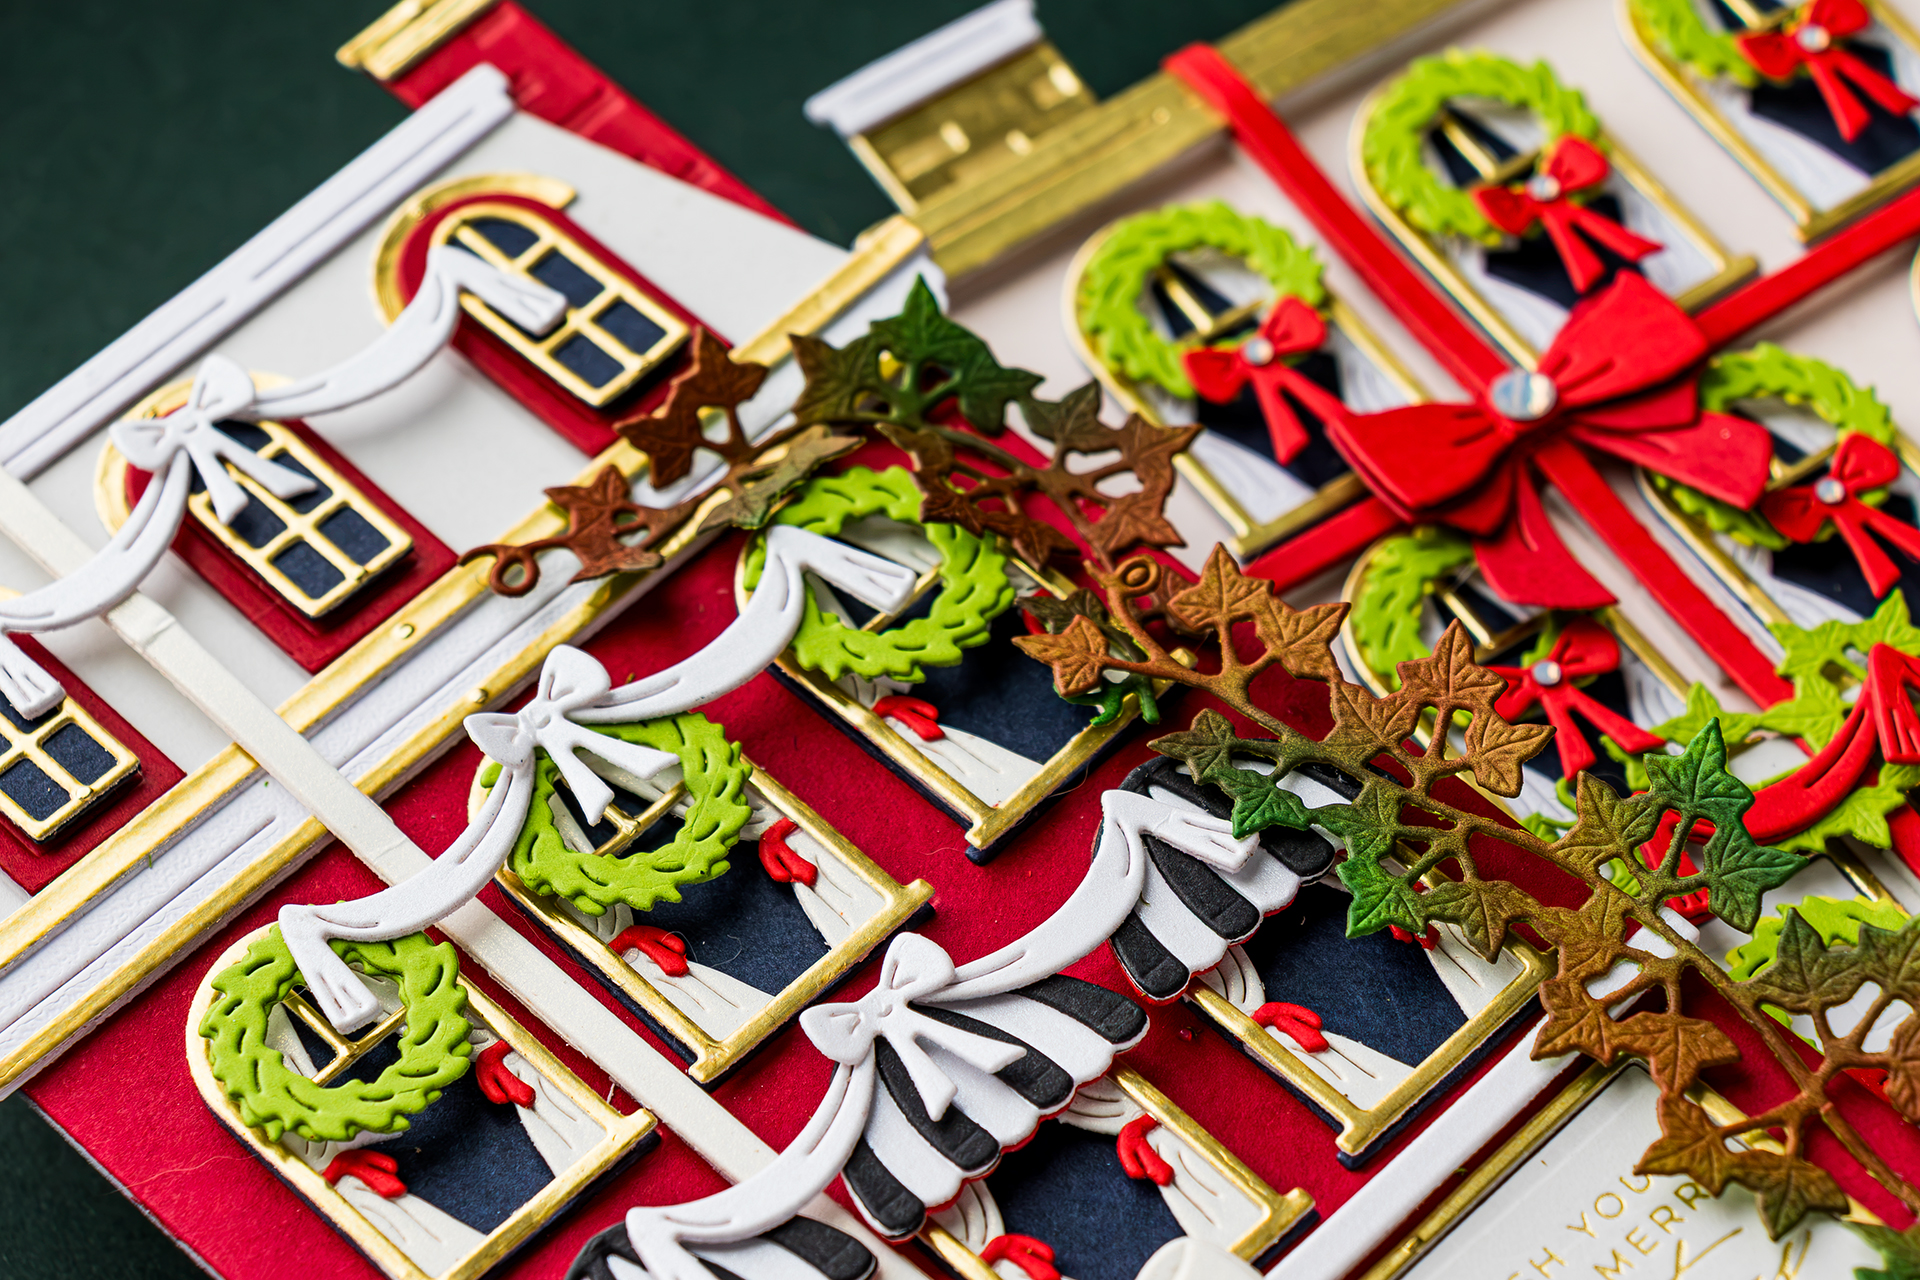
Whether you combine the City Holiday Etched Dies, Mansard Roof Etched Dies, Everyday City Holiday Add-On Etched Dies, or All Wrapped Up Etched Dies, you’re able to create completely different buildings while using the same foundation.
That’s exactly how I hoped this collection would be used.
I truly couldn’t be happier with how the Christmas City Holiday Collection came together. Inspired by historic European architecture, charming storefronts, and some of my favorite travel memories, this collection has been such a joy to design. I hope it inspires you to build your own festive little neighborhood and create holiday cards that you’ll enjoy year after year.
Happy crafting!
SUPPLIES
I’m listing the products I used below. Click on the links to go directly to the products. Where available, I use compensated affiliate links, which means if you make a purchase, I receive a small commission at no extra cost to you. Thank you so much for your support!