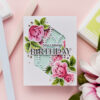


Hello friends! Today I’m sharing a fun fold birthday card featuring the beautiful new Heirloom Roses stamp set and coordinating dies from Simon Says Stamp. If you enjoy interactive cards that offer a little extra space for decorating, this easy tri-fold design is a wonderful one to try.
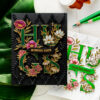
Like this project? Pin it and save for later
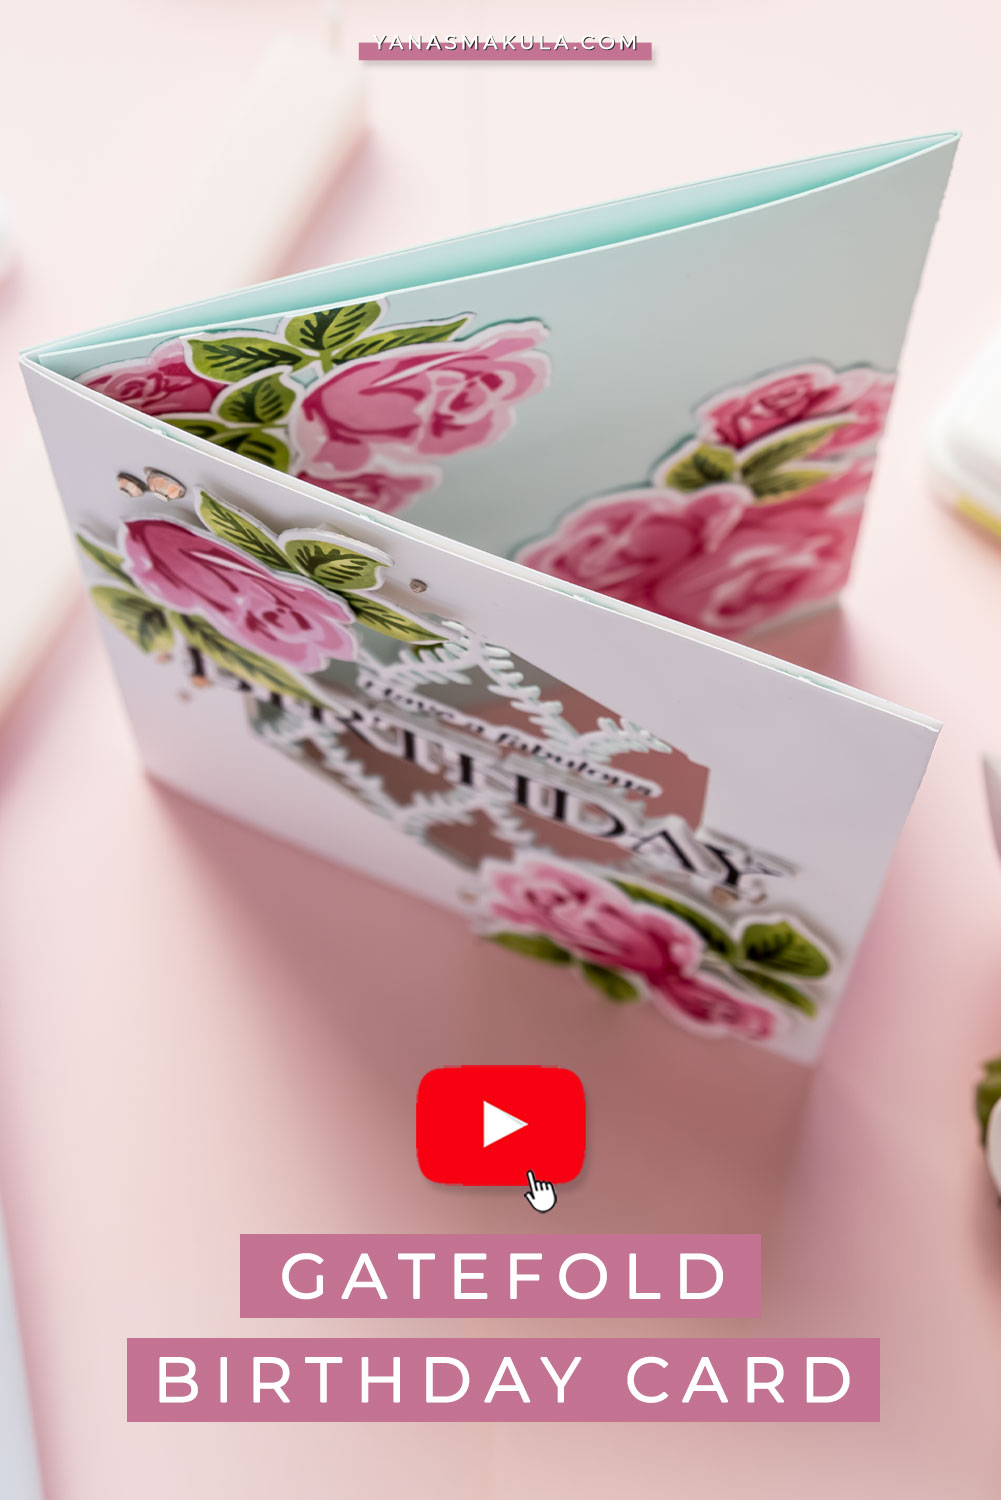
VIDEO TUTORIAL
Watch the video below or on my YouTube channel.
If you enjoy this video, please give it a thumbs up and share it with a crafty friend. I always appreciate your support and love reading your comments.
CARD DETAILS
It’s been quite a while since I made a fun fold card (here are some tri-fold cards I made in the past – Trifold Christmas, Trifold Floral), and I had forgotten just how much I enjoy creating them. What I particularly love about this tri-fold design is that it looks impressive when finished, but the construction is actually very simple.
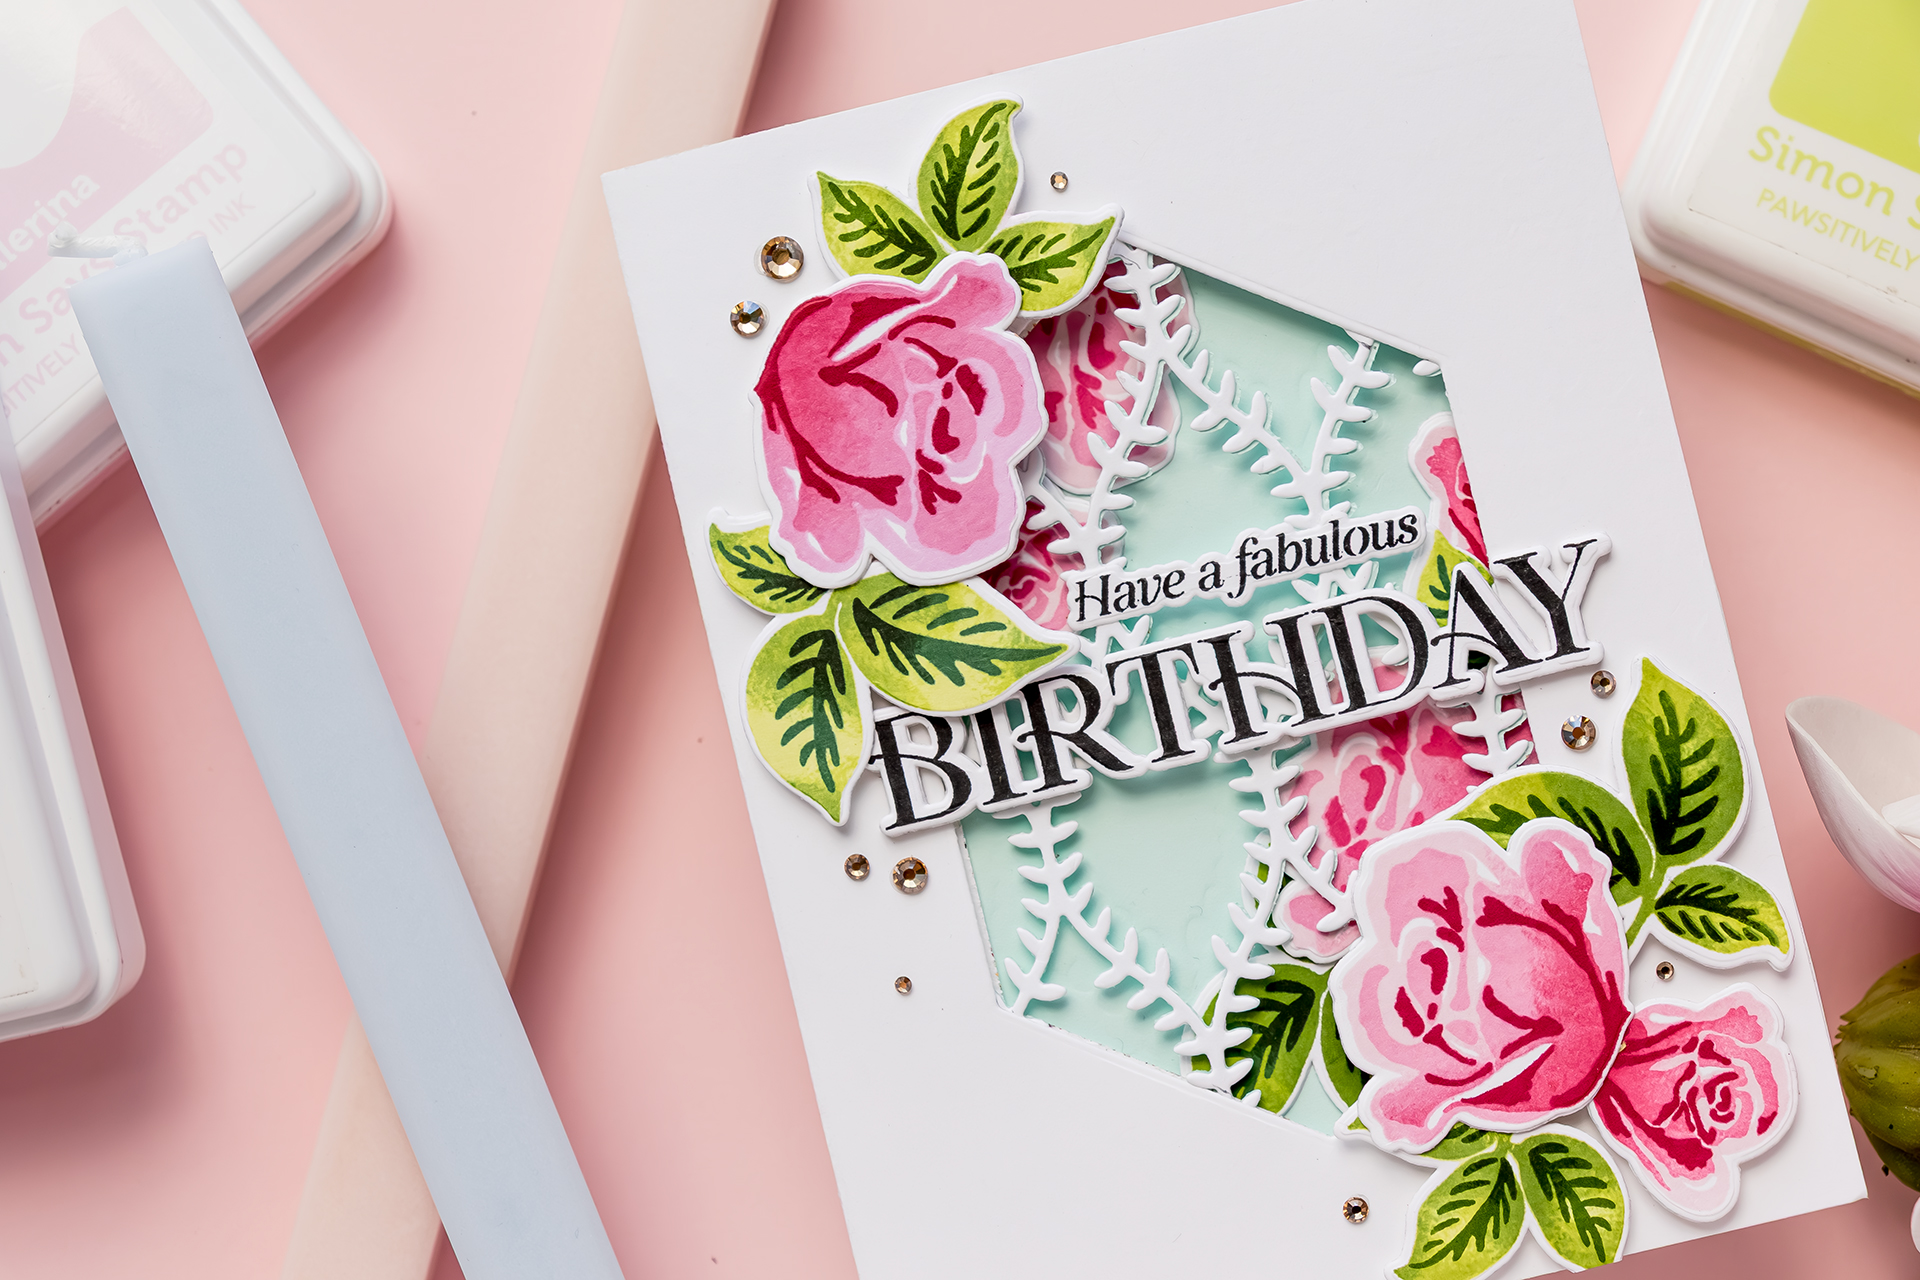
For today’s card, I paired this fun fold design with the new Heirloom Roses stamp set from Simon Says Stamp. This is a layering stamp set, and it creates beautiful floral images with very little effort. However, I wanted to take the stamped images one step further and add additional depth and dimension.
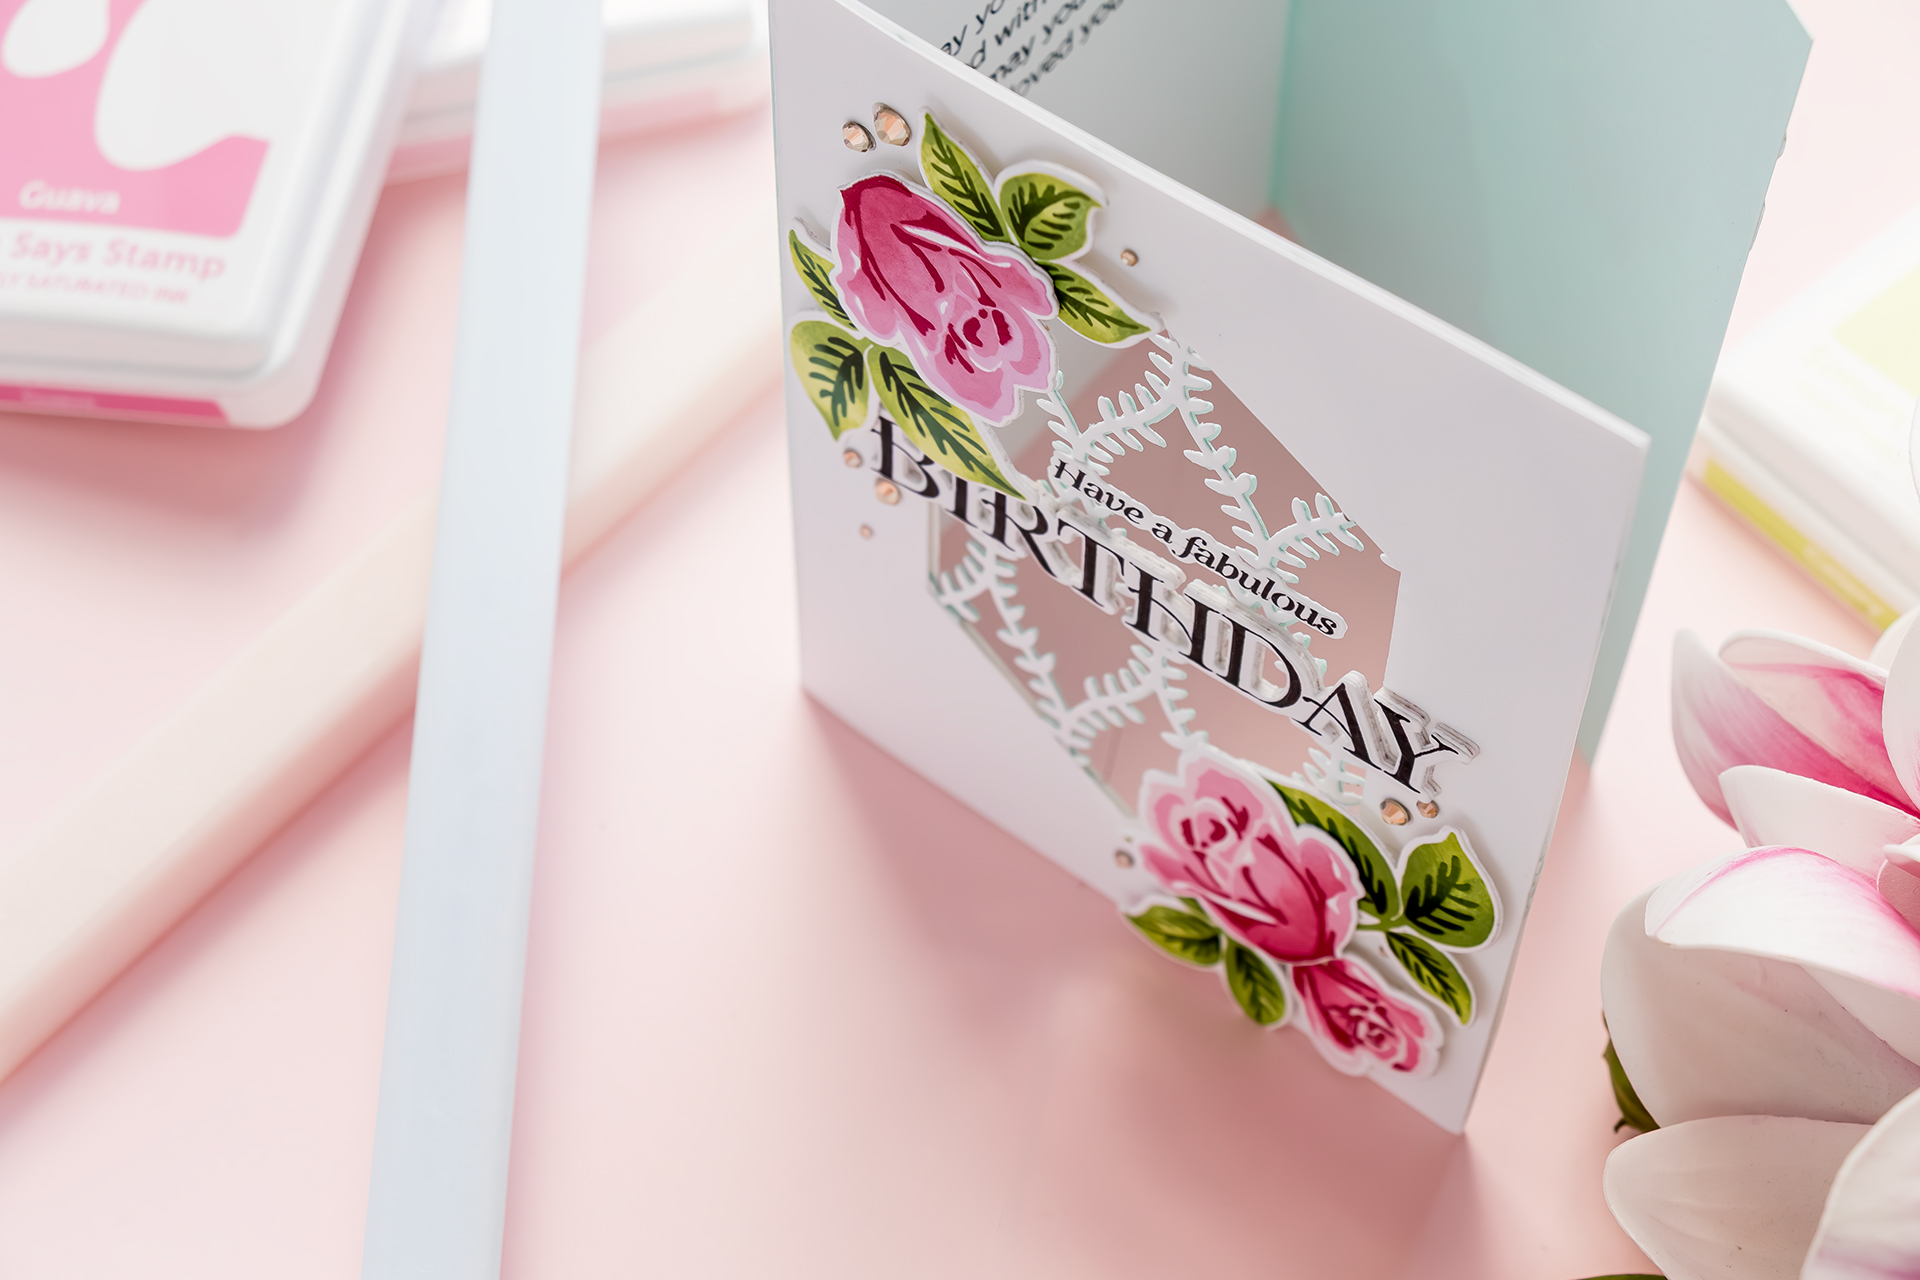
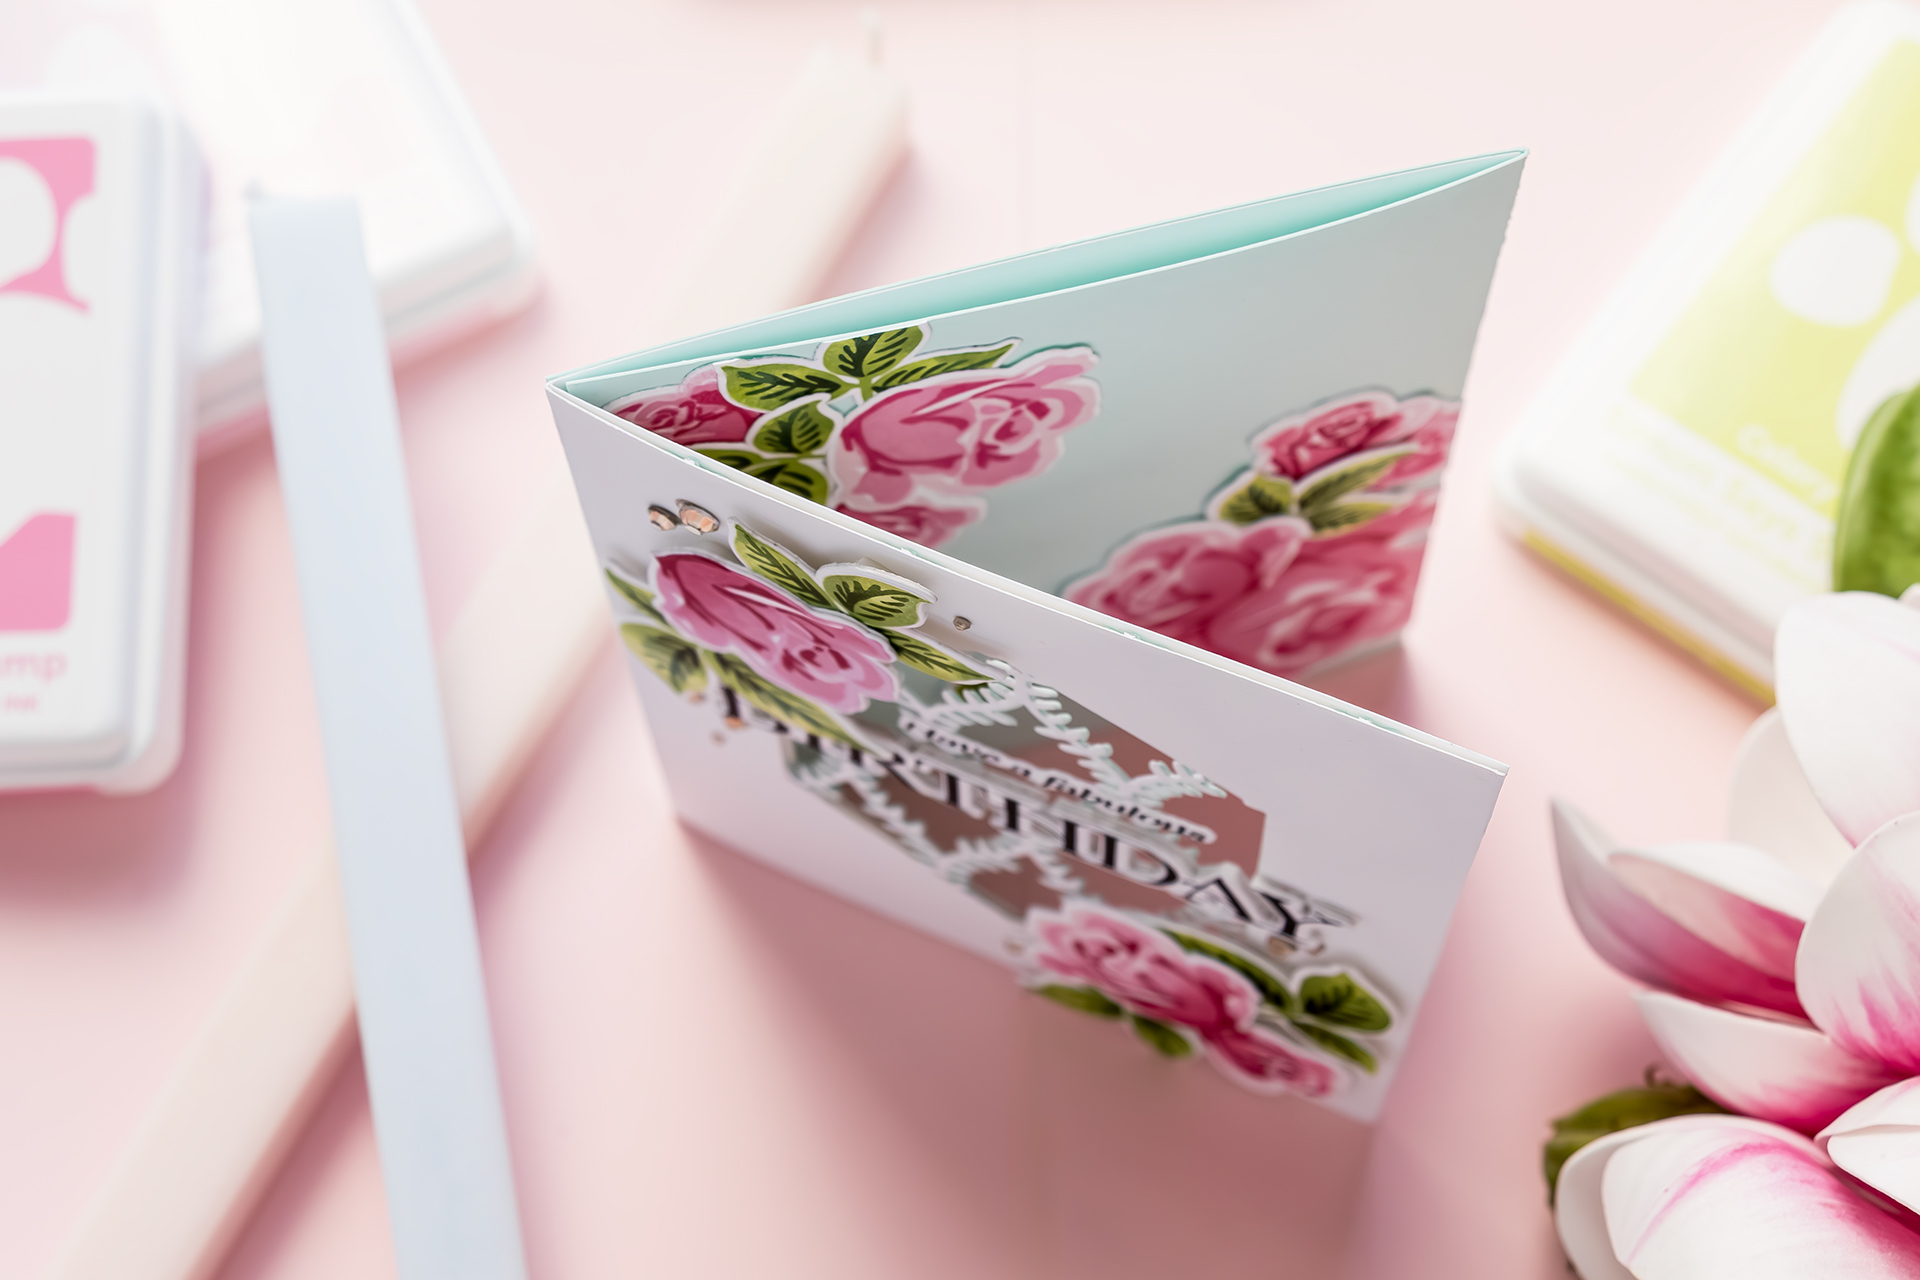
I started by creating the card base. This design uses two standard A2 side-folding card bases. One serves as the outer card and features a window-opening die cut in the front flap. The second card base is attached inside the first card, creating additional panels for decorating and messages.
One small tip when creating this type of card is to trim a tiny amount from one of the card bases before assembling. Doing this helps the card open and close smoothly and prevents the layers from catching on one another.
With the card base complete, I moved on to the stamping. I stamped all of the floral images onto Neenah Solar White cardstock using a stamping platform. Although the layering stamps create beautiful shading on their own, I wanted the flowers to have even more dimension. To achieve this, I used blending brushes to apply darker ink directly onto portions of each stamp layer before stamping.
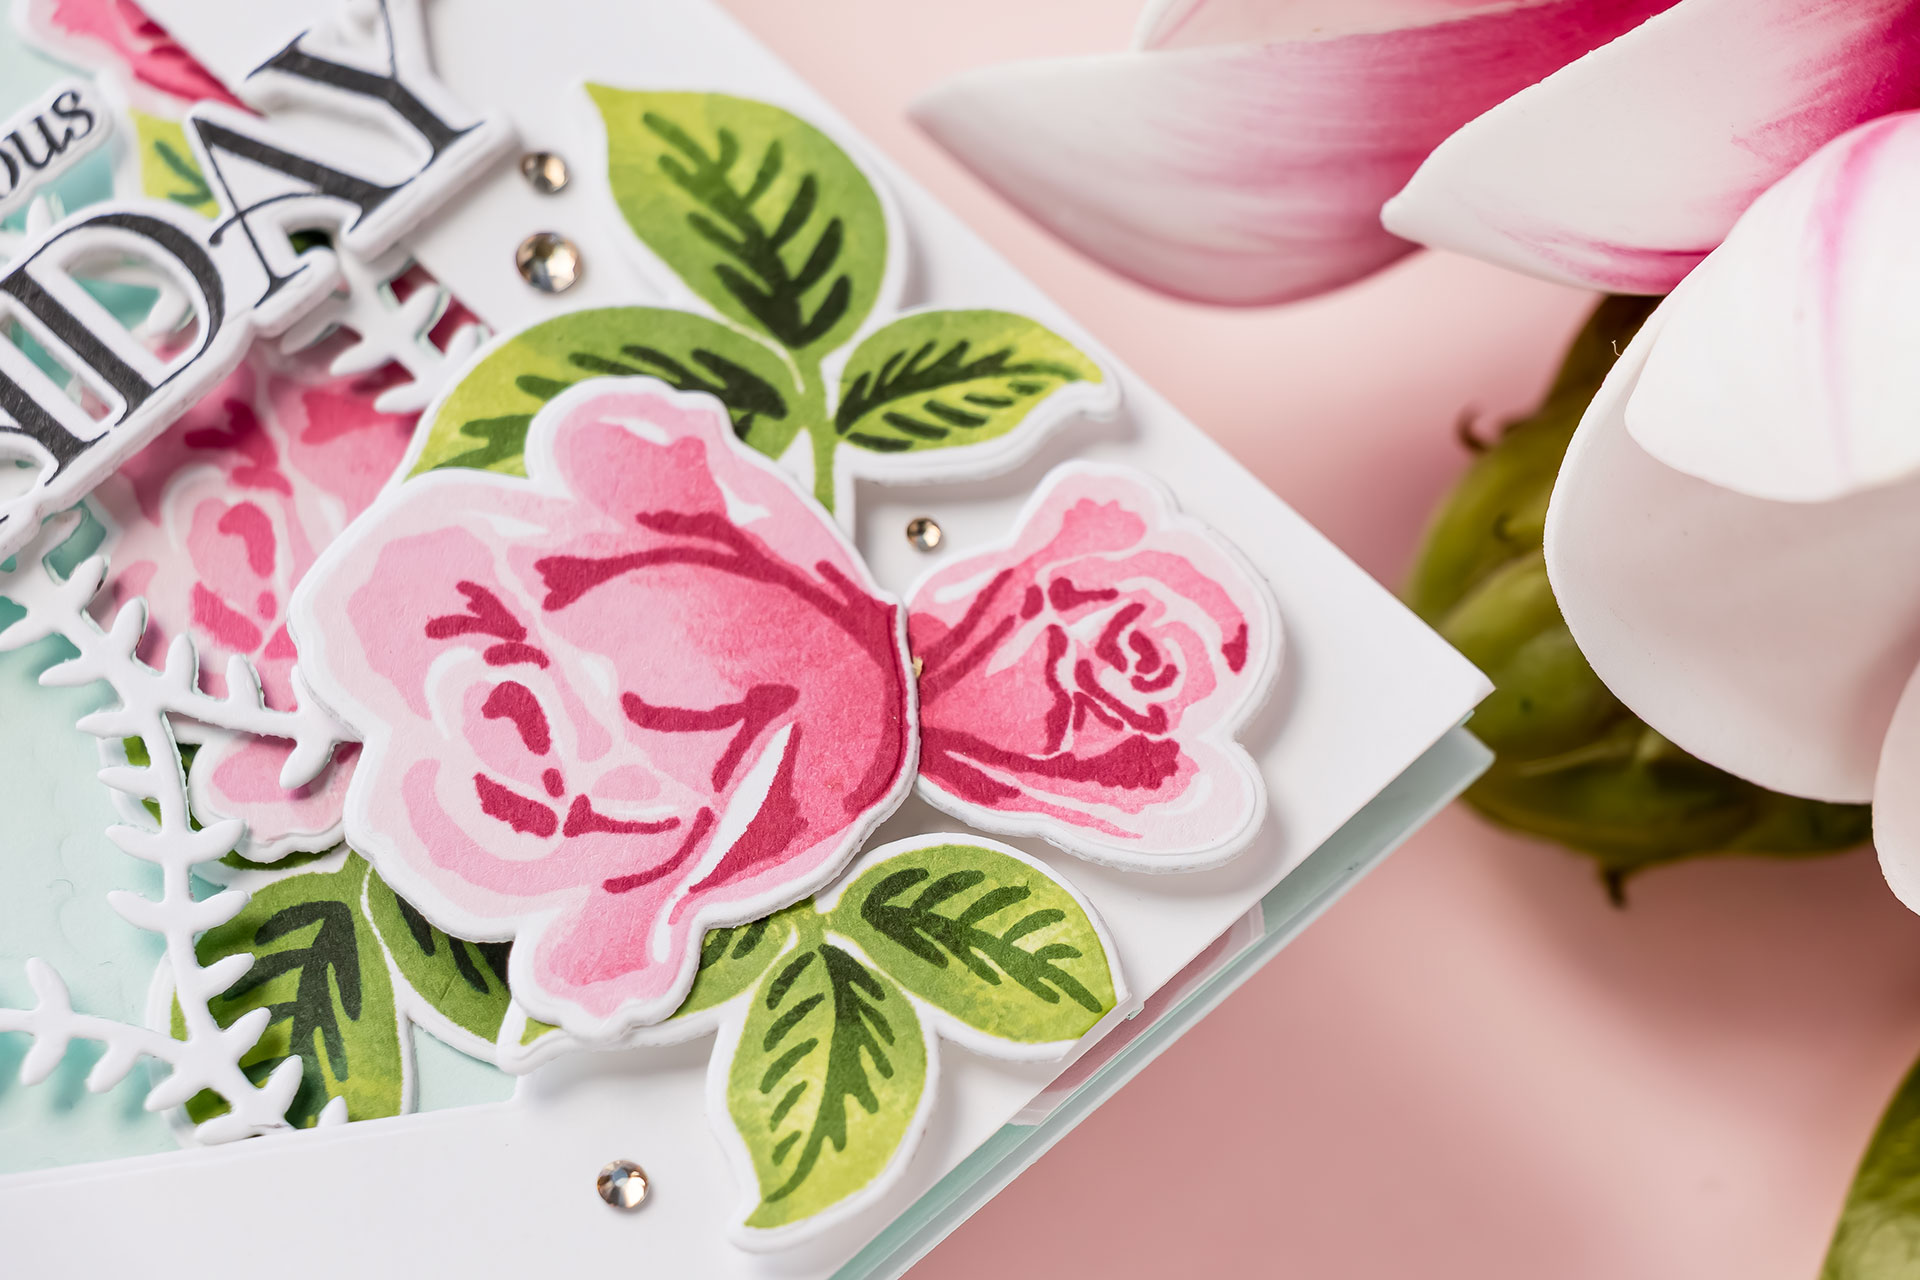
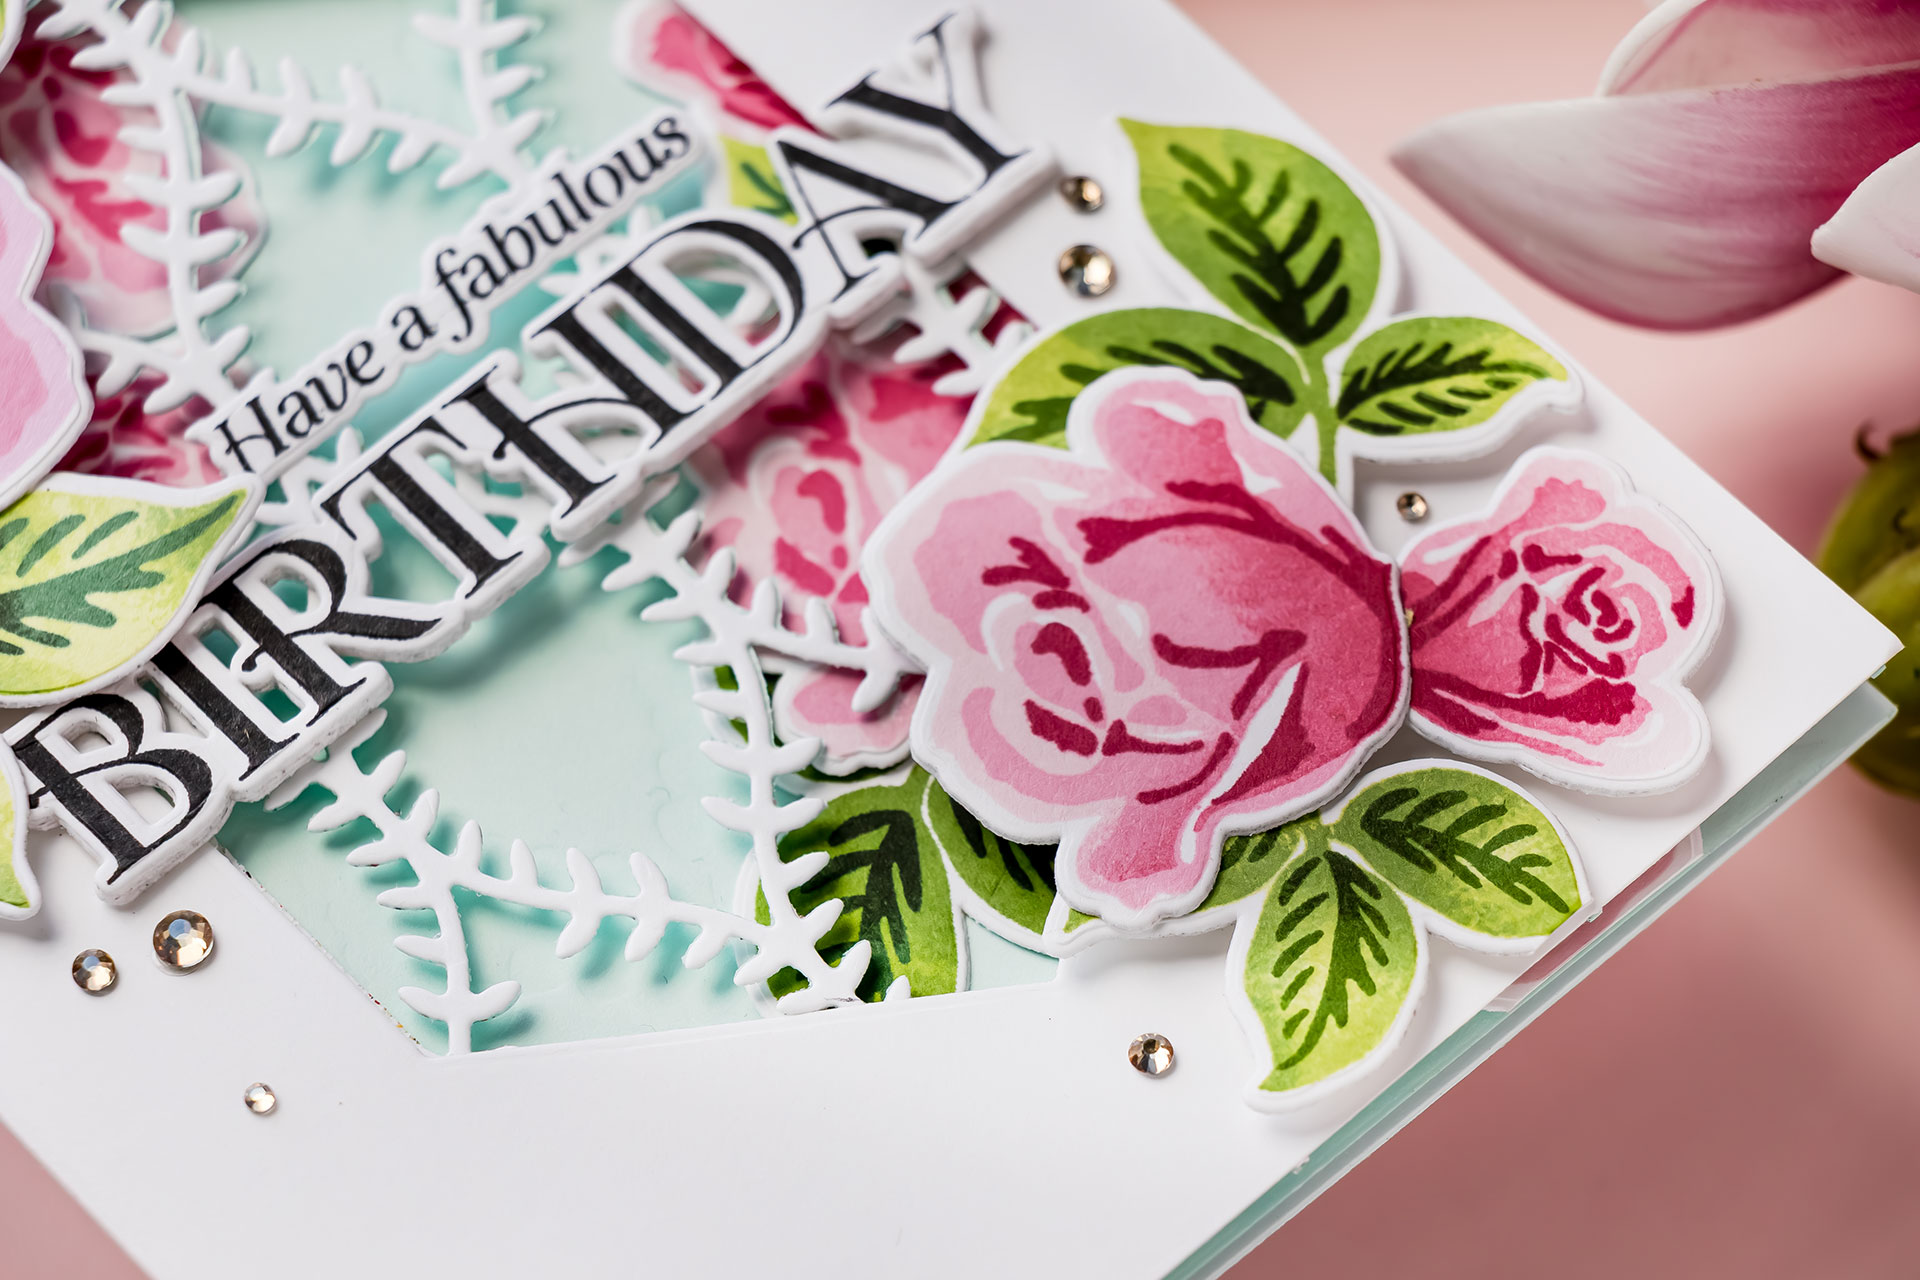
For the roses, I worked with several shades of pink, beginning with lighter colors and gradually introducing darker tones toward the centers of the flowers. Adding the darker ink directly to the stamps created subtle shadows and helped give the blooms a more realistic appearance.
I used the same approach for the leaves. Starting with lighter greens, I gradually built depth using darker shades while leaving portions of the lighter colors visible. For the final detailed layer, I introduced a deep green and even a touch of black near the centers of the leaves. It might sound unusual, but the black ink added beautiful contrast and really helped define the intricate details.
Once all of the stamping was finished, I used the coordinating dies to cut out the flowers and leaves.
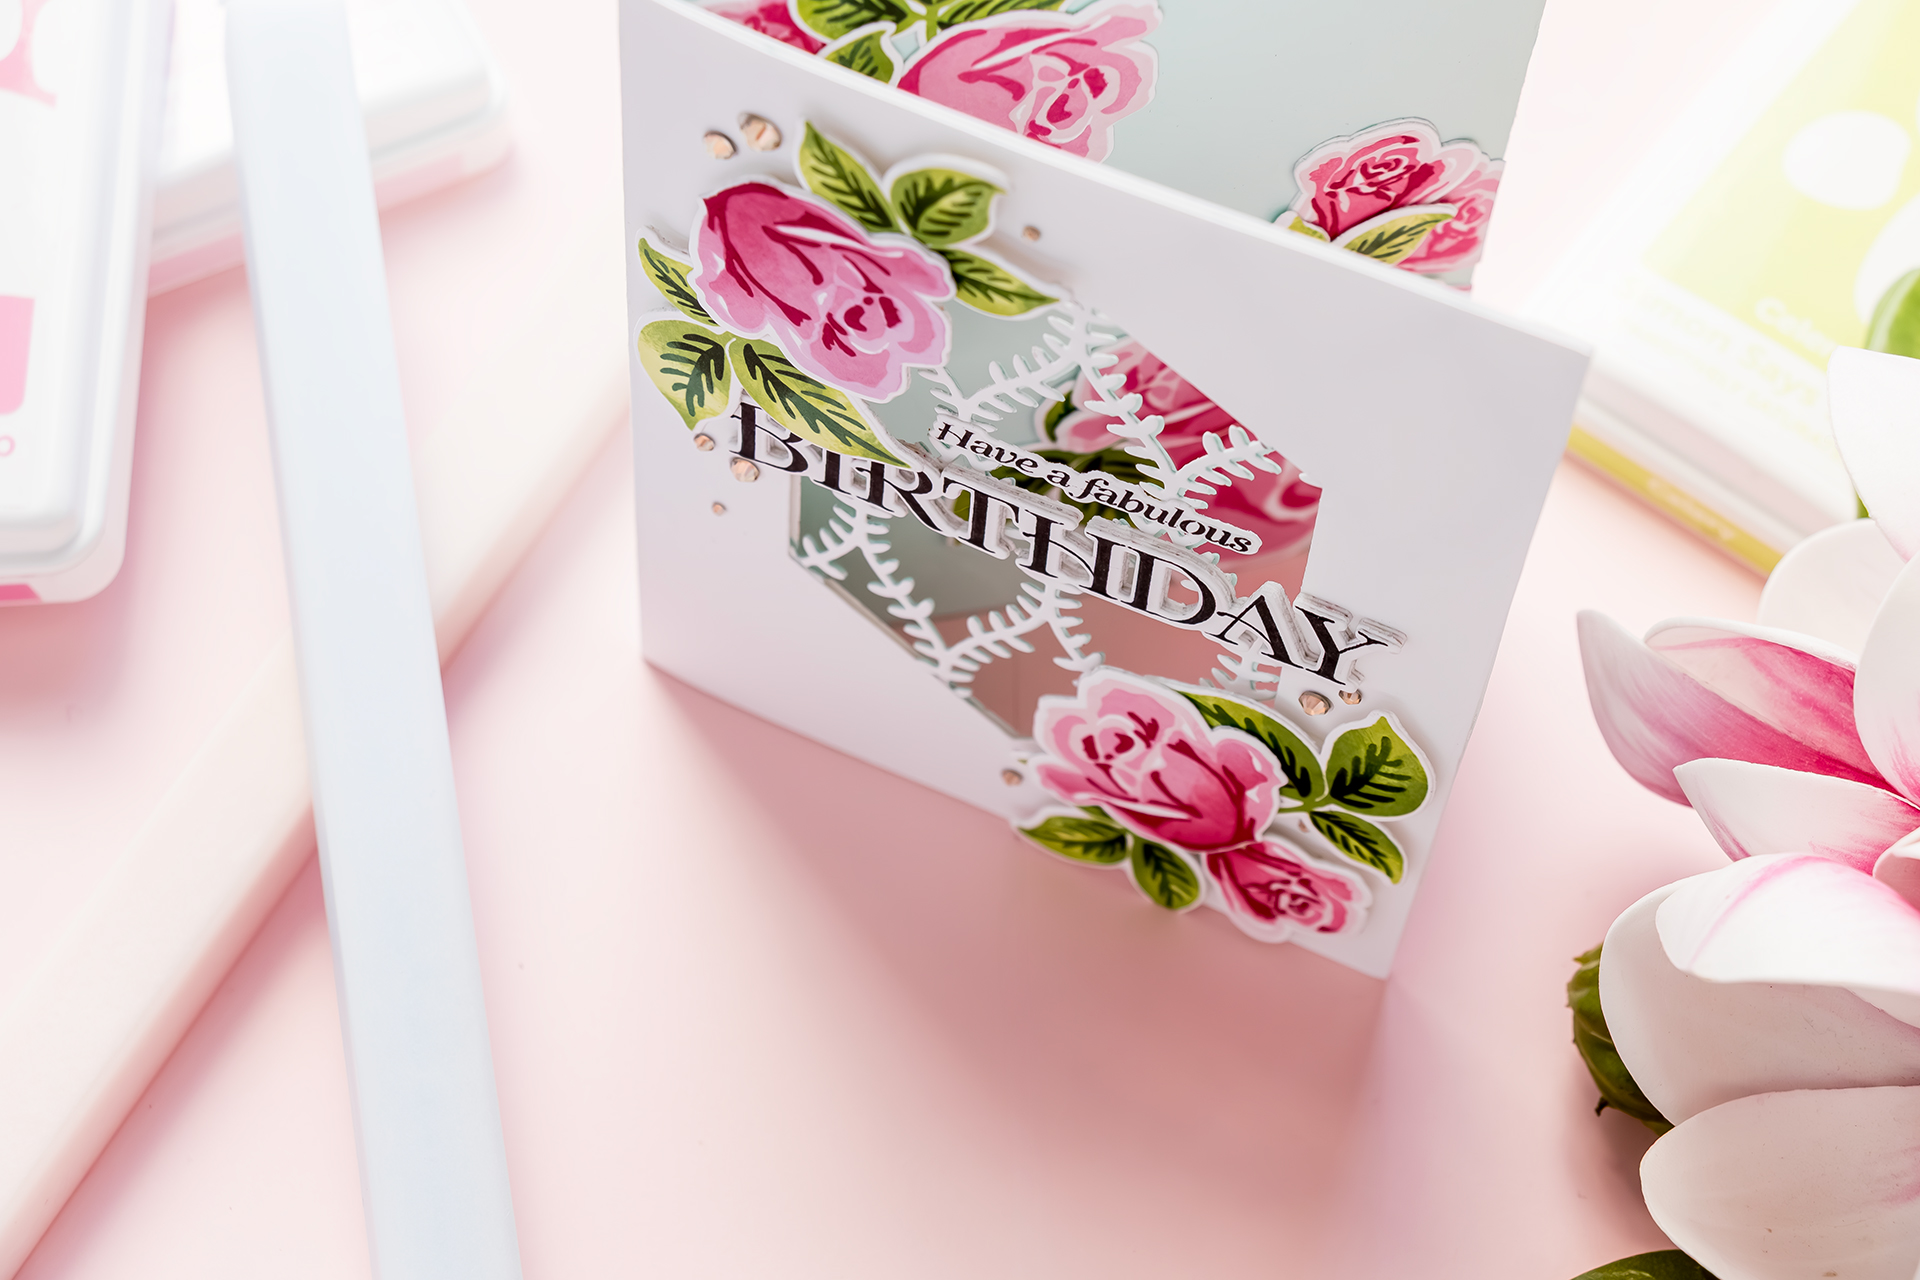
For the second card base, I used Simon Says Stamp Seafoam cardstock. To add interest to the background, I dry embossed one of the panels using the Willowweave stencil. I love embossing with stencils as it creates beautiful texture without adding extra color or visual clutter.
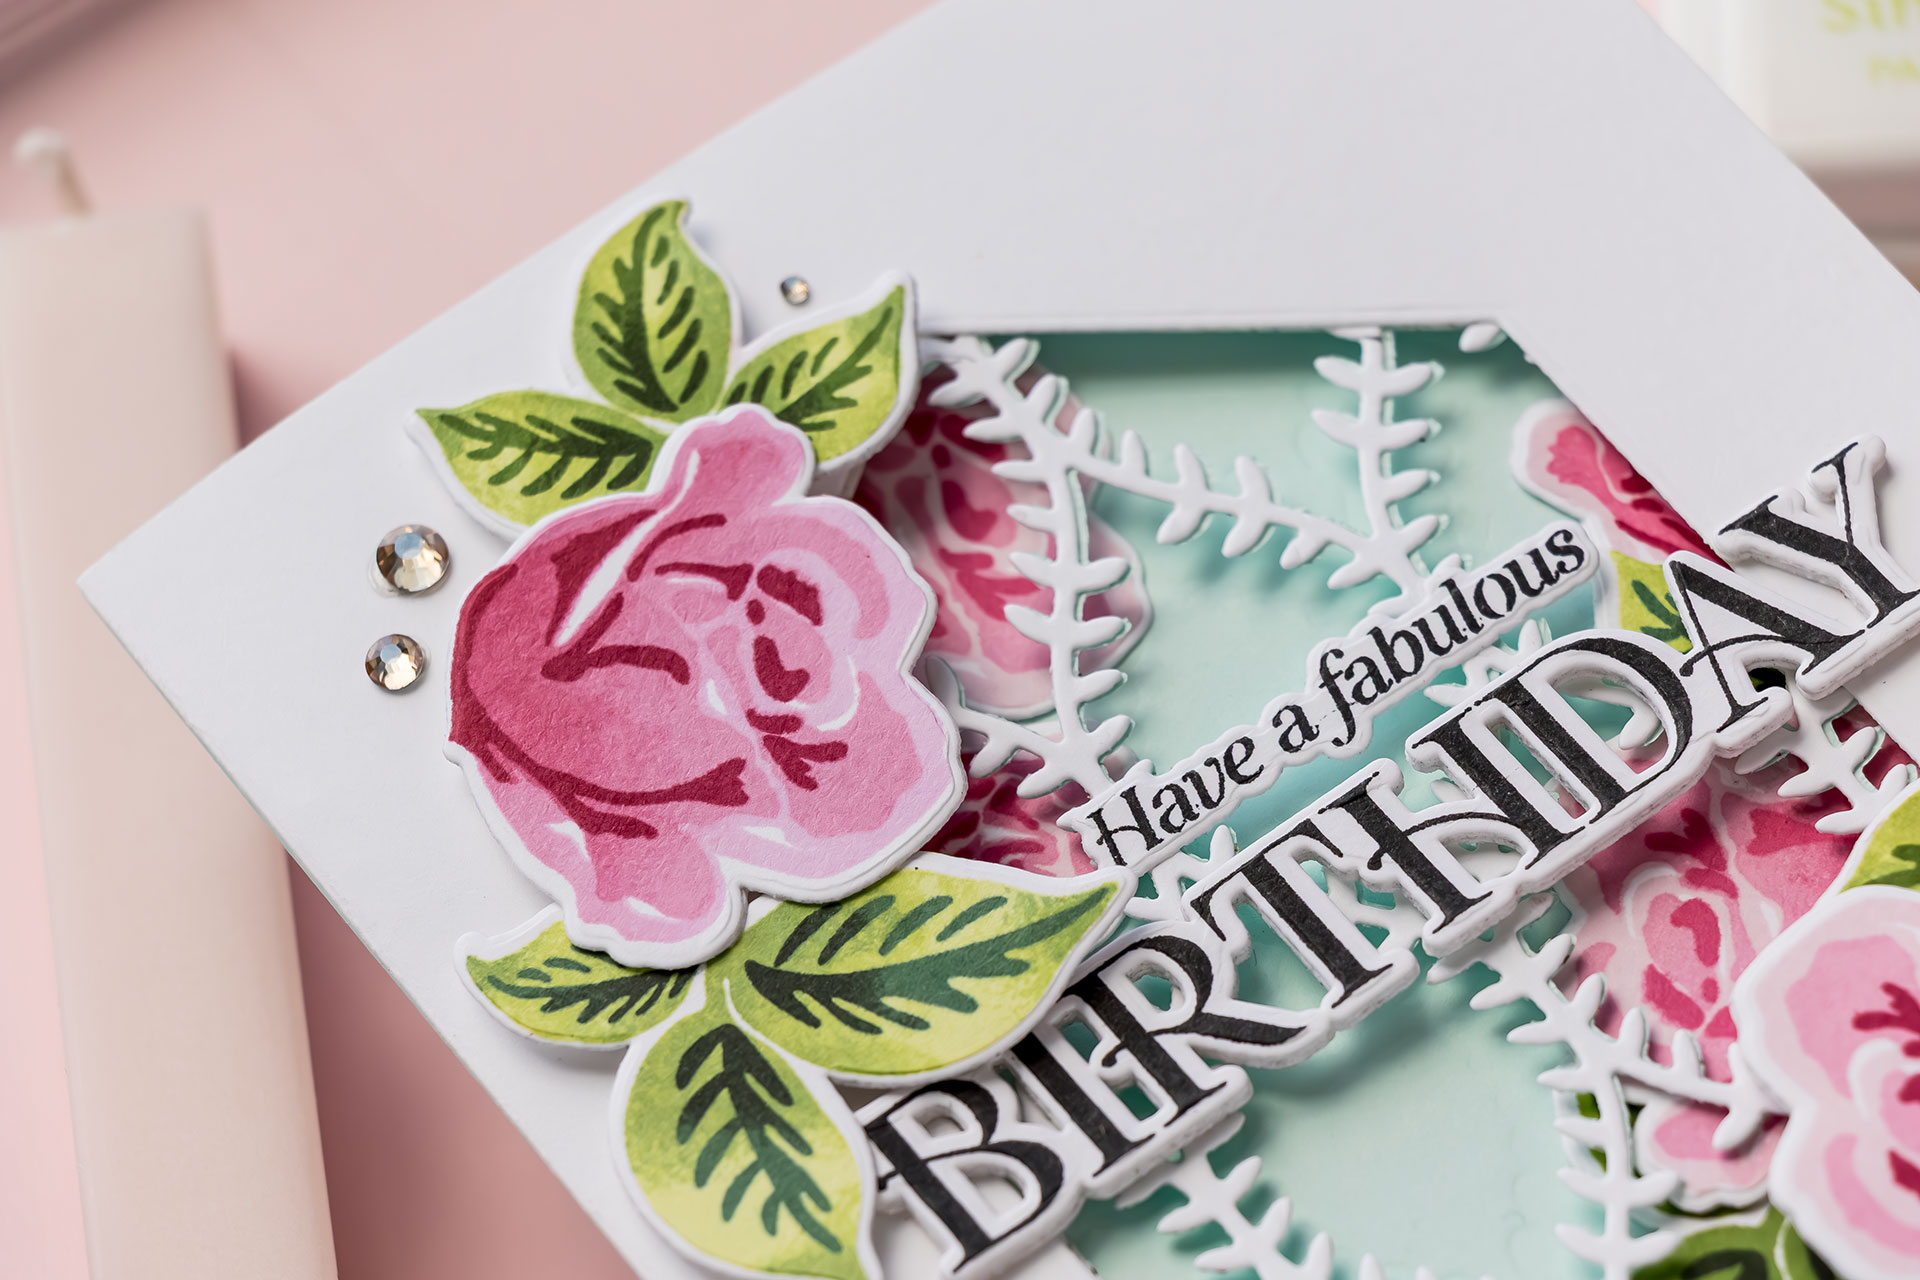
I also used the coordinating Willow Weave die to create an intricate die-cut element for the window opening. To make the piece look finished on both sides, I die-cut the design from both white and Seafoam cardstock and adhered them back-to-back. With all of the elements prepared, assembly came together quickly.
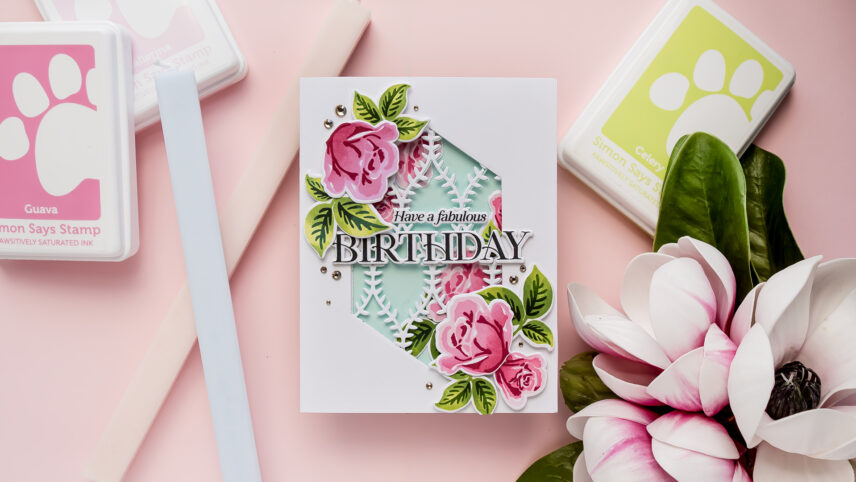
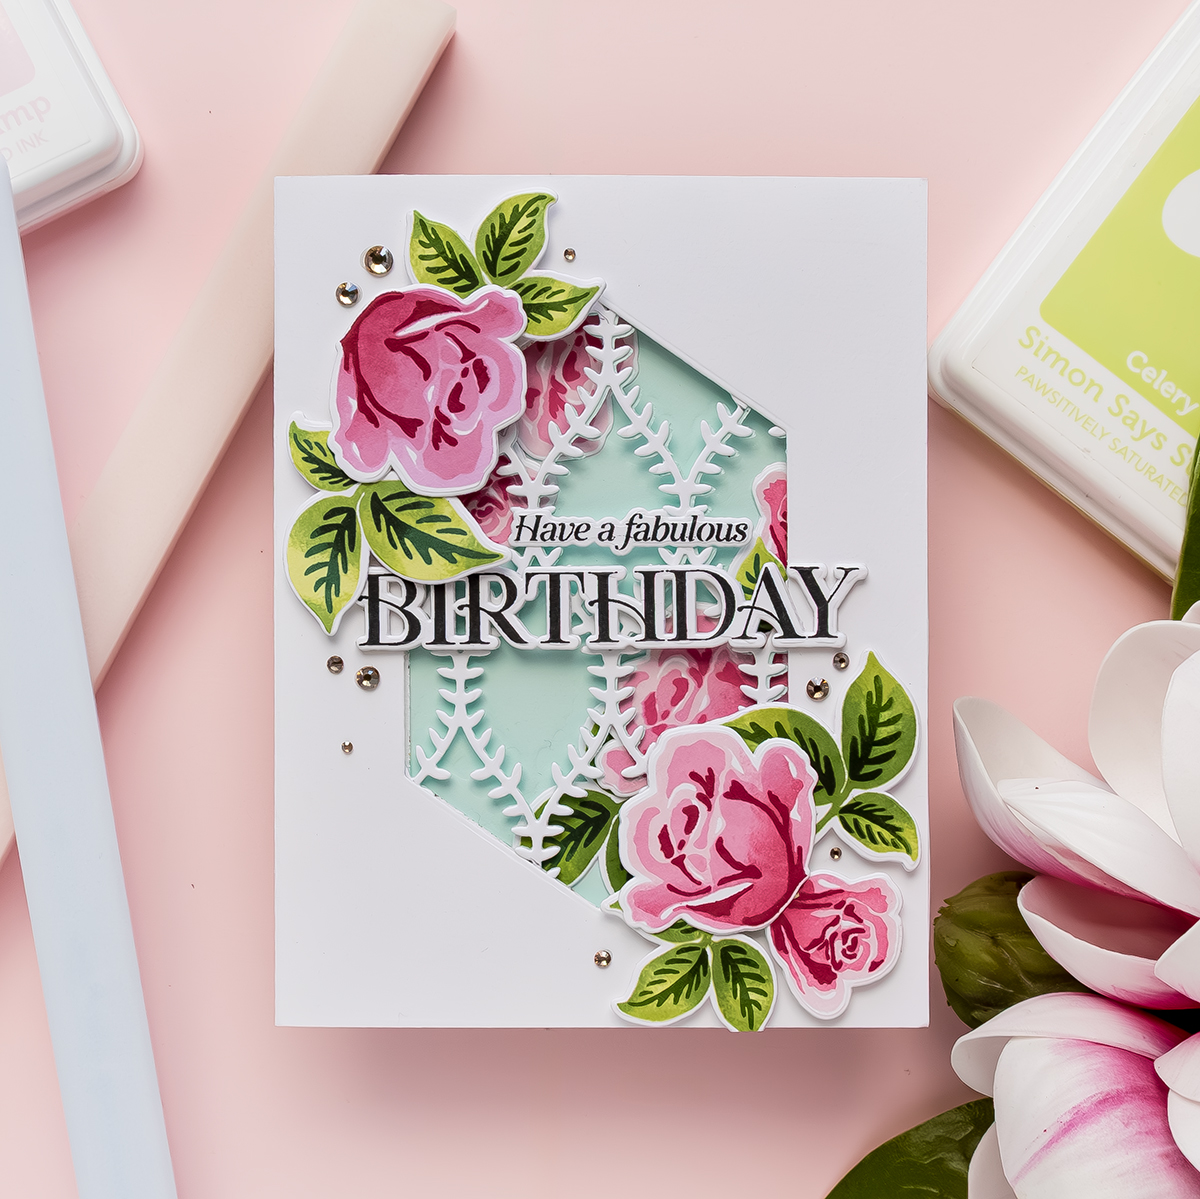
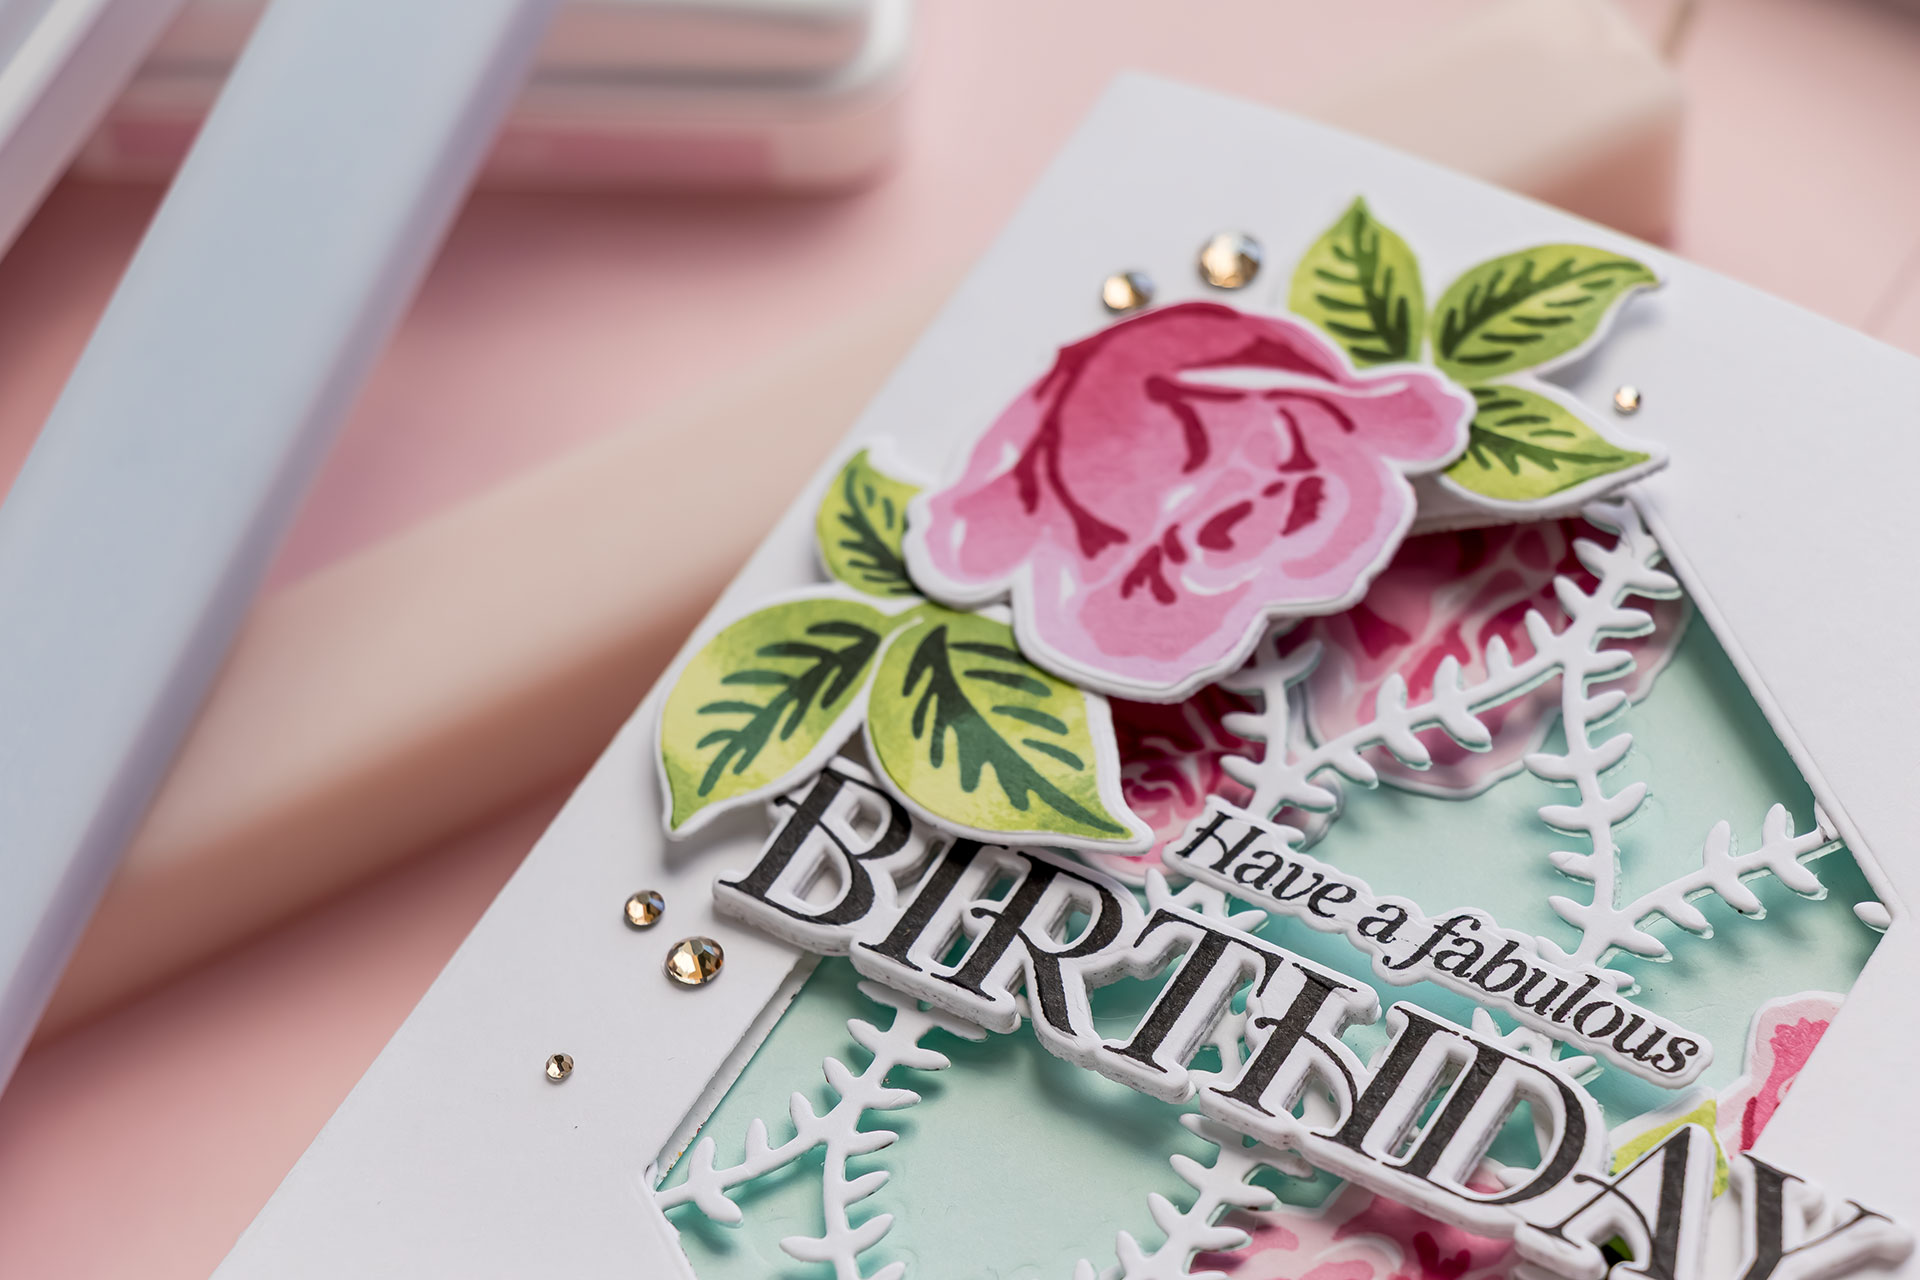
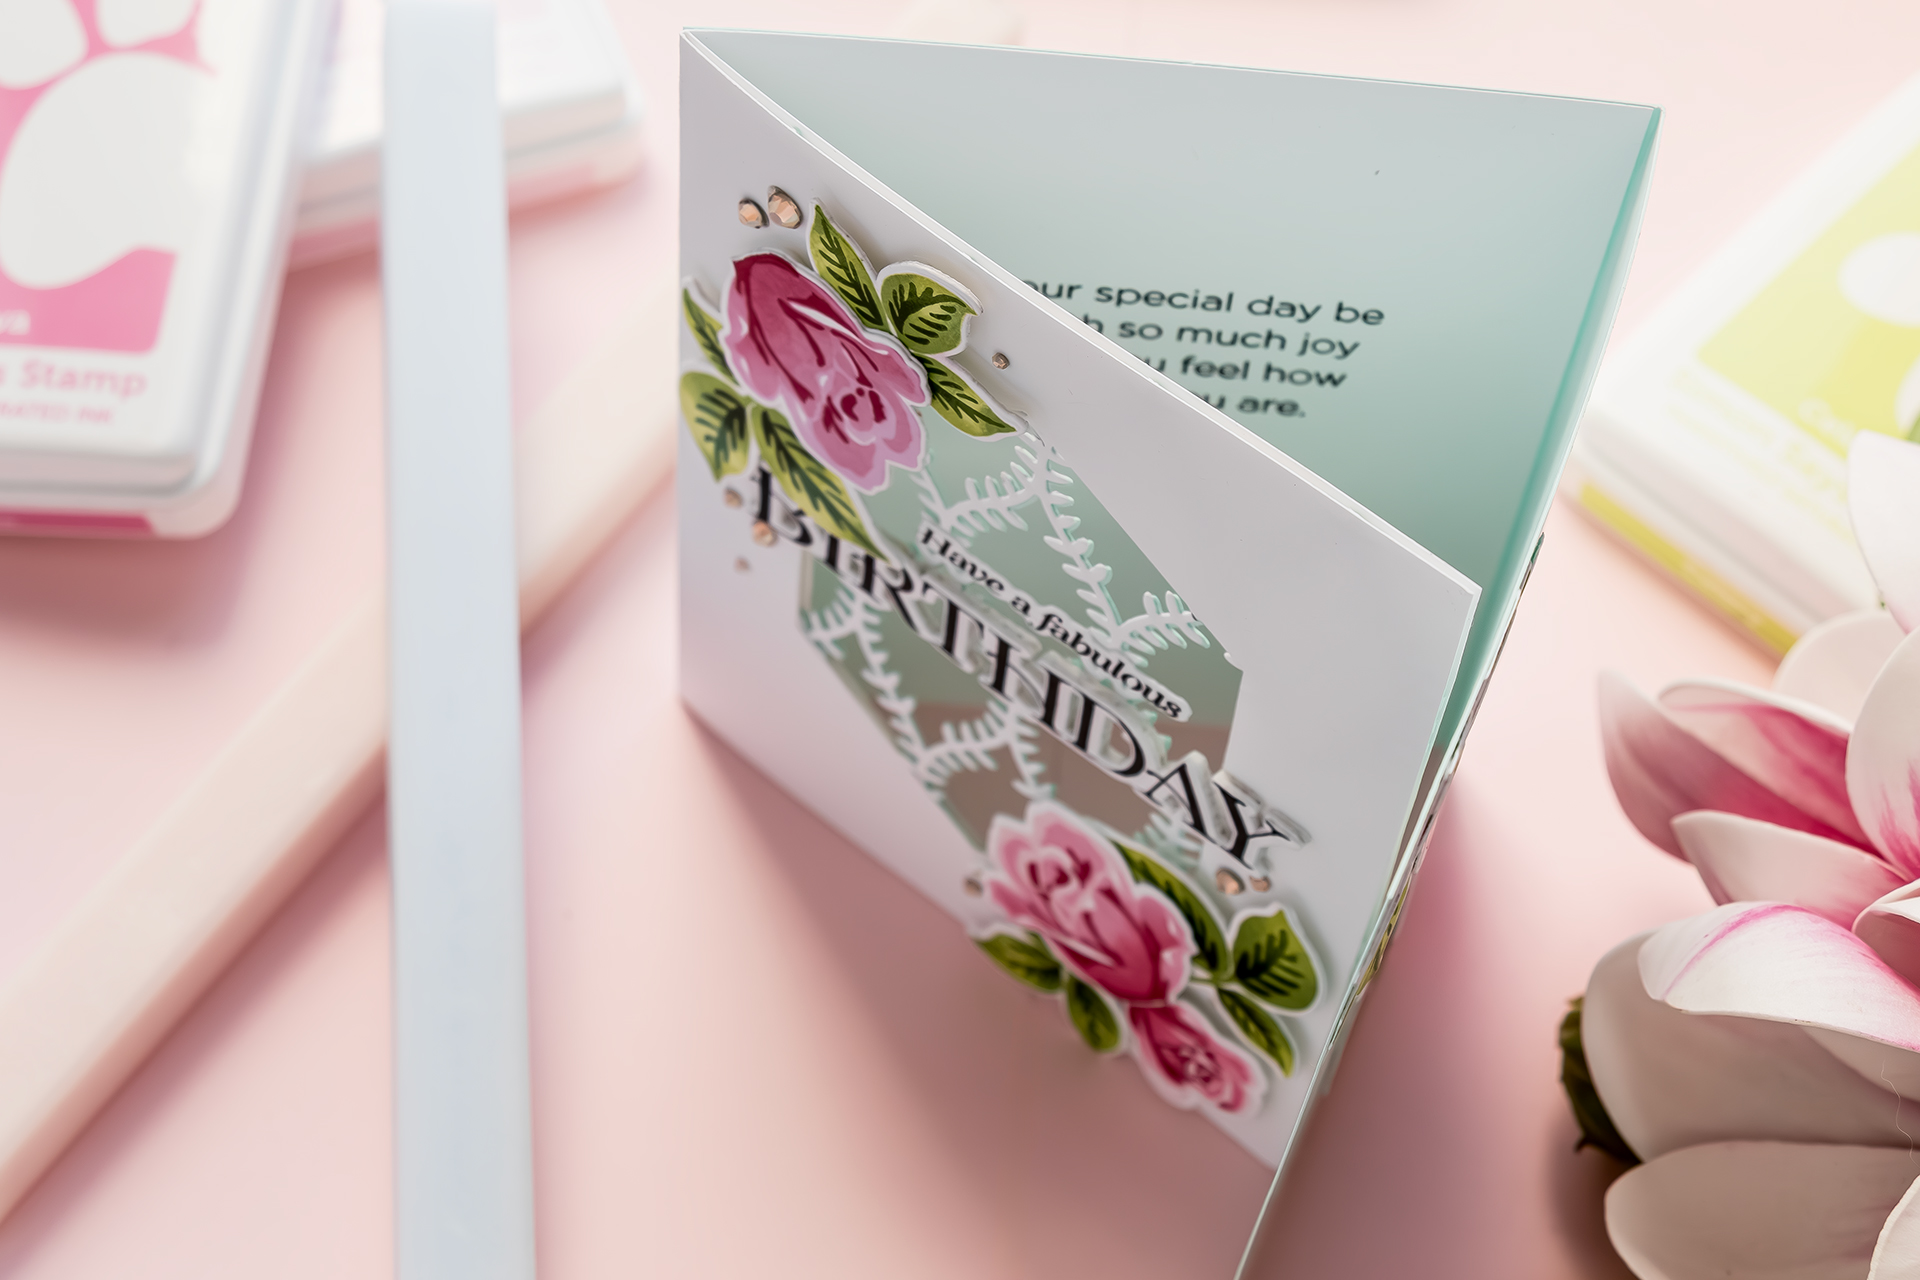
I adhered the two card bases together and began arranging the floral die cuts. For the front panel, I created a diagonal floral design that frames the window opening and draws the eye across the card.
The birthday sentiment was created by stacking multiple die-cut layers together. Since the sentiment bridges part of the window opening, the extra layers help make it sturdier and add a bit of dimension.
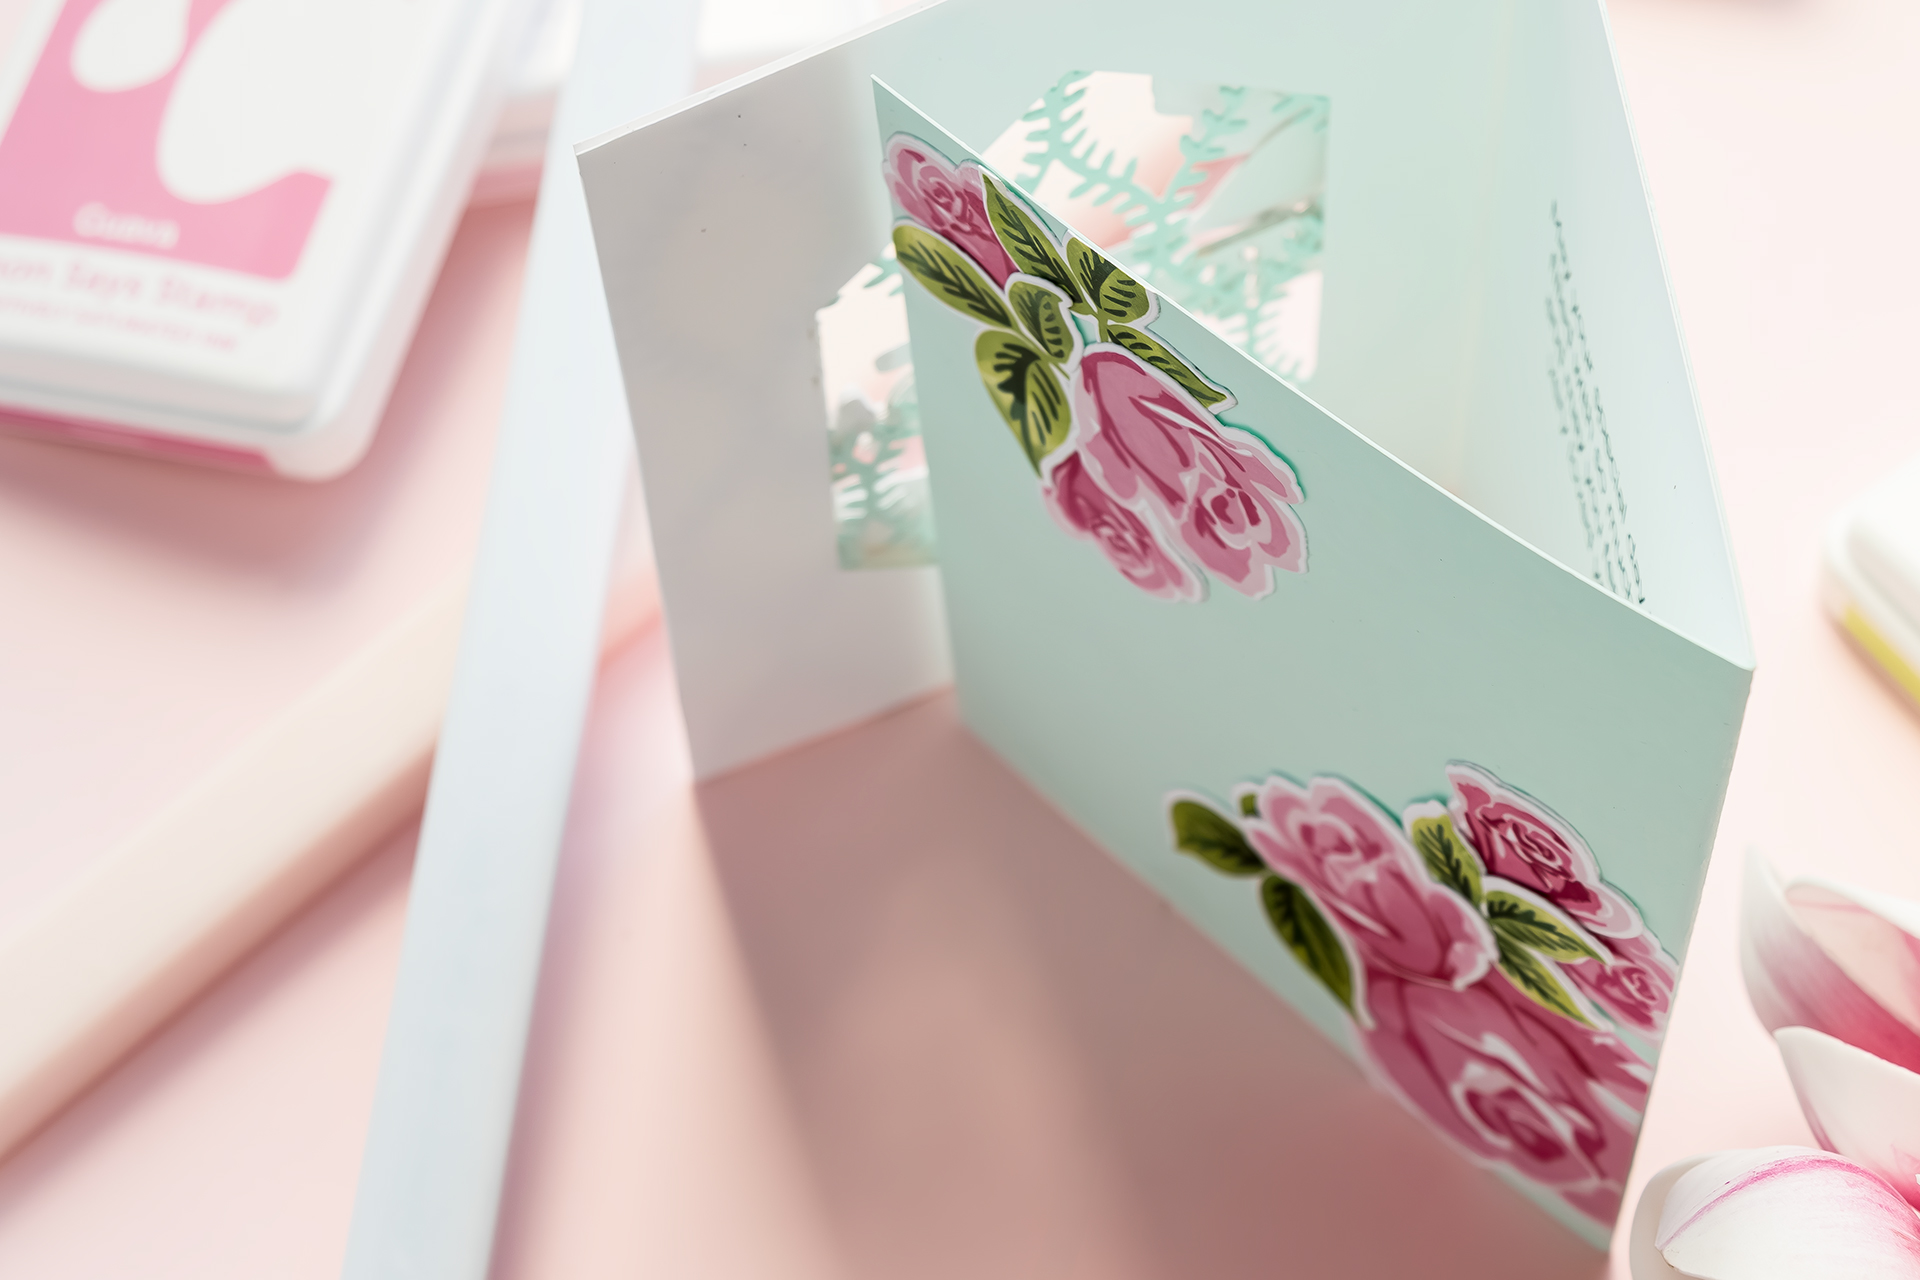
One of my favorite parts of this design is the additional decorating space hidden inside the card. I added more roses and leaves to the interior panels so they peek through the window when the card is closed. Opening the card reveals even more floral details and creates a lovely surprise for the recipient.
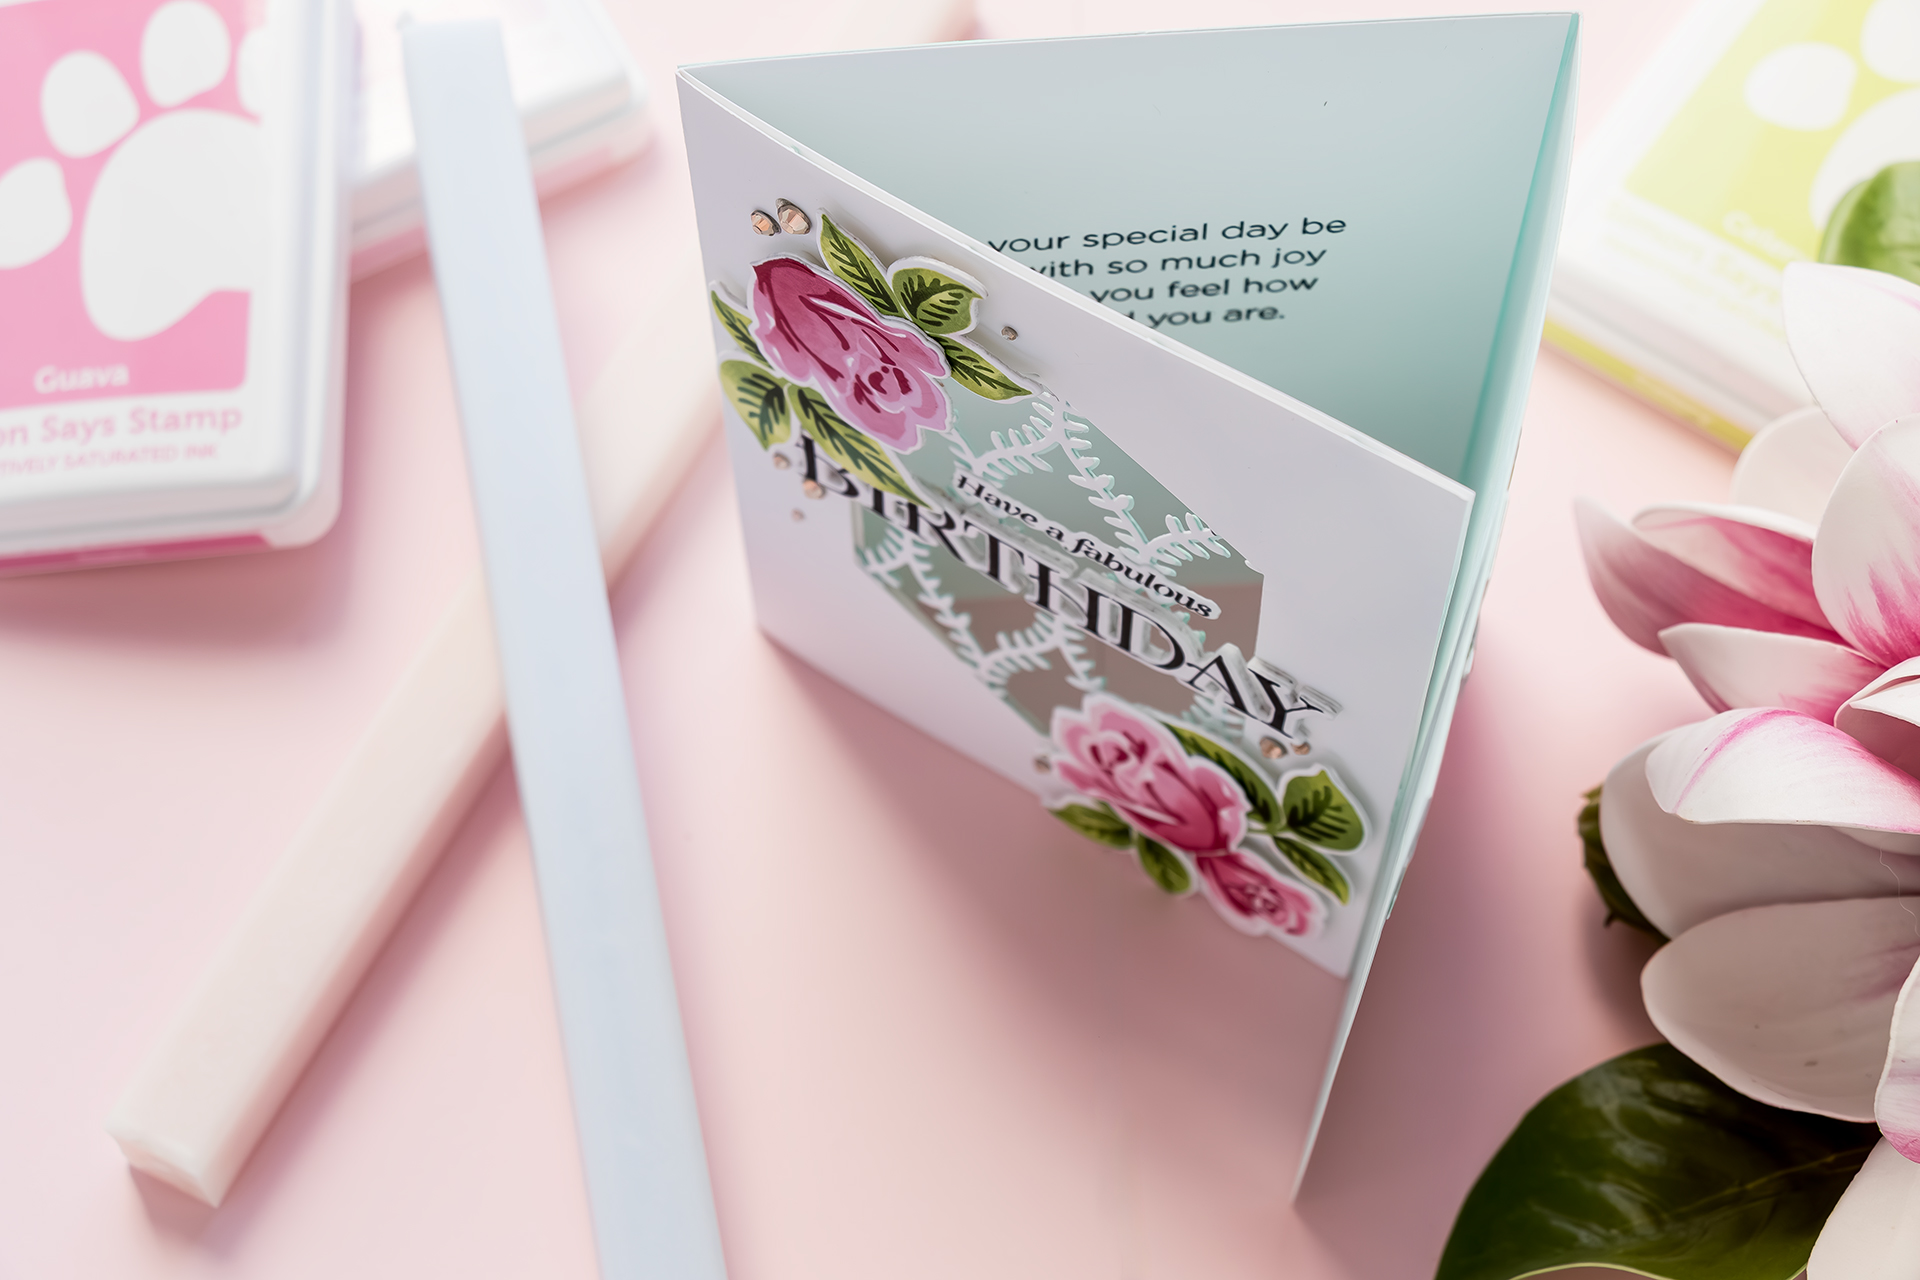
For the final inside panel, I stamped a birthday greeting from the Inside Birthday Greetings stamp set and left plenty of room for a handwritten message.
To finish the card, I added several gold gems for a touch of sparkle.
I had so much fun creating this project. If you haven’t made a fun fold card recently, I encourage you to give this tri-fold design a try. It’s easy to construct, offers lots of space for embellishing, and is a wonderful way to showcase your favorite floral stamps.
Have fun stamping!
SUPPLIES
I’m listing the products I used below. Click on the links to go directly to the products. Where available, I use compensated affiliate links, which means if you make a purchase, I receive a small commission at no extra cost to you. Thank you so much for your support!