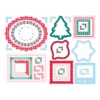


Hello friends! Today I’m sharing several quick and easy Christmas cards featuring the new Dear Santa Cardmaking Kit and coordinating à la carte products from Spellbinders.
A few days ago, I shared an unboxing and first look at this kit. After opening the box, I couldn’t wait to start creating, and before I knew it, I had a whole stack of finished Christmas cards!
If you’ve been following me for a while, you probably know that I’m usually not a big card kit person. I love stamping, die cutting, BetterPress, and building my own designs from scratch. But Christmas card kits are my weakness. There’s just something about coordinating papers, ephemera, stickers, and embellishments that makes holiday crafting so relaxing and enjoyable.
VIDEO TUTORIAL
Watch the video below or on my YouTube channel.
If you enjoy this video, please give it a thumbs up and share it with a crafty friend. I always appreciate your support and love hearing from you in the comments.
KIT DETAILS
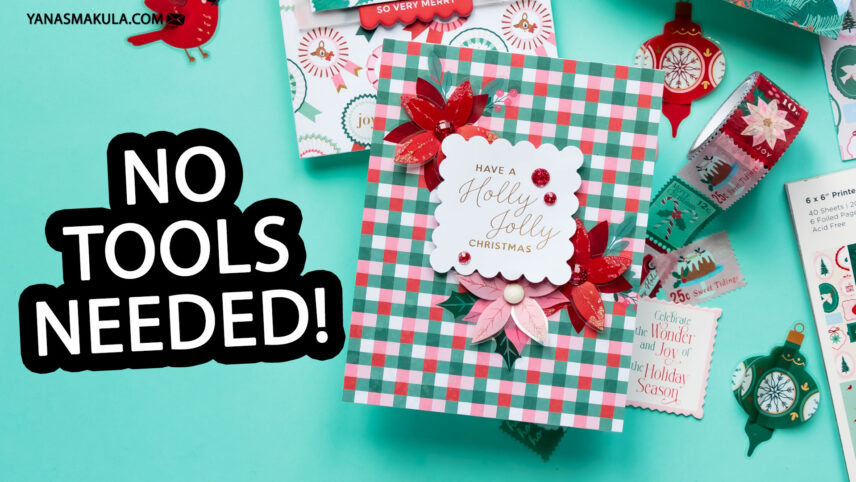
One of my favorite things about the Dear Santa Cardmaking Kit is how beginner-friendly it is. You really don’t need any special tools to get started. In fact, every card I created for today’s video required little more than a pair of scissors, adhesive, and the supplies included in the kit.
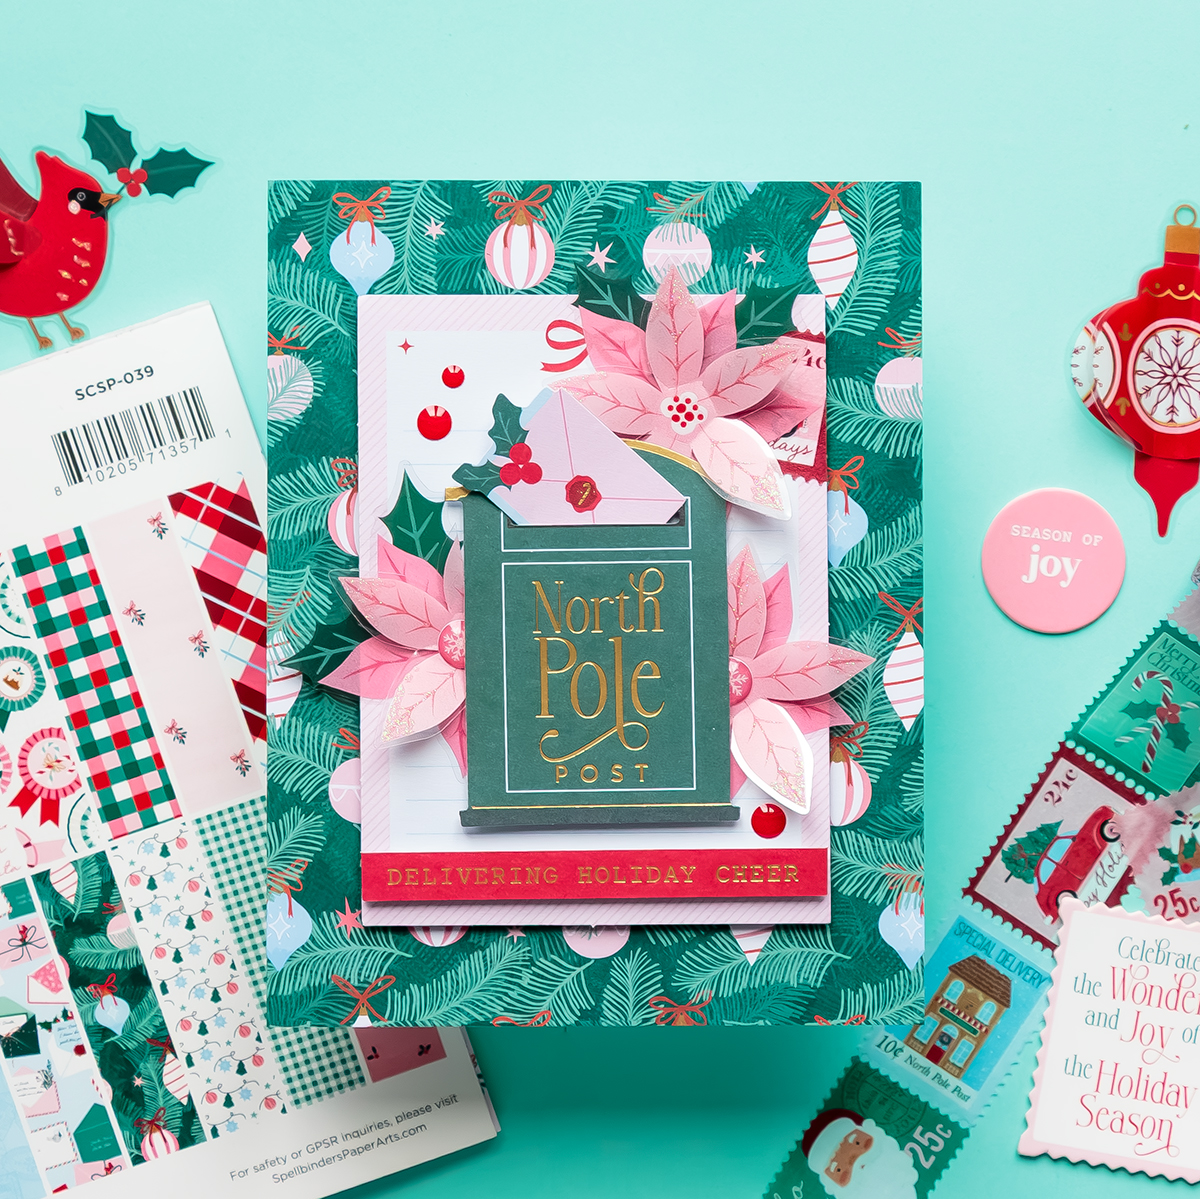
For many of my cards, I started by covering the entire front of an A2 card base with patterned paper from the kit. I love doing this because it’s quick, creates an instant finished background, and lets the beautiful holiday patterns shine.
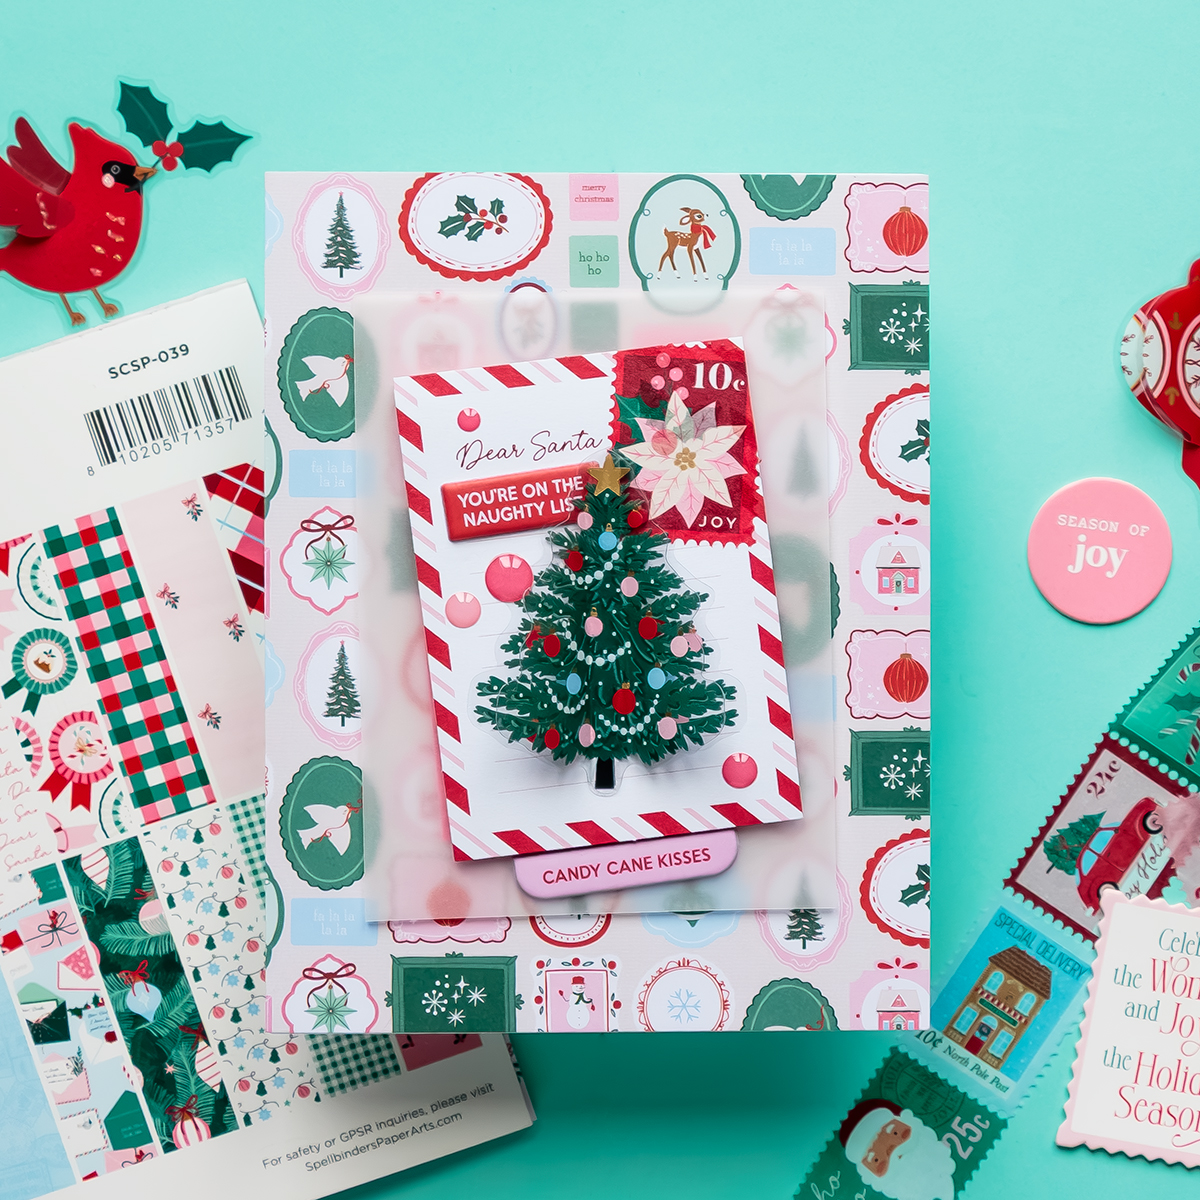
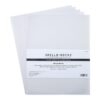
To help separate the focal images from some of the busier patterns, I added panels of vellum from my stash. This is one of my favorite tricks whenever I’m working with bold patterned paper. The vellum softens the background just enough while still allowing the design to peek through.
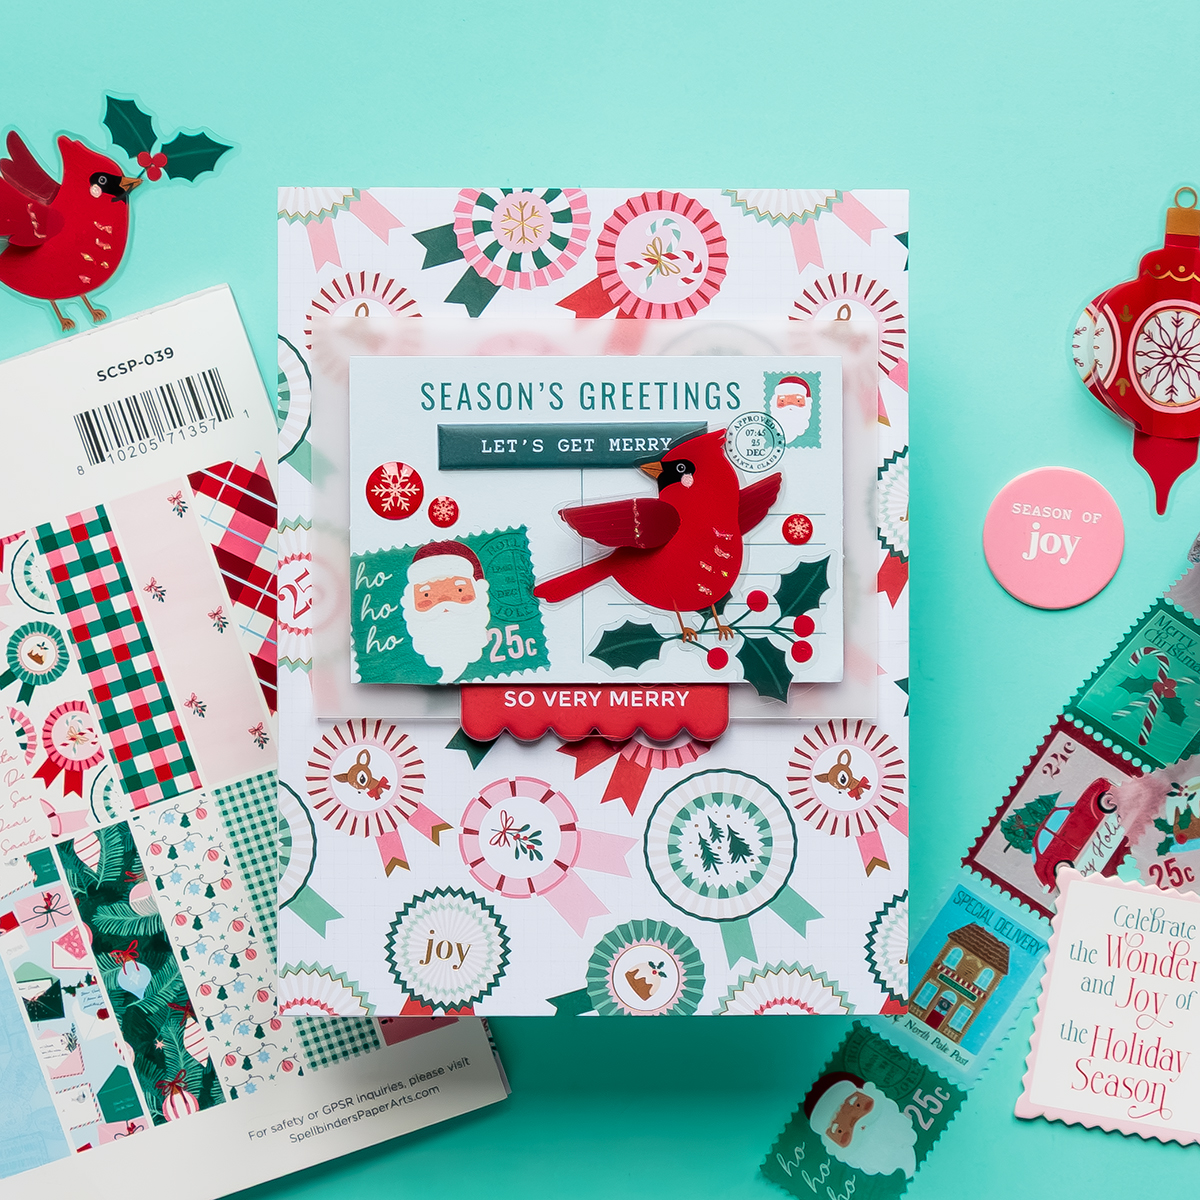
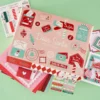
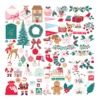
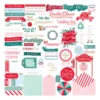
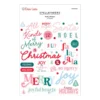
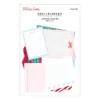
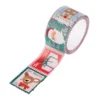
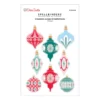
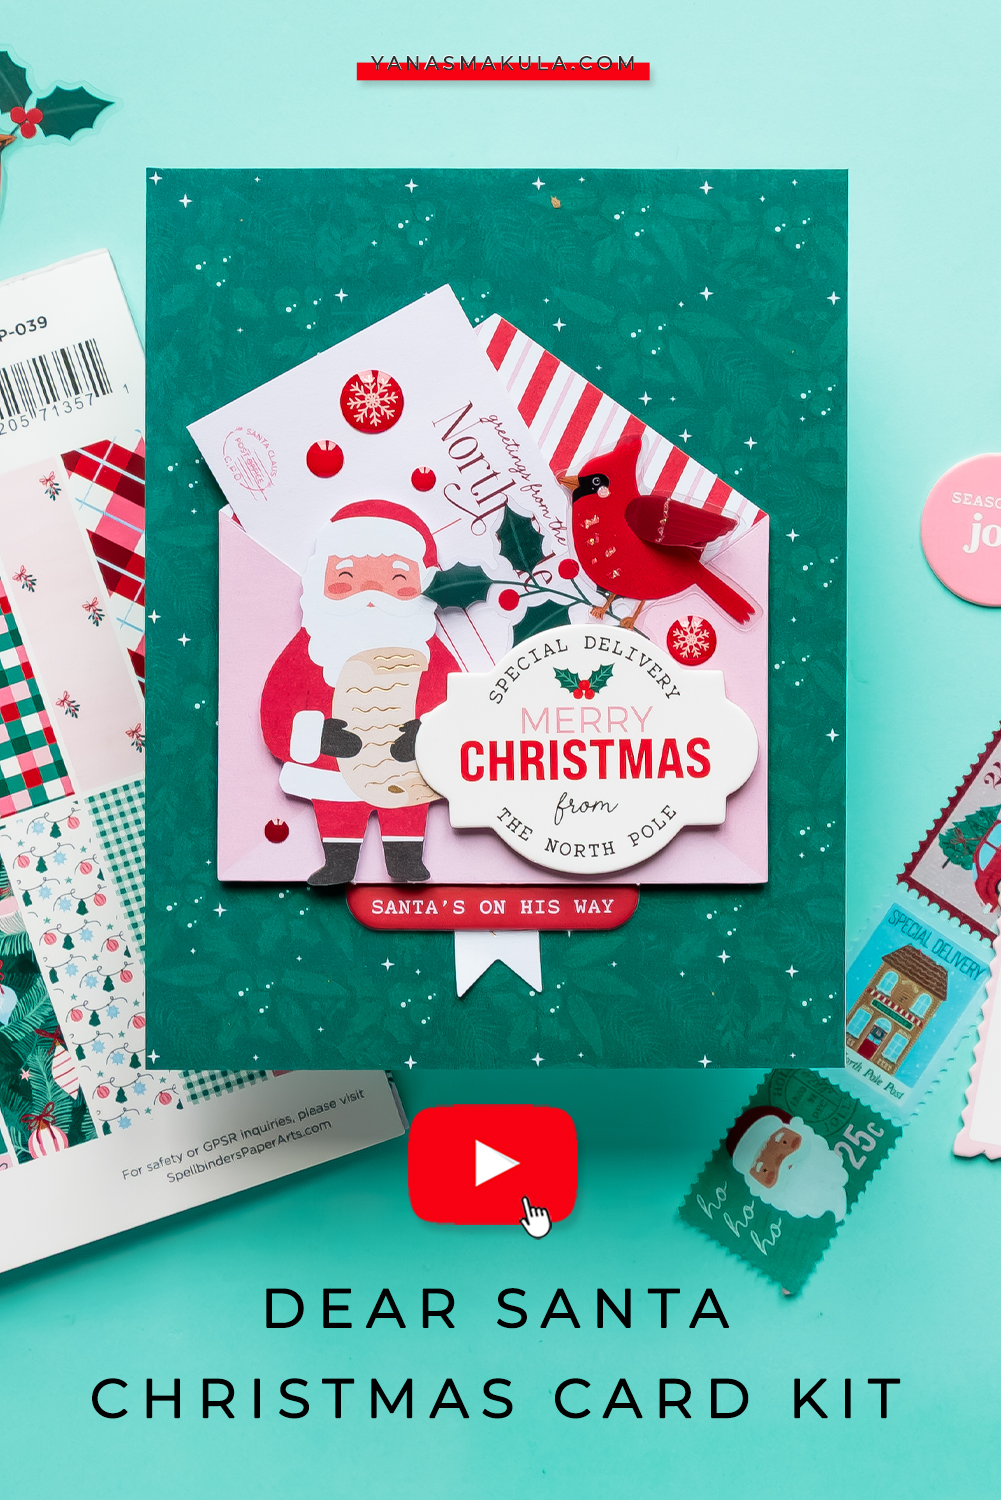
The Dear Santa collection includes a wonderful assortment of die-cut journaling cards, sentiments, stickers, chipboard pieces, and acetate embellishments, making it incredibly easy to layer elements together. I simply mixed and matched the different pieces until I found combinations I liked, then added foam adhesive to create dimension.
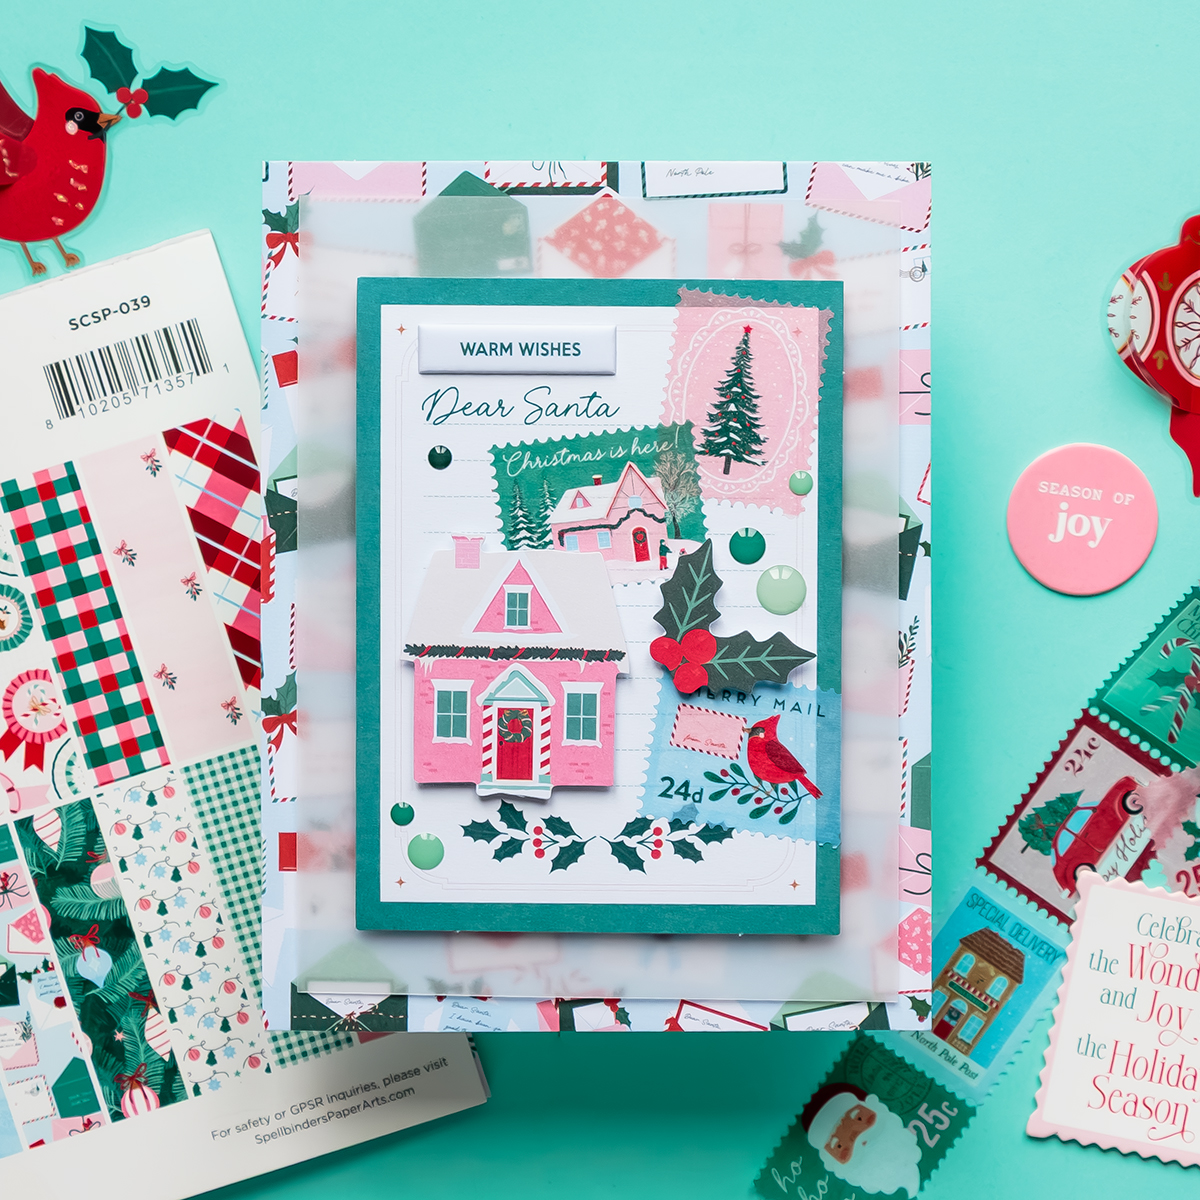
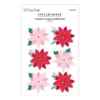
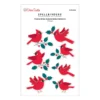
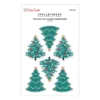
One card features a trio of dimensional poinsettia acetate stickers surrounding a foiled sentiment, while another uses Christmas tree acetate stickers arranged in a simple grid. I also created several cards featuring the adorable envelopes, North Pole mailbox, Santa, cardinals, and holiday sentiments included in the collection.
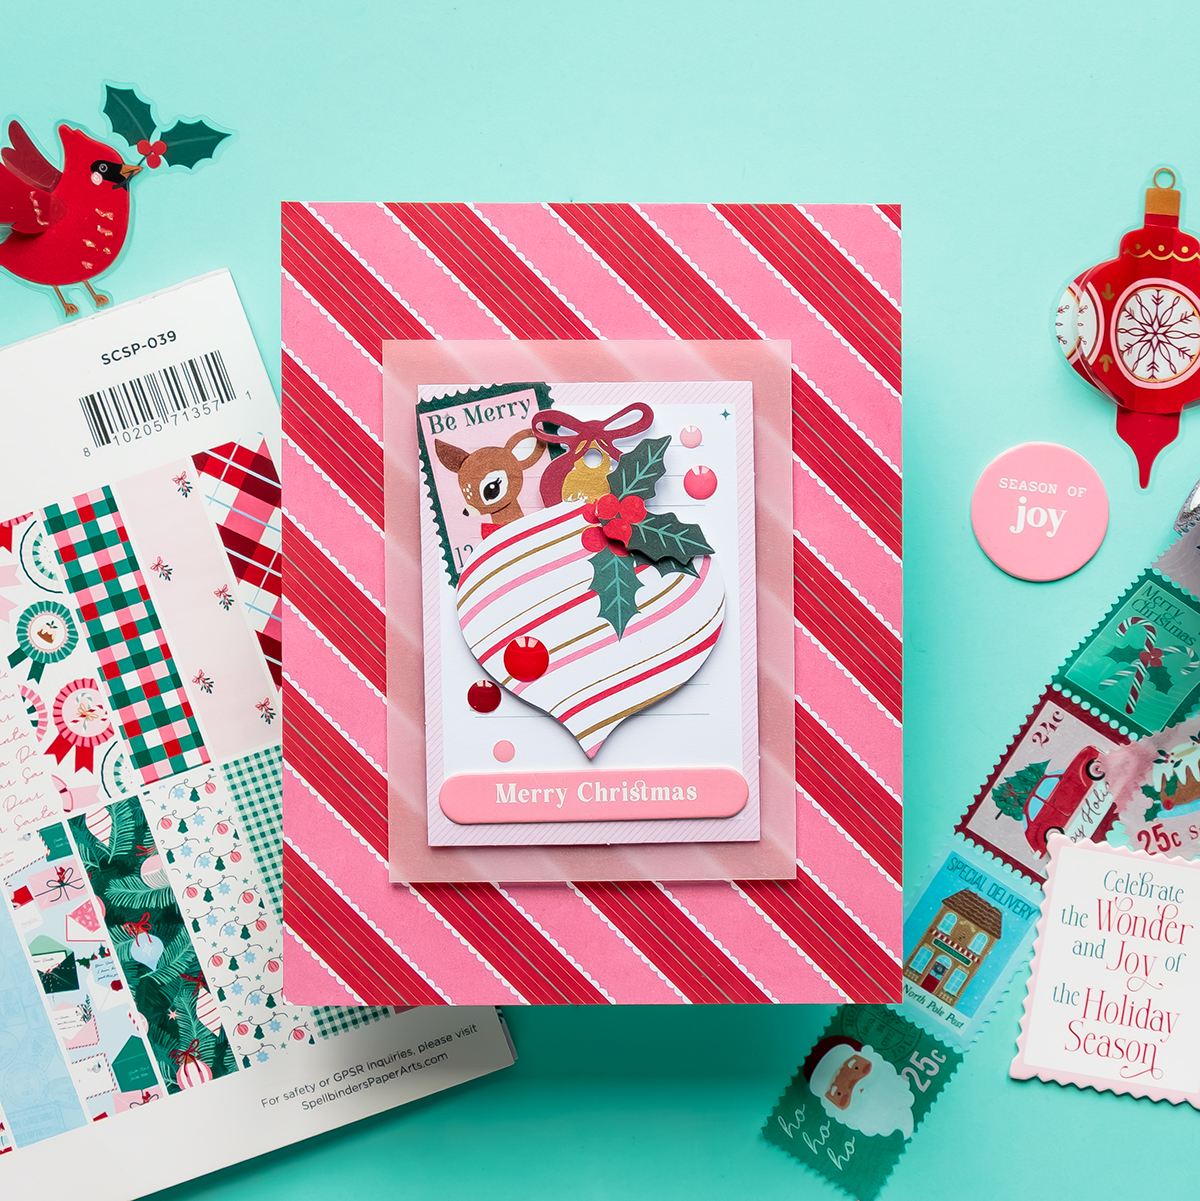
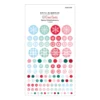
To finish each project, I added a few gems or enamel-style embellishments from the kit. These tiny details add just the right amount of sparkle and complete each design without much effort.
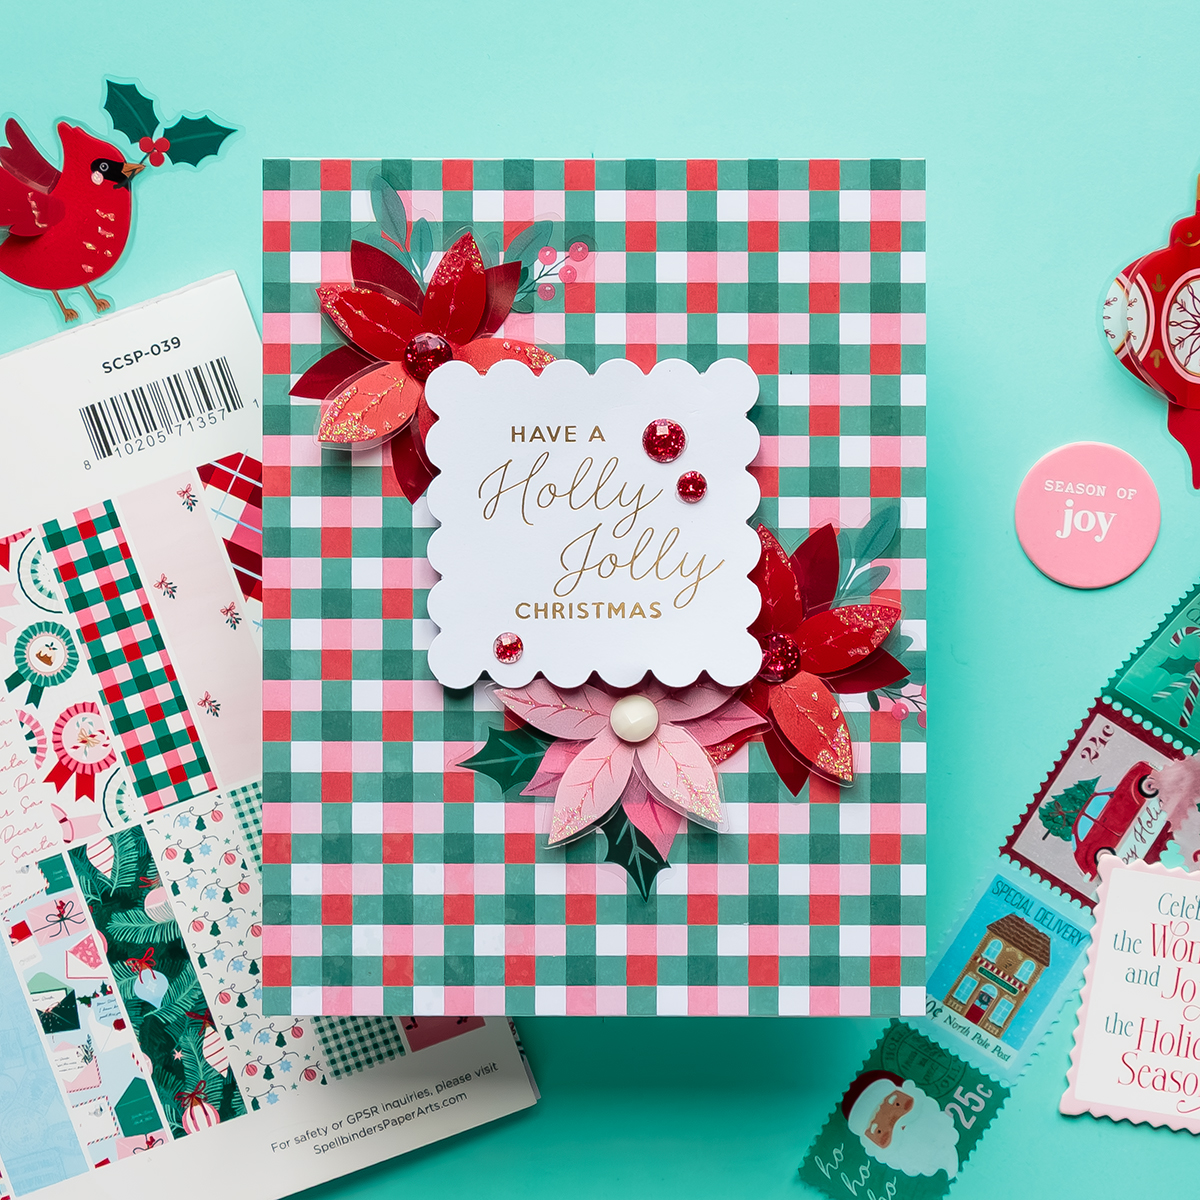
What I love most about this kit is how versatile it is. You can create clean and simple cards in just a few minutes, or spend more time layering papers, vellum, stickers, and embellishments to build more detailed holiday scenes.
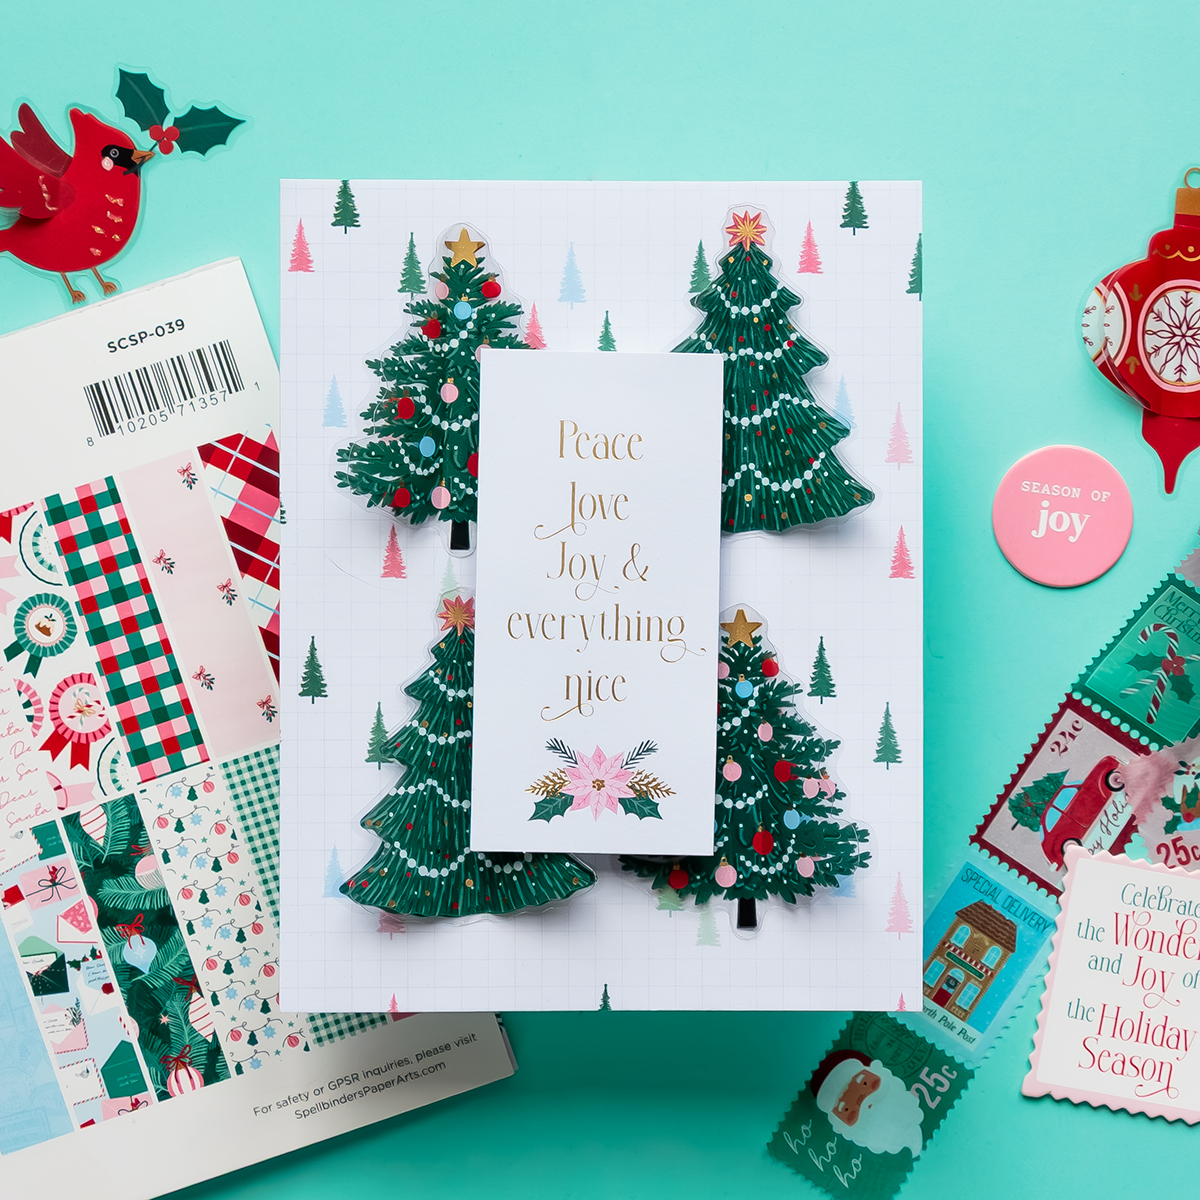
If you’re new to cardmaking, this kit is a wonderful place to start. And if you’ve been making cards for years, it’s a fantastic way to create a large batch of beautiful Christmas cards in very little time.
I hope these projects inspire you to start your own holiday crafting!
SUPPLIES
I’m listing the products I used below. Click on the links to go directly to the products. Where available, I use compensated affiliate links, which means if you make a purchase, I receive a small commission at no extra cost to you. Thank you so much for your support!