



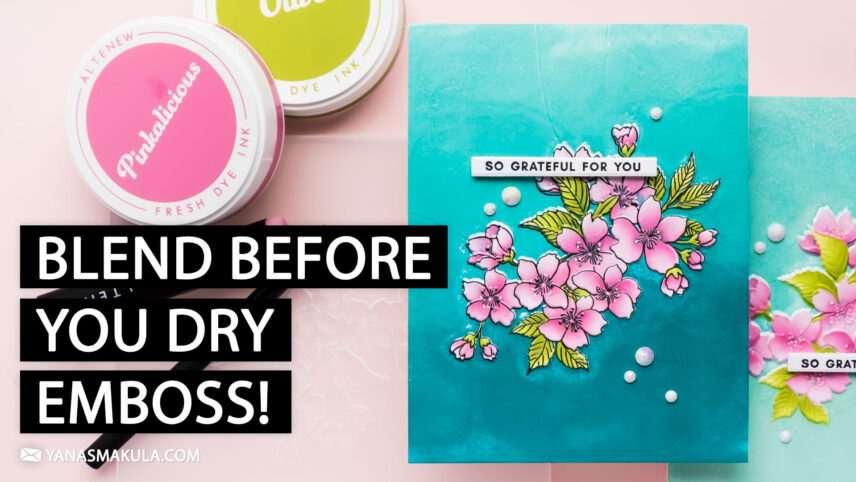

I have a fun technique to share with you today that combines stamping, ink blending, and 3D embossing to create beautifully detailed floral cards with lots of texture and dimension.
If you’ve been following me for a while, you probably know how much I love embossing folders. There’s something magical about taking a flat piece of cardstock and transforming it into something full of rich detail with just one pass through the die-cutting machine. Today I’m taking that one step further by adding color before embossing, and the results are absolutely gorgeous.
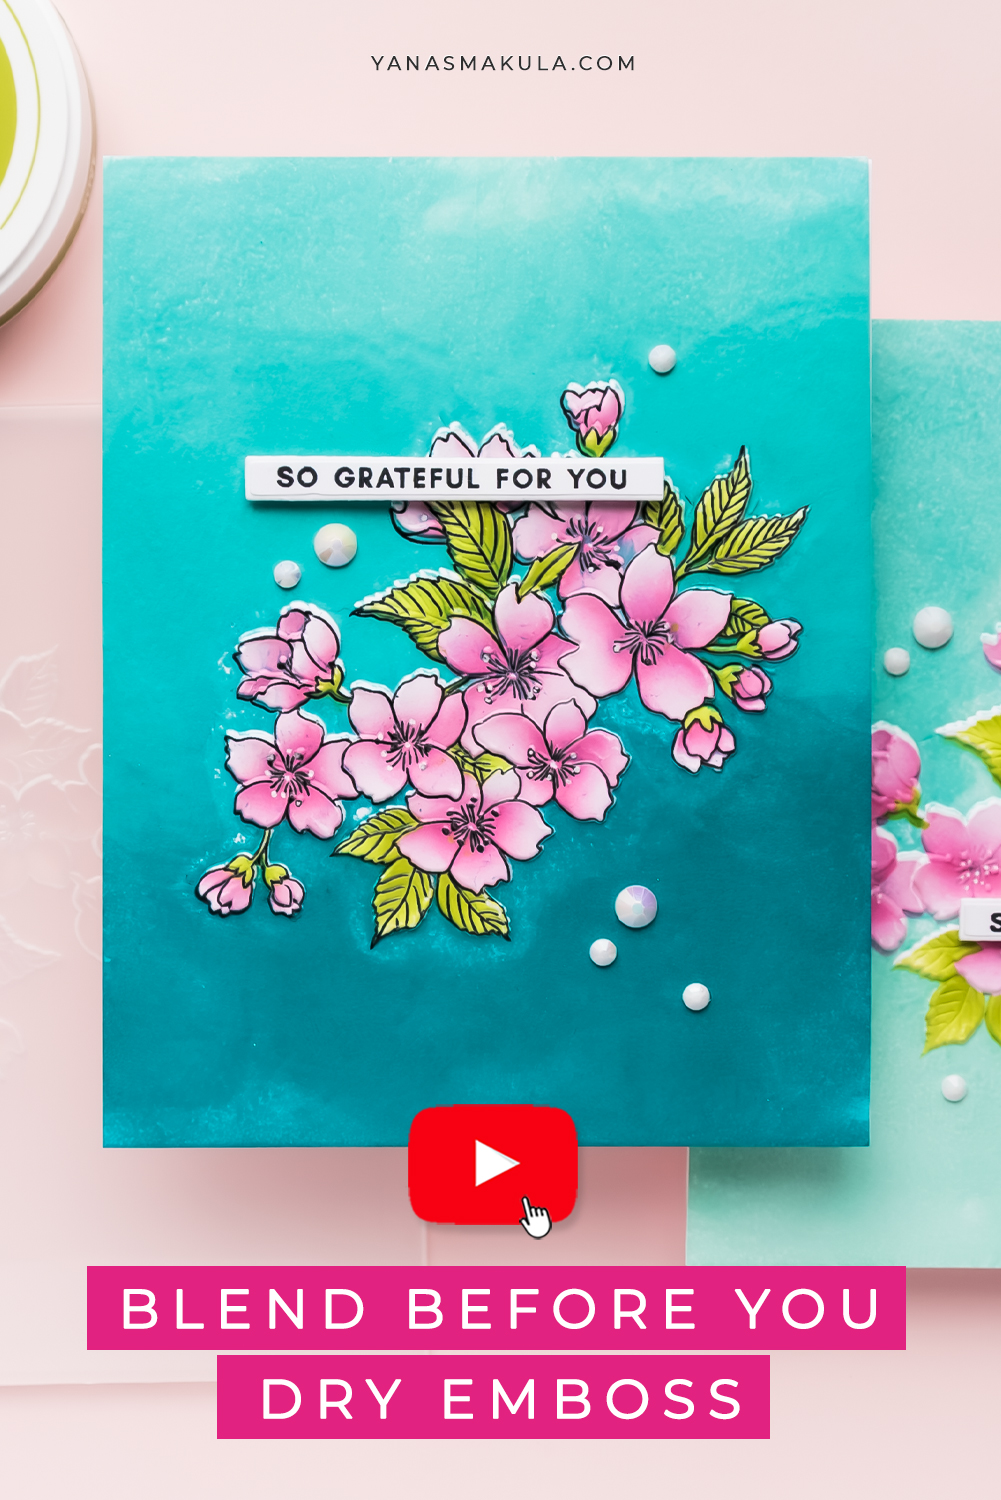
Like this project? Pin it and save it for later
I’m using the beautiful Sakura Blossoms Bundle from Altenew, but the technique I’m sharing can easily be adapted to many embossing folders and floral images you already have in your stash.
SPECIAL OFFER
Save 30% off on 8.5″x11″ Stamp Complete Bundles (Majestic Bouquet, Bountiful Bouquet, Billowing Peonies, Bouquet of Poppies, Flourishing Bouquet,
Sakura Blossoms). Use the code YANABOUQUET at checkout to get 30% off.
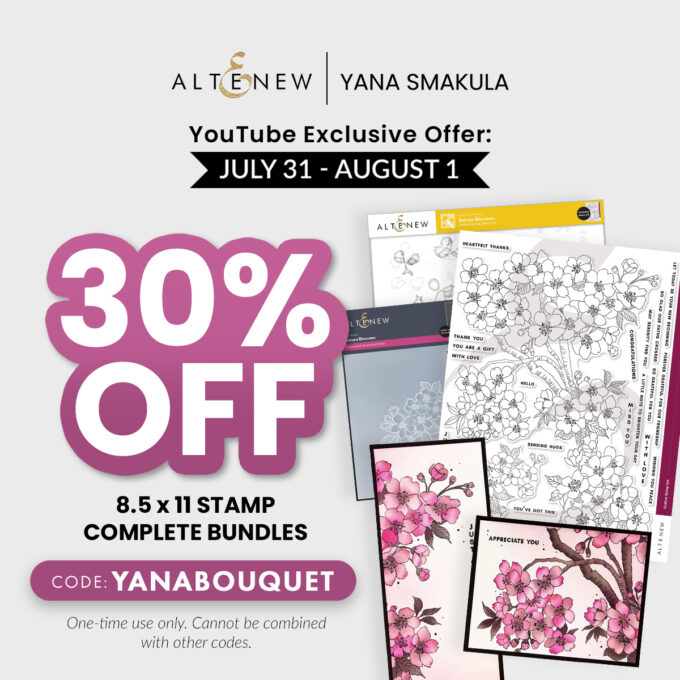
From July 31, 2026 at 12:00 am EDT to August 1, 2026 at 11:59 pm EDT. One-time use only. Cannot be combined with other codes.
INK BLEND BEFORE EMBOSSING – VIDEO TUTORIAL
In today’s video, I’m sharing my Ink Blend Before You Emboss technique. I’ll show you how I combine stamping, stencil coloring, and 3D embossing to create richly textured floral cards, plus I’ll share a second version of the technique that skips stamping altogether for a softer, no-line look.
Watch the full tutorial below or over on my YouTube channel.
TECHNIQUE DETAILS
Rather than using the large Sakura Blossoms stamp set to create multiple cards, which is exactly what it was designed to do, I wanted to focus on another part of the bundle that I absolutely fell in love with: the coordinating 3D embossing folder, which coordinates with a small Sakura Blossom cluster in this stamp set.
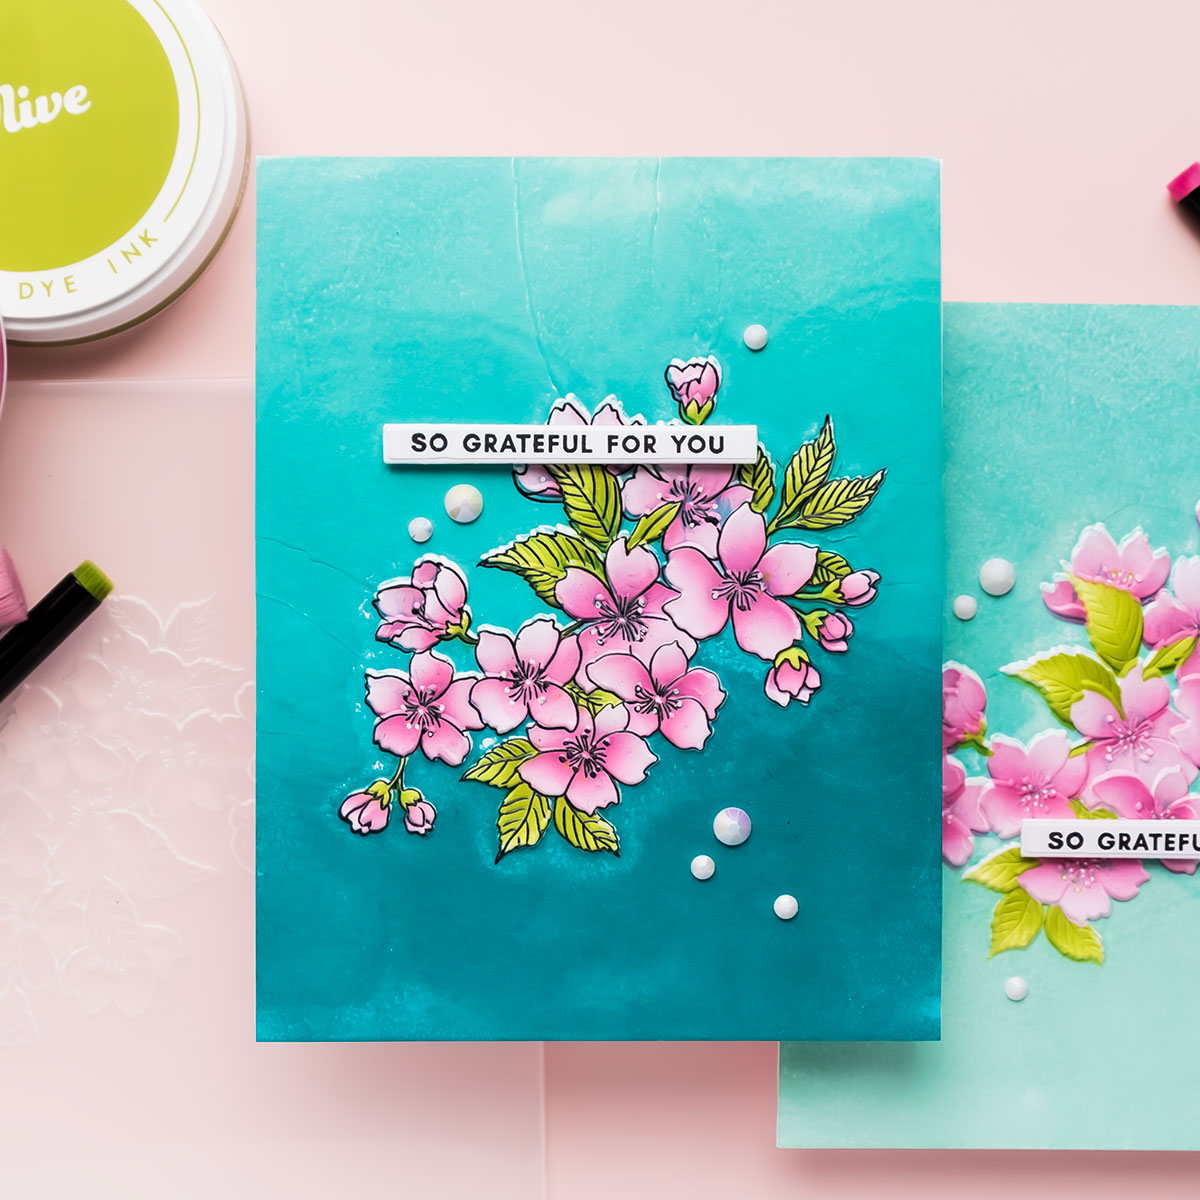
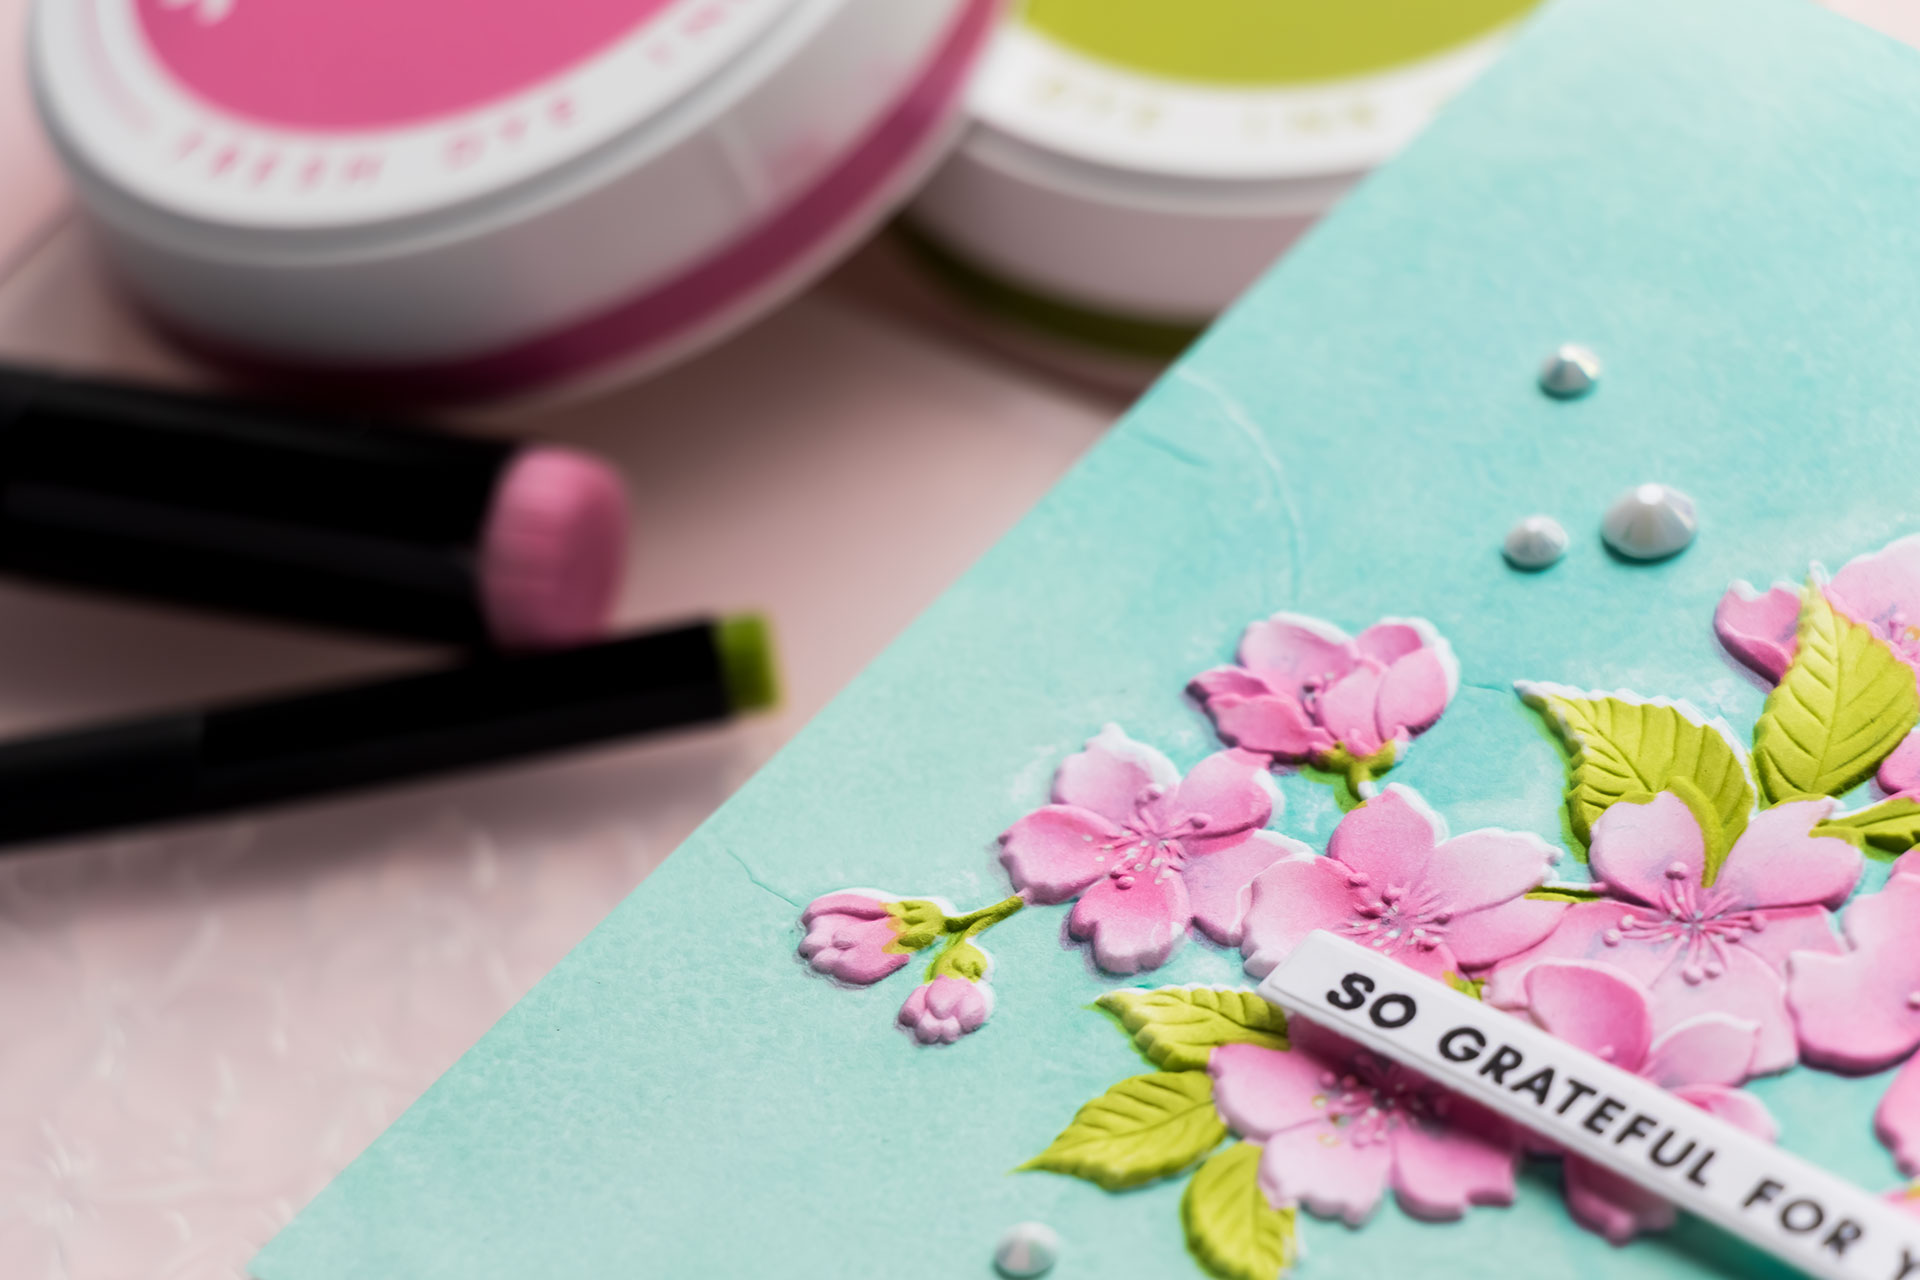
I started by stamping one of the beautiful floral clusters onto Neenah Solar White cardstock using Versafine Clair Nocturne ink. Before adding any color, I coated the stamped image with clear embossing powder and heat set it. This protects the stamped lines during ink blending and gives them a beautiful crisp finish.
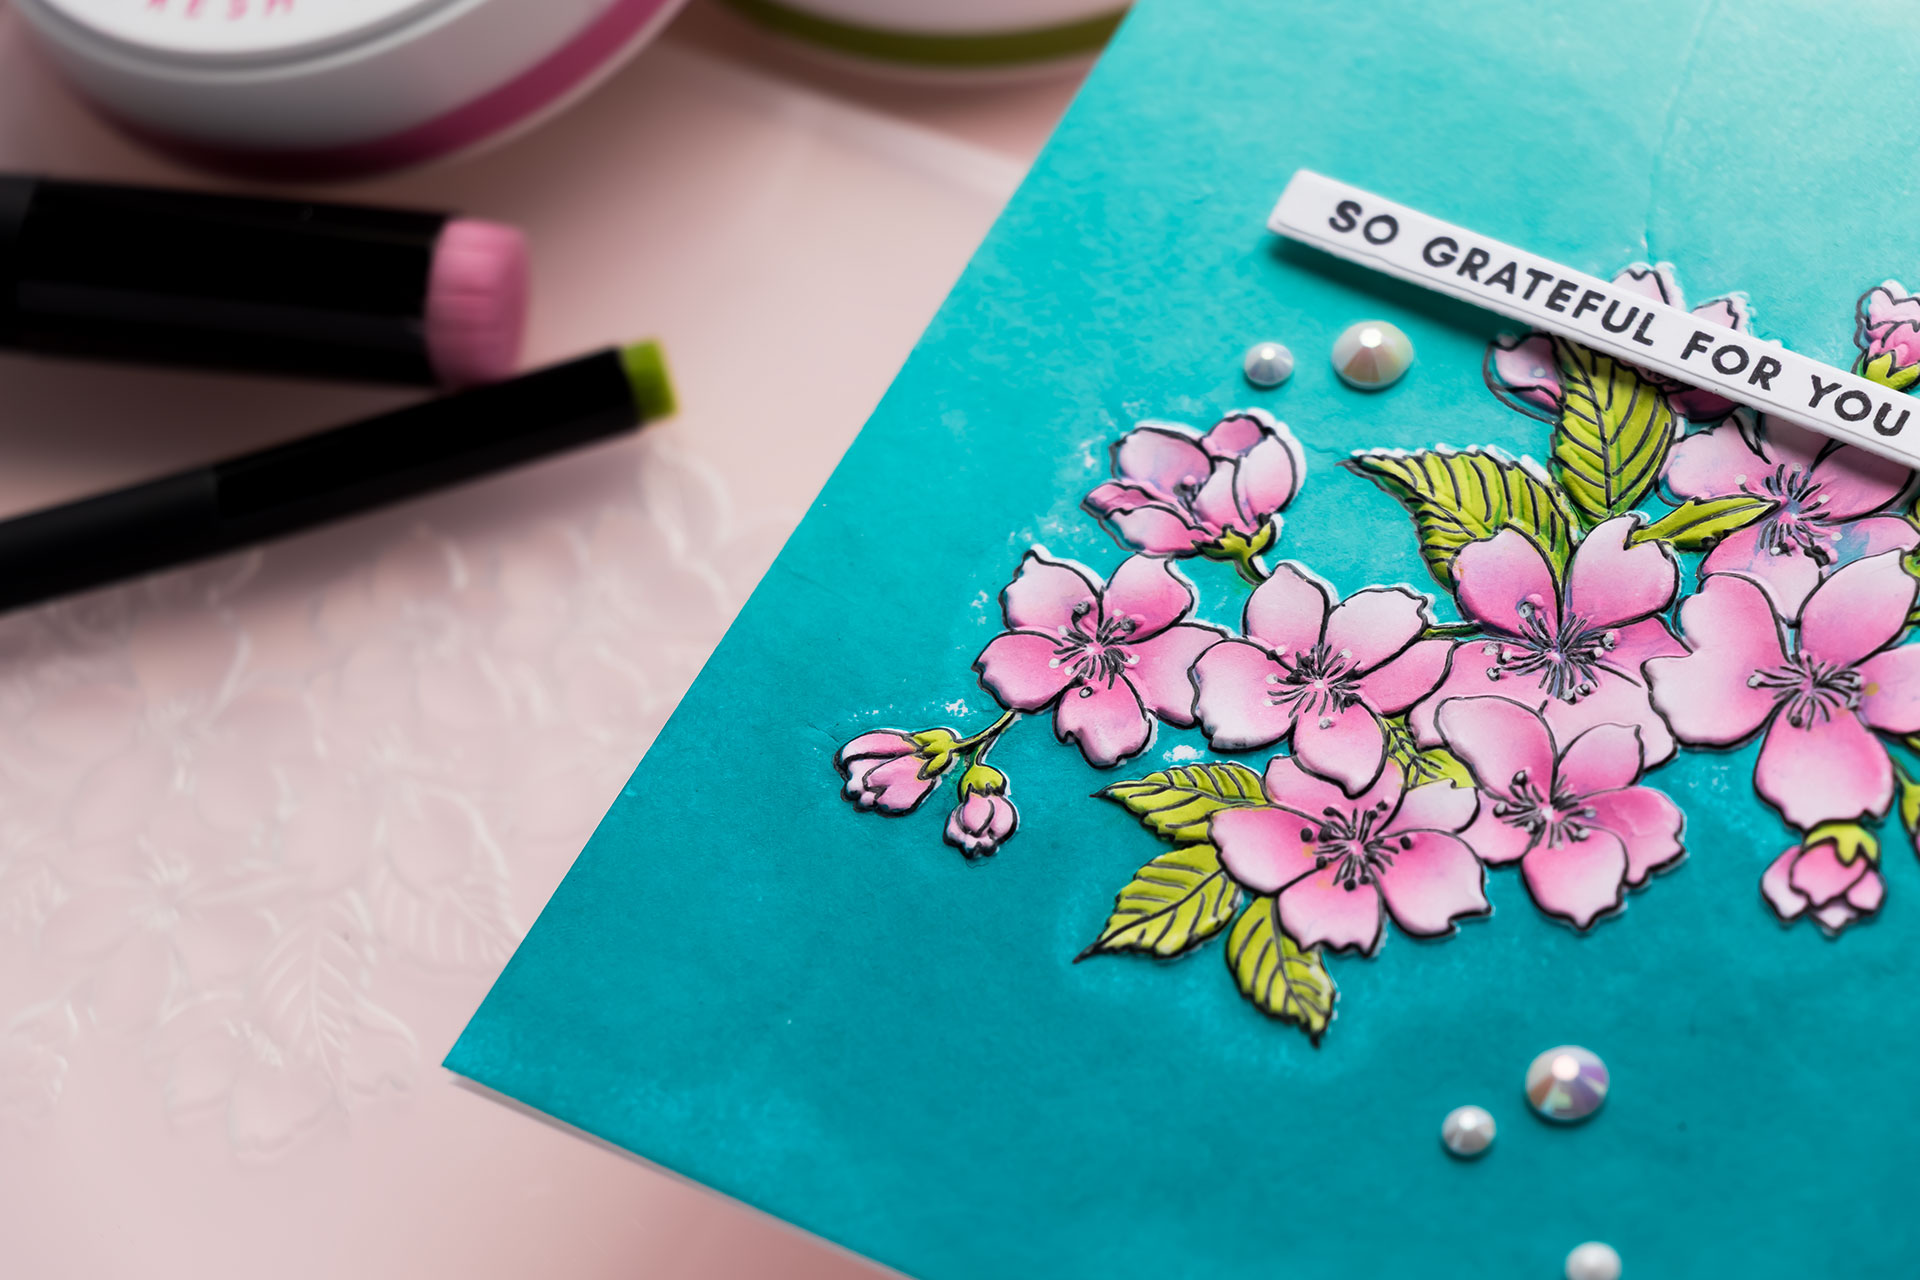
Next came my favorite part – adding color. The coordinating coloring stencils make this process incredibly easy. Instead of spending time coloring petal by petal, each stencil colors a different portion of the image, allowing you to build beautiful dimension in just a few minutes.
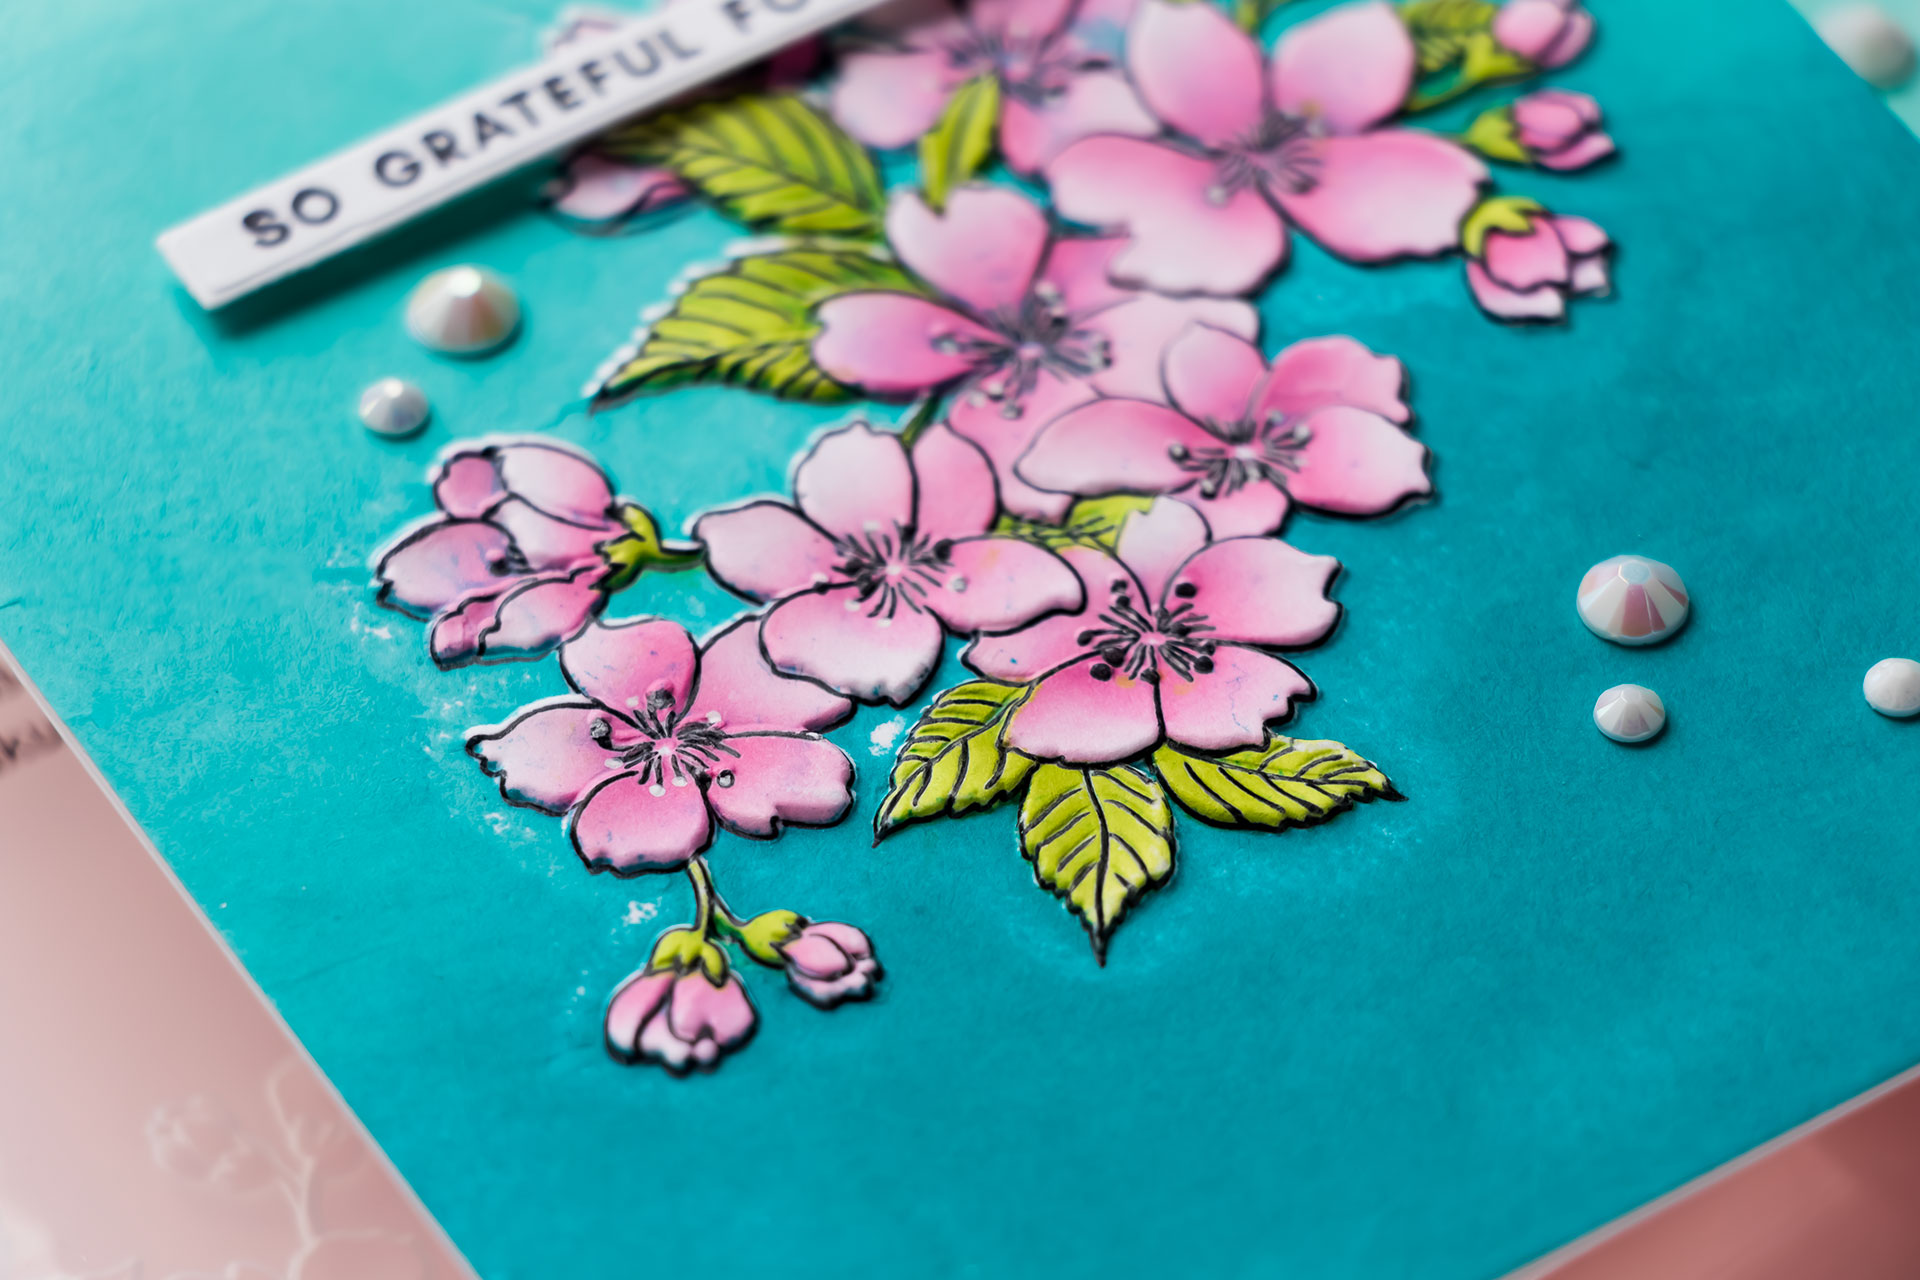
One tip I always keep in mind is to concentrate the darker shades of ink toward the centers of the petals and let the color fade naturally toward the tips. That simple bit of directional blending adds so much softness and depth to the finished flowers.
After all of the ink blending was complete, I placed the panel inside the coordinating 3D embossing folder and ran it through my Platinum 6.
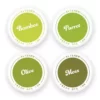
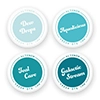
The deep embossing instantly transforms the ink-blended florals, adding incredible texture that simply can’t be achieved with ink alone. I couldn’t resist adding color to the background! To create the soft teal background, I applied several shades of Altenew ink directly onto the recessed side of the embossing folder before embossing the panel a second time. I love this technique because it creates a softly inked background without any masking, and it beautifully frames the flowers.
I finished the card with a sentiment from the coordinating Sakura Blossoms stamp set and a few Mother of Pearl Gems.
For my second card, I wanted to try something a little different. Instead of stamping first, I skipped the stamped outlines altogether and used only the coordinating stencils to build the floral design before embossing. The result is a much softer, almost no-line colored look that feels completely different even though it uses the same embossing folder and inks.
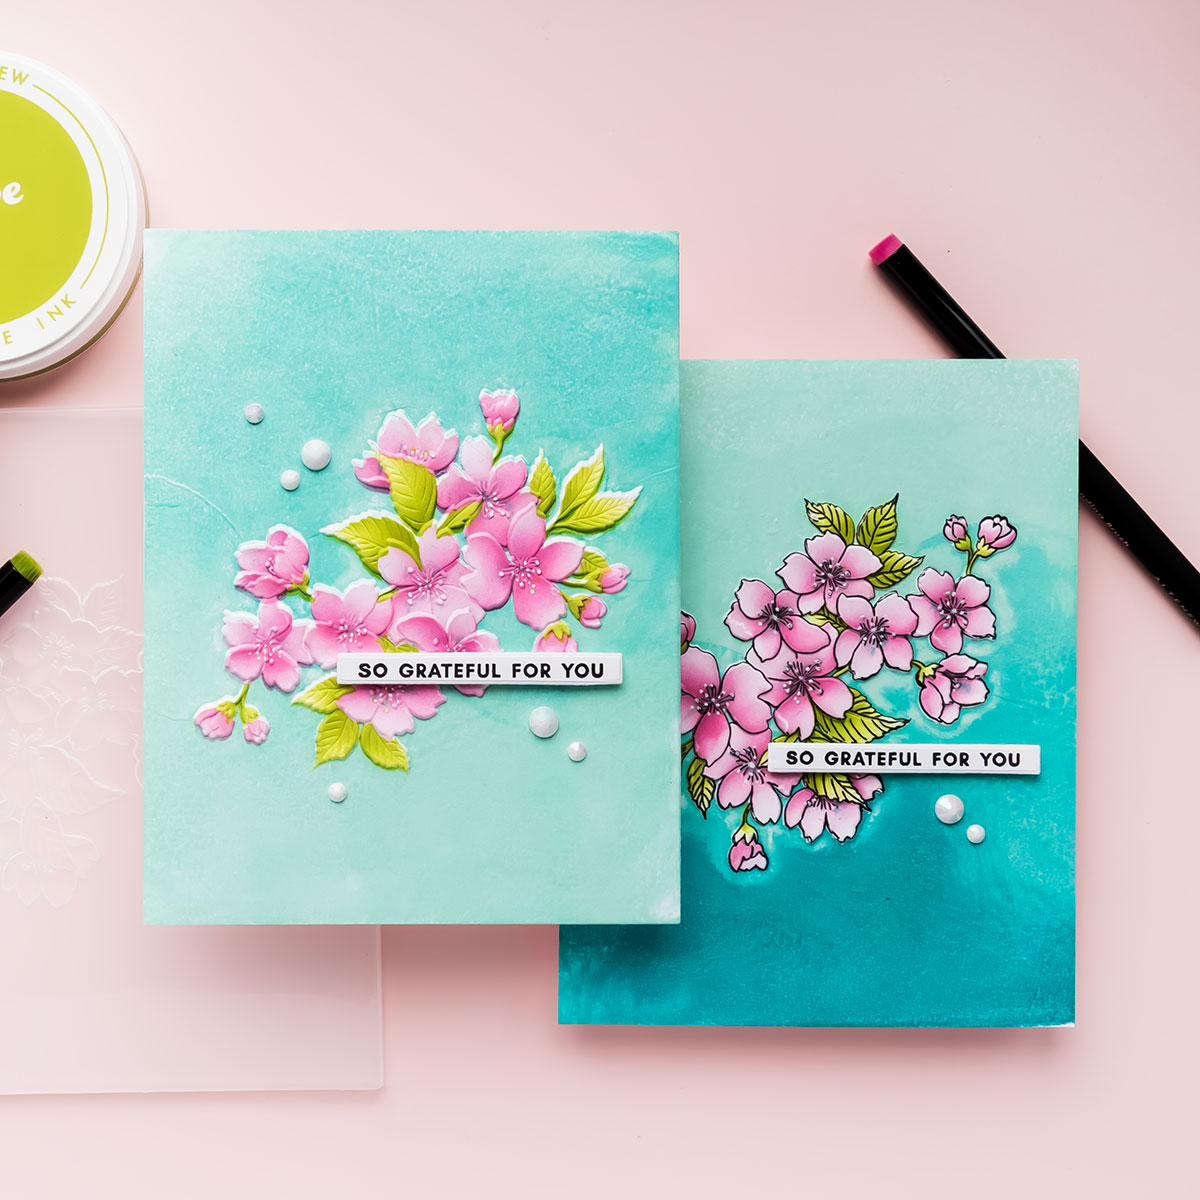
After embossing, I repeated the same background inking technique, this time creating a lighter sky-like gradient behind the flowers. I finished the card with another sentiment and a few more Mother of Pearl Gems.
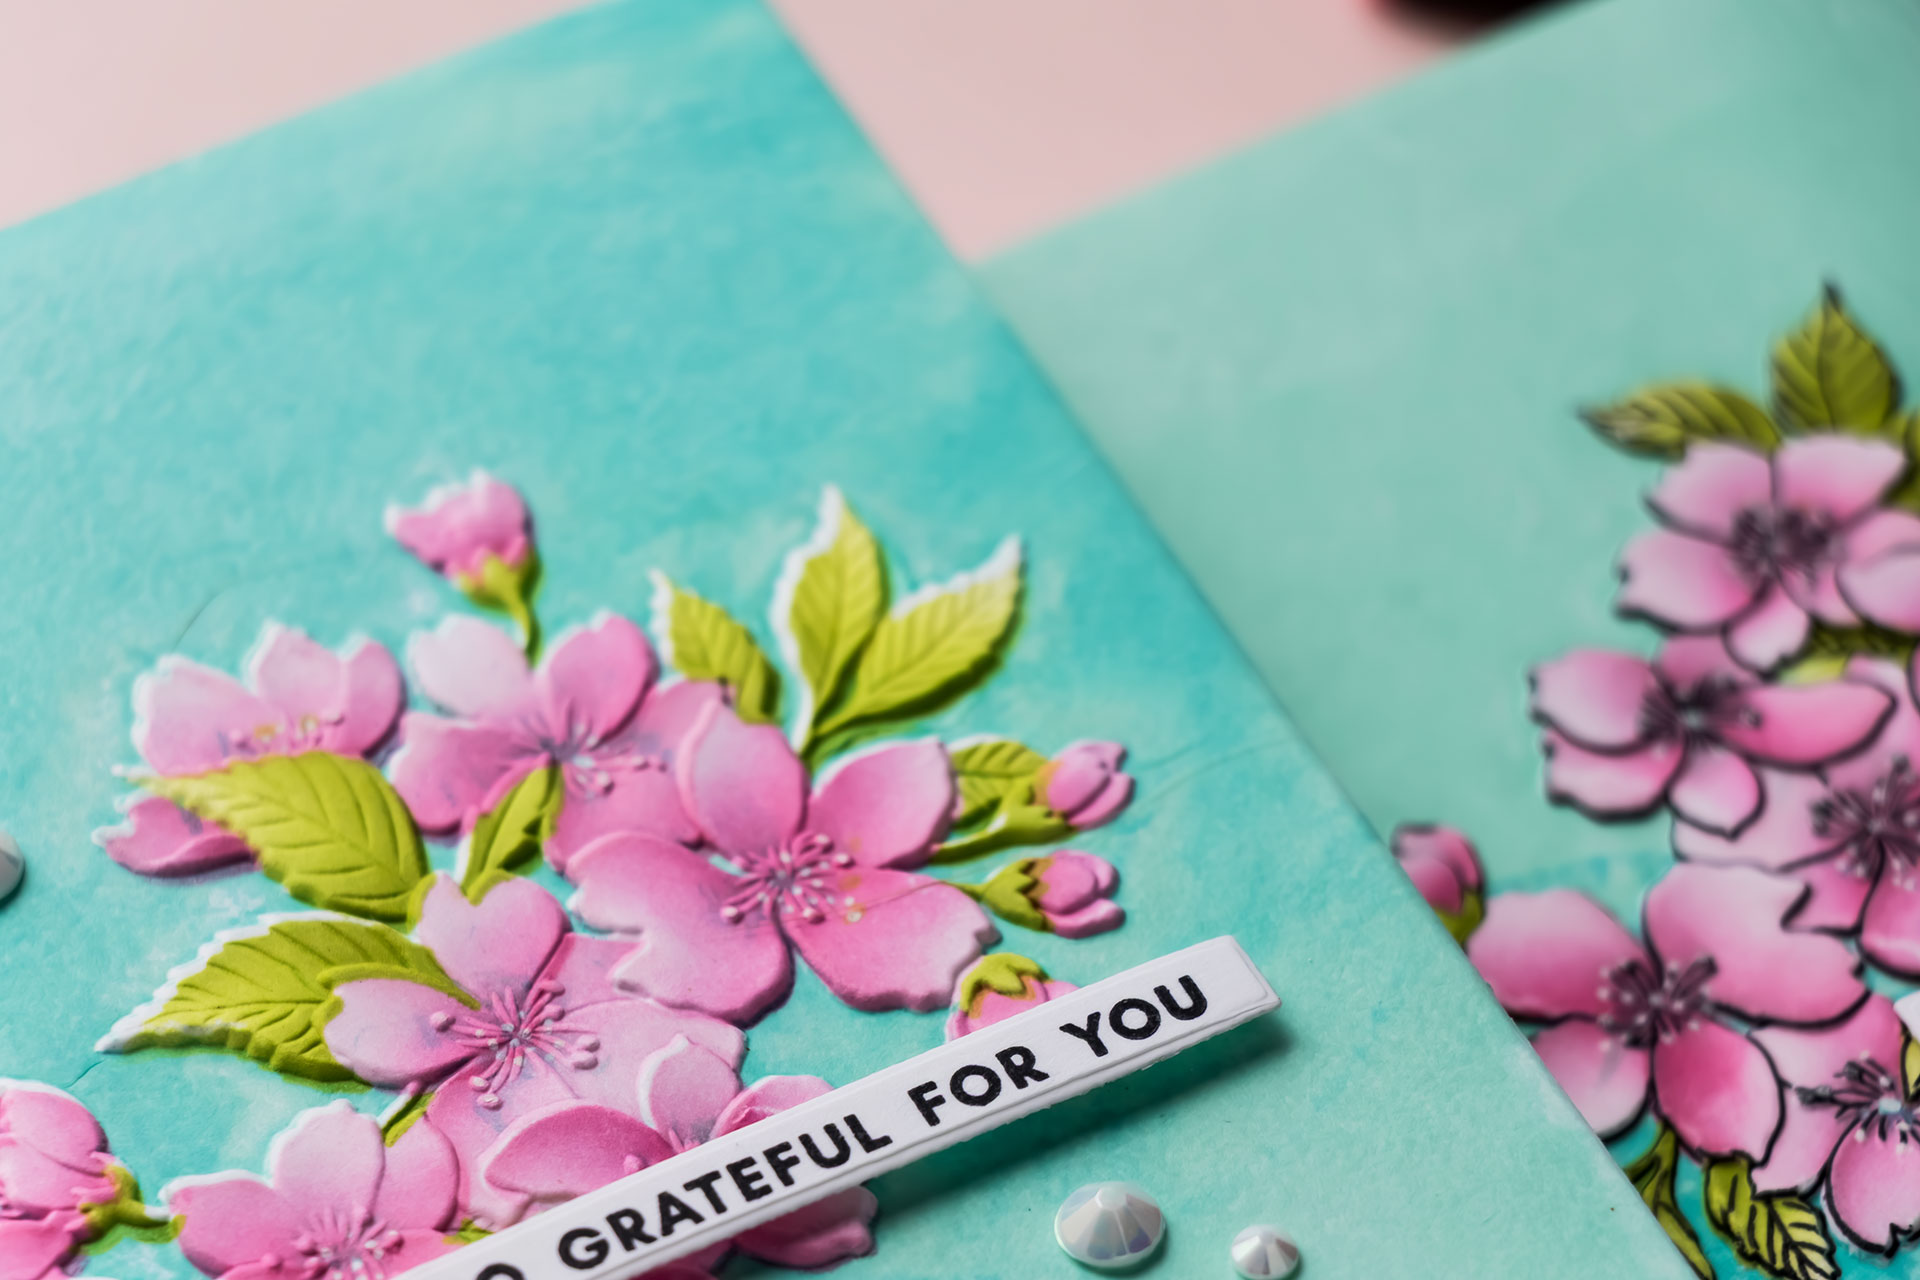
I love how these two cards showcase the same products and the same basic technique while creating completely different looks. It’s a great reminder that sometimes simply changing the order of your steps can completely transform the finished project.
The Ink Blend Before You Emboss technique is easy to recreate and works beautifully with a variety of floral designs. I can’t wait to see how you make it your own!
SUPPLIES
I’m listing the products I used below. Click on the links to go directly to the products. Where available, I use compensated affiliate links, which means if you make a purchase, I receive a small commission at no extra cost to you. Thank you so much for your support!
Really gorgeous cards