


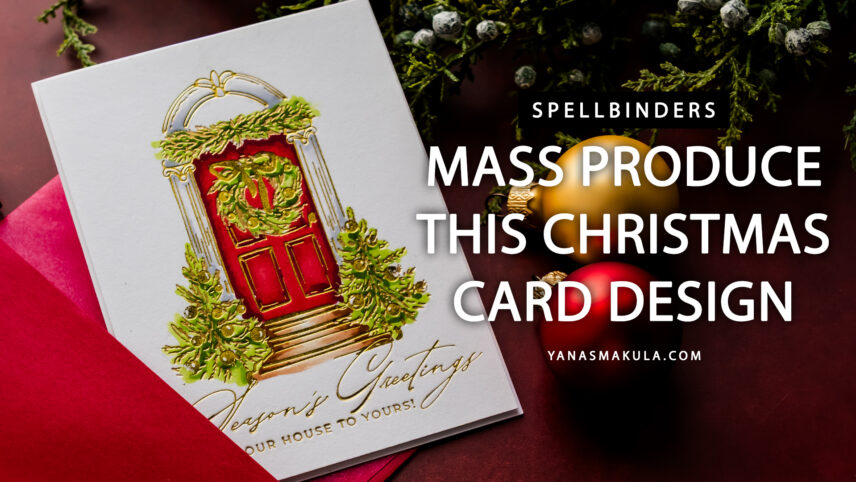

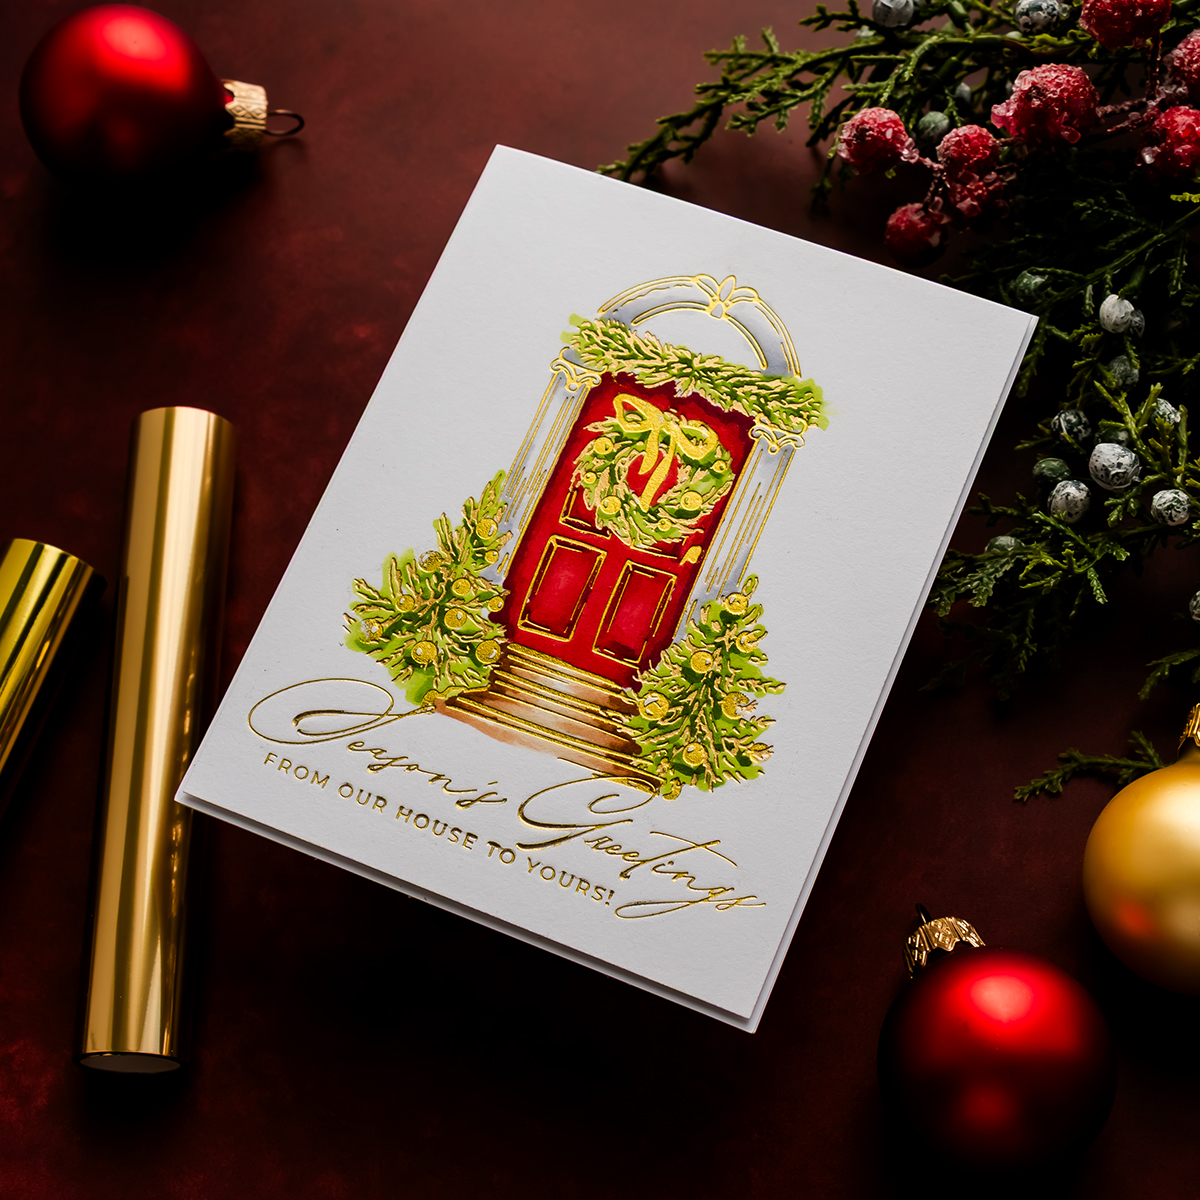
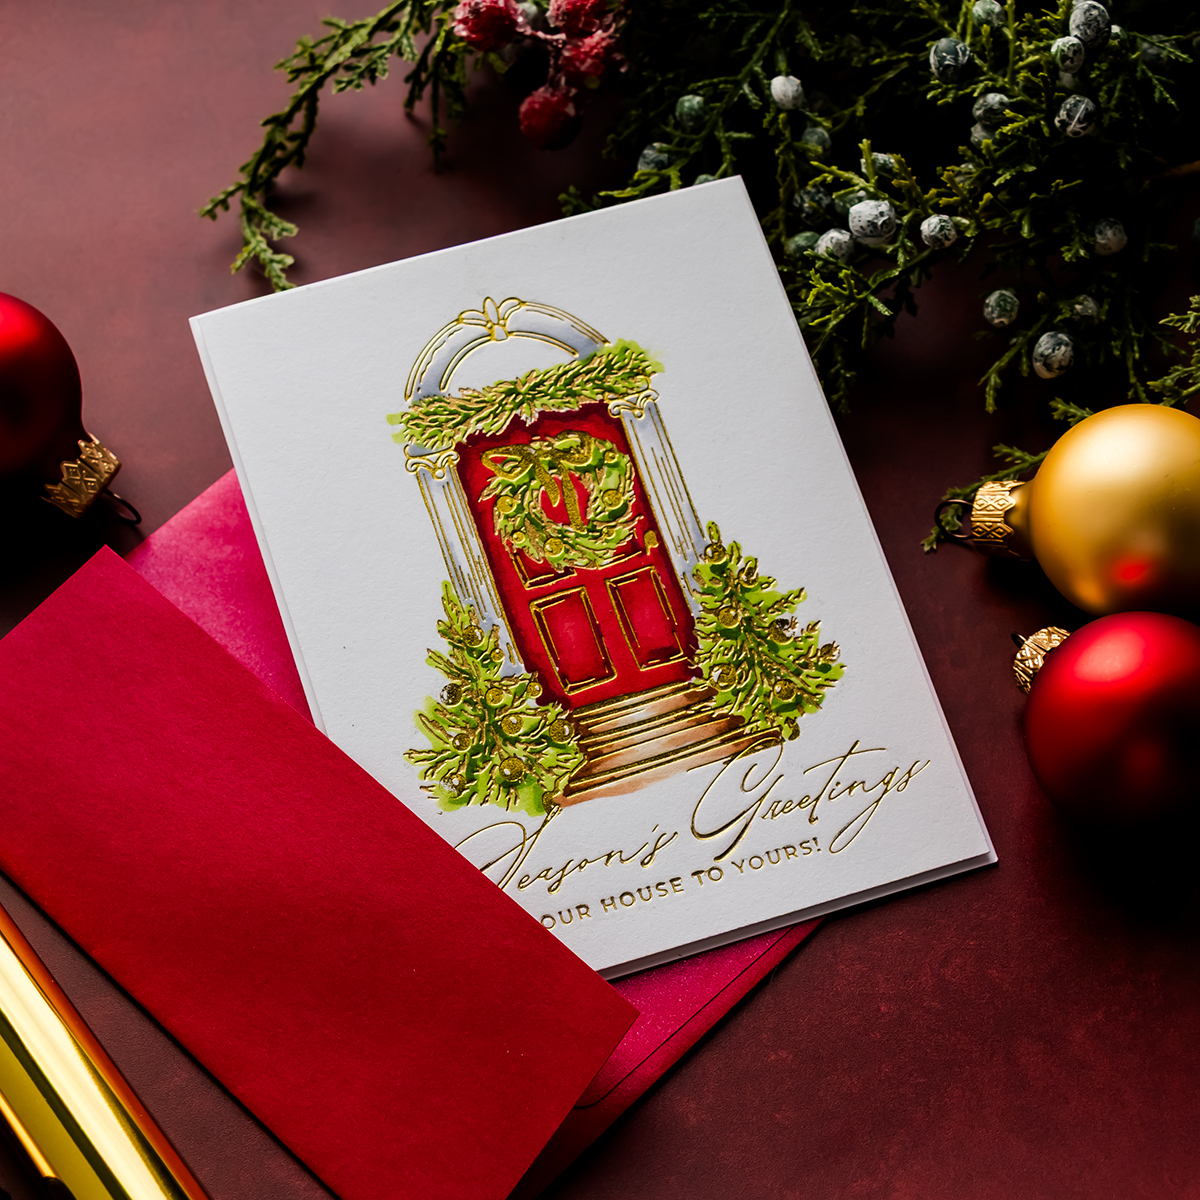
If you are looking for an elegant Christmas card that can be mass-produced without adding excessive bulk, this foiled front-door design is a beautiful option. The card combines a registration press plate, two finishes of gold foil, and simple Copic marker coloring to create a festive red door framed by Christmas trees, greenery, and a wreath. Although the finished design looks intricate, the coloring does not require advanced blending skills, and the nearly flat construction makes the card easy to place in an envelope and send across the miles. In this tutorial, I’ll also share practical tips for using BetterPress plates with a Glimmer Hot Foil System, working with cotton cardstock, removing overfoiling, reusing small foil scraps, and avoiding the design decisions that did not work for my original test panel.
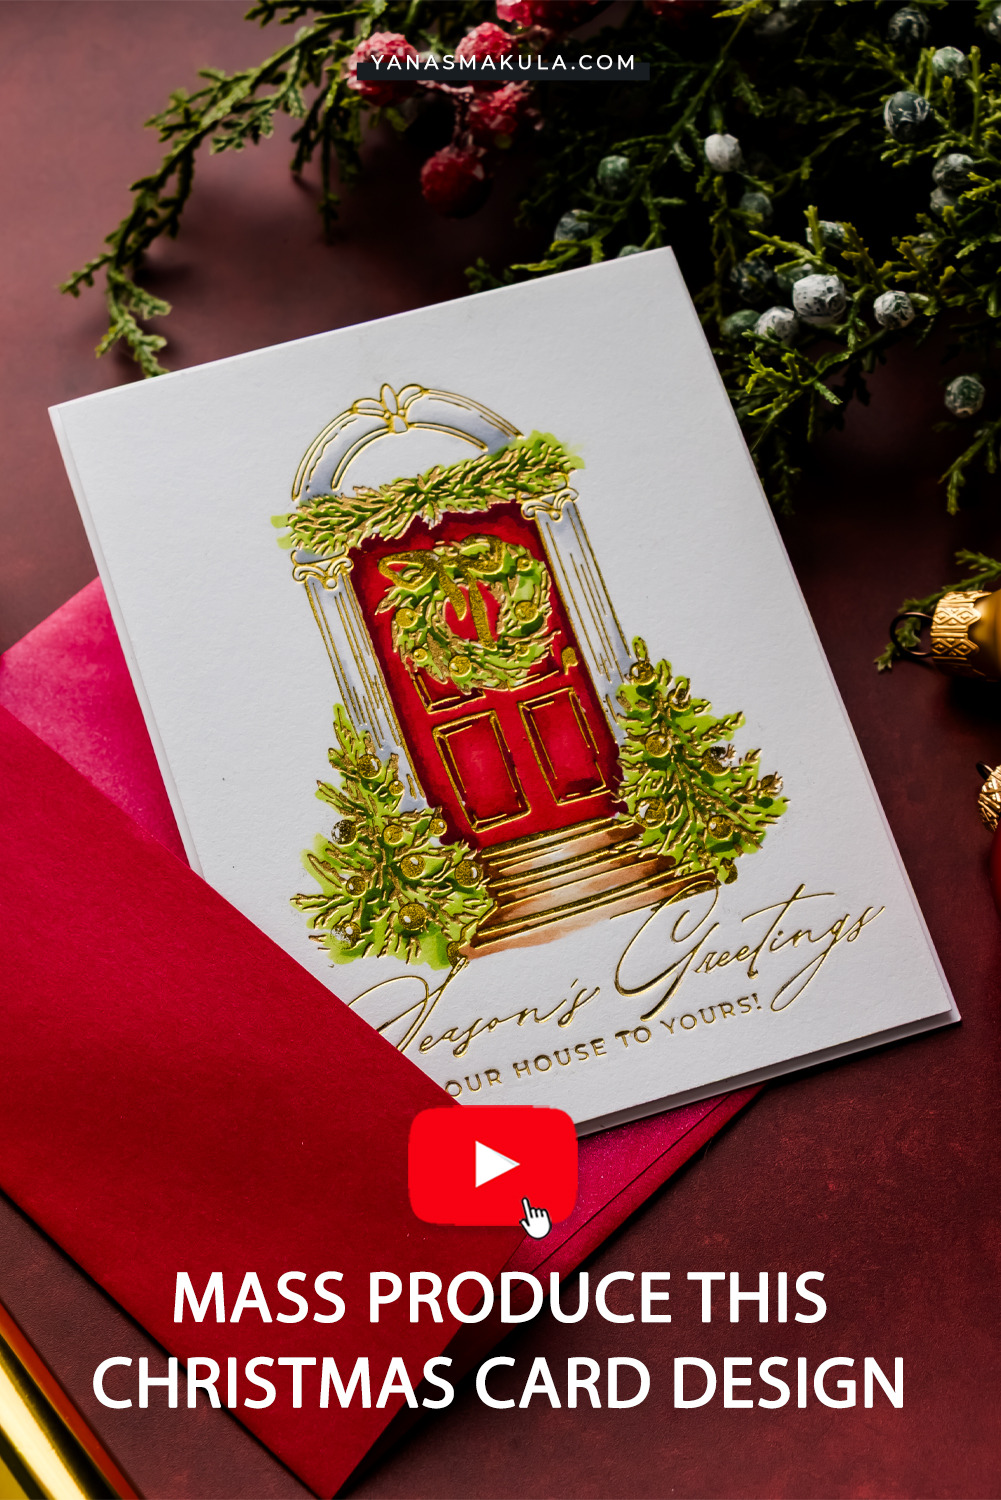
Hello, friends! Today, I’m sharing the one Christmas card design I would mass-produce this year for my family and friends. It is elegant, eye-catching, nearly flat, and easy to mail. Most importantly, it is not difficult to create once you understand the registration plates and establish an assembly-line process.
The main product is the Festive Evergreens Registration Press & Foil Plate & Die Set from the Spellbinders Create Your Way Holiday Collection.
This set is designed for use with the BetterPress Letterpress System, but BetterPress press plates can also be used with the Glimmer Hot Foil System. Instead of pressing the design with ink, I used two gold foil finishes and added color with Copic markers.
Project Snapshot
| Project details | Elegant foiled front-door Christmas card with Christmas trees, wreath, greenery, and a large holiday sentiment |
|---|---|
| Skill level | Intermediate |
| Approximate time | 30 Minutes |
| Project type | Nearly flat handmade Christmas card |
| Techniques | Hot foiling, registration foiling, Copic coloring, dimensional coloring, overfoil removal, die cutting, and layered card assembly |
| Occasion | Christmas and the winter holiday season |
| Finished size | A2 – 4 1/4 x 5 1/2 inches |
| Featured products | Festive Evergreens Registration Press & Foil Plate & Die Set and Christmas Cheer Sentiments BetterPress Plate & Die Set |
| Machines and tools | Glimmer II Hot Foil System, Platinum 6 Die-Cutting and Embossing Machine, sanding eraser, scissors, magnets, and magnetic glass mat |
| Color palette | Red, green, white, brown, gray, and two finishes of gold foil |
| Materials | BetterPress Cotton Card Panels, hot foil, Copic markers, low-tack tape, cardstock scraps, and an A2 card base |
| Dimension and finish | Two cardstock support layers create subtle dimension while keeping the card nearly flat and mail-friendly |
Video Tutorial
Watch the video tutorial to see the complete foiling, coloring, troubleshooting, and card assembly process from start to finish.
Understanding the Festive Evergreens Registration Plates
The Festive Evergreens set uses registration press plates to build one detailed image from several separate elements. The plates can be pressed with BetterPress inks or used with hot foil.
When used with the BetterPress Letterpress System, the registration template helps align each plate so the separate ink colors work together. You can press the doorway, trees, greenery, and decorative details in different colors.
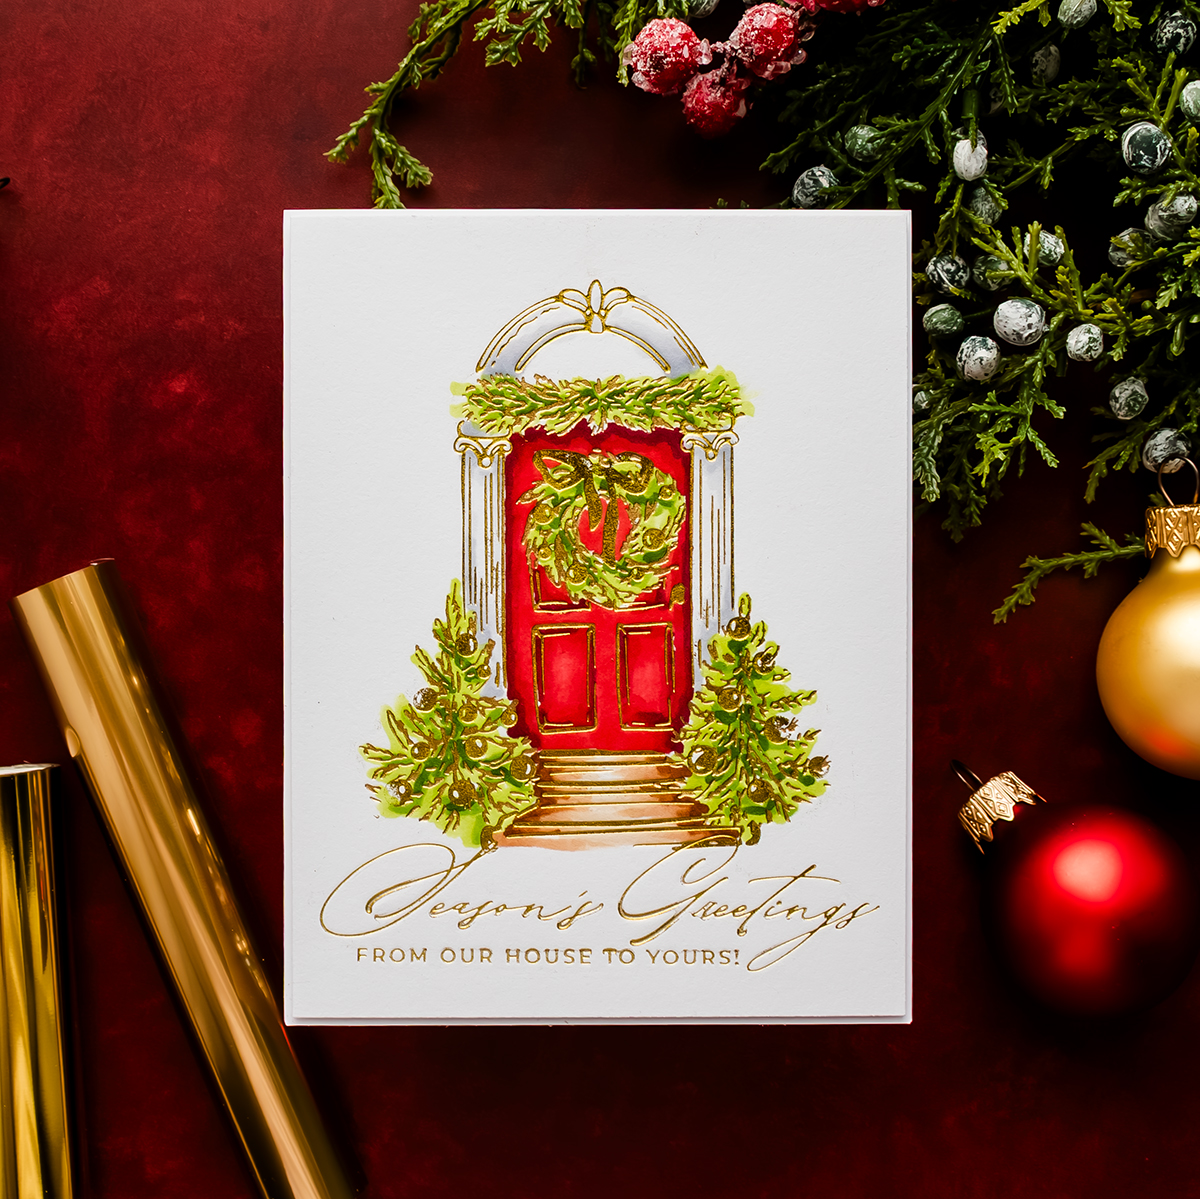
For this card, I used the plates with my Glimmer Hot Foil System. Foiling the separate layers makes it possible to combine different foil colors or finishes, although the positioning process is slightly different from pressing with ink.
The set also includes three coordinating sentiments:
- Peace, Love and Merry Wishes
- Merry Christmas from Our House to Yours
- May the Season Fill Your Home with Joy
The three sentiment plates can be foiled together, and the coordinating one-piece die cuts all three greetings in a single pass.
How to Make the Foiled Christmas Door Card
Step 1 – Choose the Paper
Start with a BetterPress Cotton Card Panel. This is a thick, 100% cotton paper designed to accept the deep impression created by BetterPress plates. Although the paper is intended for letterpress, it also works well with outline hot-foil designs. It is not my first choice for large solid-foil areas, but the fine lines in the Festive Evergreens design transfer beautifully.
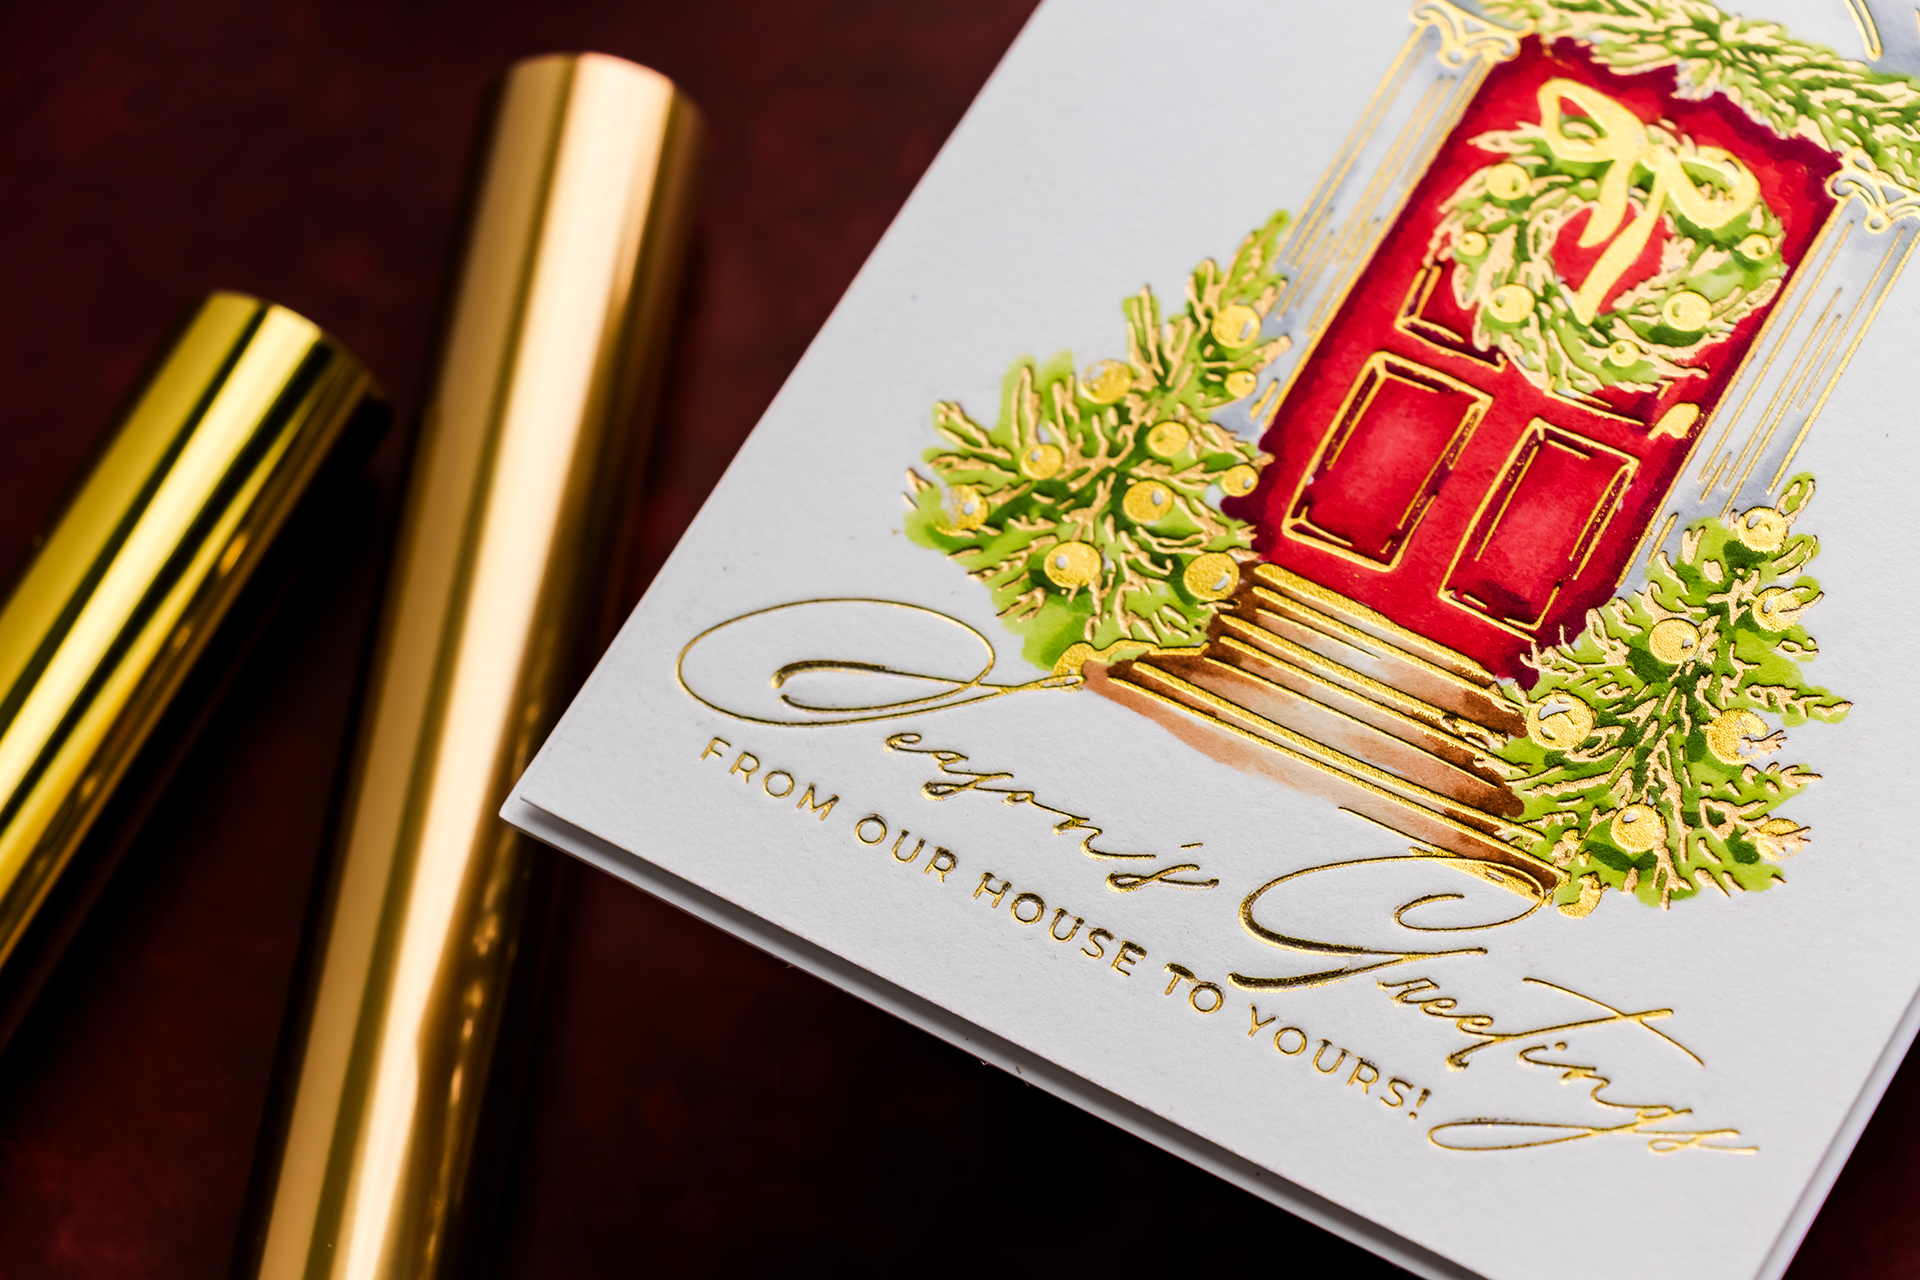
Because the paper has a soft, absorbent surface, keep two things in mind:
- Solid areas may not foil as completely as outlines.
- Alcohol markers will use more ink than they would on smooth marker cardstock.
I love the tactile quality of the cotton paper enough that I am willing to work with both of those characteristics.
Step 2 – Prepare the First Foil Layer
Position the first Festive Evergreens plate over the cotton panel. This layer includes the main doorway outlines and several decorative details.
I initially tested this layer with opaque black foil. The black outline looked crisp and dramatic, but it also made the bow on the wreath black. Once I saw the complete result, the combination felt too dark for the warm Christmas look I wanted.
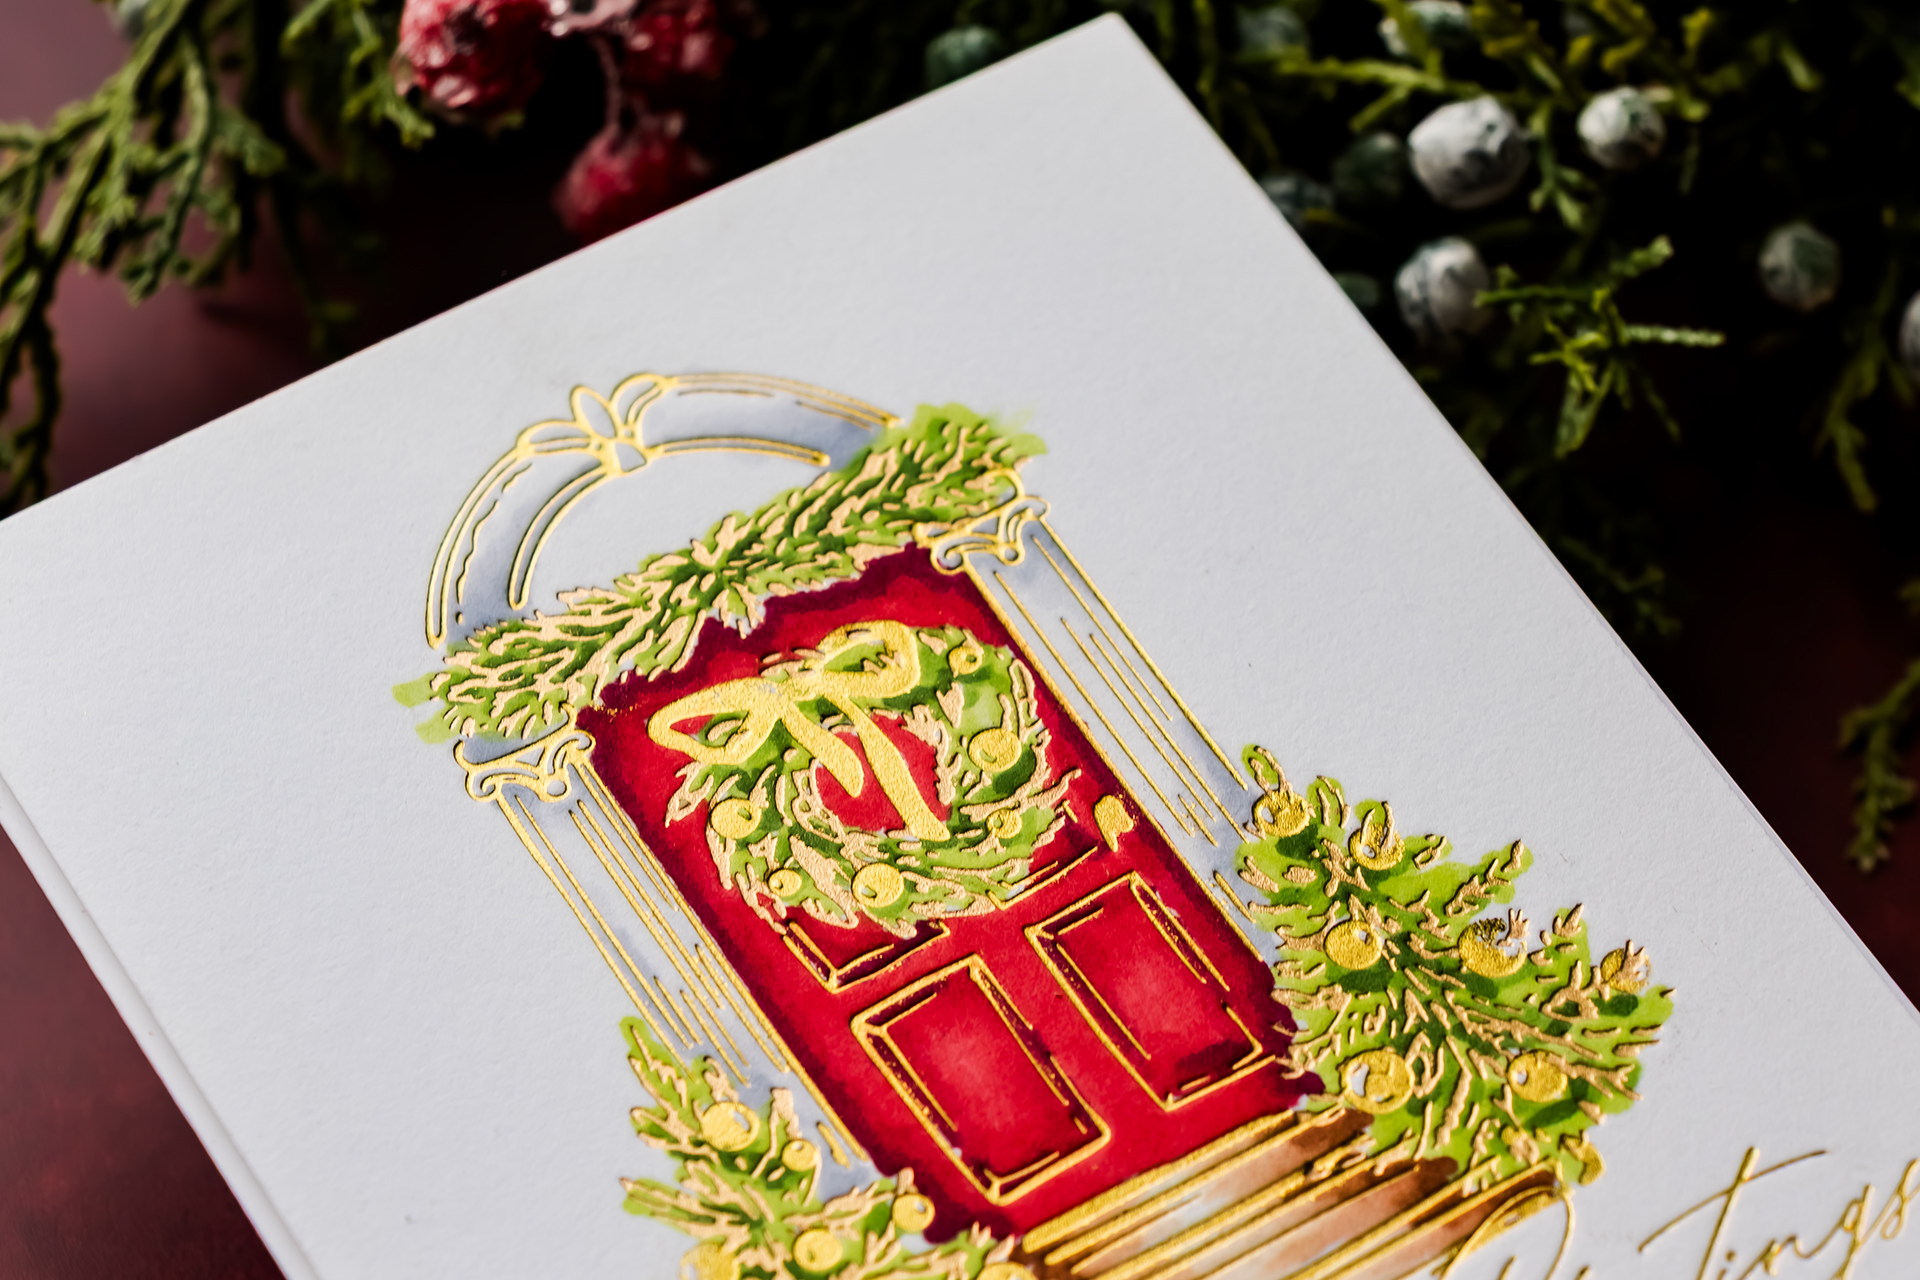
I repeated the layer on a second panel using gold foil instead. This gave the door, decorative details, and bow a softer, more festive appearance.
Designer tip: Before producing several cards, foil one complete test panel. A foil color may look beautiful on the roll but affect individual details differently once the entire plate is transferred.
Step 3 – Use Small Foil Scraps to Fill Gaps
If the foil piece is slightly too short for an outline plate, you do not need to discard it and start again.
Cut a small additional piece of foil and slide it under the uncovered portion of the plate. As long as the two foil pieces cover the entire design, they can be used together during the same foiling pass.
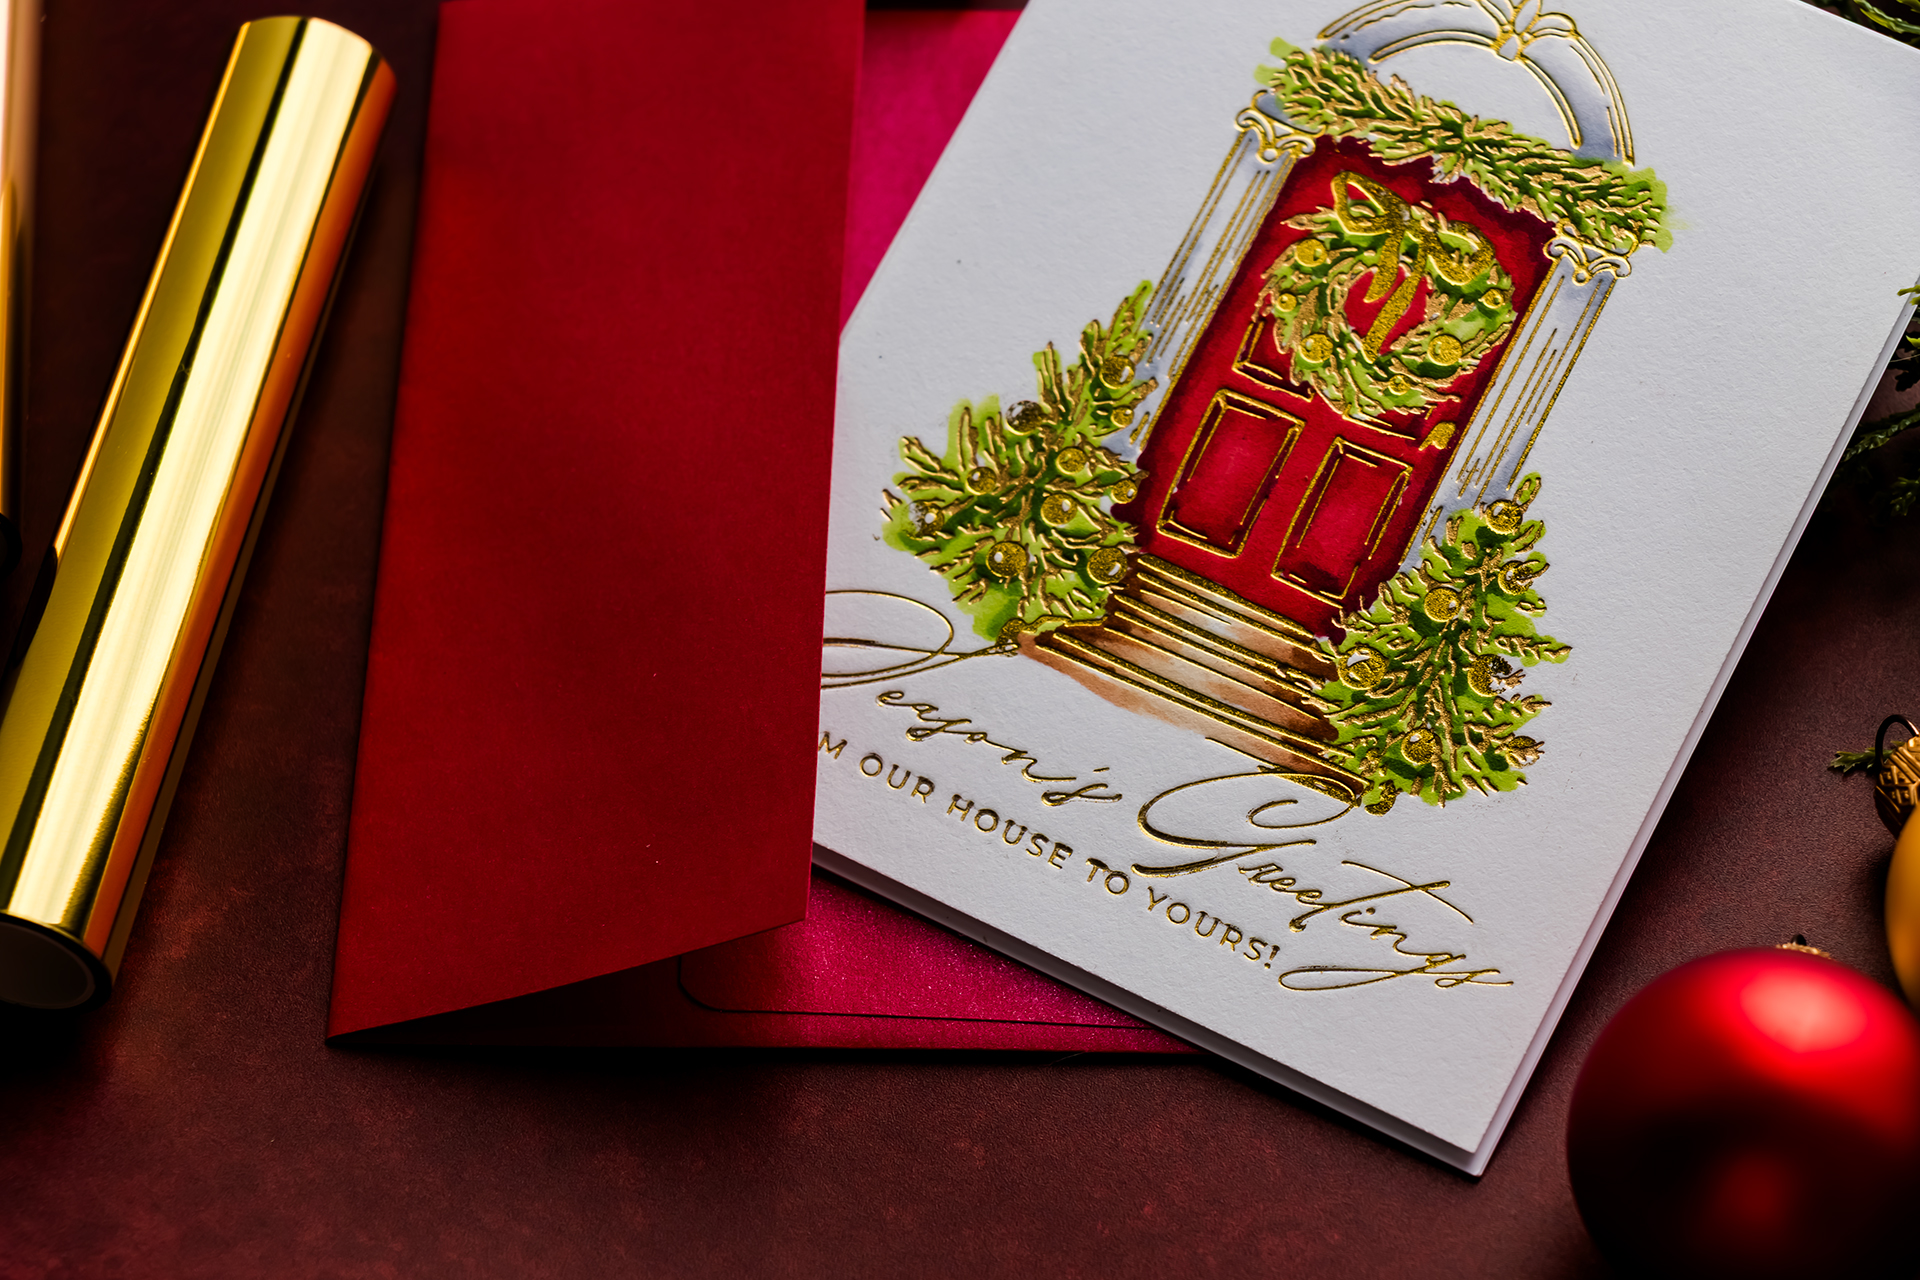
This works particularly well with outlines and sentiments because a small overlap is less likely to create a noticeable change in the finished design.
Save the narrow foil offcuts from other projects. Those tiny pieces are useful for filling gaps, foiling individual words, or covering small decorative plates.
Step 4 – Foil the Trees, Wreath, and Greenery
Position the second registration plate over the partially foiled panel. This layer adds the Christmas trees, central wreath, and greenery above the door.
When using the plates with BetterPress inks, the registration template provides precise alignment. With my hot-foil method, the plate, foil, cardstock, and tape conceal much of the design, so I found it easier to align the second layer visually.
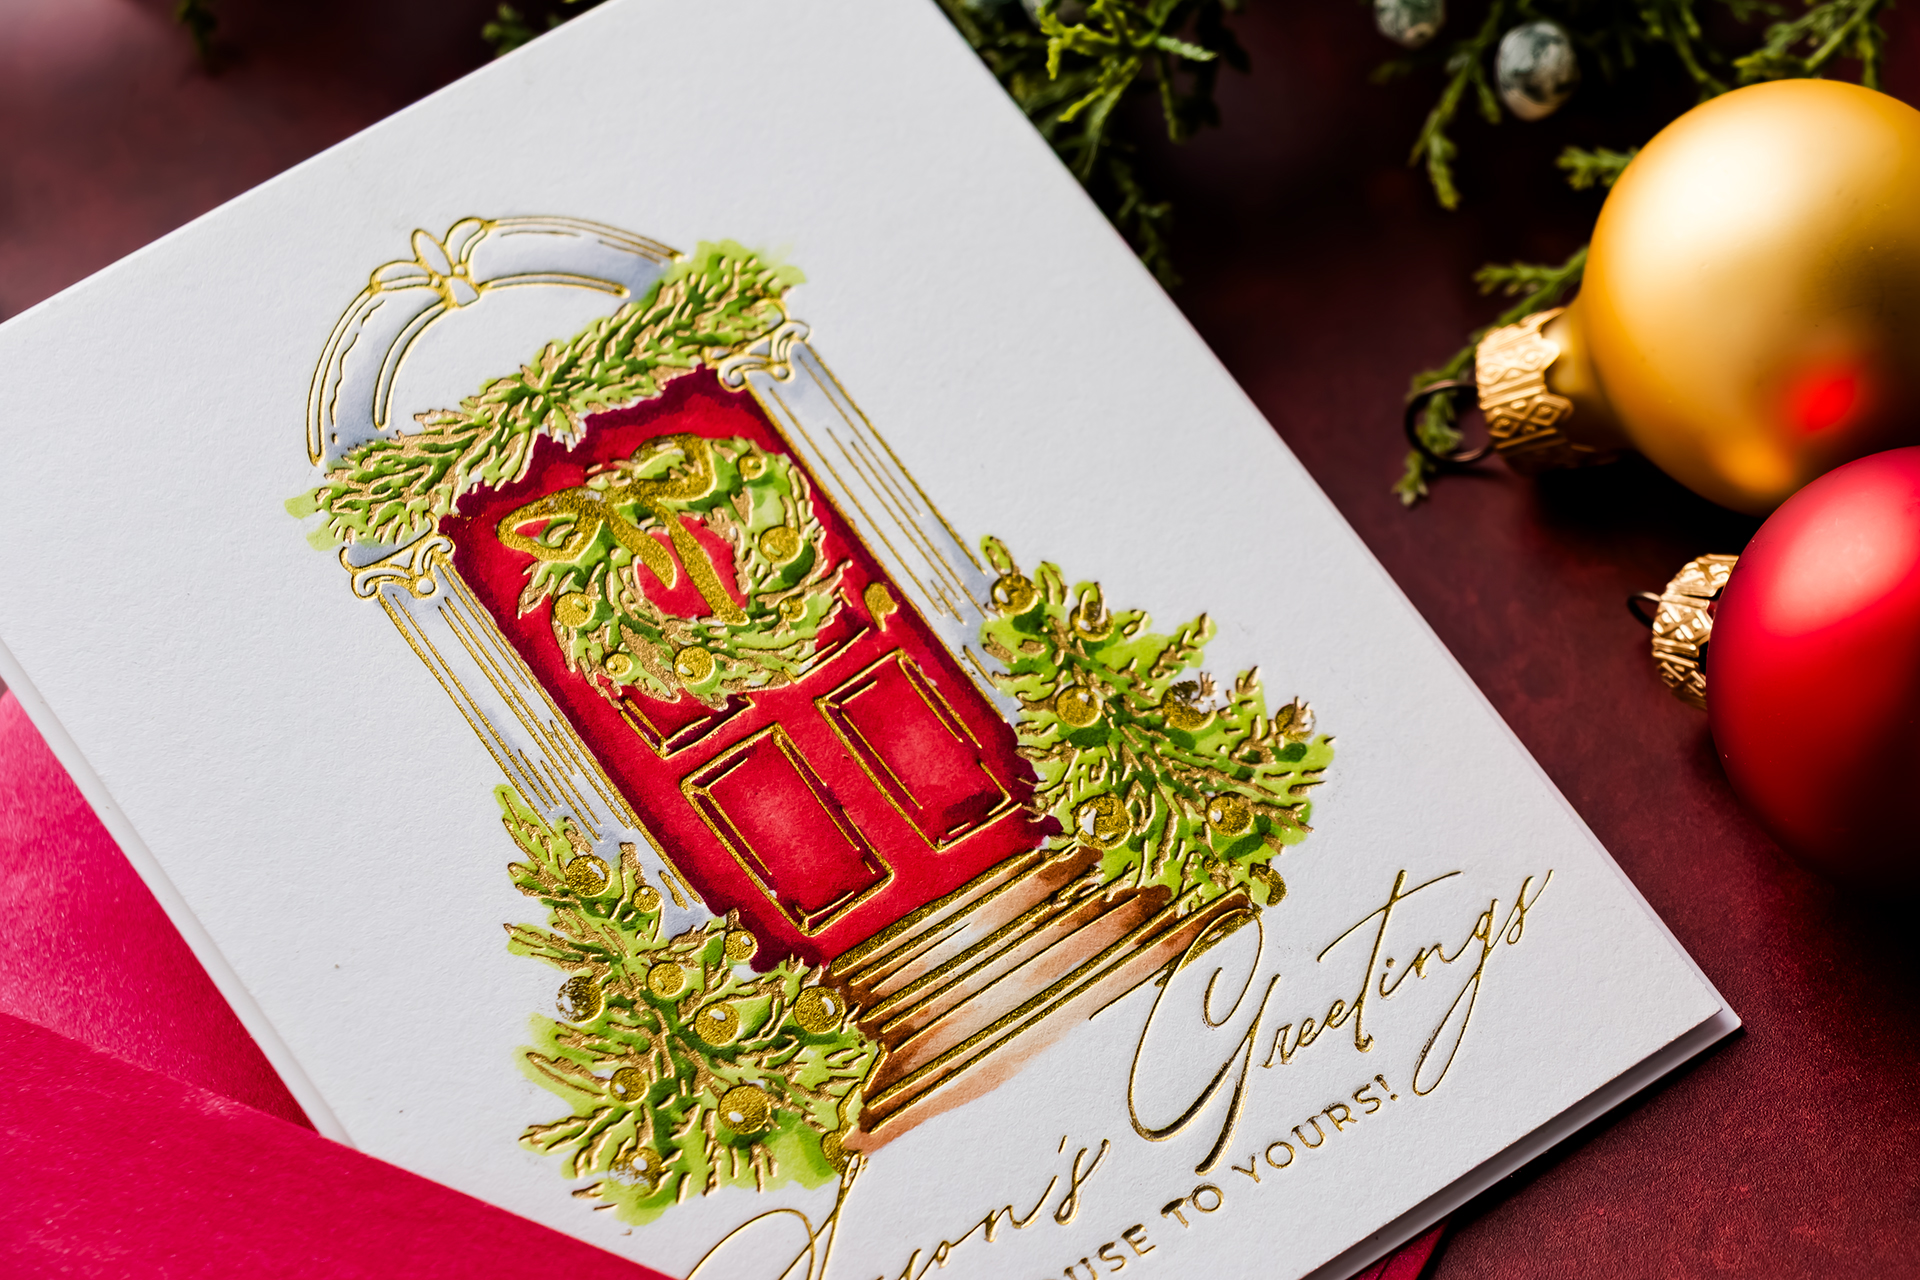
Study the finished product image before foiling and complete one test panel first. Once you see how the layers relate to one another, positioning the remaining panels becomes much easier.
I used a second gold foil with a different finish for this layer. One gold is shinier, while the other has a softer satin appearance. The color remains cohesive, but the change in finish adds subtle interest when the card catches the light.
Step 5 – Foil and Cut the Included Sentiments
Place the three sentiment plates onto the Glimmer platform and foil them together. After foiling, position the coordinating die over all three greetings and secure it with low-tack tape.
Run the die through a compatible die-cutting machine to cut all three sentiments in one pass.
These greetings work beautifully with the door design and are a convenient choice when you want to prepare many cards at once. For my card, however, the door was positioned slightly toward the top of the panel. This left more open space at the bottom than one of the smaller included sentiments could fill, so I selected a larger greeting from another set.
Step 6 – Remove Any Overfoiling
Small areas of excess foil can appear around the plate, especially when working with detailed designs or textured paper. Allow the panel to cool, then gently rub the excess foil with a sanding eraser. Use light pressure and work gradually so you remove the unwanted foil without damaging the cotton paper.
A sanding eraser is especially useful around the door frame and between closely spaced decorative details.
Designer tip: Clean overfoiling before coloring. Once alcohol marker is added, it can become more difficult to see which marks are foil and which are part of the colored design.
How to Color the Foiled Christmas Door
The coloring is intentionally loose and approachable. The design contains sketch-style lines rather than complete outlines, so you do not need to color every section with perfect precision. Think of the brush nib as a small paintbrush and use flicks, dabs, and overlapping strokes to suggest the shapes.
Step 7 – Color the Christmas Trees
- Start with YG03, the lightest green, and loosely establish the shape of each tree.
- The trees are not fully outlined. Some branches visually blend into the stairs and doorway, so use the foiled lines as a suggestion rather than a strict boundary.
- Add YG17 through the center of each tree and beneath some of the ornaments. Finish with small touches of YG67 in the deepest shadow areas.
- Using two or three shades gives the trees more dimension than one solid green would. Keep the darkest color concentrated in small areas so the lighter green remains visible.
Step 8 – Color the Wreath and Greenery
- Use the same green combination for the wreath and greenery above the door. Begin with the lightest green, add the medium shade through the denser areas, and finish with small dabs of YG67.
- The darker marks do not need to be blended perfectly. Short brush-like strokes help preserve the loose, illustrated appearance of the design.
- The gold-foiled bow works beautifully with the green wreath. This was the detail that convinced me to replace the original black foil.
Step 9 – Add Shadows to the White Door Frame
- I wanted the door frame to appear white, but leaving all of the paper untouched would make it look flat.
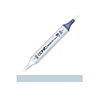
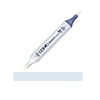
- Use C1 and C3 to add soft gray shadows along the edges, underneath the greenery, and around the architectural details. Keep most of the cotton paper white and use the gray only to describe depth.
- This is a useful approach whenever you need to color a white object. White surfaces still reflect shadows, so a small amount of pale gray or another cool neutral helps define the form.
Step 10 – Color the Red Door
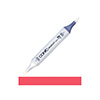
- For the classic Christmas door, use R39, R27, and R24.
- Start with R39 in the darkest areas, including the outer edges and underneath the greenery. Add R27 as the medium shade, then fill the remaining areas with R24.
- BetterPress Cotton Cardstock absorbs alcohol ink quickly. Work in smaller sections and blend while the paper is still wet. Be prepared to use more marker ink than you would on smooth Copic-friendly cardstock.
- If you plan to mass-produce the card on cotton paper, check your most frequently used markers before starting and keep the appropriate refills nearby.
Step 11 – Color the Wooden Stairs
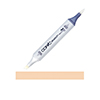
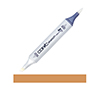
- Color the stairs with E37, E33, and E31.
- Flick E37 inward from the edges to establish the darkest shadows. Follow with E33, extending the strokes farther toward the center. Finish with E31, leaving small highlights through the middle of each step.
- The combination creates the appearance of warm wooden stairs and balances the red door and green foliage.
Add a Large House-Themed Christmas Sentiment
To fill the open space beneath the door, I selected “Season’s Greetings from Our House to Yours” from my Christmas Cheer Sentiments BetterPress Plate & Die Set. This sentiment is part of my City Holiday Collection, which was designed around homes, buildings, and Christmas city scenes. The large scale and house-themed message make it a natural fit for the Festive Evergreens doorway.
Place the colored panel on a magnetic glass mat and hold it in place with magnets. Position the sentiment plate in the open area beneath the door, then secure it with Best Ever Craft Tape. Foil the greeting in gold to coordinate with the rest of the design. If any excess foil appears around the words, remove it carefully with the sanding eraser.
Assemble the Nearly Flat Christmas Card
Trim the completed cotton panel slightly so a narrow border will remain visible on the finished A2 card. Instead of using thick foam adhesive, glue two pieces of scrap cardstock behind the panel. This raises the design just enough to create separation from the card base without adding significant bulk. Adhere the reinforced panel to a white A2 side-folding card base.
The result has subtle dimension but remains nearly flat, making it much easier to mail than a design covered in foam adhesive or dimensional embellishments.
Should You Add Gems to the Trees?
I tested small gems over the foiled ornaments to see whether additional dimension would improve the card. The gems looked pretty, but I preferred the original gold-foiled ornaments. Leaving the design flat also supports the goal of creating a mail-friendly Christmas card.
Be careful when testing self-adhesive gems over hot foil. The adhesive may grip the foil and lift it from the cardstock when the gem is removed. If you want to experiment with embellishments, test one in an inconspicuous area or on a spare foiled panel first.
Tips for Mass-Producing This Christmas Card
- Create one complete test card before preparing the full batch.
- Cut all cotton panels to the same size before beginning.
- Foil the first registration layer on every panel before moving to the second layer.
- Save small foil scraps for incomplete edges and sentiment plates.
- Foil and die cut several sentiments in one session.
- Clean the overfoiling before beginning the coloring.
- Color one element across all cards at once, such as every tree, then every door, and finally every set of stairs.
- Keep Copic refills nearby because cotton paper absorbs more alcohol ink.
- Use cardstock scraps instead of thick foam adhesive to keep the cards easy to mail.
- Skip dimensional gems when mailing a large number of cards.
Ways to Customize the Foiled Door Card
Press the Design with BetterPress Inks
Use the registration template and several BetterPress ink colors to create a multicolored letterpress version. The separate plates allow the architectural details and greenery to be pressed independently.
Foil the First Layer in Red
Instead of black or gold, try red foil for the first layer. This would create a red door frame, red ornaments, and a red wreath bow. Pair it with gold or green foil for the second layer.
Change the Door Color
Try navy, dark green, black, teal, or pale blue instead of red. Adjust the greenery and sentiment foil to coordinate with the new palette.
Use Watercolor Instead of Copic Markers
BetterPress Cotton Cardstock is well suited to watercolor. Use a small brush and loose washes to color the trees, door, wreath, and stairs while preserving the soft paper texture.
Use the Included Sentiments
Trim the door panel smaller or position the foiled doorway closer to the center, then finish the card with one of the three coordinating sentiments included in the Festive Evergreens set.
Create a Simpler Flat Version
Adhere the finished panel directly to the card base without the two supporting cardstock layers. This produces an entirely flat card that is especially practical for international holiday mailing.
Frequently Asked Questions
Can BetterPress plates be used with the Glimmer Hot Foil System?
Yes. BetterPress press plates can be used for hot foiling with a compatible Glimmer Hot Foil System. The results can vary with the plate, paper, foil, heat, and pressure, so test the combination before preparing a large batch.
Do I need a die-cutting machine to use the Glimmer Hot Foil System?
Yes. After the plate heats on the Glimmer platform, the prepared sandwich must be passed through a compatible die-cutting machine to transfer the foil. I used the Spellbinders Platinum 6 Die-Cutting and Embossing Machine.
Why does BetterPress Cotton Cardstock use so much Copic ink?
Cotton cardstock has a soft, absorbent surface. It pulls in more alcohol ink than smooth marker cardstock, so the markers may feel as though they are drying more quickly. Work in small sections and keep refills available when coloring several panels.
How do you remove excess foil from a card panel?
Use a sanding eraser and gently rub the unwanted foil after the panel has cooled. Begin with light pressure and work gradually, especially on soft cotton paper. Clean the panel before coloring so the excess foil is easy to identify.
Can this design be mailed in a standard envelope?
The finished card is nearly flat. Two cardstock support layers add subtle dimension without the bulk of thick foam adhesive. Avoiding raised gems also makes the design easier to place in an envelope and send through the mail.
Do I have to use Copic markers?
No. You can press the separate plates with colored BetterPress inks or color the foiled image with watercolor, colored pencils, or another compatible medium. Test your chosen coloring medium with the foil and paper before completing the full design.
More Christmas Card Ideas
- More elegant Christmas card ideas
- How to use BetterPress plates for hot foiling
- Christmas cards designed for easy mailing
- More cards from the City Holiday Collection
Final Thoughts
This foiled Christmas door card has the polished look of a detailed handmade project without excessive layers or embellishments. Once the registration plates are prepared, the same steps can be repeated in batches, making the design practical for a larger holiday mailing list. The gold foil, classic red-and-green palette, and house-themed greeting create an elegant card that still feels warm and personal.
Would you mass-produce this design for your Christmas cards, or would you change the door and foil colors? Let me know in the comments!
Have fun creating!
SUPPLIES
I’m listing the products I used below. Click on the link to go directly to the product. Where available I use compensated affiliate links which means if you make a purchase I receive a small commission at no extra cost to you. Thank you so much for your support!






I wish I were less fearful of foiling. I love my BP machine but I don’t have a lot of time to play. I have still only foiled a tiny bit. I love what you have shared!
Lori S in PA