


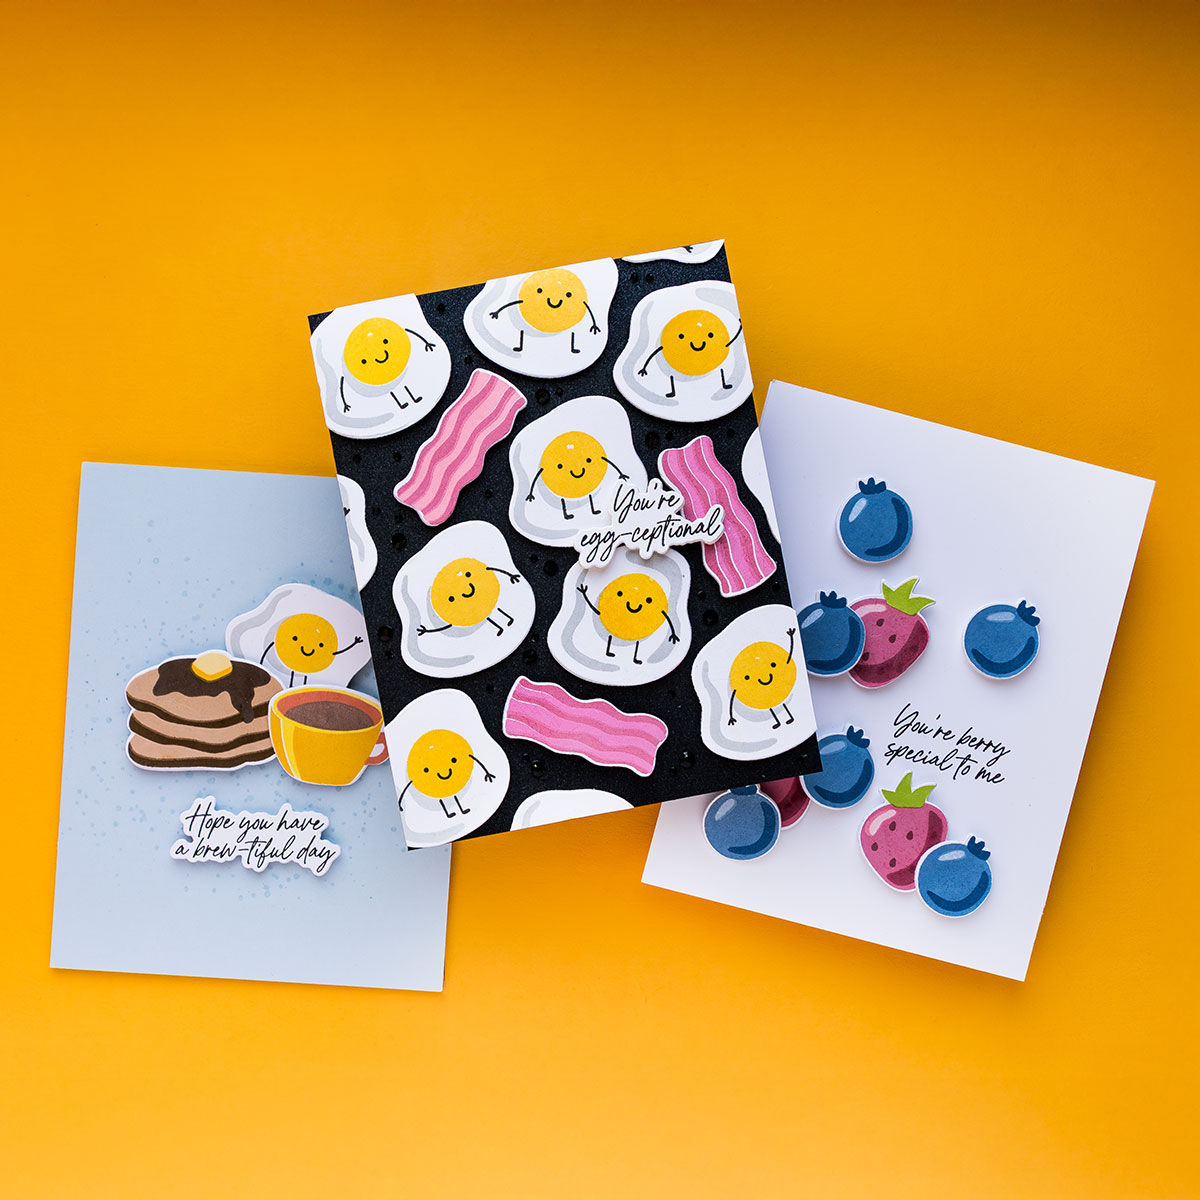
Funny food cards are a cheerful way to create handmade greetings that work for friendship, encouragement, birthdays, and everyday occasions. In this tutorial, I am sharing three playful designs featuring stamped eggs, bacon, pancakes, coffee, strawberries, and blueberries. You will learn how to create a reusable stamping jig for layered images, arrange repeated die cuts into a full card background, build a compact focal-point cluster, and use tone-on-tone stamping to add subtle texture. The projects range from a busy all-over design to a clean and simple card, making them useful examples of three very different layouts you can create with one coordinating stamp and die set.
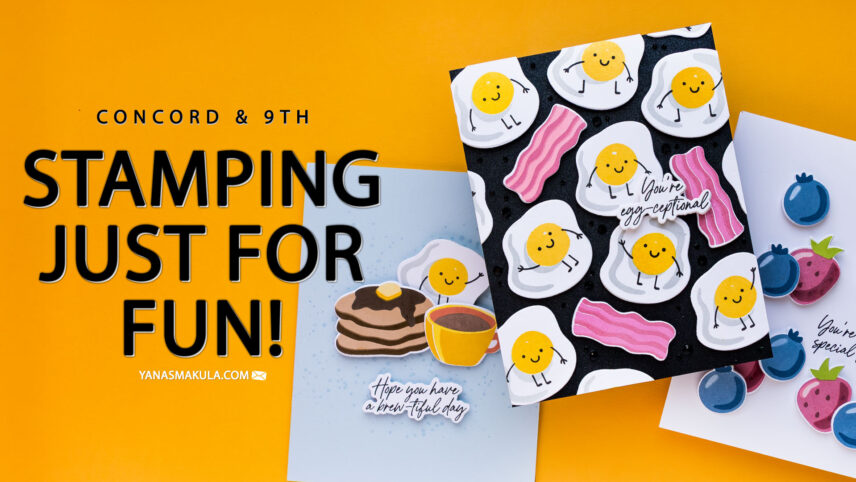
Hello, crafty friends! Today I am stamping just for fun with the Concord & 9th Breakfast Buddies Bundle, designed by Kristina Werner. The layered images are cute, the sentiments are wonderfully punny, and the breakfast theme offers plenty of opportunities to mix different images and layouts.
Video Tutorial
Watch the video to see how I stamped and assembled all three cards, including the stamping jig that helped me create multiple layered eggs while keeping the whites completely white.
Watch the video below or on my YouTube channel.
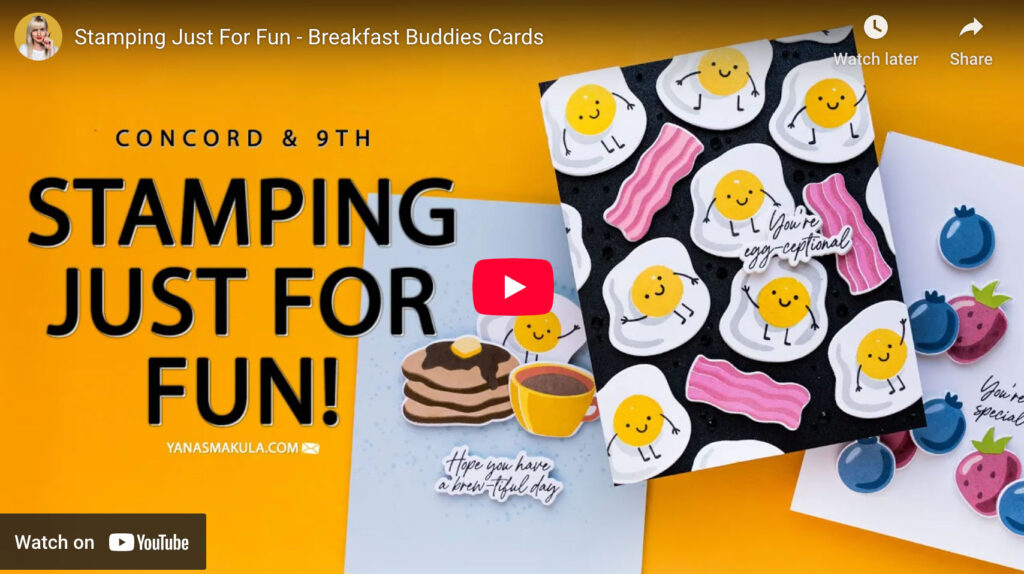
Like this video? Please give it a thumbs up on the YouTube video page and share it with a crafty friend. Leave me a comment, too. I love hearing from you!
Project Snapshot
| Project type | Set of three handmade cards |
|---|---|
| Occasions | Friendship, encouragement, appreciation, and everyday greetings |
| Skill level | Intermediate |
| Approximate time | Not specified |
| Finished size | A2 for the egg background card; sizes of the remaining cards are not specified |
| Designs | Repeated background, compact breakfast cluster, and clean and simple fruit cluster |
| Techniques | Layered stamping, jig stamping, repeated die cutting, tone-on-tone stamping, clustering, and dimensional assembly |
| Featured products | Concord & 9th Breakfast Buddies stamps and dies and Splatter Texture Stamp Set |
| Machines and supplies | Mini MISTI, Spellbinders Platinum 6, scissors, glue, and foam adhesive |
| Color palettes | Black, white, yellow, pink, and red; warm browns with light blue; red, blue, green, and white |
| Dimension and finish | Reinforced die cuts, foam-mounted images, and Onyx gems |
| Optional technique | Use the negative portion of a die-cut panel as a reusable positioning jig |
How to Make Three Funny Food Cards
Card 1 – Create a Repeated Egg and Bacon Background
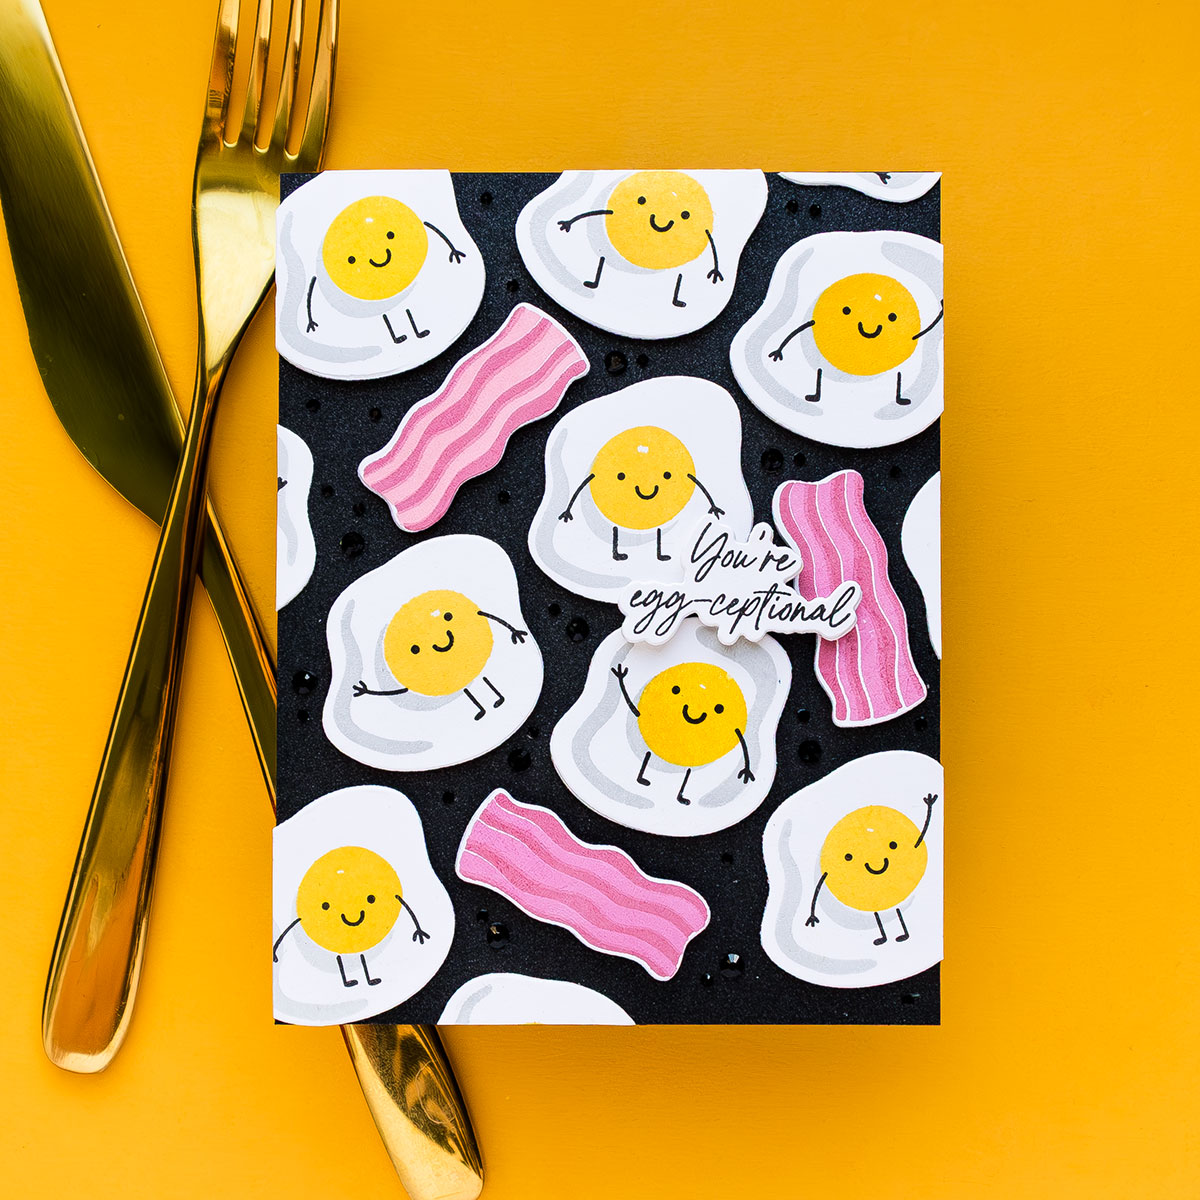
For the first card, I wanted to fill the background with fried eggs while keeping the egg whites truly white. Instead of stamping a white base layer, I used the white cardstock itself as the egg white and stamped only the colorful and shaded details.
Step 1 – Make a Stamping Jig
Start by stamping all the egg layers once, including the base layer. Die cut the completed image, but do not discard the negative portion of the cardstock. The egg-shaped opening left behind becomes a useful positioning jig.
Place the negative panel in the Mini MISTI, then return the coordinating egg die to the opening. This gives you a consistent guide for positioning each new piece of white cardstock before stamping the remaining layers.
Step 2 – Stamp the Egg Details
Nest a white egg die cut inside the saved negative and stamp only the bright yellow yolk and the light gray shadow details. The untouched white cardstock becomes the egg white, so the finished image remains crisp and clean.
I created eight eggs to cover the A2 panel. Working production-style with the jig allowed me to stamp the same layer repeatedly before changing stamps or ink colors.
Step 3 – Add Faces, Arms, and Legs
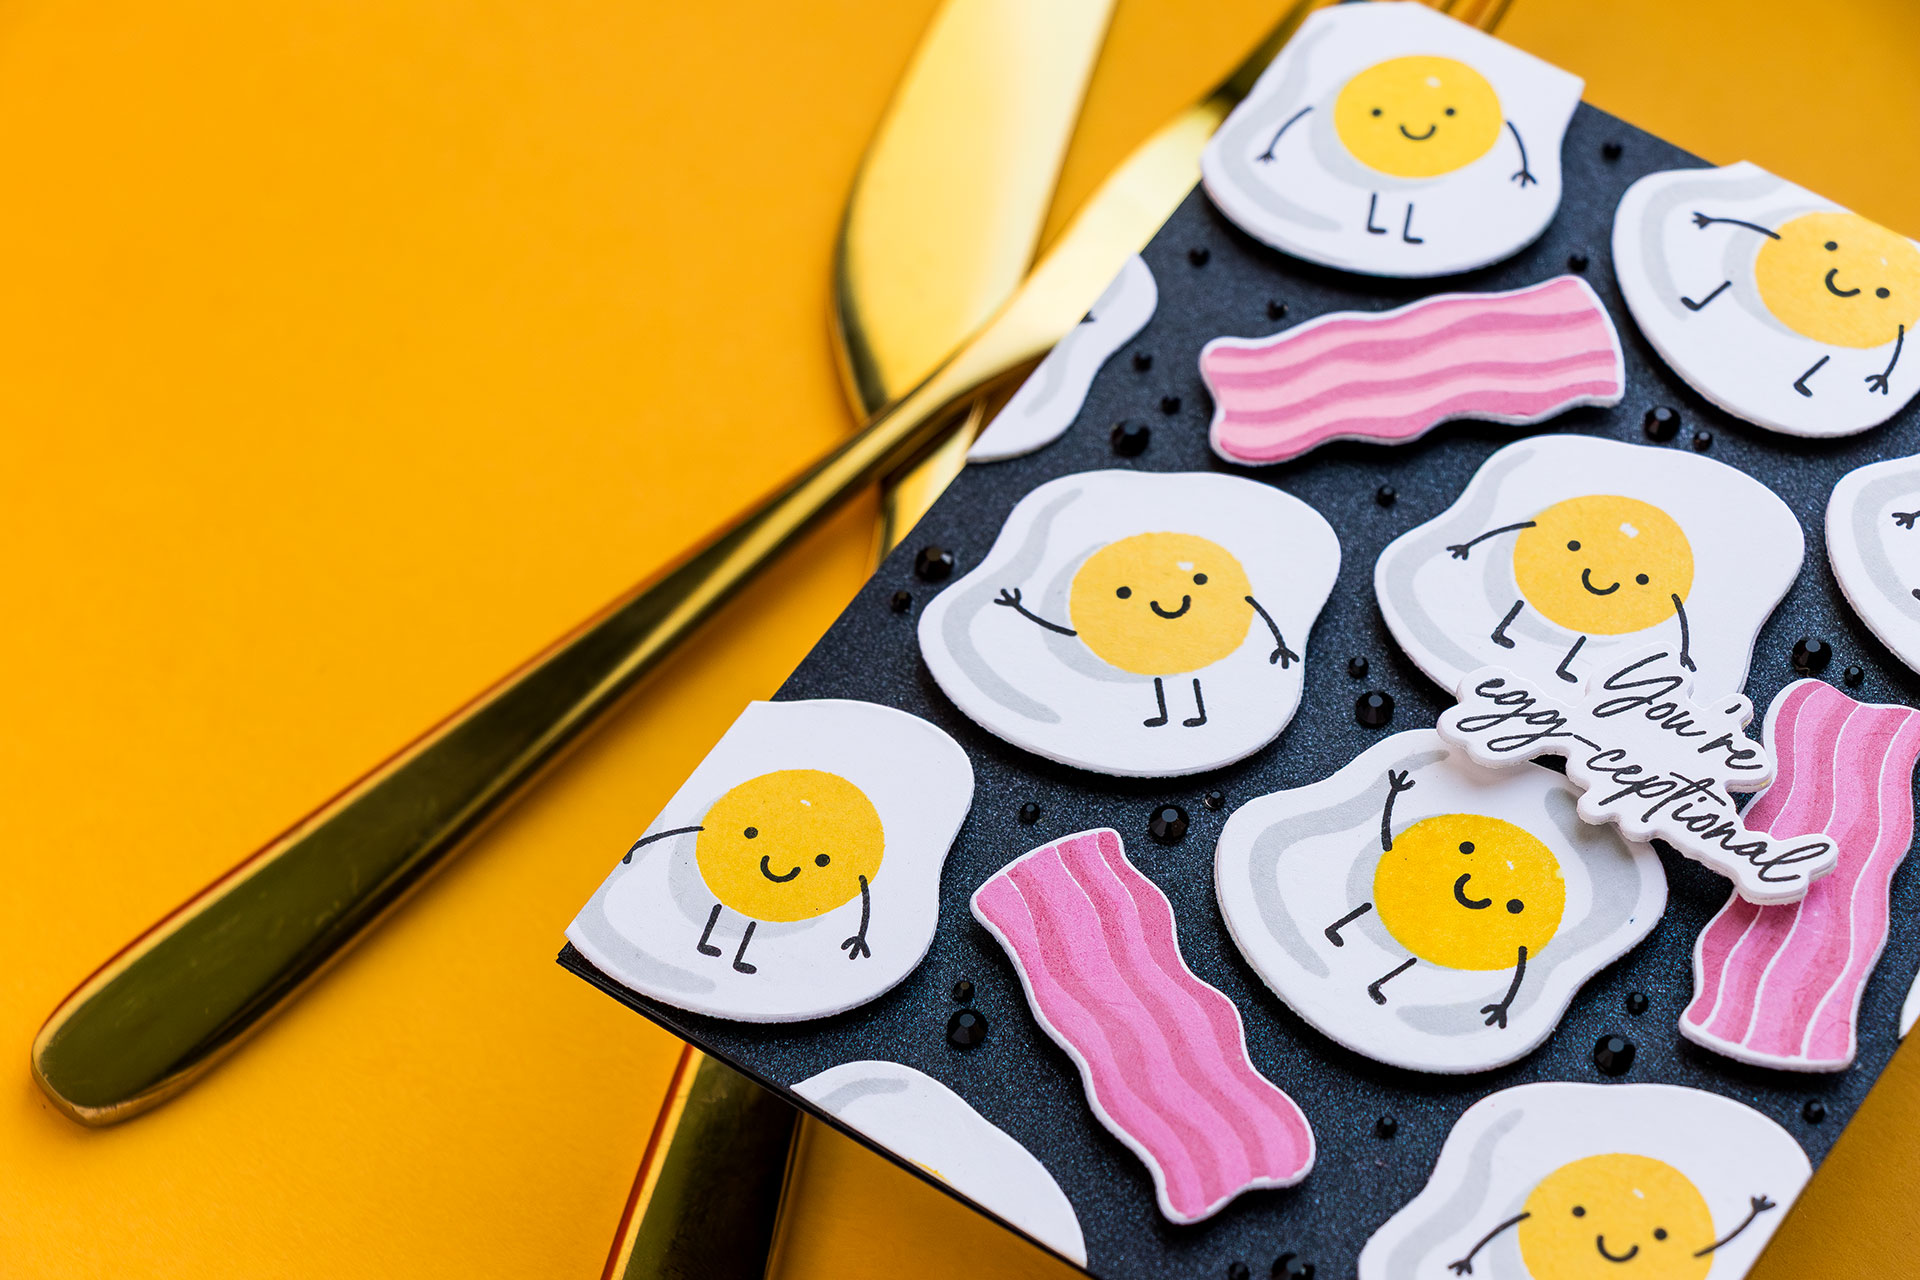
Stamp the faces, arms, and legs within the egg area and around the yolks. Keep the limbs positioned so the coordinating die can still cut around each image without removing important details.
After die cutting the eggs, glue an extra blank die cut behind each one. This small step makes the pieces sturdier, especially when part of an image extends beyond its foam adhesive. The reinforcement helps the embellishments hold their shape instead of sagging.
Step 4 – Build the Repeated Background
Cut an A2 panel of Spellbinders Brushed Black Cardstock measuring 4 1/4 x 5 1/2 inches. Arrange the eggs across the panel, rotating them in different directions so the repetition feels lively rather than rigid.
Add several bacon strips stamped with Guava and Punch inks. The warm pink and red bacon adds another shape and color to the arrangement while continuing the breakfast theme.
Once you are happy with the layout, adhere the images with foam adhesive and add the “You are egg-ceptional” sentiment.
Step 5 – Trim, Tuck, and Finish the Card
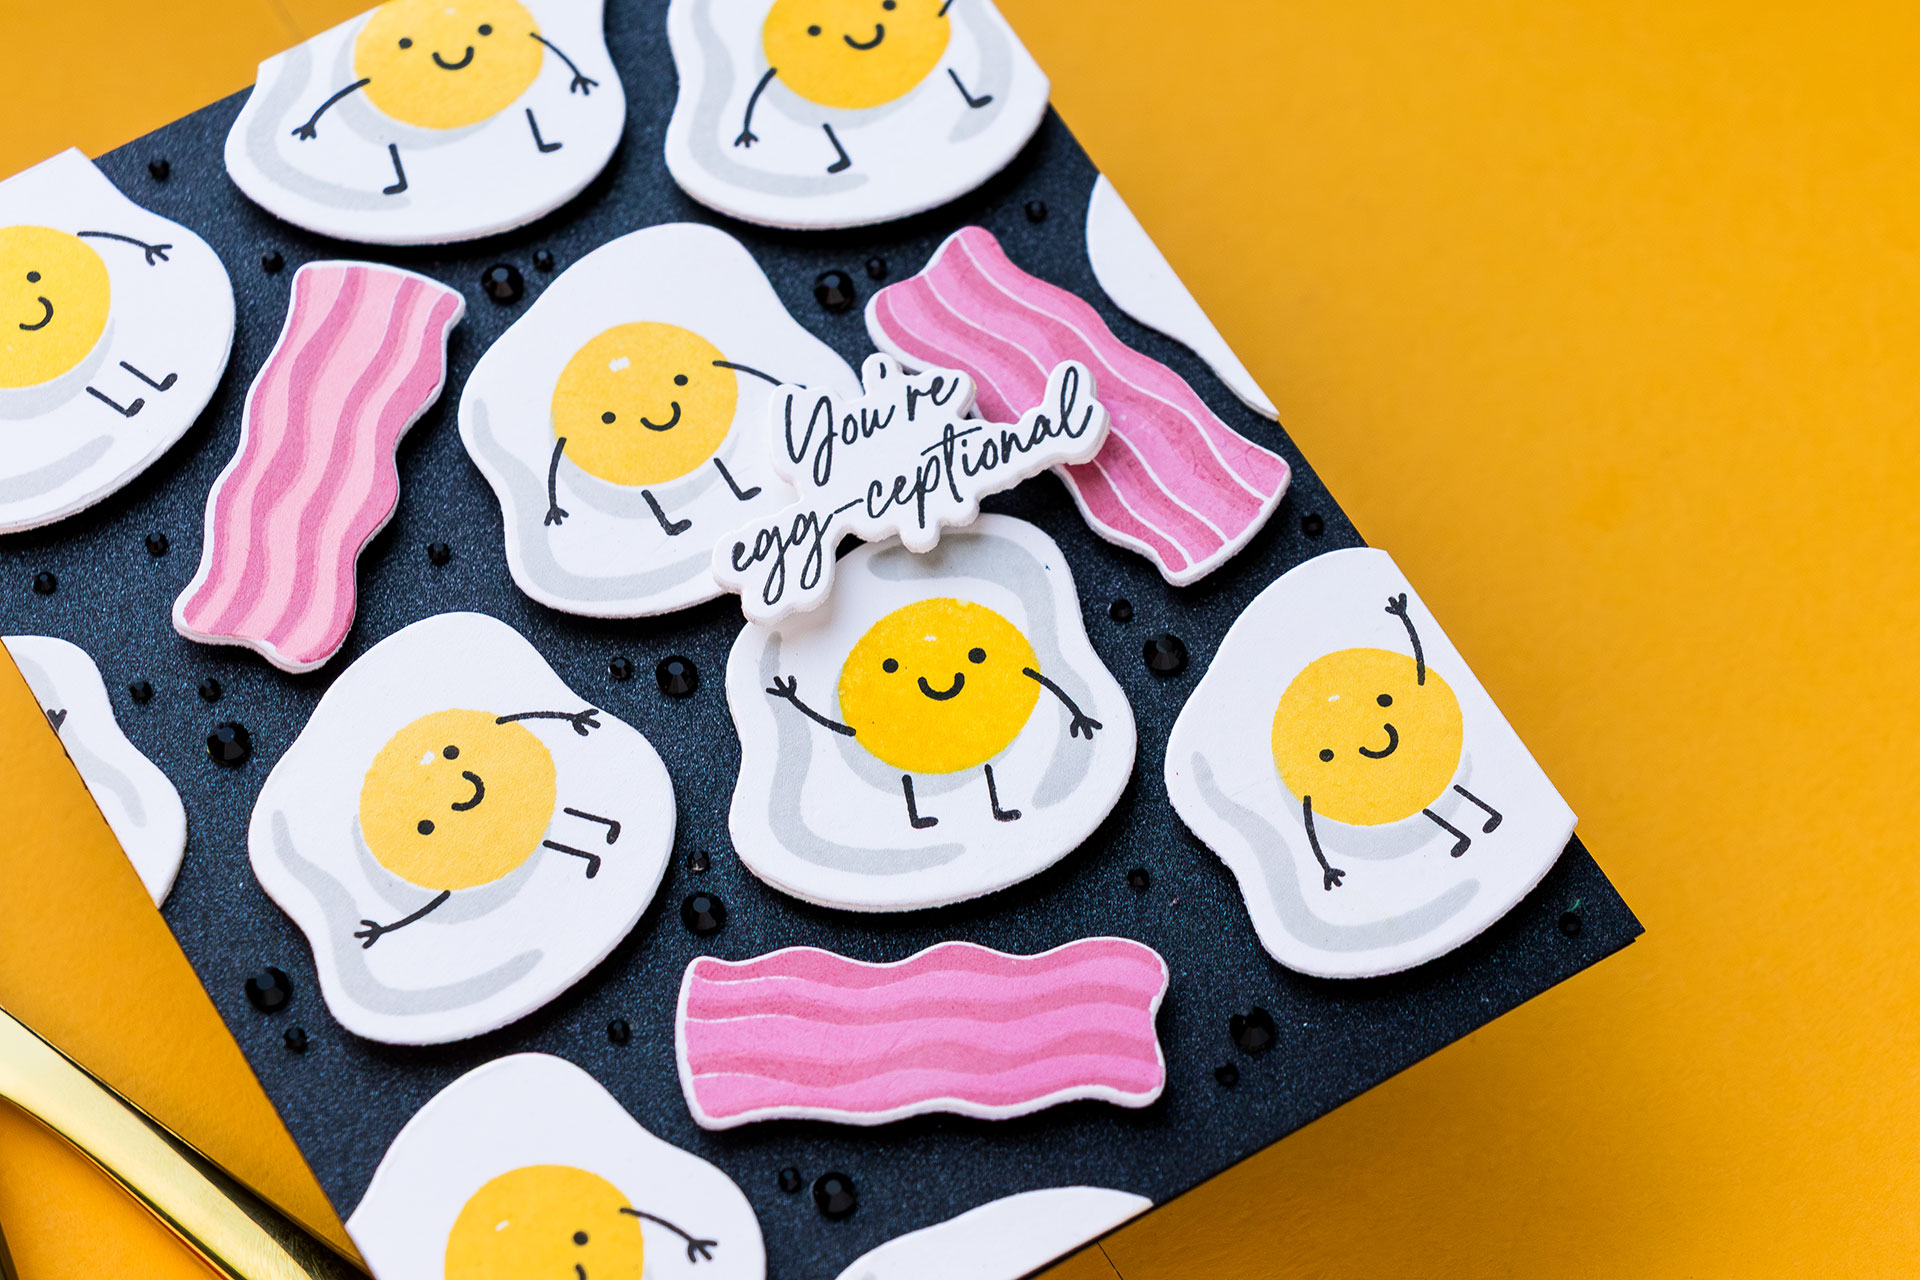
Use sharp scissors to trim the portions that extend beyond the panel. Save some of those small off-cuts and tuck them into open spaces around the edges. This creates the impression that the pattern continues beyond the card.
Use liquid glue rather than foam adhesive for very small off-cuts. It provides better control and keeps the tiny pieces securely attached. Finish the front with Onyx Mix Color Essential Gems, then add a white insert inside the black card base for writing a message.
Card 2 – Build a Cozy Pancake, Coffee, and Egg Cluster
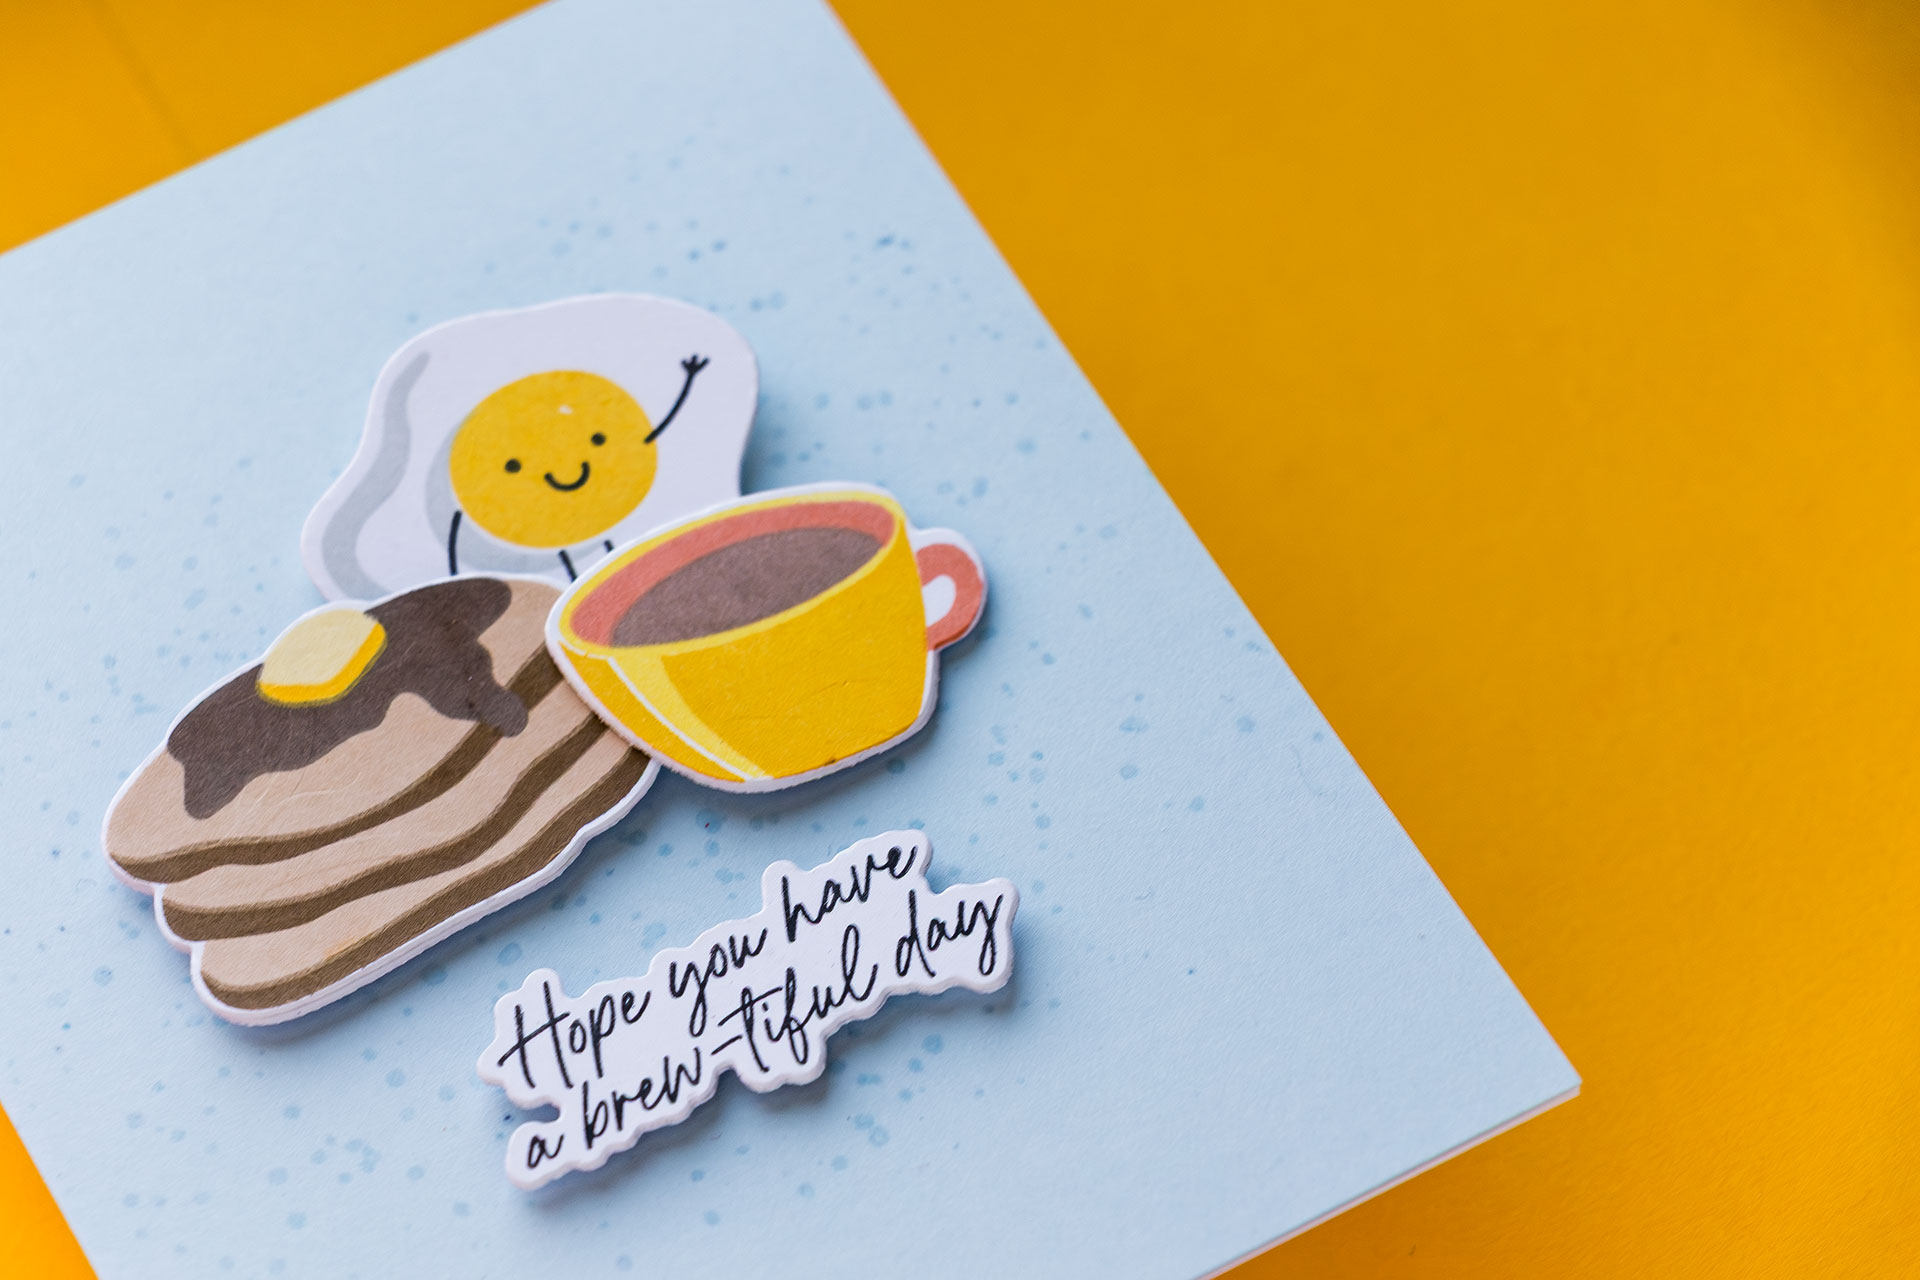
The second card uses a very different layout. Instead of covering the entire panel, I combined pancakes, a coffee mug, and a fried egg in one cozy breakfast cluster.
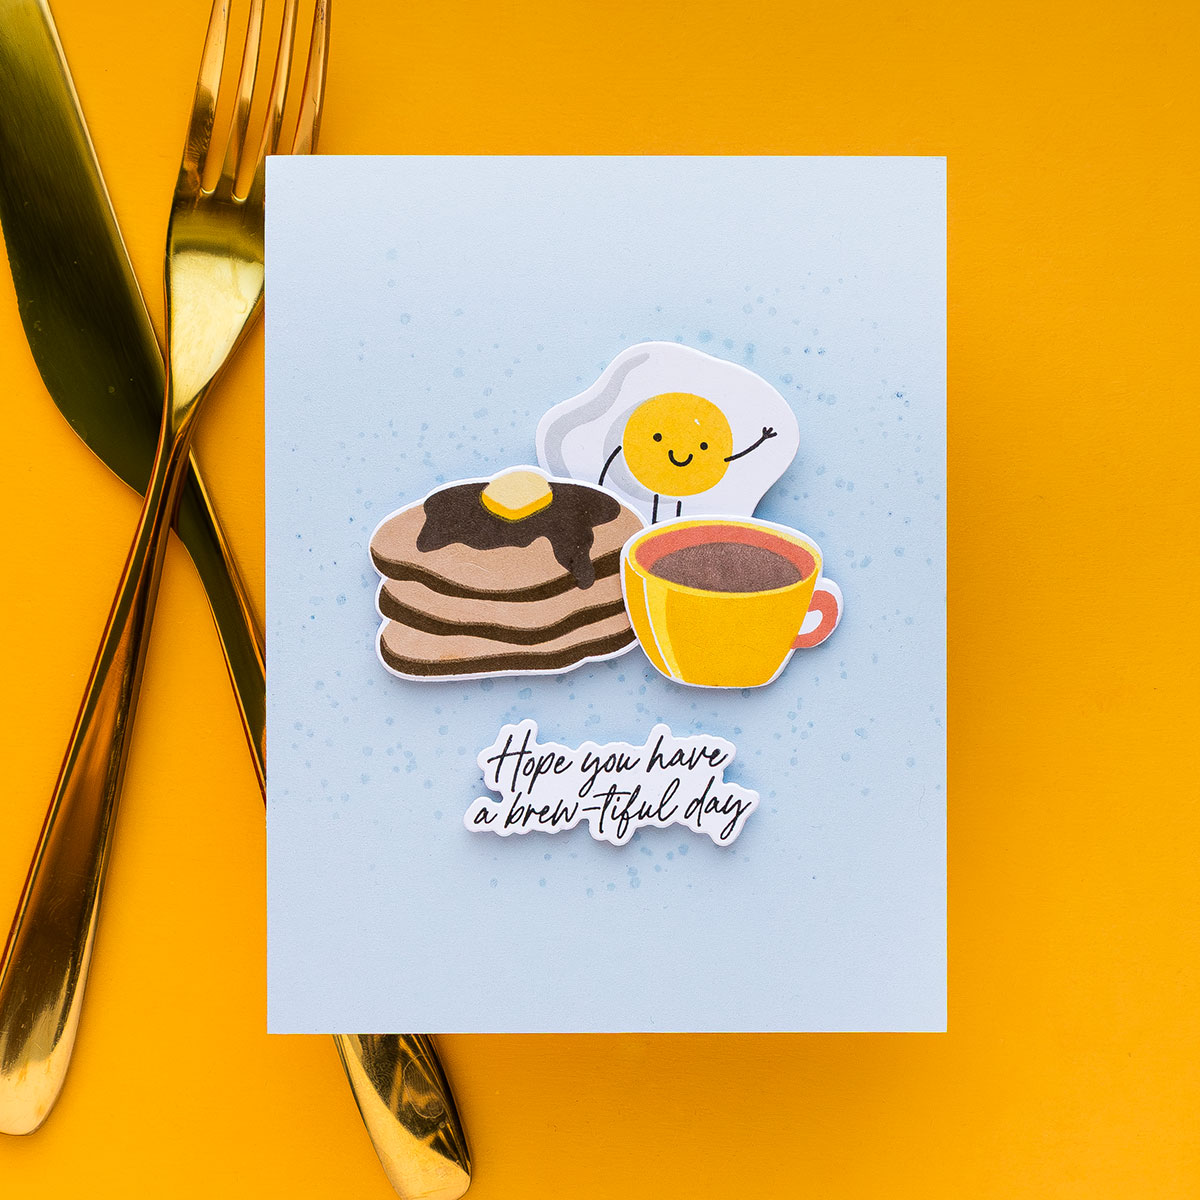
Step 1 – Stamp the Layered Pancakes
Stamp the pancakes with Cookie, Cocoa, and Mocha inks. These three warm brown shades help define the separate layers while keeping the stack cohesive.
Stamp the butter with Butter ink and add a touch of Honey for depth.
Step 2 – Stamp the Four-Layer Coffee Mug
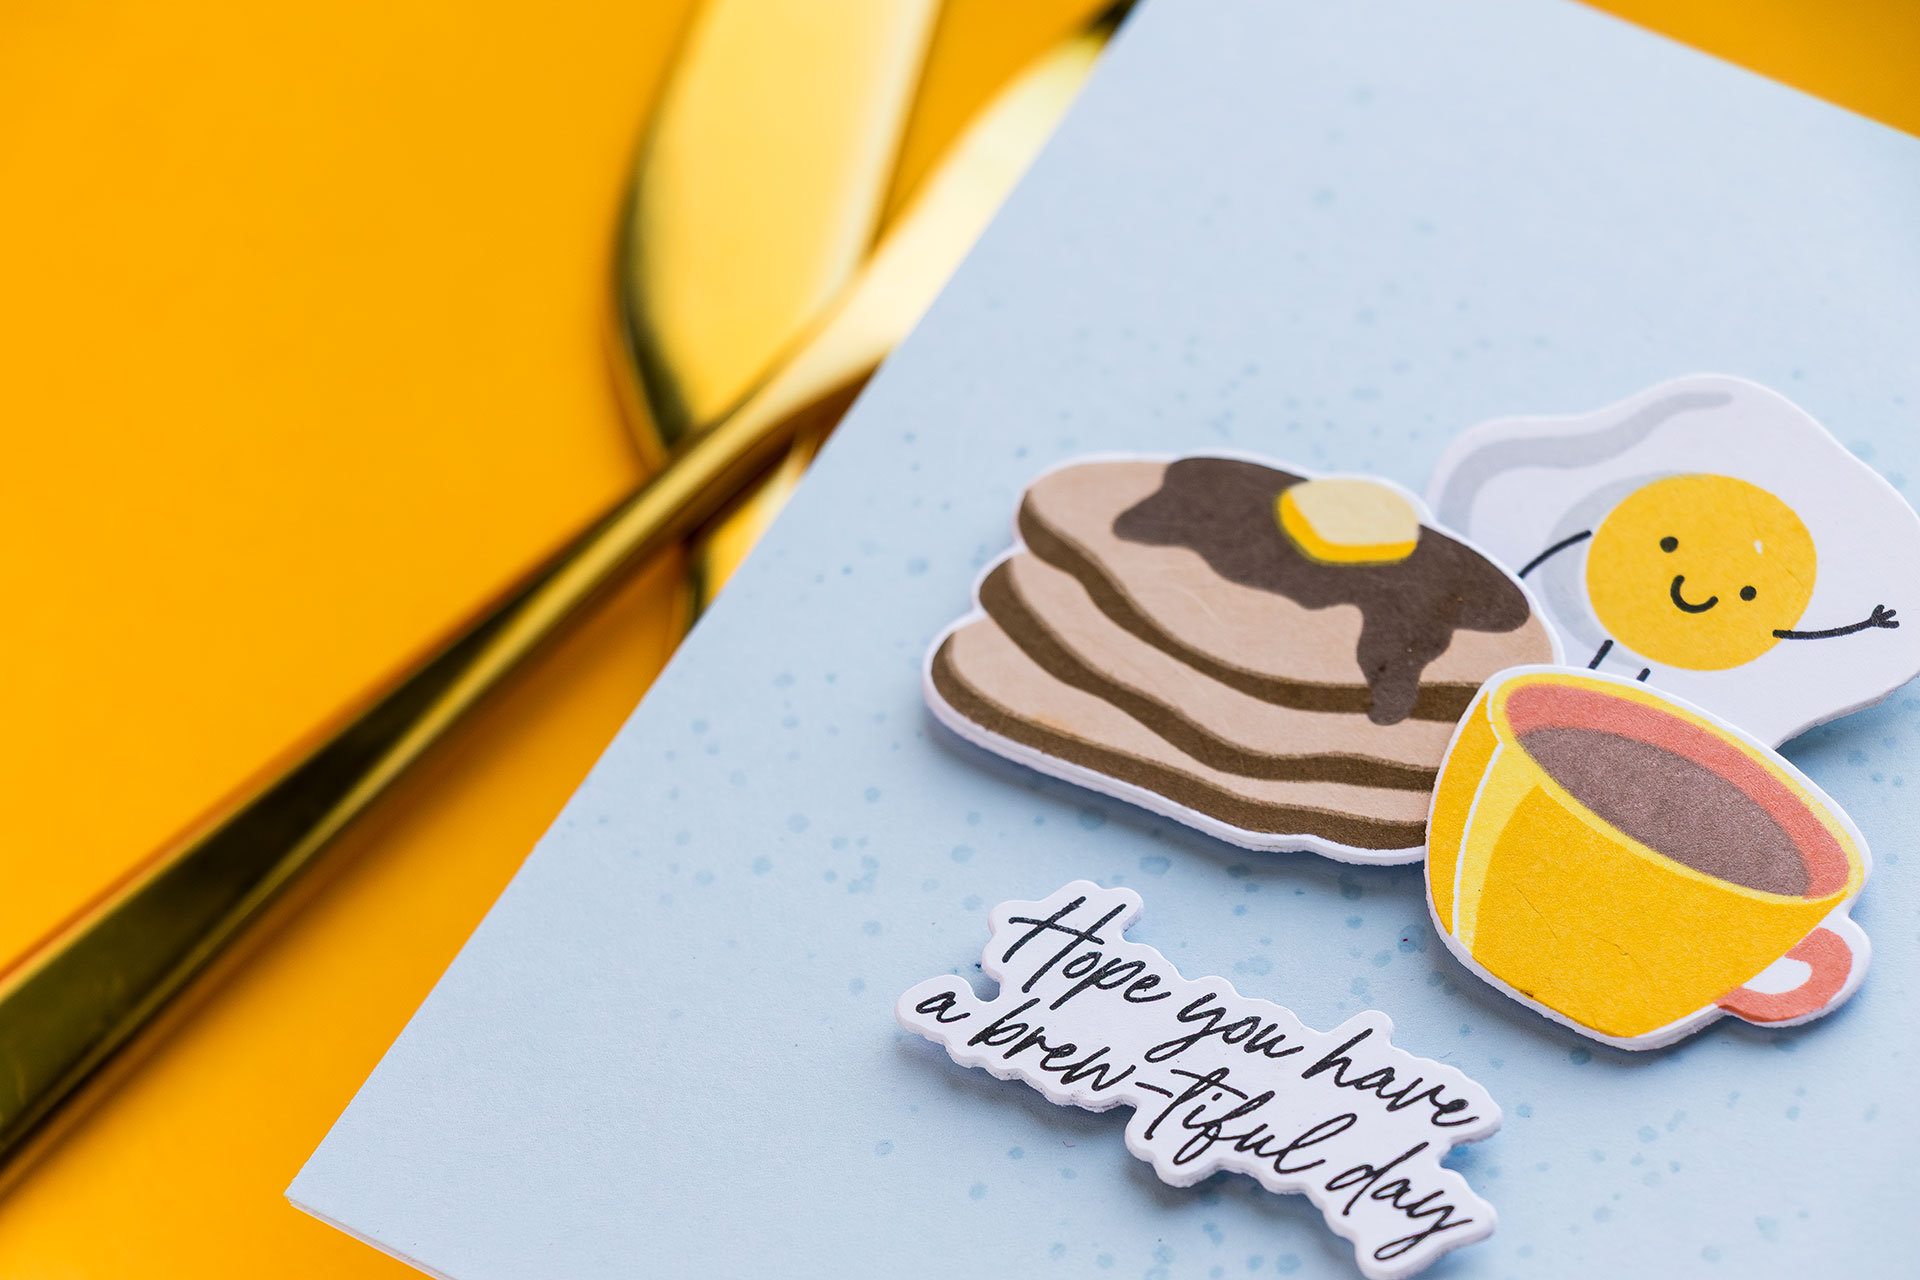
Build the coffee mug with Sunbeam, Honey, Clay, and Cappuccino.
I initially tried a lighter Latte shade for the coffee itself, but it did not provide enough contrast. Cappuccino created the deeper coffee color I wanted and remained distinct from the yellow mug.
Step 3 – Create a Tone-on-Tone Background
Stamp the Concord & 9th Splatter Texture with clear embossing ink on Spellbinders Breeze ColorWheel Cardstock.
The clear ink darkens the cardstock slightly, creating a subtle tone-on-tone pattern. This adds texture without introducing another color or competing with the detailed stamped images.
Arrange the pancakes, coffee mug, and egg in a compact cluster and adhere the pieces with foam adhesive. Overlapping the images makes them feel connected and gives the card one strong focal point.
Card 3 – Make a Clean and Simple Berry Card
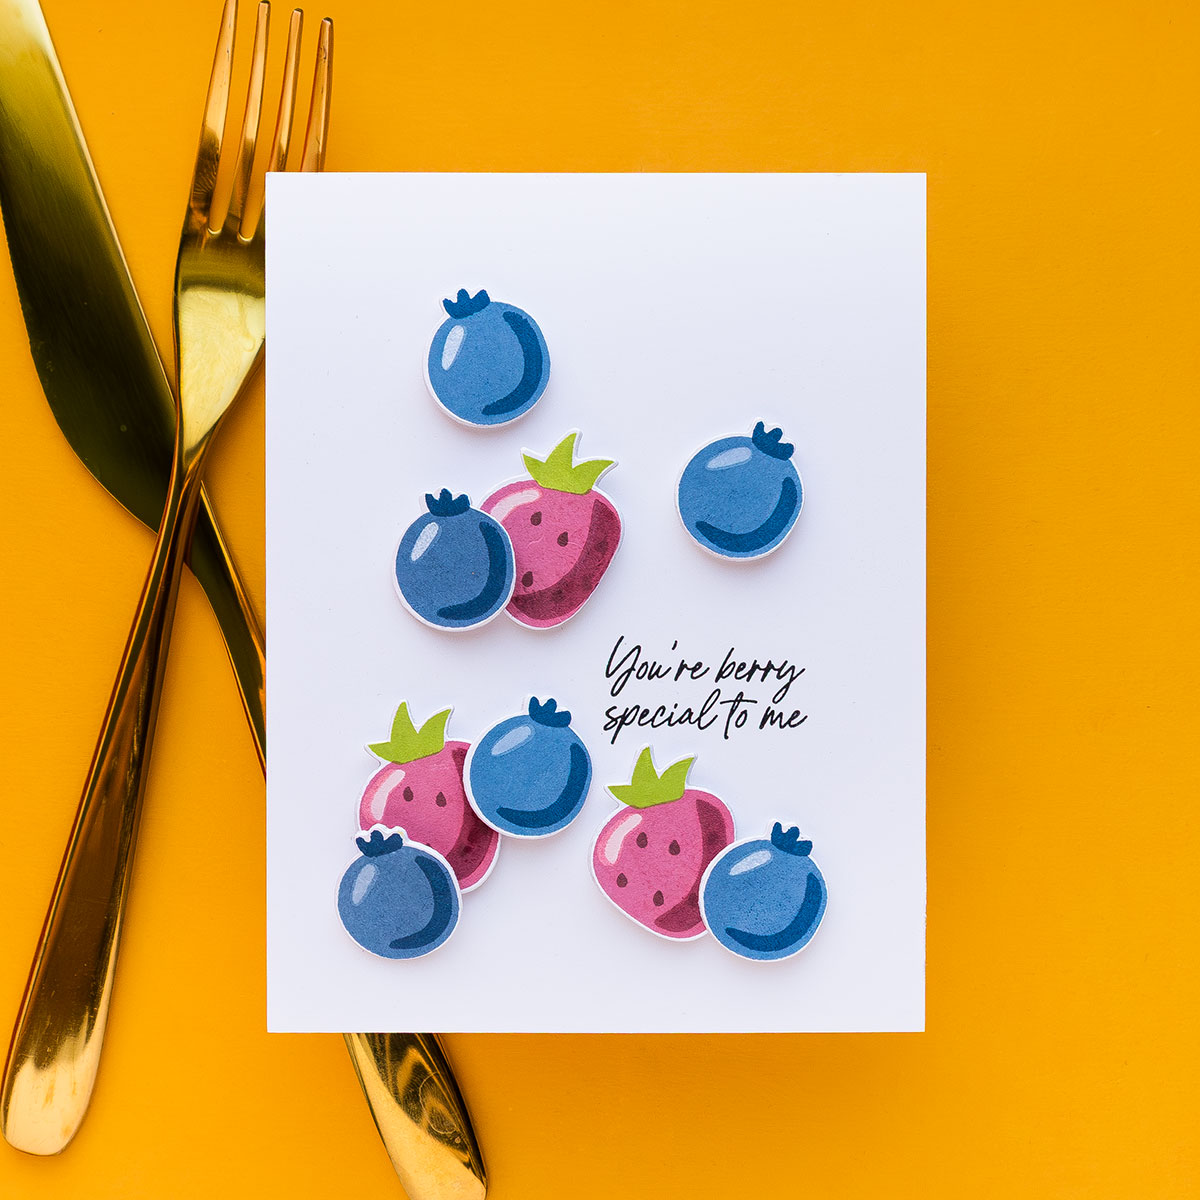
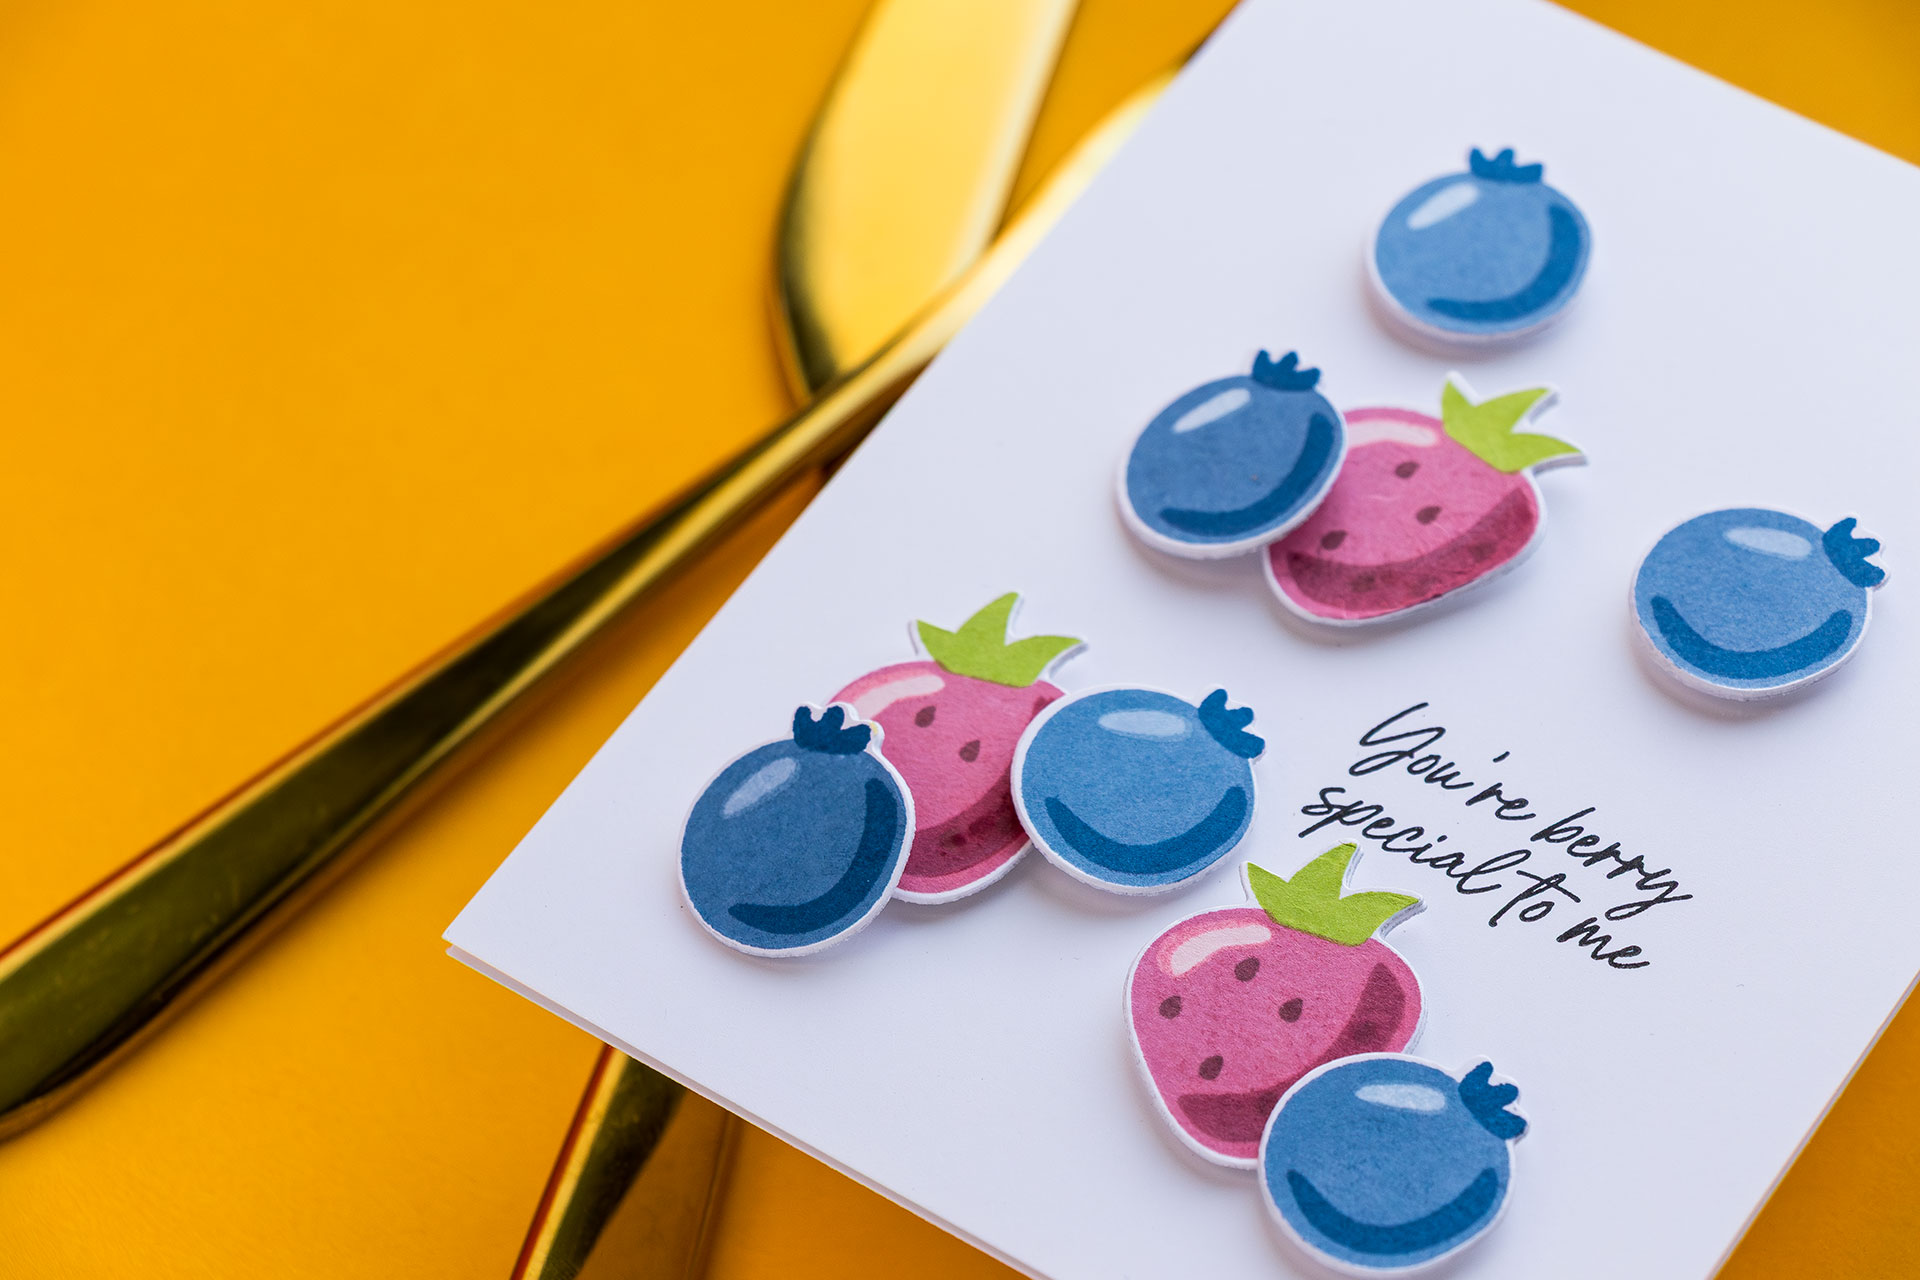
The third card shows how the small images can create a clean and simple design. Plenty of white space keeps the card light and airy, while the red and blue fruit provides a strong pop of color.
Step 1 – Stamp the Blueberries
Create the blueberries with Morning, Dusk, and Night inks. Moving from a medium blue to a very deep blue gives the small images definition without requiring additional coloring.
Step 2 – Stamp the Strawberries
Stamp the strawberries with Punch, Cabernet, and Sangria. Add the lighter highlight with Blush ink and stamp the leafy tops with Pearfection.
Step 3 – Arrange the Fruit Cluster
Foam-mount a small cluster of six blueberries and three strawberries on a white card base. Vary the angles and overlap some of the fruit so the arrangement feels natural rather than lined up.
Finish the card with the sentiment “You’re berry special to me.” The open white background gives the colorful fruit and playful sentiment plenty of room to stand out.
Tips for Better Layered Stamping
- Create one complete sample first. A finished reference image makes it easier to understand the order and placement of the remaining layers.
- Save the negative die-cut panel. It can become a reusable jig that holds multiple die cuts in the same position.
- Stamp production-style. Complete one ink layer on every die cut before moving to the next stamp and color.
- Prime new solid stamps. Gently rubbing a clean pencil eraser over a new solid stamp can help it accept ink more evenly before its first use.
- Use a stamping platform. A MISTI allows you to stamp a layer again when the first impression is not completely solid.
- Test ink combinations on scrap cardstock. This is especially helpful for layered images that require several shades from one color family.
- Reinforce delicate die cuts. Glue a blank die cut behind the stamped piece when small extensions might otherwise sag.
- Use contrast strategically. Bright eggs stand out dramatically against black, while the warm breakfast images feel softer against light blue.
- Let some images extend beyond the panel. Trimming them at the edges makes a repeated pattern feel larger and more continuous.
- Keep small off-cuts. Tiny trimmed pieces can fill awkward gaps along the outside edges of an all-over background.
Three Layout Ideas from One Stamp Set
These cards demonstrate three useful layouts that can be adapted to many other small stamp and die sets:
- All-over background: Repeat one main image, introduce a smaller supporting image, and allow several pieces to extend past the edges.
- Large focal-point cluster: Combine three related images, overlap them slightly, and place them over a subtle textured background.
- Clean and simple cluster: Group several tiny images in one area while preserving generous white space around them.
The subject does not have to be breakfast food. You can apply the same layouts to flowers, leaves, holiday icons, animals, hearts, stars, or any collection of small coordinating images.
Ways to Customize These Funny Food Cards
- Create the egg background on kraft, navy, red, or pale blue cardstock instead of black.
- Use the egg stamping jig to prepare a larger batch of images for several cards at once.
- Replace the bacon with toast, berries, or another small image from the set.
- Use the pancakes and coffee mug separately to create two clean and simple cards.
- Change the light blue panel to pink, yellow, mint, or another color that coordinates with your stamped images.
- Stamp the splatter texture with a slightly darker coordinating ink for a more visible background.
- Create a fruit border along one side of the card instead of arranging the berries in a cluster.
- Use only blueberries or only strawberries to create a monochromatic fruit card.
- Change the sentiments to adapt the cards for birthdays, thank-you notes, encouragement, or Valentine’s Day.
- Turn the small stamped images into gift tags, lunchbox notes, or mini cards.
Frequently Asked Questions
How do you align layered stamps with coordinating dies?
Stamp and die cut one complete image first. Save the negative portion of the cardstock and use the opening as a positioning jig. Place each new die cut in the opening before stamping its layers with a stamping platform.
How do you keep the white part of a fried egg completely white?
Die cut the egg from white cardstock and skip the solid base layer. Stamp only the yellow yolk, pale shadow, and character details, allowing the cardstock itself to become the egg white.
Why should solid clear stamps be primed?
Some new solid stamps may initially resist ink or produce uneven coverage. Gently rubbing the surface with a clean pencil eraser can help the stamp accept ink more evenly. Remove any eraser residue before stamping.
How do you choose colors for layered stamped images?
Choose several inks from the same color family, moving from light to dark. Test the complete combination on scrap cardstock because the relationship between the colors matters more than how each ink looks by itself.
How do you create a subtle tone-on-tone background?
Stamp a texture with clear embossing or watermark ink on colored cardstock. The ink slightly deepens the cardstock color, producing a quiet pattern without adding another color to the design.
More Cardmaking Ideas
- Internal link opportunity: Link to a tutorial about using small stamps to create an all-over background.
- Internal link opportunity: Link to another clean and simple card featuring clustered stamped images.
- Internal link opportunity: Link to a guide about choosing ink combinations for layering stamps.
- Internal link opportunity: Link to another humorous or pun-based card tutorial.
Final Thoughts
One playful stamp set can support many different card styles. The repeated egg background feels bold and energetic, the pancakes and coffee create a cozy focal point, and the berry card offers a clean and simple alternative. The reusable stamping jig is especially helpful whenever you want to produce several layered images quickly while keeping the alignment consistent. I hope these ideas inspire a light-hearted stamping session at your desk – breakfast puns are strongly encouraged!
These are so fun
These are a total delight!