

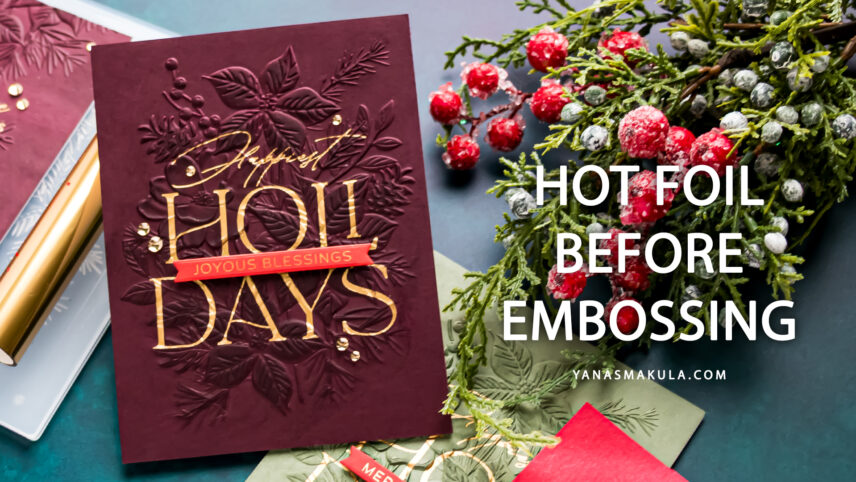

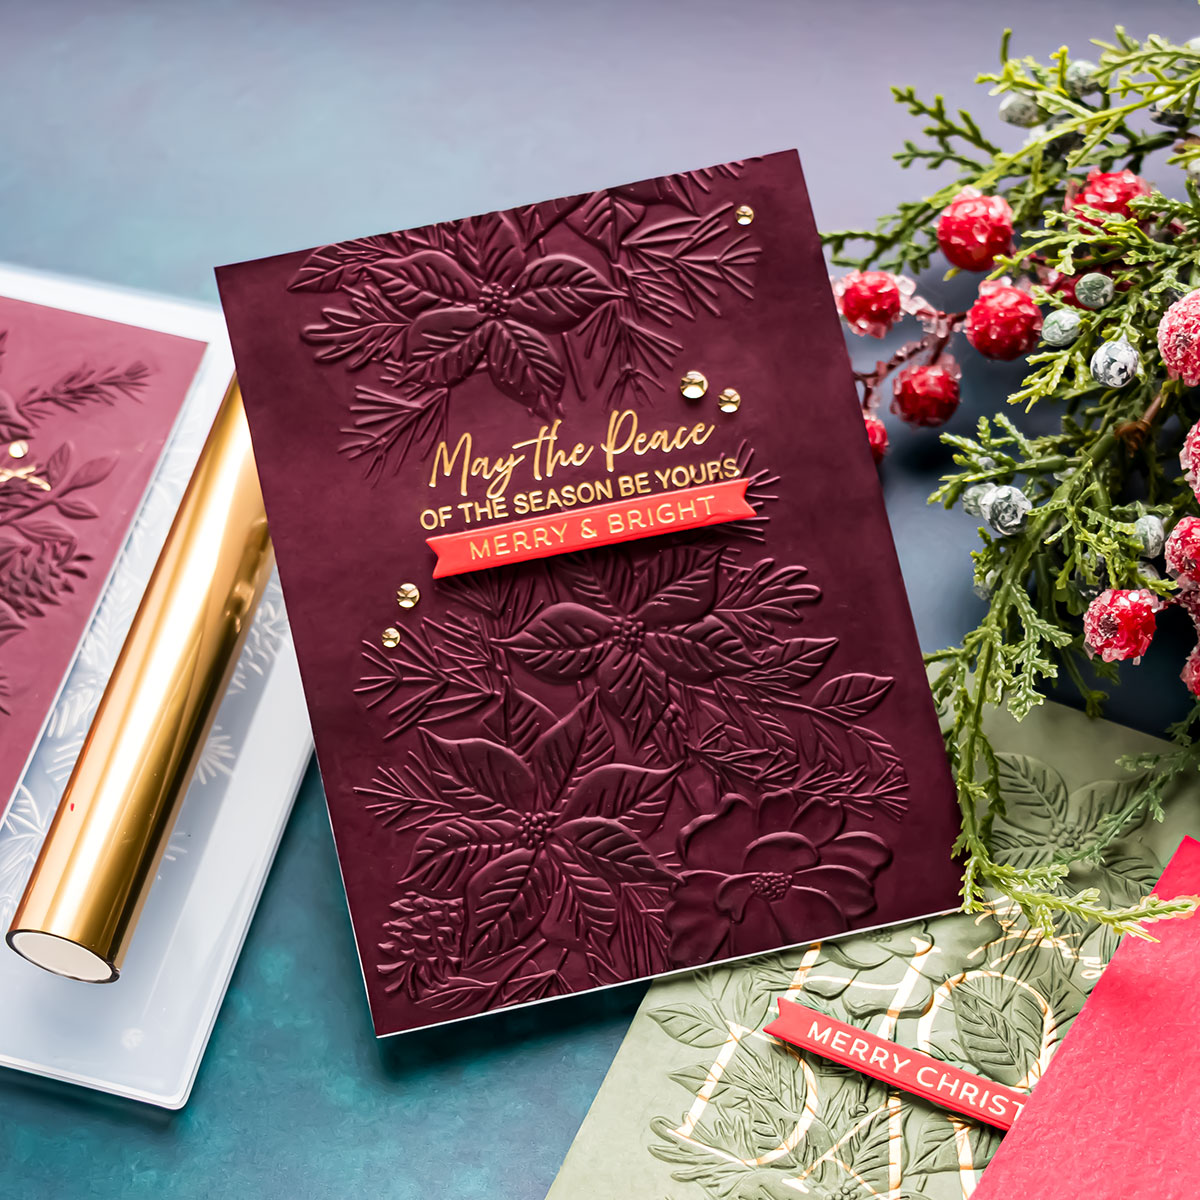
Can you hot foil a sentiment and then emboss the same cardstock panel? Yes – and changing the usual order of these two techniques produces elegant Christmas cards with surprisingly few layers.
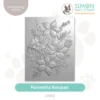
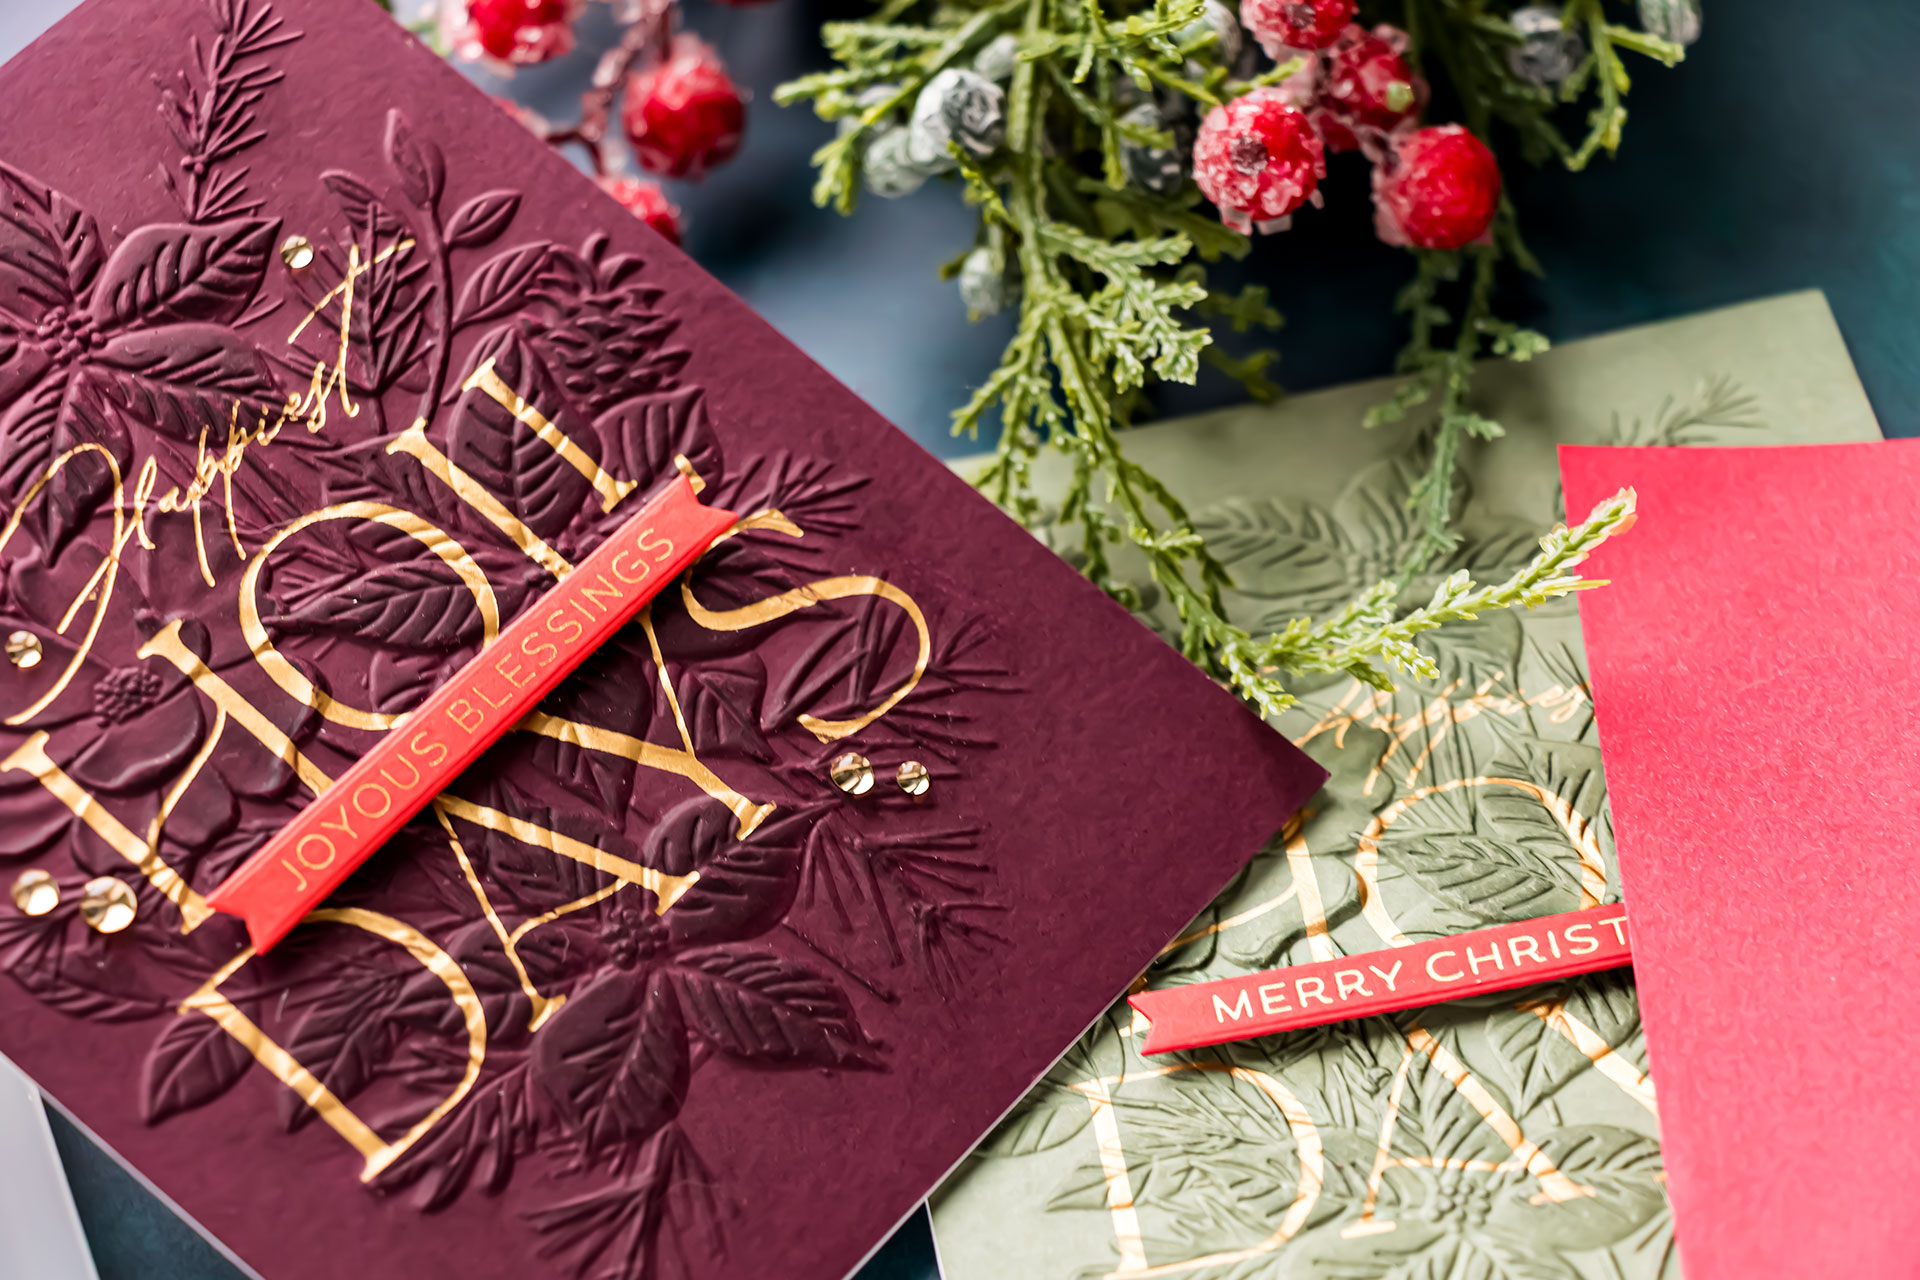
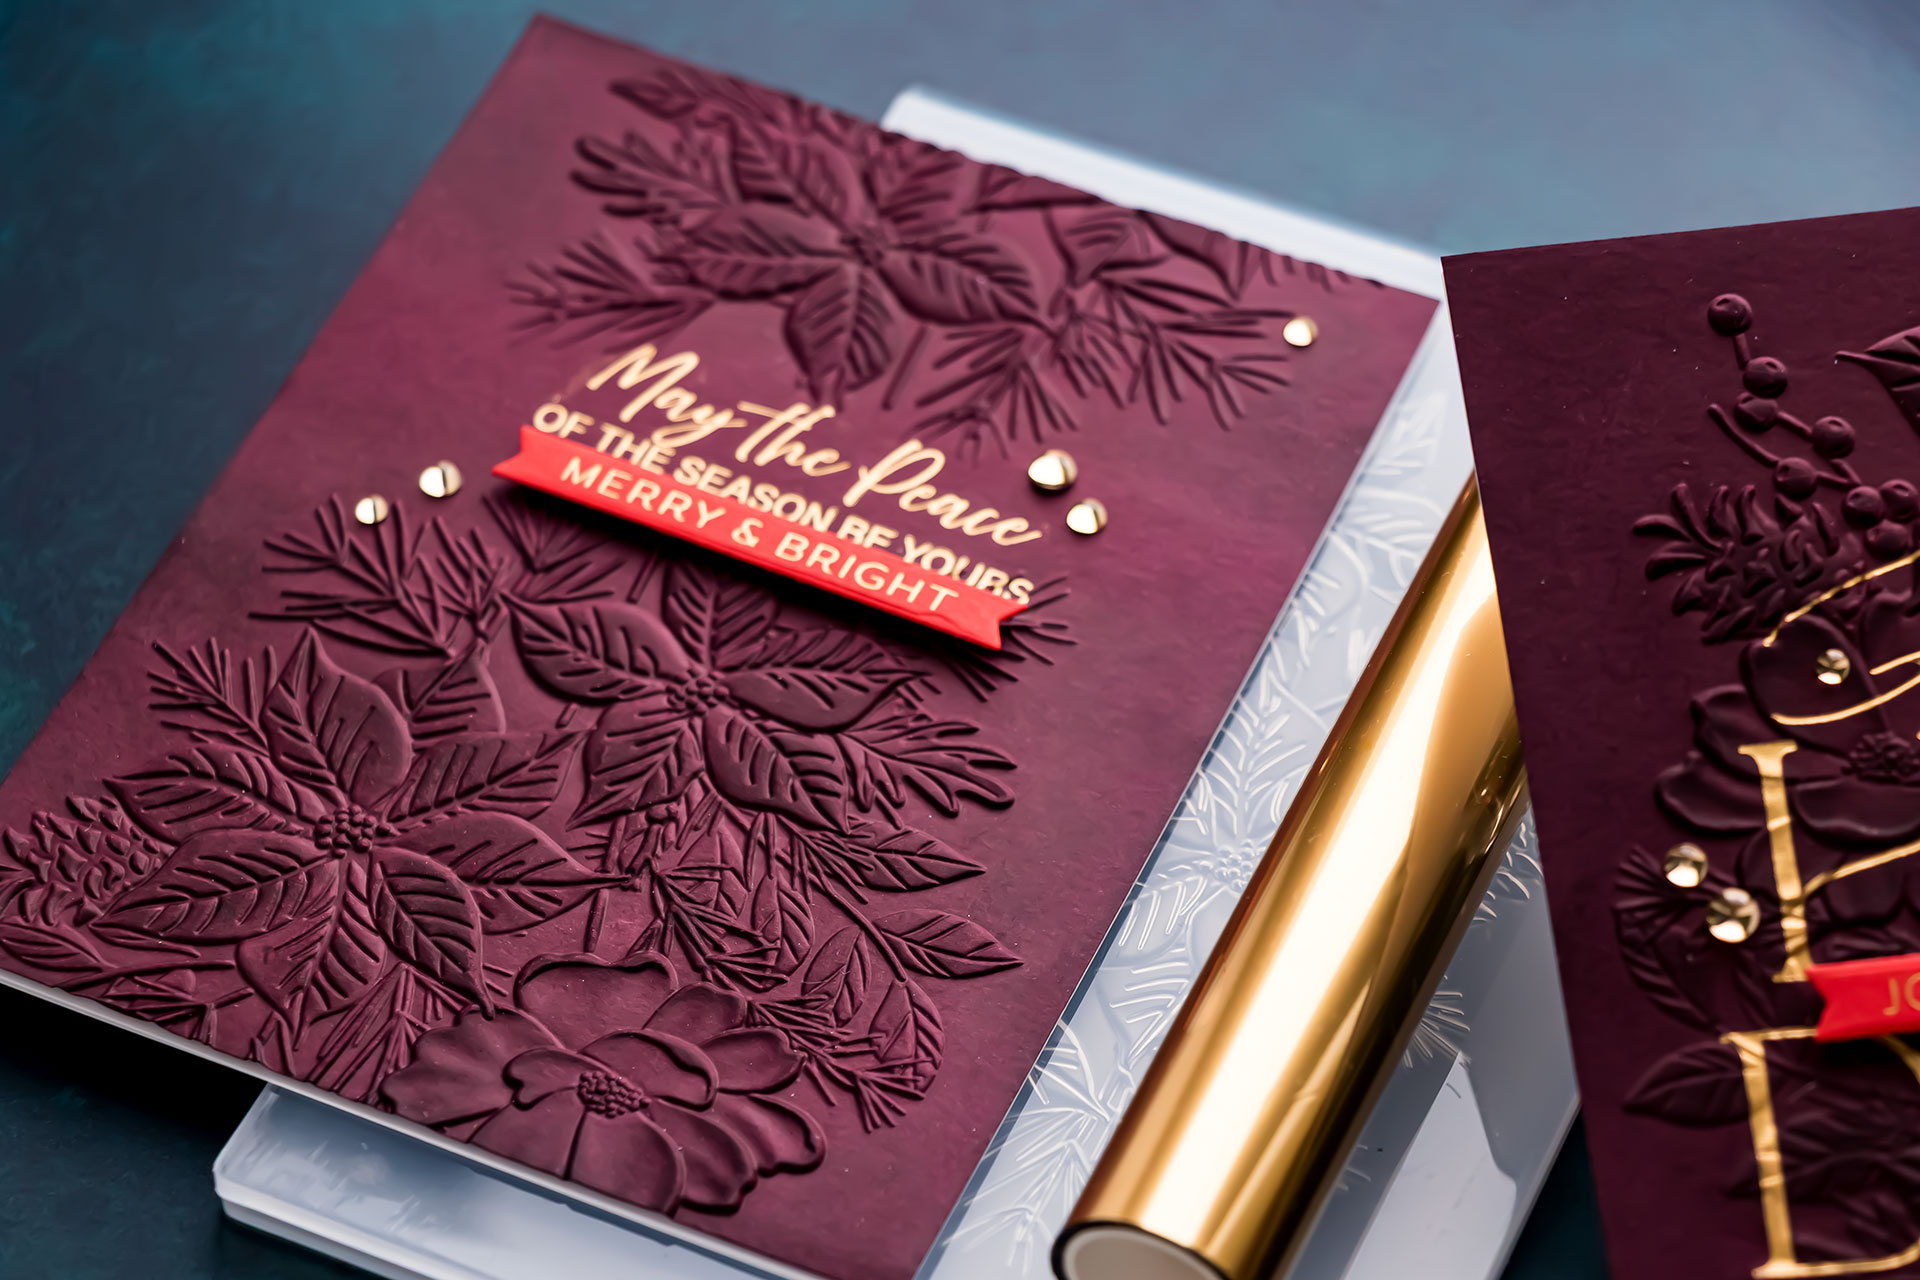
For these cards, I hot foiled each sentiment onto smooth cardstock first. I then placed the foiled panels inside the Simon Says Stamp Poinsettia Bouquet Embossing Folder to add texture around the greetings. Foiling first gives the plate the smooth surface it needs for a clean transfer. The embossing folder can then add dimension without requiring a separate sentiment layer.

I created three variations using the same embossing folder, including one partially embossed design with a smooth area around the greeting. I also used watermark ink to emphasize the raised poinsettias and shared several troubleshooting tips for removing overfoiling, positioning sentiments, and preventing damp embossed panels from warping.
Project Snapshot
| Project | Three hot-foiled and embossed Christmas cards |
|---|---|
| Skill Level | Intermediate |
| Approximate Time | 60 minutes |
| Project Type | Mostly flat, easy-to-mail Christmas cards |
| Techniques | Hot foiling, dry embossing, partial embossing, watermark ink highlighting, and overfoiling cleanup |
| Occasion | Christmas and winter holidays |
| Finished Size | A2 – 4 1/4 x 5 1/2 inches |
| Color Palette | Midnight Purple, Moss, satin gold, red, and white |
| Featured Product | Simon Says Stamp Poinsettia Bouquet Embossing Folder |
VIDEO TUTORIAL
Watch the video tutorial below or on my YouTube channel:
Supplies You’ll Need
Embossing Folder and Sentiment Plates
- Simon Says Stamp Poinsettia Bouquet Embossing Folder
- Spellbinders Happiest Holidays BetterPress Registration Plate Set
- Spellbinders Tied with Cheer BetterPress Registration Plate Set
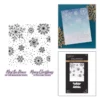
- Spellbinders Winter Peace BetterPress Plate Set
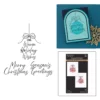
- Spellbinders Wonderful Winter Sentiments Press & Foil Plate and Die Set
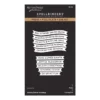
- Spellbinders Holiday Banner Greetings Press & Foil Plate and Die Set
Cardstock, Foil, and Embellishments
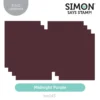
- Simon Says Stamp Midnight Purple Cardstock
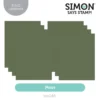
- Simon Says Stamp Moss Cardstock
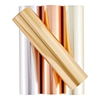
- Spellbinders Satin Gold Glimmer Hot Foil
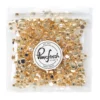
- Pinkfresh Studio Clear Drops: Champagne
Additional Supplies
- Spellbinders Glimmer II Hot Foil System
- Spellbinders Platinum Six Die Cutting and Embossing Machine
- Spellbinders Mighty Mister
- Spellbinders Best Ever Craft Tape
- Watermark ink pad
- T-square ruler
- Sanding eraser or regular eraser
- Liquid adhesive
Why You Should Hot Foil Before Embossing
The most important part of this technique is the order of the steps. Start by hot foiling the sentiment onto smooth cardstock. Next, run the foiled panel through the embossing folder. Hot foiling depends on even contact between the hot foil plate, foil, and cardstock. If you emboss the cardstock first, the raised and recessed areas can interfere with that contact. The sentiment may foil unevenly because the plate cannot sit flat against the paper.
Foiling first provides the smooth surface needed for the transfer. The embossing folder can then add texture around and, depending on the placement, over portions of the foiled greeting. This reverses the order we often use when making cards. Instead of creating the background and adding the sentiment at the end, the sentiment becomes part of the background from the beginning.
How to Make Hot-Foiled and Embossed Christmas Cards
1. Cut the A2 Card Panels
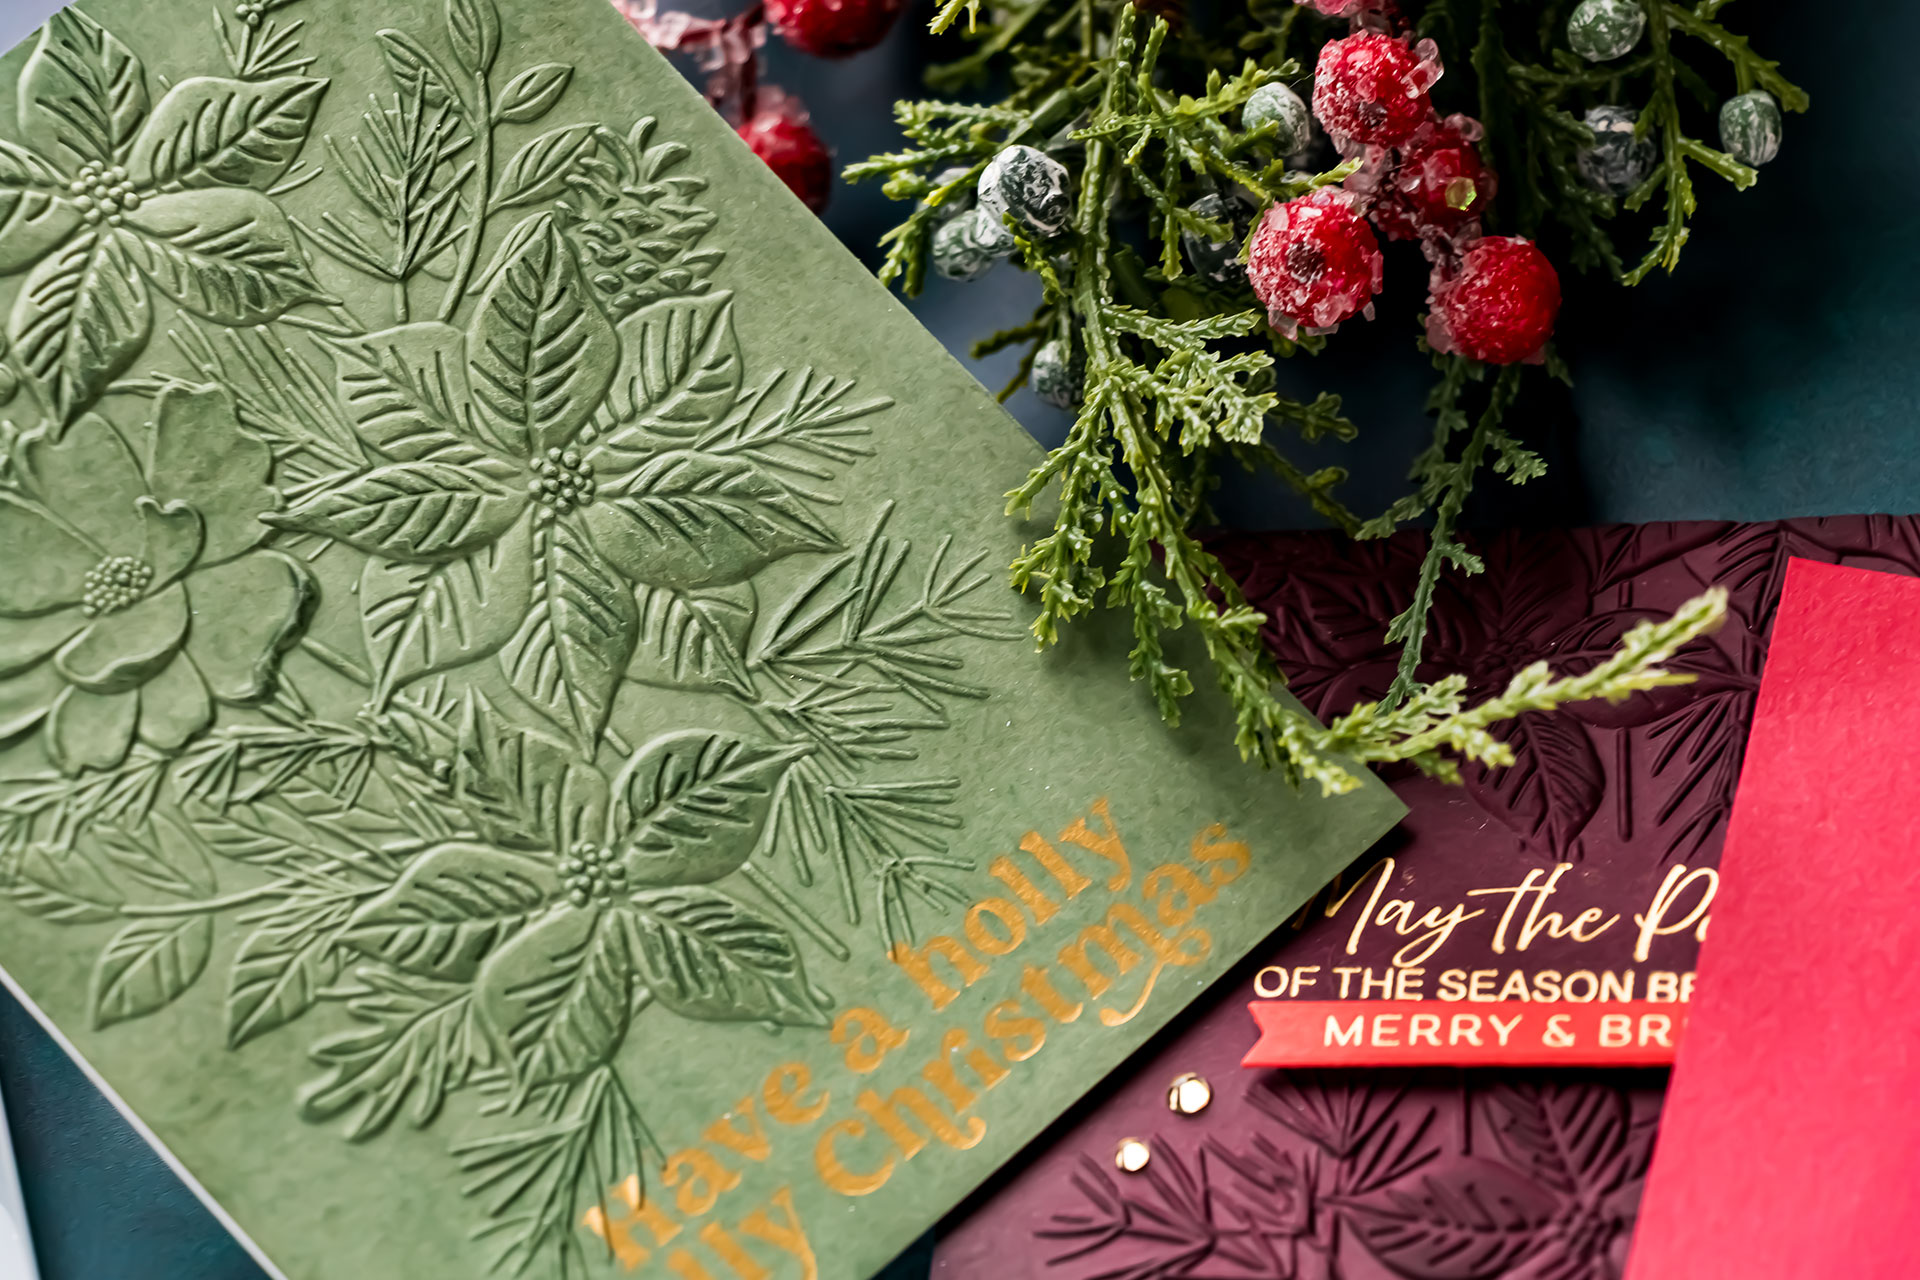
Start by cutting Midnight Purple and Moss cardstock to 4 1/4 x 5 1/2 inches. These rich colors provide a dramatic background for the satin gold foil and offer an alternative to a traditional bright red and green Christmas palette.
Keep the panels smooth at this stage. All hot foiling needs to be completed before introducing texture with the embossing folder.
2. Select the Sentiment Placement
Choose a sentiment plate and place it face down on the cardstock. Before securing it, consider where the Poinsettia Bouquet design will appear on the finished panel. A large sentiment can sit near the bottom with the poinsettias concentrated toward the top. A smaller sentiment can be positioned closer to the center, leaving room for embossing above and below it.
Individual sentiment plates give you the most flexibility because you can position each greeting wherever the design needs it. A plate containing several sentiments can still work, but you will need to position it so that only the selected greeting transfers to the panel.
If your plate has a straight edge, use a T-square ruler to help align the sentiment. For irregularly shaped plates, visual alignment may be easier.
3. Create a Tape Hinge
Once you are happy with the sentiment placement, secure one edge of the plate with low-tack tape. This creates a simple hinge. Flip the plate away from the cardstock without removing the tape. Place the foil beneath it with the shiny side facing the plate, then return the plate to its original position.
The tape hinge keeps the greeting aligned while you add the foil. This is especially useful when the sentiment needs to be centered or positioned inside an open area of the embossing-folder design.
4. Trim the Foil Close to the Plate
Cut a piece of satin gold foil just large enough to cover the sentiment design. Avoid leaving a large border of excess foil around the plate. Extra foil can touch the heated plate or shims and transfer to areas where it is not wanted. Trimming the foil closer to the plate reduces the amount of cleanup required later.
I keep a separate pair of regular scissors for cutting foil. This prevents residue from other craft materials from transferring to the foil.
5. Hot Foil the Sentiments
Place the prepared panel on the heated Glimmer II platform, following the recommended setup for your machine. Allow the plate and foil to heat, add the required shims, and run the platform through the Platinum Six.

Remove the foil to reveal the satin gold greeting. Repeat the process for the remaining panels, changing the sentiment position to coordinate with each planned embossing design. The original Glimmer Hot Foil System can also be used for this technique.
6. Use a Magnet to Hold the Glimmer II Cord
The Glimmer II power cord connects directly to the platform. When the cord is unplugged before running the platform through the die-cutting machine, it may slide away from the work area.

To keep it nearby, place a magnet on a compatible work surface and use it to catch the metal end of the cord. This small setup adjustment makes it easier to reconnect the platform between foiling passes.
7. Remove Small Areas of Overfoiling
If unwanted foil appears around the sentiment, start with a piece of low-tack tape. Gently press the tape onto the excess foil and lift it away. Keep the tape away from the greeting itself so you do not disturb the foil you want to retain. The same piece of tape used to create the plate hinge can often be reused for this step.
For smaller or more stubborn areas, use a sanding eraser or a regular eraser. Work slowly and check the panel frequently. A light touch gives you more control than trying to remove all the excess foil at once.
8. Lightly Mist the Cardstock
Before embossing, lightly mist both sides of the cardstock with water. A small amount of moisture helps the paper move into the detailed areas of the embossing folder. The cardstock should be lightly damp, not wet. Too much water can make the panel look splotchy and may increase curling while it dries.
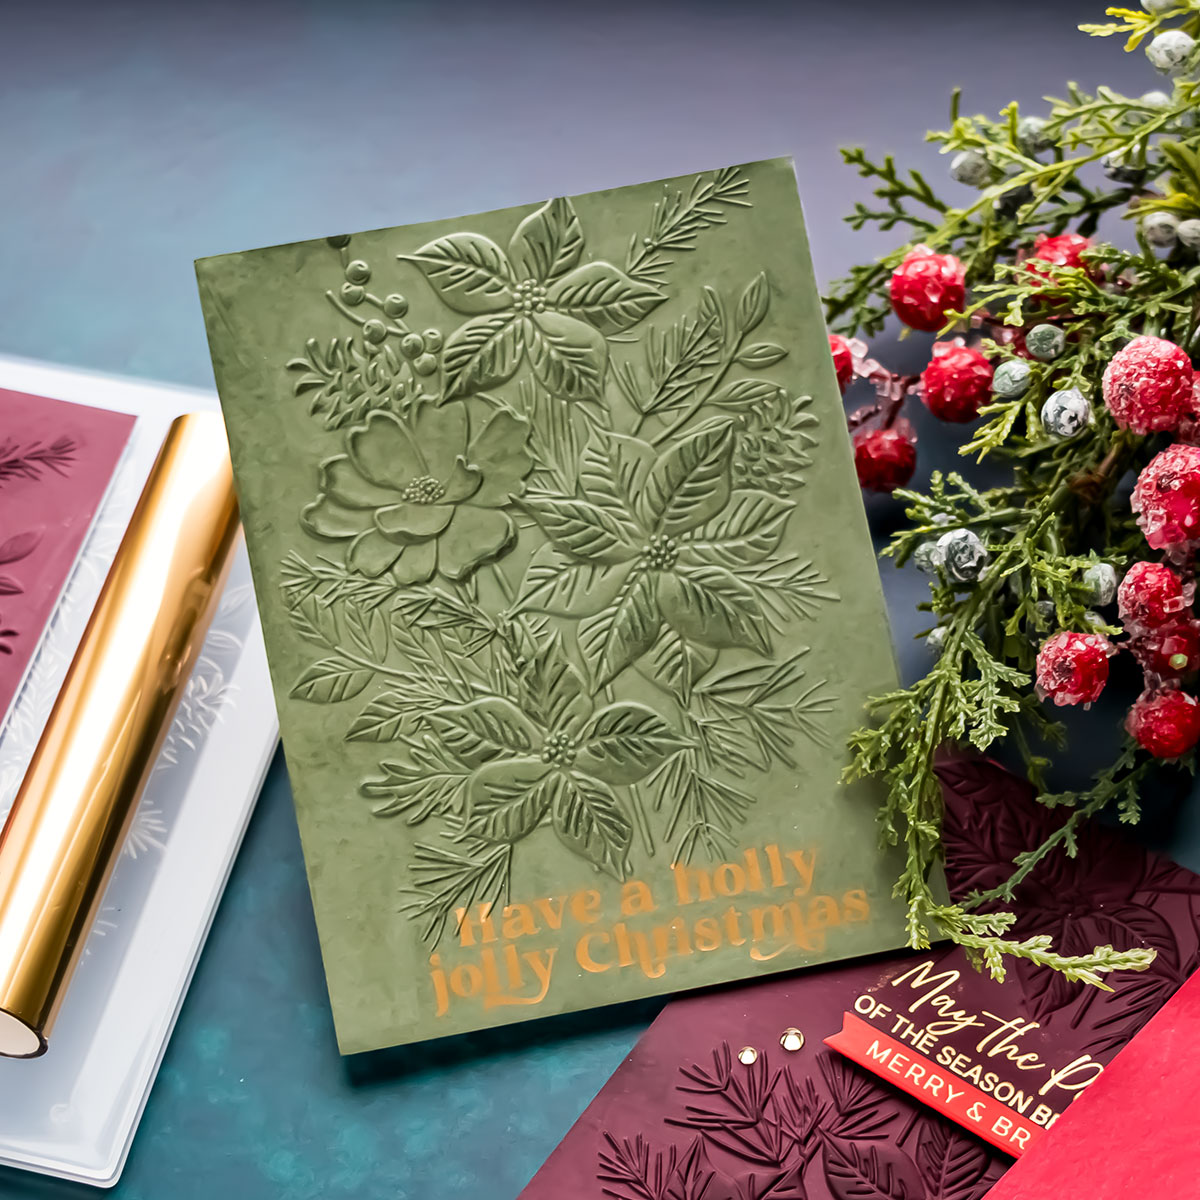
A fine misting bottle works well. A lightly damp baby wipe can also be used when a mister is unavailable.
9. Position the Foiled Panel in the Embossing Folder
Open the Poinsettia Bouquet Embossing Folder and study both sides. For the effect shown on these cards, position the front of the cardstock against the side where the design is recessed into the folder. Move the panel inside the folder until the poinsettias complement the foiled sentiment. Because the greeting is already visible, you can adjust the floral design around it before embossing.
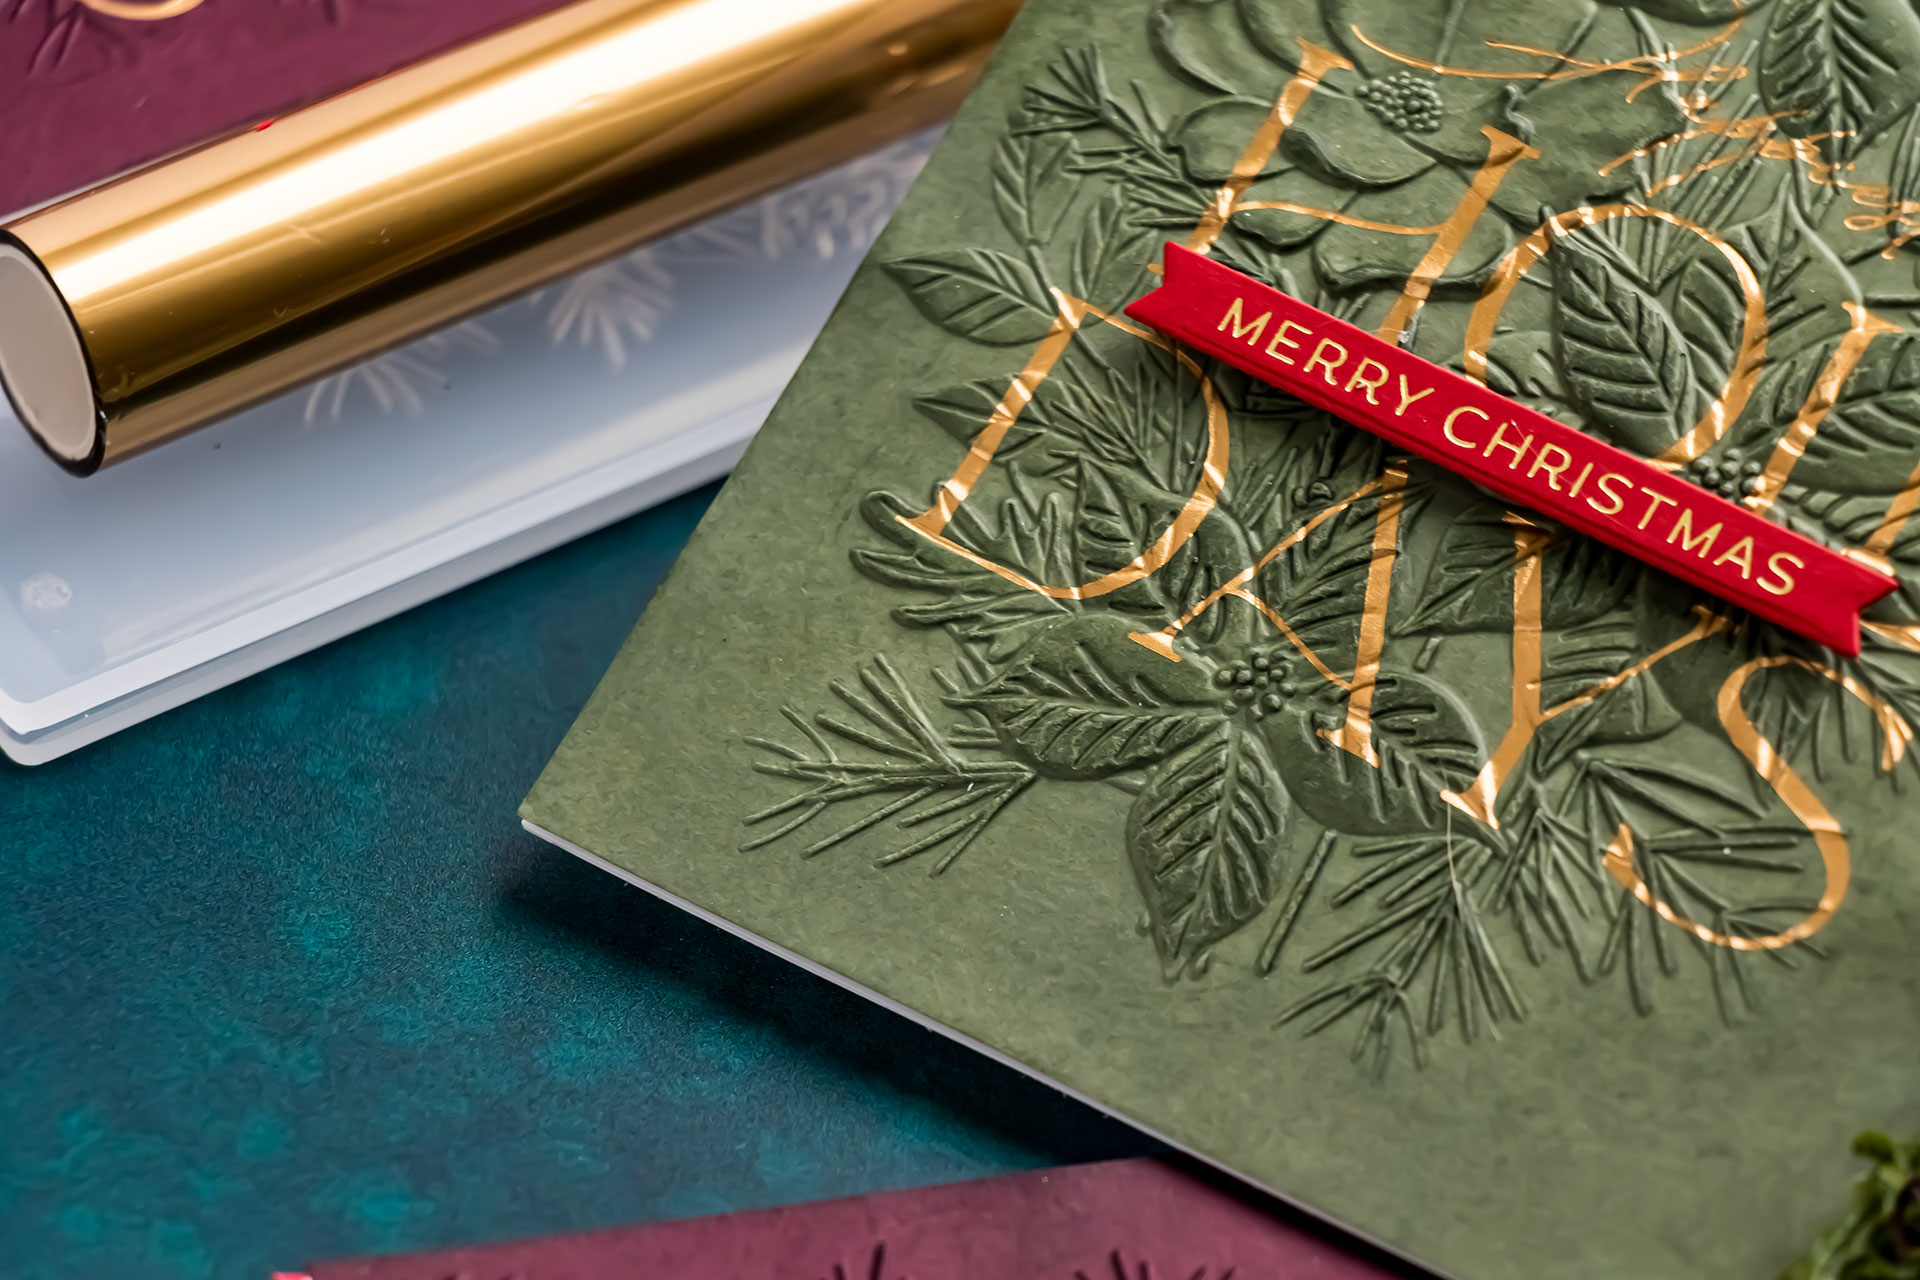
Do not assume that the cardstock always needs to sit in the same position. Moving it higher, lower, or slightly to one side can produce several different backgrounds from one embossing folder.
10. Emboss the First Full Background
Close the embossing folder and prepare the correct sandwich for your die-cutting machine. For the setup shown in the video, I used the Platinum Six platform base and the C cutting plate. Check the instructions for your specific machine and embossing folder, as the correct sandwich can vary.
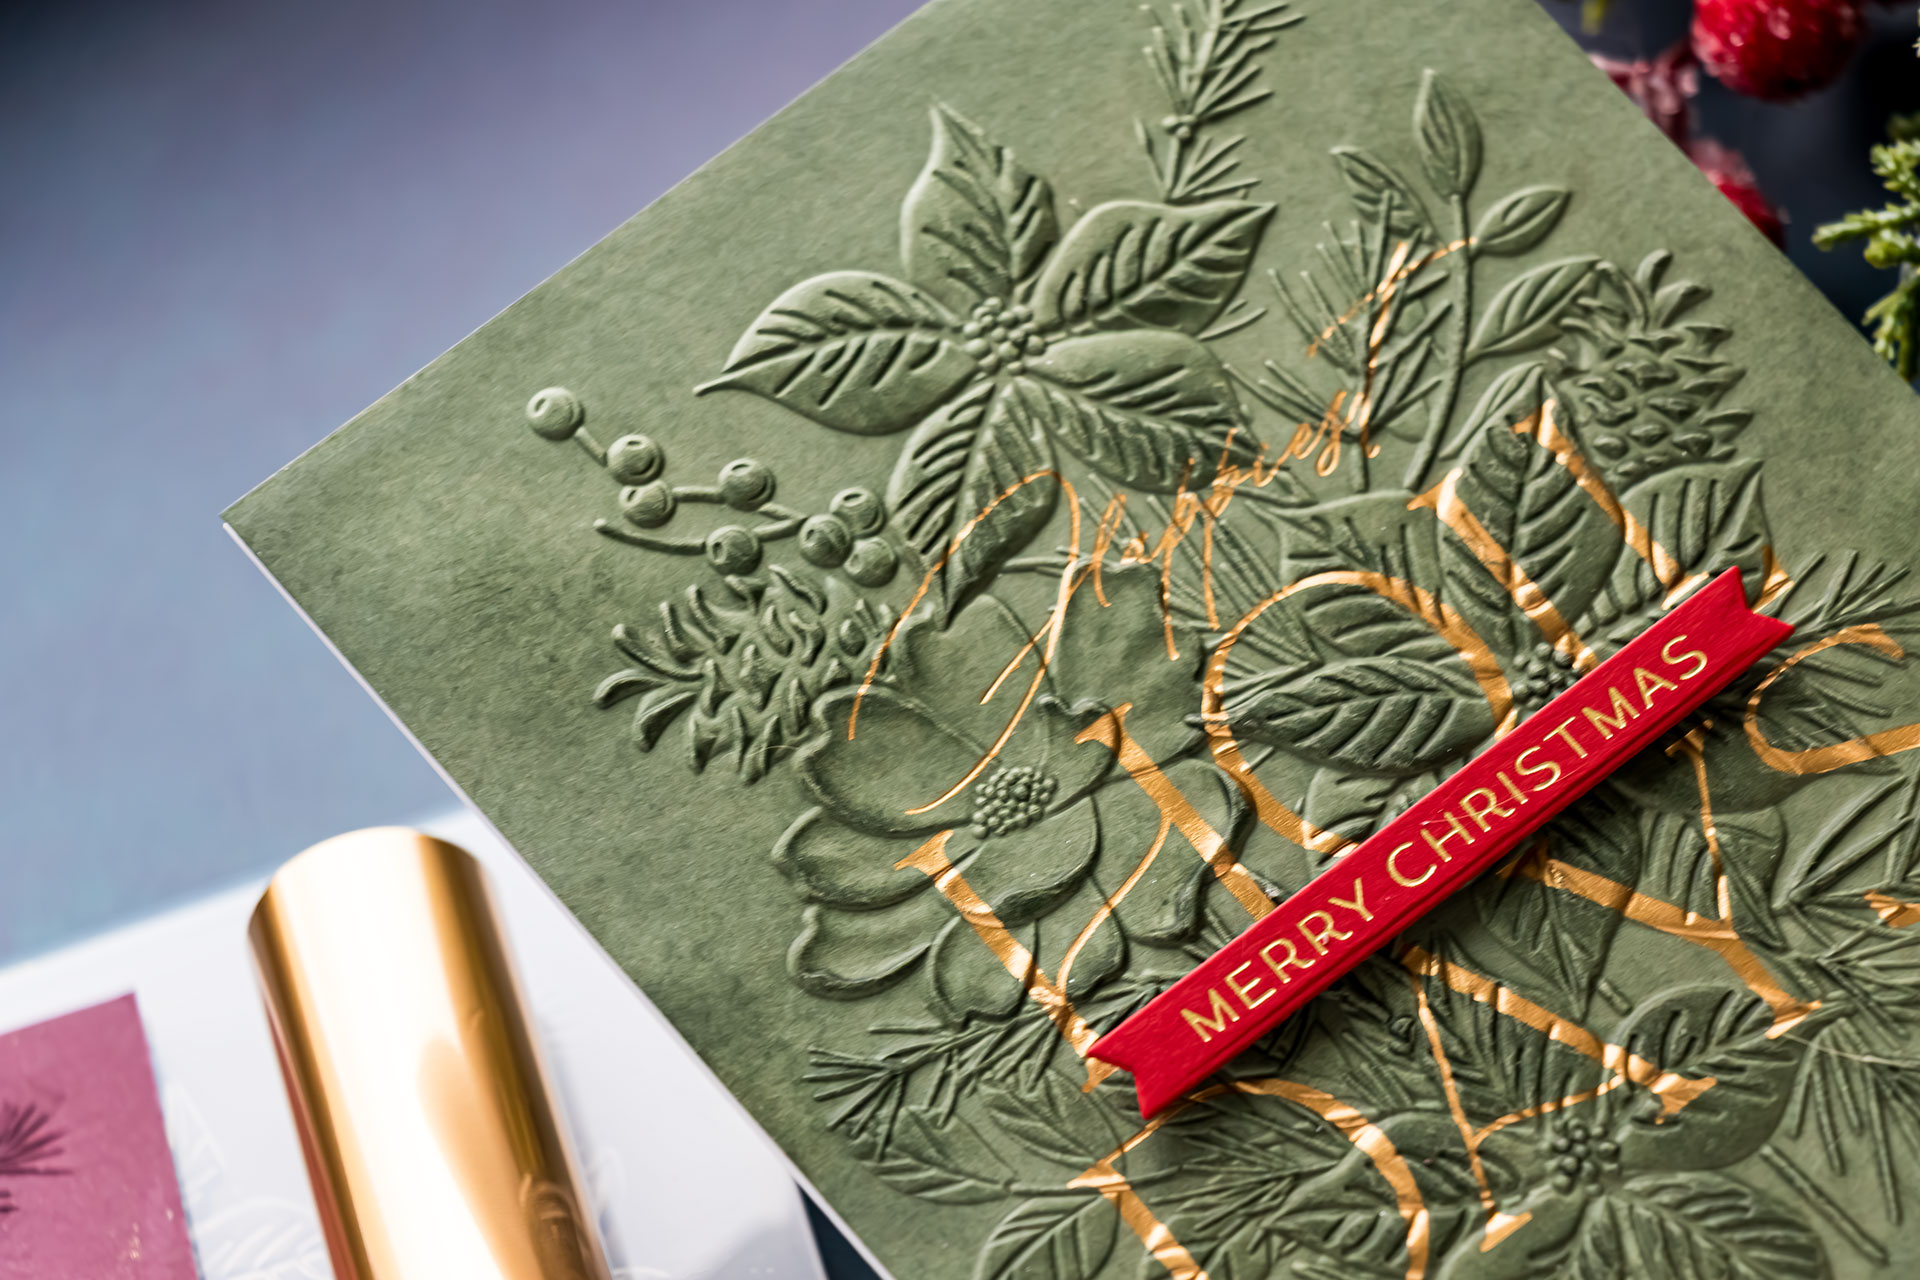
If the folder is difficult to feed into the machine, position it at a slight angle. This allows the rollers to begin applying pressure gradually instead of meeting the entire straight edge of the folder at once.
Run the folder through the machine and remove the panel to reveal the embossed poinsettias surrounding the gold sentiment.
11. Reposition the Folder for a Second Variation
For the second card, move the embossed floral design toward the top of the panel. Allow part of the design to extend beyond the upper edge if needed.
This creates more open space near the bottom for the sentiment. The embossed poinsettias remain prominent, but they do not compete with the words.
Repositioning the folder is an easy way to create variation when mass-producing Christmas cards. The supplies and technique remain the same, but the finished compositions look different.
How to Create Partial Embossing
12. Plan the Smooth Sentiment Area
For the third card, leave the center of the panel relatively smooth and emboss only the top and bottom sections. The smooth area gives the smaller foiled greeting room to remain clear and readable.
This partial embossing technique creates a natural frame around the sentiment without adding a separate die-cut layer.
13. Emboss the Top of the Panel
Lightly mist the cardstock and position it inside the embossing folder. Arrange the poinsettia design over the upper section of the panel.
Instead of covering the entire folder with the cutting plate, place the plate only over the area you want to emboss. Pressure will be applied beneath the plate, while the uncovered portion remains smooth.
Pay close attention to the edge of the cutting plate. If it ends across an open section of cardstock, it may leave a visible pressure line. Position the edge where it will blend into the embossed design rather than crossing the smooth sentiment area.
14. Emboss the Bottom of the Panel
Reposition the cardstock and embossing folder for the lower section. Place the cutting plate only over the area that needs texture and run the folder through the machine again.
The result is a panel with embossed poinsettias at the top and bottom and a smooth center surrounding the gold greeting.
If you have a wider die-cutting machine, you may be able to rotate the embossing folder and approach partial embossing from another direction. The folder used in this project was too wide to run sideways through the Platinum Six, so the two-pass method worked better.
How to Dry Embossed Cardstock Without Excessive Warping
The cardstock may appear darker or splotchy immediately after embossing because it is still damp. The original color returns as the water evaporates.
Place each embossed panel on a flat surface and cover it with clean plates, shims, or another evenly weighted object while it dries. Holding the cardstock flat during drying helps reduce curling and makes the finished panel easier to attach to a card base.
Allow the panel to dry before applying watermark ink or assembling the card.
Reinforce the Embossed Panels
Cut scrap cardstock into panels slightly smaller than the A2 card fronts. Glue two of these scrap panels together, then attach the stacked piece behind each foiled and embossed background.
These hidden layers support embossed cardstock that may not be completely flat. They also give the finished cards a more substantial feel without adding visible decorative layers.
Attach the reinforced panels to white side-folding A2 card bases.
Highlight the Embossing with Watermark Ink
The embossed panels can be used exactly as they are, but watermark ink can add subtle contrast to the raised design.
Hold the ink pad almost parallel to the cardstock and brush it very gently across the raised poinsettias and foliage. Avoid pressing the pad into the recessed areas.
Watermark ink darkens the cardstock slightly where it touches the paper. This makes the raised flowers easier to see while preserving the monochromatic background.
Start with almost no pressure. Examine the result, then repeat the process if you want stronger contrast. It is easier to add another light layer than to correct an area that has become too dark.
You can also apply the ink selectively, emphasizing individual flowers or leaves rather than covering the entire design.
Add an Optional Secondary Sentiment
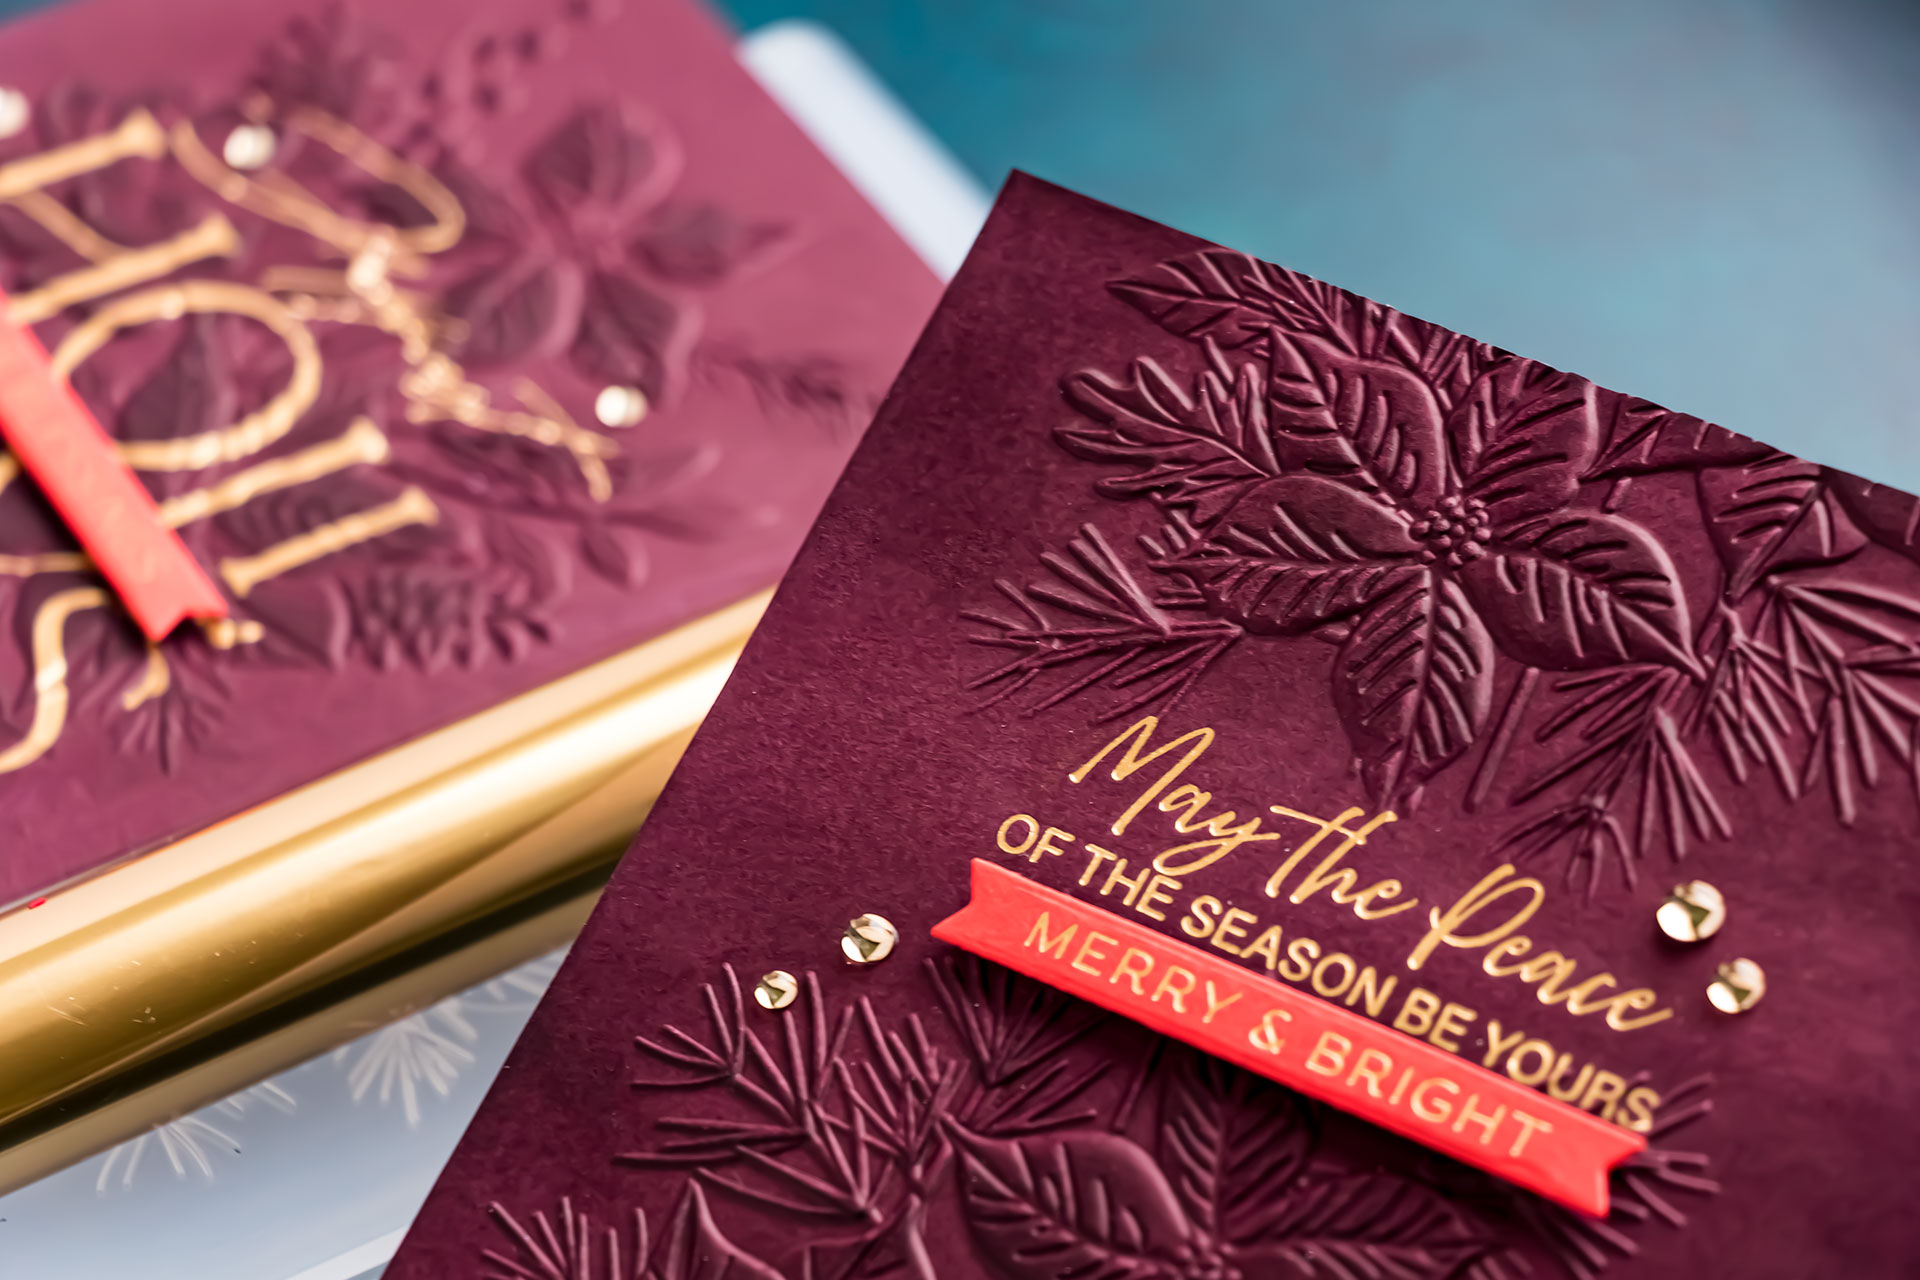
To introduce a small amount of traditional Christmas color, hot foil sentiments from the Holiday Banner Greetings Press & Foil Plate onto red cardstock and cut them out.
Add one banner to selected cards with foam adhesive. The red becomes a small accent rather than a dominant part of the palette, bringing warmth to the Midnight Purple and Moss backgrounds.
Leave some cards without the banner to create variety within the set. The large foiled greeting is sufficient on its own, while the secondary greeting provides an optional finishing detail.
Finish with Clear Drops
Add several Pinkfresh Studio Clear Drops in Champagne around the embossed design. The clear embellishments introduce shine without covering the poinsettia texture or competing with the satin gold foil.
Keep the placement light and irregular. A few carefully positioned drops are enough to finish these elegant backgrounds.
Tips for Combining Hot Foiling and Embossing Folders
- Hot foil the sentiment before embossing the cardstock.
- Plan the sentiment and embossing-folder positions together.
- Use individual sentiment plates when you need flexible placement.
- Create a low-tack tape hinge to preserve the plate position.
- Trim foil close to the plate to reduce unwanted foil transfer.
- Use low-tack tape or a sanding eraser to clean up overfoiling.
- Mist cardstock lightly on both sides before embossing.
- Place the embossing folder at a slight angle if it is difficult to feed into the machine.
- Dry damp panels under even weight to help keep them flat.
- Apply watermark ink with very light pressure.
- Use partial embossing when a sentiment needs more open space.
Ways to Customize These Christmas Cards
- Replace satin gold foil with silver, copper, or opaque white foil.
- Use navy, burgundy, forest green, black, or dark gray cardstock.
- Skip the watermark ink for a softer monochromatic background.
- Apply pigment ink lightly to the raised design for stronger contrast.
- Emboss only one corner of the panel instead of the top and bottom.
- Use a single large sentiment for a nearly one-layer card.
- Add a small contrasting sentiment banner to selected cards.
- Repeat one layout to mass-produce a coordinated holiday card set.
Frequently Asked Questions
Should I hot foil before or after using an embossing folder?
Hot foil the sentiment before embossing the cardstock. The smooth paper allows the plate and foil to make even contact. After foiling, use the embossing folder to add the background texture.
How do I remove overfoiling from cardstock?
Press low-tack tape gently onto the unwanted foil and lift it away. For smaller areas, use a sanding eraser or a regular eraser with light pressure. Keep both away from the intended foiled design.
Why should I mist cardstock before dry embossing?
A small amount of moisture helps the cardstock move into the detailed areas of the embossing folder. Use a fine mist and keep the paper lightly damp rather than wet.
How do I partially emboss a card panel?
Place the cutting plate only over the section of the embossing folder where you want pressure. Emboss one area, reposition the panel, and repeat for the second area. Watch the plate edge carefully so it does not leave a harsh line across the smooth cardstock.
What does watermark ink do on embossed cardstock?
Watermark ink slightly darkens the areas it touches. When brushed gently across the raised portions of dark cardstock, it adds subtle contrast and makes the embossed design more visible.
Are these Christmas cards suitable for mailing?
The principal designs use foiling and embossed texture instead of numerous dimensional layers. The optional sentiment banners and clear drops add some dimension, so check the finished thickness and applicable postal requirements before mailing.
Final Thoughts
Hot foiling a sentiment before embossing the cardstock is a simple change in order, but it opens many creative possibilities. The greeting becomes part of the textured background, allowing you to create elegant Christmas cards without covering the embossing with large sentiment layers.

By moving the cardstock inside the embossing folder, creating partial embossing, or adding watermark ink, you can produce several distinct designs with the same principal supplies. Which version do you prefer – the fully embossed backgrounds or the partially embossed card with the smooth center?
COMPLETE SUPPLY LIST
Affiliate disclosure: Some links in this post may be affiliate links. If you purchase through one of these links, I may receive a small commission at no additional cost to you. Thank you for supporting my blog.