

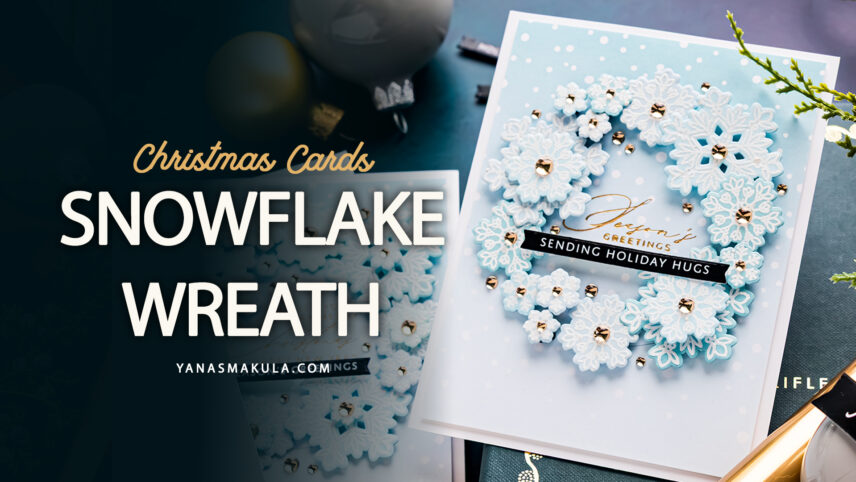

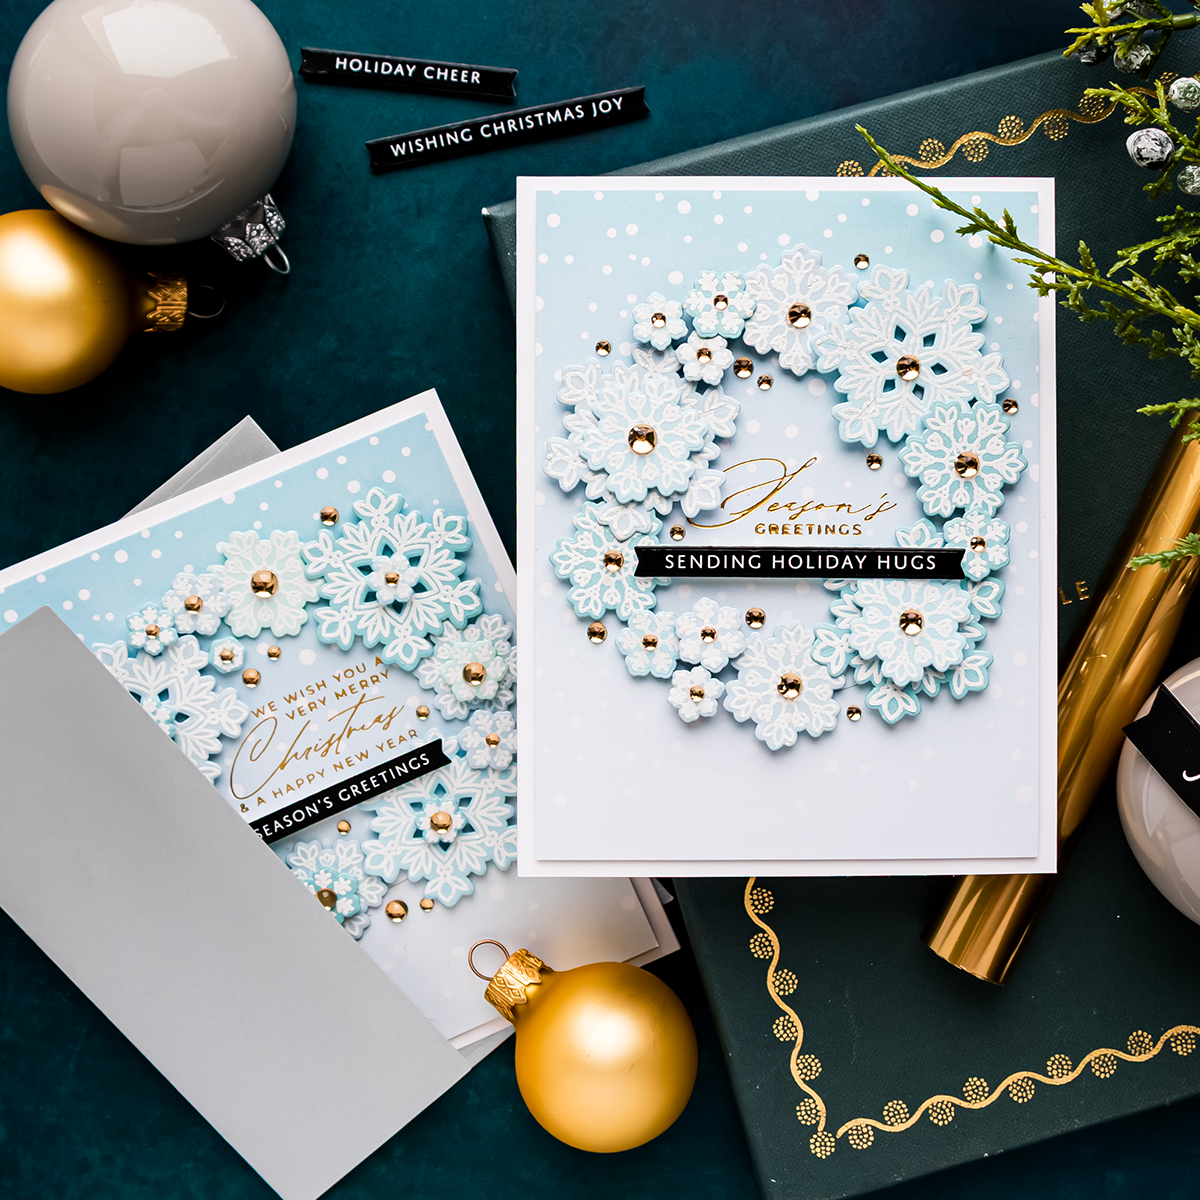
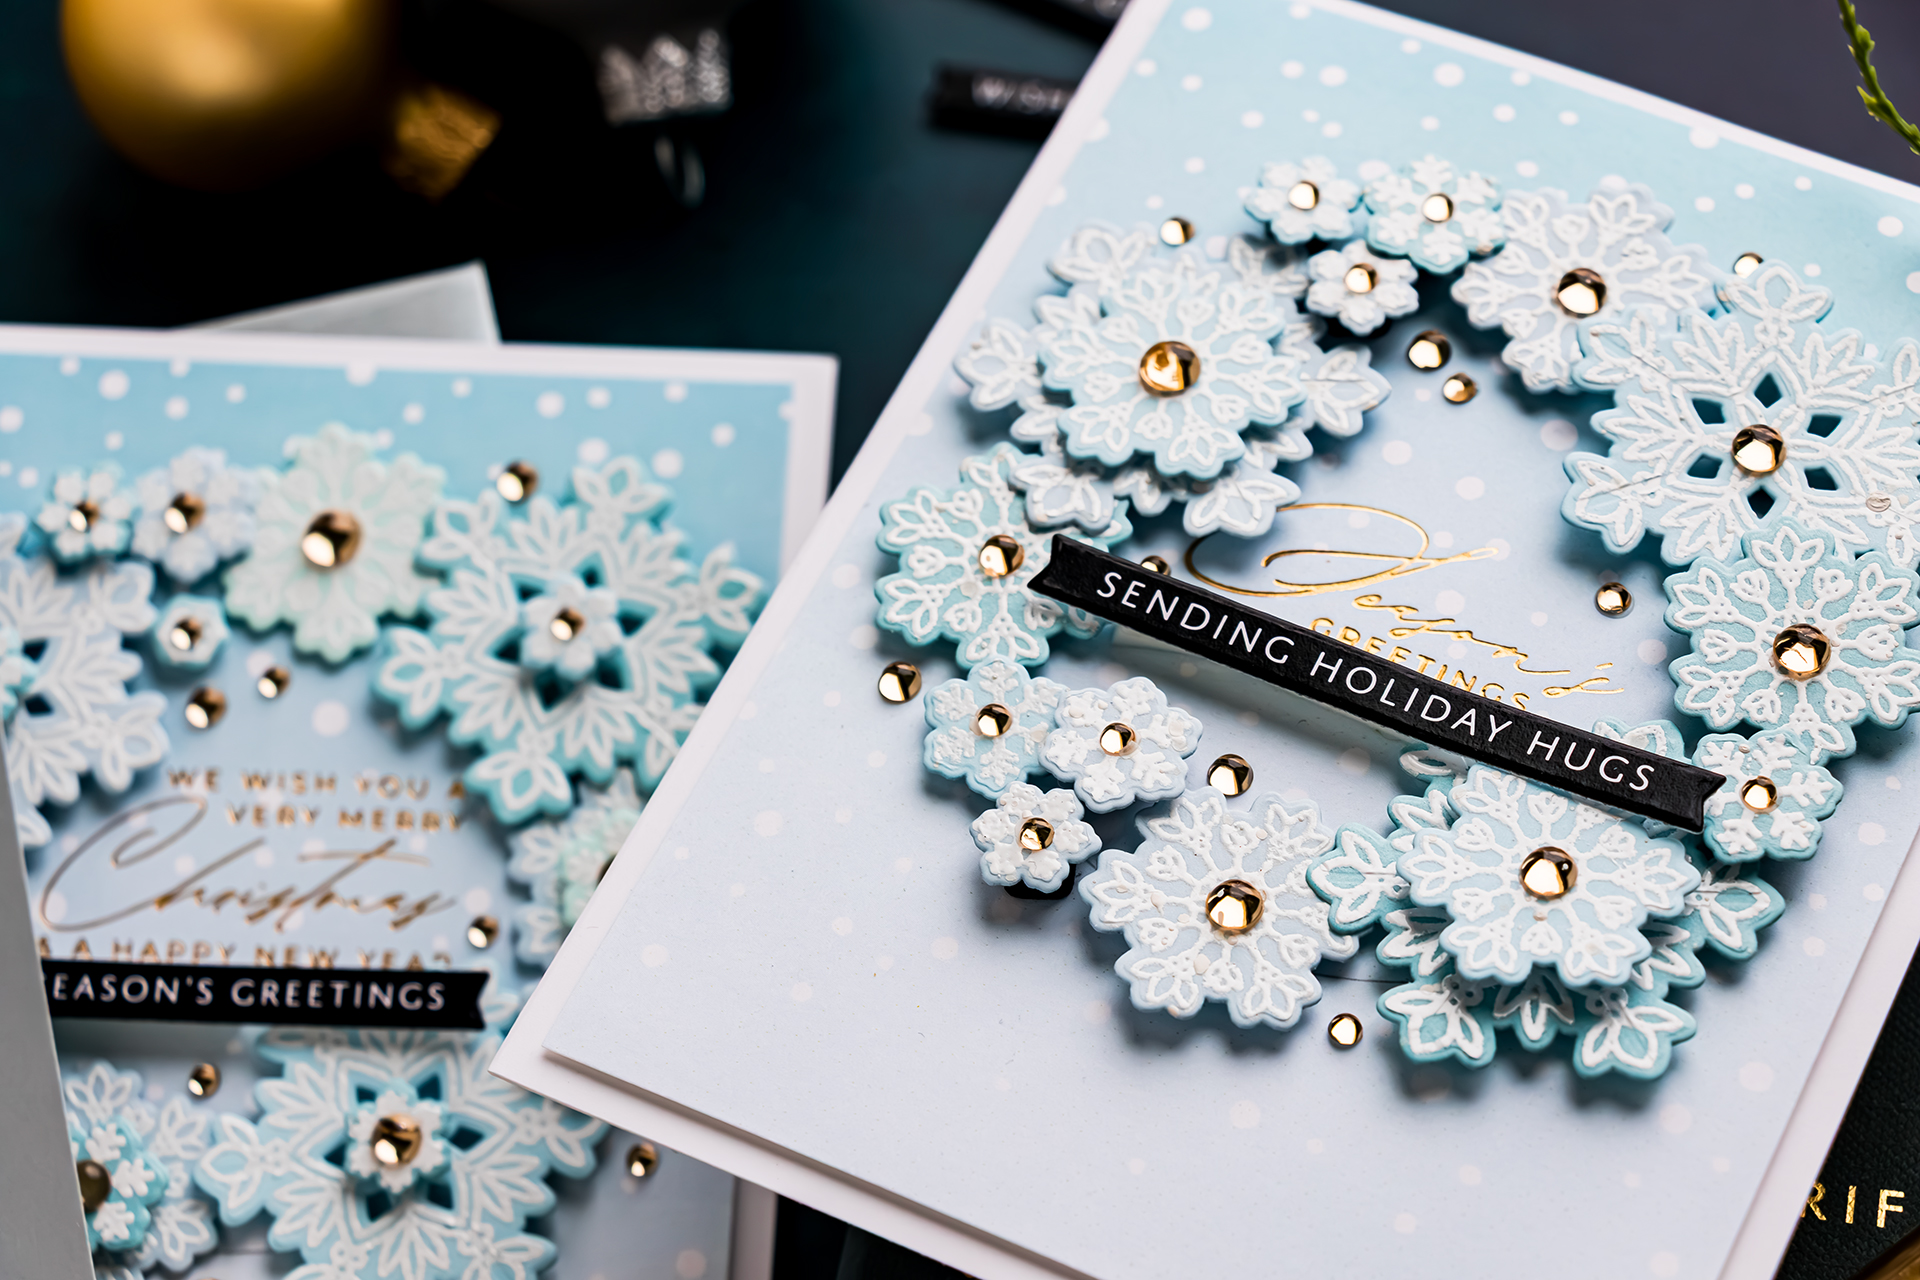
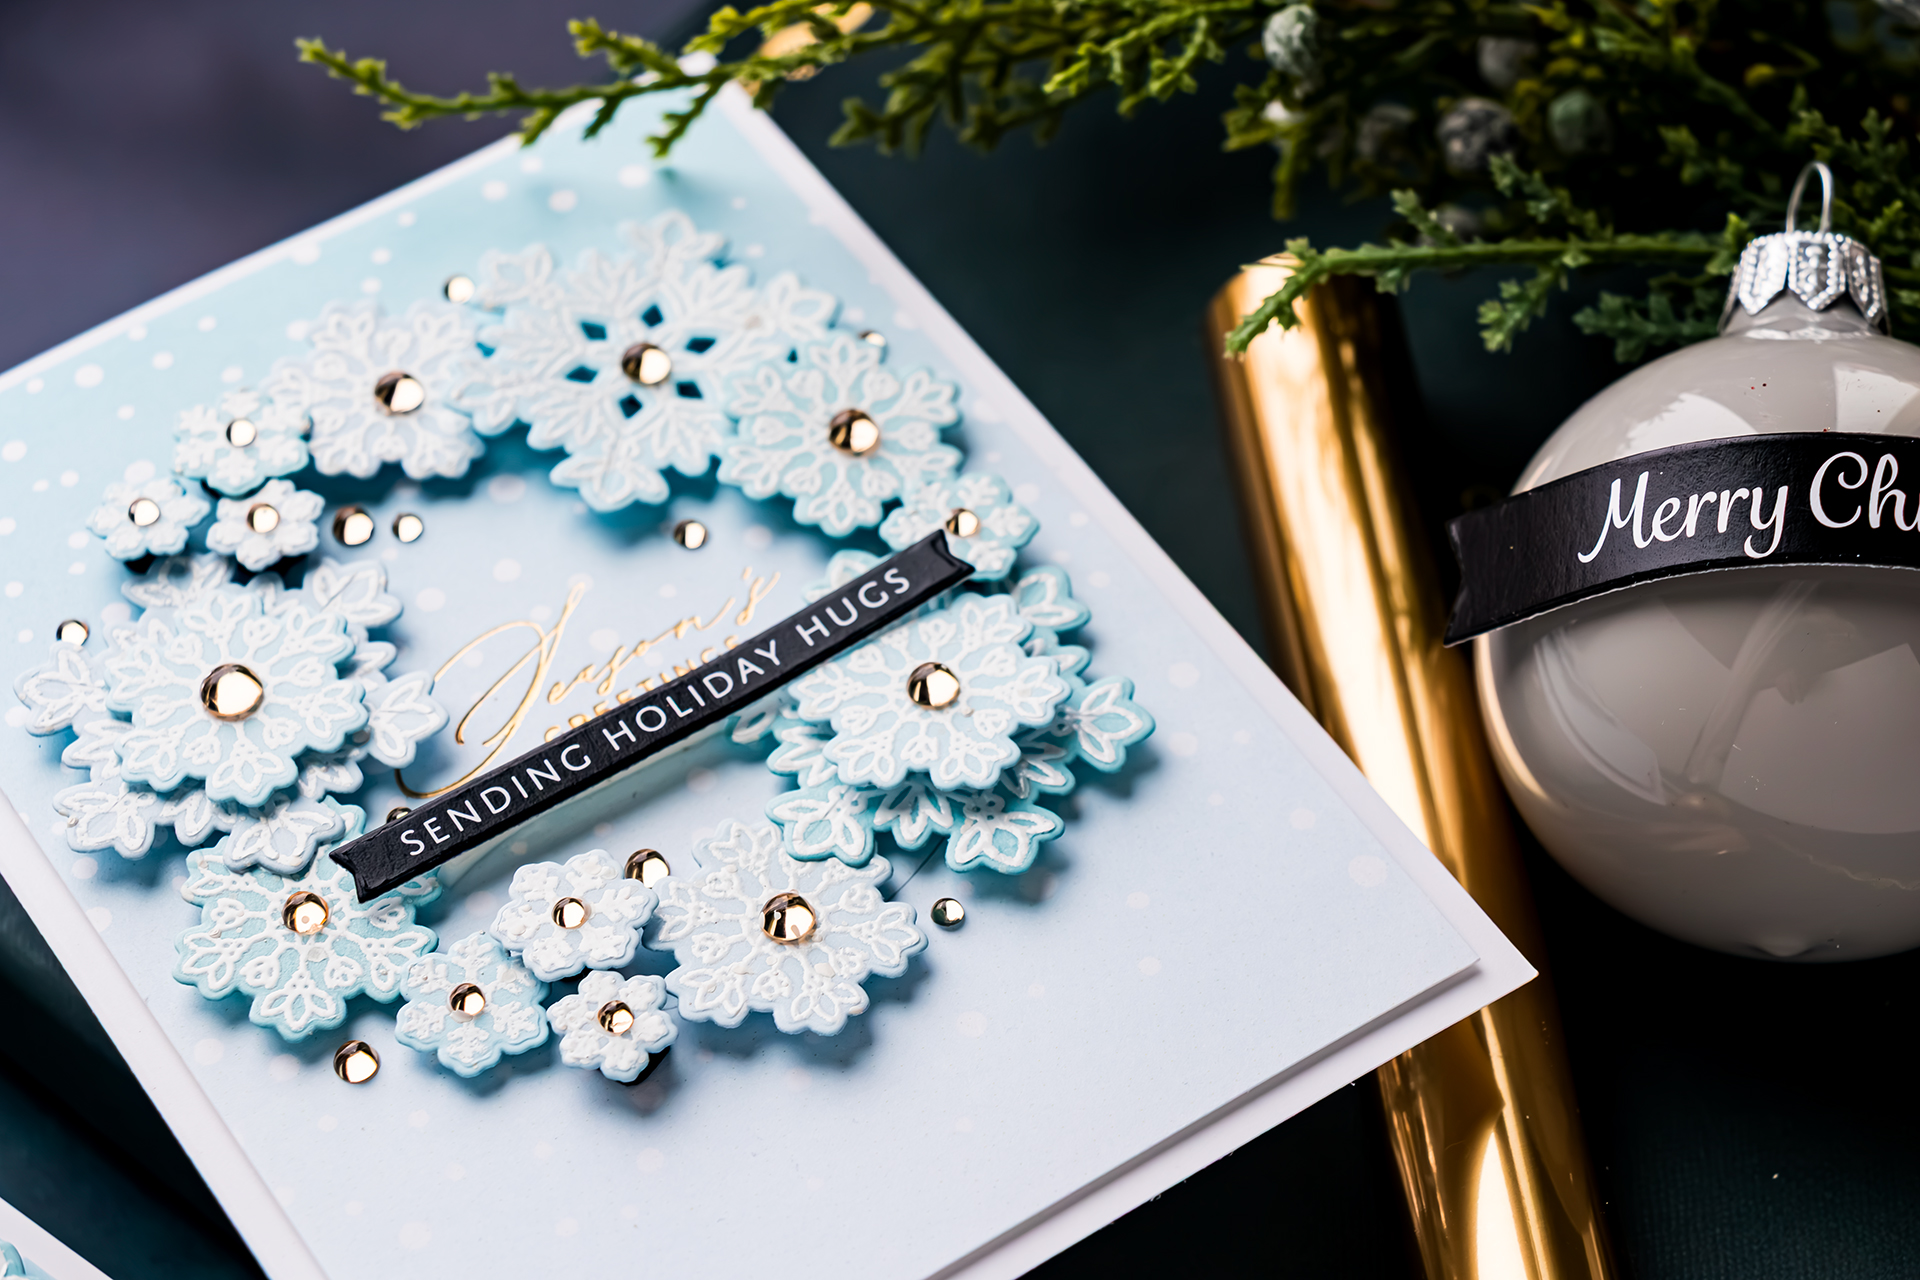
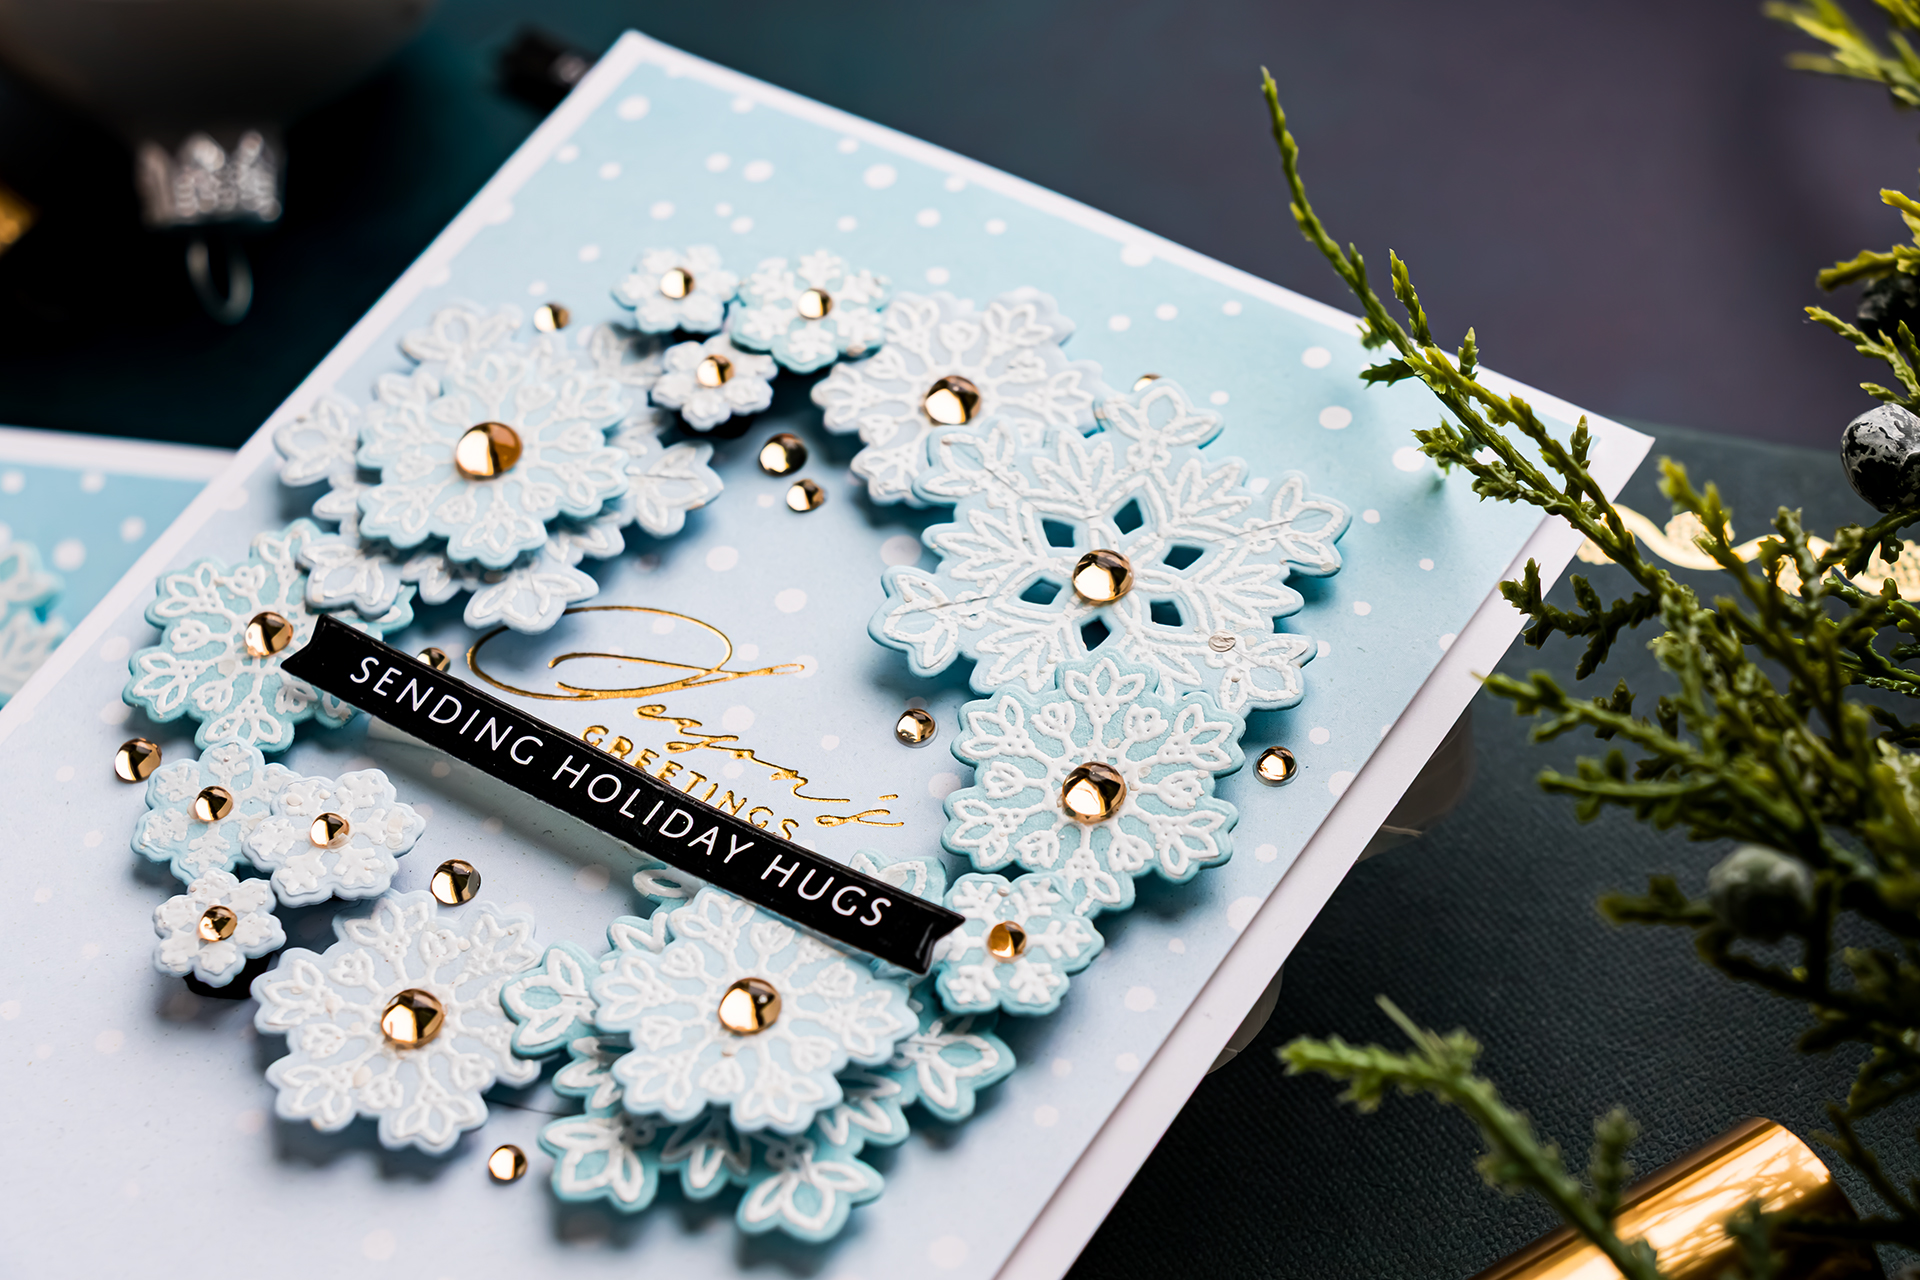
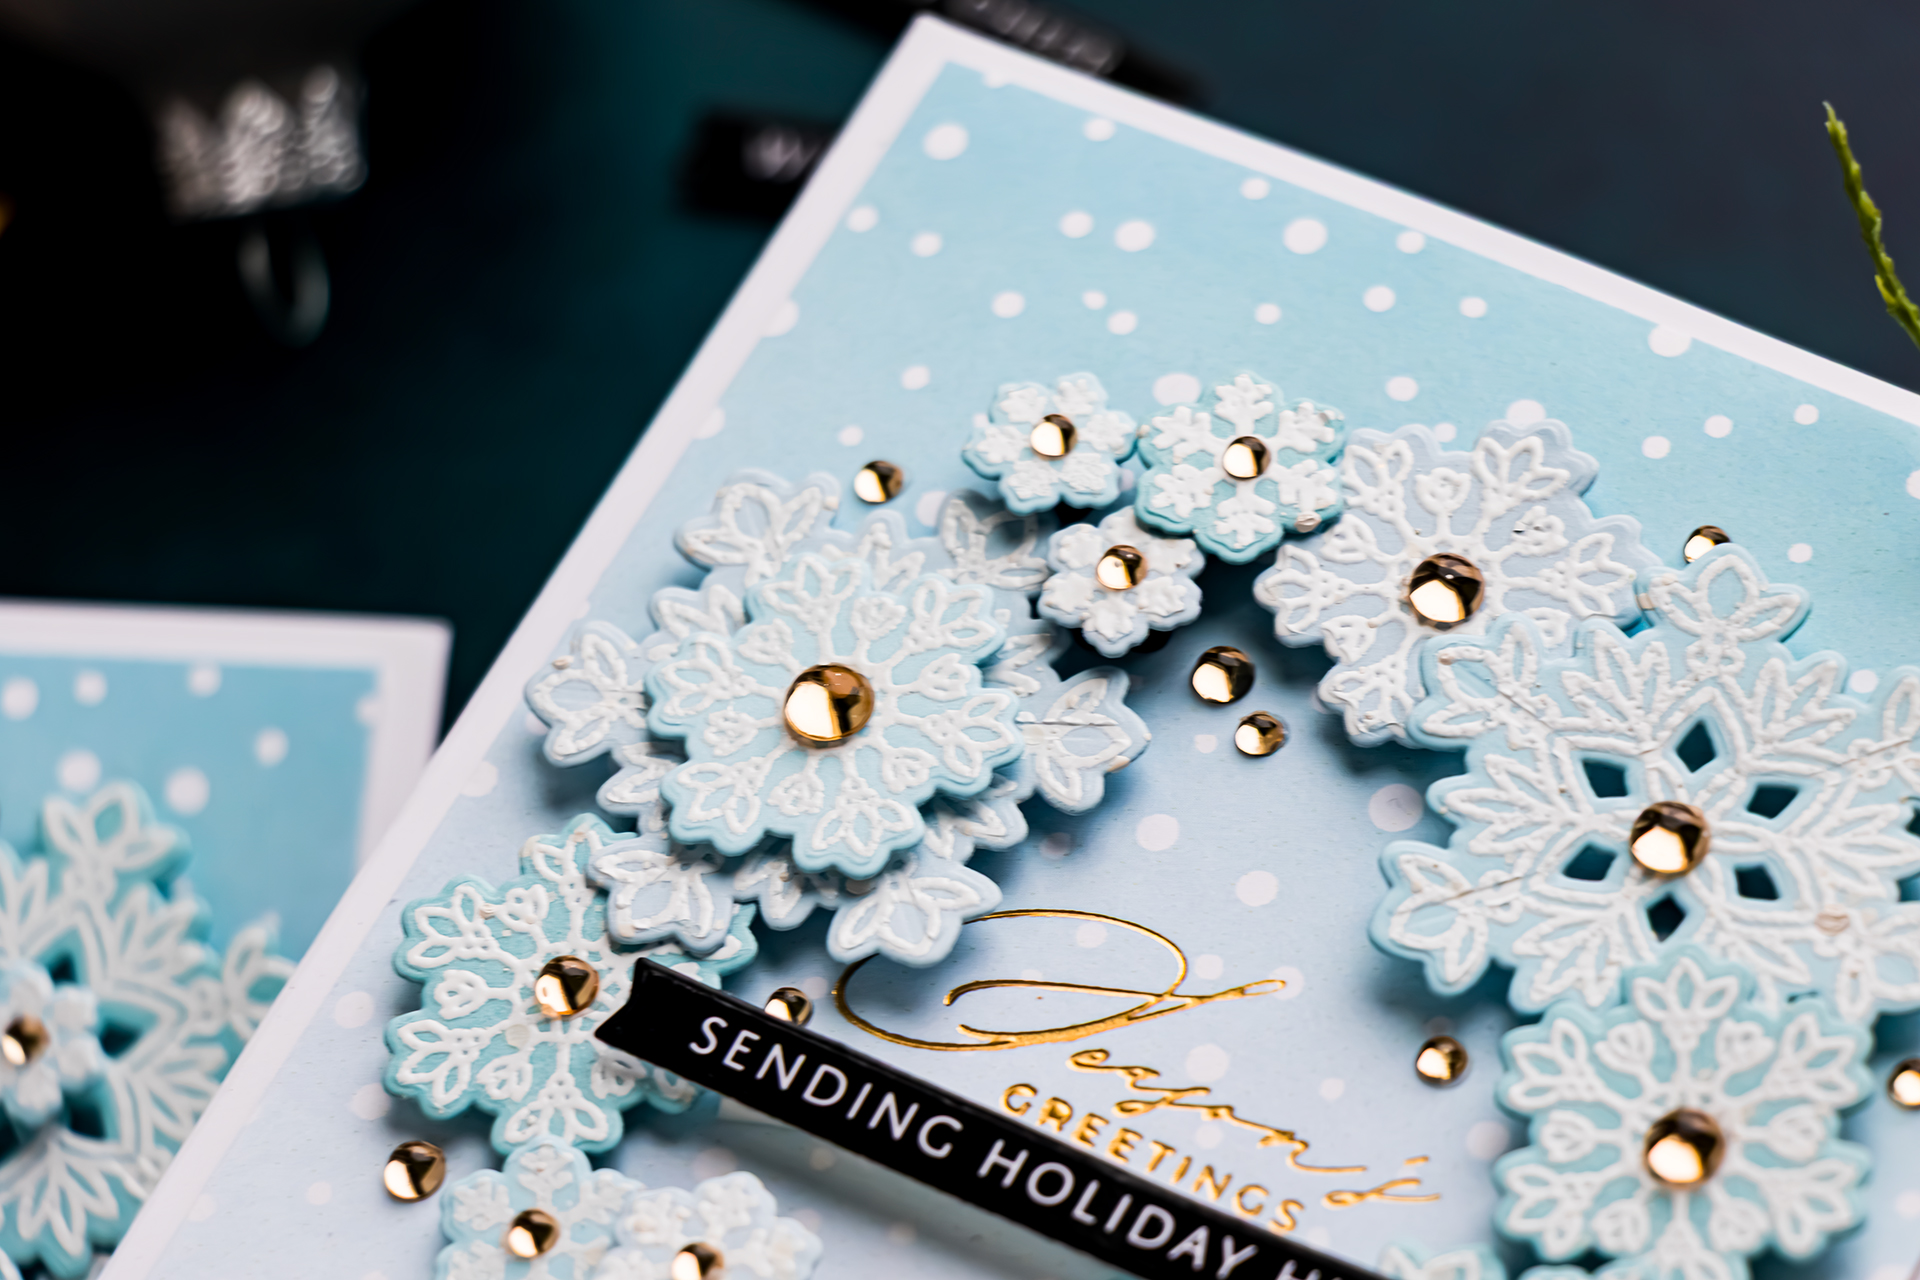
A snowflake wreath Christmas card is an elegant alternative to a traditional greenery wreath, and you can create one with snowflake stamps and coordinating dies. The secret is to trace a simple circle, arrange several sizes of snowflakes around it, and vary their height to build a dimensional, organic-looking wreath.
In this tutorial, I am combining white heat embossing, coordinating dies, hot foiling, and layered foam adhesive to create two A2 Christmas cards. The white snowflakes stand out beautifully against the softly colored Snow Flurries backgrounds, while a satin gold sentiment and Champagne Clear Drops add warmth and shine. This technique is best suited to an intermediate cardmaker, but the traced-circle guide makes the layout surprisingly easy to plan. You can also adapt the design for other winter occasions or simplify it for mass production.
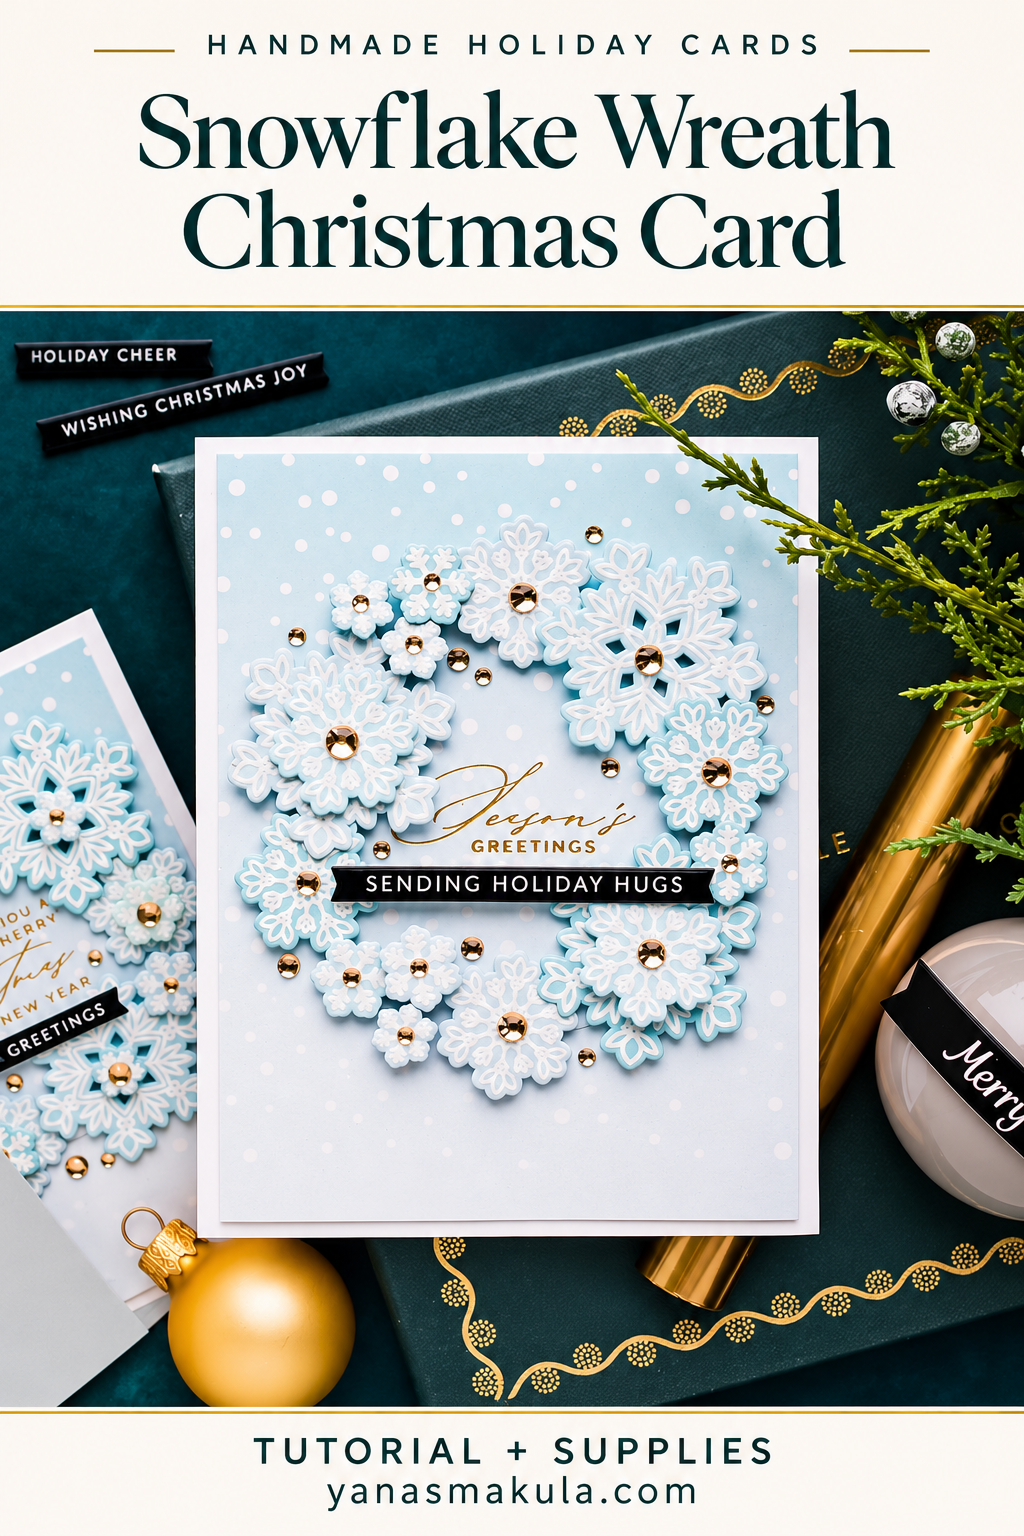
Hello, crafty friends! Let’s create an elegant snowflake wreath that is sure to wow its recipient.
Video Tutorial
Watch the video below to see how to trace and plan the wreath, heat emboss and die cut the snowflakes, hot foil the central sentiment, and vary the height of the snowflakes for additional dimension. I also share a time-saving die-cutting trick and an alternative background method for mass-producing the design.
Complete Project Snapshot
| Project type | Set of two handmade Christmas cards |
|---|---|
| Occasion | Christmas and winter celebrations |
| Skill level | Intermediate |
| Approximate time | 45 Minutes per card |
| Finished size | A2 – 4 1/4 x 5 1/2 inches |
| Design and background | Dimensional snowflake wreath on a softly colored Snow Flurries background |
| Techniques | Heat embossing, die cutting, hot foiling, wreath building, dimensional layering, and embellishing |
| Featured products | Simon Says Stamp Joy for You Stamps and Dies, Snow Flurries A2 Card Fronts, and Spellbinders Holiday Hugs Sentiments |
| Machines and systems | Die-cutting machine, Glimmer II Hot Foil System, MISTI Lite Stamping Tool, and heat tool |
| Color palette | Light blue, white, champagne, and satin metallic gold |
| Materials | Printed card fronts, embossing ink, white detail embossing powder, hot foil, foam adhesive, scrap cardstock, and clear drops |
| Dimension and finish | Snowflakes mounted at several heights, raised card panel, gold foil, and Champagne Clear Drops |
| Optional technique | Create a similar background with ink blending, the Snow Flurries and Hills Stencil Set, and white texture paste |
What You’ll Need
Stamps, Dies, Stencils, and Sentiments
- Simon Says Stamp Joy for You Stamps and Dies
- Holiday Hugs Sentiments Press and Foil Plate and Die Set by Yana Smakula
- Simon Says Stamp EZ Strips Reverse To You and Yours
- Simon Says Stamp EZ Strips Banners Wafer Dies
- Simon Says Stamp Pack of 8 Snow Flurries Card Fronts
- Simon Says Stamp Snow Flurries and Hills Stencil Set – optional for creating additional backgrounds
Cardstock
- Simon Says Stamp Sea Glass Cardstock
- Simon Says Stamp Surf Blue Cardstock
- White cardstock for the A2 card bases
- Scrap cardstock for adding dimension behind the card fronts
Heat Embossing and Hot Foiling Supplies
- Simon Says Stamp White Fine Detail Embossing Powder
- Simon Says Stamp Embossing Ink Pad
- Simon Says Stamp Brush Powder Tool
- Spellbinders Glimmer Hot Foil Satin Metallics Variety Pack
- Spellbinders Glimmer II Hot Foil System
- Wagner Precision Heat Tool
Adhesives and Embellishments
- Spellbinders Best Ever Craft Tape
- Bearly Art Mini Precision Craft Glue
- Simon Says Stamp Thin White 3D Foam Squares Large
- Simon Says Stamp White 3D Foam Squares
- Pinkfresh Studio Clear Drops: Champagne
Additional Supplies
- MISTI Lite, Platform and Magnet Bundle
- Simon Says Stamp Pawsitively Everything 6-Inch T-Square Ruler
- Simon Says Stamp Pickup Tool
- Pencil
- Paper trimmer
- Circle die, tape roll, cup, glass, or another round object
- Die-cutting machine
- Optional white texture paste and ink-blending supplies
Planning the Snowflake Wreath
You do not need a wreath die or stencil to create the circular shape. Any round object that fits comfortably on the card panel can become your wreath guide. Try a circle die, roll of double-sided tape, masking tape, foam tape, cup, or glass.
Center the round object on the Snow Flurries card front and lightly trace around it with a pencil. Keep the line faint because it is only a placement guide. Most of the line will eventually be covered by the snowflakes.
The diameter of the circle determines the finished size of the wreath. A larger circle requires more snowflakes, while a smaller circle requires fewer. The number will also vary if you use snowflakes from another stamp set.
Suggested Snowflake Quantities
For an A2 wreath made with the five snowflake sizes in the Joy for You Clear Stamp Set, prepare approximately the following quantities:
| Snowflake size | Suggested quantity | Purpose |
|---|---|---|
| Size 1 – largest | 3 | Establishes the wreath structure |
| Size 2 – medium | At least 4 | Fills the spaces between the largest snowflakes |
| Size 3 – small | At least 5 | Builds fullness and variation |
| Size 4 – tiny | At least 7 | Fills smaller spaces around the circle |
| Size 5 – smallest | 1 or 2, as needed | Fills any remaining gaps |
Stamp a few extra small snowflakes whenever possible. They are helpful for correcting an uneven area or filling a gap discovered during assembly.
How to Make a Snowflake Wreath Christmas Card
Step 1 – Position the Holiday Hugs Sentiment
Select a sentiment from the Spellbinders Holiday Hugs Sentiments Press and Foil Plate and Die Set and place it inside the traced circle. The selected sentiment plate has a straight edge, so use the Pawsitively Everything T-Square Ruler to position it straight and centered within the circle.
Create a simple tape hinge by securing one side of the plate to the card front with Best Ever Craft Tape. Flip the plate away from the paper, cut the Satin Metallic foil to size, and position the foil on the cardstock. Flip the plate back into place and secure it with another piece of craft tape.
Set the prepared panel aside while the Glimmer II Hot Foil System warms. Preparing the snowflakes during this time keeps the process moving efficiently.
Step 2 – Stamp the Joy for You Snowflakes
Treat each Sea Glass or Surf Blue cardstock panel with the anti-static powder tool. This helps prevent stray embossing powder from clinging outside the delicate stamped lines. Position the five snowflake sizes from the Joy for You Clear Stamp Set inside the MISTI Lite. Stamp them with Simon Says Stamp Clear Embossing Ink, then cover the impressions with White Fine Detail Embossing Powder.
Use fine detail powder rather than standard white embossing powder. The snowflakes contain delicate lines, and the finer powder helps preserve those intricate details.
Because the wreath requires several copies of each snowflake, stamp the same arrangement repeatedly. Keeping the stamps in one position will also make it easier to align the coordinating dies later.
Step 3 – Choose the Right Blue Cardstock
Select a light blue cardstock that is dark enough for the white embossing to remain visible but soft enough to coordinate with the Snow Flurries background. Simon Says Stamp Sea Glass and Surf Blue work well for this design. A color that is nearly white may not provide enough contrast, while a much darker blue could create a stronger contrast than the background requires.
Before embossing several panels, test the white powder on a small cardstock scrap. This helps confirm that the color provides enough contrast.
Step 4 – Heat Emboss the Snowflakes
Heat set the embossing powder with the Wagner Precision Heat Tool until the lines become smooth and glossy. Keep the heat tool moving and stop as soon as each area melts.
White embossing is especially fitting for snowflake images because it creates a crisp, frosted appearance. The same images can also be used for winter birthdays, thank-you cards, hello cards, or thinking-of-you projects.
Step 5 – Hot Foil the Sentiment
Once the Glimmer II Hot Foil System is ready, foil the Holiday Hugs sentiment in the center of the traced circle. The Satin Metallic foil creates a soft gold finish that is elegant without being excessively shiny. The smooth Snow Flurries Card Fronts can be stamped, embossed, or hot foiled, making them a useful base for several techniques.
Allow the panel and plate to cool briefly before removing the plate and foil.
Step 6 – Die Cut the Snowflakes Efficiently
Use the Joy for You Wafer Dies to cut out all the heat-embossed snowflakes. If the snowflakes were stamped in exactly the same positions on every panel, align the coordinating dies on the first panel and secure them with Best Ever Craft Tape. Carefully move that connected die arrangement to the next stamped panel.
This can reduce the time spent aligning multiple dies, but check the placement before every pass. Even a small shift in the cardstock or stamping can cause a die to become misaligned.
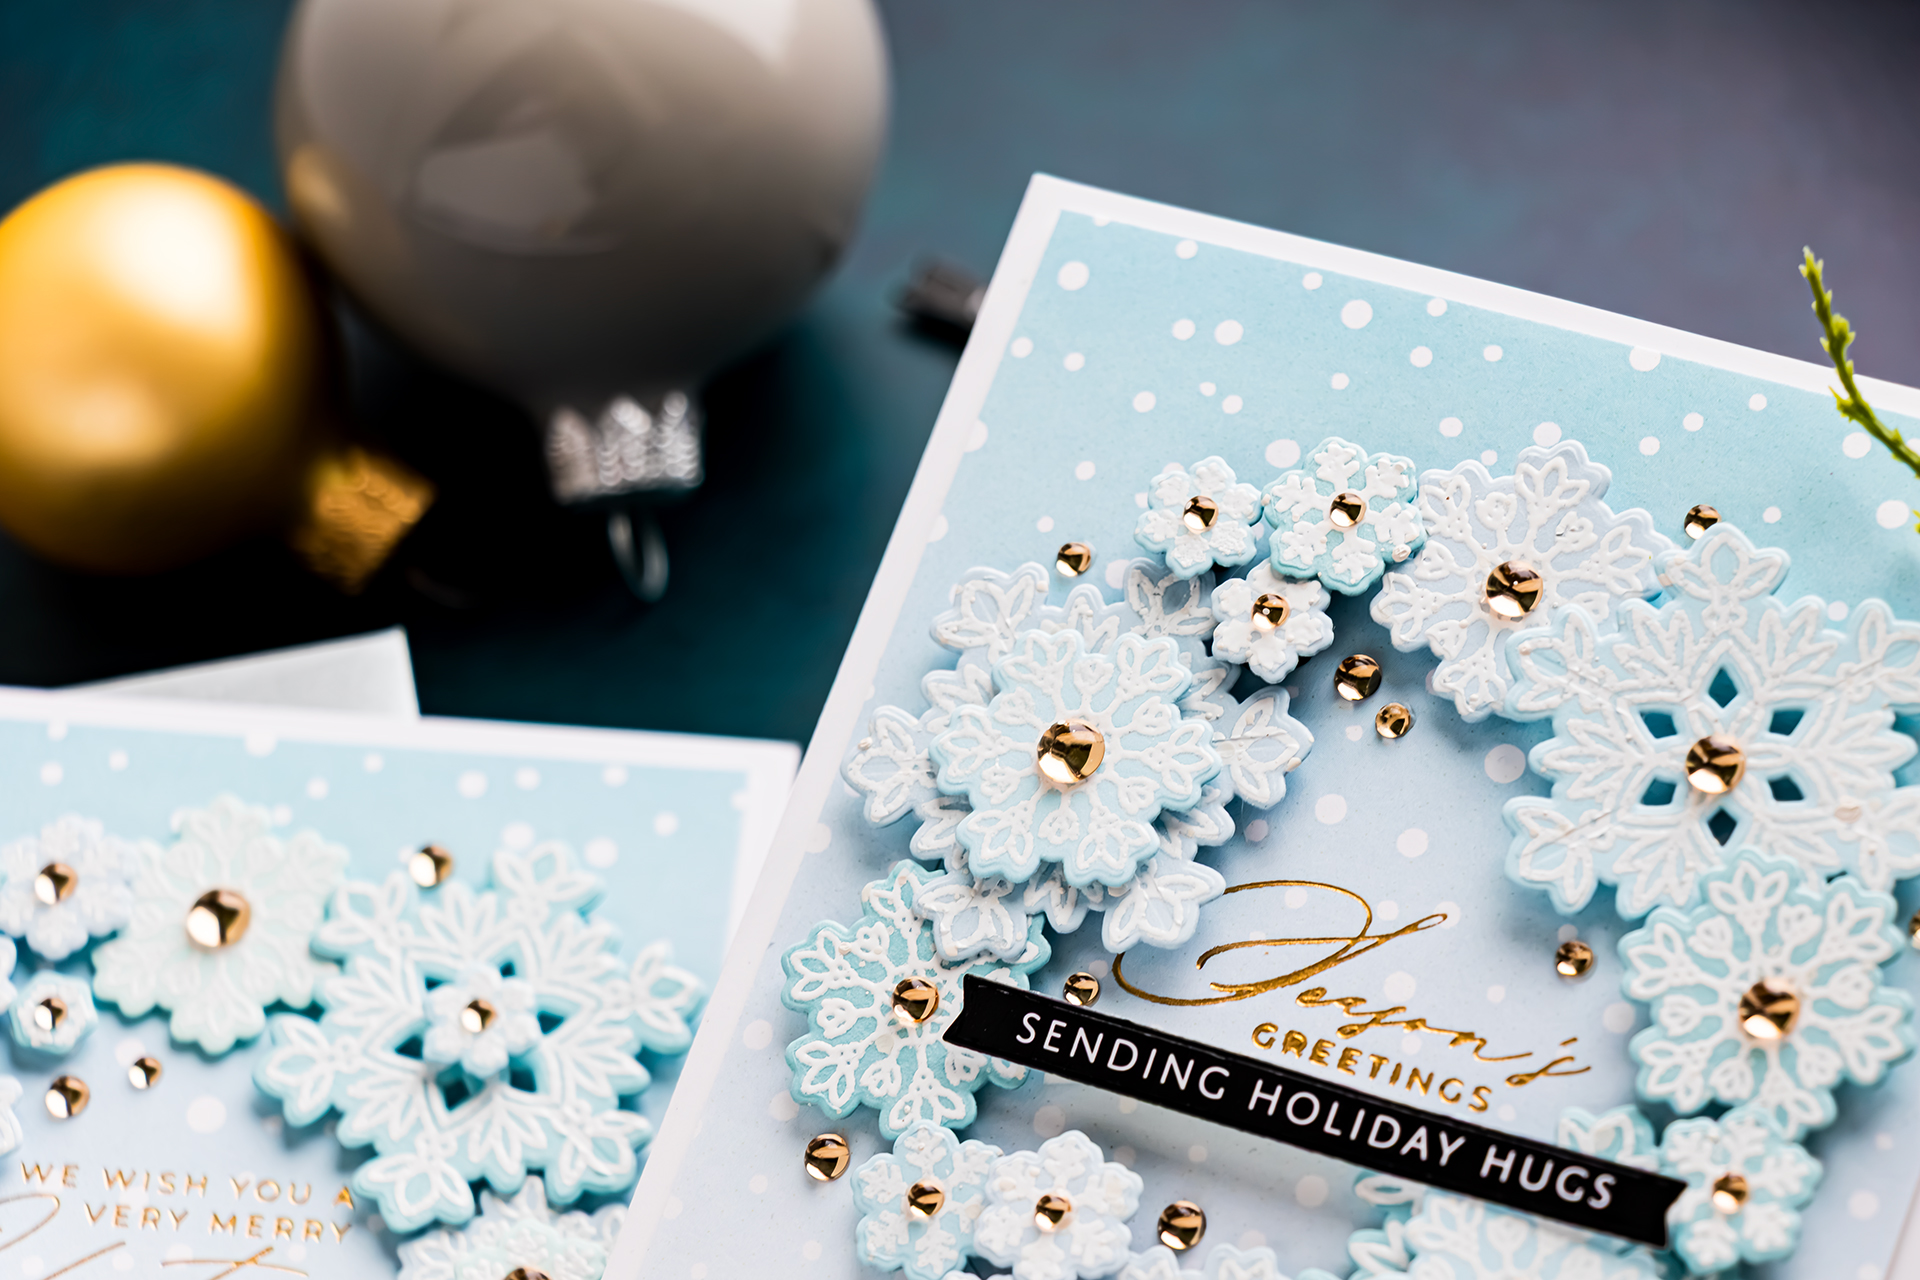
The smallest snowflakes may be more difficult to cut accurately using the grouped-die method. If needed, align those dies individually and use the time-saving technique only for the larger images.
Step 7 – Arrange the Largest Snowflakes
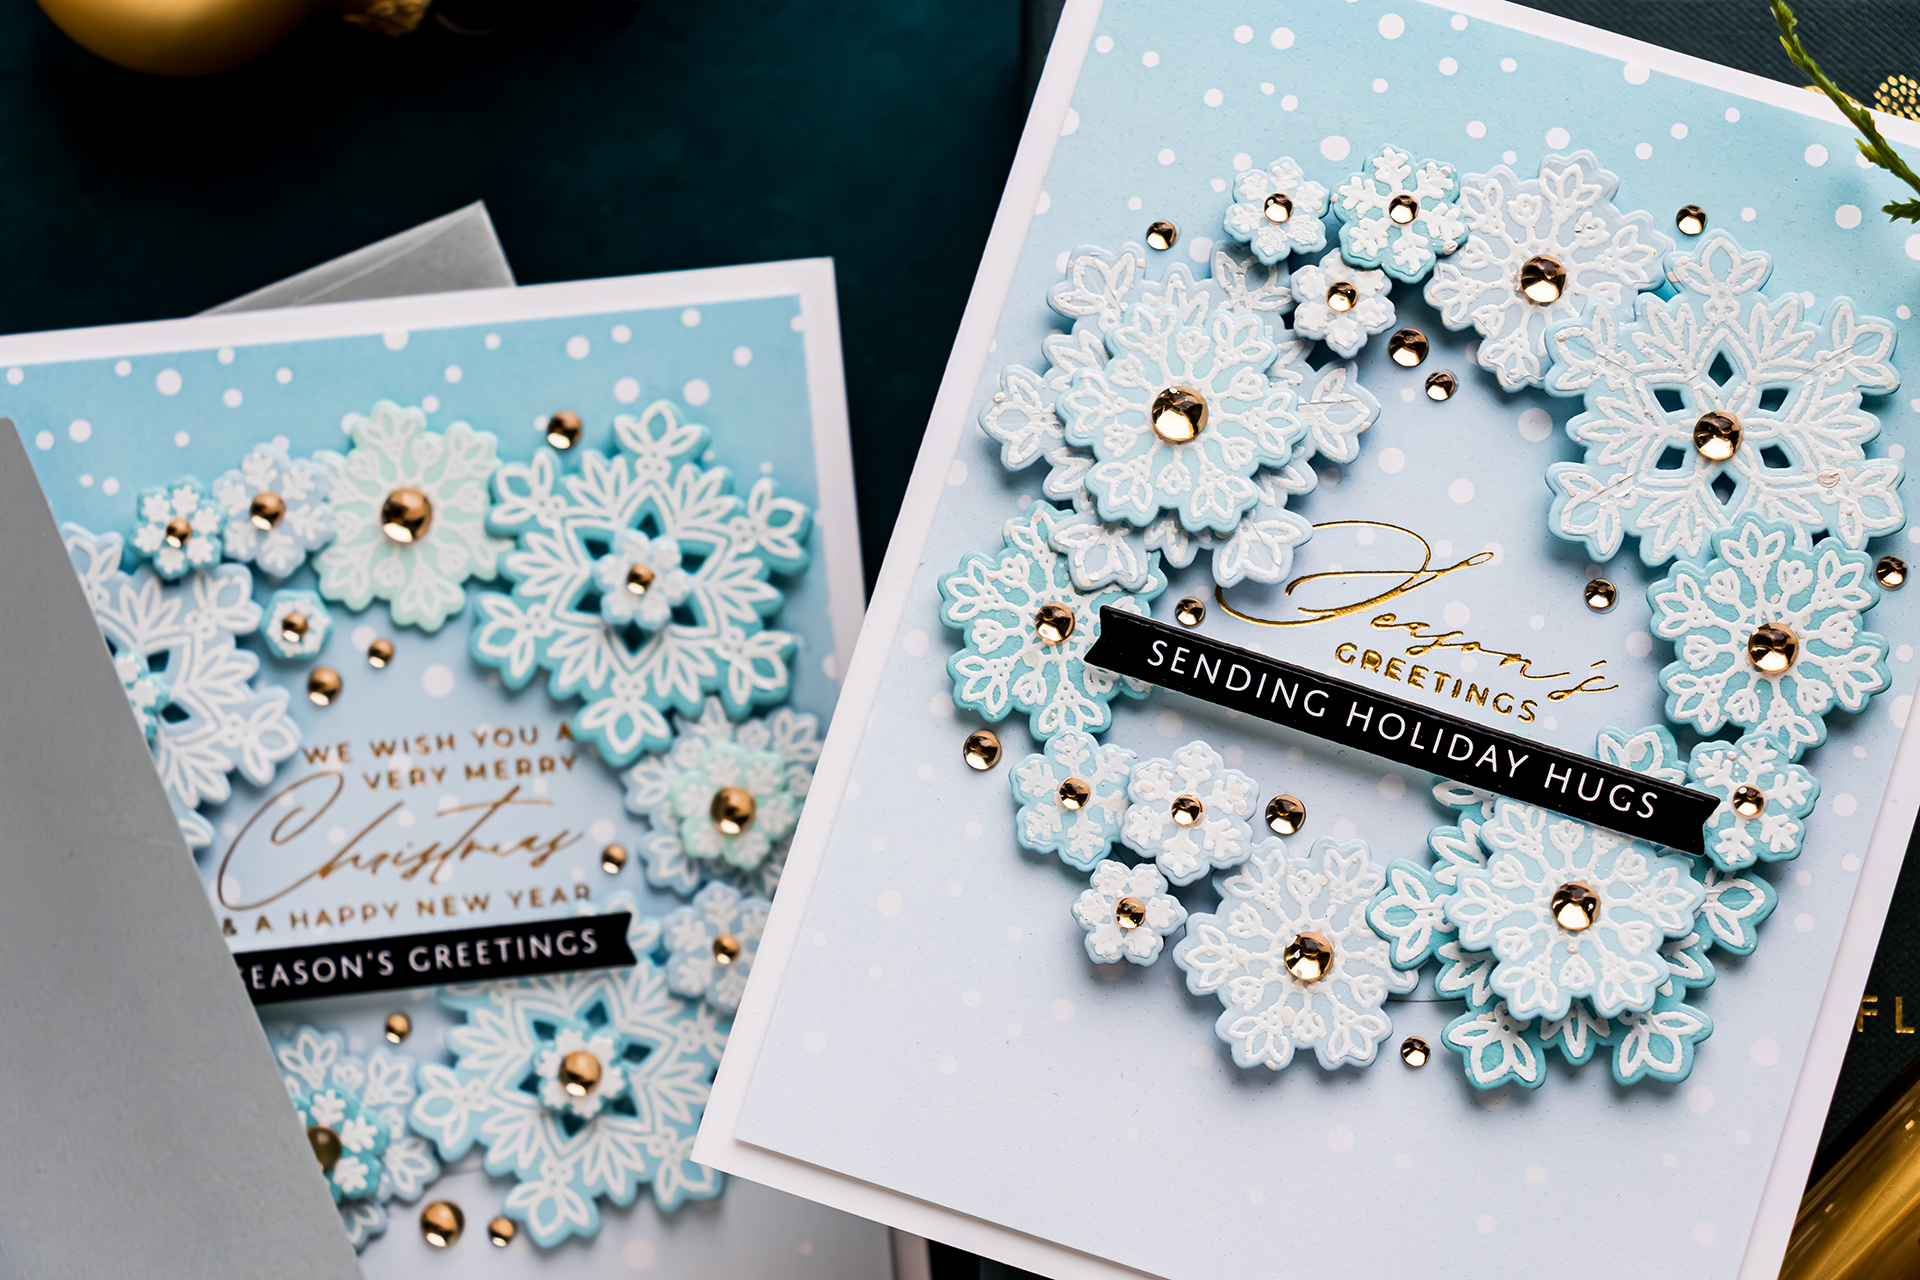
Begin the wreath with three of the largest snowflakes. Add a 2 mm foam square behind each piece and position them at roughly equal intervals around the pencil circle. Do not remove the foam adhesive backings immediately. At this stage, you are planning the composition rather than committing to the final placement.
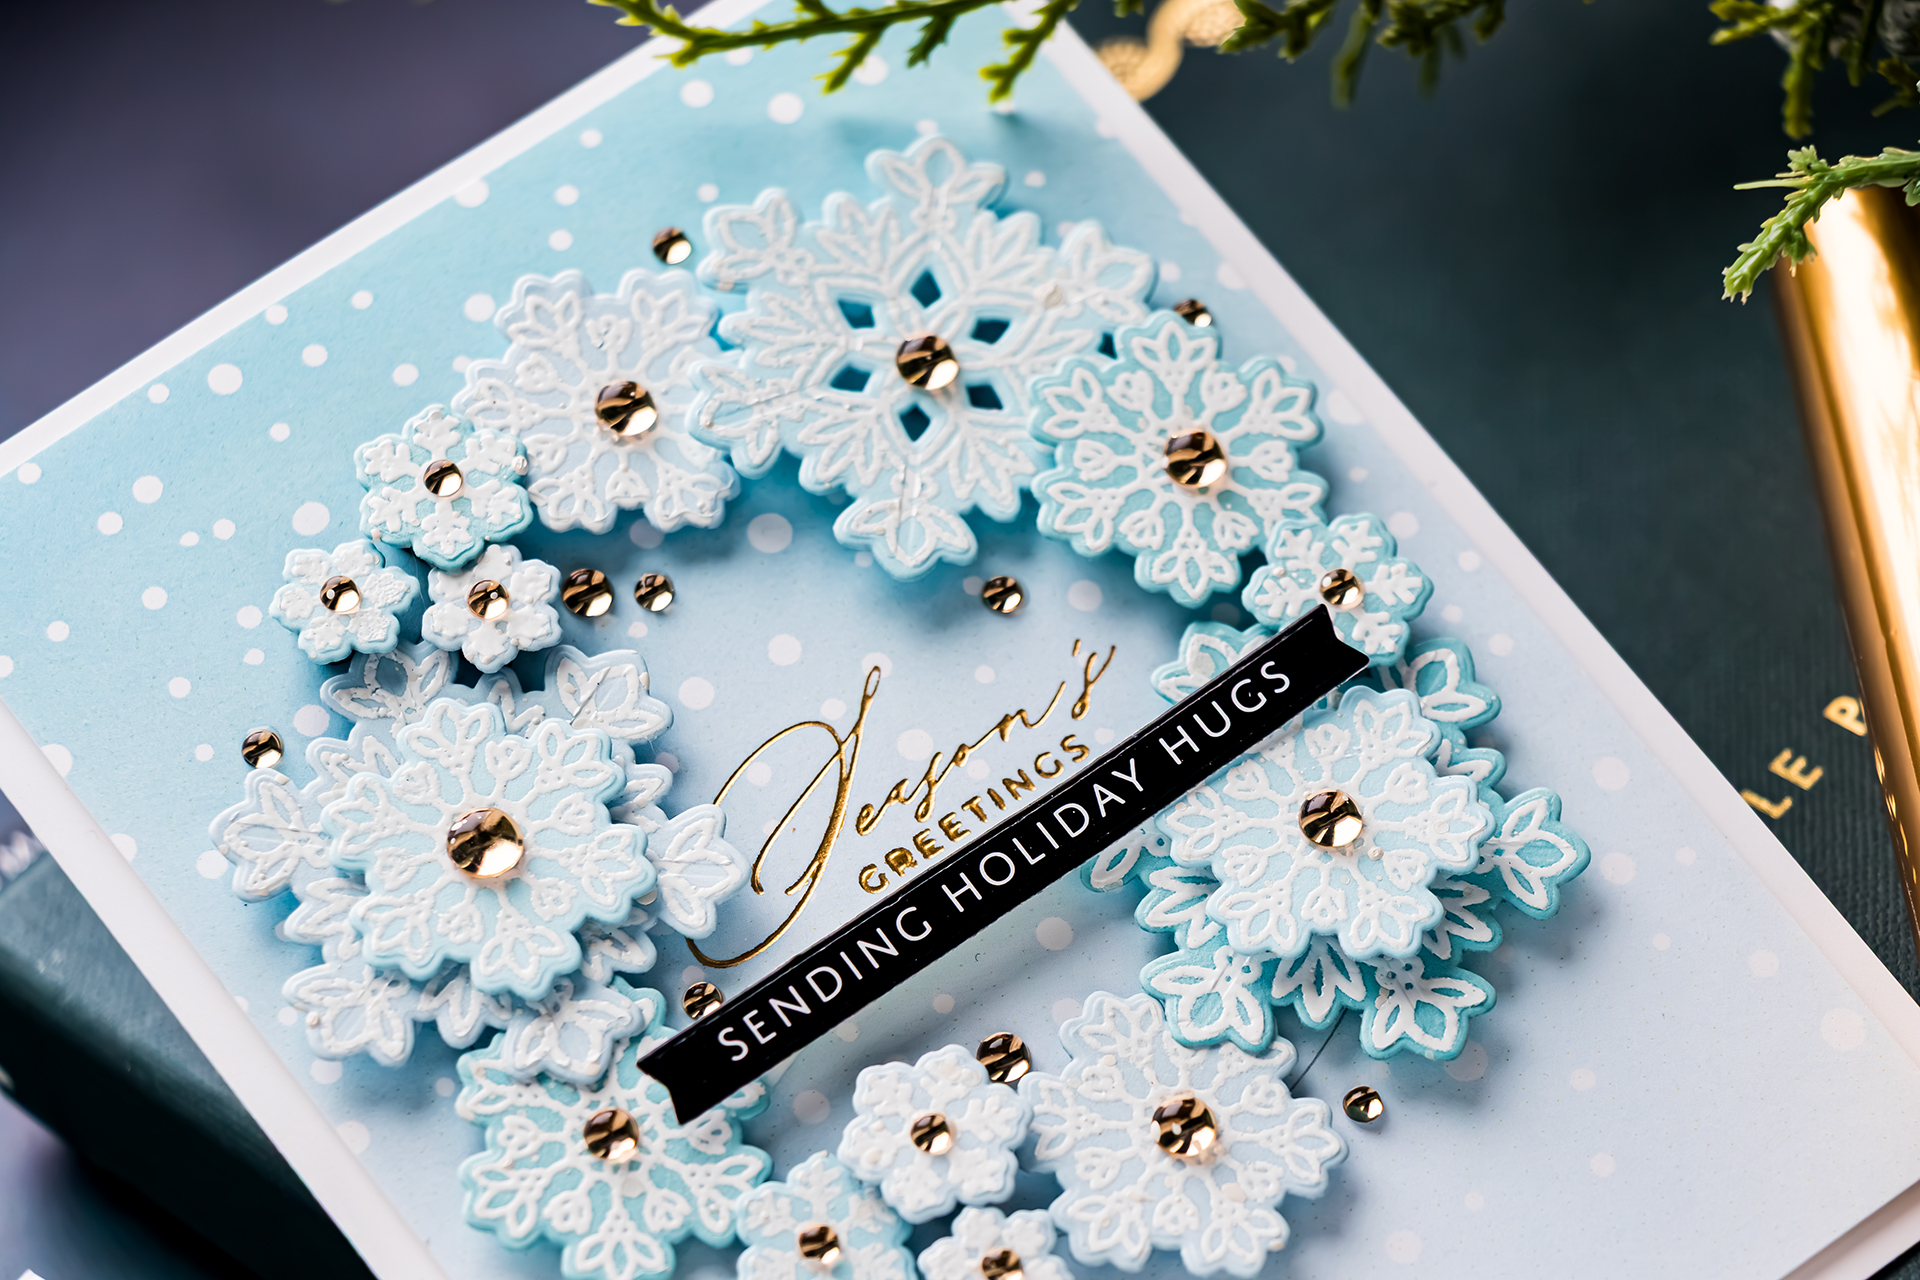
The largest snowflakes establish the wreath’s basic structure. Once those anchor points feel balanced, the smaller pieces become much easier to arrange.
Step 8 – Add Medium and Small Snowflakes
Place four medium snowflakes between the largest ones. Use 1 mm thin foam squares behind these pieces so they sit at a slightly different height.
Continue with the smaller snowflakes, using a mixture of thin, regular, and doubled foam adhesive. Follow the pencil line, but allow selected snowflakes to extend slightly inside or outside the circle. This prevents the wreath from appearing too rigid.
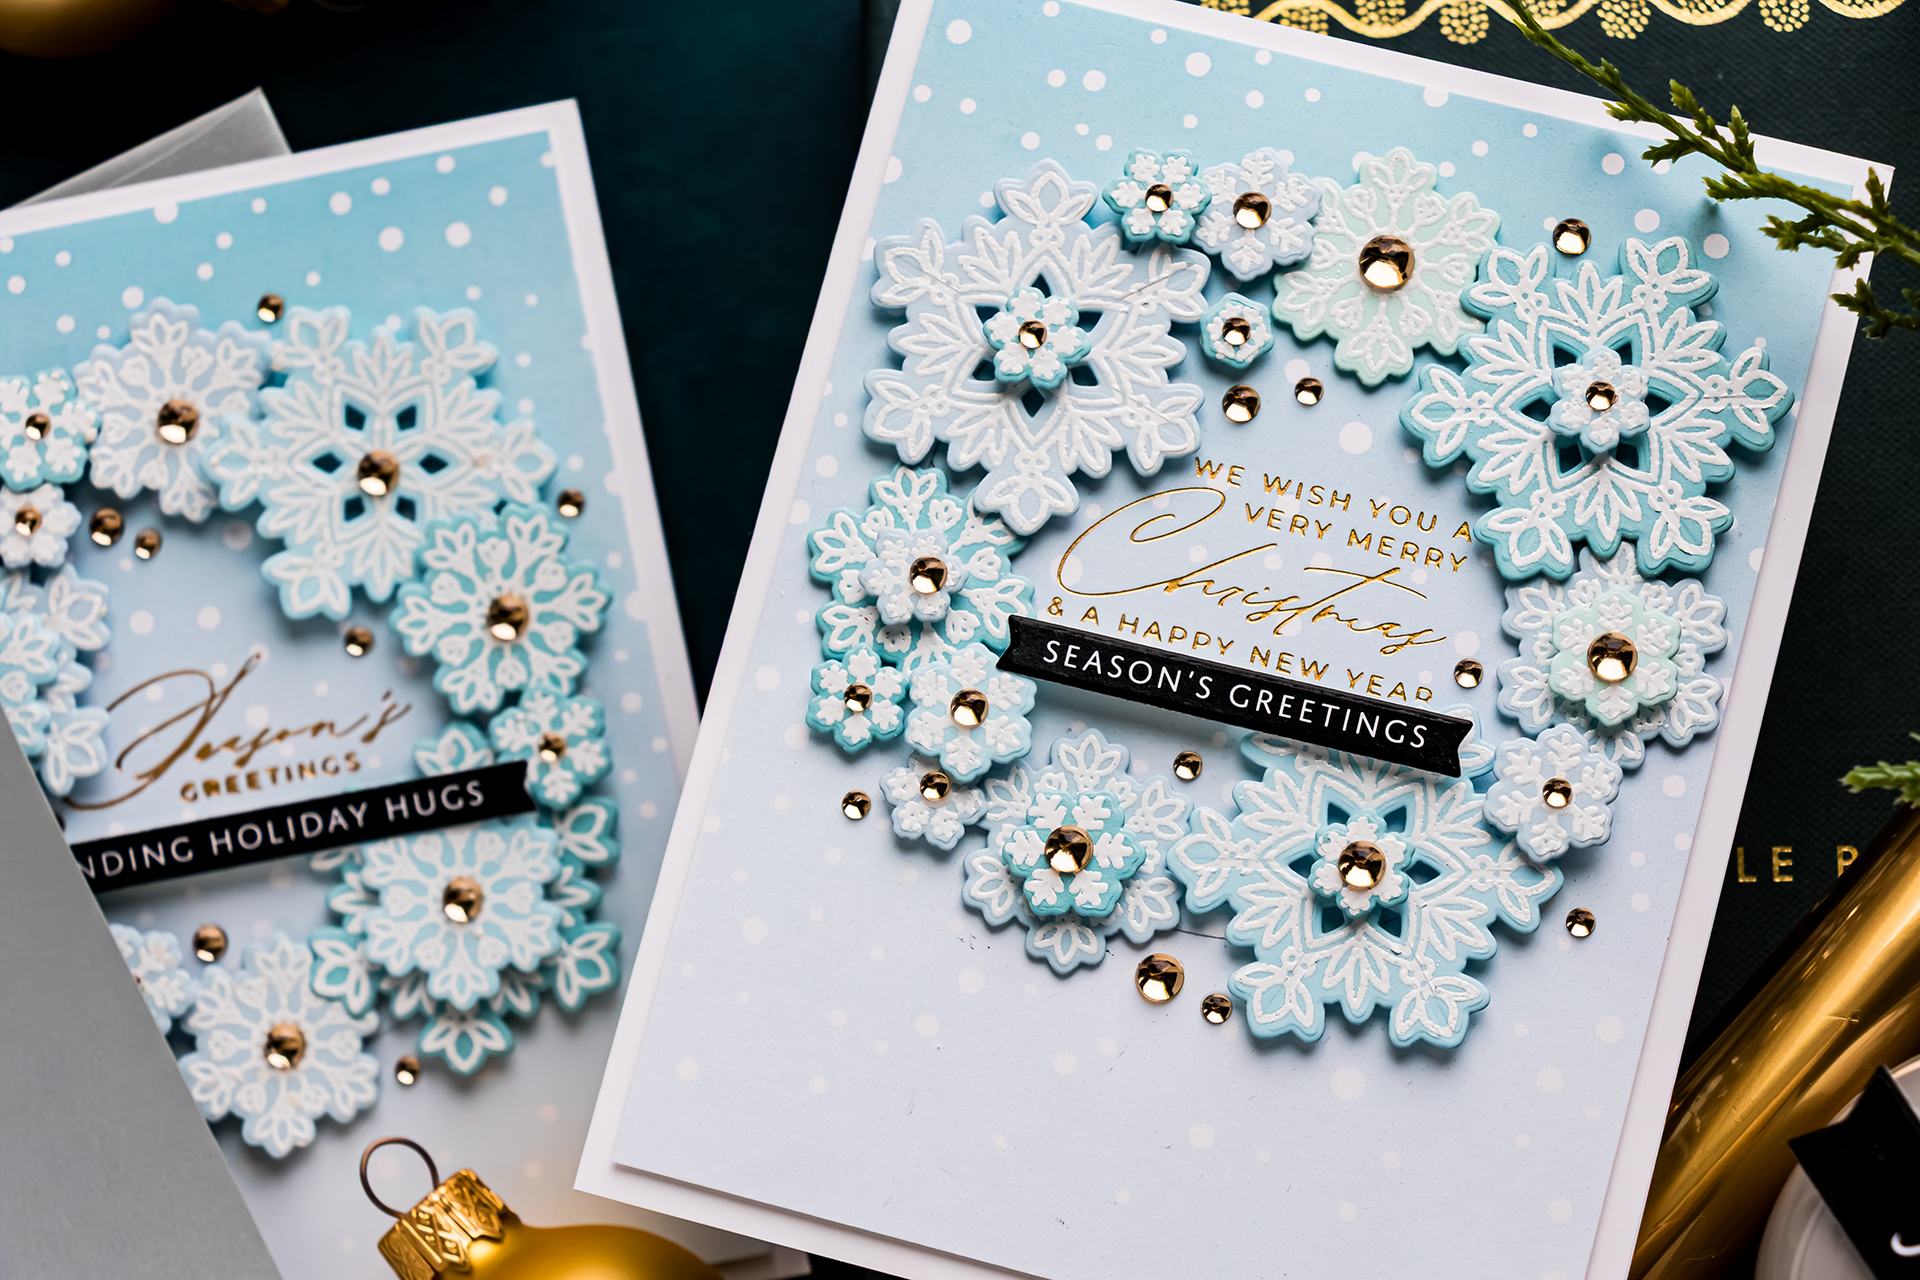
Layer some of the small snowflakes over larger ones. You can place a size-three snowflake over a size-two snowflake or add one of the smallest images to the center of a large snowflake.
Varying the size, overlap, rotation, and height creates a fuller and more organic wreath.
Step 9 – Check the Wreath Before Adhering
Examine the complete arrangement before removing the adhesive backings. Look for areas where the wreath appears too thin, too heavy, or no longer circular. Make sure none of the snowflakes covers the central sentiment. If a large snowflake appears to break the circle, move it slightly inward.
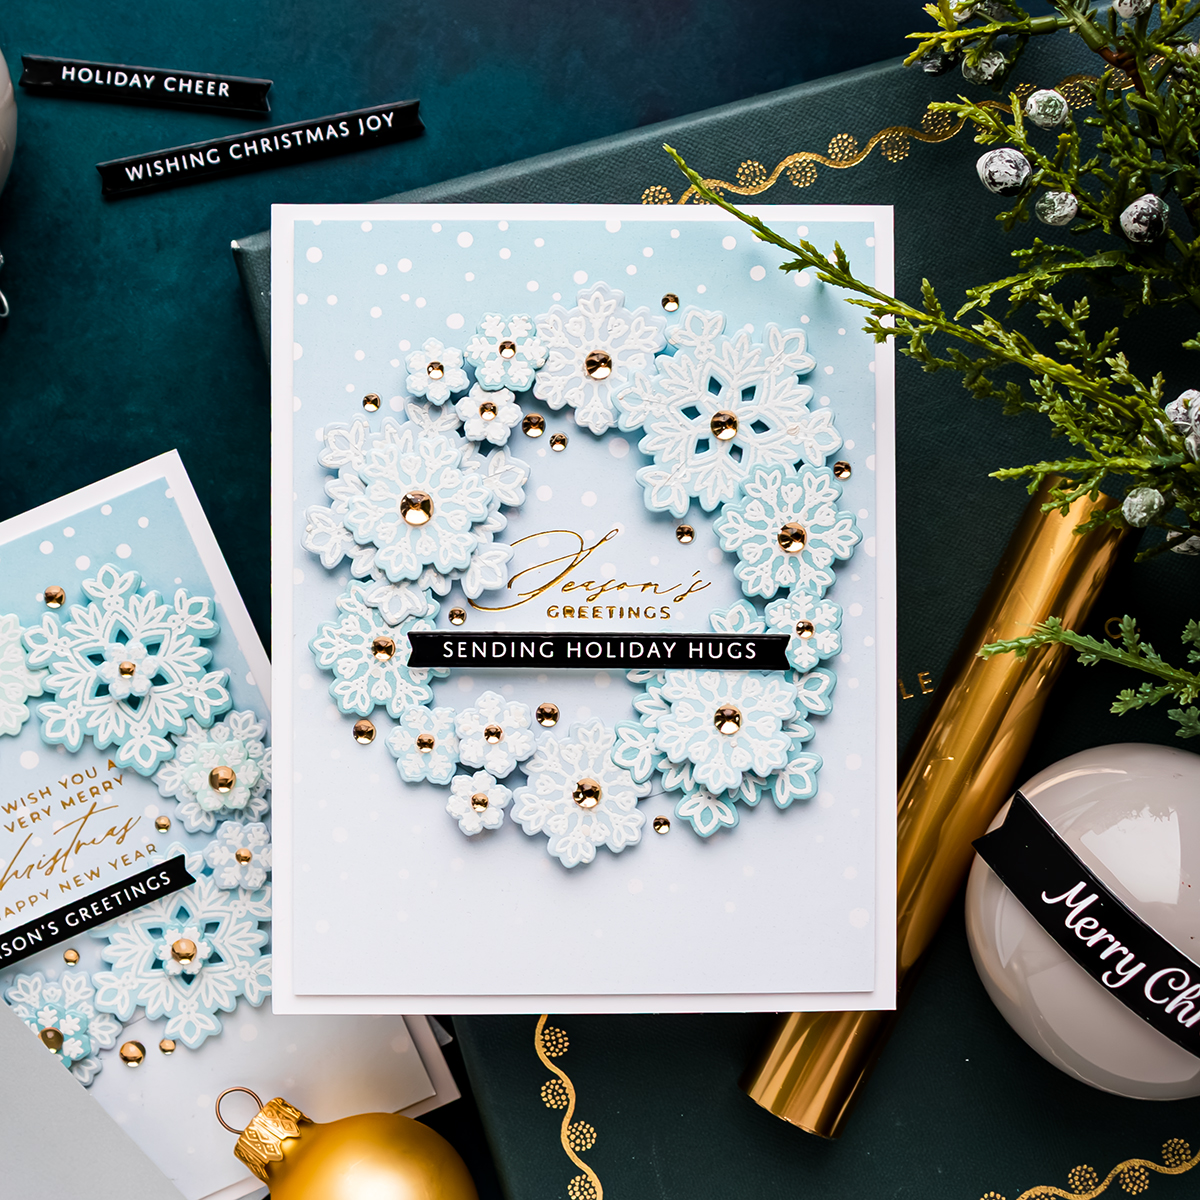
Once the arrangement feels balanced, begin adhering the largest anchor snowflakes. Continue filling the spaces with the remaining small and tiny images.
Step 10 – Add Dimension Behind the Card Front
The Snow Flurries A2 Card Fronts include a small white printed border. I wanted to retain the appearance of a white border while adding dimension, so I trimmed away the printed border with a paper trimmer.
Glue two panels of scrap cardstock behind the trimmed card front. This raises the panel slightly without adding foam adhesive across the entire back.
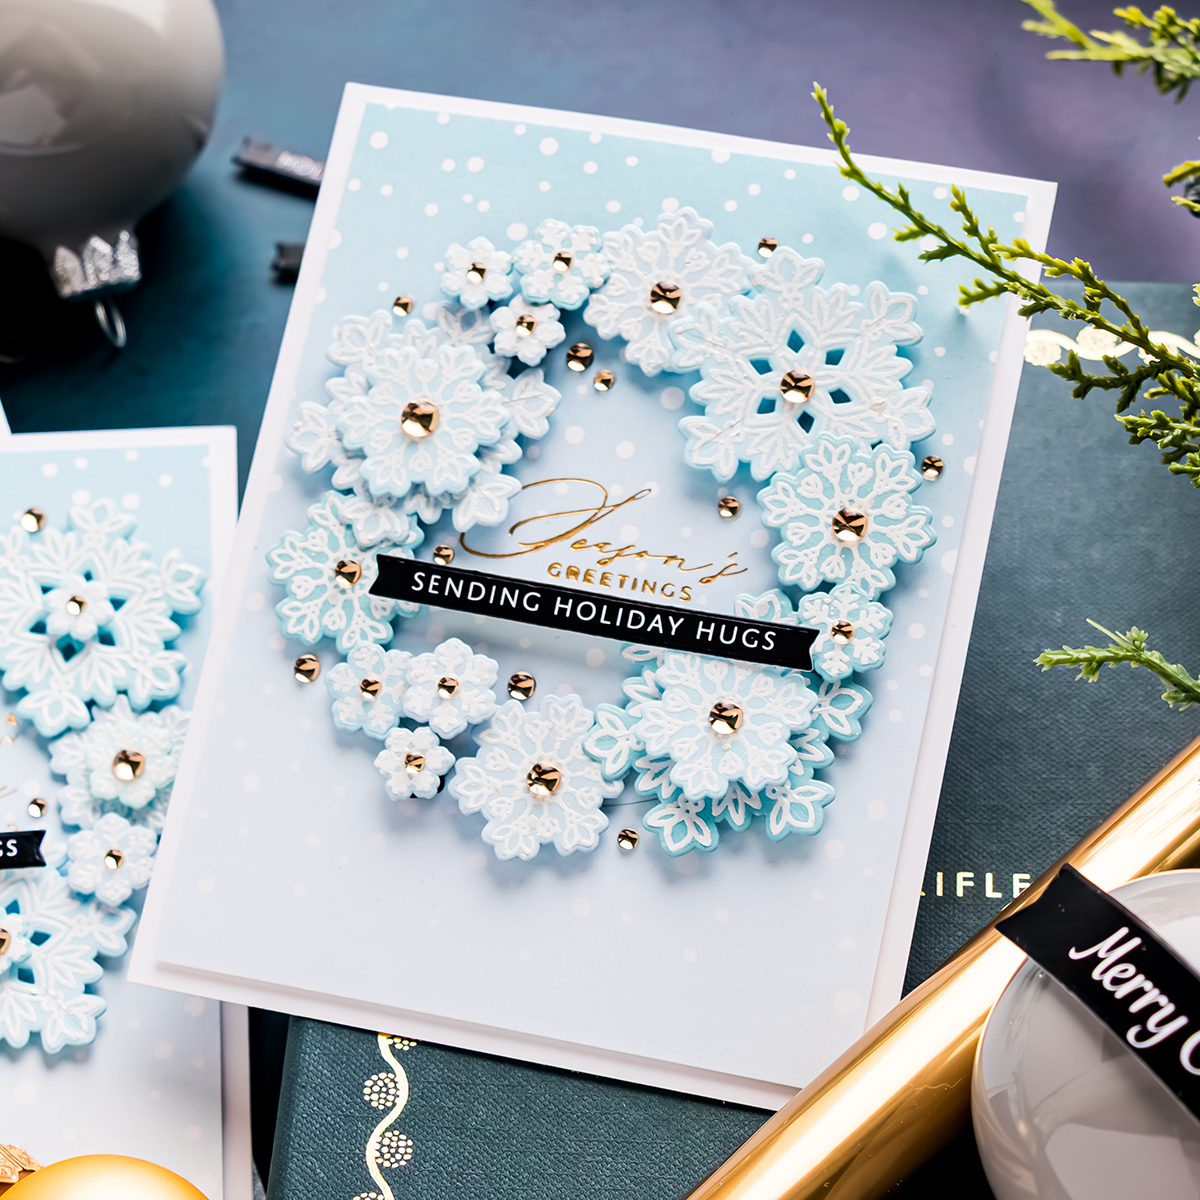
Adhere the layered panel to an A2 side-folding white card base. If you prefer a flatter card for mailing, skip the scrap cardstock layers and attach the card front directly to the base.
Step 11 – Add the Sub-Sentiment
Cut a greeting from the Reverse To You and Yours EZ Strips using the EZ Strips Banners Wafer Dies. Add foam adhesive behind the strip. When part of the sentiment overlaps a raised snowflake, adjust the adhesive thickness to keep the strip level. Use one layer where it rests over the snowflake and two layers where it extends over the lower background.
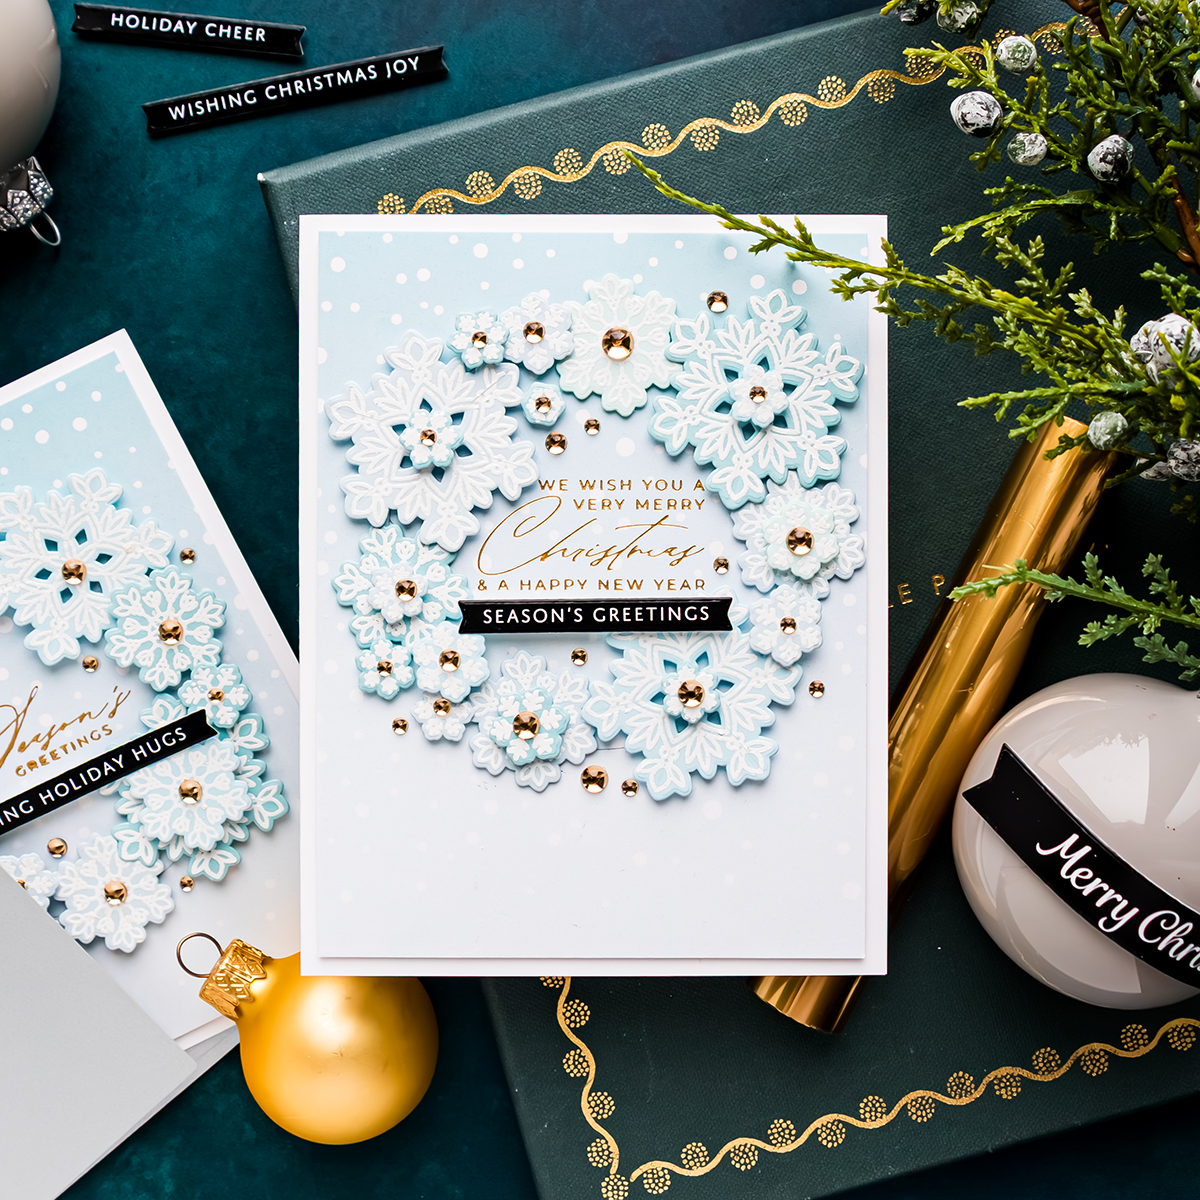
This small adjustment prevents the sentiment strip from tilting and gives the card a more polished finish.
Step 12 – Embellish with Champagne Drops
Add Pinkfresh Studio Champagne Clear Drops to the centers of selected snowflakes. The warm champagne color coordinates beautifully with the Satin Metallic foil. Place a few additional drops directly on the background where you notice open spaces. Use a pickup tool and Bearly Art Precision Craft Glue to position and secure them.
There is no need to embellish every snowflake. Leaving some centers undecorated allows the detailed embossed designs and dimensional layers to remain visible.
How to Mass-Produce the Snowy Background
The Snow Flurries A2 Card Fronts provide a quick background for this design. To create more backgrounds in your preferred colors, use the Simon Says Stamp Snow Flurries and Hills Stencil Set.
Start with Sea Glass or Surf Blue cardstock, or ink blend a white panel with your favorite pale blue inks. Secure the snow stencil over the background and apply white texture paste through the openings.
Creating the backgrounds as a batch is more efficient than completing one card at a time. Stencil all the panels first, clean the stencil, and allow the paste to dry while you stamp and emboss the snowflakes.
The wreath elements can also be prepared assembly-line style:
- Stamp all the snowflake panels.
- Add embossing powder to every panel.
- Heat set all the snowflakes.
- Die cut each snowflake size.
- Sort the pieces by size.
- Prepare the foam adhesive.
- Build each wreath using the same basic sequence.
Tips for the Best Results
- Trace the circle lightly so the pencil line is easy to cover.
- Position and foil the sentiment before assembling the wreath.
- Prepare more small snowflakes than you expect to need.
- Use White Fine Detail Embossing Powder to preserve the delicate lines.
- Choose cardstock with enough contrast for the white snowflakes to remain visible.
- Keep the snowflake stamps in the same position when creating multiple panels.
- Check grouped dies before every pass because small shifts can affect alignment.
- Begin the wreath with the three largest snowflakes.
- Plan the complete arrangement before removing the foam adhesive backings.
- Vary the thickness of the foam adhesive for a more natural appearance.
- Layer smaller snowflakes over larger ones to create fullness.
- Rotate identical snowflakes so the wreath does not look repetitive.
- Keep the central sentiment clear and easy to read.
- Use scrap cardstock to raise the complete panel without adding excessive bulk.
- Adjust the foam behind the sub-sentiment so it remains level.
Ways to Customize the Snowflake Wreath
- Use silver, opaque white, or holographic foil for the central sentiment.
- Heat emboss the snowflakes in silver, gold, or sparkling embossing powder.
- Create the wreath on navy cardstock for a more dramatic design.
- Combine Sea Glass and Surf Blue snowflakes in one wreath.
- Ink blend the cardstock before heat embossing the snowflakes.
- Layer two differently colored snowflakes together.
- Replace the Champagne Clear Drops with pearls, sequins, or gems.
- Create a smaller wreath for a mini slimline card or gift tag.
- Use a larger traced circle for a 5 x 7-inch card.
- Change the sentiment for a winter birthday, thank-you, or thinking-of-you card.
- Adhere the snowflakes flat for a card that is easier to mail.
- Add a small ribbon bow to the bottom of the wreath.
Frequently Asked Questions
How do you create a round wreath without a wreath die?
Trace a circle lightly with a pencil using a circle die, tape roll, cup, glass, or another round object. Arrange the snowflakes along that pencil guide.
How many snowflakes are needed for an A2 wreath?
The exact number depends on the circle and snowflake sizes. For this design, begin with three large, four medium, at least five small, at least seven tiny, and one or two extra-small snowflakes for gaps.
Why should I use fine detail embossing powder?
Fine detail embossing powder has smaller particles that are better suited to delicate stamped lines. It helps preserve the intricate designs in the Joy for You snowflakes.
How can I make the wreath look more dimensional?
Use 1 mm and 2 mm foam adhesive, double selected foam squares, and overlap smaller snowflakes over larger ones. Variation in height makes the wreath appear fuller.
Can I use different snowflake stamps or dies?
Yes. The technique only requires several snowflake sizes that can be arranged around a circle. The number of pieces may need to be adjusted depending on the size of your images.
Can this card be mass-produced?
Yes. Use Snow Flurries A2 Card Fronts or create backgrounds in batches with the Snow Flurries and Hills Stencil Set. Stamp, emboss, die cut, and sort all the snowflakes before assembling the individual cards.
More Snowflake and Christmas Card Ideas
If you enjoyed creating this dimensional snowflake wreath, explore these related Christmas card tutorials featuring snowflakes, wreath designs, heat embossing, hot foil, and ideas suitable for making multiple holiday cards.
- Mass-Produceable Snowflake Christmas Cards – Create elegant snowflake cards with heat embossing, ink blending, and a design suitable for batch production.
- Combine Hot Foiling and Heat Embossing on Snowflake Cards – Explore another way to pair metallic foil with delicate heat-embossed snowflakes.
- Make a DIY Christmas Wreath with Holiday Sprigs – Use individual die-cut elements to build and balance a handmade Christmas wreath composition.
- How Long Does It Take to Mass-Produce Christmas Cards? – See the complete process and realistic timing for creating multiple handmade Christmas cards.
Final Thoughts
This snowflake wreath technique turns the Joy for You stamps and dies into an elegant dimensional focal point. Start with a traced circle, establish the shape with the largest snowflakes, and fill the spaces with progressively smaller designs. Changing the height and overlap keeps the wreath from feeling too perfect or mechanical. Finish it with a Holiday Hugs foiled sentiment and a few Champagne Clear Drops, or adapt the same layout for any winter occasion. Have fun creating!