


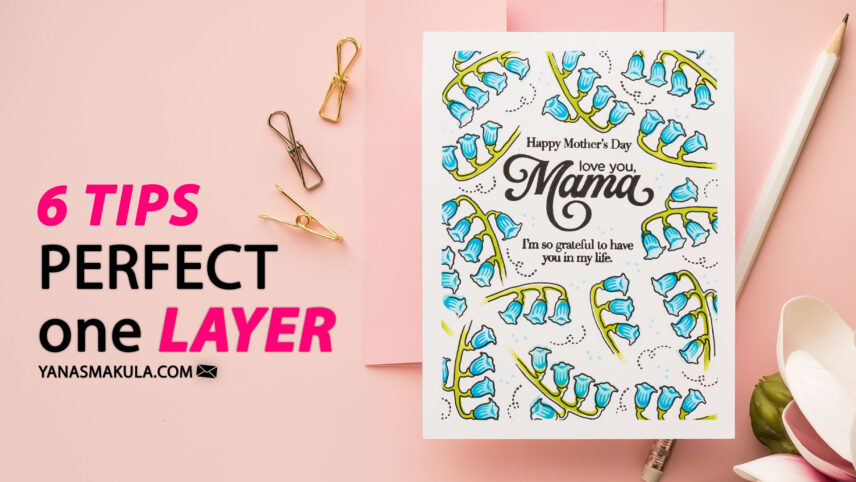
In this Yippee for Yana episode for Simon Says Stamp, I’m sharing a clean and simple one-layer card along with a few of my go-to tips for making this style work every time.
If you enjoy creating flat cards that are easy to mail but still look polished and complete, this approach is a great one to have in your toolkit.
Pin this idea and save it for later so you can come back to it the next time you need a quick and beautiful card design.
VIDEO TUTORIAL
Watch the video below or on my YouTube channel.
CARD DETAILS
One layer cards might seem simple, but they do require a bit more planning. Since we’re not adding layers or dimension later, everything needs to be thought through from the beginning.
I like to follow a simple structure when creating these cards, and it helps take the guesswork out of the process.
1. Start With the Sentiment
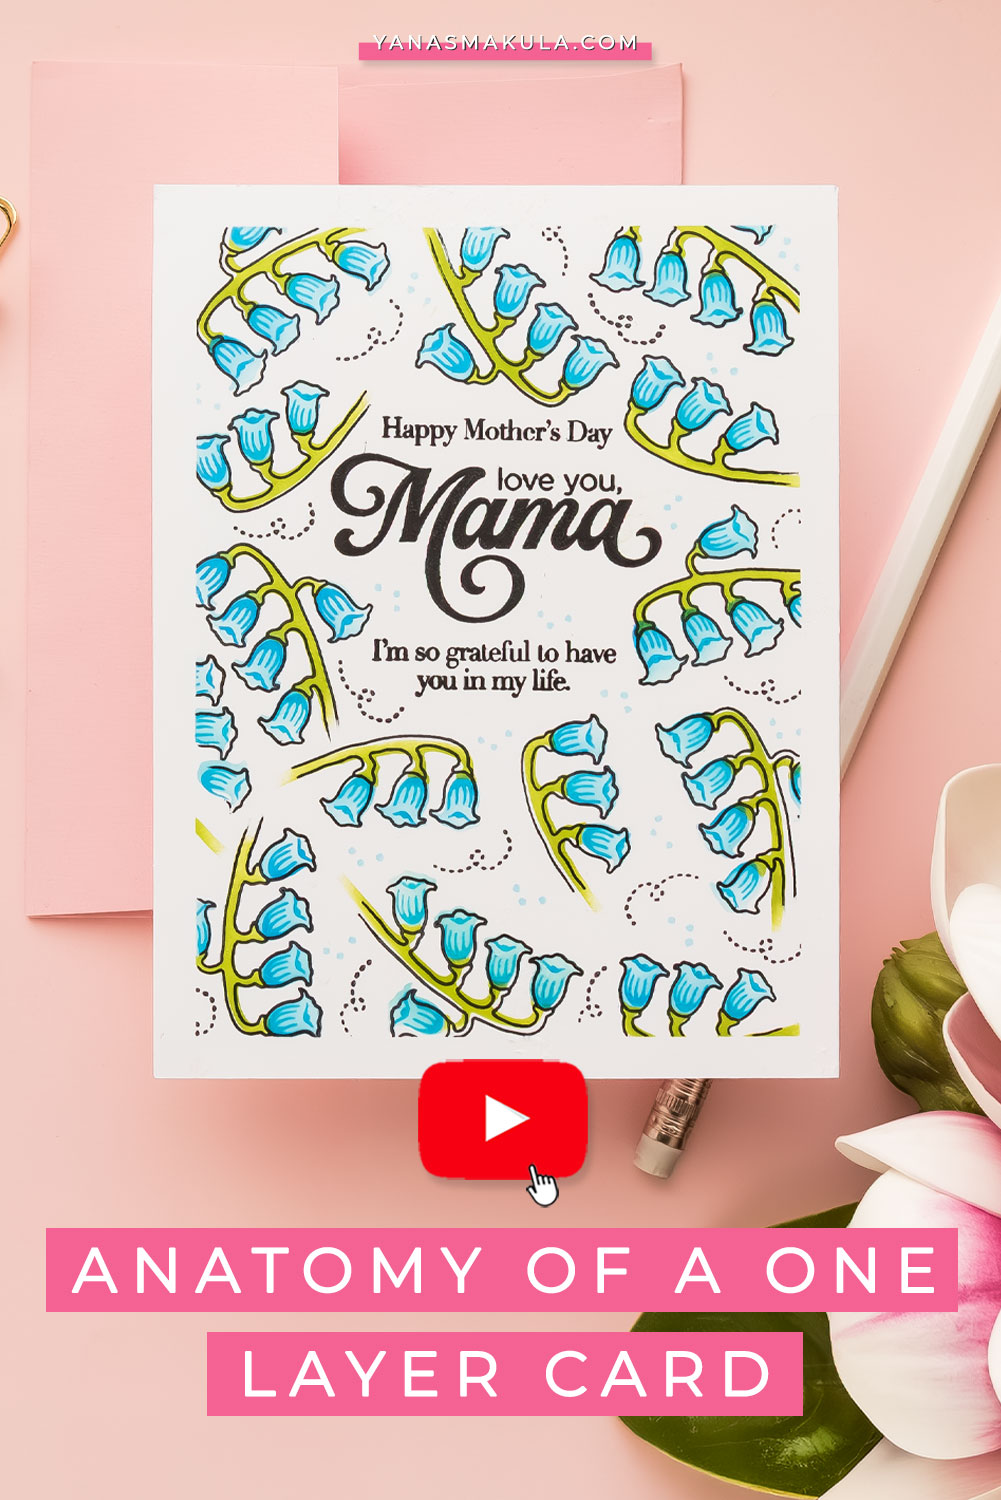
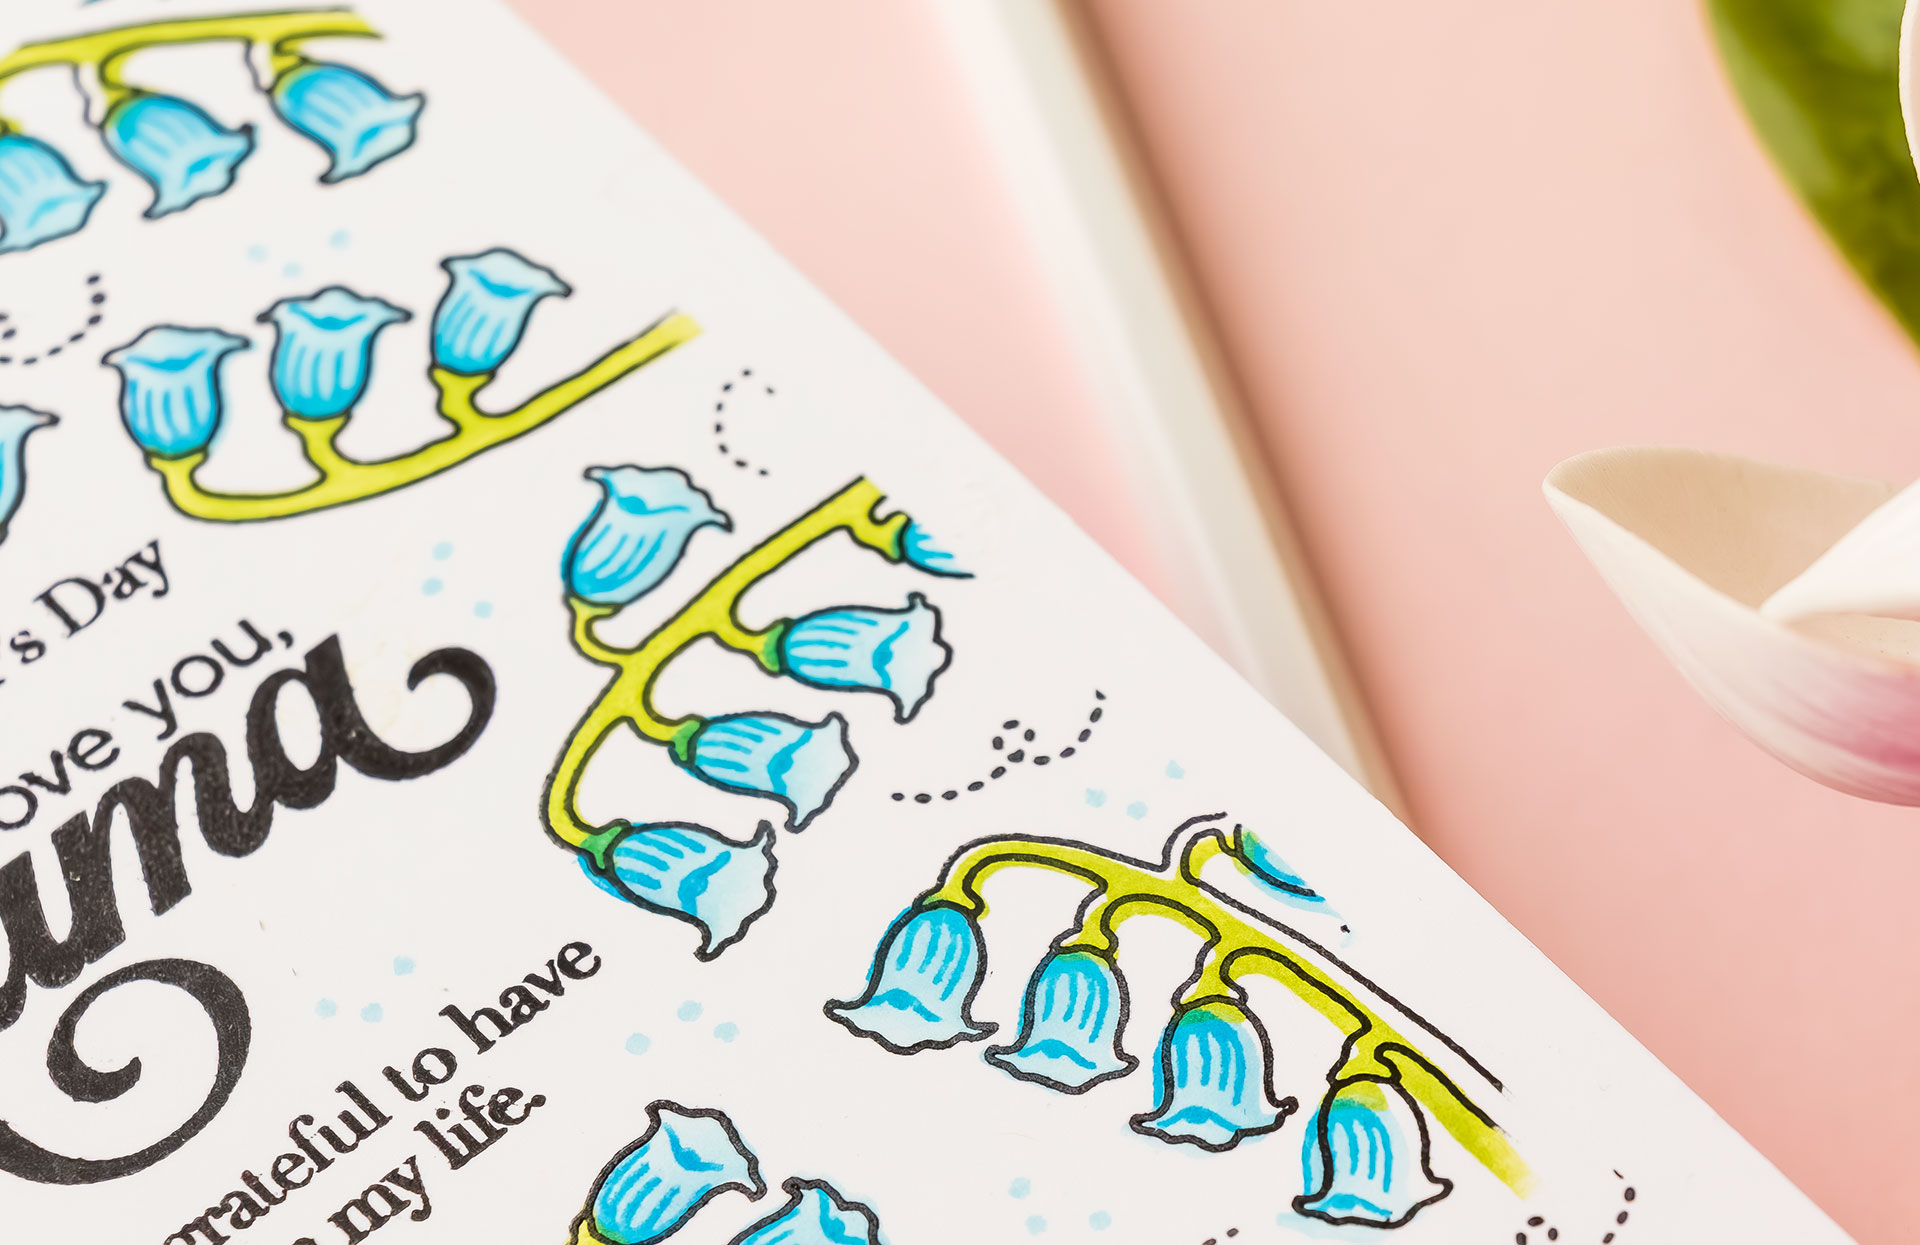
I always begin with the sentiment. This is the most important part of the design because everything else will be built around it. For this card, I placed my sentiment slightly above center. This gives me enough room to add images around it while keeping the overall design balanced.
If your card ever feels a little “off,” it’s often the placement rather than the stamping itself.
2. Create a Border Without Adding Layers
Even though this is a one layer card, I still like to create a subtle frame. I used masking tape along the edges of my panel to create a clean border. This is one of my favorite tricks because it instantly makes the card look more finished and intentional.
You can use tape like I did, draw light pencil lines, or simply visualize the border.
3. Plan Your Layout
Before I start stamping or blending, I like to plan my design. One easy way to do this is to stamp your images onto scrap paper and cut them out roughly. Then you can move them around on your panel to figure out placement and spacing.
This step is optional, but I find it really helpful, especially when working with larger images. I also like to take a quick photo once I’m happy with the layout so I can refer back to it as I work.
4. Build the Background
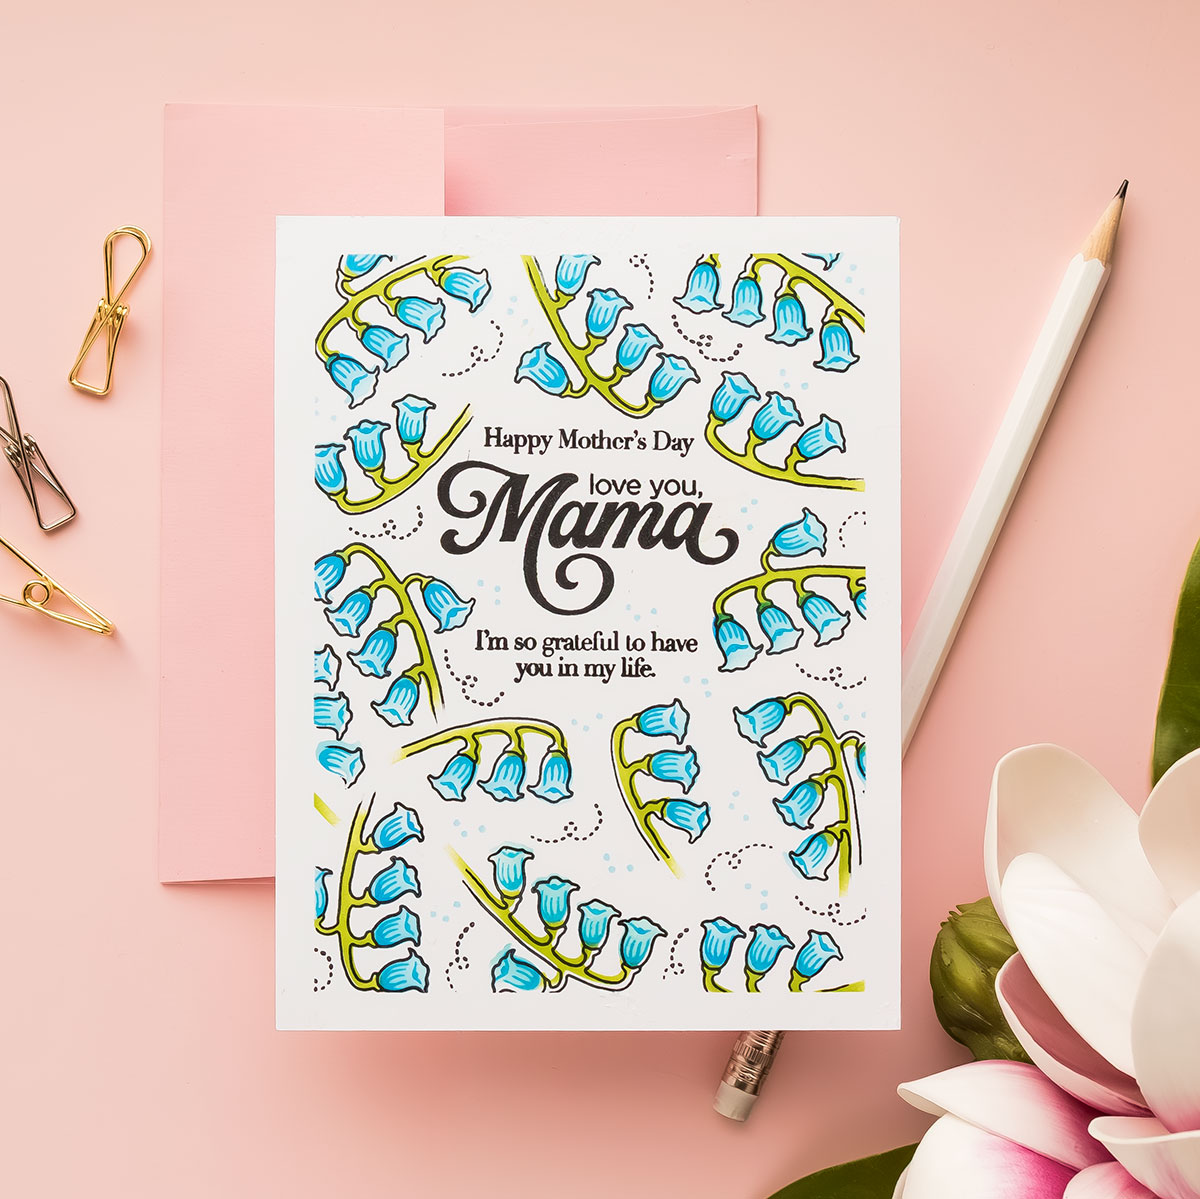
Next, I start building the design. I begin with the larger images and then fill in with smaller ones. I like to rotate and angle my images so they flow around the sentiment rather than feeling too structured.
For this card, I used layering stencils and ink blending to add color. This is a quick and easy way to build up a background, but you can absolutely use other coloring methods or even just stamping.
5. Add Detail
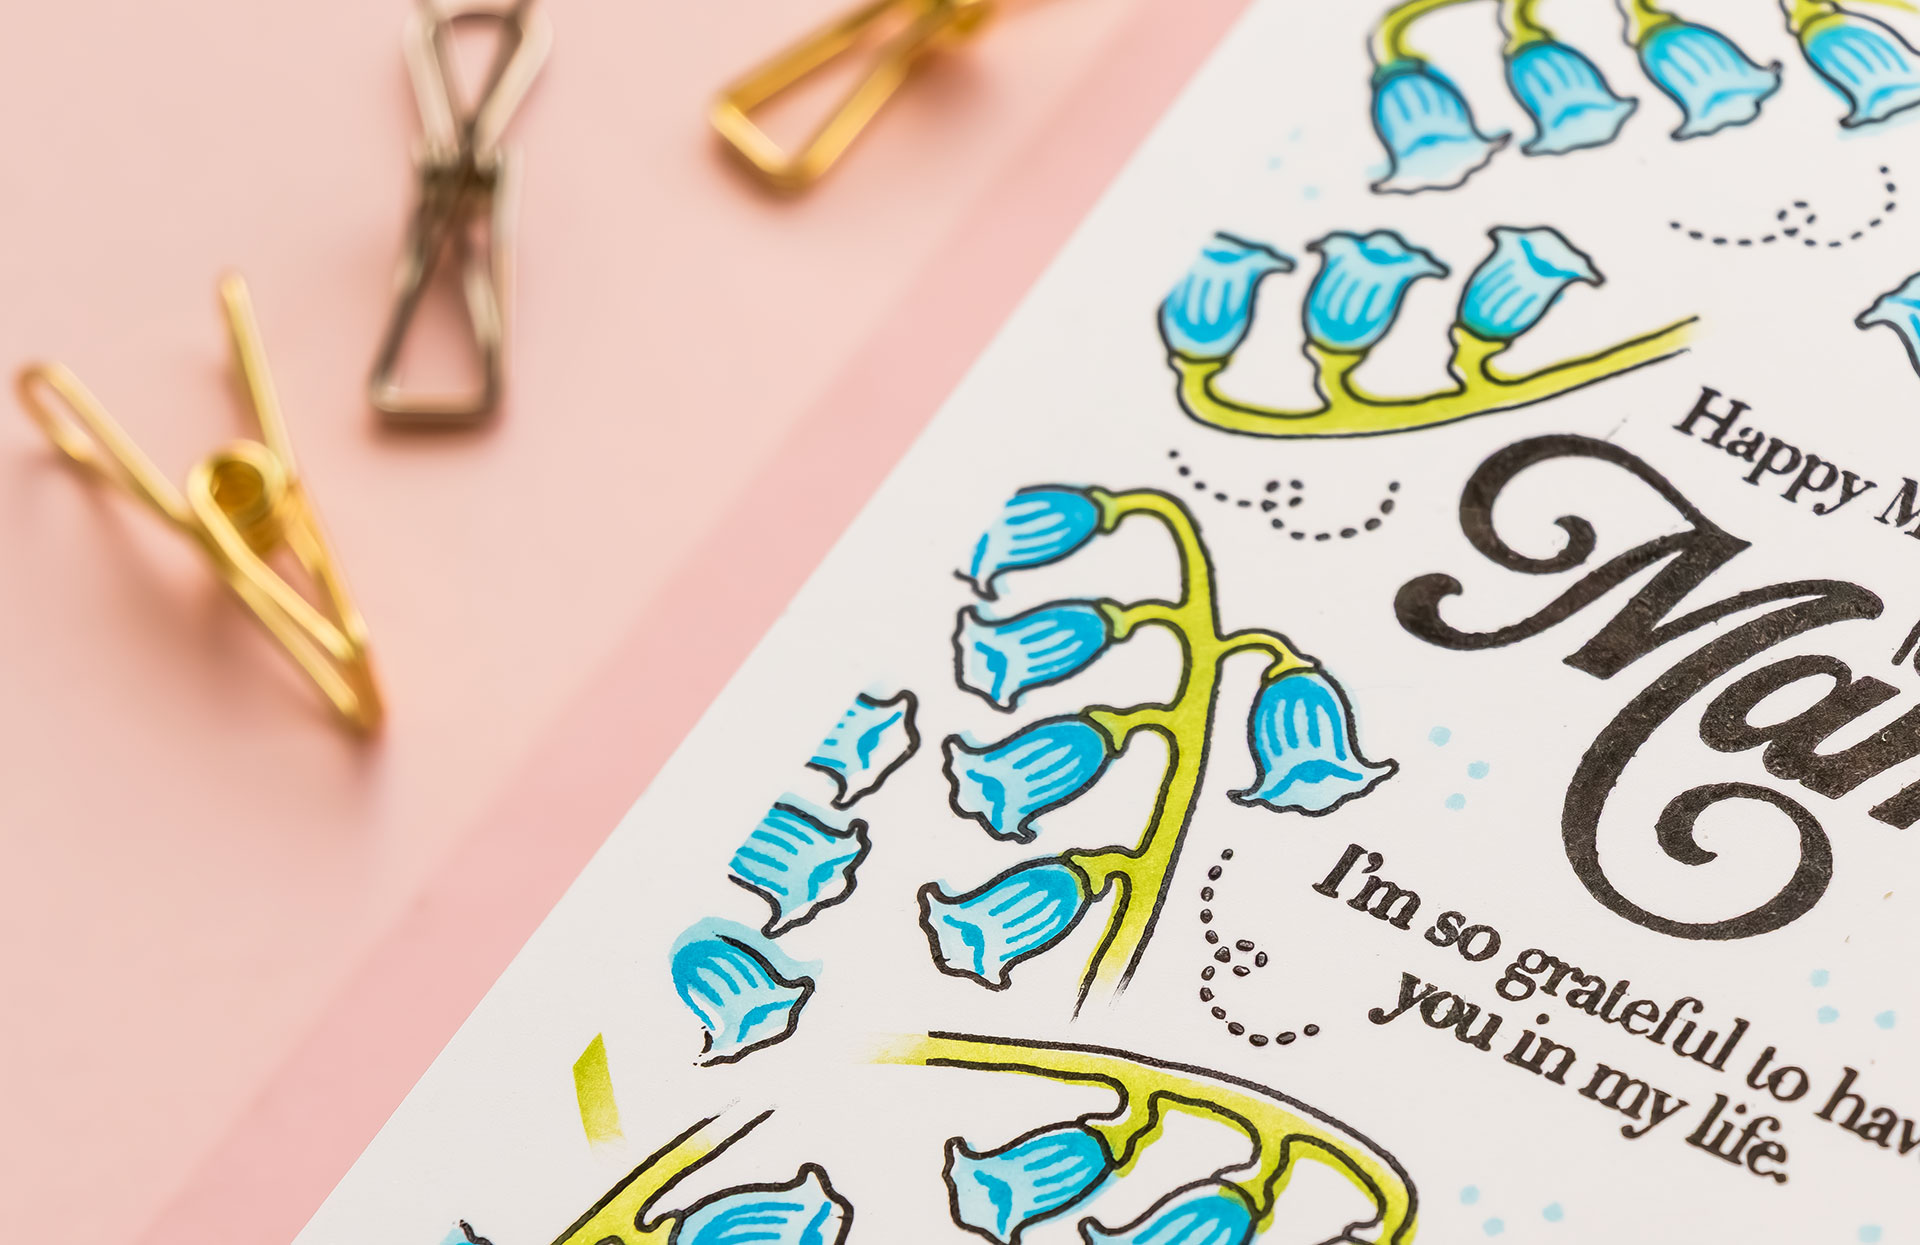
Once the base layer is complete, I go back and add detail stamping. This step really brings everything together and gives the images more definition. I don’t worry too much about lining everything up perfectly. A slightly offset look can actually add interest and movement to the design.
6. Fill the Gaps
Finally, I take a step back and look for any empty areas. If something feels unfinished, I add small details like dots or tiny stamped elements to fill those spaces. This helps tie everything together and gives the background a more complete look.
Once everything is done, I carefully remove the masking tape to reveal that clean border. This is always such a satisfying step. I then adhere the panel onto a card base, and the card is complete. You can keep it as a true one-layer design or add a few embellishments if you’d like.
SUPPLIES
I’m listing the products I used below. Click on the link to go directly to the product. Where available, I use compensated affiliate links, which means if you make a purchase, I receive a small commission at no extra cost to you. Thank you so much for your support!
 CZ Design Clear Stamps Thanks Mom Shop at: SSS |
 Simon Says Clear Stamps Basket of Blooms Shop at: SSS |
 Simon Says Stamp Stencil Basket of Blooms Shop at: SSS |
 Hammermill White 100 Lb Smooth Premium Color Copy Pack 25 Sheets Shop at: SSS |
 MISTI Stamping Tool Shop at: SSS |
 Simon Says Stamp Pawsitively Saturated Ink Pad Pearfection Shop at: SSS |
 Simon Says Stamp Pawsitively Saturated Ink Pad Cadette Shop at: SSS |
 Simon Says Stamp Pawsitively Saturated Ink Pad Marine Shop at: SSS |
 Simon Says Stamp Nocturne Black VersaFine Clair Ink Pad Shop at: SSS |
 Simon Says Stamp Detail Round Blending Brushes Shop at: SSS |
 Simon Says Stamp 2 Dot Runner Refills Adhesive Shop at: SSS |
 Spellbinders Best Ever Craft Tape 0.25″ Shop at: SSS |


This is gorgeous Yana
awww, thank you so much! So glad you like it!