

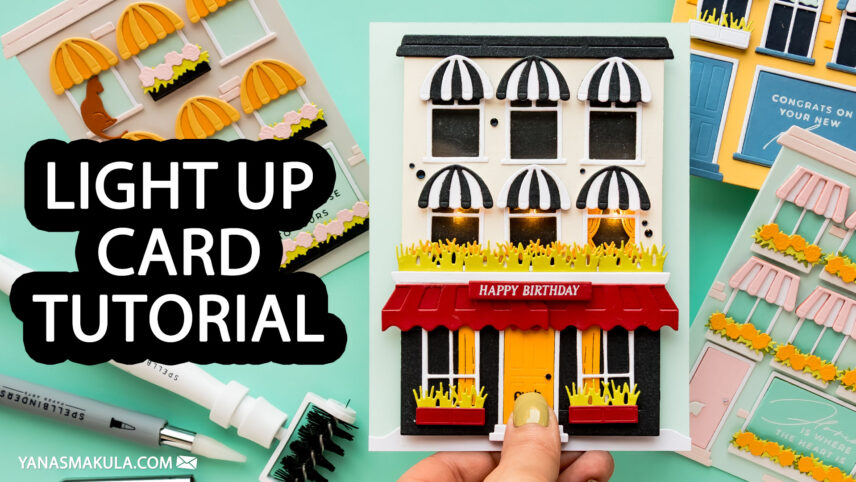
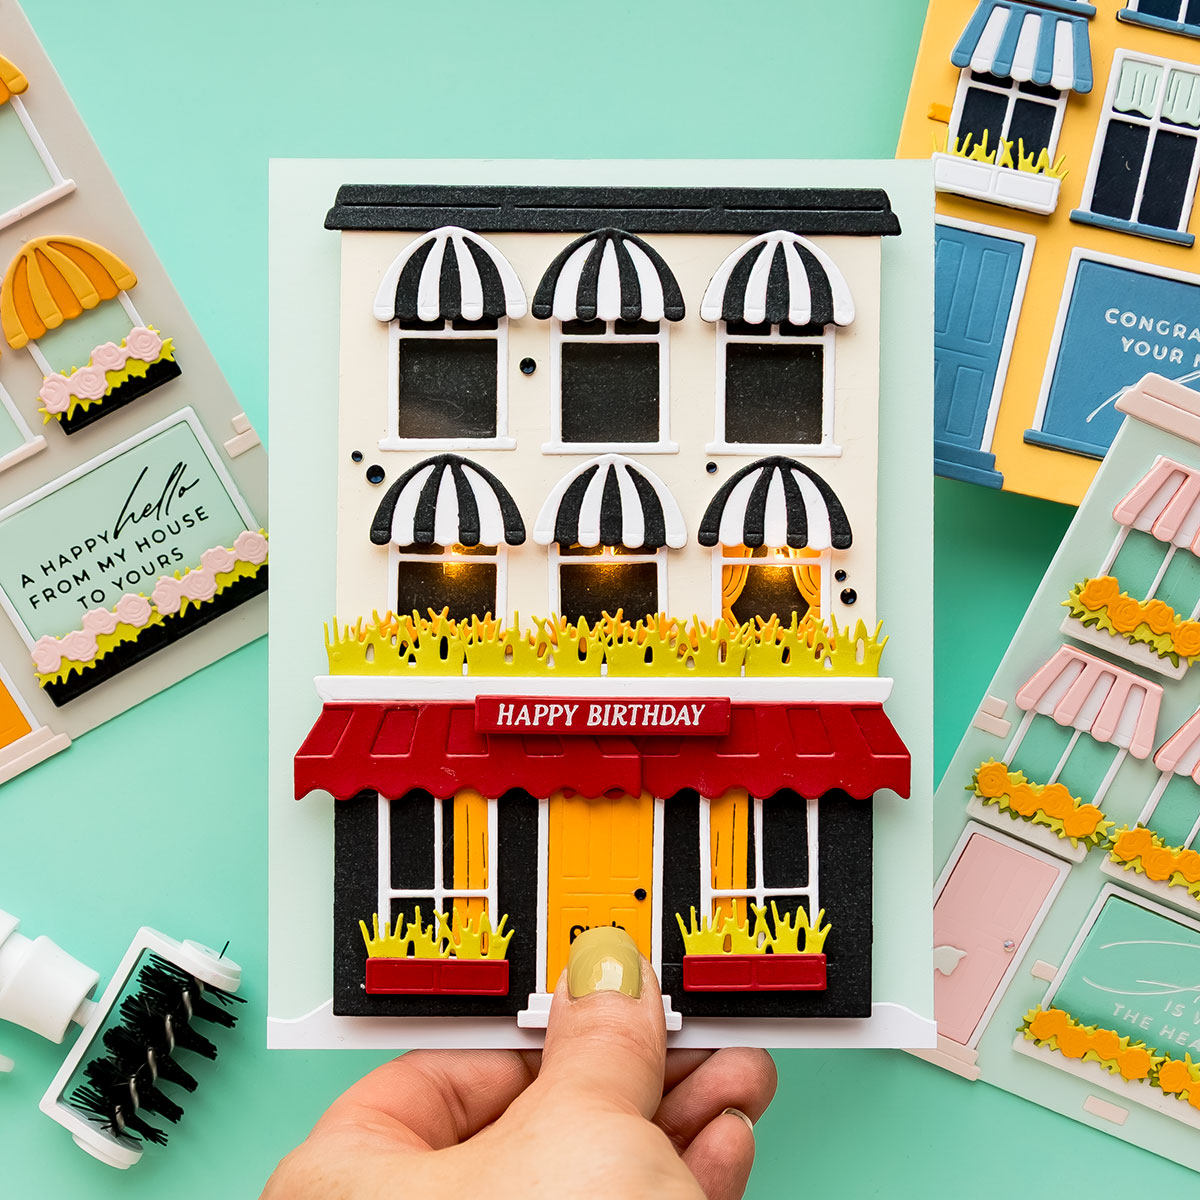
I’ve been having so much fun creating interactive cards lately, and today I’m sharing another project that combines die cutting with lights for a magical effect. This interactive light-up card features a festive city building with glowing windows, dimensional details, and an easy push-button mechanism.
Like this project? Pin it and save it for later | Curious about my project photography? Click for details.
VIDEO TUTORIAL
Watch the video below or on my YouTube channel.
CARD DETAILS
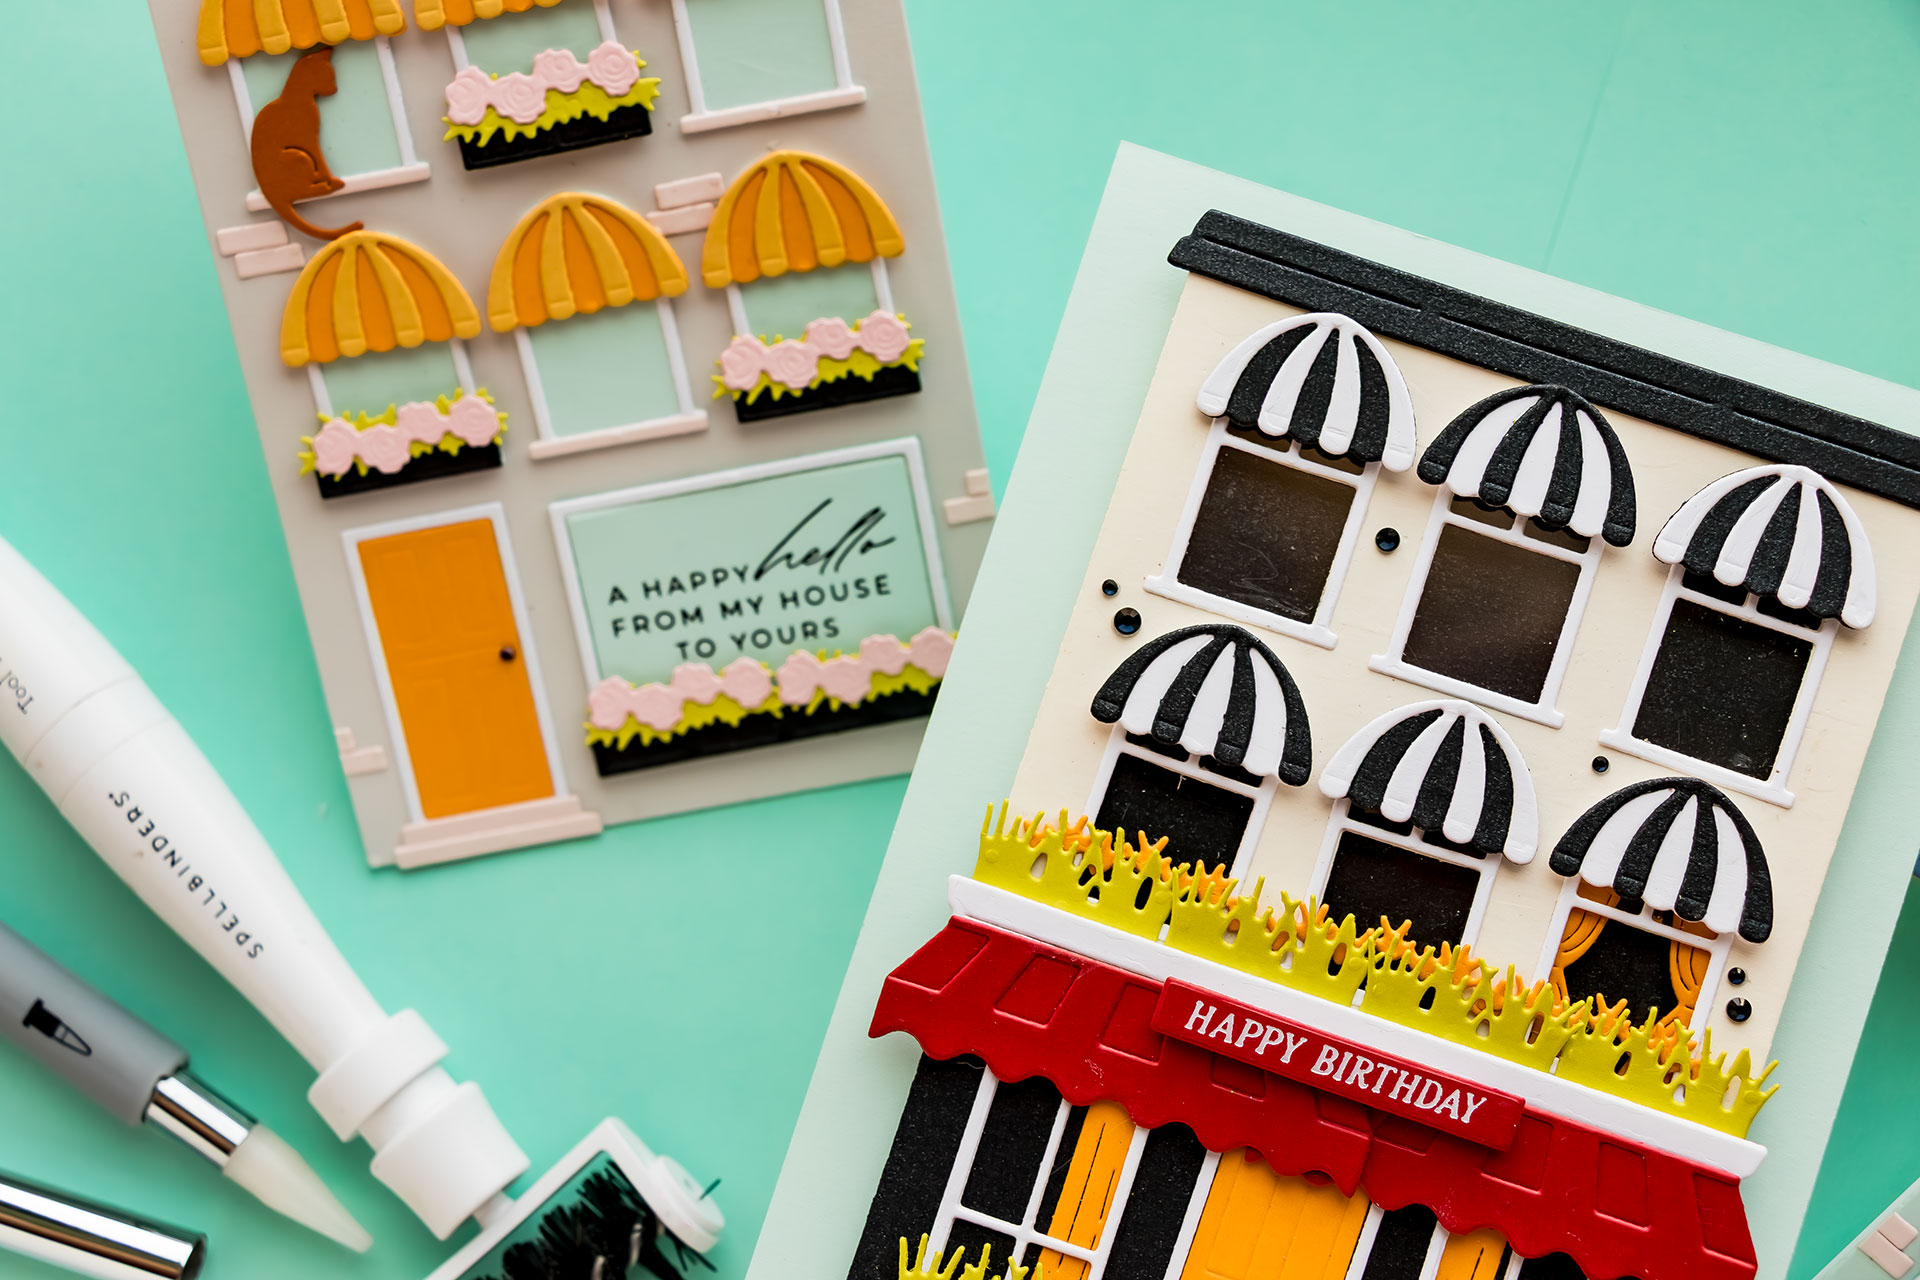
The idea for this card came from wanting to add lights to the City Holiday die set, along with the newer Everyday City Holiday add-ons. I love creating little scenes with this collection, and adding lights instantly makes everything feel extra special.
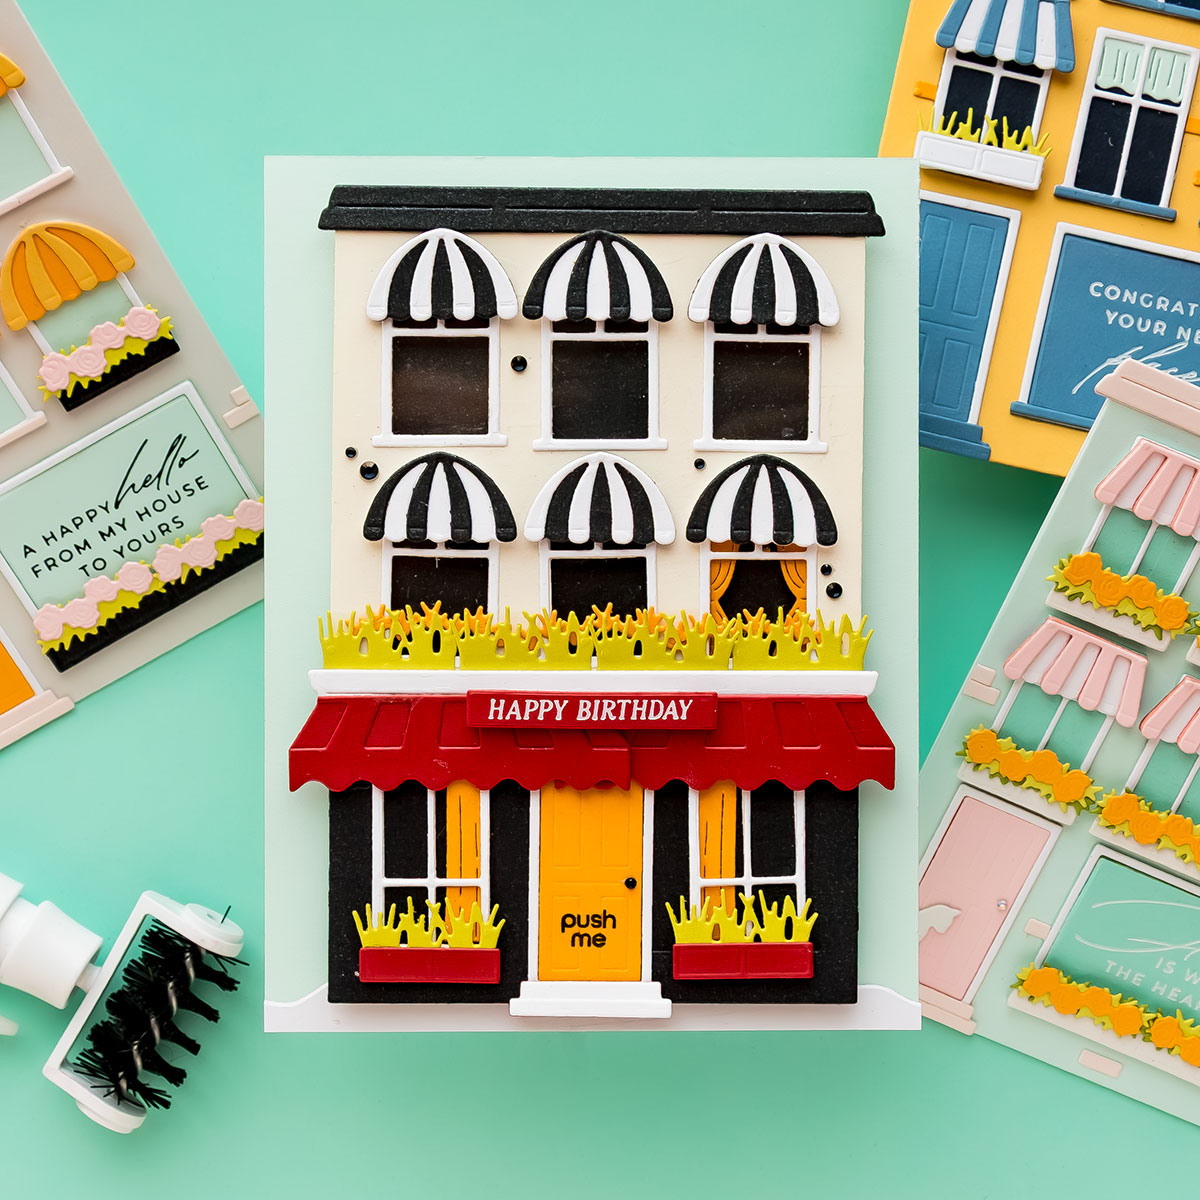
To create the building, I combined die cuts from black and white cardstock to give the structure a more custom look. I trimmed one of the pieces and layered it onto the main building to create contrast and add architectural detail. I really love this two-tone design and definitely want to experiment with more buildings like this in future projects.
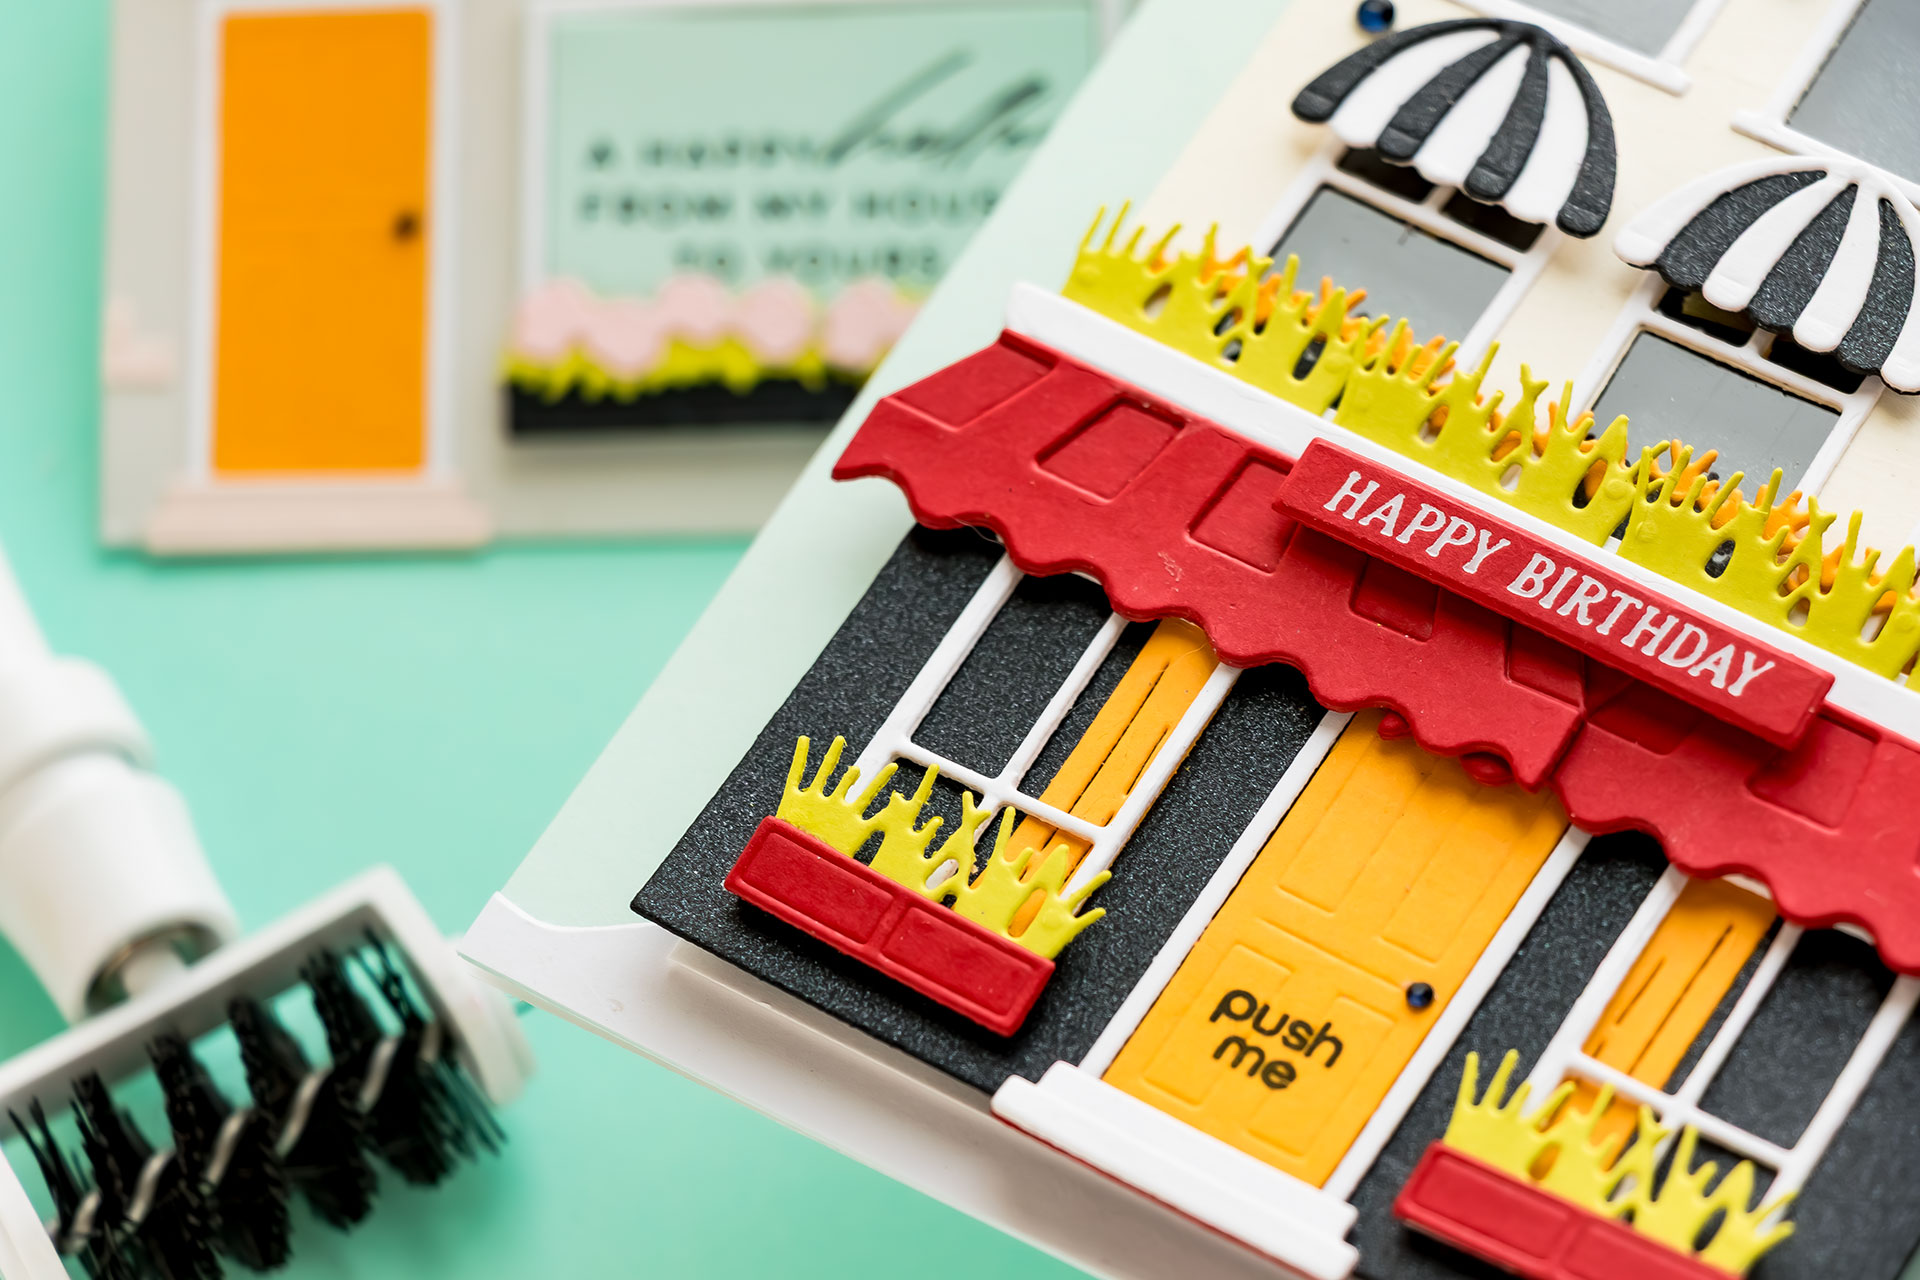
Since this is an interactive light-up card, I needed to let the recipient know where to press to activate the lights. I stamped a simple “push me” sentiment onto the door using a small sentiment stamp designed for interactive projects. The door acts as the button for the light mechanism, which makes the interaction feel very natural.
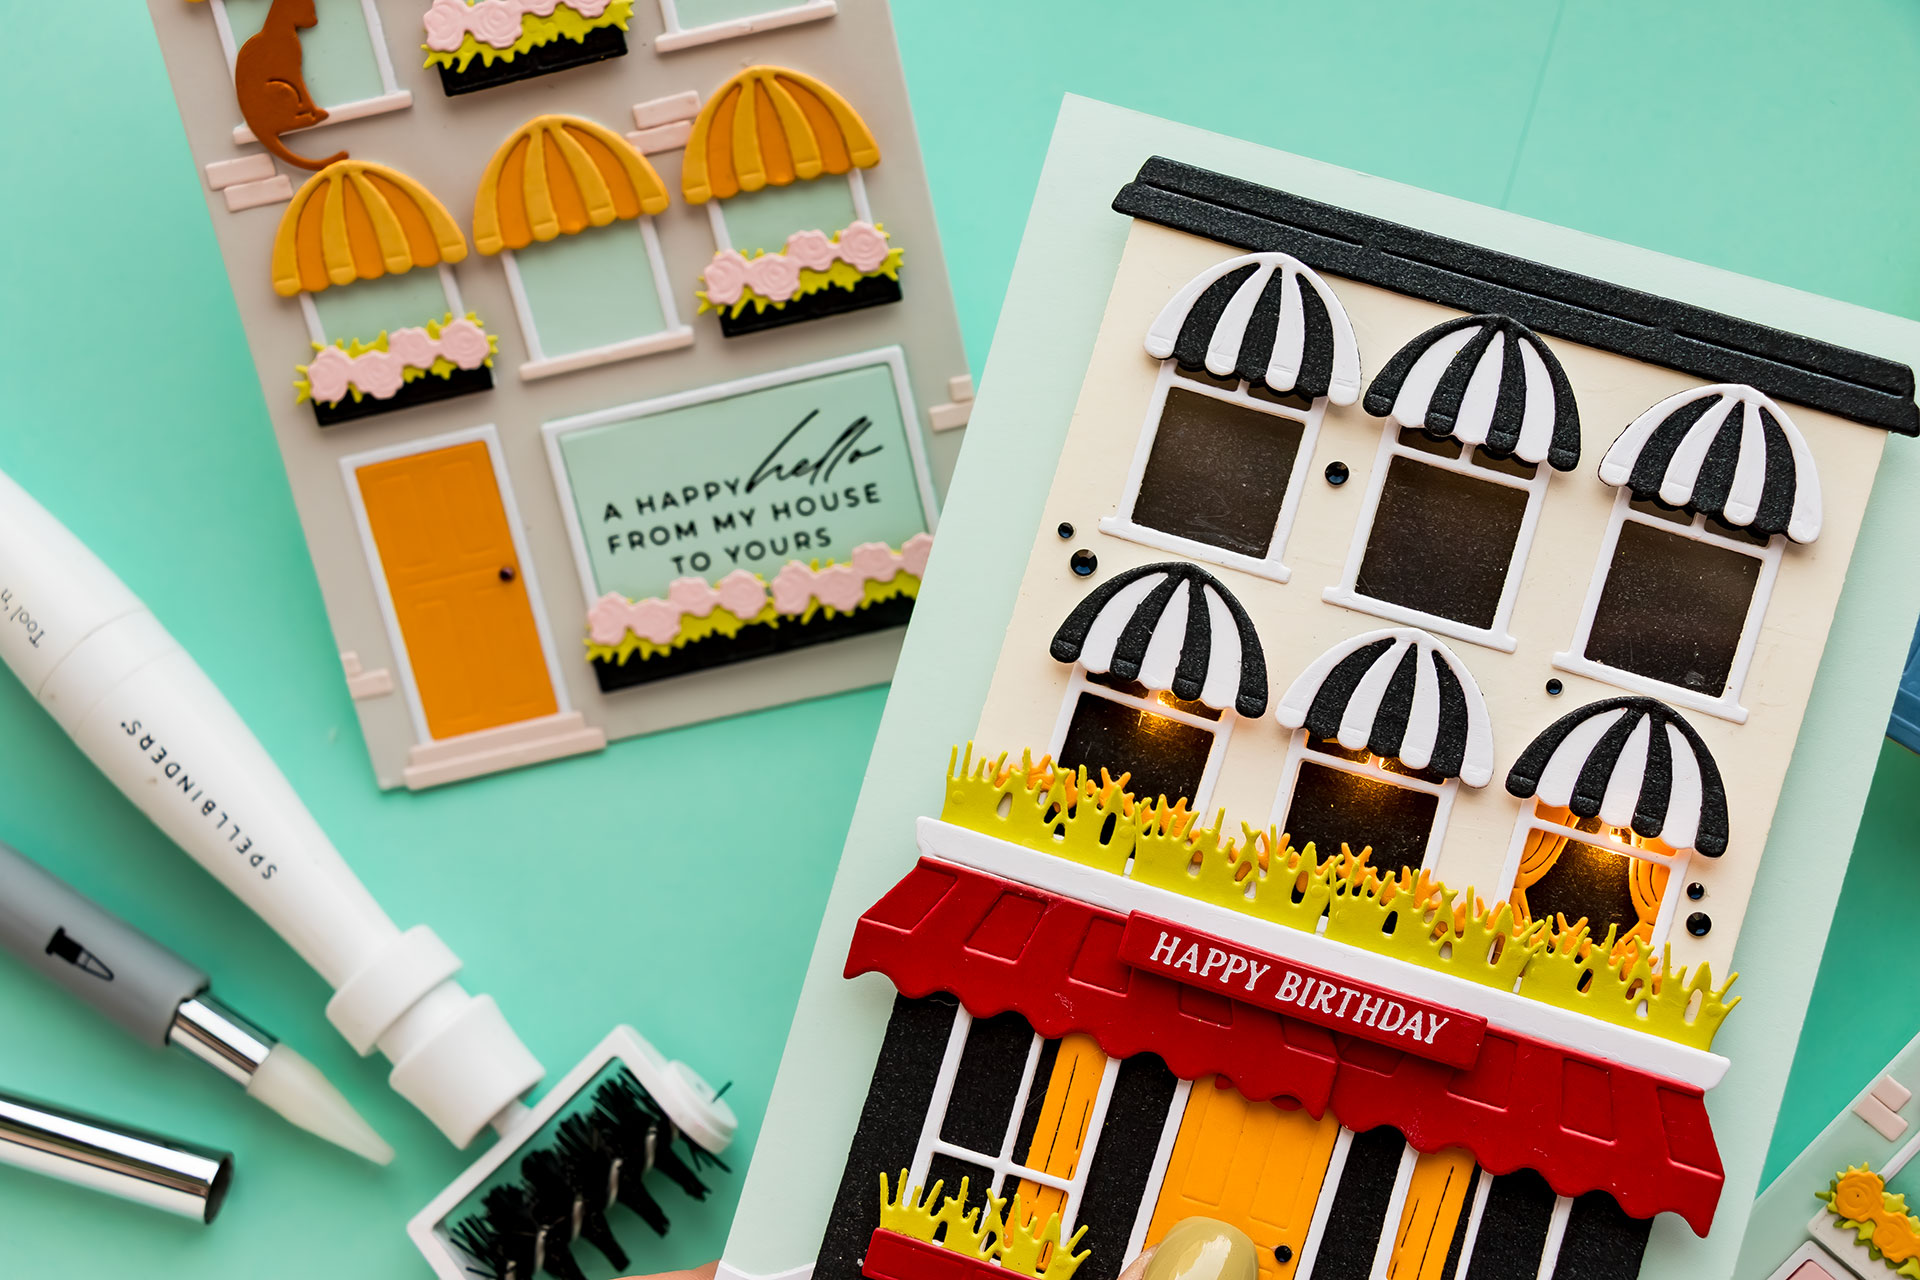
Before assembling the building, I added a piece of clear acetate behind the windows. This gives the finished project a realistic glass appearance and helps diffuse the light beautifully once the LEDs are turned on.
Next came the fun part — planning the lights. I used an EZ Lights pack with three LEDs and positioned them behind selected windows in the building. I first attached the decorative elements like awnings and window frames so I could avoid placing the lights where they might be blocked. I decided to position the lights toward the tops of the windows to mimic overhead ceiling lights inside the rooms.

Working with light-up mechanisms does require a little patience, especially when taping down the wires, but it’s honestly much easier than it looks. Once you try it once, the process becomes very straightforward. I constantly flipped the panel over while assembling to make sure no wires were visible from the front and to test the lights throughout the process.
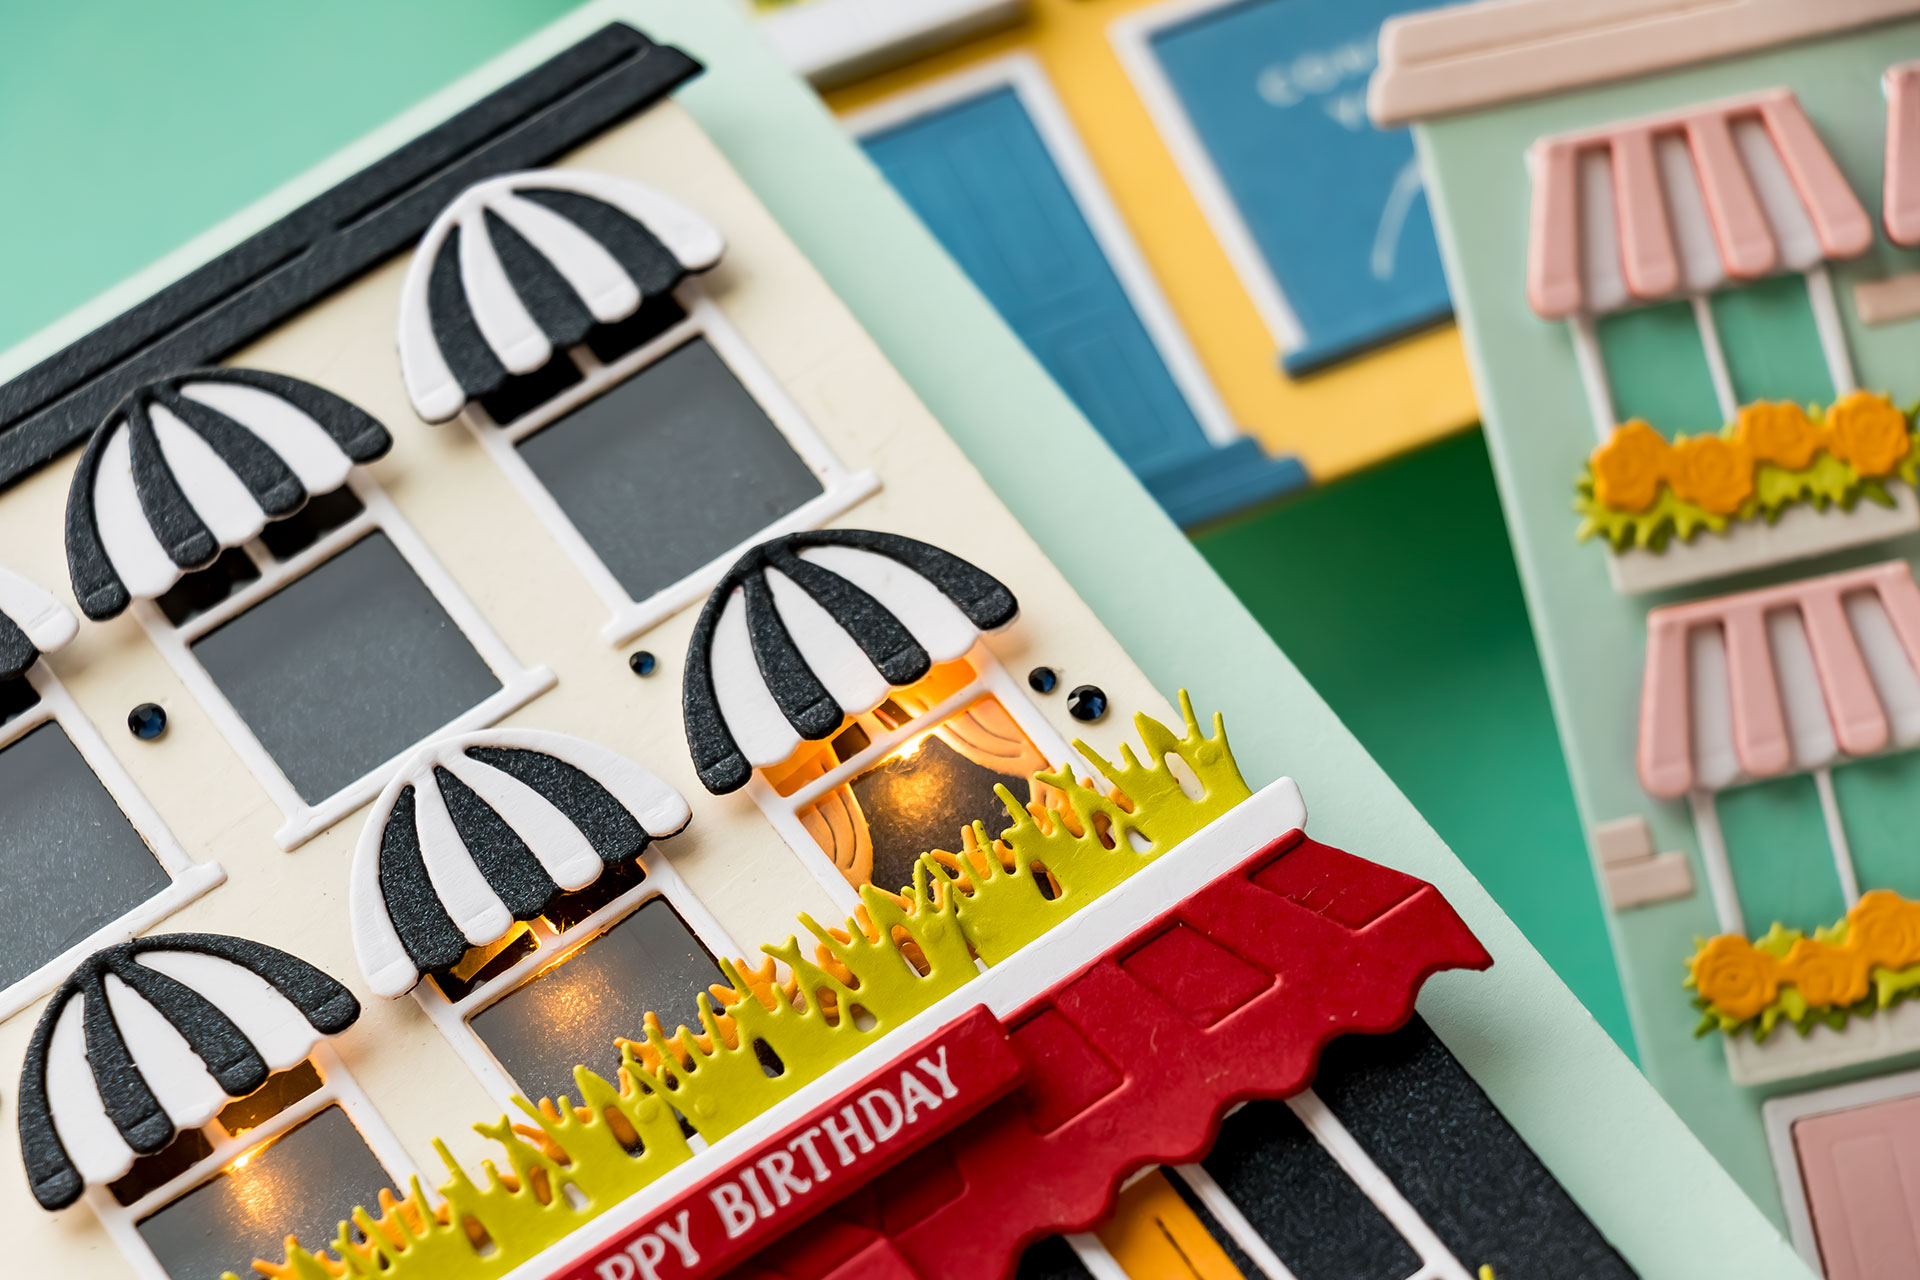
To create a nighttime look, I added a black layer behind the windows so the building would appear dark until the lights were activated. Foam adhesive tape created enough depth to hide the battery pack and wires behind the panel.
I also customized the architecture of the building by turning one of the roof dies upside down to create a large flower box element. I decorated it with die-cut greenery and flowers and added bold red awnings for contrast. The color palette for this project is very graphic and bold — black, white, red, and touches of yellow, and I absolutely love how dramatic it looks when illuminated.
To finish the card, I added a foiled birthday sentiment across the front awning. Because I modified the height of the building, I mounted the finished panel onto a slightly larger card base measuring 4.5” x 6”.
This interactive light-up card was such a fun project to create, and I love how the glowing windows bring the entire city scene to life. If you’ve been wanting to try adding lights to your handmade cards, this is a great project to start with.
Thanks so much for stopping by today!
SUPPLIES
Affiliate links are used at no additional cost to you. Shopping via my affiliate links helps support my YouTube channel and blog. Thank you!