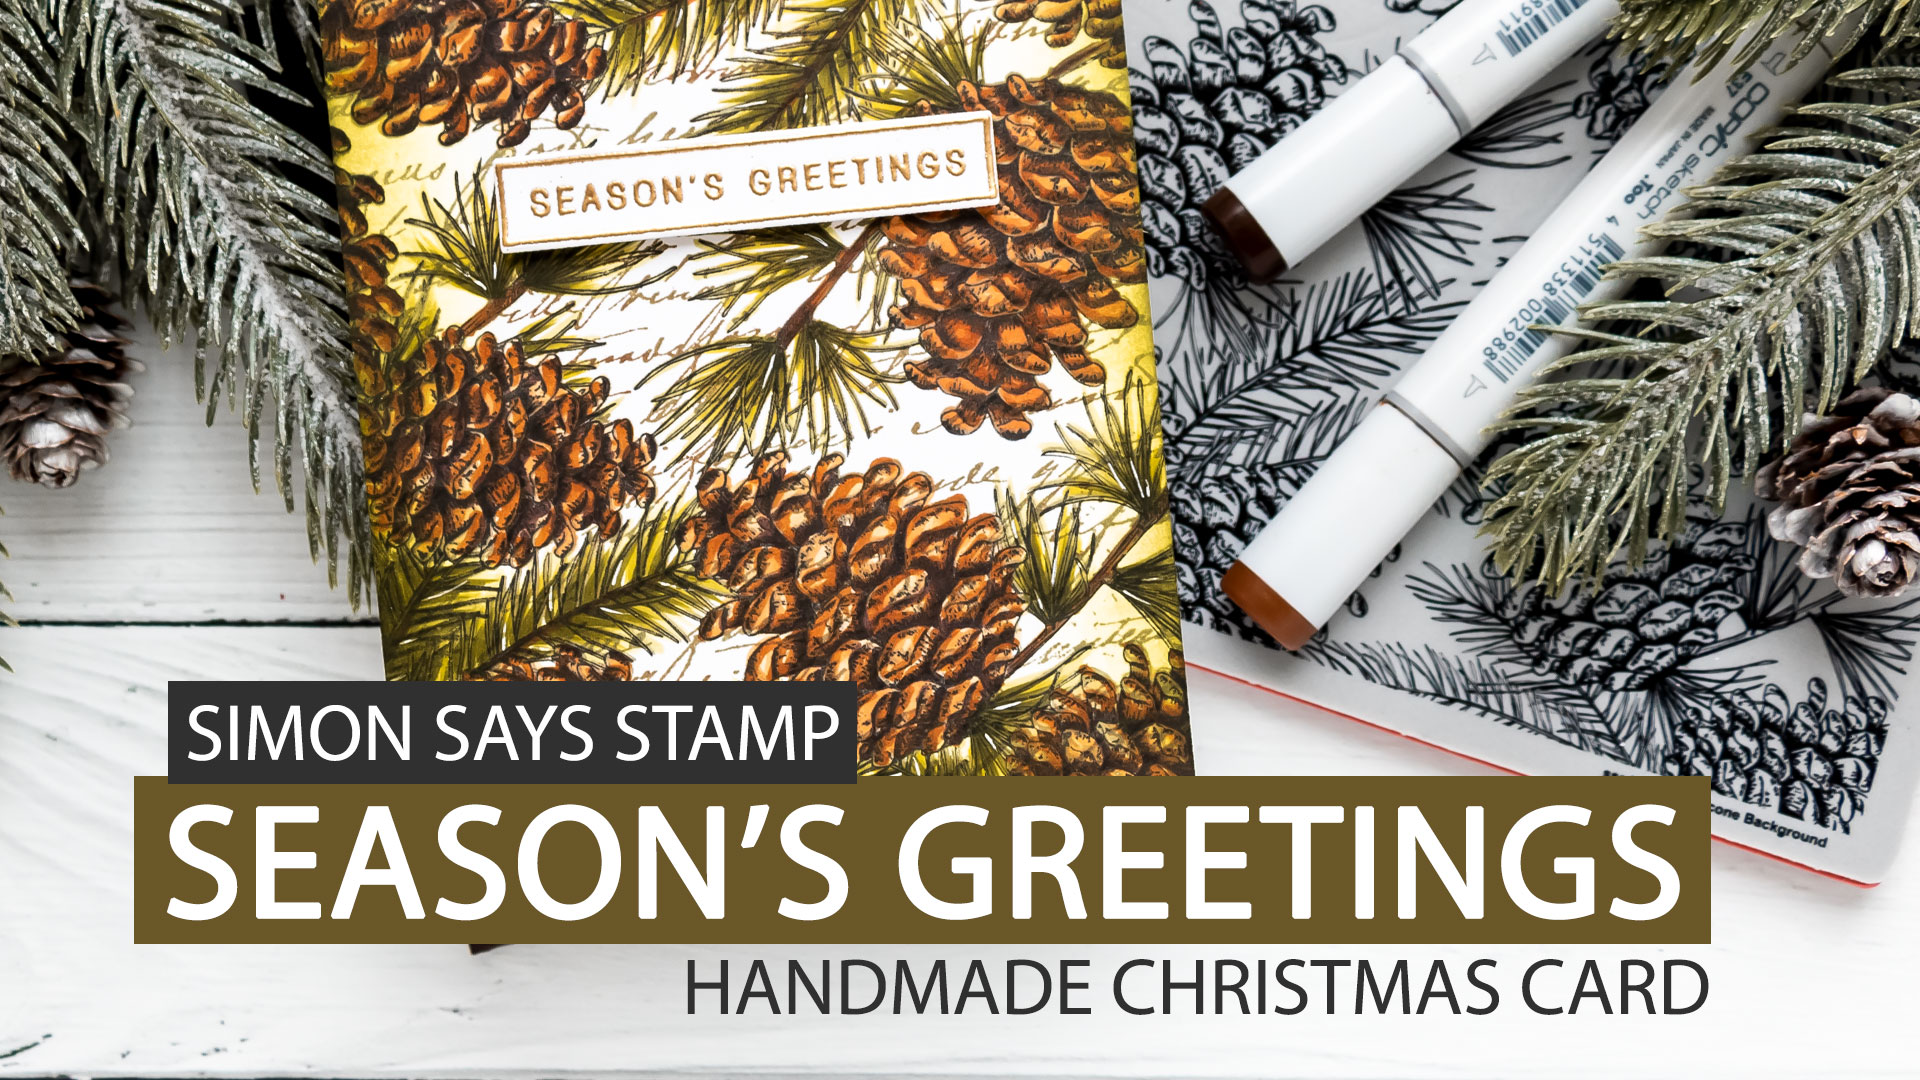
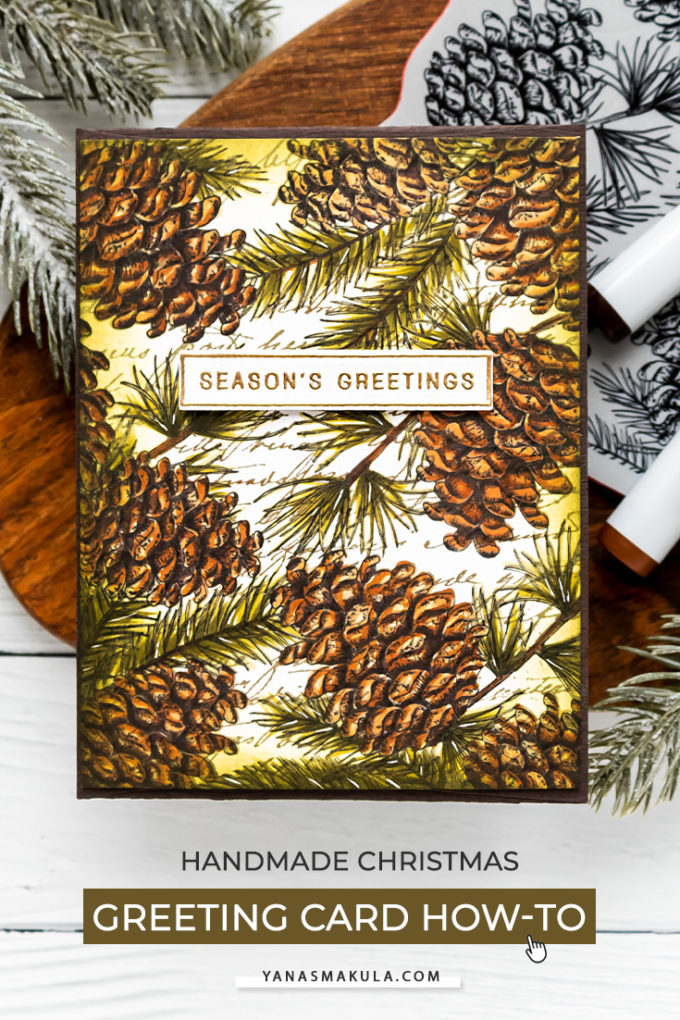
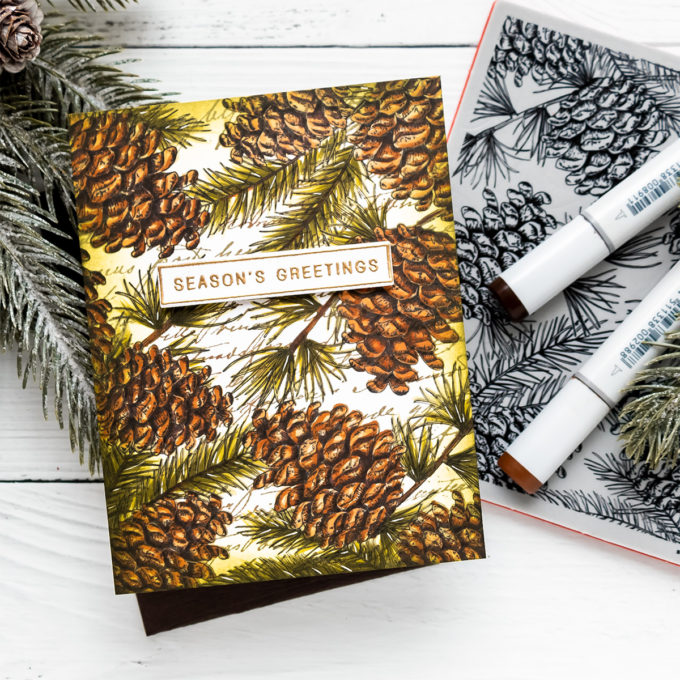
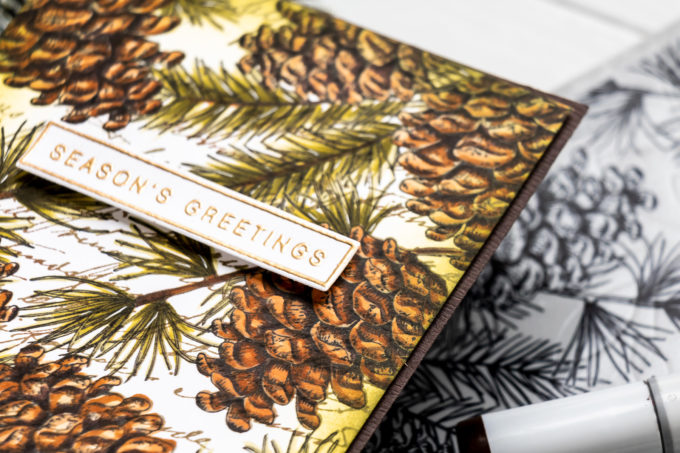
I know, the title of this post says “one layer” and “layered”, so which one is it really? It is both. The card I have for you today is nearly one layer (if you don’t count the sentiment panel which I have popped up with foam adhesive), it features some layered stamping using background cling stamps from Simon Says Stamp. It looks hard to make (possibly even intimidating to a beginner stamper), but it really is quite easy and only requires a handful of supplies.
Like this project? Pin it and save for later | Curious about my project photography? Click for details.
CARD DETAILS
My package with the brand new Make Merry release goodies from Simon Says Stamp has been stuck in customs for nearly 3 weeks now, so this is why I don’t have any inspiration to share featuring the new goodies. Instead, I am using this as a perfect opportunity to go through my stash and play with my older supplies. A win-win, wouldn’t you agree?
Follow these steps to re-create this card:
- Using a MISTI stamping tool (or a similar stamp positioner) stamp Simon’s Pinecone background in Memento Tuxedo Black ink onto Neenah Solar White 80lb cardstock.
- Loosely color the pine branches using YG93, YG95, YG99 Copic markers. I used the flick-style coloring method and simply flicked the color on the paper.
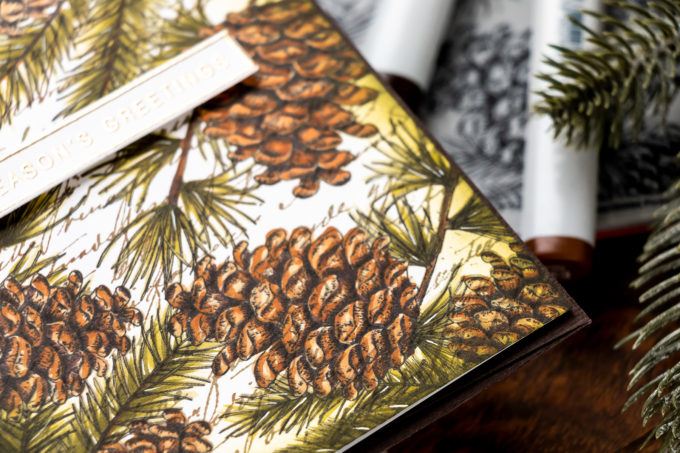
- Color the pinecones using E31, E33, E37, E79 Copic markers. The Pinecone background has a lot of the detail added in, so you don’t need to work hard when coloring, simply add some lighter and darker colors.
- Ink edged of the panel with Simon’s Willow and Hero Arts Forever Green inks to darken the edges of the panel and help lead the eye of the viewer to the center.
- Place the colored and ink panel inside the MISTI stamping tool. Stamp Old Letter background in Vintage Sepia ink. Because it is a fairly light brown it blends in with the stamping and coloring already done in the background, you don’t need to do any masking.
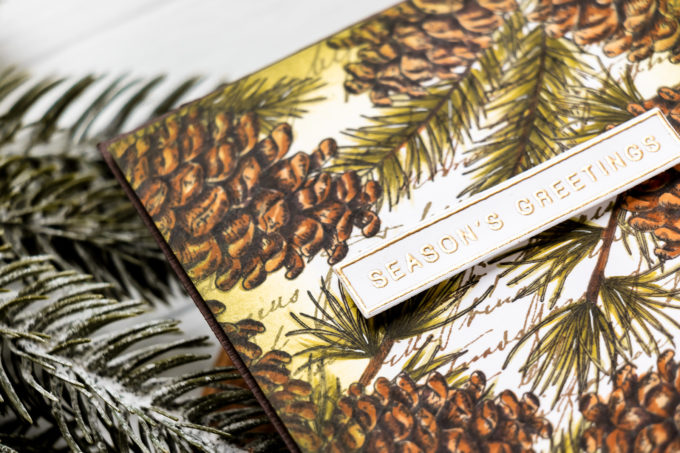
- Heat emboss “Season’s Greetings” sentiment from the Holiday Greetings Mix 1 stamp set in Antique Gold embossing powder on white cardstock. Cut out and foam mount onto the card.
- Using a 0.5 Sakura white pen add white highlights to the pine branches.
Both of the cling backgrounds I used to make this card are true must-haves. The Pinecone background works not only for Holiday cards but also for Fall. It is so gorgeous! I shared a Fall card with this background stamp HERE, there’s also a video tutorial (watch below). And the Old Letter background is a timeless classic. It can layer over anything to give the project a slightly old, vintage look.
Here are a few more close up images of today’s project. Let me know what you think in the comments below! I love hearing from you!
SUPPLIES
I’m listing the products I used below. Click on the link to go directly to the product. Where available I use compensated affiliate links which means if you make a purchase I receive a small commission at no extra cost to you. Thank you so much for your support!
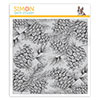 Simon Says Cling Stamp Pinecone Background Shop at: SSS |
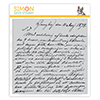 Simon Says Cling Stamp Old Letter Shop at: SSS |
 Simon Says Clear Stamps Holiday Greetings Mix 1 Shop at: SSS |
 Neenah 110 Lb Solar White Cardstock Shop at: SSS |
 Neenah 80LB Solar White Cardstock Shop at: SSS |
 Hero Arts Misti Regular Black Shop at: SSS |
 Misti Stamping Tool Shop at: SSS |
 Memento Tuxedo Black Ink Pad Shop at: SSS |
 Tsukineko VersaFine Vintage Sepia Ink Shop at: SSS |
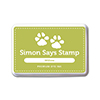 Simon Says Stamp Willow Dye Ink Pad Shop at: SSS |
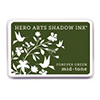 Hero Arts Forever Green Ink Pad Shop at: SSS |
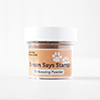 Simon Says Stamp Antique Gold Embossing Powder Shop at: SSS |
 Spellbinders Circle Replacement Foam Shop at: SSS |
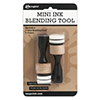 Ranger Mini Round Ink Blending Tools Shop at: SSS |
 EK Success Powder Tool Applicator Shop at: SSS |
 Hero Arts Heat Embossing Gun Shop at: SSS |
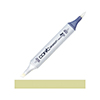 Copic Sketch Marker YG93 Grayish Yellow Shop at: SSS |
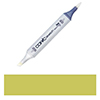 Copic Sketch Marker YG95 Pale Olive Shop at: SSS |
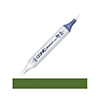 Copic Sketch Marker YG99 Marine Green Shop at: SSS |
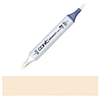 Copic Sketch Marker E31 Brick Beige Shop at: SSS |
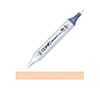 Copic Sketch Marker E33 Sand Shop at: SSS |
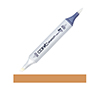 Copic Sketch Marker E37 Sepia Shop at: SSS |
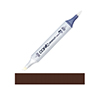 Copic Sketch Marker E79 Cashew Shop at: SSS |
 Tonic Studios 8.5 Inch Paper Trimmer Shop at: SSS |
 Sakura Classic White Gelly Roll Pens Set of 3 Shop at: SSS |
 White Foam Squares Shop at: SSS |



like this card, but have not seen directions or info on flick style with copics where do i find out how to do this?
I have a video on this technique here https://www.yanasmakula.com/altenew-crafty-friends-floral-cards-video-blog-hop-giveaway/
Absolutely beautiful card Yana.
so glad you like it, thank you Delia!
Beautiful! The pine cone colours are spot on.
thanks, Julie! I think these Copic marker colors are just perfect for coloring pine cones 🙂 And this stamp makes it so easy to color.
Wow, beautiful card Yana!
thank you, Stacey! Glad you like it
Pretty card and also like the ones with the browns, etc. Many interesting techniques to bring out cards to another level.
so glad you like it, Patricia. I had fun making it 🙂
Thanks for the great tutorial, I’m currently working on my Christmas card which has pine boughs and pine cones too, I wasn’t happy with the color combo I was using so I’m switching to the ones you are using here. The pine cones look so realistic! Thanks!
So glad this was helpful, Sheri! Have fun 🙂
Wow!!!! Gorgeous!!!!!!
thank you, Maureen!
That is one fantastic card! The greatest coloring!
thanks so much, Karen! Glad you like it