

Hello and welcome back for another Yippee For Yana video! In this video, I have a masculine Valentine’s Day card to share created using new goodies from Simon.
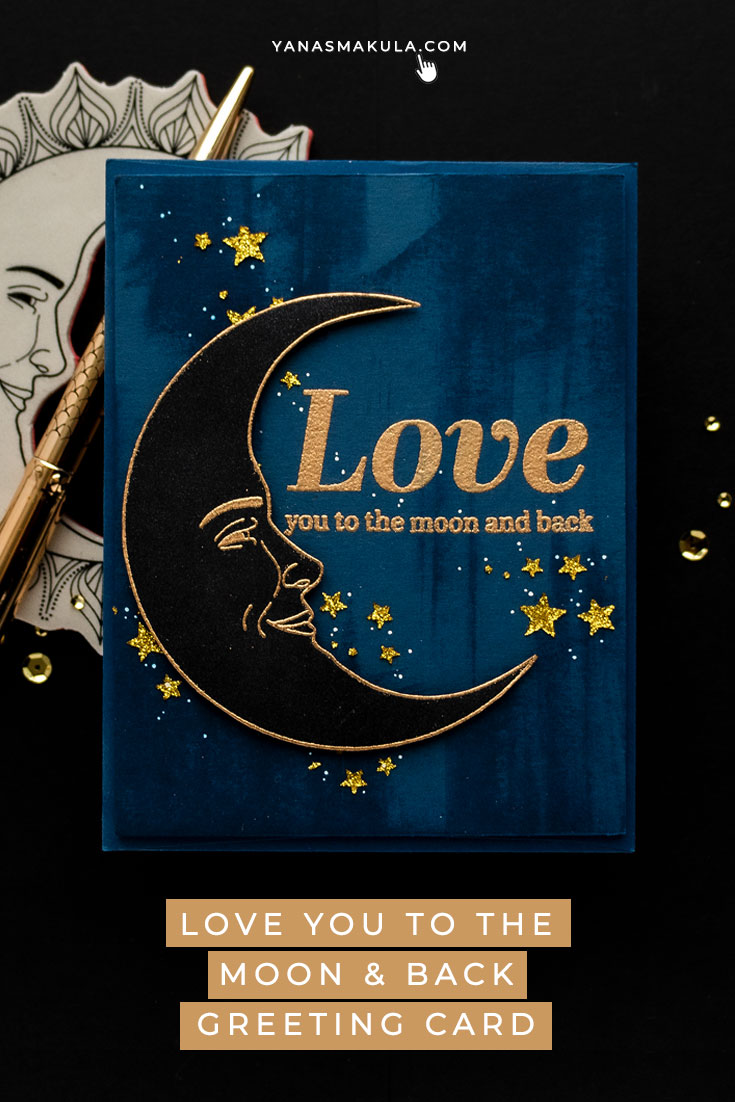
Like this project? Pin it and save for later | Curious about my project photography? Click for details.
VIDEO TUTORIAL
Watch the video below or on my Youtube channel.
Like this video? Please give it a big thumbs up (you can do this on Youtube video page right under the video) and share it with a crafty friend! Leave me a comment too, I love hearing from you!
CARD DETAILS
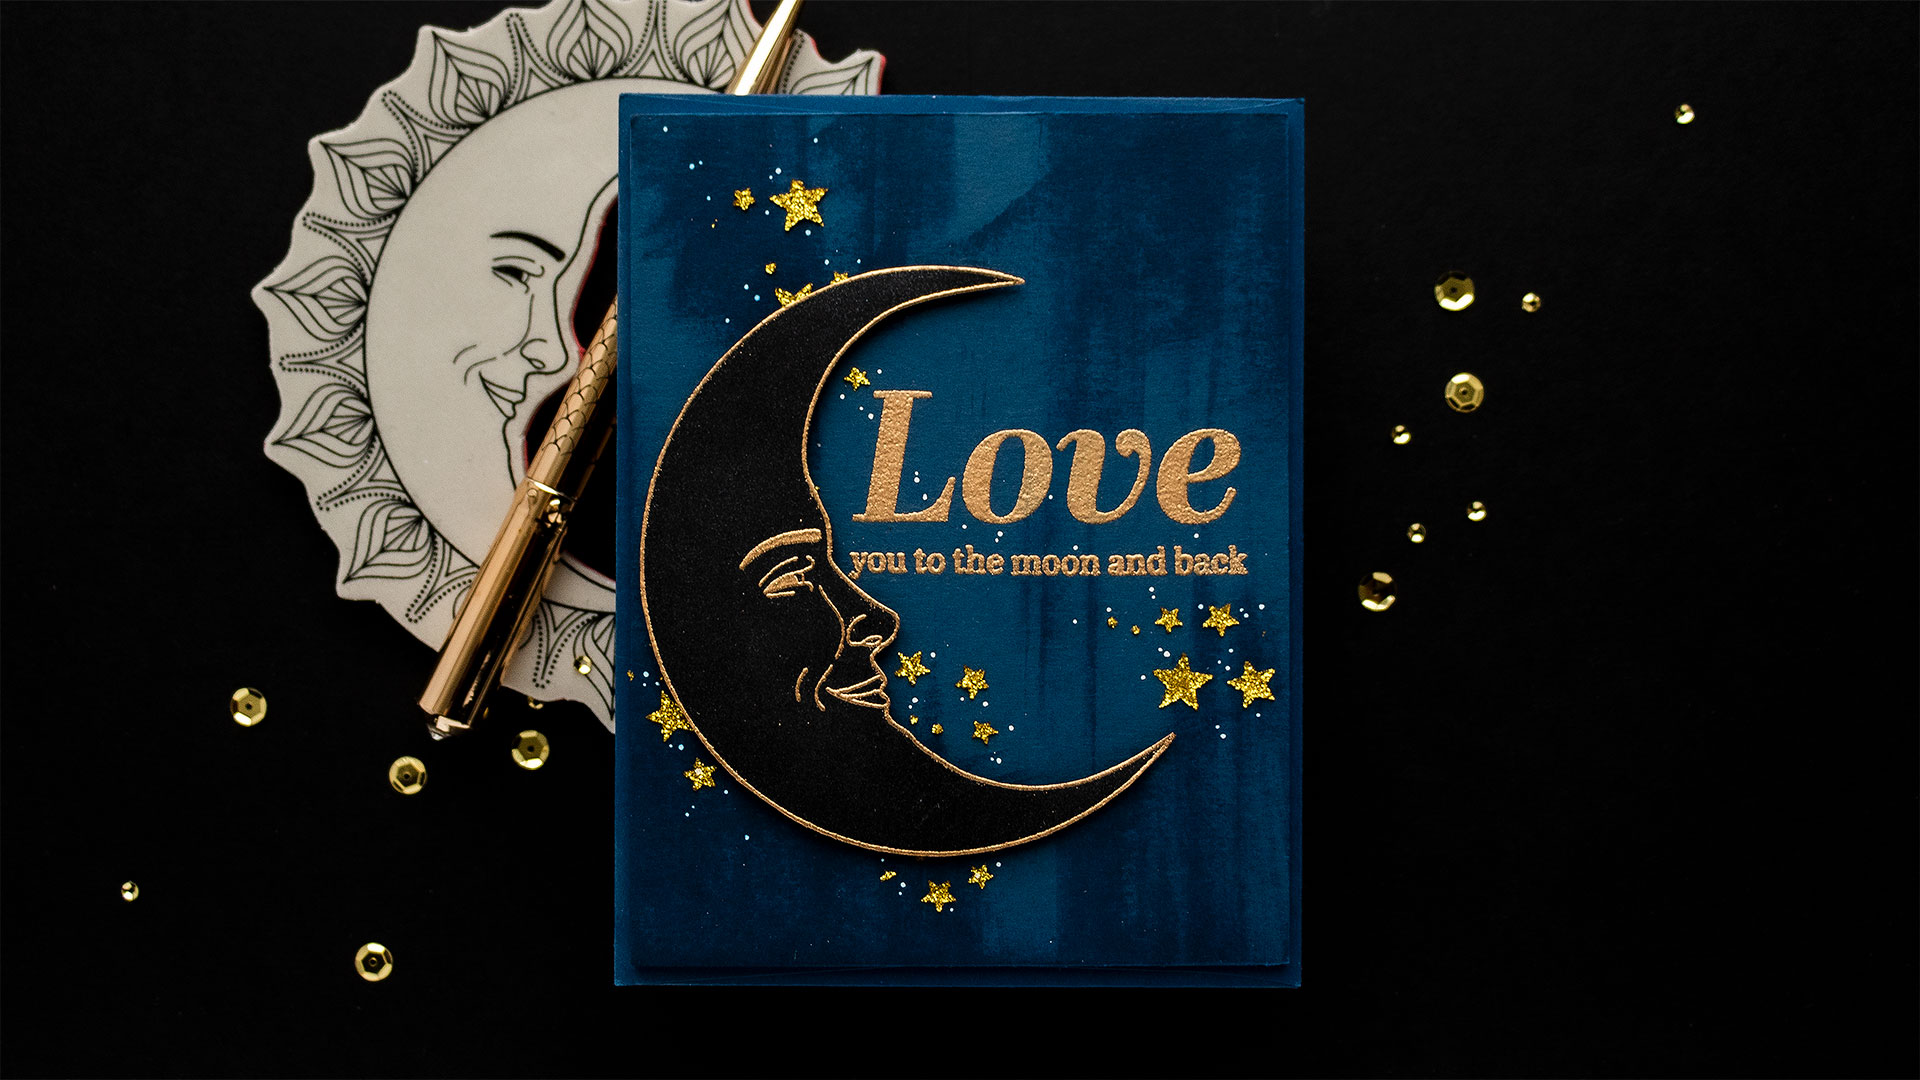
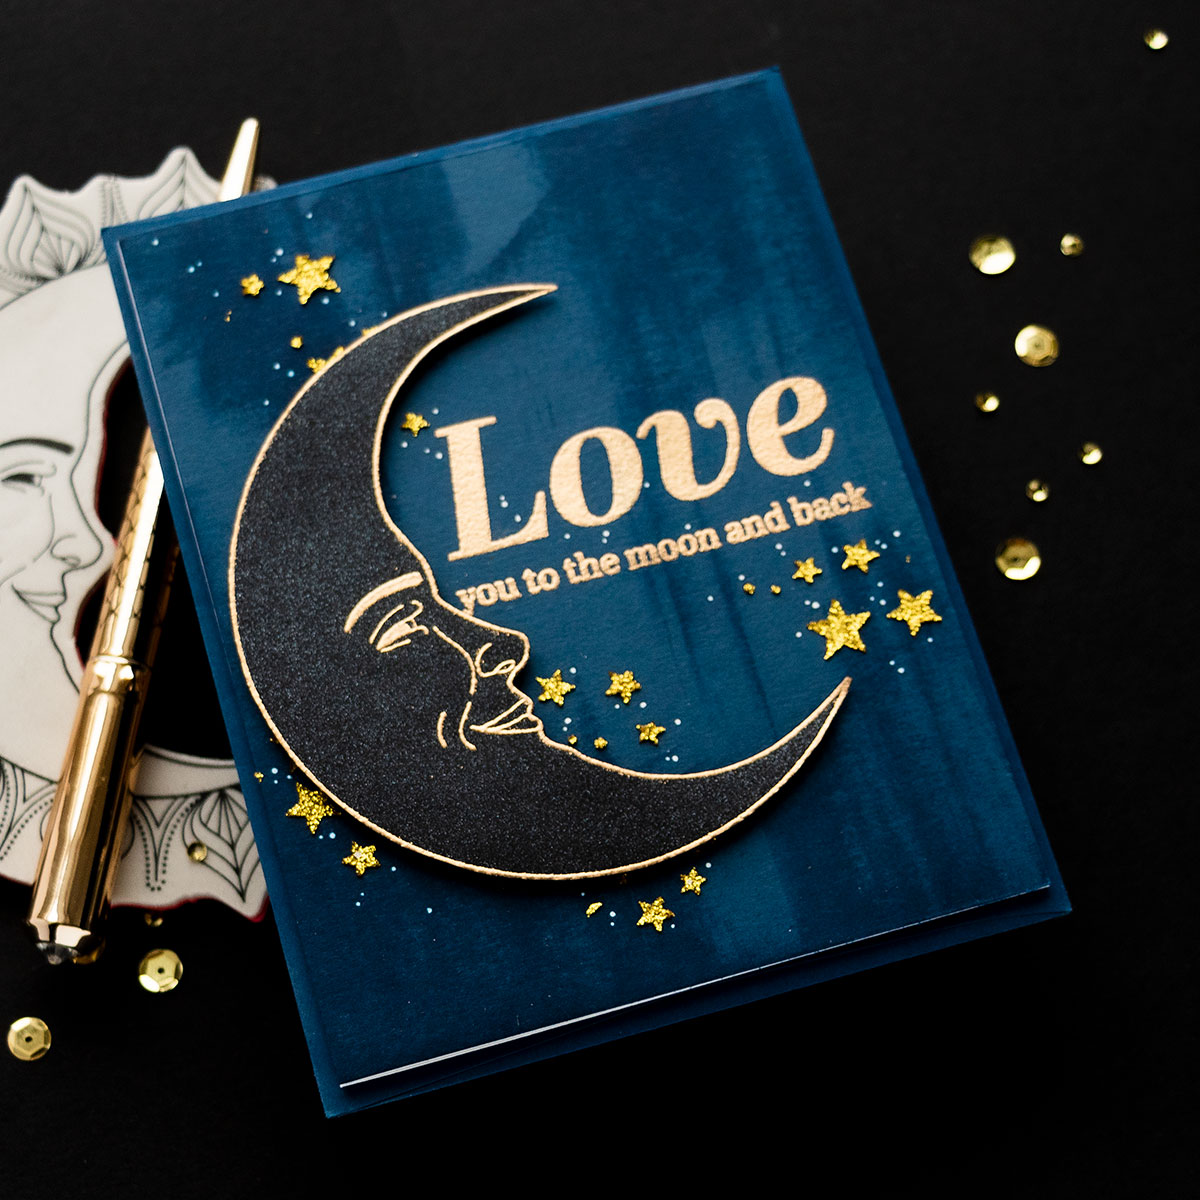
I started by heat embossing the sentiment in Brass embossing powder on the Soft Navy cardstock panel and I embossed it closer to the right leaving room for the moon on the left. Next, I embossed the moon in the same Brass embossing powder on Black cardstock.
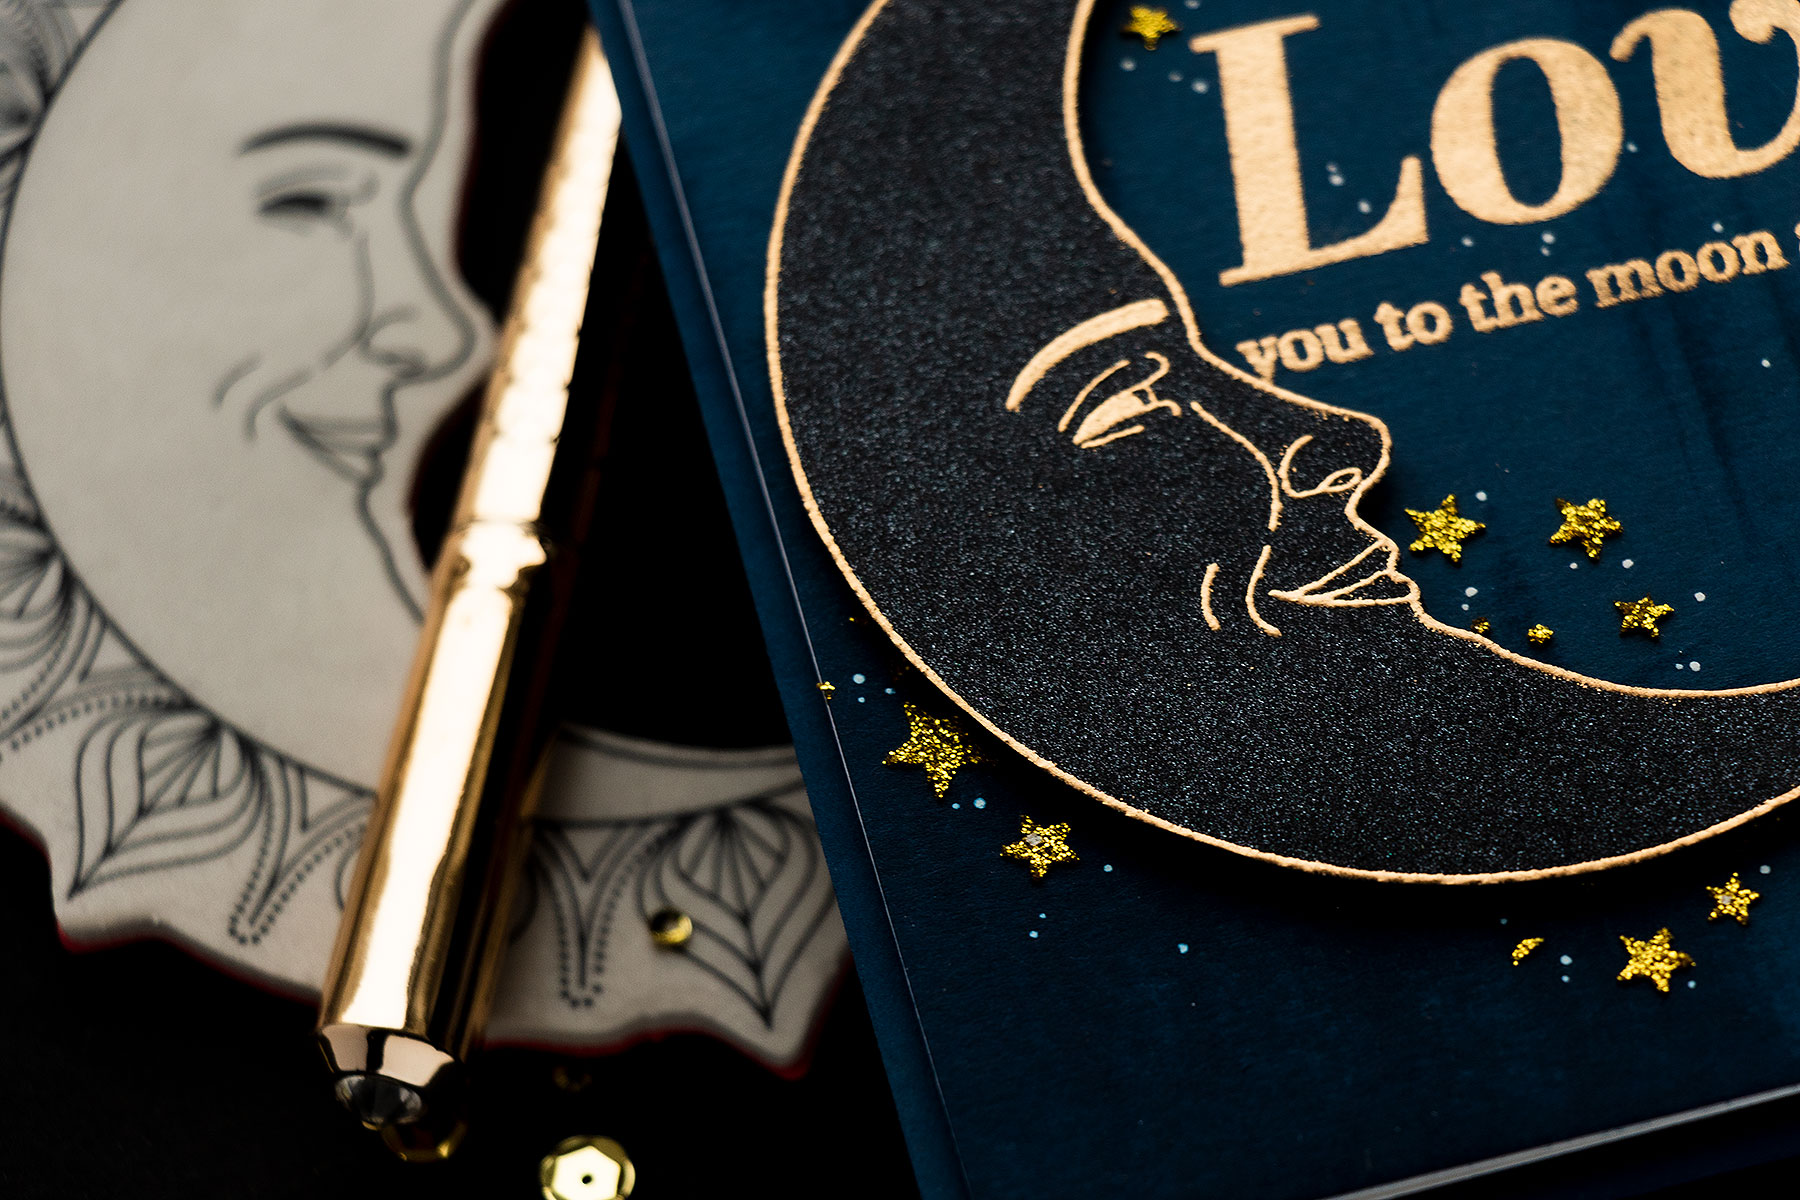
I used black pearlescent paper for my original card, but in my video, I’m showing how you can use regular black cardstock if you don’t have the pearl paper in your stash. The black pearl paper has been discontinued, I just have little scraps in my stash, so I thought it would be best to show you how to achieve the faux pearl look using regular black cardstock.
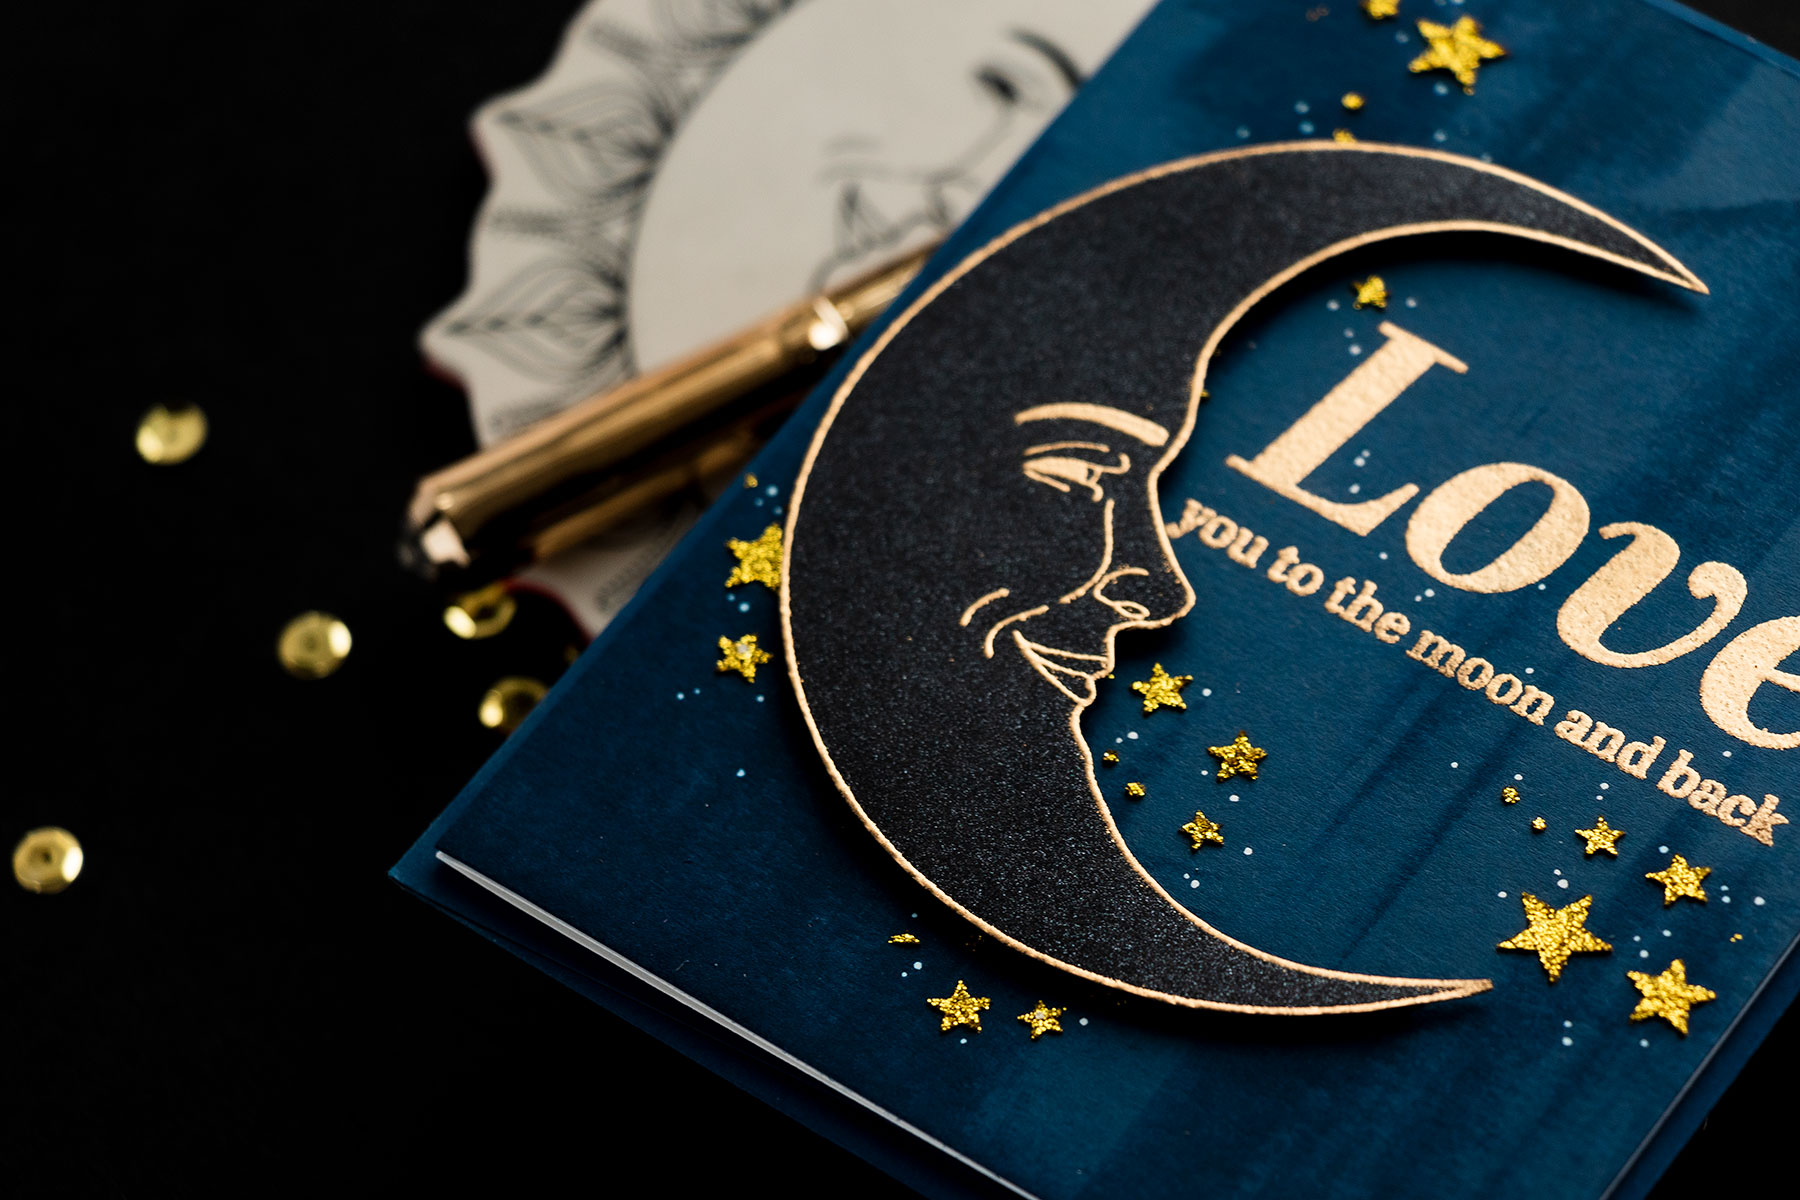
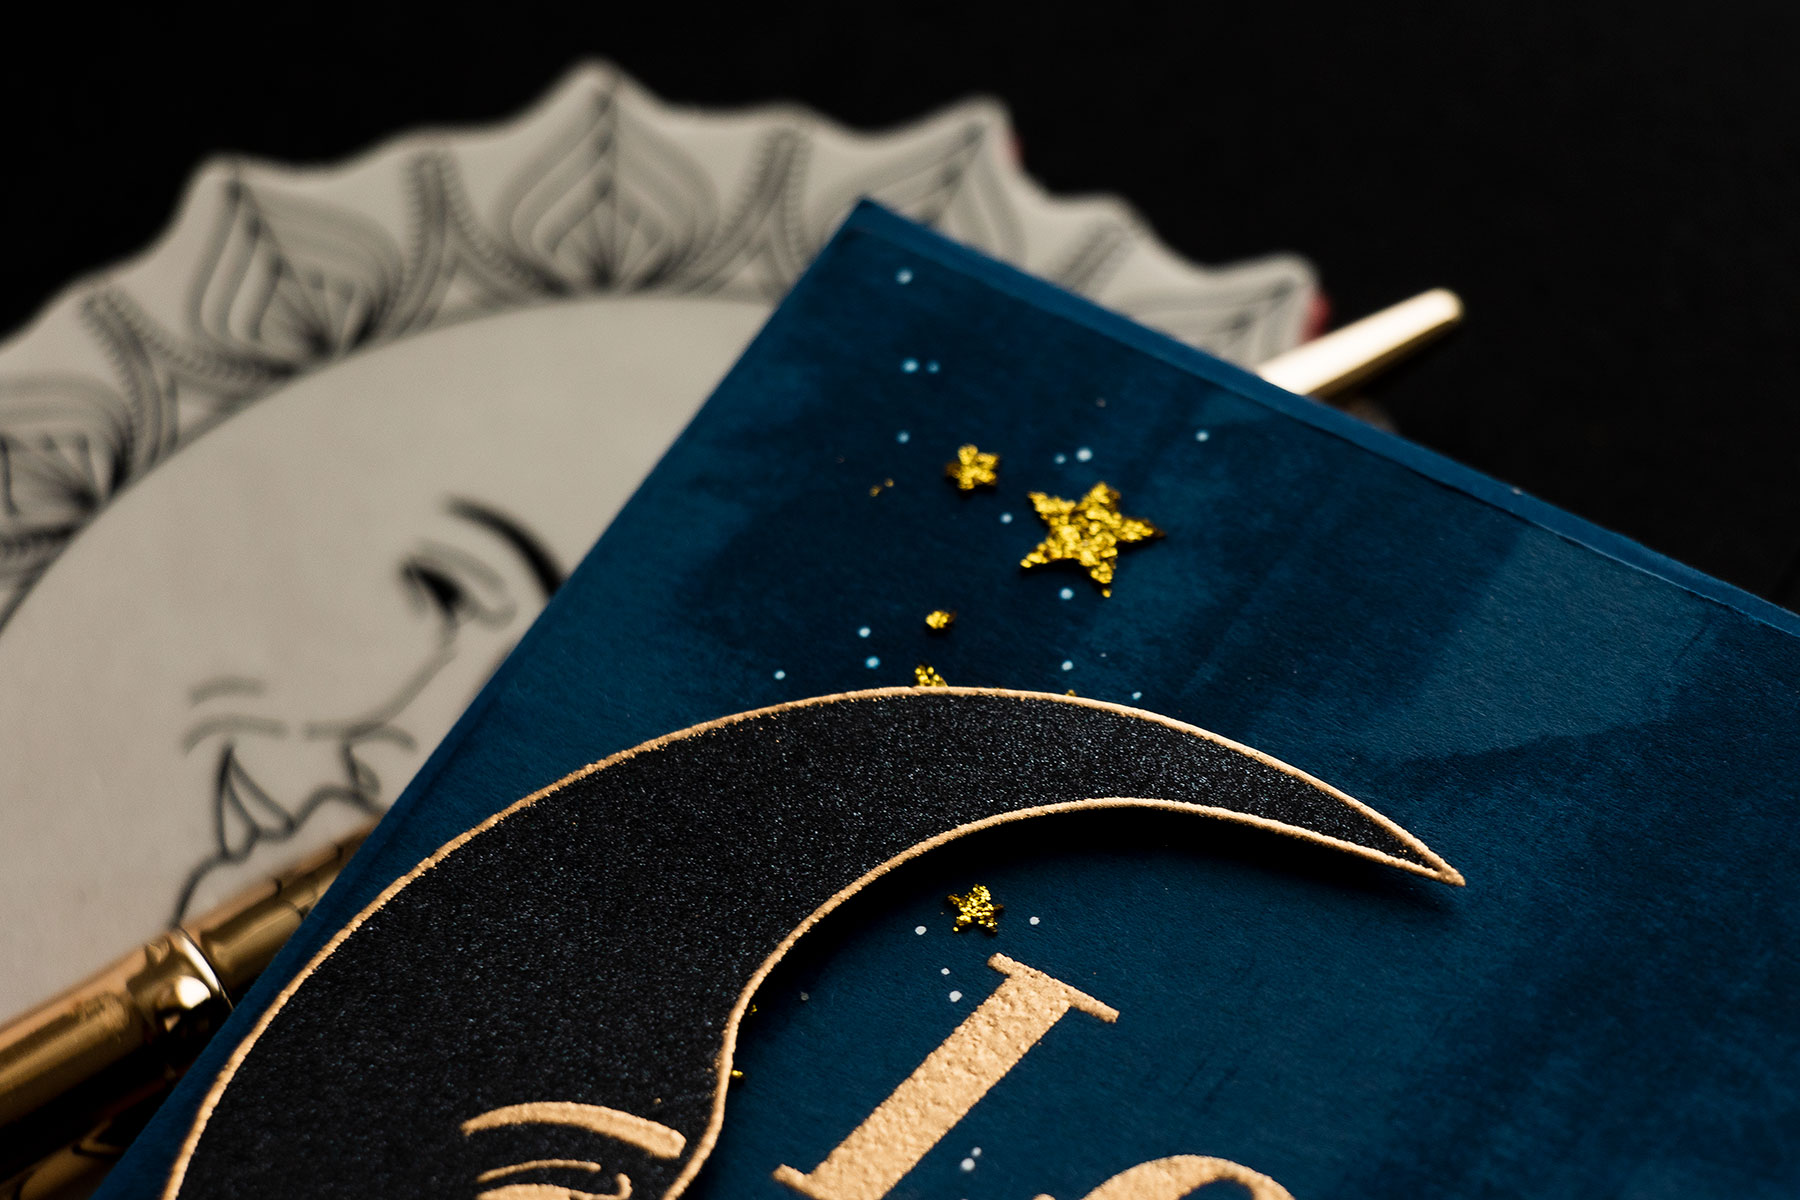
To give my moon some shine I sprayed the paper with a Brushed Pewter spray from Ranger and set the moon panel aside to dry. With the moon panel drying, I went back to the sentiment panel. I wanted this panel to have color variation and even some texture, well, faux texture. I did that with the help of an ink pad and direct to paper technique using Royal ink pad from Simon.
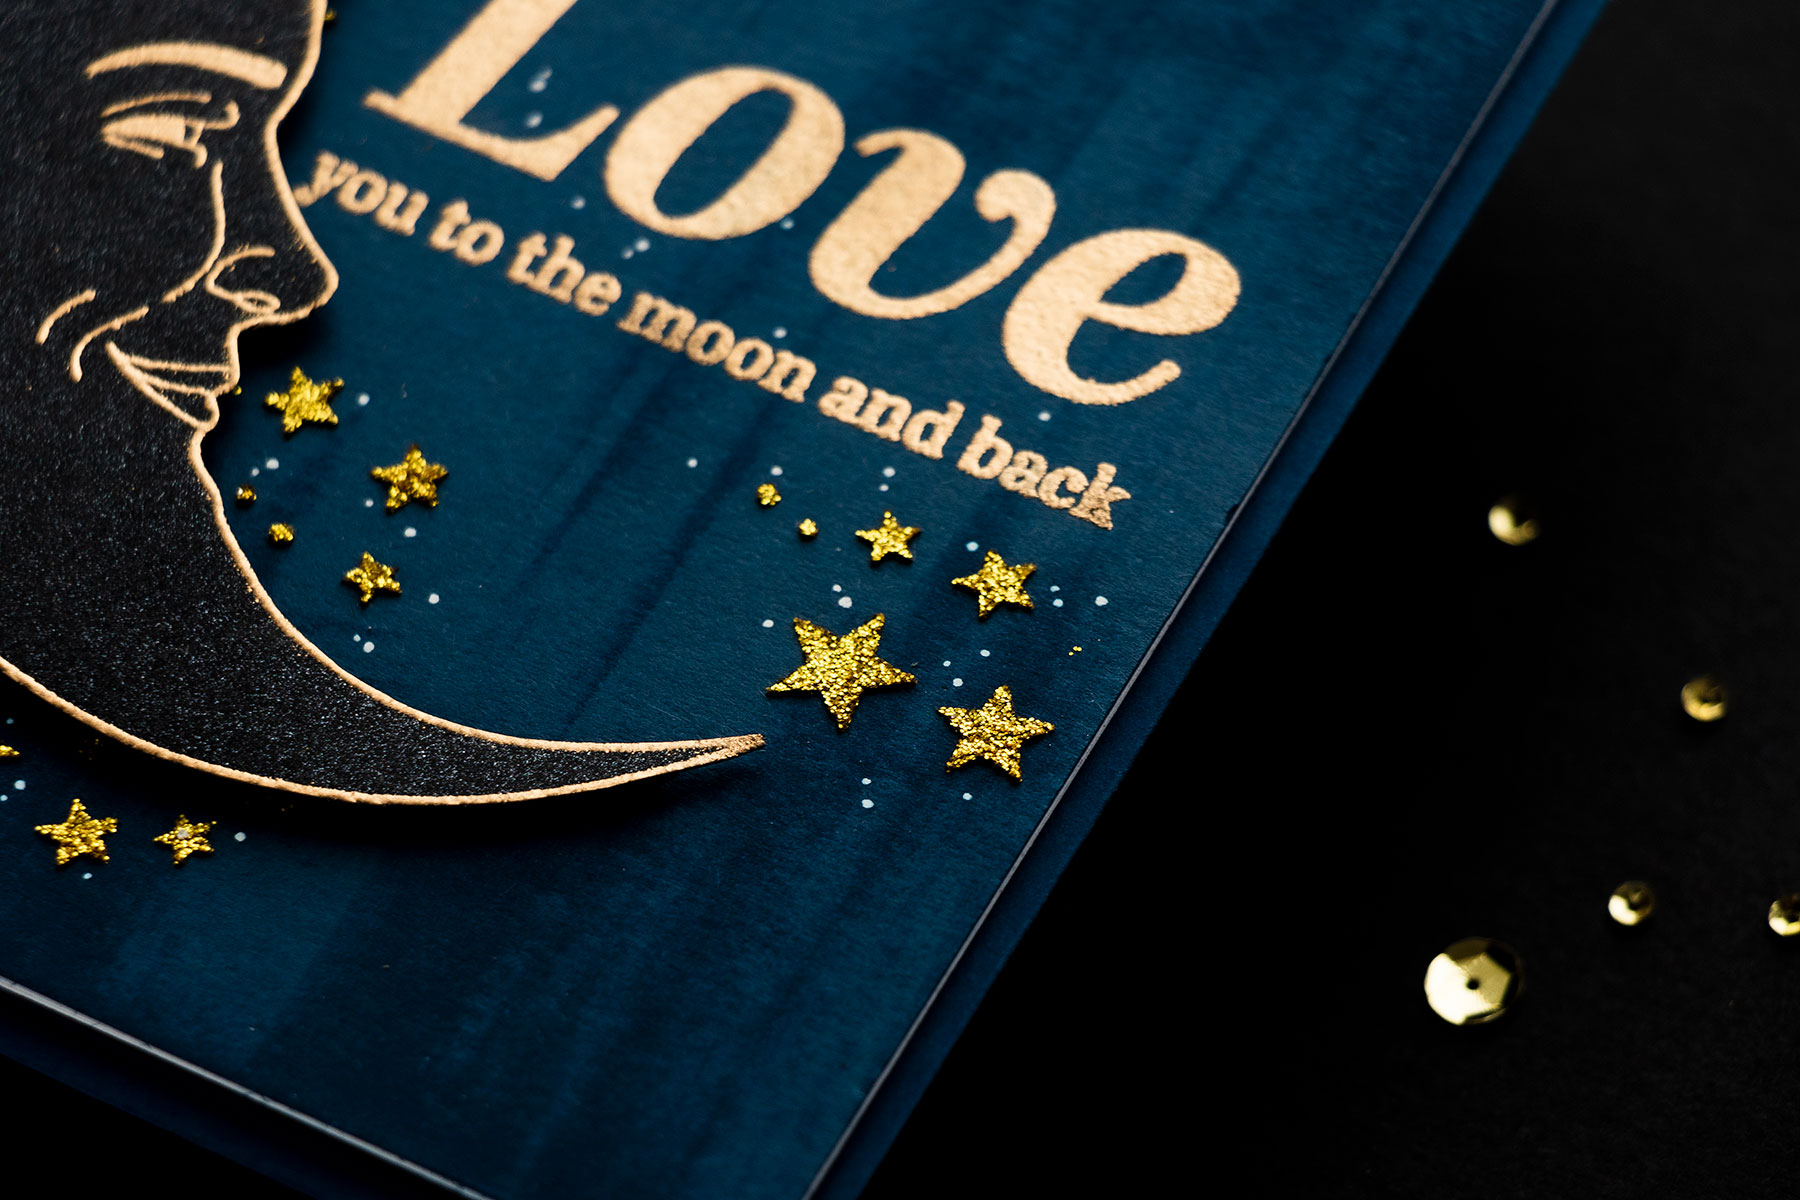
Where there’s a moon, you always have stars. I added a couple of stars onto the background using a Scattered Stars stencil and glitter gel in Citrine. The blue abstract background signifies a night sky here. We’ve added abstract strokes to the background to create variations in color in our night sky and now we just need to add some stars. The glitter gel will need a couple of minutes to dry, so make sure to set your background aside. It doesn’t take long, 10 minutes should be more than enough unless you’ve applied a very thick layer of gel.
Once the moon is completely dry you can cut it out for the card. I cut mine right up to the edge – as close to the gold embossing as possible, but not cutting into the heat embossing. This image is fairly easy to cut out, especially if you leave out the trim. I also cut a similar shape from black fun foam and used that to flatten + pop the moon up on the card.
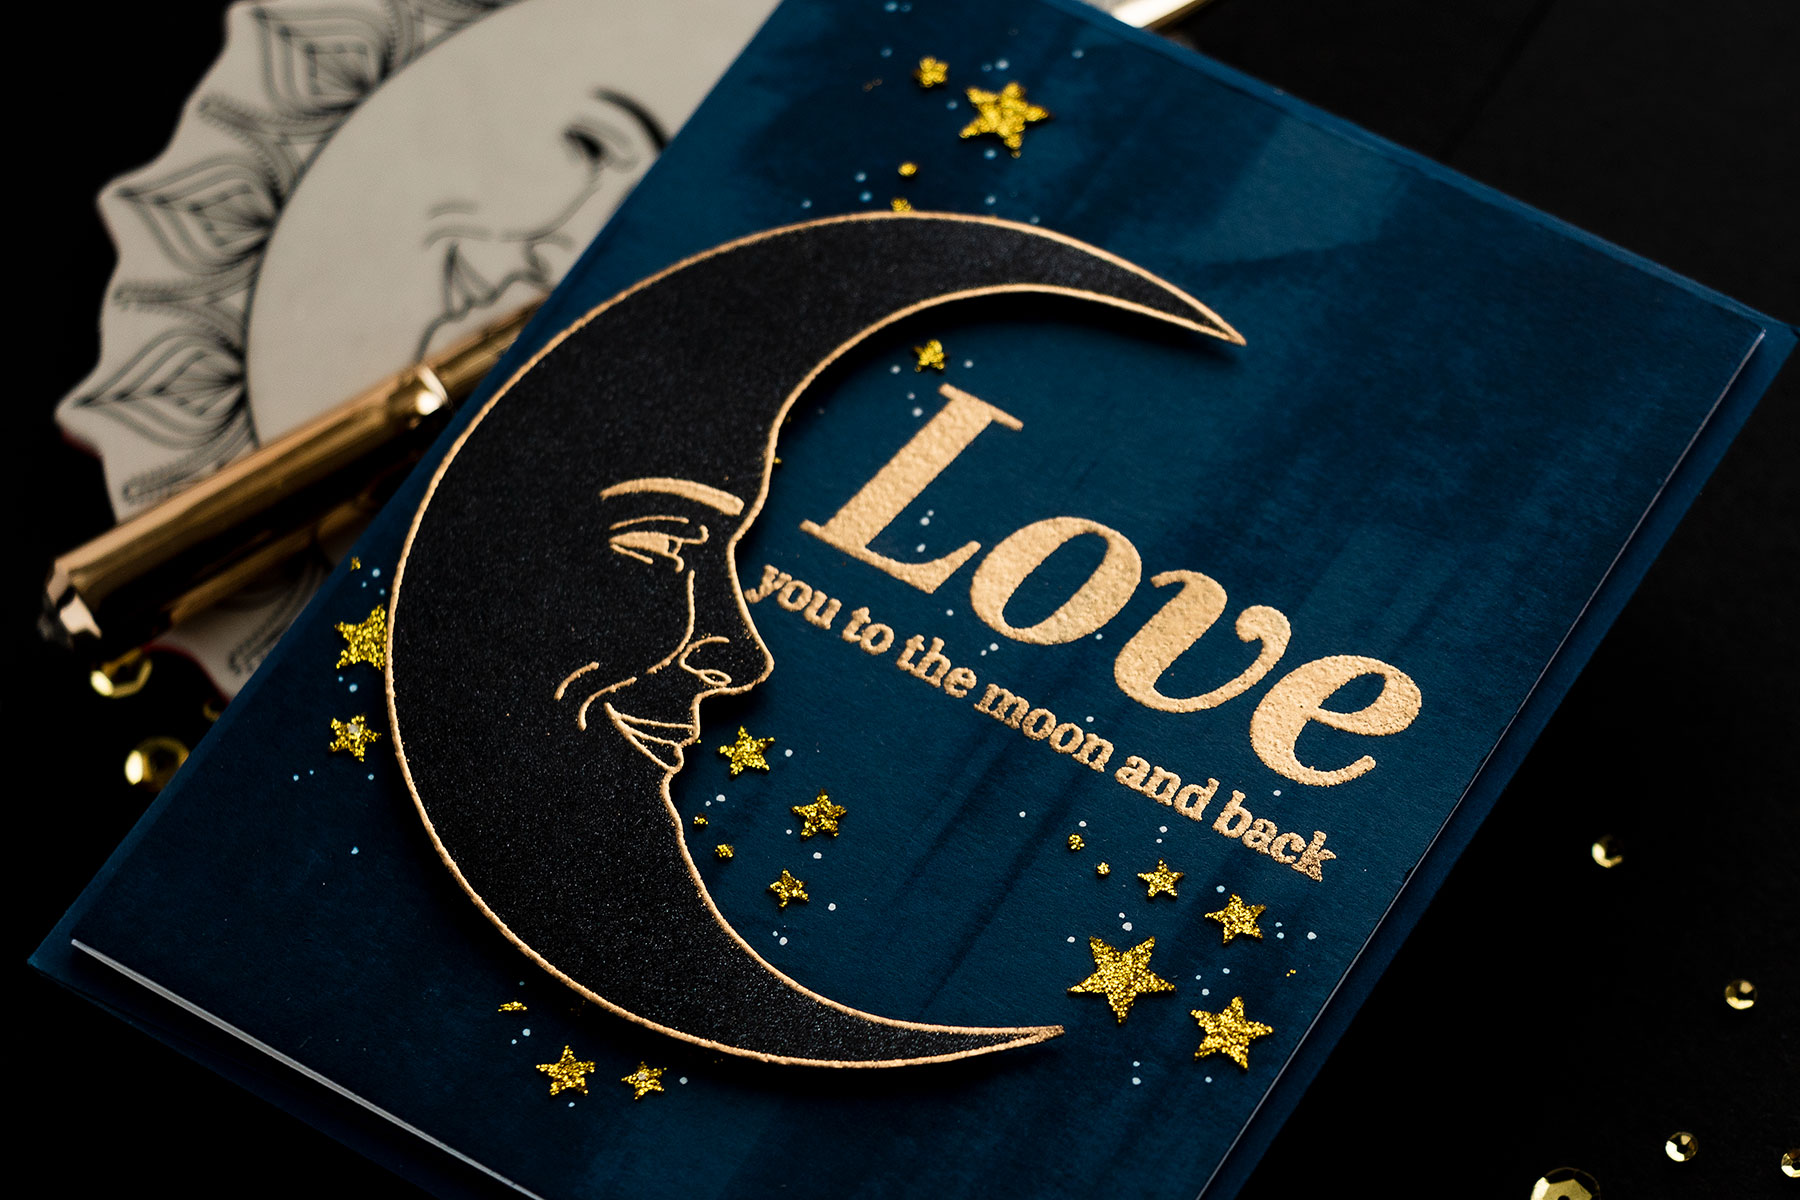
Next, I used bearly art glue and adhered the moon onto the fun foam piece and onto the background and adhered the background onto the A2 white card base. Lastly, I added white dot detail – I scattered the dots between the stars and also between the letters of the sentiment connecting the two star clusters.
Have fun crafting!
SUPPLIES
I’m listing the products I used below. Click on the link to go directly to the product. Where available I use compensated affiliate links which means if you make a purchase I receive a small commission at no extra cost to you. Thank you so much for your support!
 Simon Says Cling Stamps Loving Sun and Moon Shop at: SSS |
 Simon Says Clear Stamps So Much Love Shop at: SSS |
 Simon Says Stamp Stencil Scattered Stars Shop at: SSS |
 Therm O Web Simon Says Stamp Rainbow Mini Set of 6 Glitz Glitter Gels Shop at: SSS |
 Simon Says Stamp Black Cardstock Shop at: SSS |
 Simon Says Stamp Soft Navy Cardstock Shop at: SSS |
 Mini MISTI Stamping Tool Shop at: SSS |
 MISTI Stamping Tool Shop at: SSS |
 Tim Holtz Distress Palette Knife 2 Pack Shop at: SSS |
 Simon Says Stamp White A2 Side Fold Scored Cards Shop at: SSS |
 Hero Arts Brass Embossing Powder Shop at: SSS |
 Ek Success Powder Tool Applicator Shop at: SSS |
 Tim Holtz Distress Designer Mica Sprays Shop at: SSS |
 White Fun Foam 12 Pack 9 x 12 Shop at: SSS |
 Bearly Art Mini Precision Craft Glue Shop at: SSS |
 Wagner Precision Heat Tool Shop at: SSS |
 Sakura Classic White Gelly Roll Pens Set of 3 Shop at: SSS |
 Simon Says Stamp Pawsitively Saturated Ink Pad Royal Shop at: SSS |
Great color choices for a more masculine card! I doubt my husband likes the pink or red…I’ve tried his favorite purple, and that worked. I’m trying your Navy idea this year for Valentine’s Day.
Thank you!
Merry Christmas!
thanks, June! Yes, I think the red and pink is more for the gals 🙂 Have fun creating!
Wow this is a stunning card for valentines day. Love your design and tips. Thanks for the help with masculine cards – I always struggle for ideas…
glad you like it, Mary! Crafty hugs!
This is gorgeous
thank you!
I’m over the moon not only with your card design but a specific technique you used. The abstract look using your ink pad seems easy, yet gives a glorious look. Thanks for sharing!