It’s official, I’ve started making Christmas cards and I can’t seem to stop. The only supplies I have on my desk these days are Christmas (or anything in red, green, blue colors) and all I can think about is what color I’m going to decorate the tree this year. I think it’s a bit too early for all that, but, as we all know the time flies like crazy this time of year and Christmas will be here before we know it.
Today I’m sharing a card made with yet another STAMPtember exclusive collaboration set by Simon and Paper Rose. I have to say, Paper Rose is a very new to me company. I have not heard about them before. I do like their STAMPtember set – pretty poinsettia border and beautiful holiday sentiment. What more can we want?
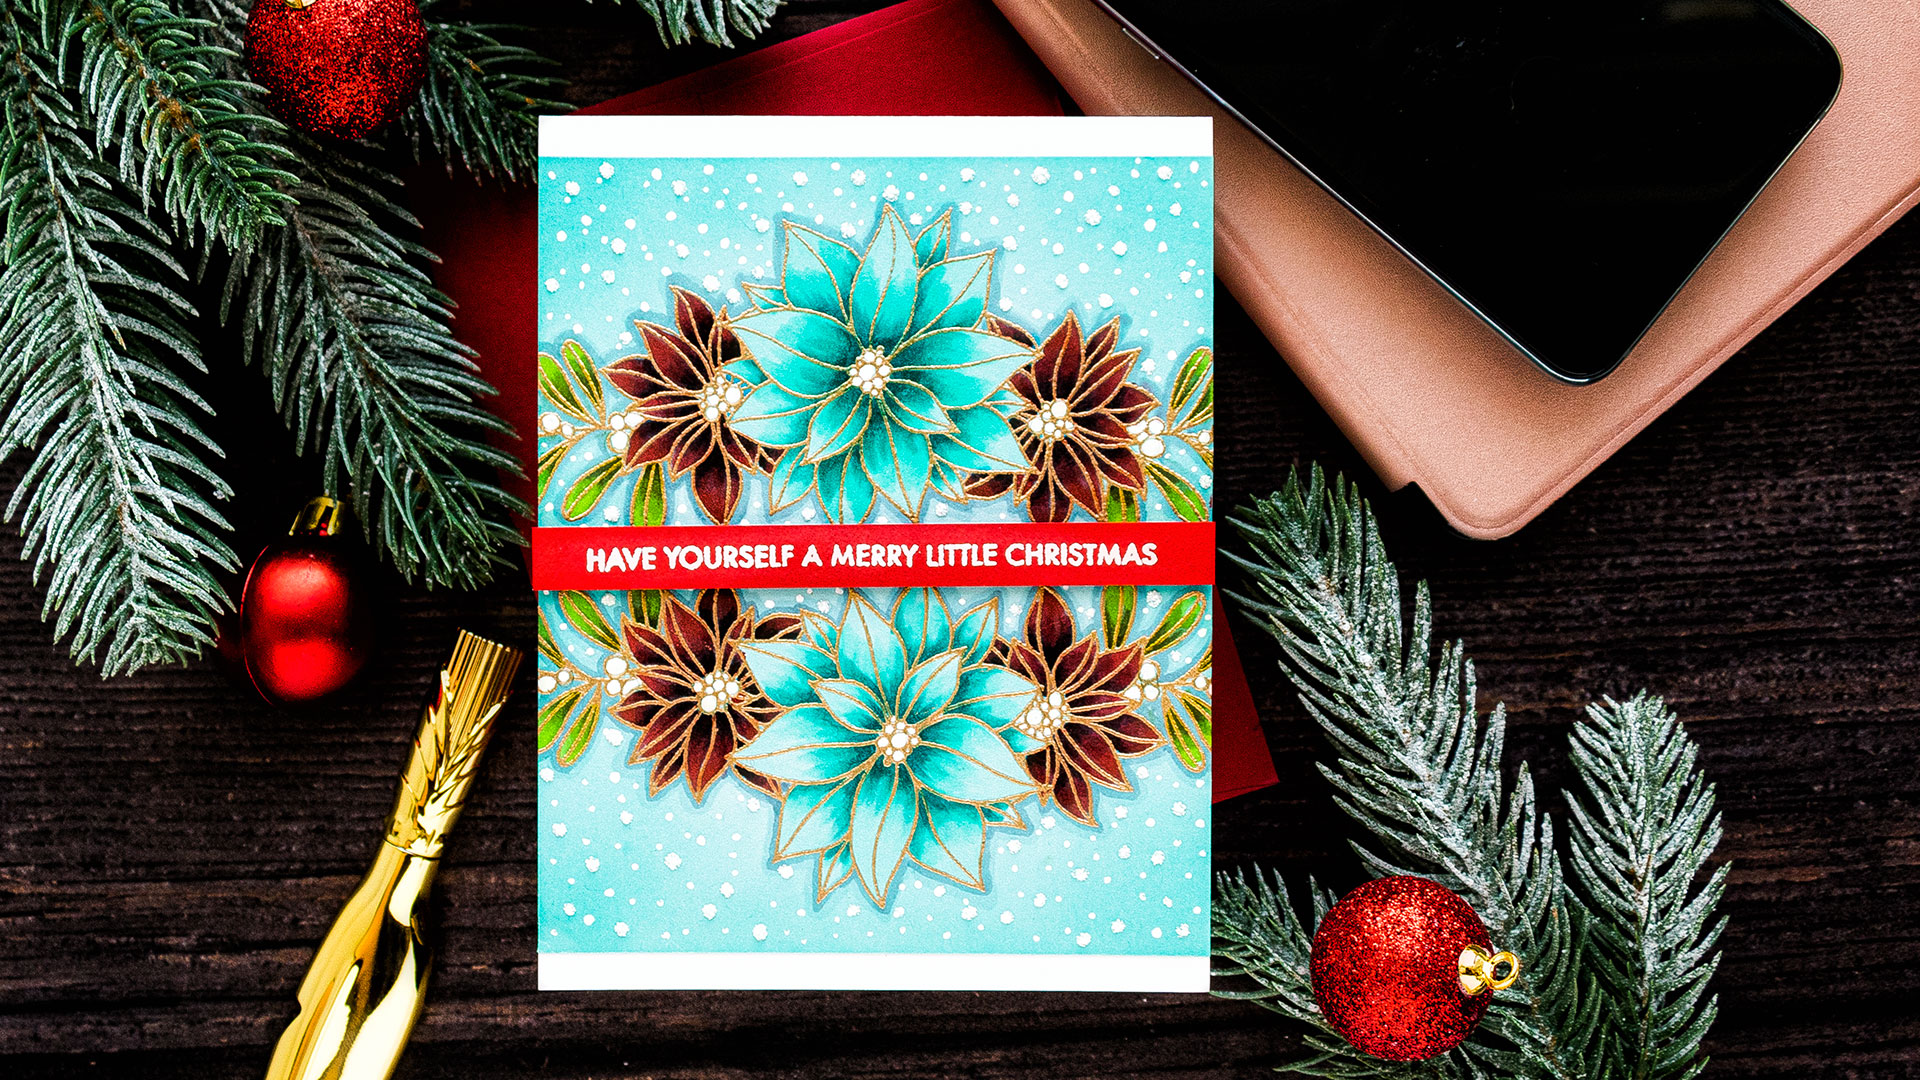
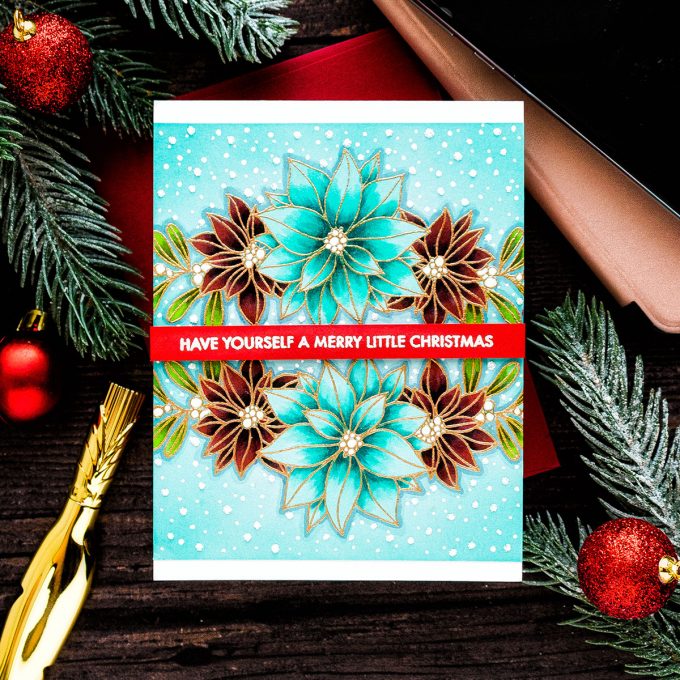
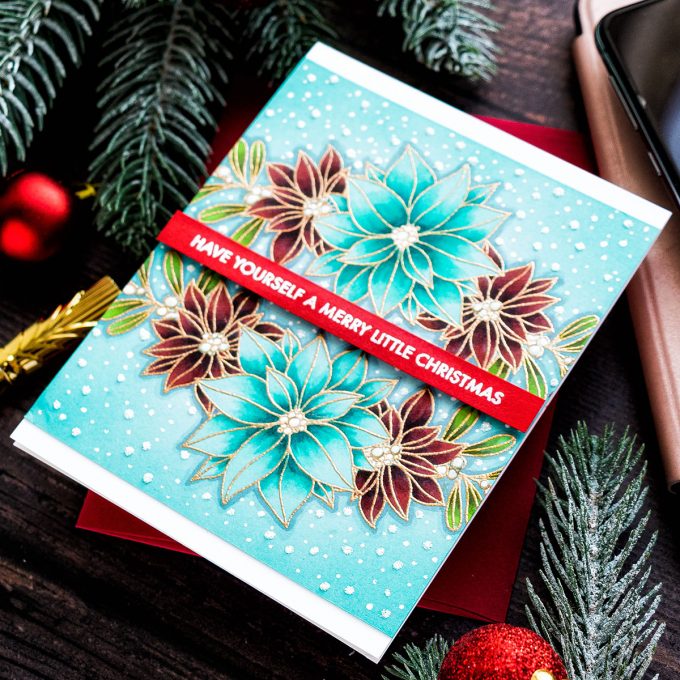
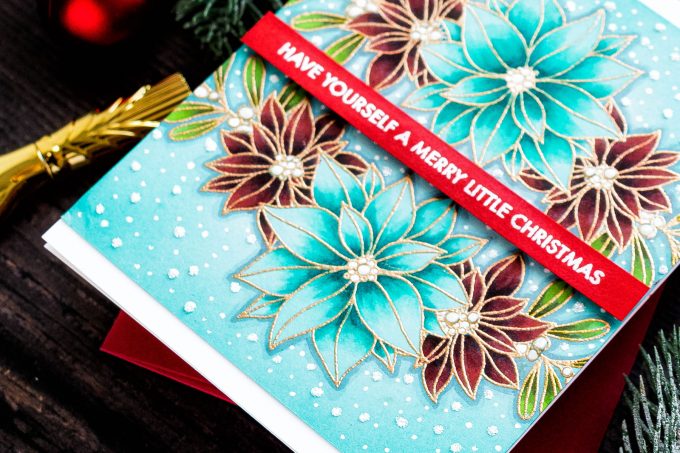
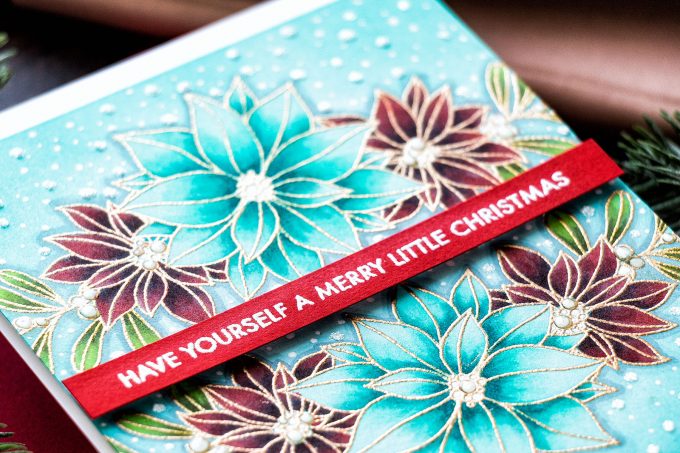
I heat embossed the poinsettia border twice on light blue cardstock panel using Antique Gold embossing powder. I recently discovered I have 3!!! jars of this powder (no surprise, I do love to use it on every single project). Next, I used my Copics and did some quick coloring.
At first, I picked teal, blue and green colors and have actually colored the small flowers blue, but as I was fussing around with the sentiment and settled on red cardstock I felt this card was lacking red, so I colored over the blue with red markers to turn these poinsettias red. Who knew that was possible? The red ended up being very deep dark and muted red, but I like it.
I also used C1 and C3 markers to outline these images and add a fake shadow. I really love this trick lately. My panel was trimmed to about 5 x 4 1/4″ and adhered to A2 white card base. The sentiment was foam mounted in place. I also added some ink blending around the edges of the panel using Maliblue ink and added a LOT of faux snow using a white Sakura pen. I used the same pen to color flower centers. Finally, Frosted Lace Stickles were used to create additional snow on the card.
Happy stamping!
SUPPLIES
I’m listing the products I used below. Click on the link to go directly to the product. Where available I use compensated affiliate links which means if you make a purchase I receive a small commission at no extra cost to you. Thank you so much for your support!
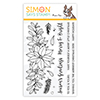 Paper Rose Clear Stamps Stamptember 2019 Exclusive Shop at: SSS |
 Simon Says Stamp Lipstick Red Cardstock Shop at: SSS |
 Simon Says Stamp Surf Blue Cardstock Shop at: SSS |
 Simon Says Stamp Antique Gold Embossing Powder Shop at: SSS |
 Hero Arts White Embossing Powder Shop at: SSS | SC | HA | AZ |
 Simon Says Stamp Embossing Ink Pad Shop at: SSS |
 Simon Says Stamp Maliblue Ink Pad Shop at: SSS |
 Hero Arts Heat Embossing Gun Shop at: SSS | SC | HA | AZ |
 Ranger Mini Round Ink Blending Tools Shop at: SSS | SC | AZ |
 Spellbinders Circle Replacement Foam Shop at: SSS | SC | SB | AZ |
 Ranger Stickles Frosted Lace Glitter Glue Shop at: SSS | SC |
 Sakura Classic White Bold Line 10 Pen Shop at: SSS | AZ |
 Simon Says Stamp Ghostly Greetings Stamp Set Shop at: SSS |
 Copic Sketch Marker R24 Prawn Shop at: SSS | AZ |
 Copic Sketch Marker R27 Cadmium Red Shop at: SSS | AZ |
 Copic Sketch Marker R39 Garnet Shop at: SSS | AZ |
 Copic Sketch Marker R89 Dark Red Shop at: SSS |
 Copic Sketch Marker BG11 Moon White Shop at: SSS | AZ |
 Copic Sketch Marker BG13 Mint Green Shop at: SSS | AZ |
 Copic Sketch Marker BG18 Teal Blue Shop at: SSS | AZ |
 Copic Sketch Marker YG03 Yellow Green Shop at: SSS | AZ |
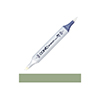 Copic Sketch Marker G94 Grayish Olive Shop at: SSS | AZ |
 Copic Sketch Marker G99 Olive Green Shop at: SSS |
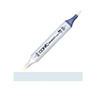 Copic Sketch Marker C1 Cool Gray Shop at: SSS | AZ |
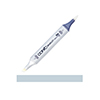 Copic Sketch Marker C3 Cool Gray Grey Shop at: SSS | AZ |
 Scor-tape 2 1/2 Inch Crafting Tape Shop at: SSS |
 White Foam Squares Shop at: SSS | SC | SB | AZ |



Wow! Gorgeous!! I love how you made the red flowers, learning through trials and mistakes 🙂 The faux snow is awesome! <3
This is SO PRETTY, Yana!!! i have YET to start my cards for this year! Although, I’ve been playing around with Stamptember…..I see you too are enjoying Stamptember! It IS FUN!!! ;)<3
Dear Yana
the card is awesome the blue background added elegance to the card and love the flowers too. You mentioned about teal color was it used.Love the card.
About gearing up for Christmas. All I can say about that is: You Go Girl!!!!! I’m right there with you!!! Having fun making Christmas cards! Joining a friend/fellow card maker to participate in a local craft fair this fall — a good excuse to make even more Christmas cards/projects!!! So, bring it on! I can use all the inspiration I can get!!! Ok. About your card. I really like the red with the blue. Not sure I would have thought about that color combo, but I really like it and it works! Thanks, Yana.
You always dazzle me with you colors and design. Beautiful
Yana, I love that you choose to vary the flower colors, and what a color.! It is so rich looking. Love it!
This card is stunning. I love your work and your color choices all the time.
Stunning card!!! I love the colors!!!
Gorgeous card. Love t he choice of colors.