


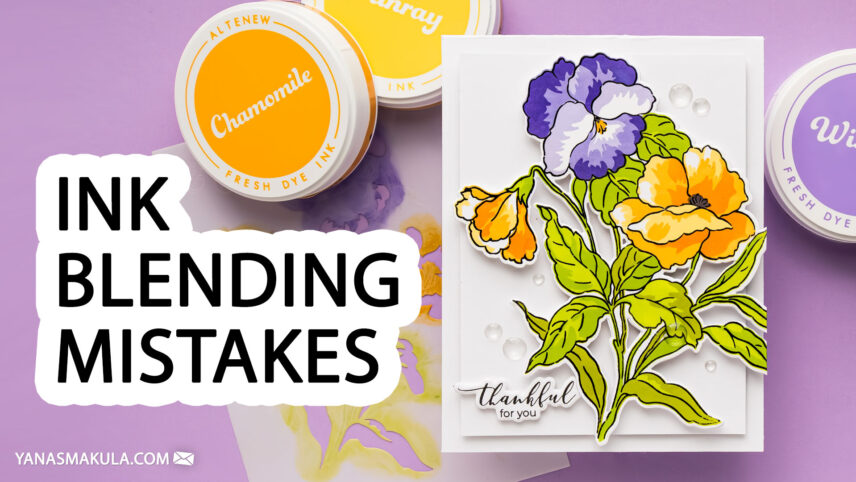
If you’ve ever struggled to get smooth, vibrant ink blending on your cards, you’re not alone. Ink blending can look effortless, but a few small mistakes can lead to patchy color, harsh edges, or muddy results.
Like this project? Pin it and save it for later | Curious about my project photography? Click for details.
In today’s post, I’m sharing the most common ink-blending mistakes I see and how to fix them. I’m also walking you through the process of creating two cards using the Altenew Build-A-Garden Fanciful Pansies, one light and bright and one bold and dramatic.
VIDEO TUTORIAL
Watch the video below or on my YouTube channel.
SPECIAL OFFER
Altenew is offering 50% off the Ultra Sticky Tape Complete Bundle.

Use code: YANASTICKY
- Add the bundle to your cart and use the code at checkout
- Valid from April 24, 2026 at 12:00 am EDT to April 25, 2026 at 11:59 pm EDT
- Cannot be combined with other order codes
7 INK BLENDING MISTAKES TO AVOID.
Let’s go through the most common mistakes and how to fix them.
#1 Starting with too much ink
Going straight from the ink pad onto your paper is one of the biggest mistakes. This creates harsh spots that are very difficult to blend out.
Instead, load your brush and start blending off the paper or on the stencil first. Then, gradually bring the color onto your cardstock. It’s much easier to add more ink than to fix too much ink.
#2 Not controlling your blending area
When working with multiple colors, especially on layered stencil designs, it’s very easy to contaminate colors.
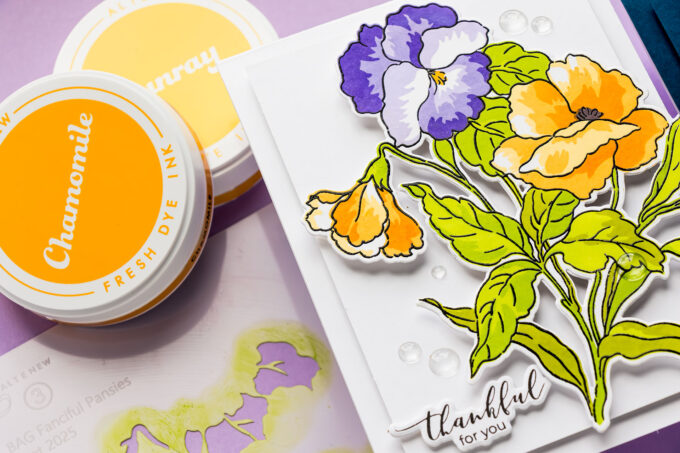
In this project, I wanted one pansy in purple and two in yellow. Since those areas are on the same stencil layer, I used acetate sheets as masks to isolate each section. This prevents colors from mixing and turning muddy.
#3 Using the wrong paper
Paper makes a huge difference in ink blending results. If your paper is too porous, it will absorb ink too quickly, making blending difficult. I recommend smooth cardstock like Hammermill or blending-specific paper. The ink stays on the surface longer, giving you time to move and blend it.
#4 Using contaminated blending brushes
Using the same brush for different color families can easily ruin your blend. Even a small amount of leftover color can create muddy tones.
I use dedicated brushes for each color family and keep them organized in a blending brush storage caddy. Each brush is labeled by color, which makes it easy to grab the right one.
#5 Giving up too early
Ink blending often looks uneven in the beginning. That doesn’t mean it’s not working. Sometimes the ink just needs time to settle and dry. Colors often soften and even out as they dry.
If something looks off, take a break and come back. You can also go back with a lighter color to smooth transitions.
#6 Pressing too hard
Applying too much pressure creates streaks and can even damage your brushes. Use a light hand and build color gradually. Let the brush do the work. This is key to achieving soft, seamless blends.
#7 Not letting layers dry
When working with layered stencils, it’s important to let each layer dry slightly before adding the next.
Rushing can cause ink to seep under the stencil or create muddy results. Take your time and allow the layers to build gradually for crisp, clean color.
Ink Blending Process
I started with a panel of Hammermill cardstock cut to 4 1/4 x 5 1/2″ and placed it onto the Altenew sticky mat. This holds the panel securely in place without the need for tape or magnets.
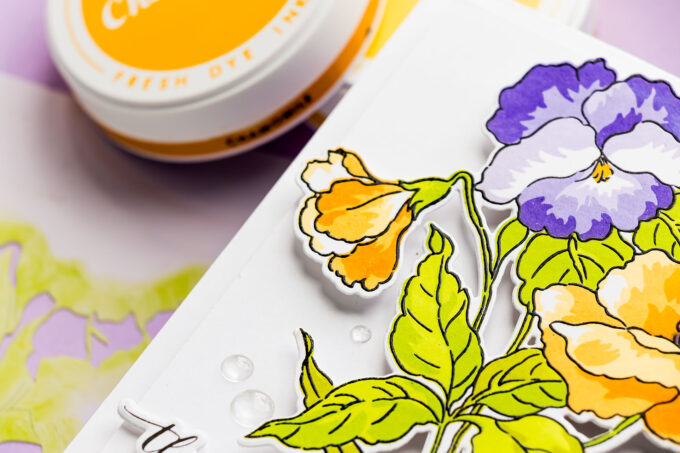
I had already stamped the outline of the pansies in black ink and heat embossed it with clear embossing powder. This helps preserve crisp outlines and prevents the ink from reacting with the blending inks.

I used the stencil set to build the design, working through all four layers. The first stencil layer includes additional detail, so I repositioned it to add more depth. I masked areas using acetate sheets to keep the colors separate and clean. I allowed the ink to dry slightly between layers for better results.
Once the blending was complete, I used the coordinating die and ran it through my Spellbinders Platinum 6 machine.
To make the die cut sturdier, I die cut a second layer from scrap cardstock and glued the two together. I then added foam adhesive to the back for dimension.
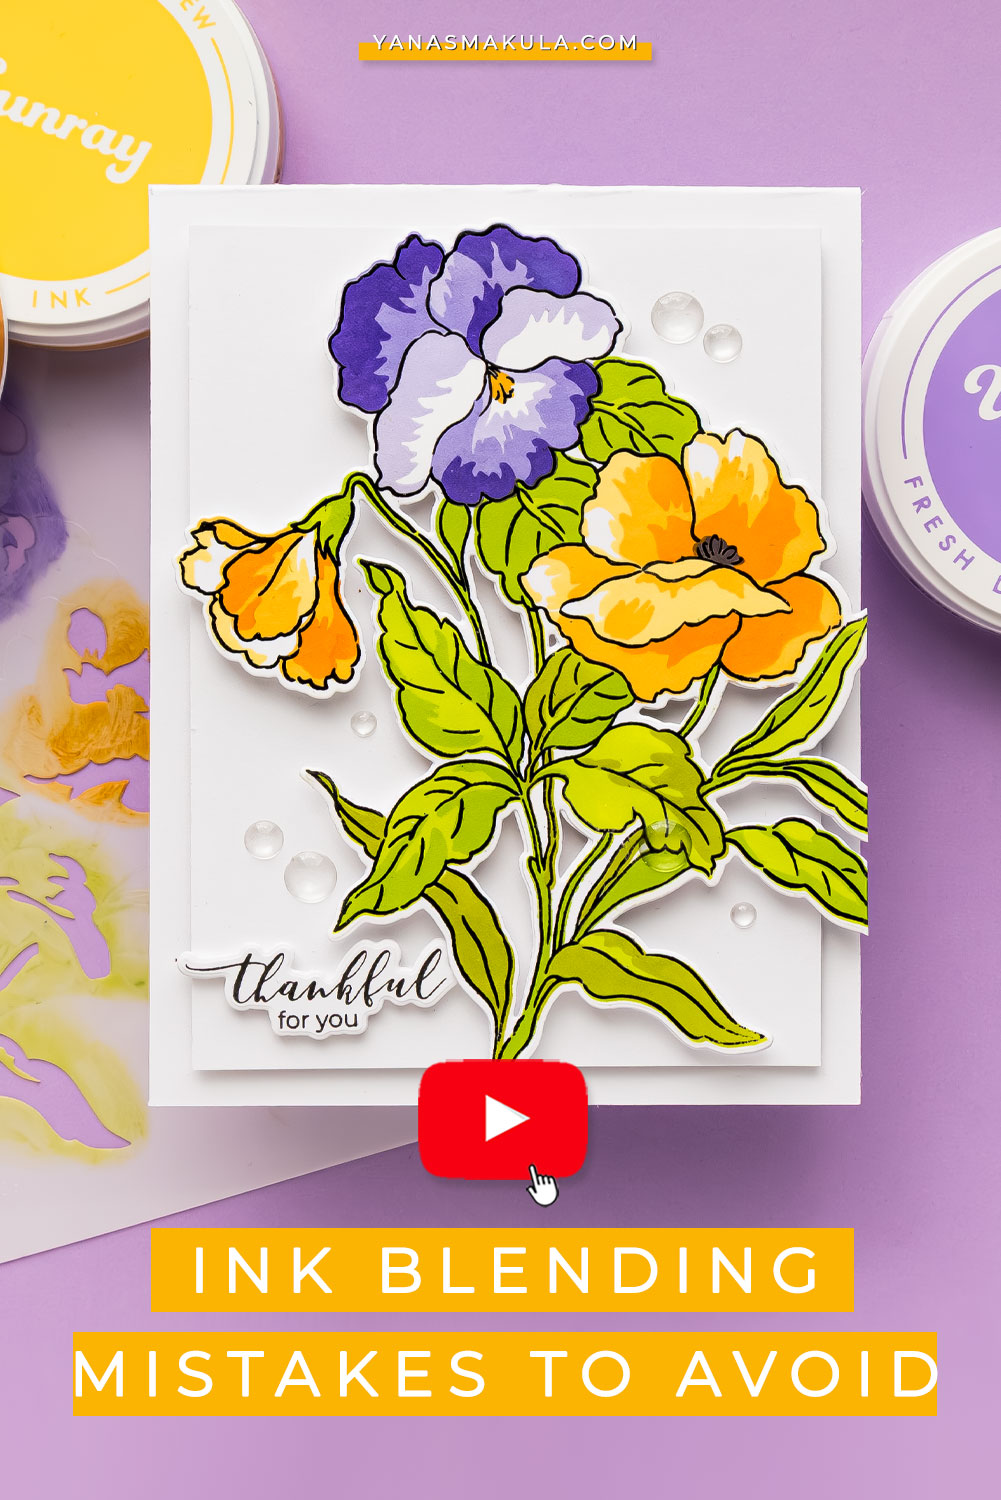
Card Design 1 – Light and Bright
For the first card, I kept the design clean and soft. I used a white top-folding A2 card base. The background panel measures 3 3/4″ by 5″ and is foam mounted in the center. The pansy cluster is also foam mounted and slightly offset. I trimmed the excess off the edges.
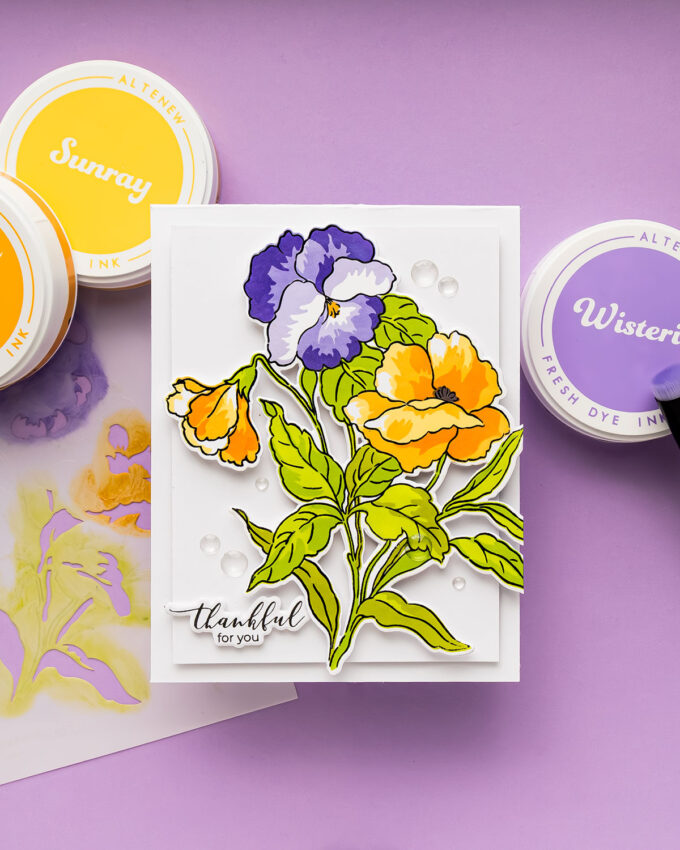
The sentiment “thankful for you” is stamped in black and die cut using the coordinating die, then foam mounted on top.
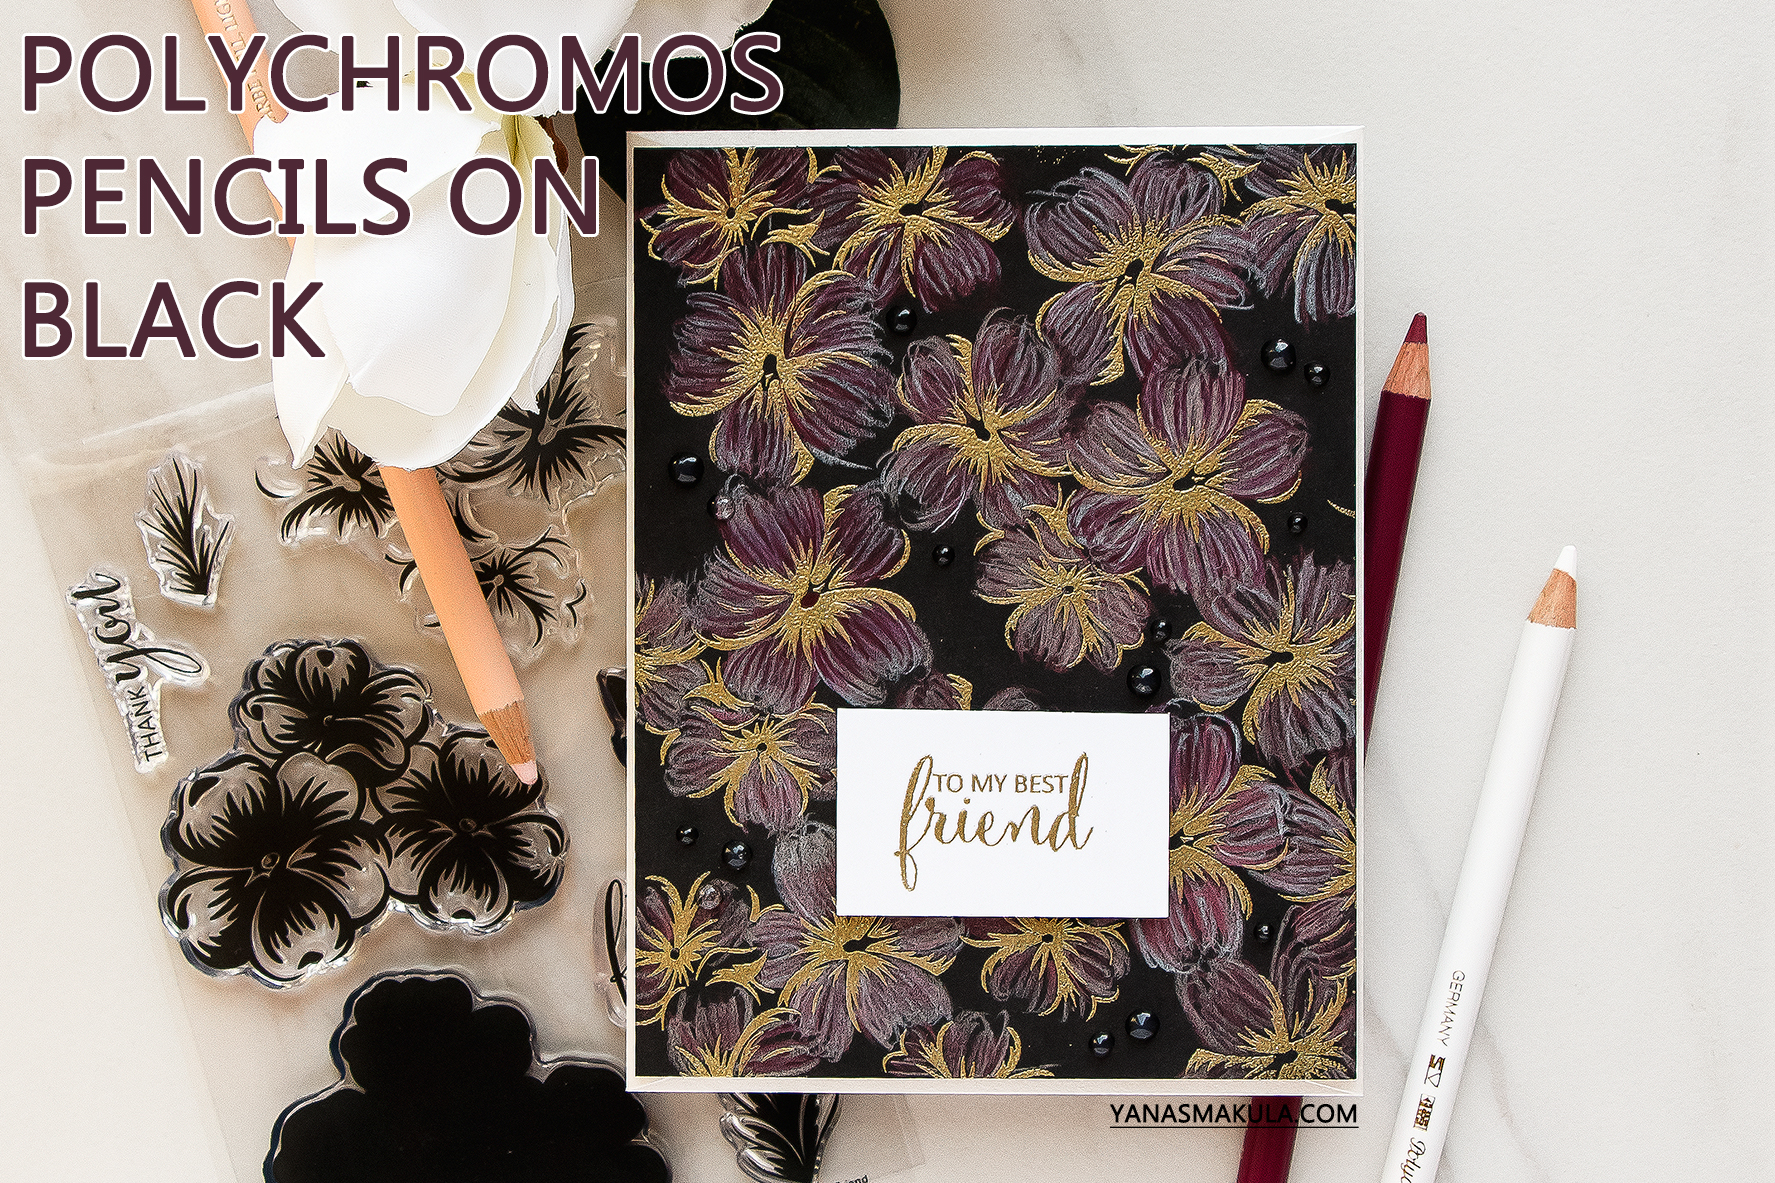
Card Design 2 – Bold and Dramatic
For the second card, I used the same layout but changed the background to Desert Night cardstock. To make the white die cut edge blend in, I colored the outline using a Copic marker (B97). This simple step creates a seamless, polished look.
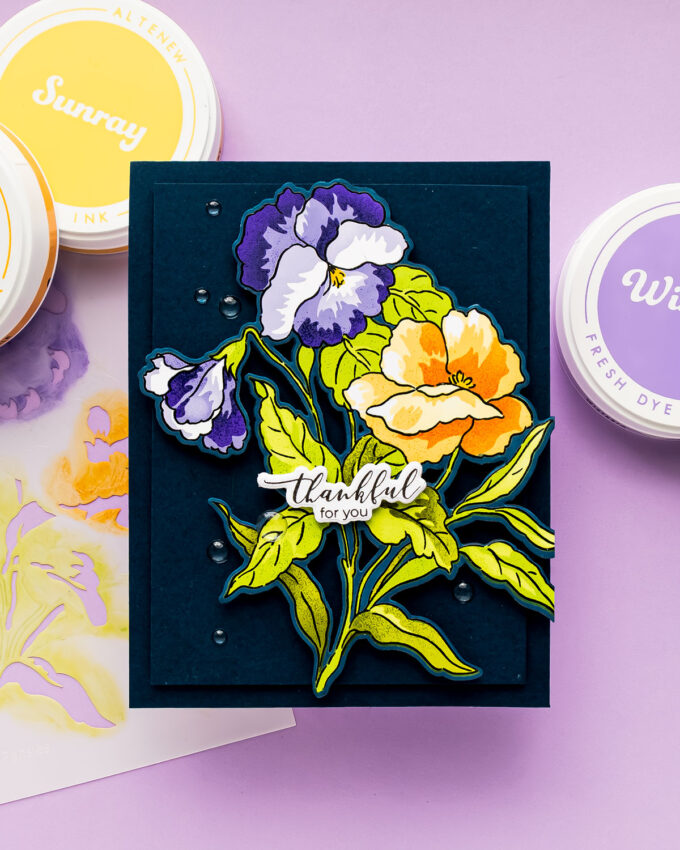
The rest of the assembly is the same as the first card. I finished both cards with Altenew Crystal Clear Enamel Dots for a bit of shine.
Fixing even one of these ink blending mistakes can make a noticeable difference in your results. Ink blending takes a bit of practice, but once you understand how the tools, paper, and techniques work together, it becomes much easier to achieve smooth, vibrant blends.
If you give these tips a try, I’d love to hear which one made the biggest difference for you.
SUPPLIES
I’m listing the products I used below. Click on the link to go directly to the product. Where available, I use compensated affiliate links, which means if you make a purchase, I receive a small commission at no extra cost to you. Thank you so much for your support!
 Altenew Build-A-Garden: Fanciful Pansies Shop at: AN |
 Altenew 9″x12″ Ultra Sticky Mat: Grid Shop at: SSS | SC | AN |
") Altenew Tropical Forest Fresh Dye Ink (Bamboo, Parrot, Olive, Moss) Shop at: SSS | AN |
") Altenew Enchanted Garden Fresh Dye Ink (Wisteria, Hydrangea, Ultraviolet, Andromeda) Shop at: SSS | SC | AN |
") Altenew Golden Sunset Fresh Dye Ink (Sunray, Chamomile, Snapdragon, Terracotta) Shop at: SSS | SC | AN |
 Altenew Crystal Clear Enamel Dots Shop at: SSS | AN |
 Spellbinders Platinum 6 Machine With Universal Plate System Shop at: SSS | SB USA | SB UK | AMZ | |
 Altenew Mini Blending Brush Set Shop at: SSS | SC | AN |
") Altenew Mini Blending Brush Label Set – All Crisp Dye Ink Colors (2 Sheets) Shop at: SSS | AN |
 Altenew Crafter’s Showcase Mini Blending Brush Storage Shop at: SSS | SC | AN | |
 Hammermill White 100 Lb Smooth Premium Color Copy Pack 25 Sheets Shop at: SSS |
") Altenew Crafty Necessities: Desert Night Cardstock (10 sheets/set) Shop at: AN |
 Altenew Satin Masking Tape Shop at: AN | |
Altenew Ultra Sticky Tape Complete Bundle Shop at: AN |
 Altenew The Glue Shop at: AN |
 Altenew Stampwheel 2.0 Shop at: AN |
 Copic Sketch Marker B97 Night Blue Shop at: SSS | AMZ |
 Glassboard Studio Super Strong Magnets Shop at: GBS |
 Glassboard Studio Glass Craft Mat – Code YANA15 Shop at: GBS |