


Hello friends! In my previous post I mentioned how much I love to use stencils for my handmade cards. Today I have another technique to share featuring stencils – simple stencil layering. You’ll need to have at least 2 stencils that thematically go well together.
Like this project? Pin it and save for later | Curious about my project photography? Click for details.
CARD DETAILS
*Scroll to the very bottom of this post for a photo tutorial.
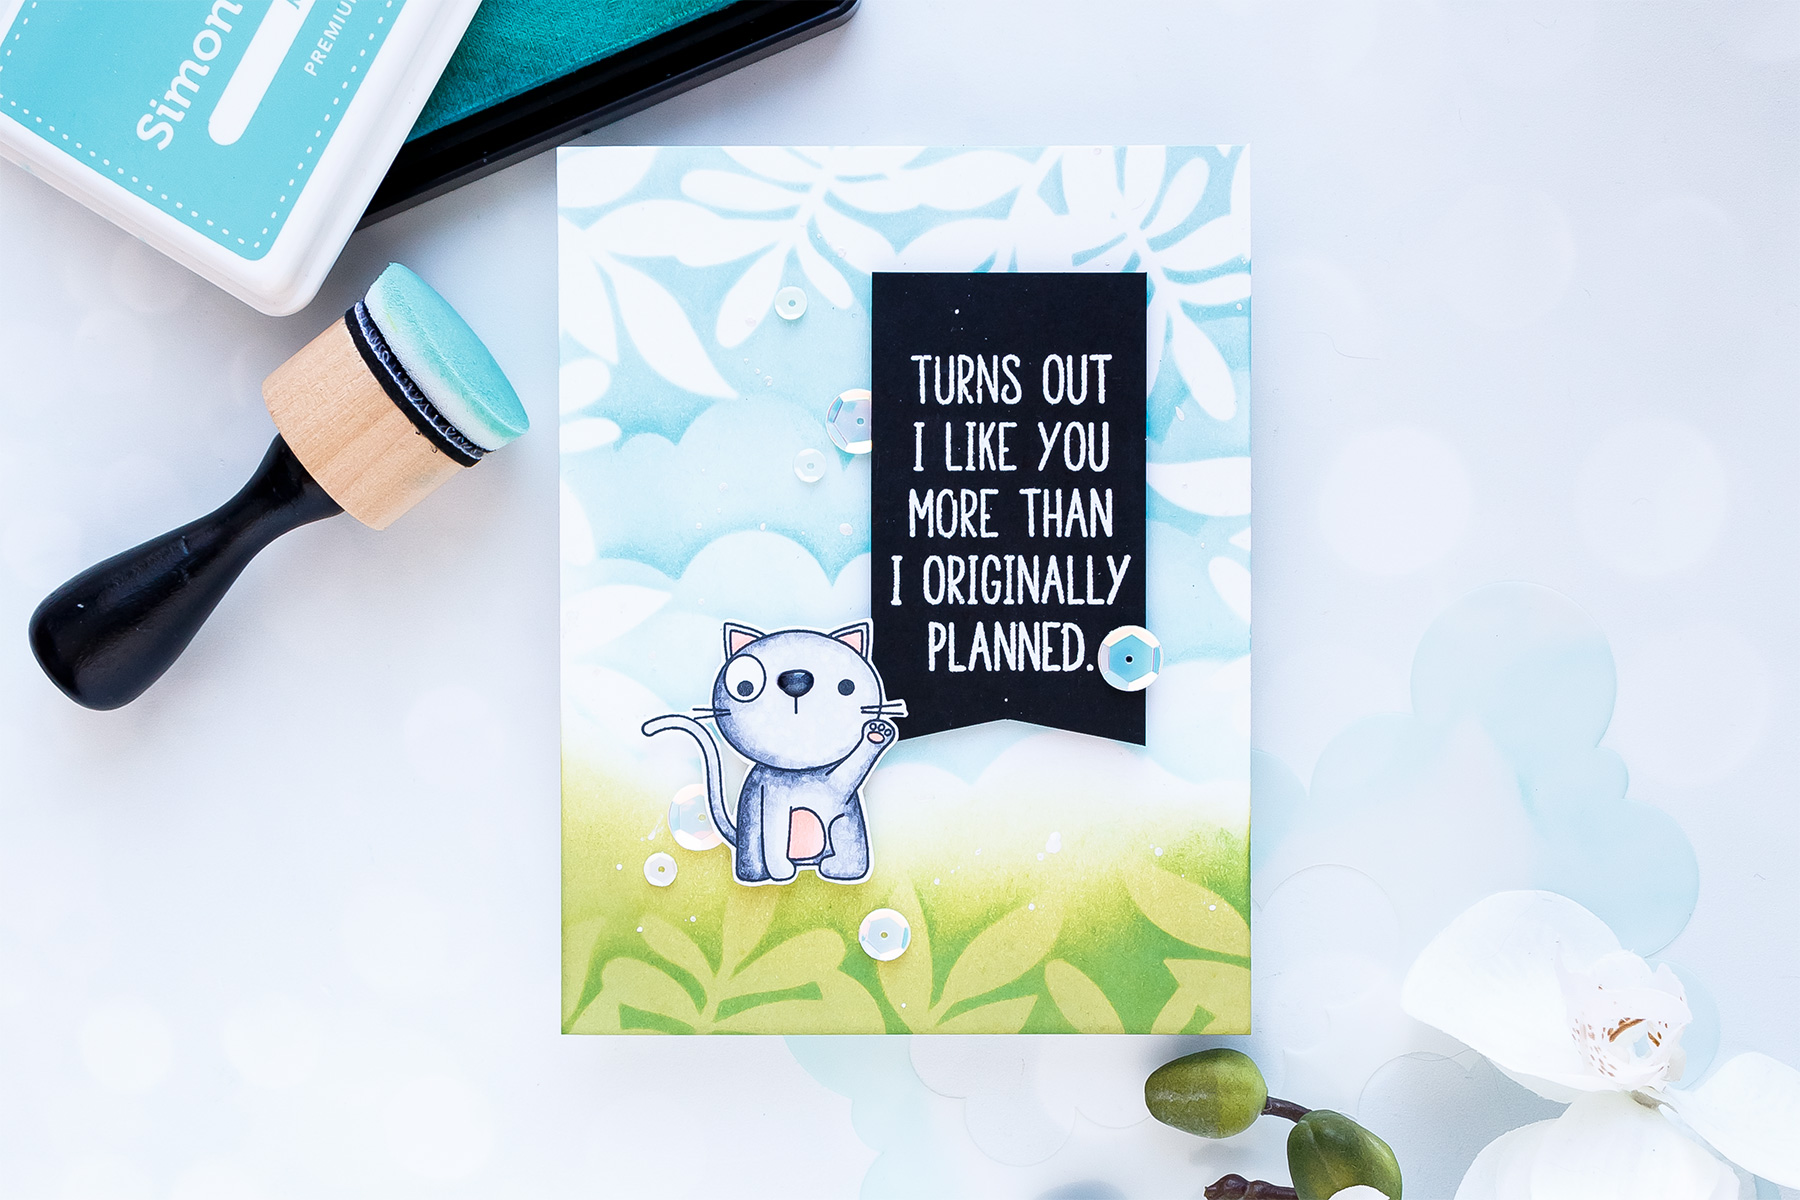
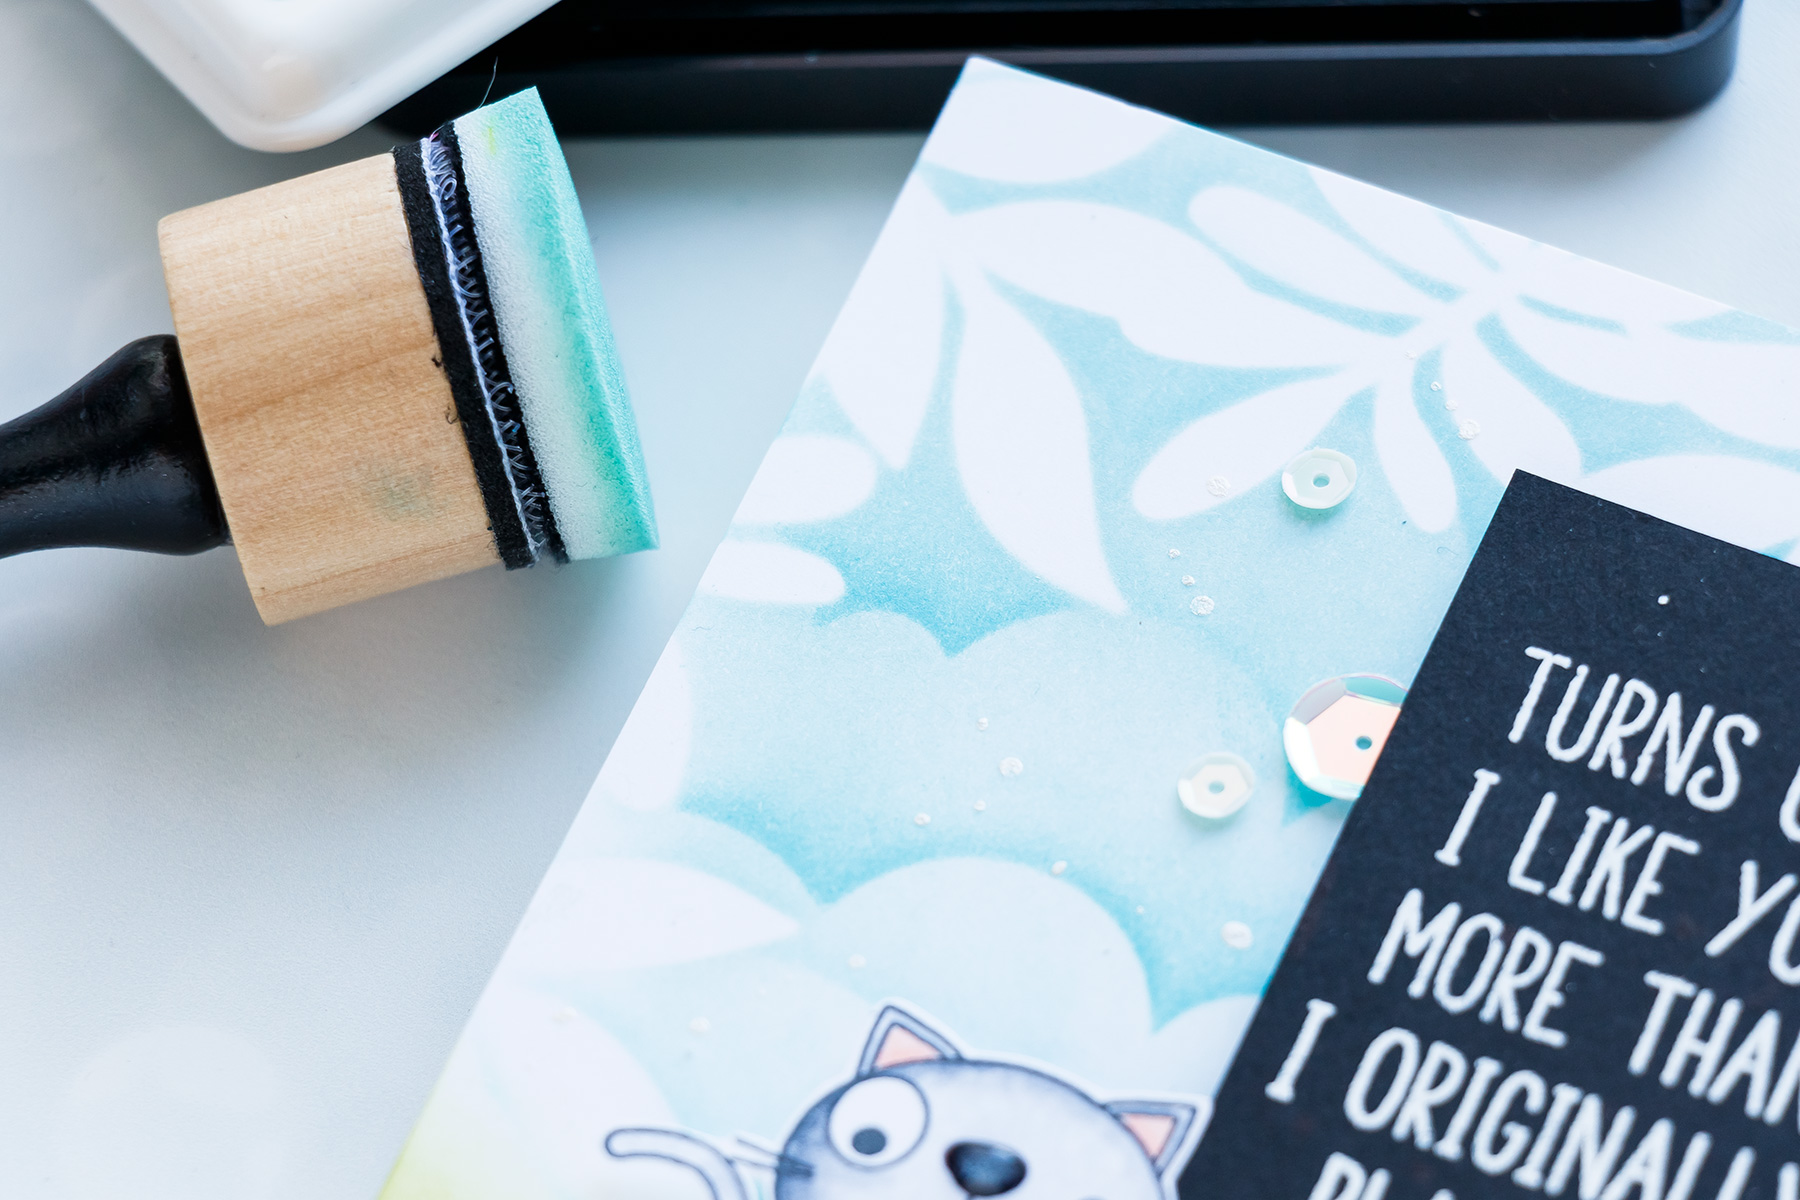
I started making this card by attaching my Leafy Frame stencil onto a white cardstock panel. It still had adhesive on the back (I used it a few weeks ago and sprayed with repositionable spray adhesive to easily attach it onto my paper) and I didn’t need to use any other things to secure it in place. Using a light hand I blended Lake Shores ink.
Next, with the Leafy Frame stencil still in place I used Clouds stencil and added more ink blending on top, this time using a darker, High Dive ink.
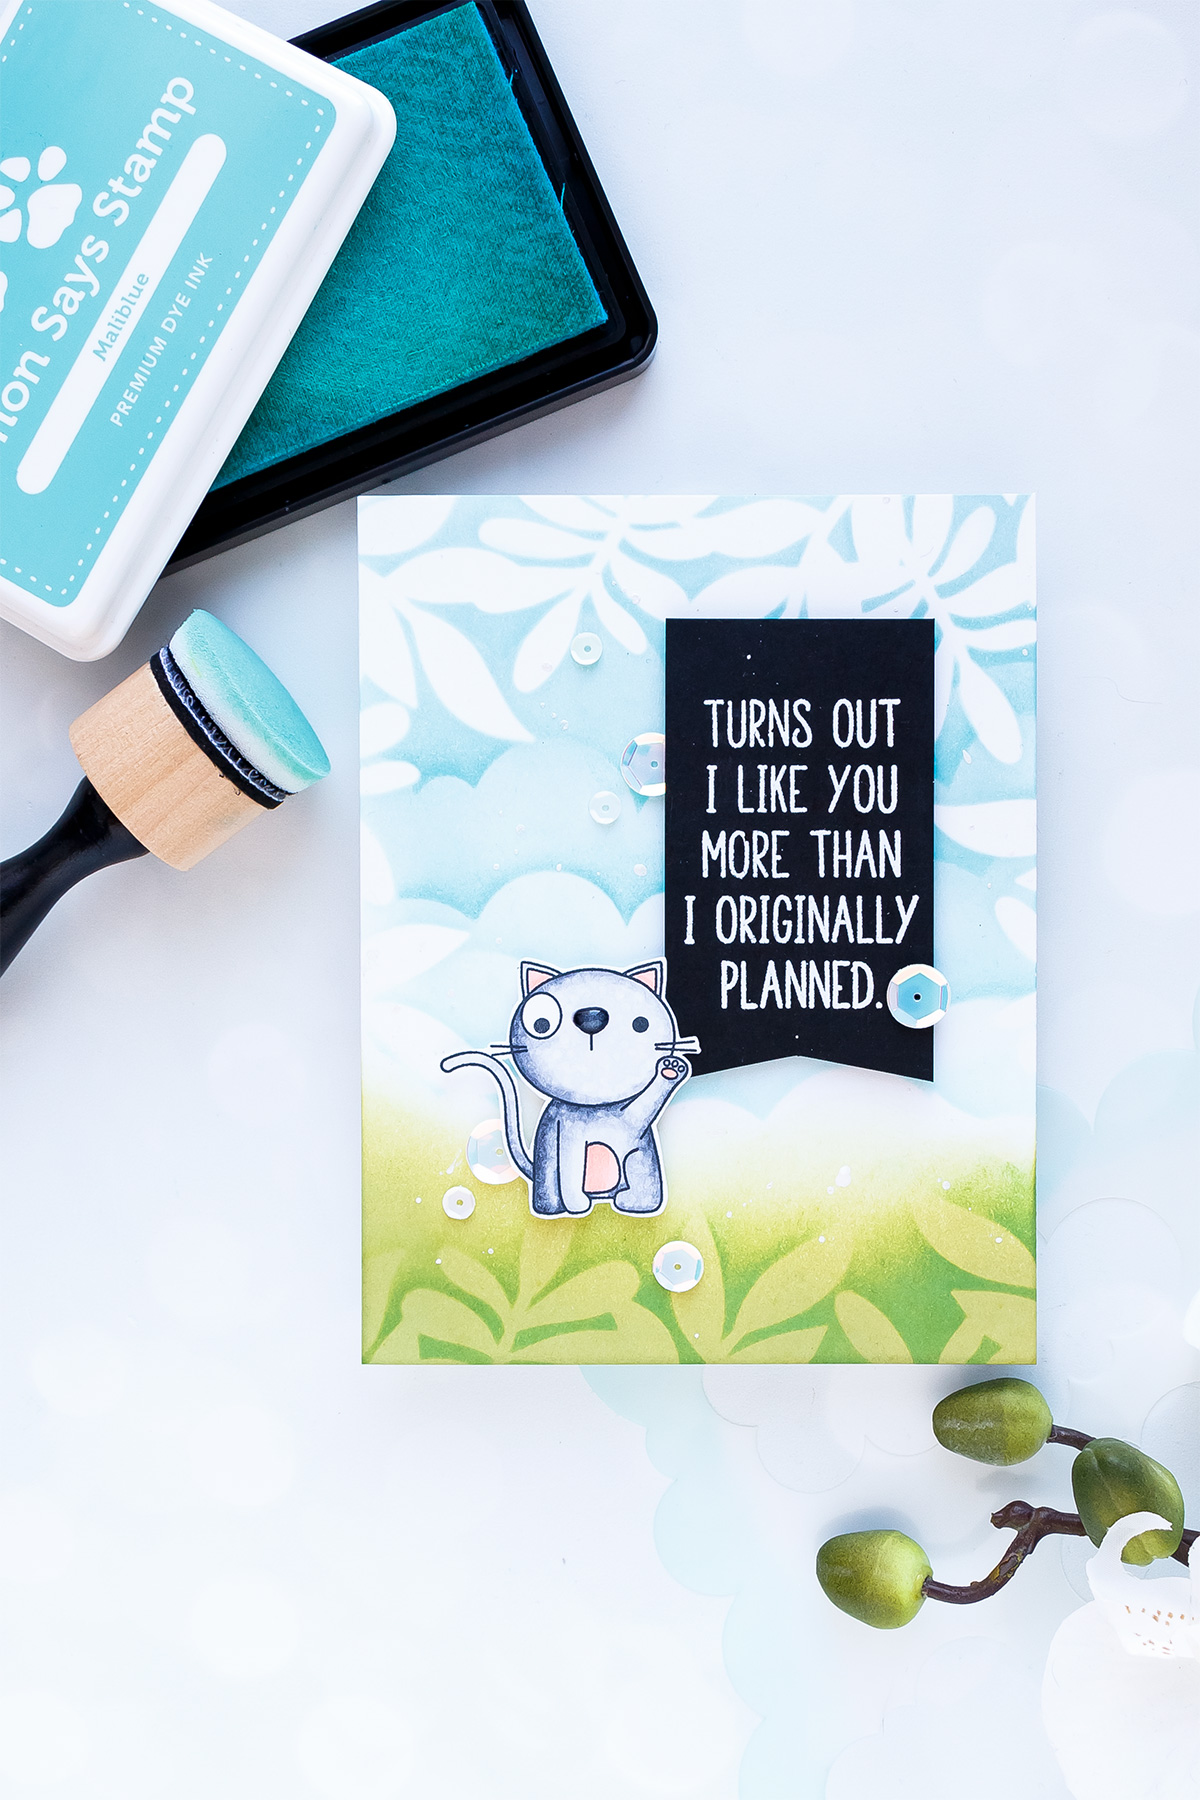
The Clouds stencil has cloud edge on each of the 4 edges and this gives 8 different cloud “looks” in total – I blended just 5 or so and each ended up being different compared to the rest.
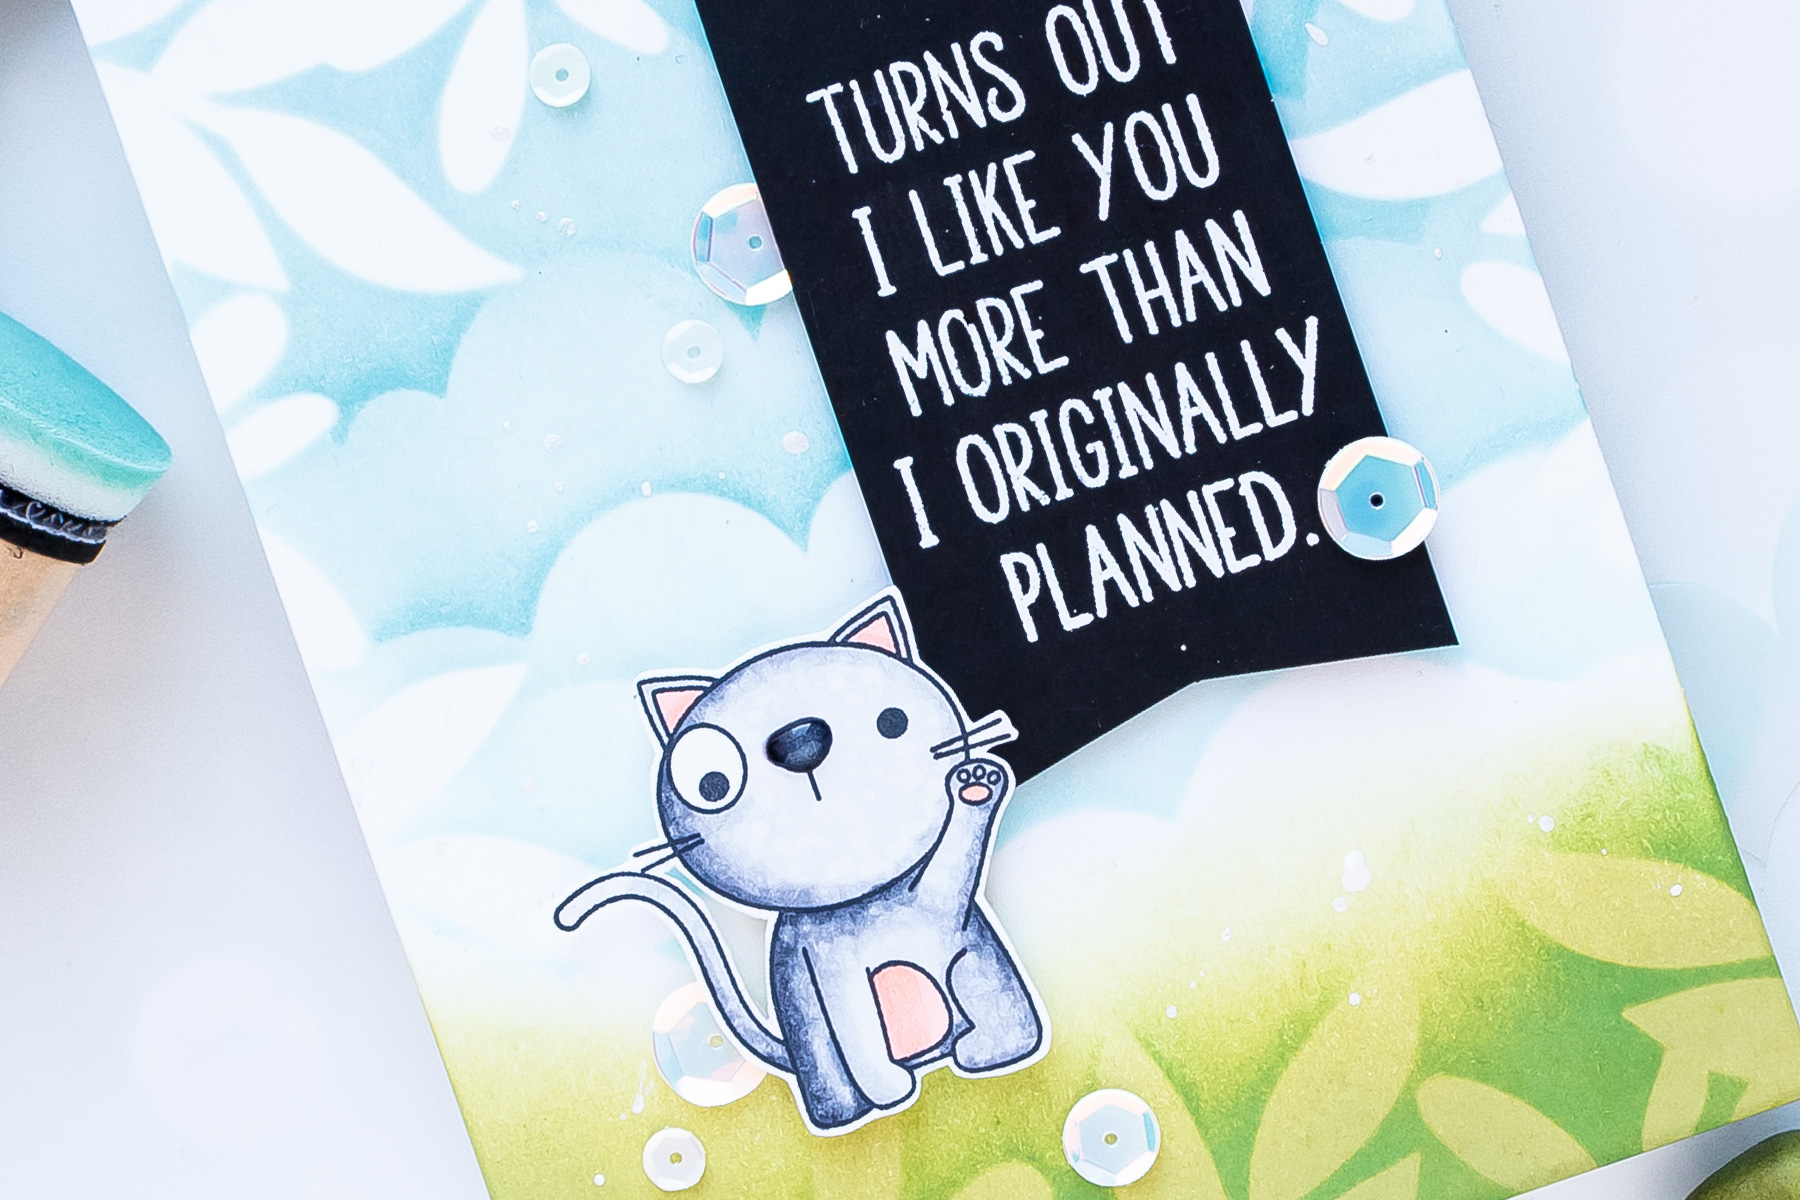
I also added some ink blending at the bottom of this panel, although I later regretted doing so – I think I over did it. I used Key Lime ink for this, maybe if I used a different shade of green or blended with a lighter hand it would have looked better.
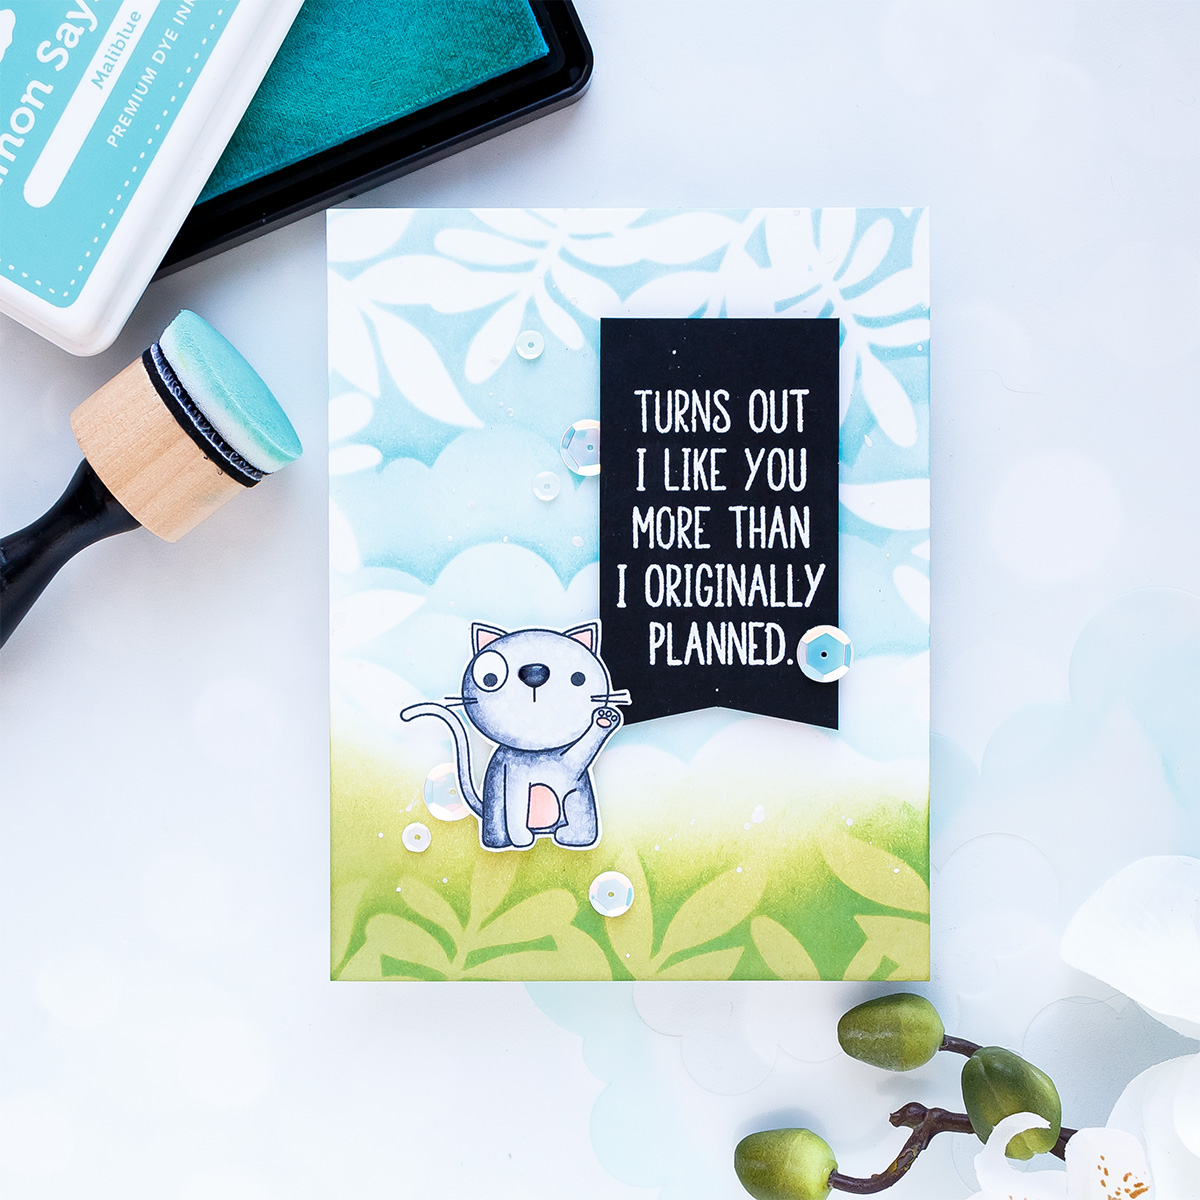
I also stamped, colored and die-cut a little cat from the Hello There stamp set. I used Copic markers and, as always, I went with my go-to colors (see my favorite Copic color combos here). I used the following colors:
- Colorless Blender, C1, C3, C5, C7, C9
- YR00, E02
Next, I foam mounted the kitty onto my background and added a snarky sentiment that reads “Turns our I like you more than I originally planned”. Perfect to go along with an image of a cat. This sentiment comes from the Playful Messages stamp set.

I also used some Butterfly Kisses sequins and scattered a few around my card as a finishing touch.
STEP BY STEP PHOTO TUTORIAL
Here’s a step-by-step photo tutorial showing how to make this card. Feel free to save/pin it for later.

SUPPLIES
I’m listing the products I used below. Click on the link to go directly to the product. Where available I use compensated affiliate links which means if you make a purchase I receive a small commission at no extra cost to you. Thank you so much for your support!
 Simon Says Stencils Leafy Frame Shop at: SSS |
 Simon Says Stencils Clouds for Days Shop at: SSS |
 Simon Says Stamps Hello There Shop at: SSS |
 Simon Says Stamp Hello There Wafer Dies Shop at: SSS |
 Simon Says Stamps and Dies Hello There Shop at: SSS |
 Simon Says Stamps Playful Messages Shop at: SSS |
 Simon Says Stamp Intense Black Ink Shop at: SSS |
 Simon Says Stamp Black Cardstock Shop at: SSS |
 Simon Says Stamp Lake Shores Dye Ink Pad Shop at: SSS |
 Simon Says Stamp Willow Dye Ink Pad Shop at: SSS |
 Simon Says Stamp Key Lime Dye Ink Pad Shop at: SSS |
 Simon Says Stamp High Dive Dye Ink Pad Shop at: SSS |
 Simon Says Stamp Butterfly Kisses Sequins Shop at: SSS |
 Neenah 80LB Solar White Cardstock Shop at: SSS |
 Neenah 110 Lb Solar White Cardstock Shop at: SSS |
 Spellbinders Platinum 6 Die Cutting Machine Shop at: SSS |
 Versamark Watermark Emboss Ink Pad Shop at: SSS |
 Hero Arts Heat Embossing Gun Shop at: SSS |
 Hero Arts White Embossing Powder Shop at: SSS |
 Mini Misti Stamping Tool Shop at: SSS |
 Ranger Mini Round Foam Refils Shop at: SSS |
 Ranger Mini Round Ink Blending Tools Shop at: SSS |
 Copic Colorless Blender Marker Shop at: SSS |
 Copic Sketch Marker YR00 Powder Pink Shop at: SSS |
 Copic Sketch Marker C1 Cool Gray Shop at: SSS |
 Copic Sketch Marker C3 Cool Gray Grey Shop at: SSS |
 Copic Sketch Marker C5 Cool Gray Grey Shop at: SSS |
 Copic Sketch Marker C7 Cool Gray Shop at: SSS |
 Copic Sketch Marker C9 Cool Gray Grey Shop at: SSS |
 Copic Sketch Marker E02 Fruit Pink Shop at: SSS |
 Scor-Tape 1/8 Inch Crafting Tape Shop at: SSS |
 Crystal Ninja Crystal Katana Pick Up Tool Shop at: SSS |
 Sakura Classic White Bold Line 10 Pen Shop at: SSS |
 Tonic Deluxe Adhesive Nuvo Glue Shop at: SSS |
Great card! I love the sentiment!
Adorable card! Beautiful background and hilarious sentiment.
Darling card, love the sentiments!
Your card is so fun! I love that cat and the sentiment is so funny 🙂
Beautiful stencil work!!
I love the use of the stencils in your background Yana I have acquired quite a few stencils now but lack the confidence to use these in my card designs. I know once I start using them I will develop more confidence so perhaps I need to CASE a design to gain this confidence. Thank you for sharing this project with us crafters. :O) xx