


This is my forth post for the new Explore Beyond Blog from Spellbinders Paper Arts as International Blog Ambassador (you can find my first post here, second one here and third one here).
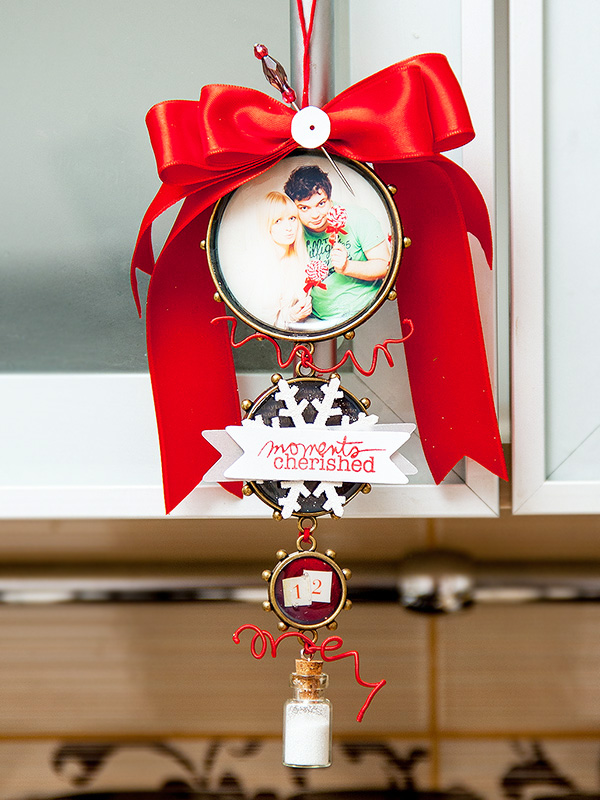
Hello everyone! Today I’d like to share a Christmas Tree ornament with a little photo inside which I made using products from Spellbinders and Mod Podge.

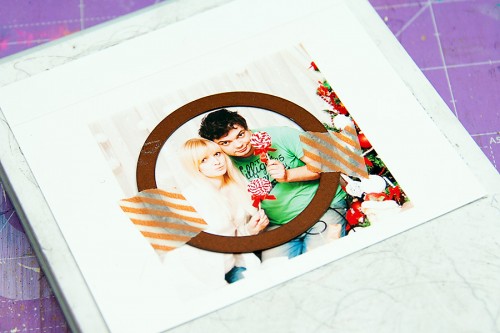
My Christmas tree is not up yet, so I don’t have an “action” shot at this time, I’m planning on taking one later and posting here. A few close ups:


If you would like to know how I made the ornament please follow my tutorial below.
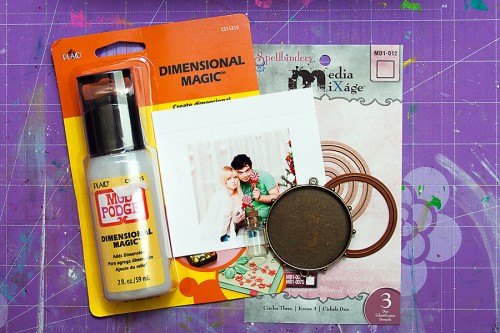
For the project I used Spellbinders bezels MB1-007 and matching dies; Artizan X-plorer machine; a photo; Mod Podge Dimensional Magic; some pattern paper; a small bottle and glitter; holiday stamp and ink; vellum; wooden snowflake and satin ribbon
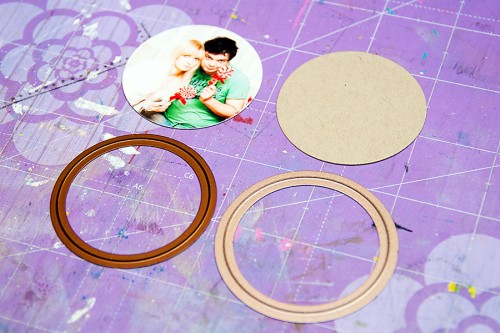
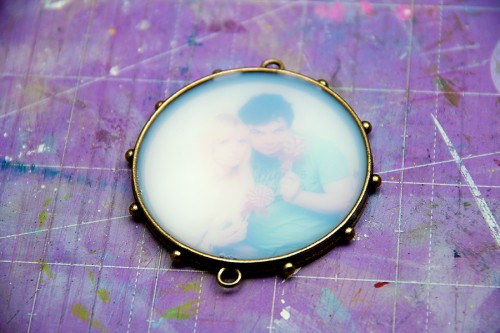
At first I only wanted to use the largest bezel from the set, but as I was working on my project I decided to incorporate all of them into my ornament. I printed my photo and cut it out using a circle die, I also cut a slightly larger circle out of kraft cardstock to back the photo up.

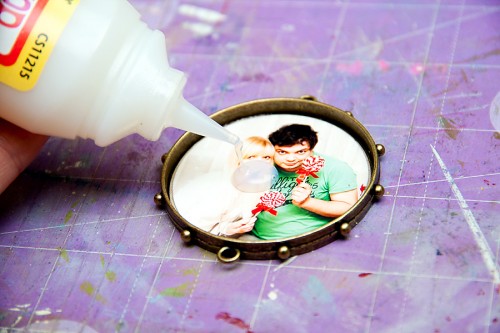
I than adhered my photo inside the bezel and covered it with Dimensional Magic from Mod Podge. I decorated the smaller bezels the same way, but instead of a photo I used pattern paper. Please note, Dimensional Magic takes about 24 hours to dry.
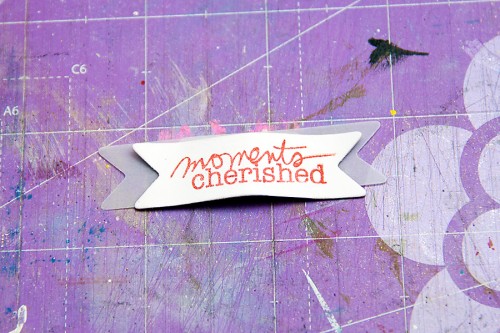
I than started working on my embellishments. I used a die from the Charmed I’m Sure Set and cut a little banner. I did a trick with partial die cutting and ended up with a piece below:

I stamped a sentiment and backed it with another banner cut out of vellum.
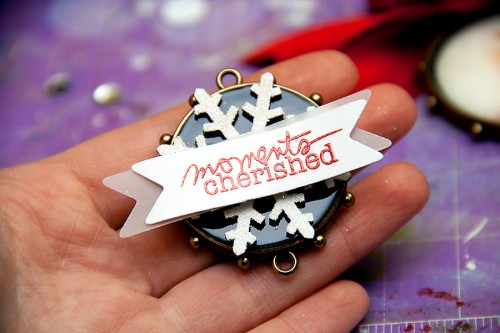
I than covered wooden snowflake with white glitter and adhered it to the middle-size bezel along with the banner.
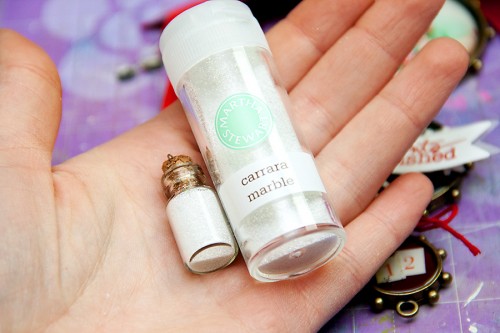
I poured some glitter into a little bottle and glued the lid so it wont come open unexpectedly.
Finally I attached all the pieced together and added a festive bow. My ornament is done!
I hope you like it! Thank you for stopping by!
Yana, it’s great!!!!
You are very creative.
Greetings:)
thank you, Qlka! I’m glad you like it 🙂
Adorable !! Thanks for sharing .
thank you, Julie!
Simply beautiful! Makes me want to make one just like this!
thank you Monika!