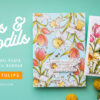

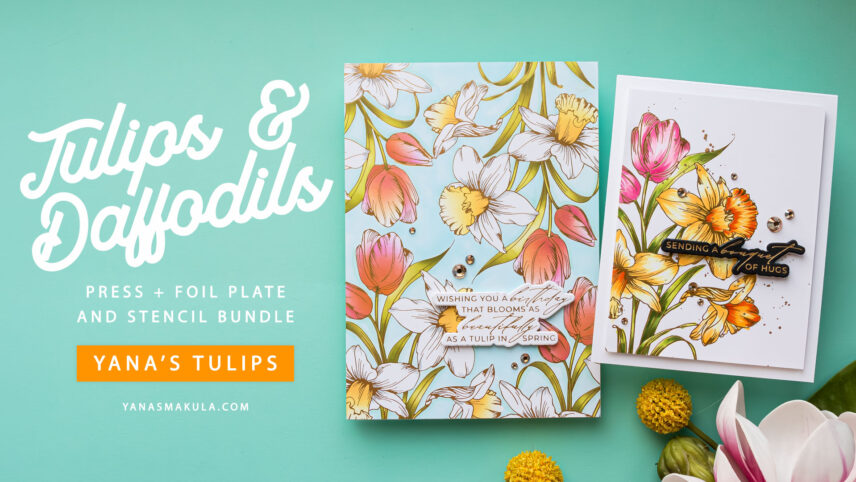
In today’s post, I’m taking a closer look at one of the products from my latest Yana’s Tulips collection with Spellbinders – the Tulips and Daffodils BetterPress Plate and coordinating stencil bundle. I shared this plate briefly in my collection introduction video and showed a few card ideas, but today I wanted to dive deeper and show you how this product works, how I like to use it, and several ways to turn it into finished cards.
Like this project? Pin it and save it for later | Curious about my project photography? Click for details.
This is one of those products that gives you a lot of flexibility. You can foil it, you can BetterPress it, you can color it with stencils, or skip the stencils altogether and color it with your favorite medium. If you enjoy florals, hot foiling, ink blending, and building elegant card backgrounds, this set offers a lot of creative options.
VIDEO TUTORIAL
Watch the video below or on my YouTube channel.
About the Tulips and Daffodils BetterPress Plate
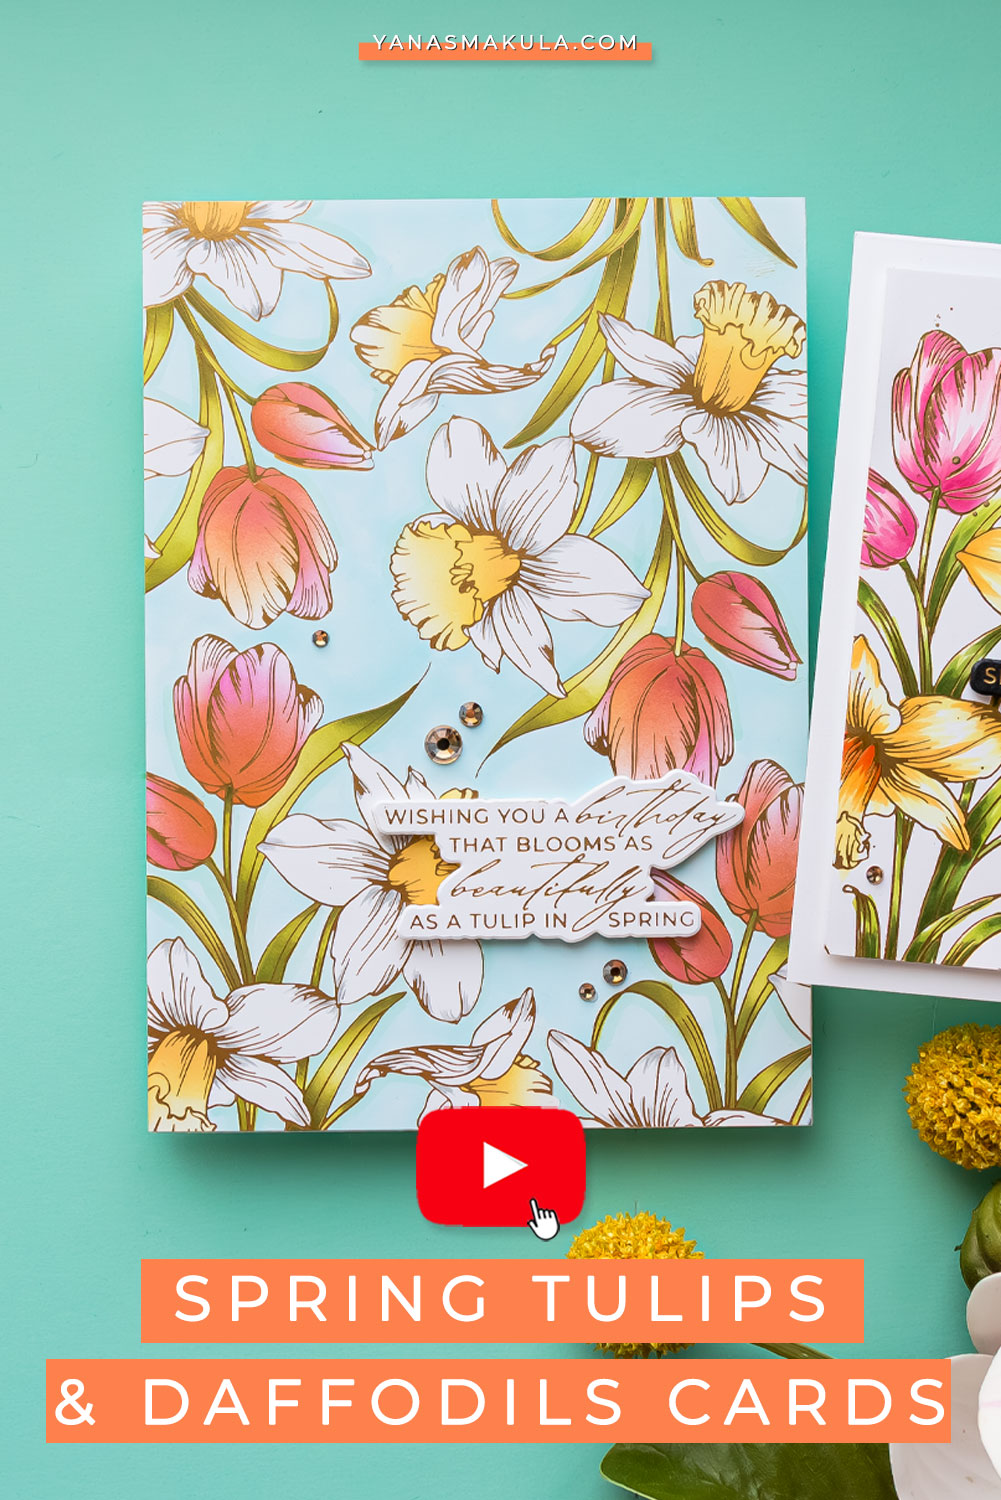
This BetterPress Plate features a floral arrangement of tulips and daffodils and is designed to work beautifully on an A2 card front. It creates a lovely floral cluster that can be placed in the center of a card, offset to one side, or repeated several times to build a fuller background.
Like other BetterPress plates from Spellbinders, this one can be used in two main ways. You can use it with the BetterPress system for letterpress-style impressions, or you can use it with a hot foil system such as Glimmer for foiling. I personally reach for foiling most often, so in this project, I focused primarily on hot foiling.
The plate can be purchased on its own, which is a great option if you like to do your own coloring using Copic markers, watercolor, or colored pencils. There is also a coordinating stencil set available in a bundle with the plate. The stencils are not sold separately, so if you think you’ll want the easier coloring option, it’s best to get the bundle from the start.
Using the Coordinating Coloring Stencils
The coordinating stencil set includes five layers. These are coloring stencils rather than layering stencils in the traditional sense. They are designed to work together with the foiled or pressed image and make it easy to add color to every part of the florals.
There are two stencil layers for the greenery and three layers for the flowers and flower centers. Each stencil is numbered, which makes the process simple to follow.
What I love most about these stencils is that they let you color the image as quickly or as carefully as you want. You can do fast and simple ink blending for an easy card, or you can take your time and add deeper shading for a more finished look.
Building a 5×7 Foiled Floral Background
One of the first things I wanted to demonstrate was how to use this plate beyond the standard A2 size. Since the plate is sized for an A2 card front, I decided to foil it multiple times to create a full floral background on a 5×7 panel.
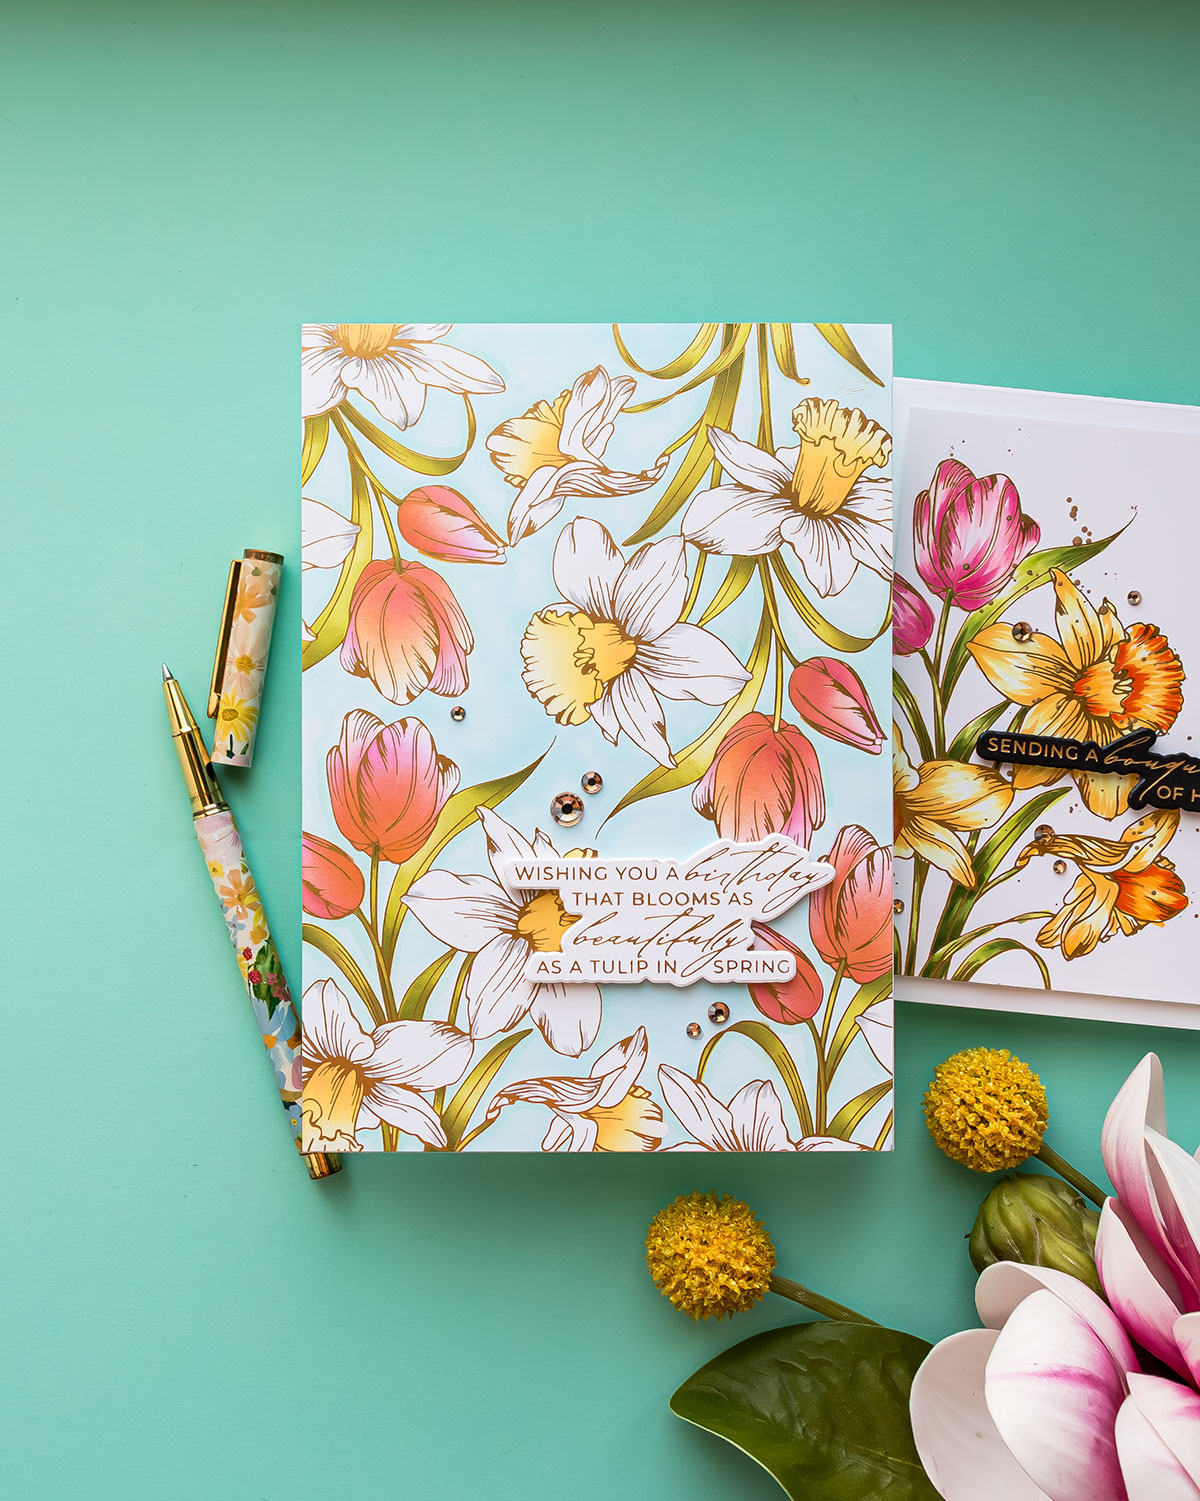
I started with a panel trimmed to 5 inches by 7 inches from Hammermill cardstock. I really like this cardstock for foiling because it is smooth and gives me crisp results. It also works well for ink blending, which is important when using the coordinating stencils later.
To create the background, I foiled the floral image four times. I began in the bottom left corner and then carefully added the design again and again, working around the panel until the background was nearly full. The placement takes a little patience, but it is absolutely doable.
A few things helped with this process.
- First, I used tape to hold the plate in place before foiling. I almost always tape down my plates and dies when I want precise placement.
- Second, I used the grid on my work surface to help keep the plate aligned.
- Third, I created a small tape hinge for myself so I could temporarily secure the plate, flip it away, add the foil, and then flip it back down into position.
When repeating a plate design like this, I find it helpful to place the plate first, tape it, and only then add foil. Once the foil is in place, it becomes much harder to see whether your design is lining up cleanly or starting to overlap.
Because I was working on a larger panel, I also needed to pay attention to the width of my die-cutting machine opening. For part of this process, I switched to the original, larger Platinum machine rather than my Platinum 6, simply because the larger machine gave me more room to work. It made foiling the outer areas of the panel much easier.
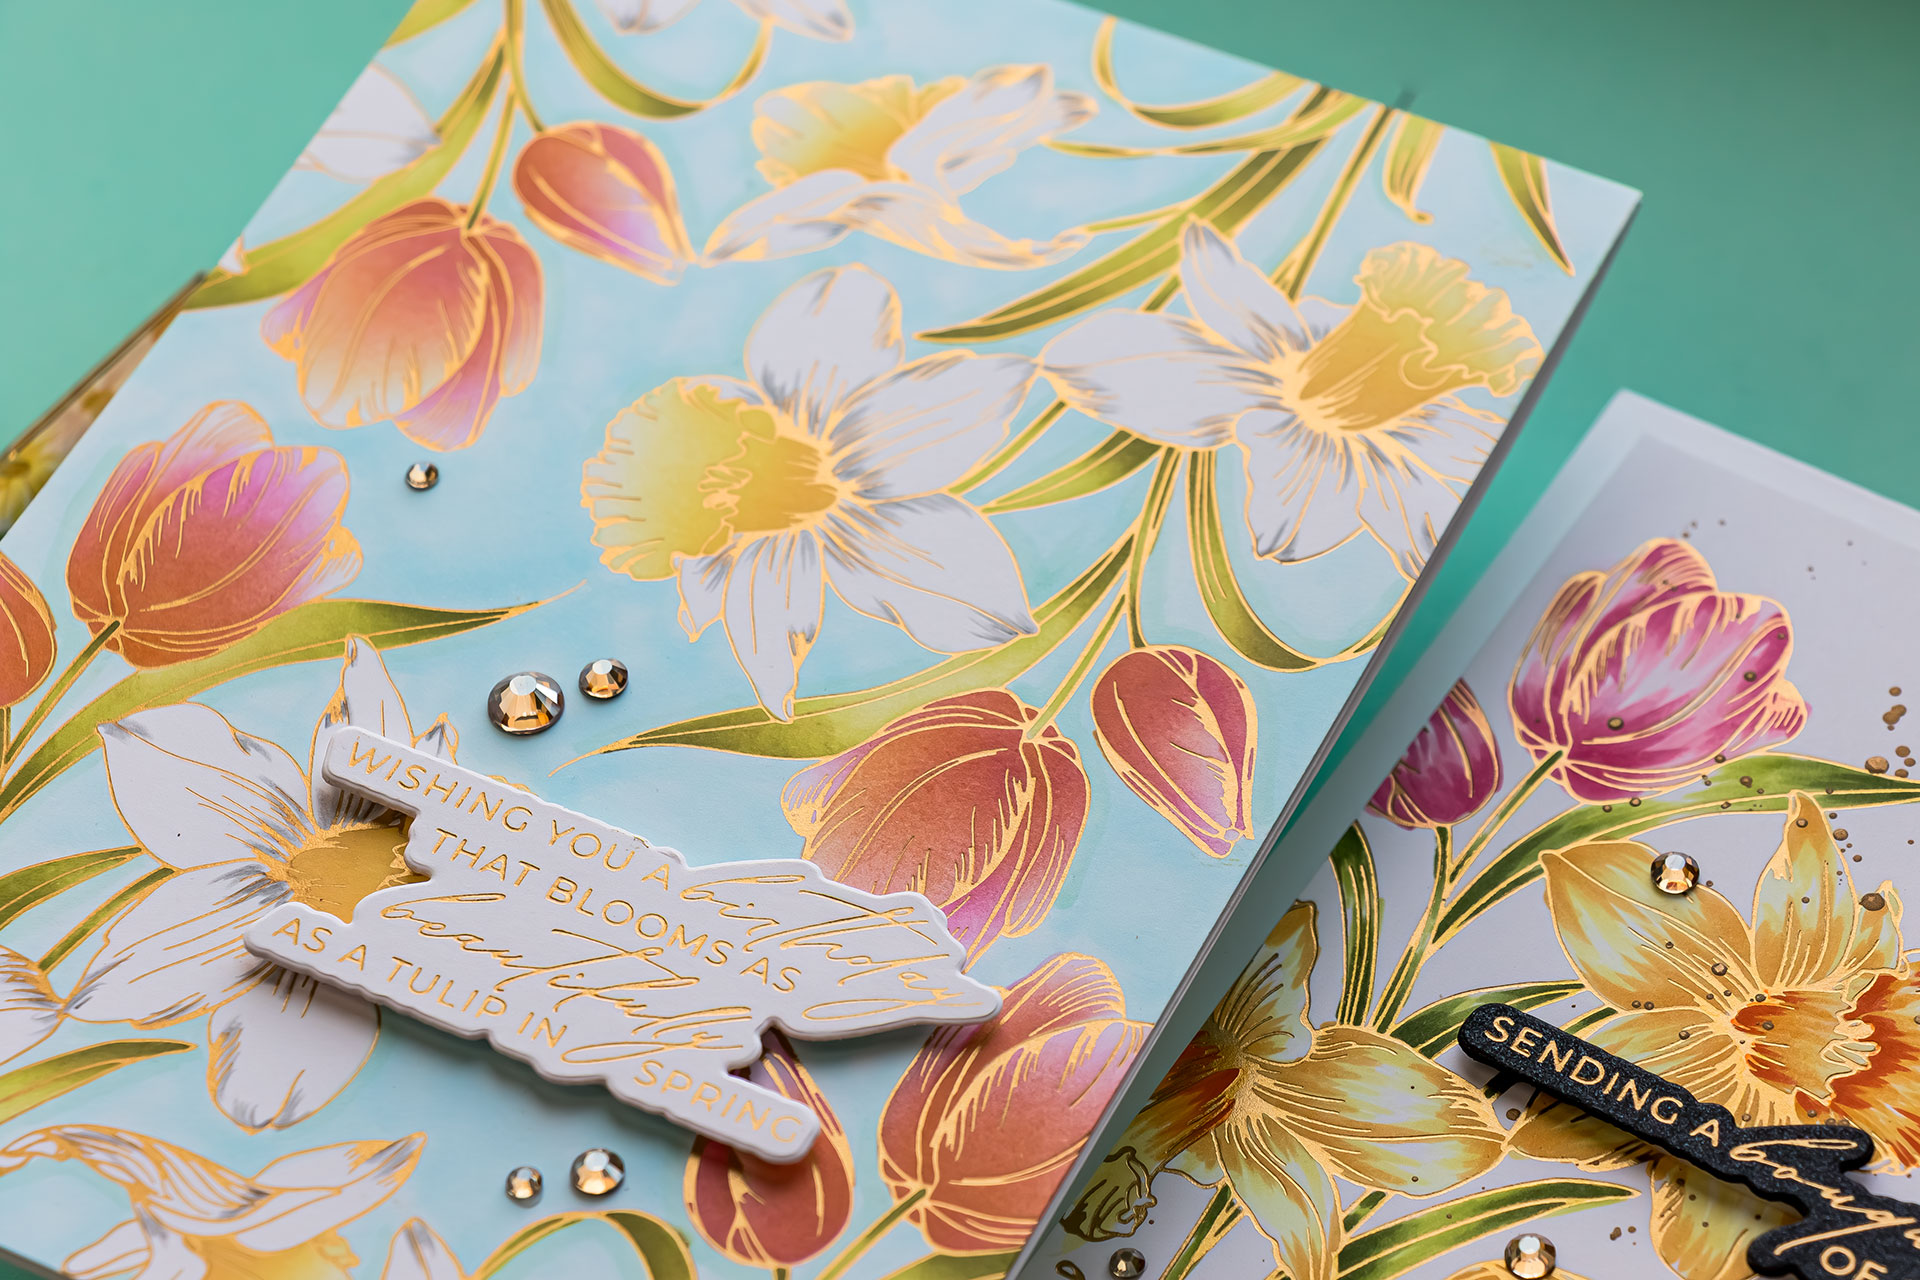
In the end, the repeated foiling created a beautiful 5×7 floral background, and I loved how elegant and full it looked.
How I Ink Blended the Stencils
Once the foiling was done, I moved on to the stencils. I like to start with the greenery first, so I began with stencil layers 4 and 5.
I worked on a sticky mat and also used a little tape to secure the stencils when needed. For the leaves and stems, I used multiple shades of green ink to build depth. Starting with a lighter green and then adding darker greens near the base of the leaves and in shadow areas really helped bring the florals to life.
This is one of my favorite ways to use these stencils. Even though the stencil layers make coloring easy, the results still look dimensional and detailed when you add just a bit of extra shading.
After finishing the greenery, I moved on to the flower layers. Since this design includes both tulips and daffodils, I used a bit of masking while blending so I could focus on one flower type at a time and avoid getting ink where I didn’t want it.
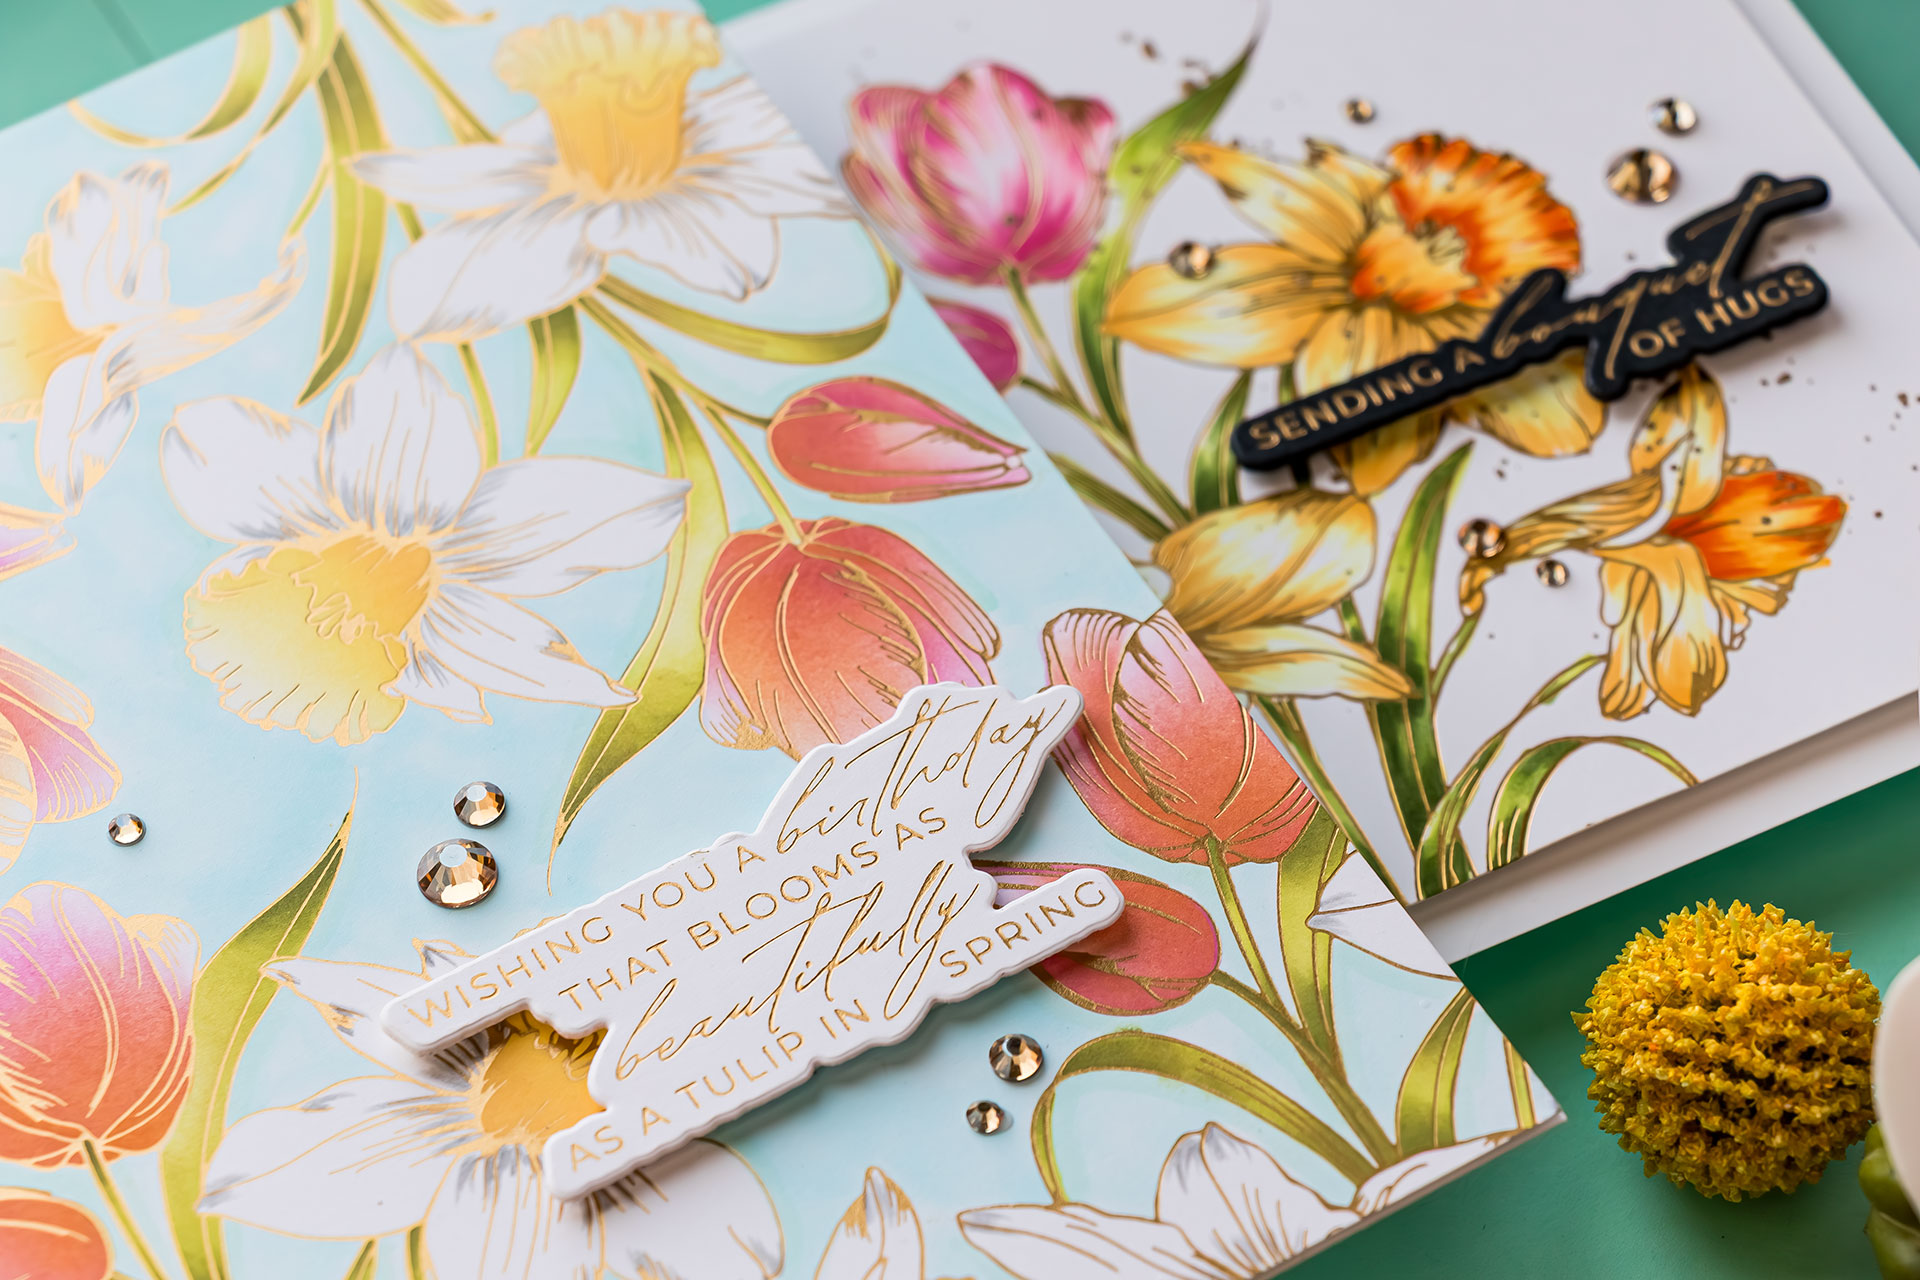
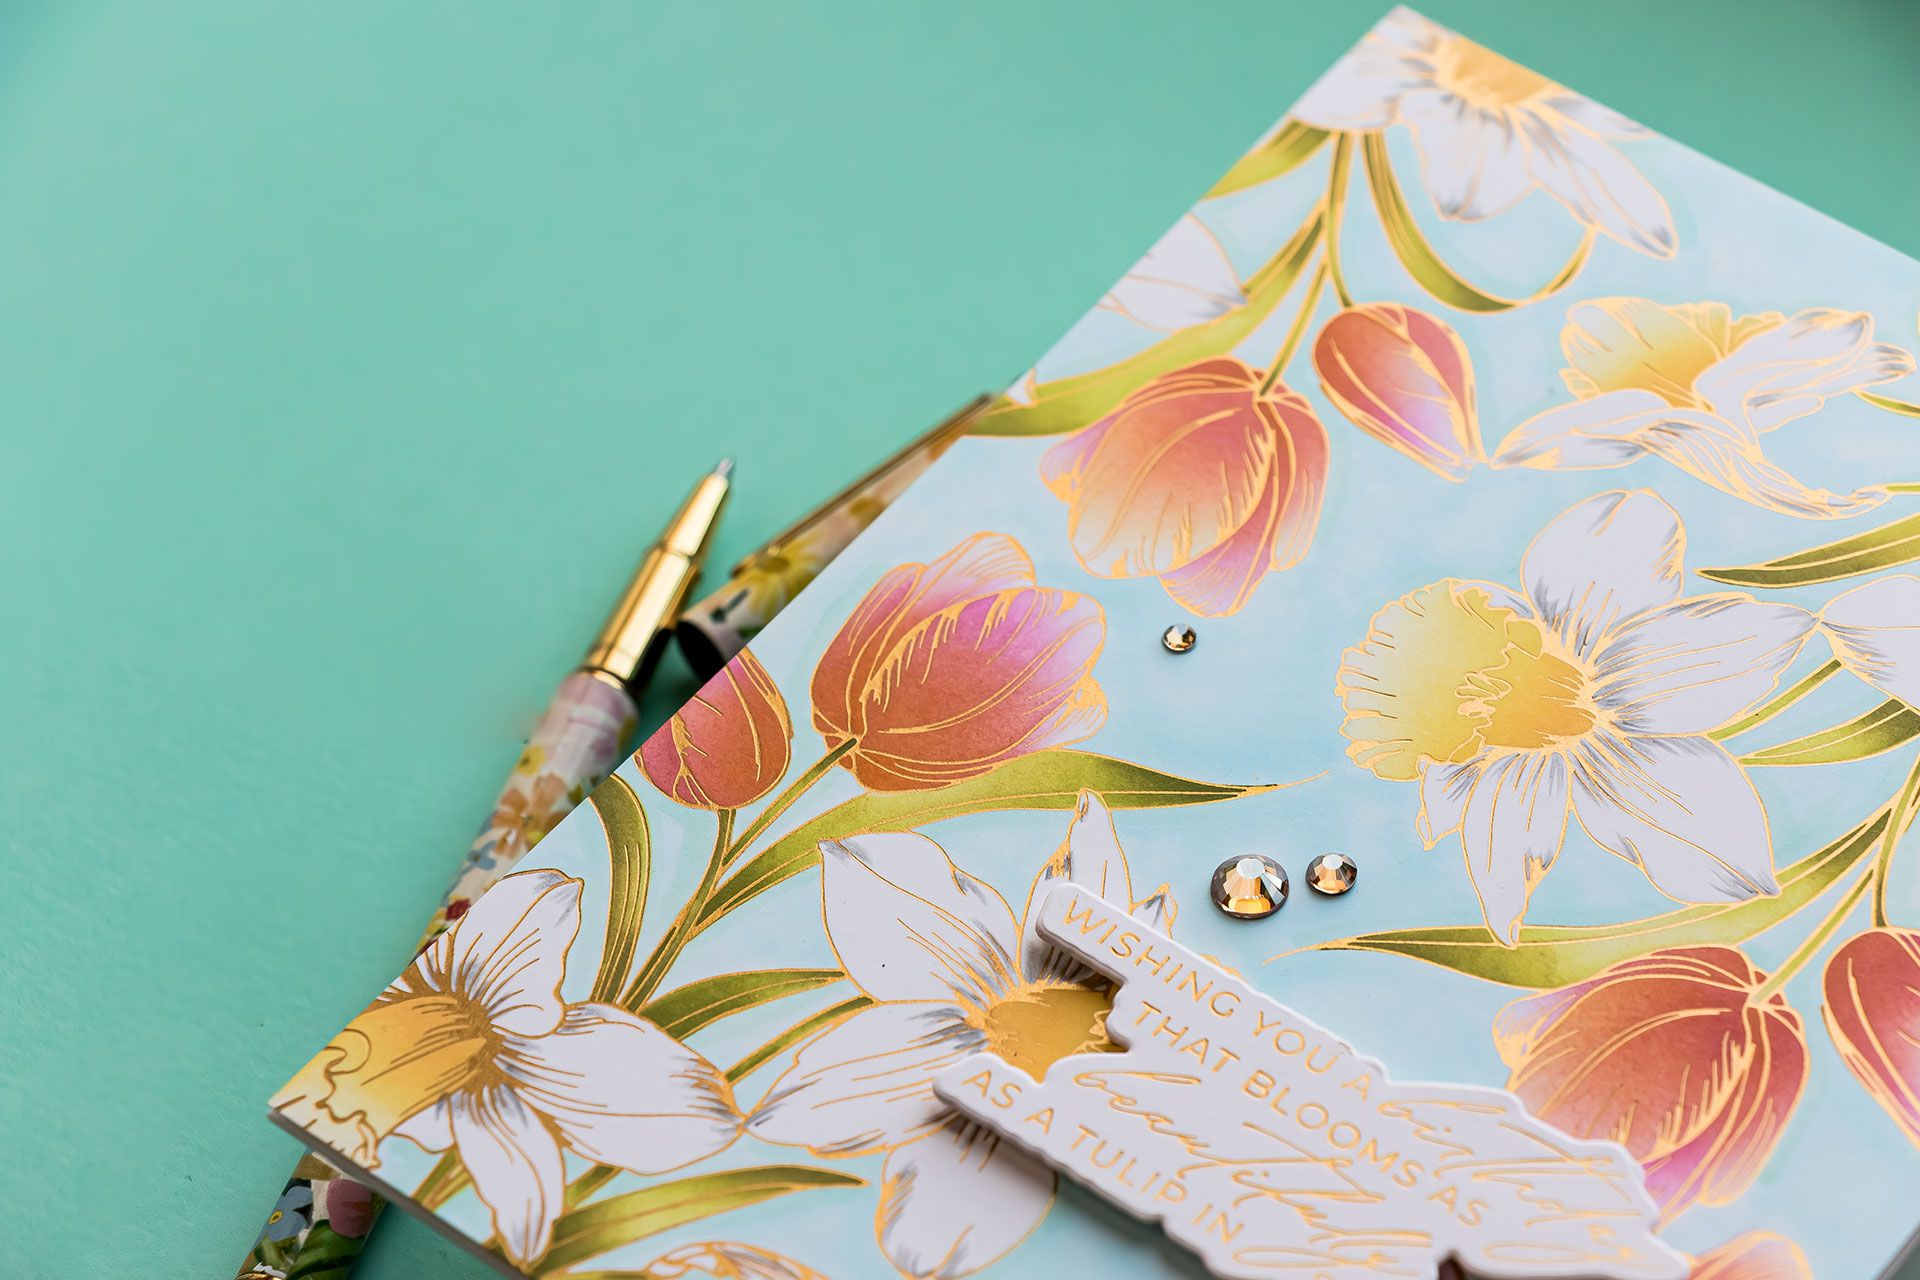
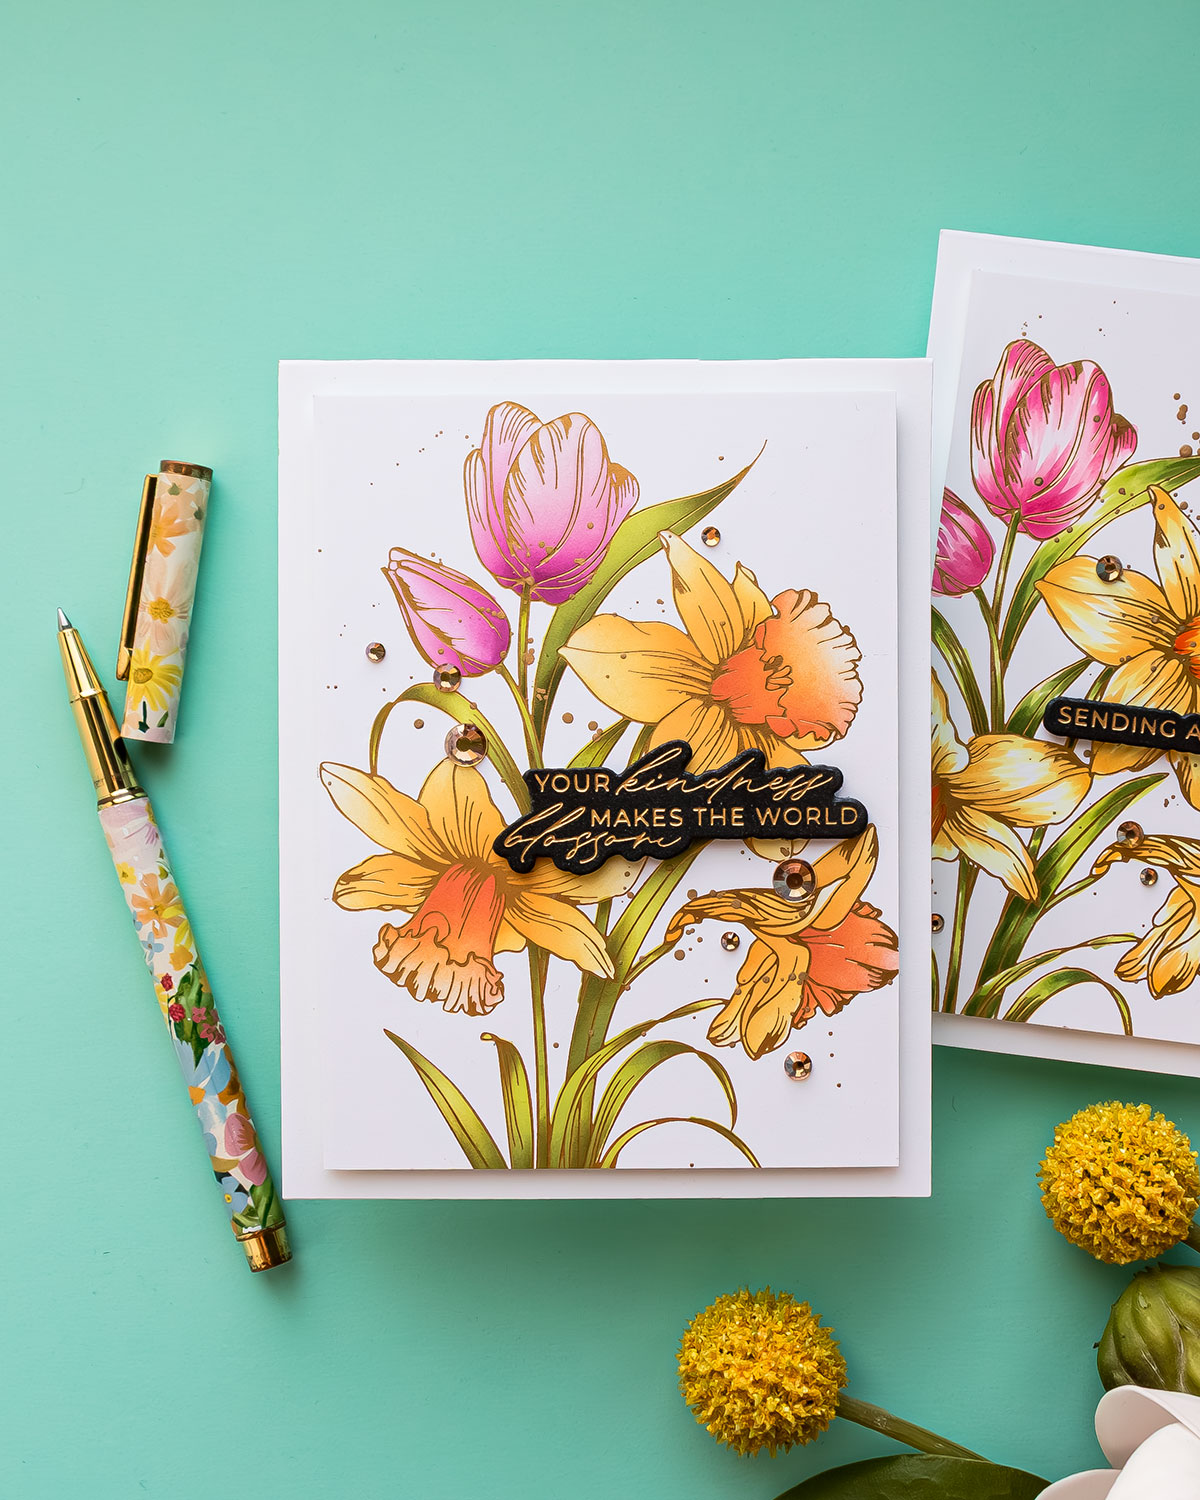
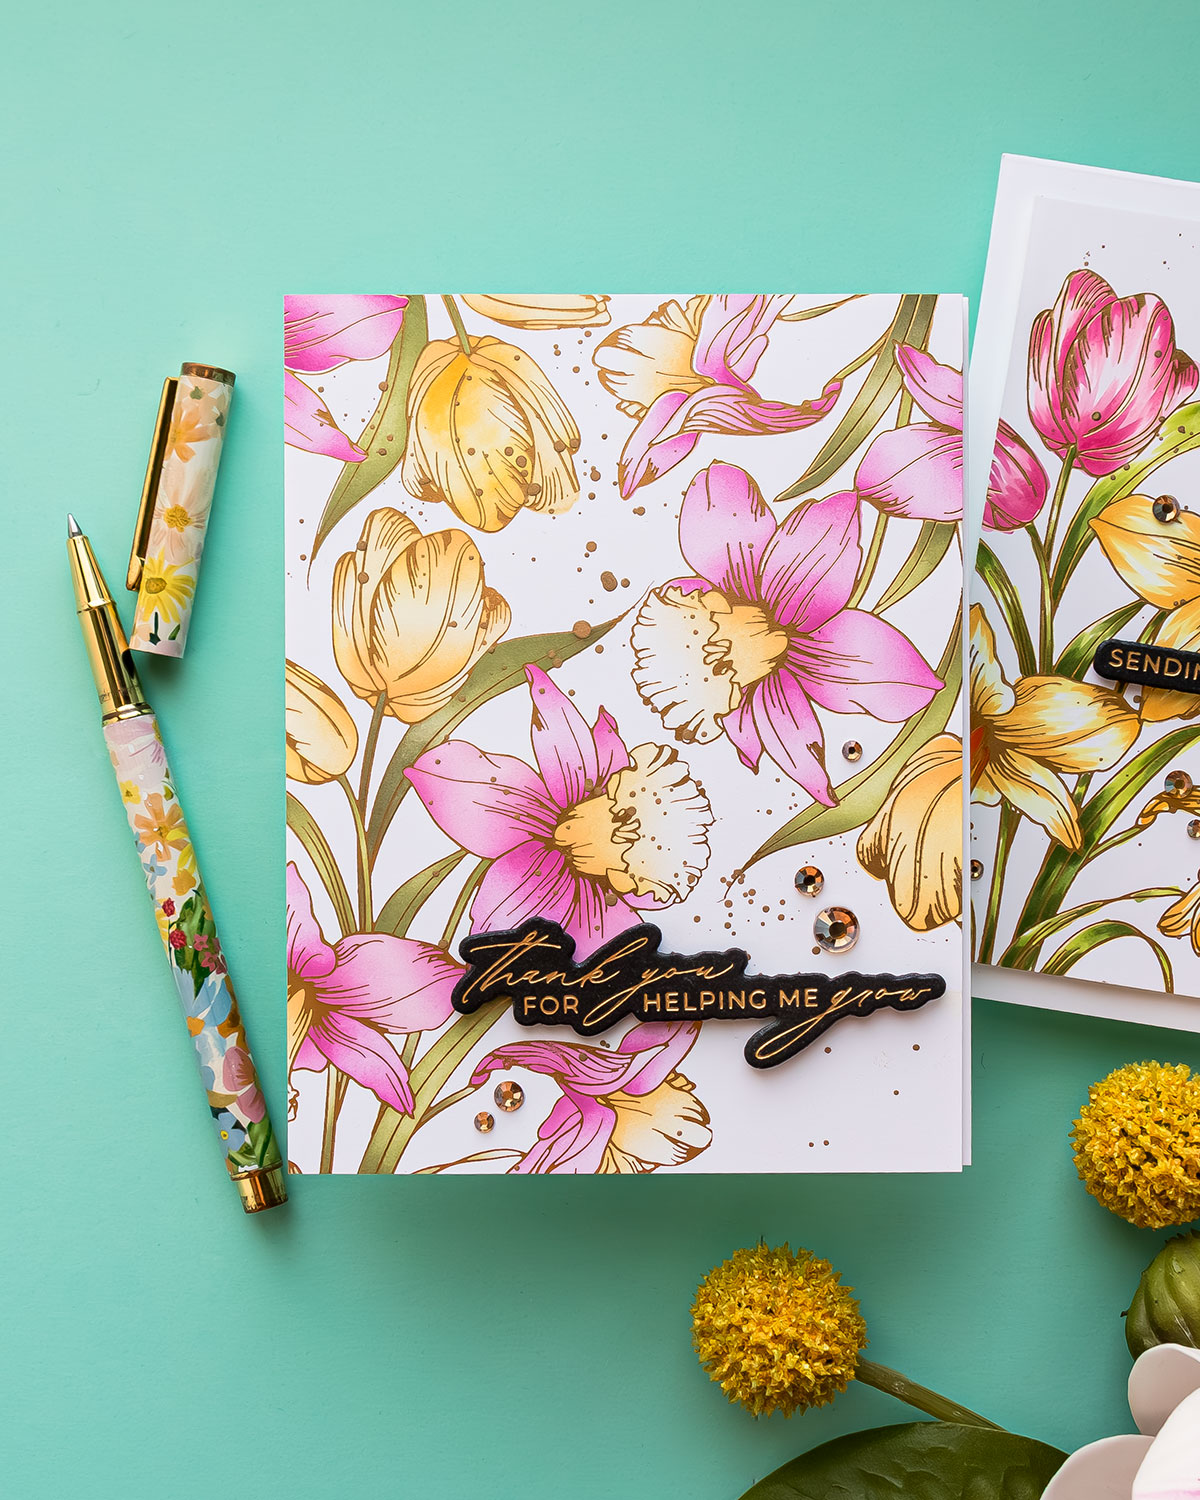
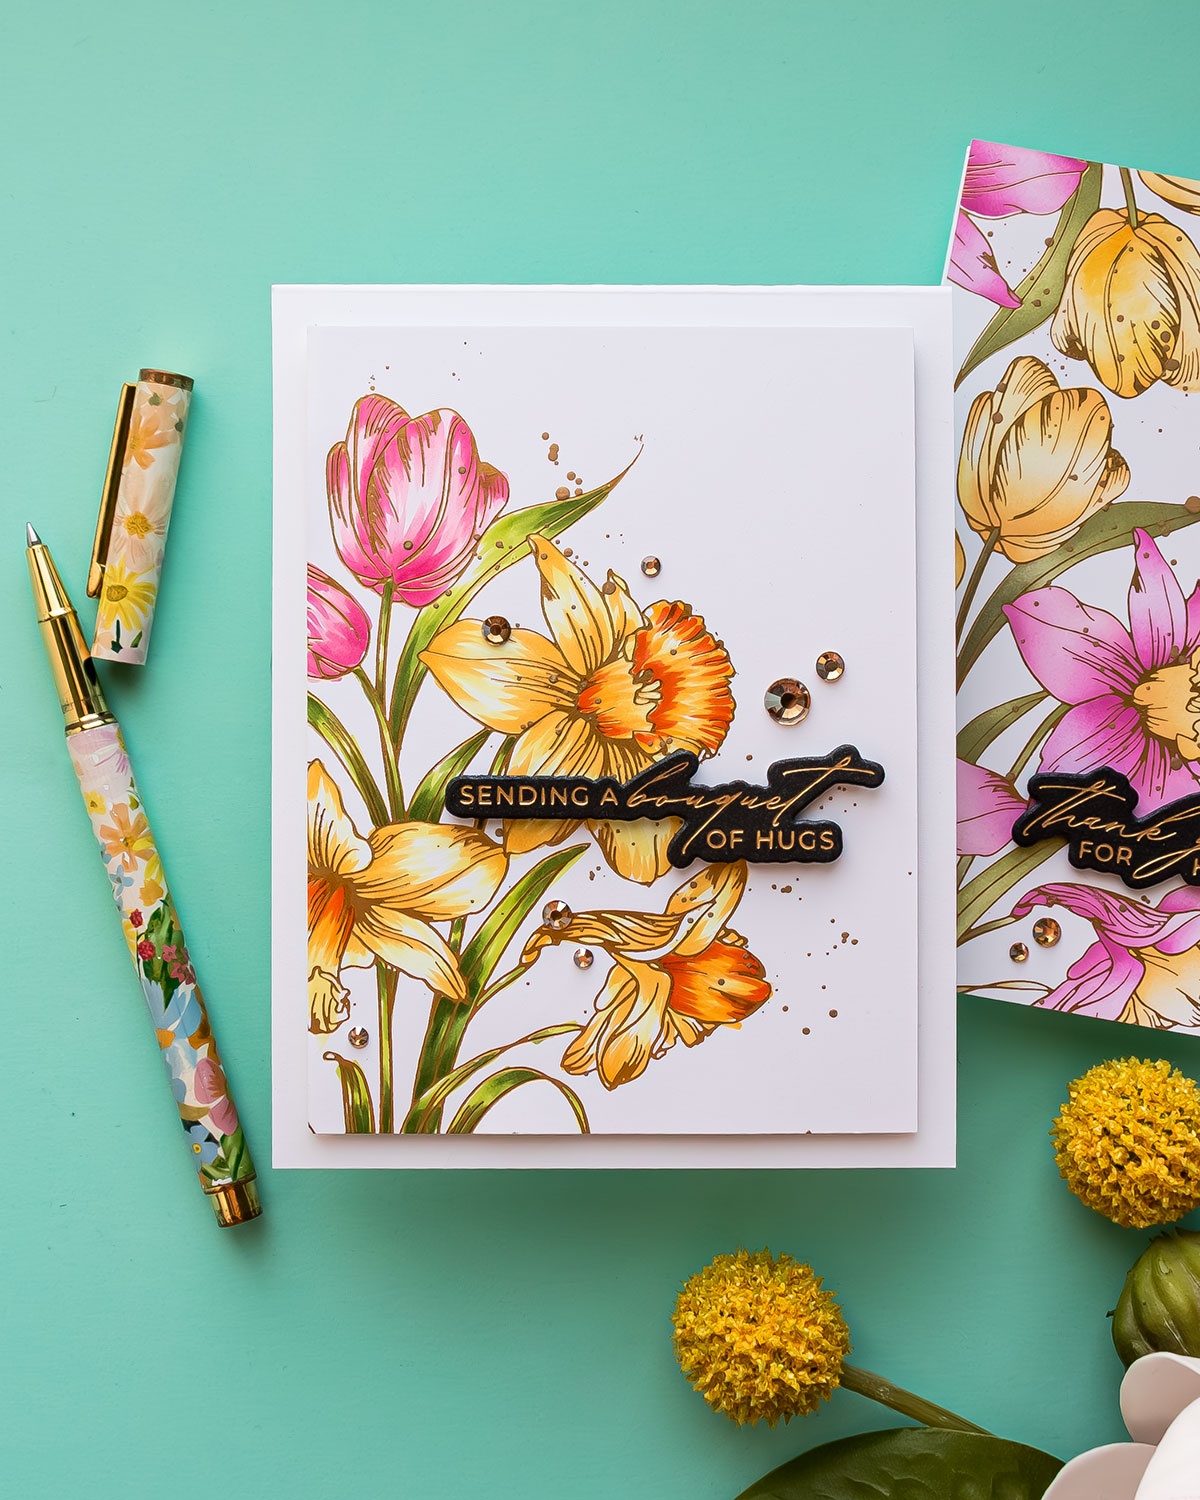
For the daffodils, I blended soft yellows and deepened some areas with warmer tones. For the tulips, I used pink shades, beginning with a light pink and then adding medium and darker tones closer to the base of the petals.
Tulips come in so many colors, which gives you a lot of freedom when choosing your palette. I went with pink because I love how it pairs with yellow daffodils for a fresh spring look.
For the final stencil layer, I continued building color on both the tulips and the daffodils, again using masking as needed to keep the colors clean and controlled. I finished the daffodil centers with an orange tone, fading the color from darker at the base to lighter near the top.
By the time all five stencil layers were complete, the floral image looked full of life and beautifully detailed.
Card Design Ideas Using This Plate
One of the things I enjoy most about this product is how many different layouts it supports. In the video, I turned four foiled panels into finished cards, and each one had a slightly different look.
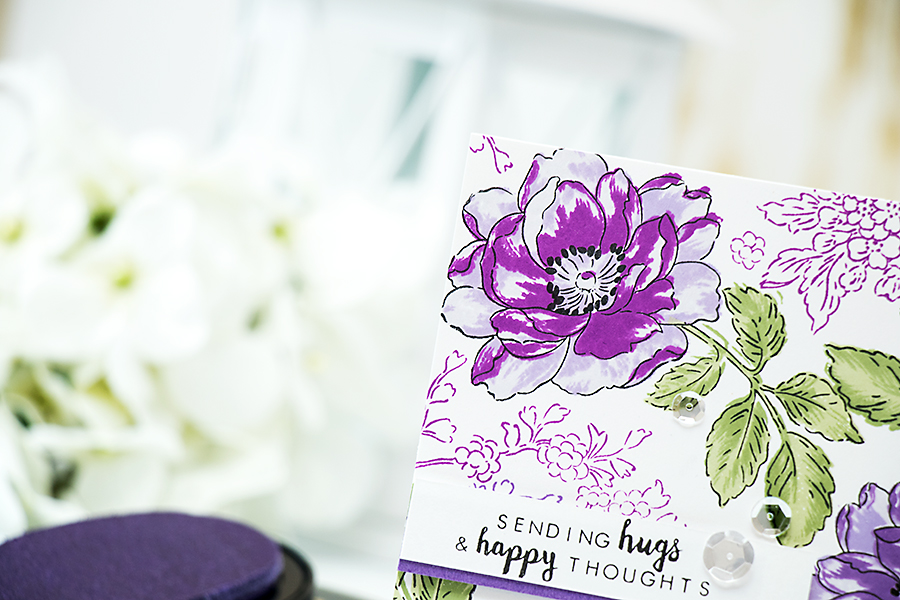
For the first card, I foiled the image once in the center of a panel. I trimmed the panel down and mounted it onto an A2 top-folding card base. I added a little reddish gold splatter to the background for extra interest, then finished the card with a sentiment foiled on black cardstock and a few gold gems.
For the second card, I foiled the floral image three times to create a fuller arrangement across the card front. I used the coordinating stencils to color the panel and mounted it onto an A2 card base. This card also included splatter, a black foiled sentiment, and gems.
For the third card, I wanted to show that you do not need the stencils to use this plate successfully. I foiled the image and then colored it with Copic markers instead. If you enjoy marker coloring, watercolor, or colored pencils, the plate works beautifully on its own. The outline design gives you lots of room to use your favorite coloring medium and make the florals your own.
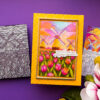
For the fourth card, I used the large 5×7 background panel I created by foiling the plate four times. I ink blended the florals with the stencils, but for this card I left the daffodil petals white and only added yellow to the centers. Since I had so much white in the floral design, I decided to color the background with a pale blue Copic marker. This added contrast and made the florals stand out even more.
That final card was inspired by floral patterns I often see in Rifle Paper products. I love how those prints frequently combine floral illustrations with a soft colored background, and I wanted to bring that same look into this card.
Why This Floral Plate Is So Versatile
What I love about the Tulips and Daffodils BetterPress Plate is that it gives you several creative directions right from the start.
You can use it as a single floral cluster on an A2 card. You can offset it for a more modern layout. You can repeat it to build a larger background. You can foil it or BetterPress it. You can color it with stencils, markers, watercolor, or pencils. And because the design includes both tulips and daffodils, you can create cards that feel very spring-like and fresh without much effort.
This set is especially useful if you like products that can stretch across multiple card styles and techniques.
A Few Tips for Better Results
- If you plan to repeat the image several times on one panel, take your time with alignment. Use the grid on your work surface and pay attention to the straight edge of the stems to help guide placement.
- Tape your plate in place before adding foil whenever possible. This makes positioning much easier.
- Use a sticky mat for stencil blending. It helps keep your panel from shifting and gives you better control.
- Add darker shades of ink in small amounts. It’s always easier to add more color than to try to soften an area that became too dark too quickly.
- And if you’re using the stencils, don’t skip the extra shading. Even a little additional depth makes a big difference in the final look.
Final Thoughts
This Tulips and Daffodils BetterPress Plate and stencil bundle has been such a fun product to work with. I love that it can be used for elegant single-panel cards as well as larger, more detailed backgrounds. The stencils make coloring easy, but the plate is also wonderful on its own if you prefer to do your own coloring by hand.
If you enjoy floral cardmaking, hot foiling, BetterPress techniques, and ink blending, this is a really versatile set to add to your collection.
I hope this closer look gave you some ideas for how to use this product and inspired you to try a few different layouts and coloring approaches.
Thanks so much for stopping by today. I’ll be back soon with another project featuring the Tulips and Windmills BetterPress Plate and stencil set from my Yana’s Tulips collection.
SUPPLIES
I’m listing the products I used below. Click on the link to go directly to the product. Where available, I use compensated affiliate links, which means if you make a purchase, I receive a small commission at no extra cost to you. Thank you so much for your support!
 Spellbinders Tulips and Daffodils Press + Foil Plate by Yana Smakula Shop at: SSS | Other | SB USA | SB UK |
 Spellbinders Tulips and Daffodils Press + Foil Plate and Stencil Bundle by Yana Smakula Shop at: SSS | Other | SB USA | SB UK |
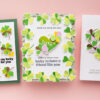
 Spellbinders Bouquet of Hugs Sentiments Press + Foil Plate & Die Set by Yana Smakula Shop at: SSS | Other | SB USA | SB UK |
 Spellbinders Yana’s Tulips I Want It All! Bundle by Yana Smakula Shop at: SB USA | SB UK |
 Spellbinders Glimmer Hot Foil 4 Rolls – Satin Metallics Variety Pack Shop at: SB USA | SB UK |
 Spellbinders Glimmer Hot Foil – Matte Gold Shop at: SSS | SB USA | SB UK | AMZ | SC |
") Spellbinders Glimmer Hot Foil System (Platinum) Shop at: SSS | SB USA | SB UK | AMZ | SC |
 Spellbinders Betterpress Letterpress System Shop at: SSS | Other | SB USA | SB UK | AMZ |
 Altenew 9″x12″ Ultra Sticky Mat: Grid Shop at: HA | SC |
 Spellbinders Platinum 6 Machine With Universal Plate System Shop at: SSS | SB USA | SB UK | AMZ | SC |
 Glassboard Studio Scrapbook Magnetic Glass Craft Mat Shop at: GBS |
 Glassboard Studio Super Strong Magnets Shop at: GBS |
Glassboard Studio Glass Craft Mat – Code YANA15 Shop at: GBS |
 Glassboardstudio Mega Strong Neodymium MegaPawn Magnets Shop at: GBS |
Beautiful cards. Thanks the greeat detailed video.