


Hello, friends. I’ve been meaning to share this project for quite some time now, but I was waiting for the main die set I used to come back in stock – the beautiful “Always Welcome” door die from Spellbinders, it is their October 2020 Large Die of the Month, this die is now available for anyone who’d like to purchase it, you don’t need to be a Club member to get it. Get yours HERE.
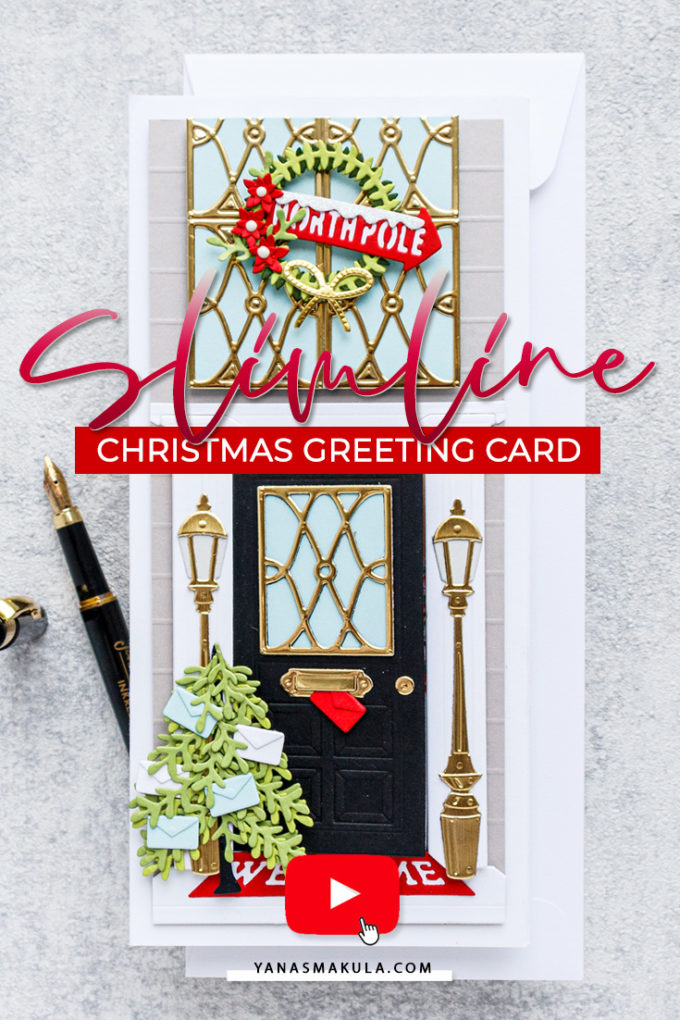
Like this project? Pin it and save for later | Curious about my project photography? Click for details.
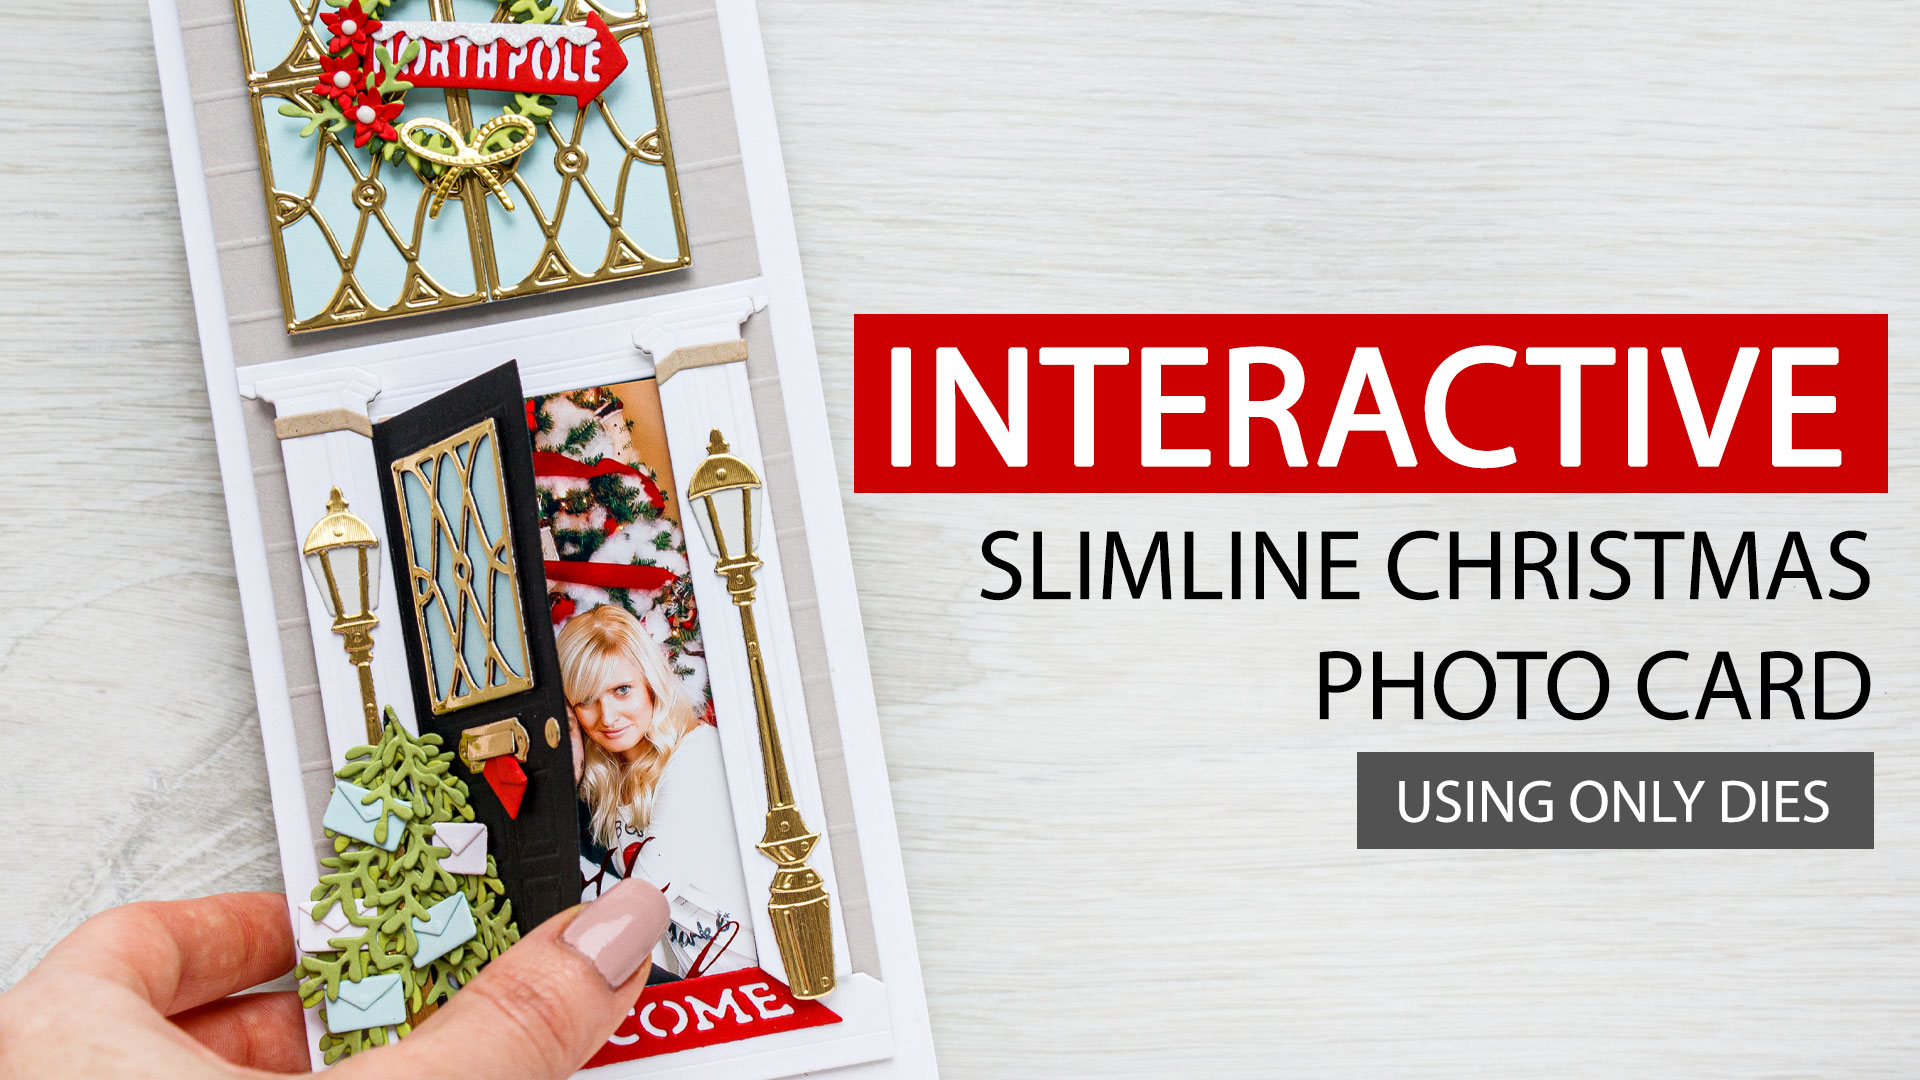
VIDEO TUTORIAL
Watch the video below or on my Youtube channel.
Like this video? Please give it a big thumbs up (you can do this on Youtube video page right under the video) and share it with a crafty friend! Leave me a comment too, I love hearing from you!
CARD DETAILS
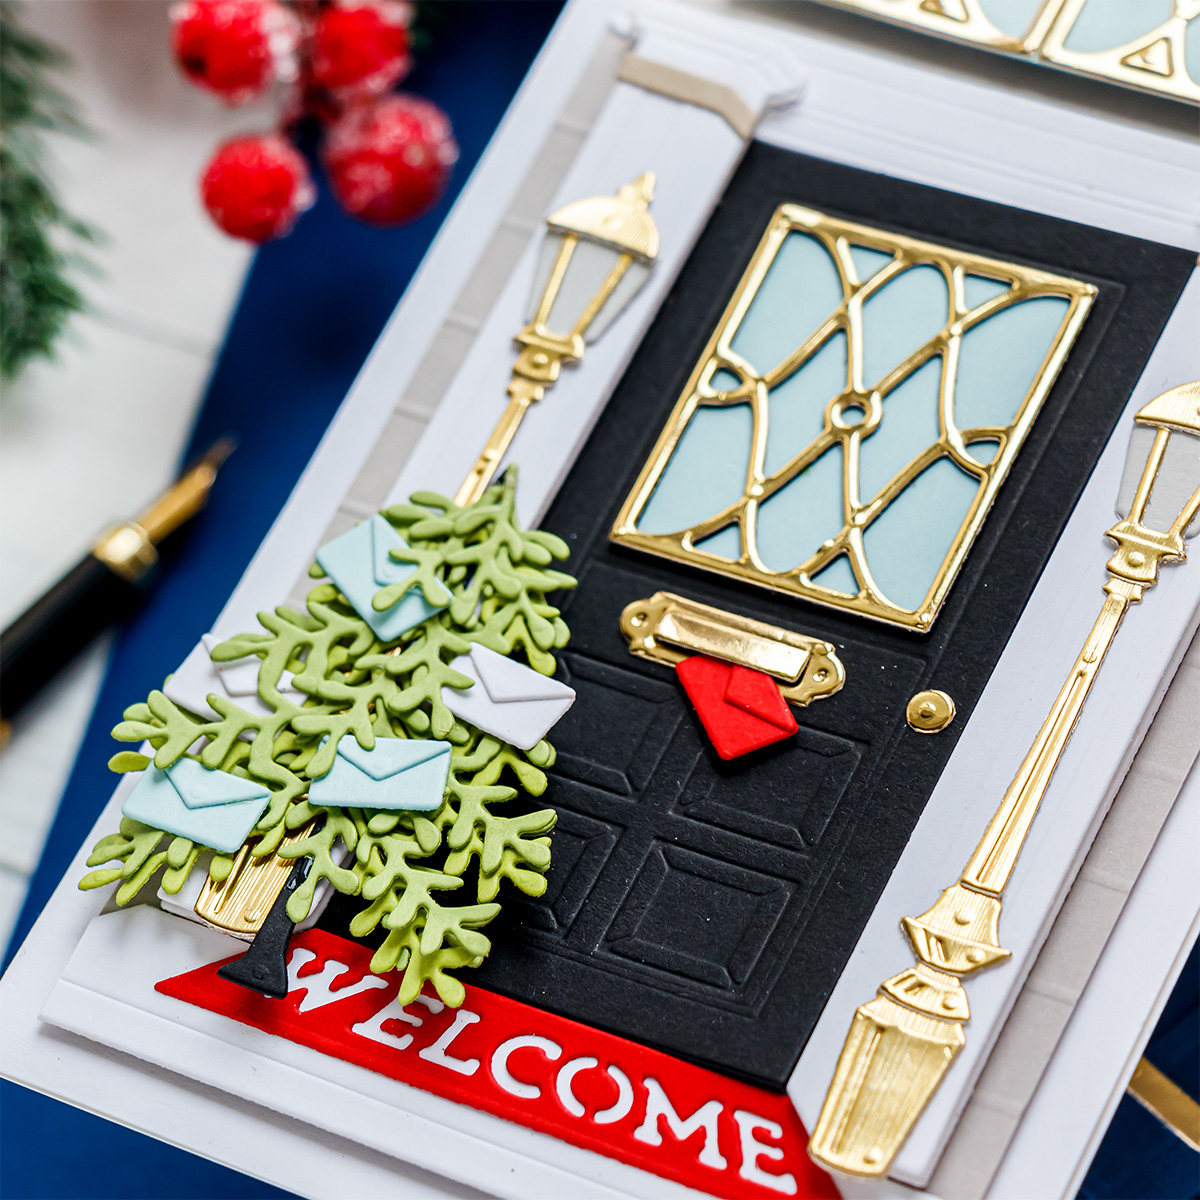
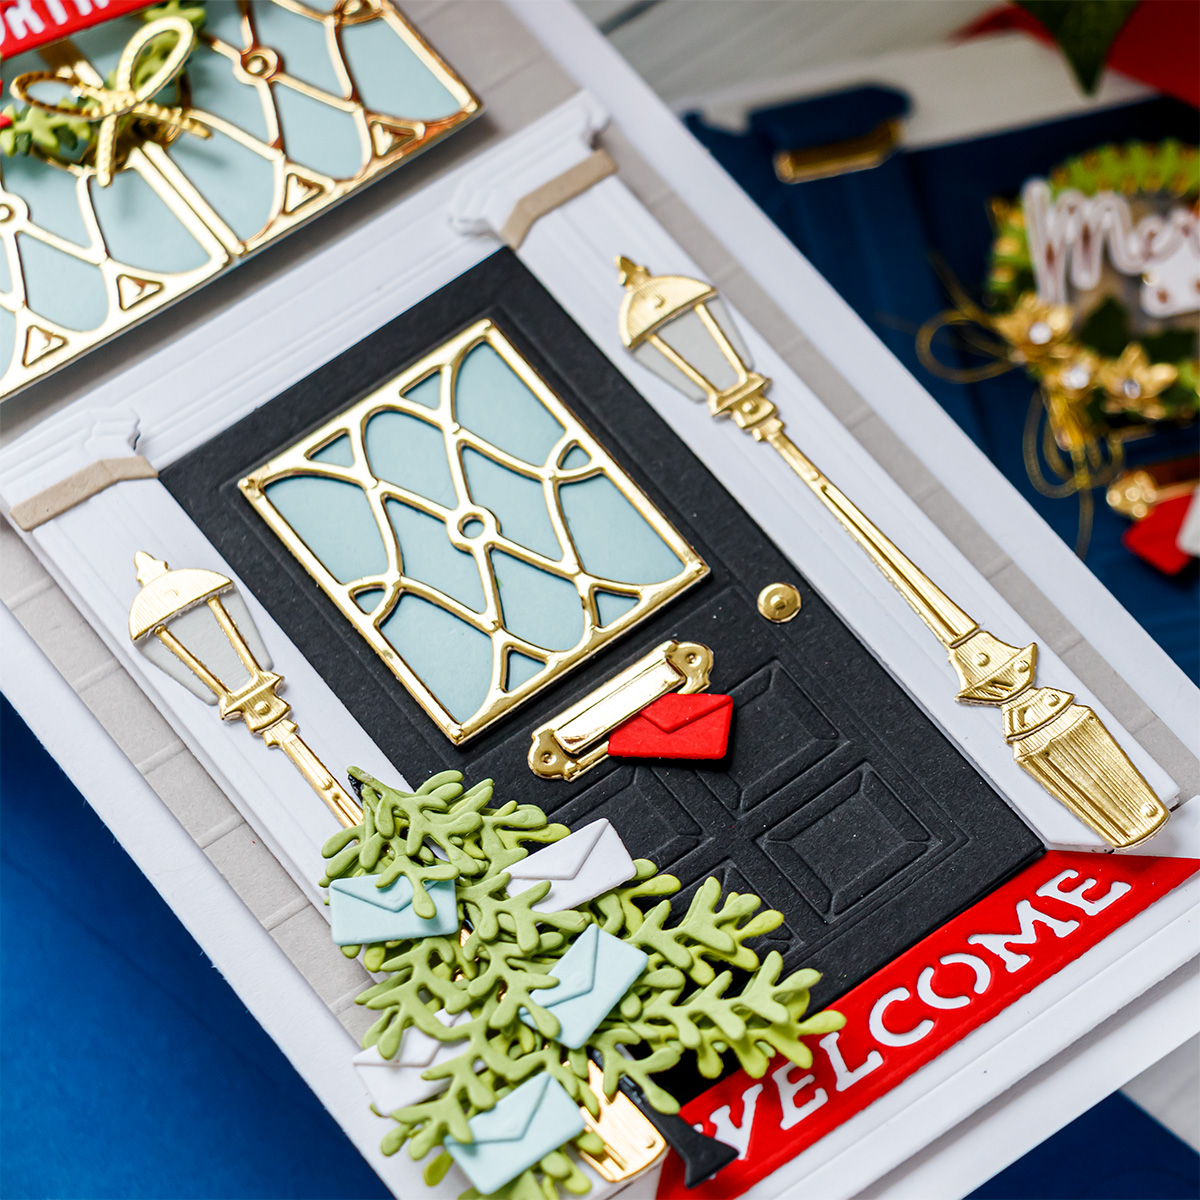
What’s truly awesome about this die set, the door, is that it coordinates perfectly with the lamp post from the Spellbinders November 2020 Card Kit of the Month, called Merry Wishes. You get loads of other supplies in this card kit, but what I was most excited – was the die to make a lamp post. I had this idea to create a larger scale card featuring the door and add the lampposts on either side of my door. I also wanted to add a window above the door and really go all out when making this card.
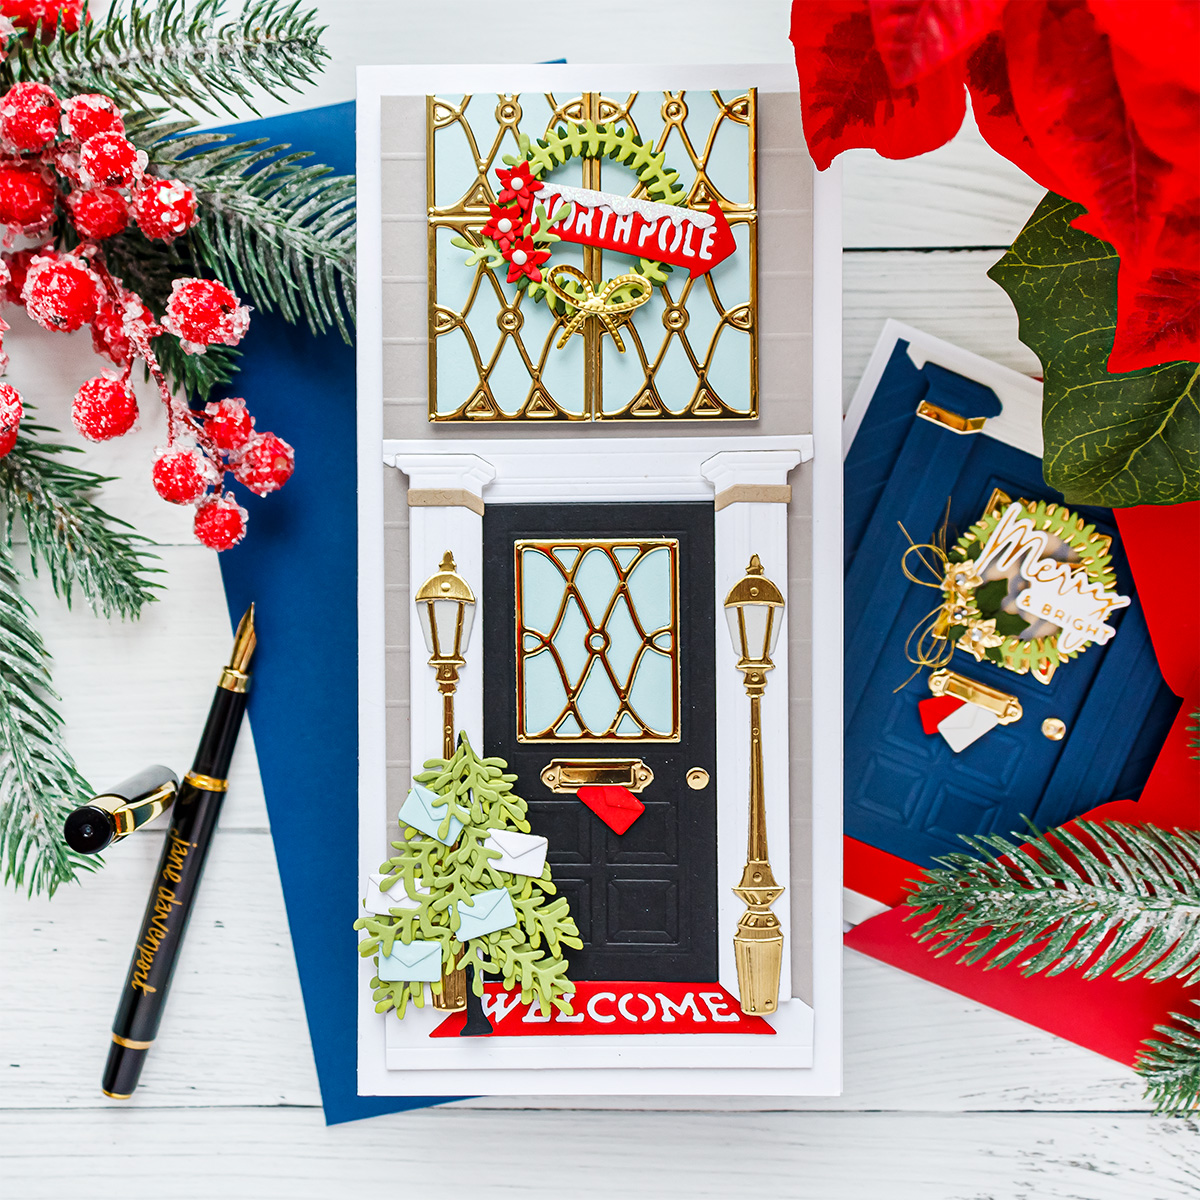
In addition to using the 2 sets I mentioned, I also used the “Frankie Goes To North Pole” Small Die of the Month for November 2020 to add a Christmas tree to my card. I love how everything coordinates and the sets from various Clubs and also various months work so well together and complement each other giving us more crafty options.
Follow these instructions step-by-step to re-create this card:
- Create a slimline card base using white cardstock. My card base measures: 4″ x 8 1/2″.
- Cut light gray cardstock panel to 3 1/2″ 8″. Add horizontal score lines using a scoring tool and scoring board, space lines 1/2″ apart.
- Die-cut and assemble the door. Follow instructions from THIS video. Adhere door to the light gray panel.
- Die-cut 4 additional window panels from gold mirror cardstock. Adhere to light blue cardstock, cut out to create a window. Foam mount window above the door.
- Die-cut 2 lamp posts using a die from the November 2020 Card Kit of the Month “Merry Wishes”. Adhere to either side of the door.
Idea: trim the lampposts to create sconces.
- Trim excess paper and foam mount light gray panel to card base.
- Die-cut additional decor elements using “Frankie Goes to North Pole” November 2020 Small Die of the Month – tree, and “North Pole’ sign. Adhere to card.
- Die-cut envelopes to decorate the tree.
Optional: include a photo or a gift card behind the door. Or write a message.
Enjoy!
SUPPLIES
I’m listing the products I used below. Click on the link to go directly to the product. Where available I use compensated affiliate links which means if you make a purchase I receive a small commission at no extra cost to you. Thank you so much for your support!
 Spellbinders “Always Welcome” October 2020 Large Die Of The Month Shop at: SB |
 Spellbinders Card Kit of the Month Membership Shop at: SB |
 Spellbinders Small Die Of The Month Membership Shop at: SB |
 Spellbinders Platinum 6 Die Cutting Machine Shop at: SSS | SC | SB | AZ |
 Spellbinders Tool ‘n One Shop at: SSS | SC | SB | AZ |
 Tonic Gold Hearted 6 X 6 Mixed Card Pack Shop at: SSS | SC | TS |
 Neenah 110 Lb Solar White Cardstock Shop at: SSS | AZ |
 Simon Says Stamp Green Apple Cardstock Shop at: SSS |
 Simon Says Stamp Black Cardstock Shop at: SSS |
 FSJ Rich Coral 8.5×11 Cardstock Shop at: SB |
 FSJ Mirror Gold Cardstock Shop at: SB |
 FSJ Fresh Forest 8.5 X 11 Cardstock Shop at: SB |
 FSJ White Liner Sheets Shop at: SB |
 Tonic Studios 8.5 Inch Paper Trimmer Shop at: SSS | SC | AZ | TS |
 Crystal Ninja Crystal Katana Pick Up Tool Shop at: SSS | PPP | AZ |
 FSJ Details Pro Shears Shop at: SC | SB |
 White Foam Squares Shop at: SSS | SC | SB | AZ |
 Journey Craft Glue Shop at: SC | SB |

Gorgeous card design Yana! Such a different way to include a photo- so happy your die came back into stock! ( An added note- I’m not sure what I’m doing wrong but I’ve had trouble logging on to the Spellbinders website, the last couple days.I’m a kit member and have tried several ways. Wondering if it’s just me?) Anyway, just wanted to comment on your beautiful card!
So pretty. Yes, sometimes die cutting and assembling can be very relaxing. I loved your card and putting a picture inside was genius.
Such a Beautiful card!!!