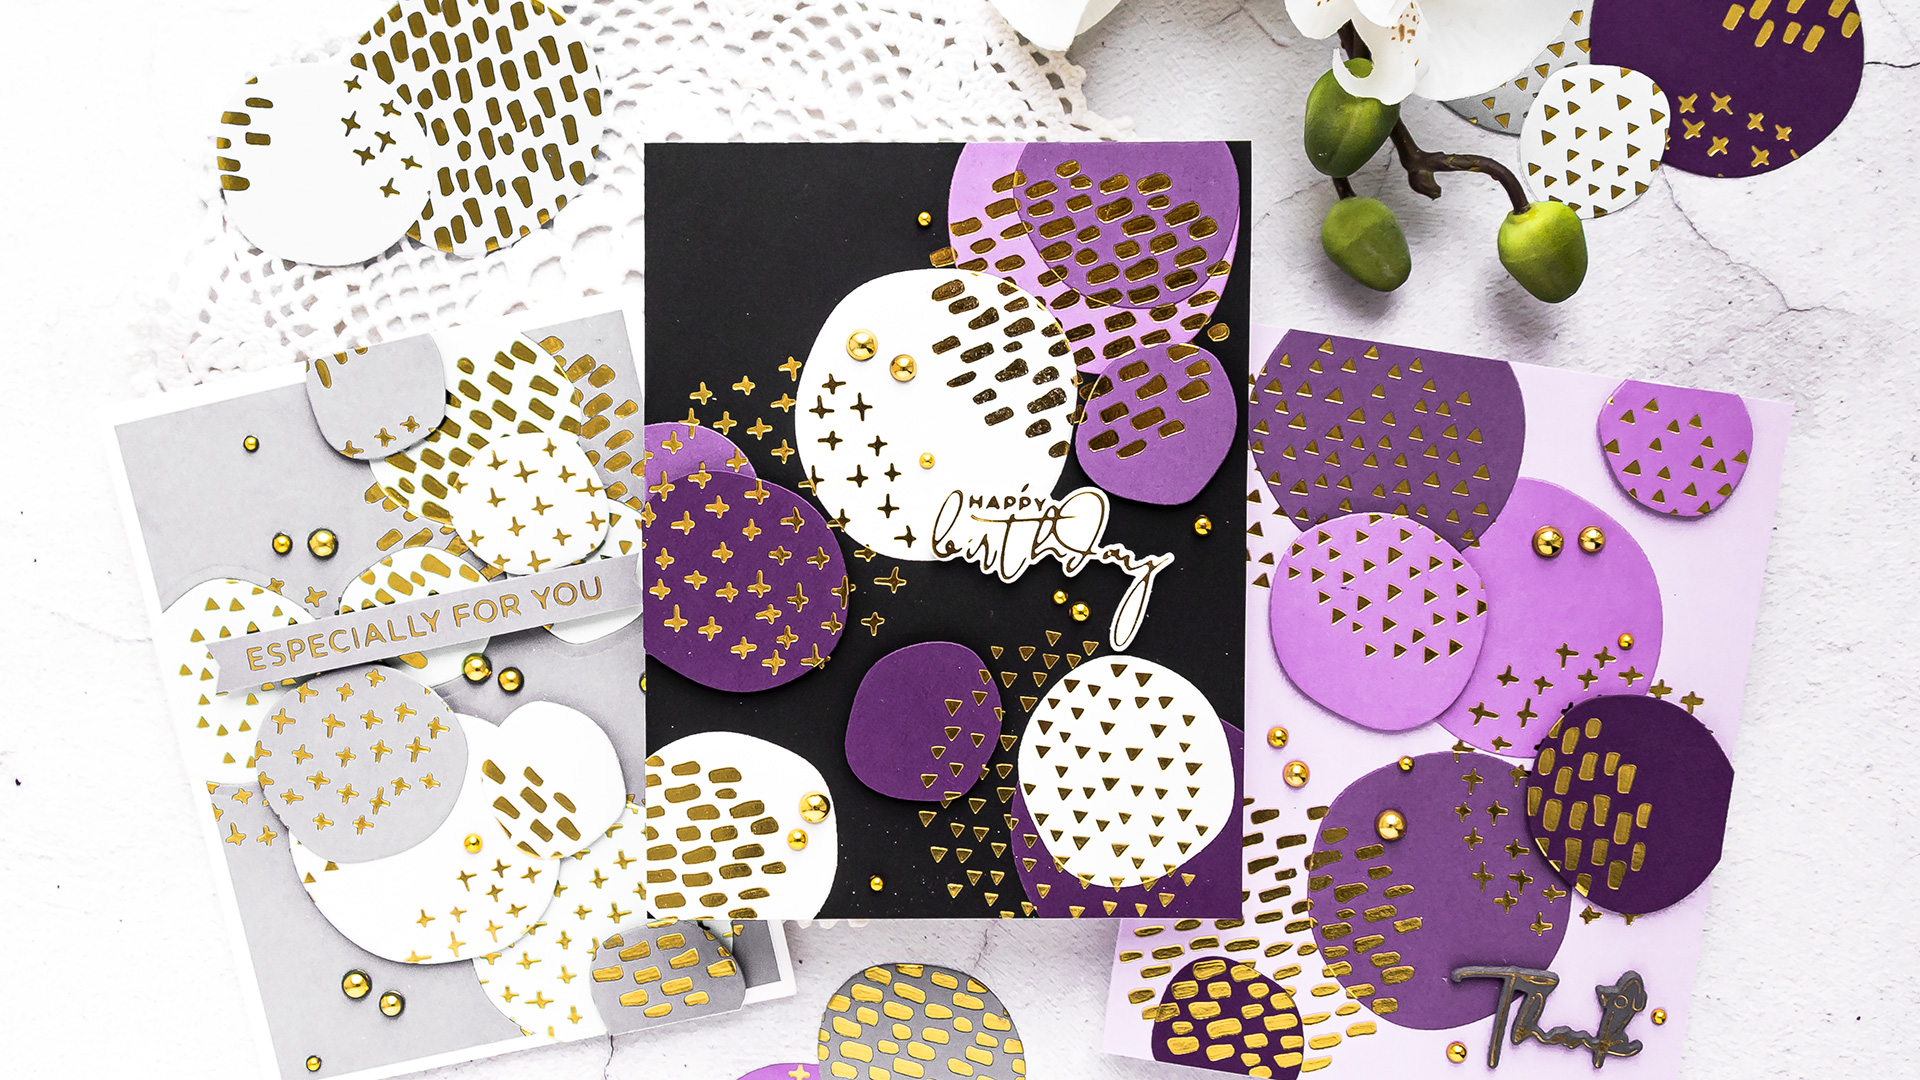
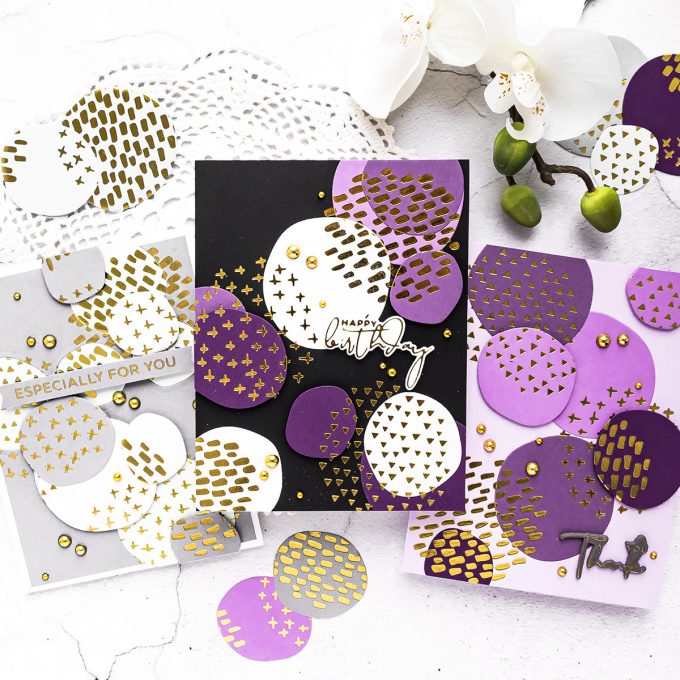
I love abstract art. This is something I can stare at for days and always find something new, something I haven’t noticed before. Maybe it’s silly, but I really do enjoy it. When I saw Spellbinders’ February Glimmer of the Month kit – I was immediately inspired and wanted to foil everything and die cut a bunch of those random abstract foiled shapes, just for fun. Because you know me, I love hot foil.
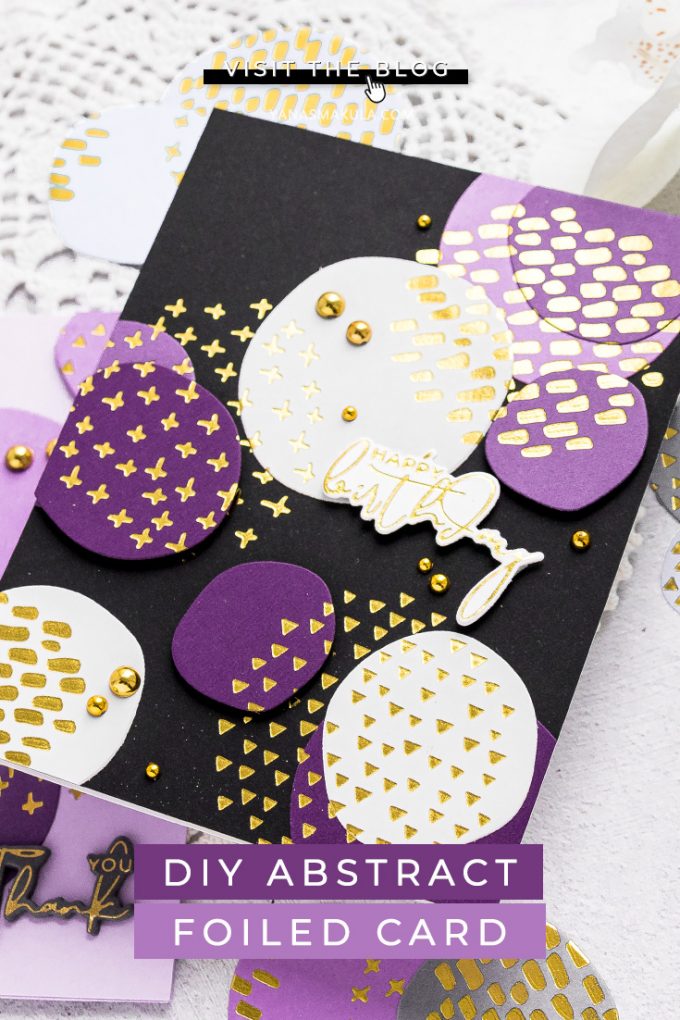
Like this project? Pin it and save for later | Curious about my project photography? Click for details.
CARD DETAILS
I work for Spellbinders and I make a lot of cards, especially for their monthly Clubs. I don’t often share them on my blog (sometimes I just don’t have enough time, sometimes the designs are not my style), but I really wanted to share the cards I’ve made with this month’ Glimmer kit as I just adore both the kit and cards I’ve made.
In case you are new to Spellbinders and their Clubs, the Glimmer of the Month is a subscription club, it’s a membership. It is available from the Spellbinders website only. This subscription is $22.50 per month, US shipping is included in this cost. Every month there’s a new glimmer plates set delivered to your door along with lots of inspiration from Spellbinders. If you enjoy hot foiling – you’ll enjoy these kits as the designs are always fresh and trendy.
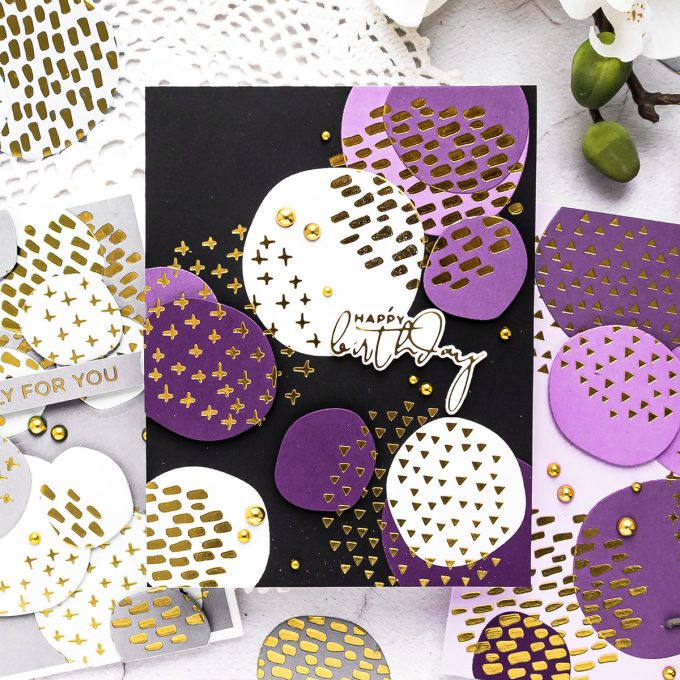
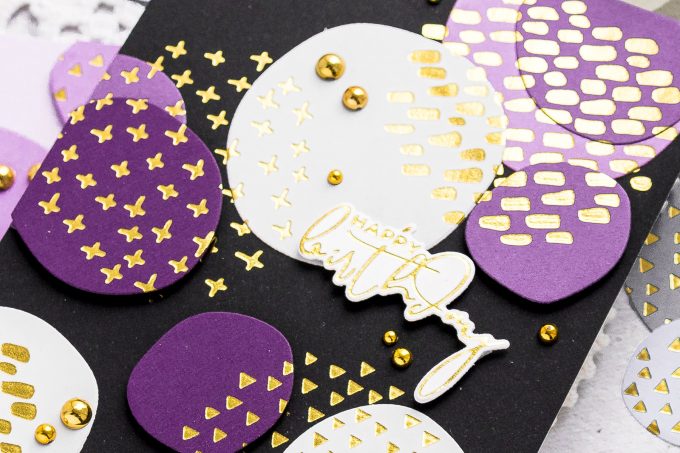
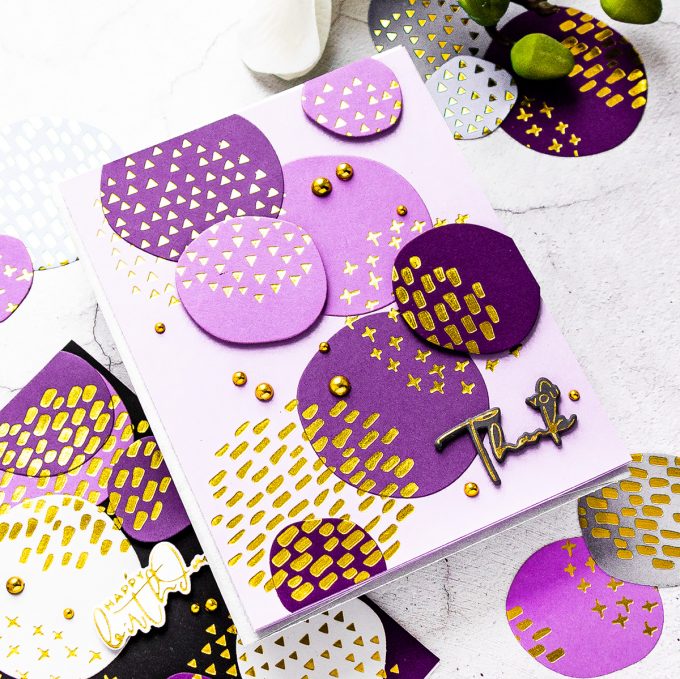
First, I foiled all 3 shapes on a bunch of colors of cardstock from FSJ and Simon. I used the following colors for the most part: Black, Deep Lilac, Grape Fusion, Lavender Fusion, Pretty Amethyst and Tin Pail. I foiled everything in Gold foil and then cut the shapes out using dies included in this month’s kit.
To make the cards I also foiled some background using the same approach and next just layered the foiled and die-cut shapes over the background using glue and foam adhesive. It’s SO EASY!
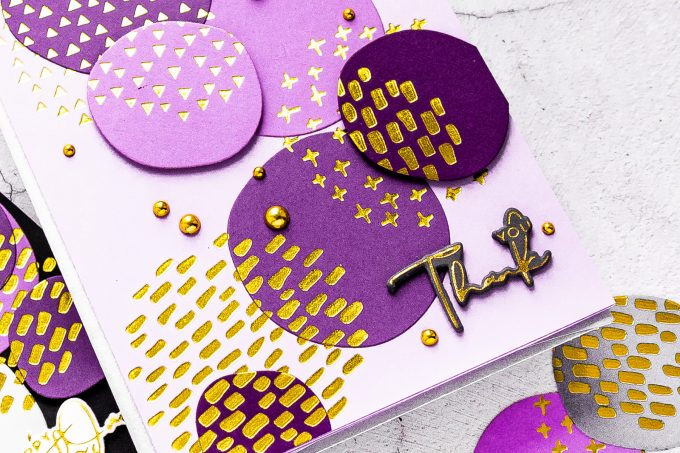
To make sentiments for these cards I used my Yana’s Sentiments Glimmer plates set and foiled “Happy Birthday” for the black card above and “Thanks” for the purple card below.
I stacked several “thanks” die cuts (I didn’t foil them all, just foiled the top one) and adhered together using glue. This is a pretty delicate die-cut, so it is easier to add dimension to it by stacking several die cuts versus using foam adhesive squares.
Finally, I embellished my cards using FSJ Fashion Gold dots.
SUPPLIES
I’m listing the products I used below. Click on the link to go directly to the product. Where available I use compensated affiliate links which means if you make a purchase I receive a small commission at no extra cost to you. Thank you so much for your support!
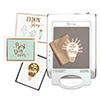 Spellbinders Glimmer Hot Foil System Shop at: SSS | SC | SB | AZ |
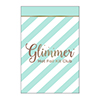 Glimmer Hot Foil Kit of the Month Club Shop at: SB |
 Spellbinders Deep Sea Die Cutting Machine Shop at: SSS | SC | SB | AZ |
 Spellbinders Glimmer Hot Foil Roll – Gold Shop at: SC | SB | AZ |
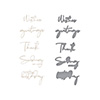 Yana’s Sentiments Glimmer Hot Foil Plate & Die Set Shop at: SSS | SC | SB |
 White Foam Squares Shop at: SSS | SC | SB | AZ |
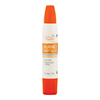 Journey Craft Glue Shop at: SC | SB |
 Simon Says Stamp Black Cardstock Shop at: SSS |
 FSJ Tin Pail 8.5×11 Cardstock Shop at: SB |
 FSJ Deep Lilac 8.5×11 Cardstock Shop at: SB |
 FSJ Grape Fusion 8.5 x 11 Cardstock Shop at: SB |
 FSJ Lavender Fusion 8.5 x 11 Cardstock Shop at: SB |
 FSJ Pretty Amethyst 8.5 x 11 Cardstock Shop at: SB |


WHOO HOOO Yana I finally, after reading your previous post on the hot glimmer system, took the plunge and purchased one. Thanks for the link to Amazon! What a great deal they had. And just now I purchased the glimmer of the month subscription. I can’t wait to get started. You are the most AWESOME designer and I am always look for a post from you. Wish me luck!!! (And I do plan to look at every one of your gliimer play list videos!!)
So gorgeous!!
So striking – Beautifully done!