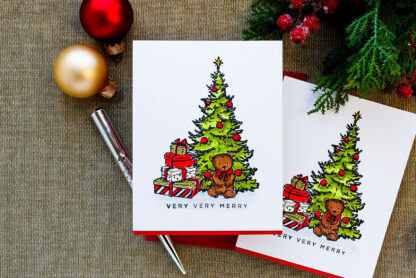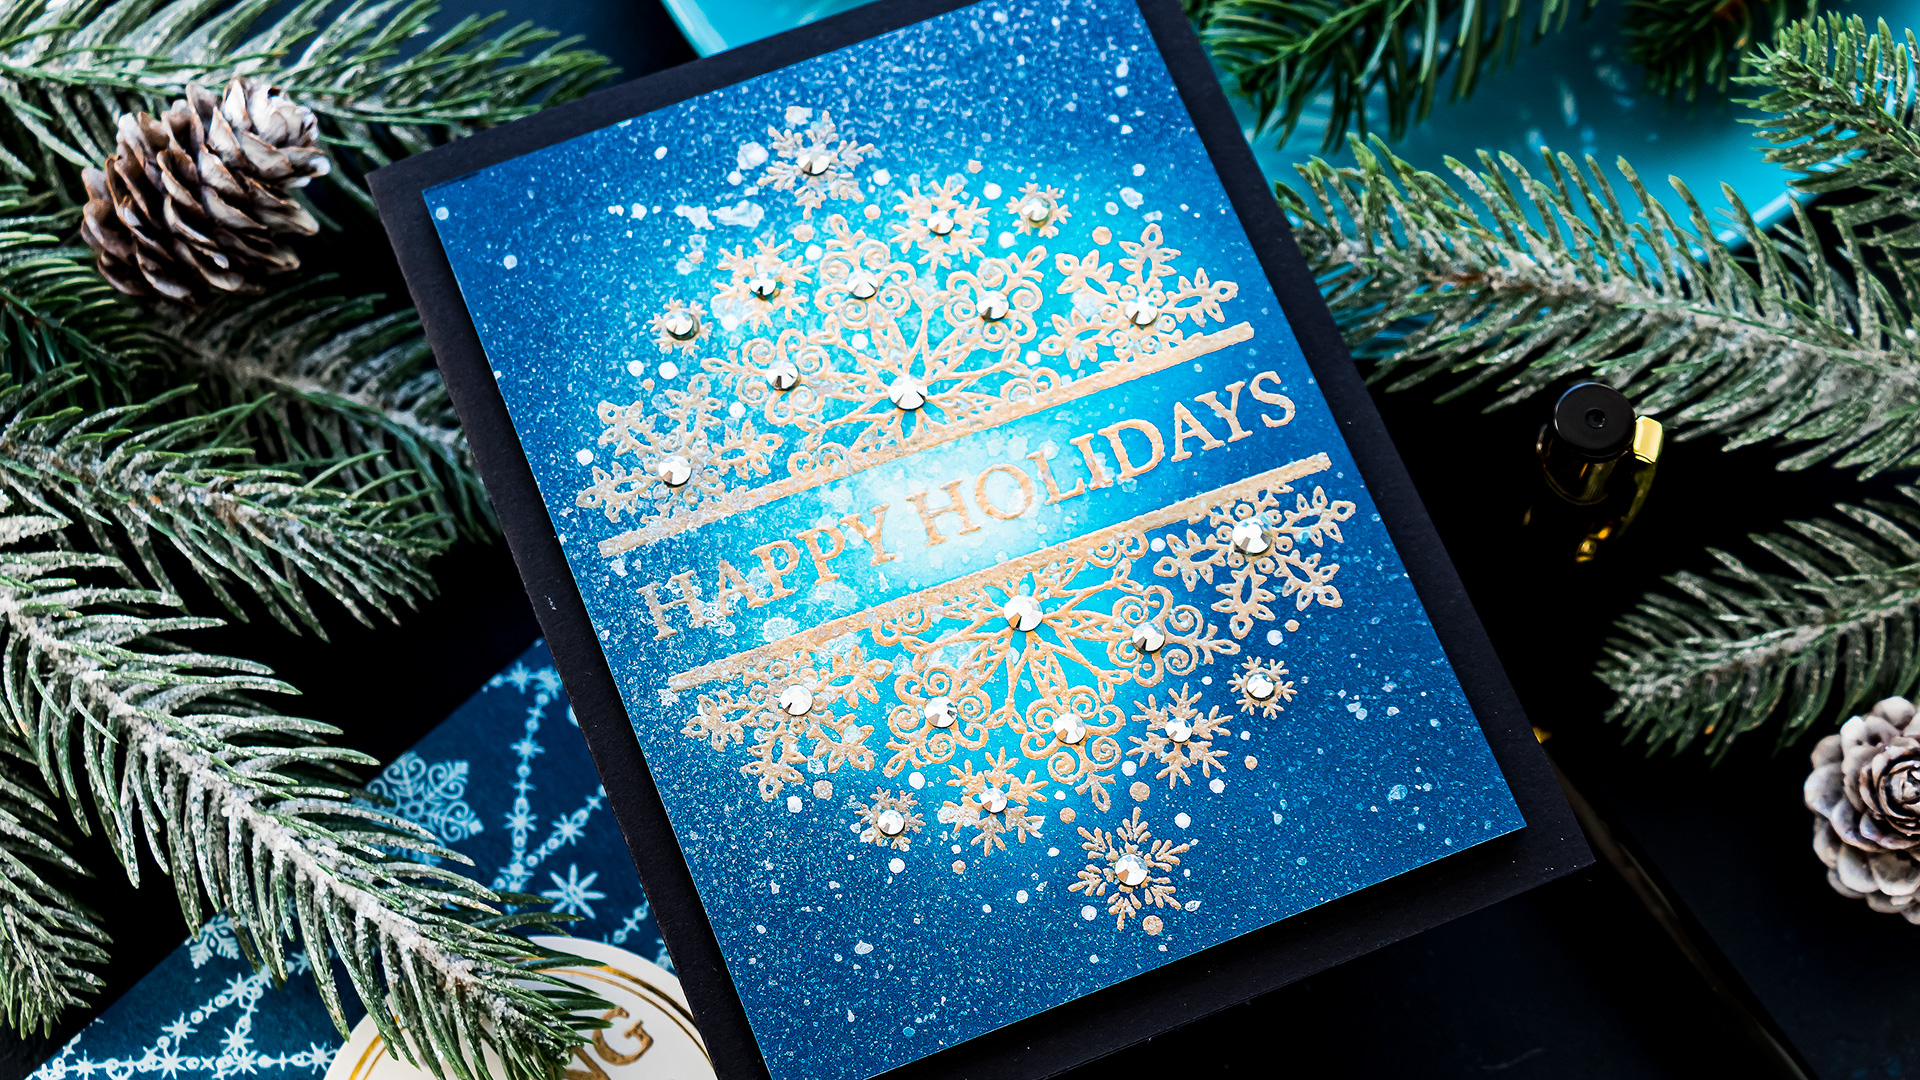


Hello, crafty friends! Welcome back for another Yippee for Yana video! Today I’m sharing a project that has all the makings of a happy holiday craft session: layered ornaments, soft pink and teal inks, a little greenery, a lot of dimension… and yes — a full glitter cardstock background.
Before we dive in, tell me: have you ever used glitter cardstock as the main background of your card? I’m honestly curious! I don’t usually do it, but this time I thought, “Why not?” It’s Christmas. Sparkle is practically a requirement.

Like this project? Pin it and save it for later | Curious about my project photography? Click for details.
VIDEO TUTORIAL
Watch the video below or on my YouTube channel.
CARD DETAILS
For this card, I mixed and matched three stamp and die sets from Simon Says Stamp: Festive Merriment (ornaments), Warmth & Wonder (that beautiful bow!), Nostalgic Christmas (“Joy to You” sentiment).

The ornaments in Festive Merriment are layered, so you can build the color step by step. I stamped two shapes in Carnation, Peony, Seafoam, and Surf, plus Fawn for the toppers. I used Neenah Solar White 80lb and my mini MISTI for all the stamping.

To help with perfect die-cutting alignment (especially the delicate ornament strings), I placed the coordinating die over my stamped ornament before stamping the topper layer. This gives the string the exact curve the die expects. It’s a tiny extra step, but it saves a lot of frustration later.

To bring in a little contrast, I stamped several small branches. I used one ink color for the base layer and then added a touch of darker ink with a blending brush right at the bottom of each branch. It’s subtle but adds nice depth.
The bows come from the Warmth & Wonder set — still one of my favorite bows ever. I stamped them in both pinks and teals. My original idea was to alternate bow colors on the ornaments… but you know how that goes. Sometimes I change things mid-project, and that’s perfectly fine.
I trimmed a panel of glitter cardstock to 4″ x 5.5″, and this became the background for the entire card. It’s bold. It’s sparkly. And honestly, it just feels right for the holidays.

To assemble the card, I started by foam-mounting the “Joy to You” sentiment right in the center of the glitter panel.
Then I arranged three ornaments above the sentiment and three below as if they’re hanging from the loops in the lettering. One of the strings needed a quick trim so everything nestled in nicely.
After that, I tucked in the branches, added the little bows, and finished with silver gems. Normally, I probably wouldn’t layer gems over glitter cardstock, but this time I thought: “It’s Christmas… let’s go for it.”
A Matching Tag
Since I had extra stamped pieces, I created a coordinating tag from the same glitter cardstock. I added a little iridescent cord at the top and kept the design simple to match the card.

Final Look
And here they are: a sparkly ornament card and a matching tag, both built around a full glitter background. It’s a fun departure from my usual style, but I really enjoyed this little experiment.

Have you ever tried using glitter cardstock for the whole background of a card? If not… are you thinking about it now?
Thanks for stopping by! I hope this inspires you to make something festive today. If you do, tag me — I love seeing your projects.
SUPPLIES
I’m listing the products I used below. Click on the link to go directly to the product. Where available, I use compensated affiliate links, which means if you make a purchase, I receive a small commission at no extra cost to you. Thank you so much for your support!
 Simon Says Stamps and Dies Warmth and Wonder Shop at: SSS |
 Simon Says Stamps and Dies Festive Merriment Shop at: SSS |
 Simon Says Stamps and Dies Nostalgic Christmas Shop at: SSS |
 Neenah 80lb Solar White Cardstock Shop at: SSS |
 Simon Says Stamp 6 Sheets Glitter Cardstock White 6×6 Shop at: SSS |
 Mini MISTI Stamping Tool Shop at: SSS |
 Spellbinders Platinum 6 Machine With Universal Plate System Shop at: SSS |
 Simon Says Stamp Pawsitively Saturated Ink Pad Seafoam Shop at: SSS |
 Simon Says Stamp Pawsitively Saturated Ink Pad Pine Shop at: SSS |
 Simon Says Stamp Pawsitively Saturated Ink Pad Pearfection Shop at: SSS |
 Simon Says Stamp Pawsitively Saturated Ink Pad Peony Shop at: SSS |
 Simon Says Stamp Pawsitively Saturated Ink Pad Carnation Shop at: SSS |
 Simon Says Stamp Pawsitively Saturated Ink Pad Surf Shop at: SSS |
 Simon Says Stamp Pawsitively Saturated Ink Pad Fawn Shop at: SSS |
 Simon Says Stamp Nocturne Black VersaFine Clair Ink Pad Shop at: SSS |
 Simon Says Stamp Blending Brushes Small Shop at: SSS |
 Simon Says Stamp Iridescent White Cord Shop at: SSS |
 Simon Says Stamp Pawsitively Dazzling Gems Clear Shop at: SSS |
 Simon Says Stamp Blending Brush SET SMALL Shop at: SSS |
 Bearly Art Mini Precision Craft Glue Shop at: SSS |
 Spellbinders 4″ Detail Scissors Shop at: SSS |
 Spellbinders Best Ever Craft Tape Shop at: SSS |
 Simon Says Stamp Thin White 3D Foam Squares Small Shop at: SSS |