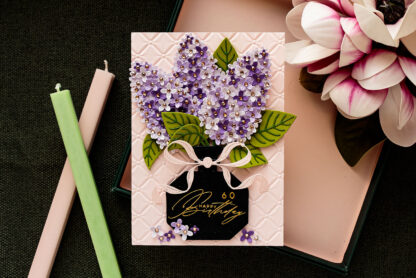


In this Yippee for Yana episode for Simon Says Stamp, I’m sharing a simple way to create elegant cards using detailed 3D embossing folders. If you have beautiful embossing folders in your stash that don’t get used very often, this is a great technique to bring them back into rotation. I’ll show you how to create three variations of the same card design, starting with a clean and simple look and then stepping it up with ink and a touch of sparkle.
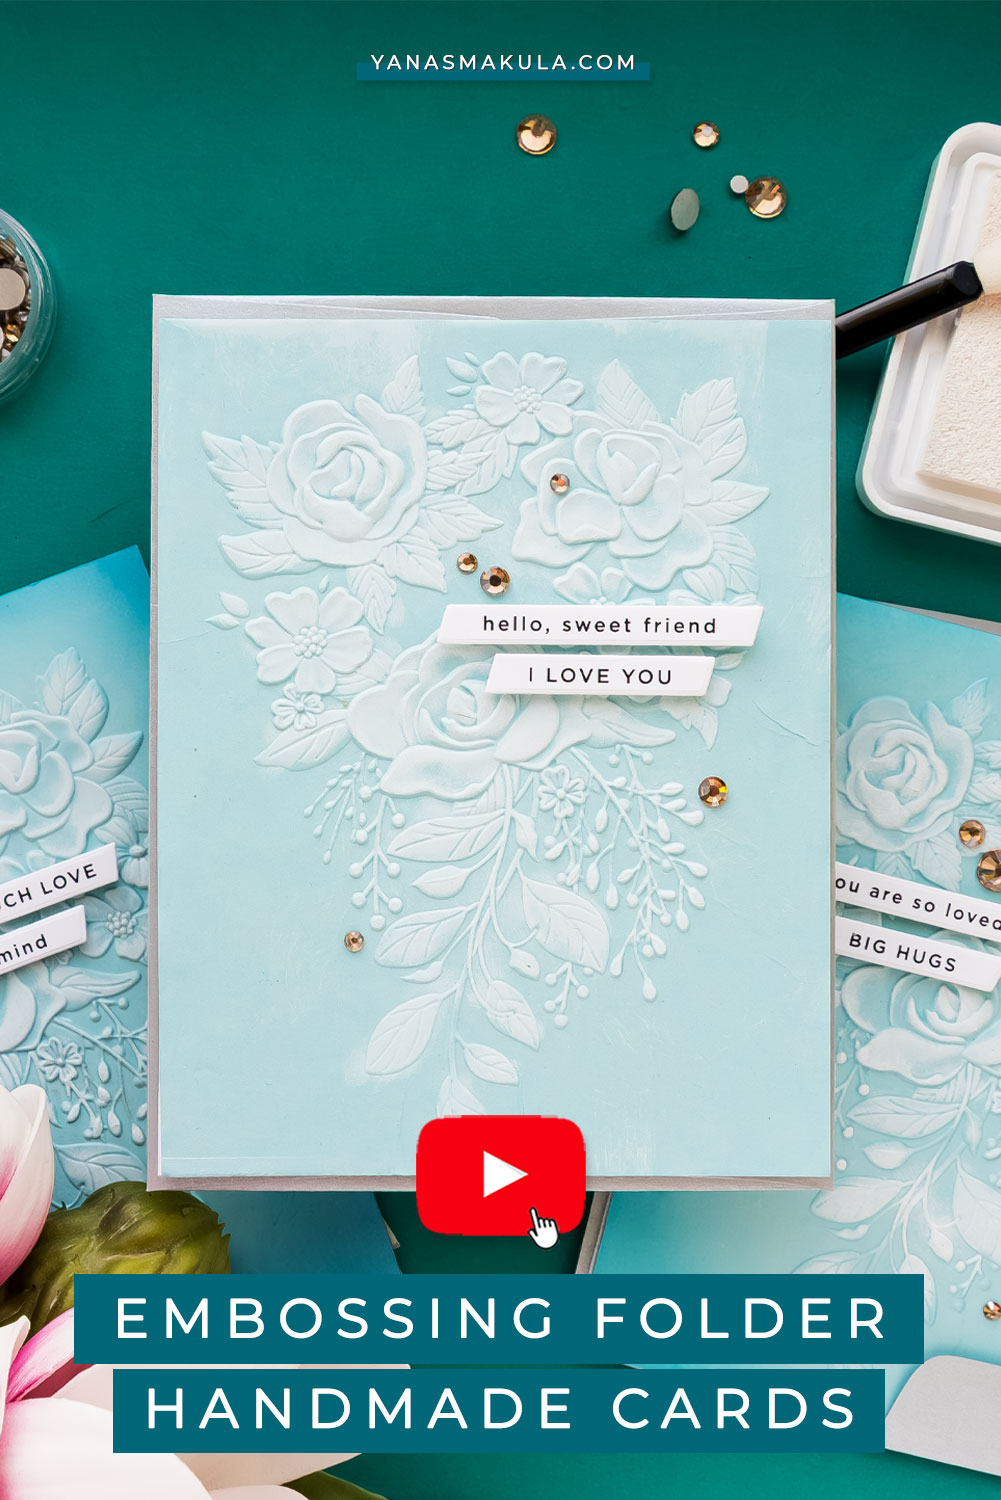
For today’s project I used the Simon Says Stamp Fancy Rose Bouquet 3D embossing folder. While this folder does have coordinating dies available, I’m only using the embossing folder itself. The ideas and techniques shown here will work with virtually any embossing folder you already have.
VIDEO TUTORIAL
Watch the video below or on my YouTube channel.
Preparing Cardstock for 3D Embossing
When working with highly detailed 3D embossing folders, it helps to lightly mist your cardstock with water before embossing. Adding a small amount of moisture softens the paper fibers and allows them to stretch more easily as the design is pressed into the paper. This reduces the chance of cracking and helps achieve deeper, cleaner impressions.
You can use a fine water mister or simply wipe the surface of the cardstock with a slightly damp cloth or baby wipe. The cardstock should feel lightly damp, not wet.
For these cards, I used Surf Blue cardstock and trimmed it into A2-sized panels. Keep in mind that cardstock often shrinks slightly during the embossing process because the fibers are being compressed and stretched to create dimension. If you need an exact finished size, it can be helpful to start with a slightly larger panel and trim it down after embossing.
Run the panel through your die-cutting machine following the sandwich instructions recommended for your specific machine. Once embossed, you’ll have a beautifully detailed floral background with lots of depth and texture.
Reinforcing the Embossed Panel
Because 3D embossing adds so much dimension, the paper can become slightly thinner in the raised areas. I like to reinforce my embossed panels by adhering one or two layers of scrap cardstock to the back. This strengthens the panel and gives the finished card a more substantial feel.
At this point, the embossed panel already makes a beautiful background. You could simply attach it to a card base and add a sentiment for a clean and elegant design. From here, we can also enhance the design with a few additional techniques.
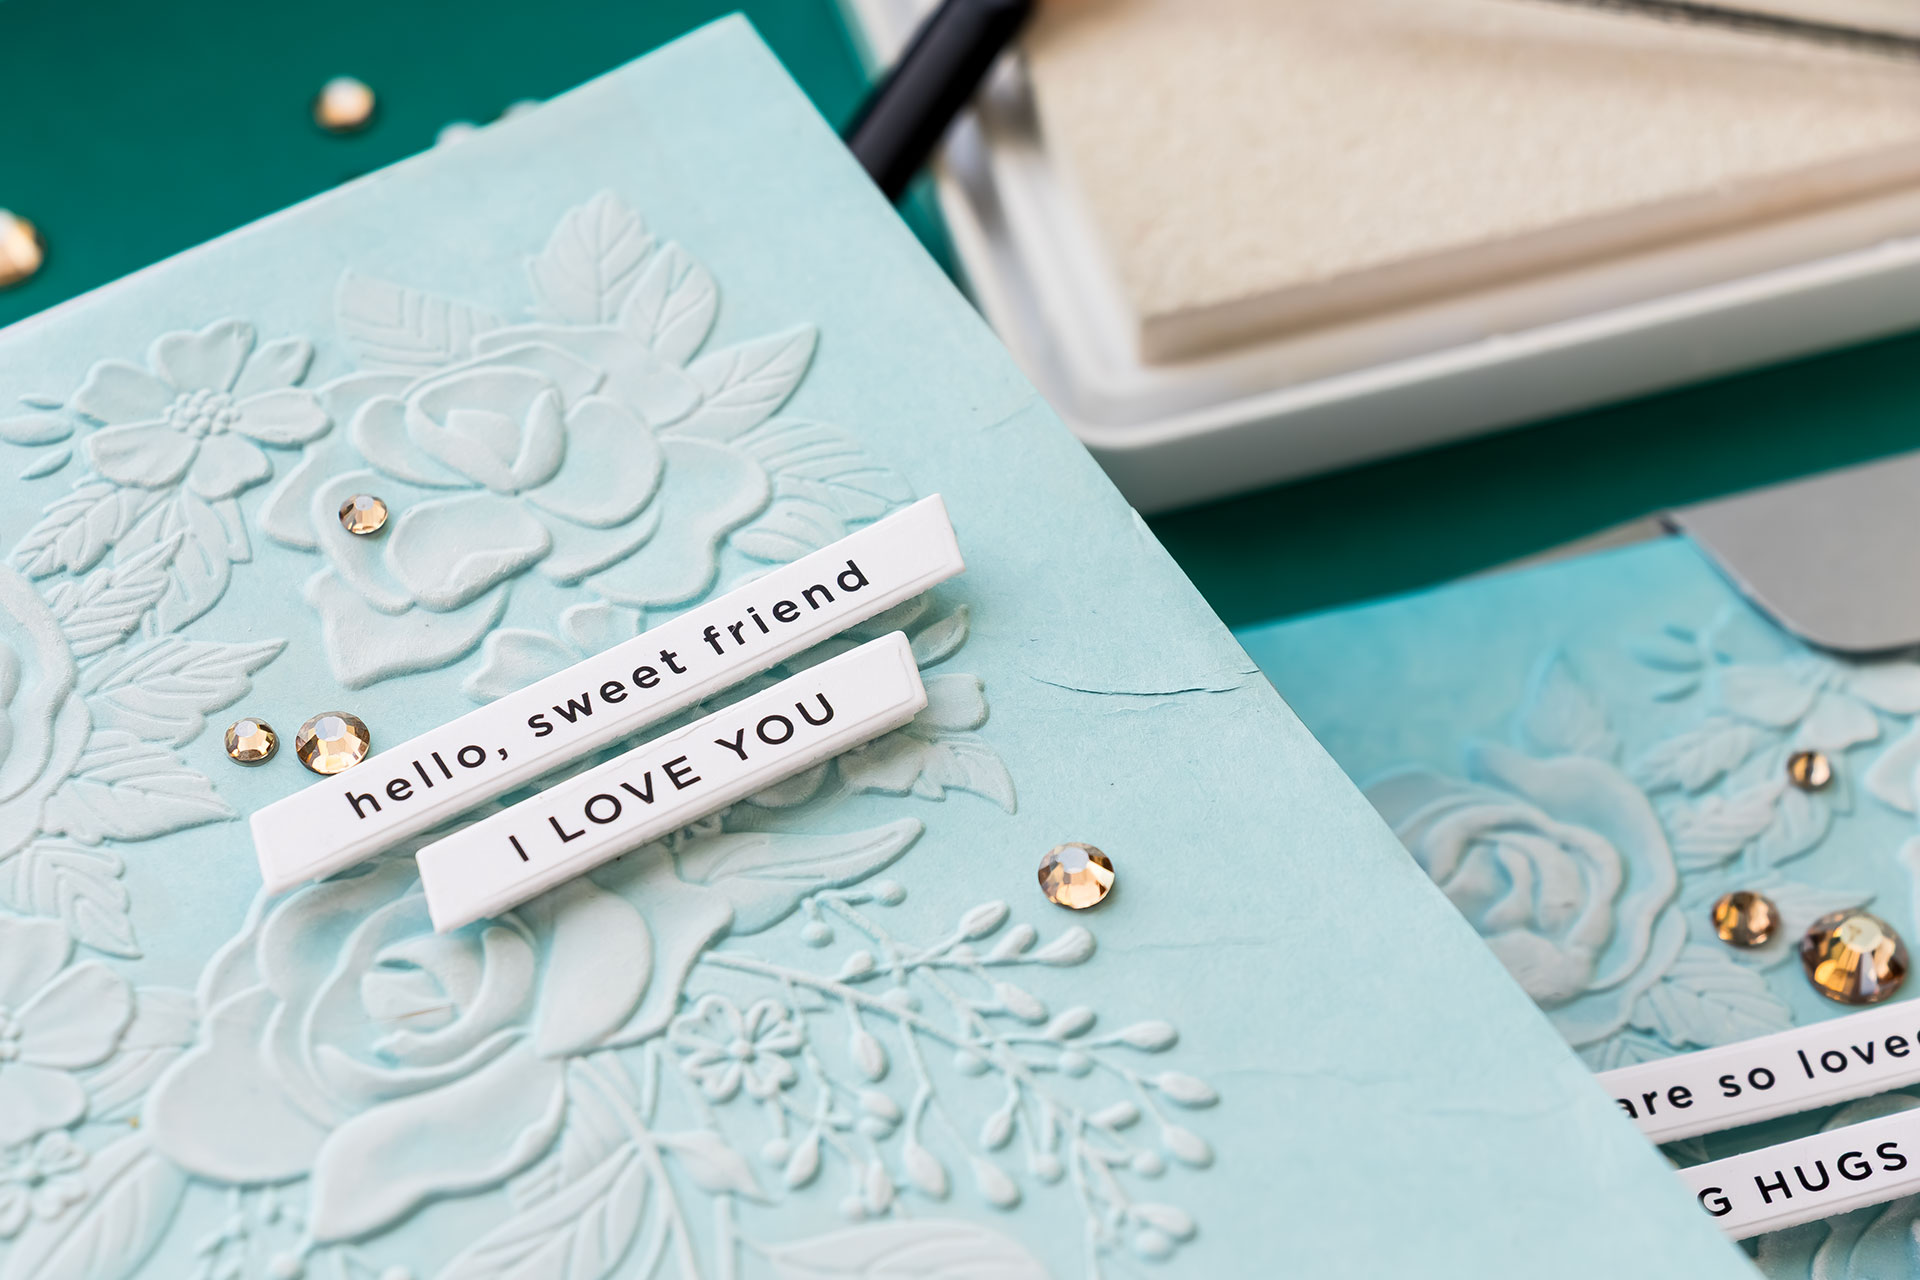
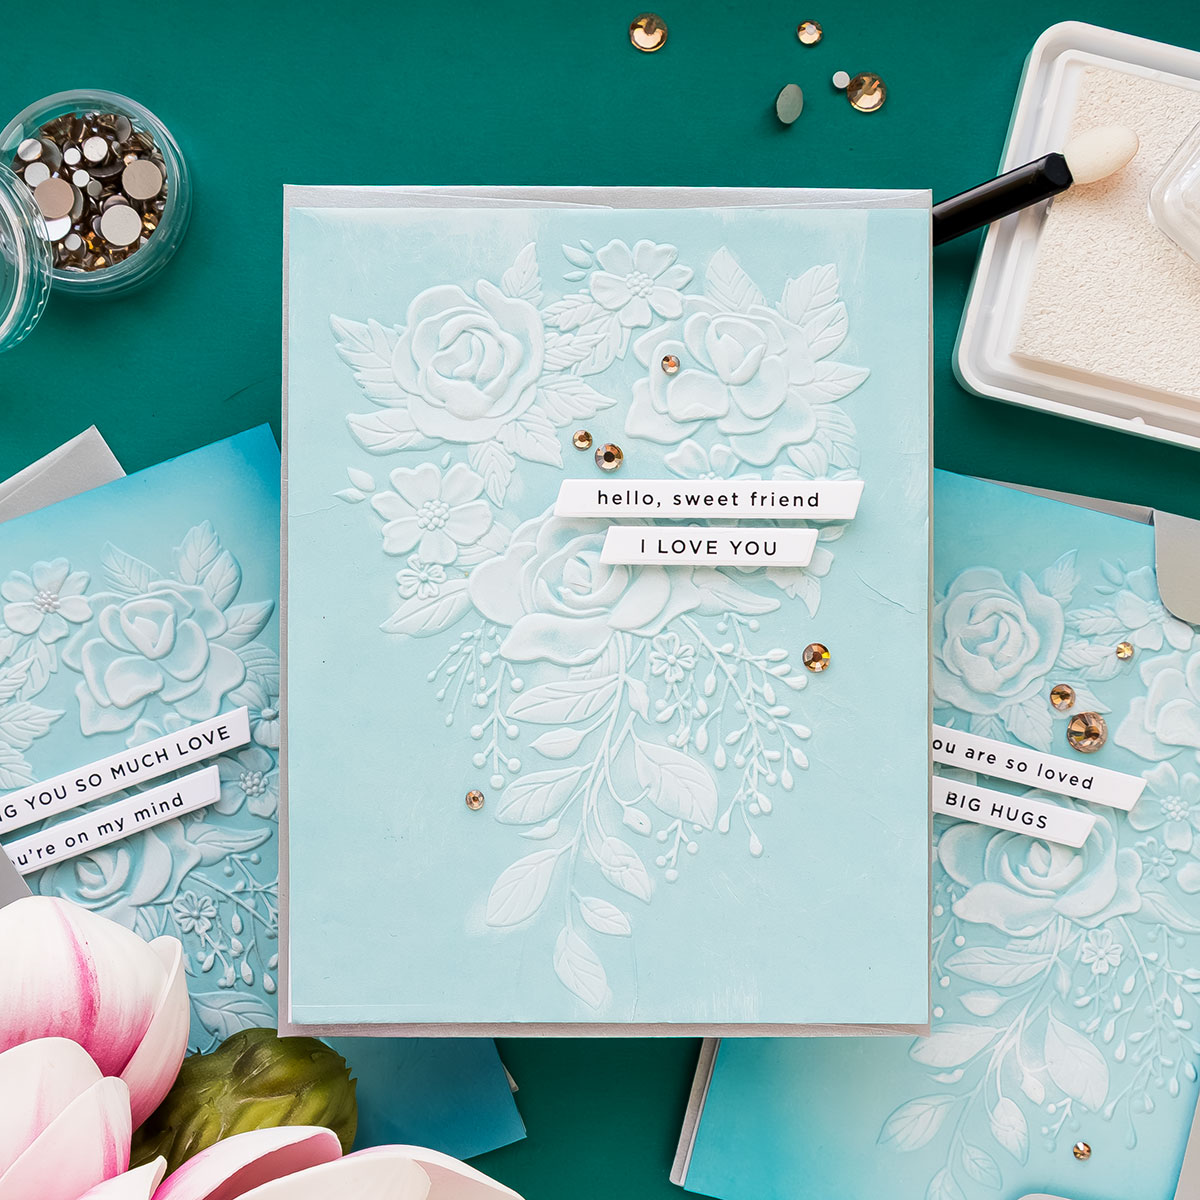
Version One: Highlighting the Texture with White Pigment Ink
The first stepped-up version highlights the raised details using white pigment ink. Gently swipe a white pigment ink pad across the embossed surface. Because the raised areas sit higher than the background, they will pick up the ink first and instantly emphasize the texture.
Use a light touch and avoid pressing down too firmly. If you prefer more control, you can apply pigment ink using a . Lightly tap the ink onto specific areas to gradually build the highlights and enhance the floral details.
Pigment ink dries more slowly than dye ink, so allow the panel to dry completely before moving on to the next step.
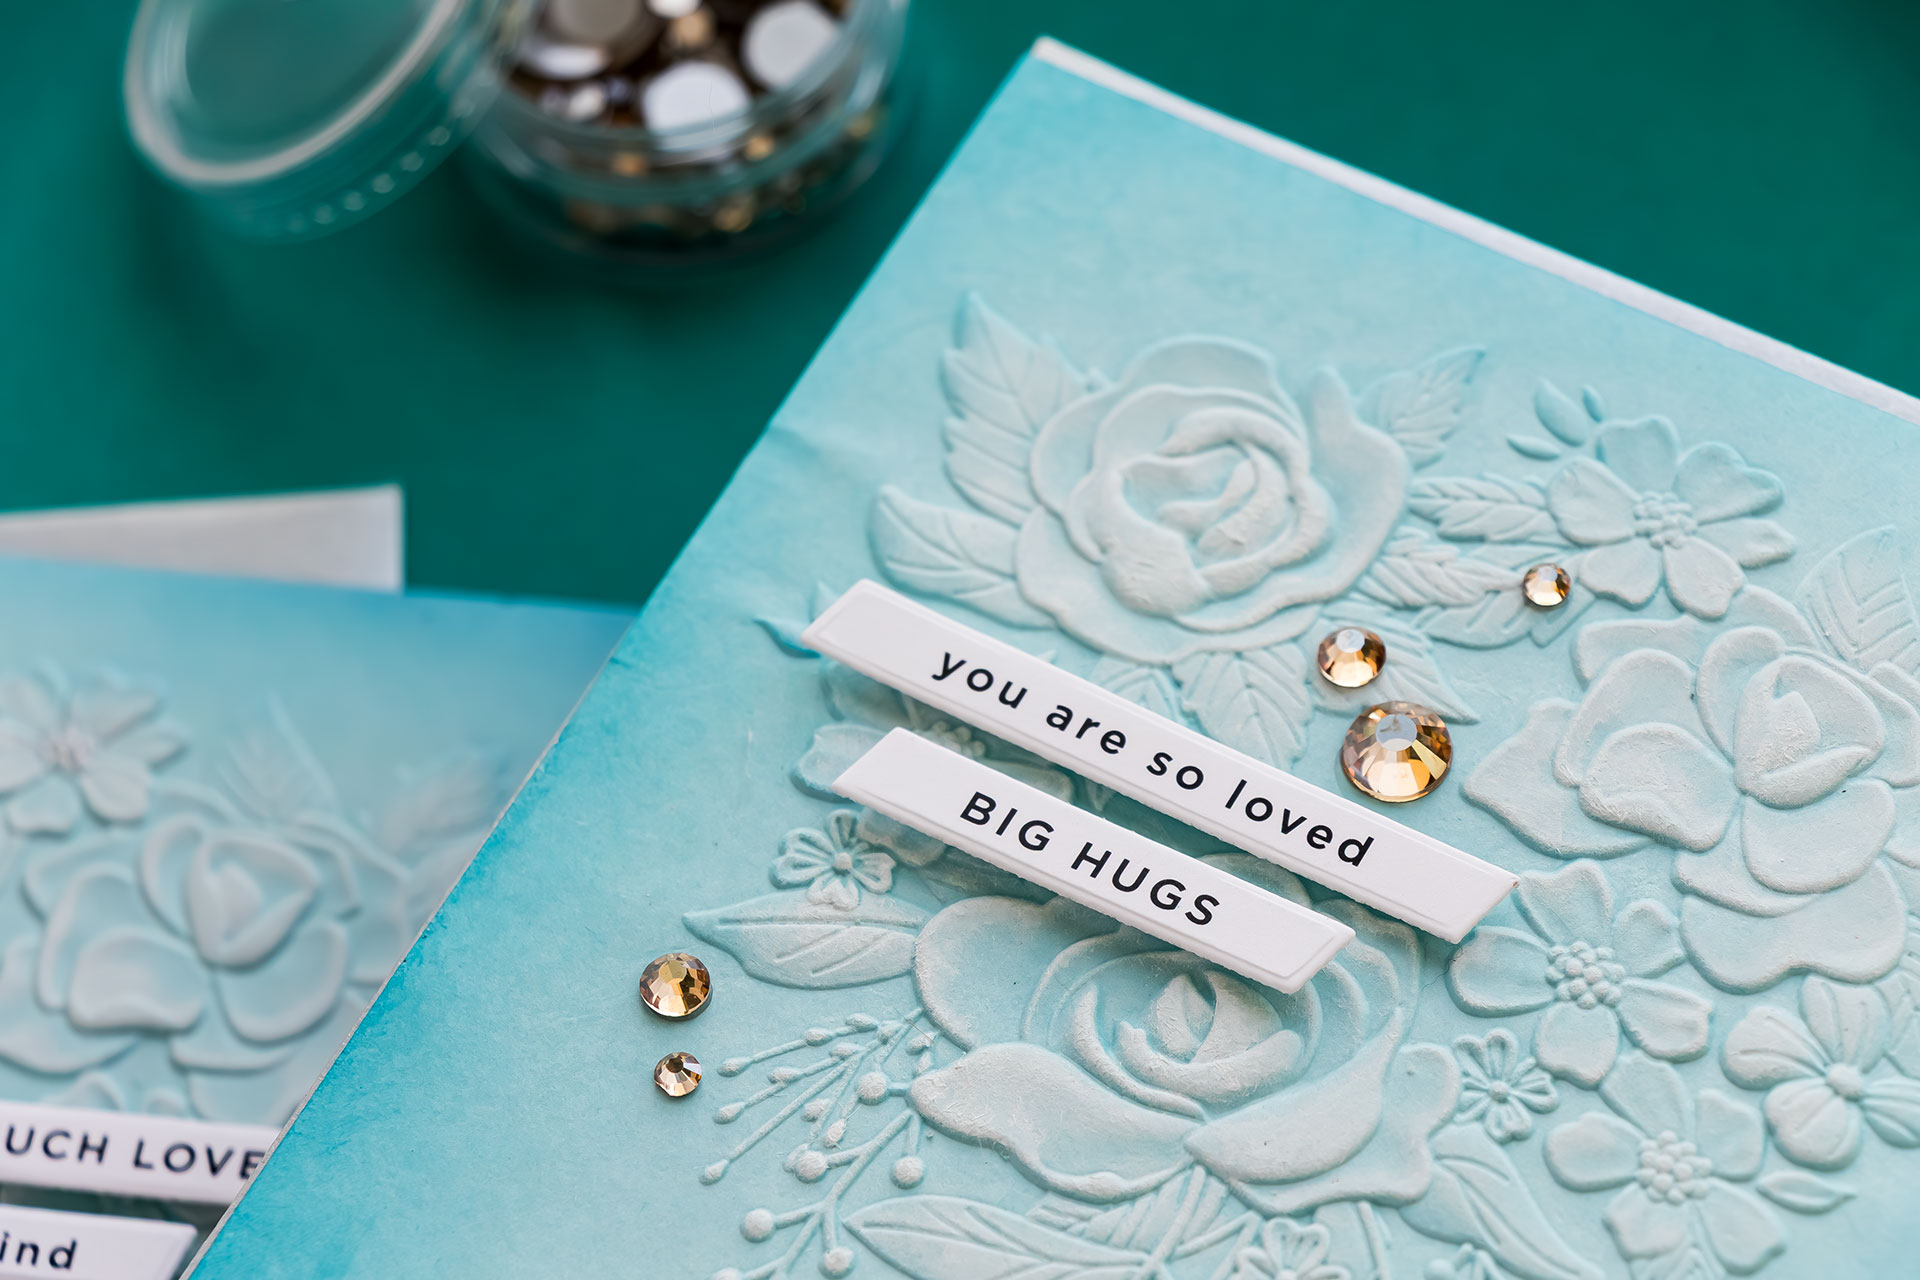
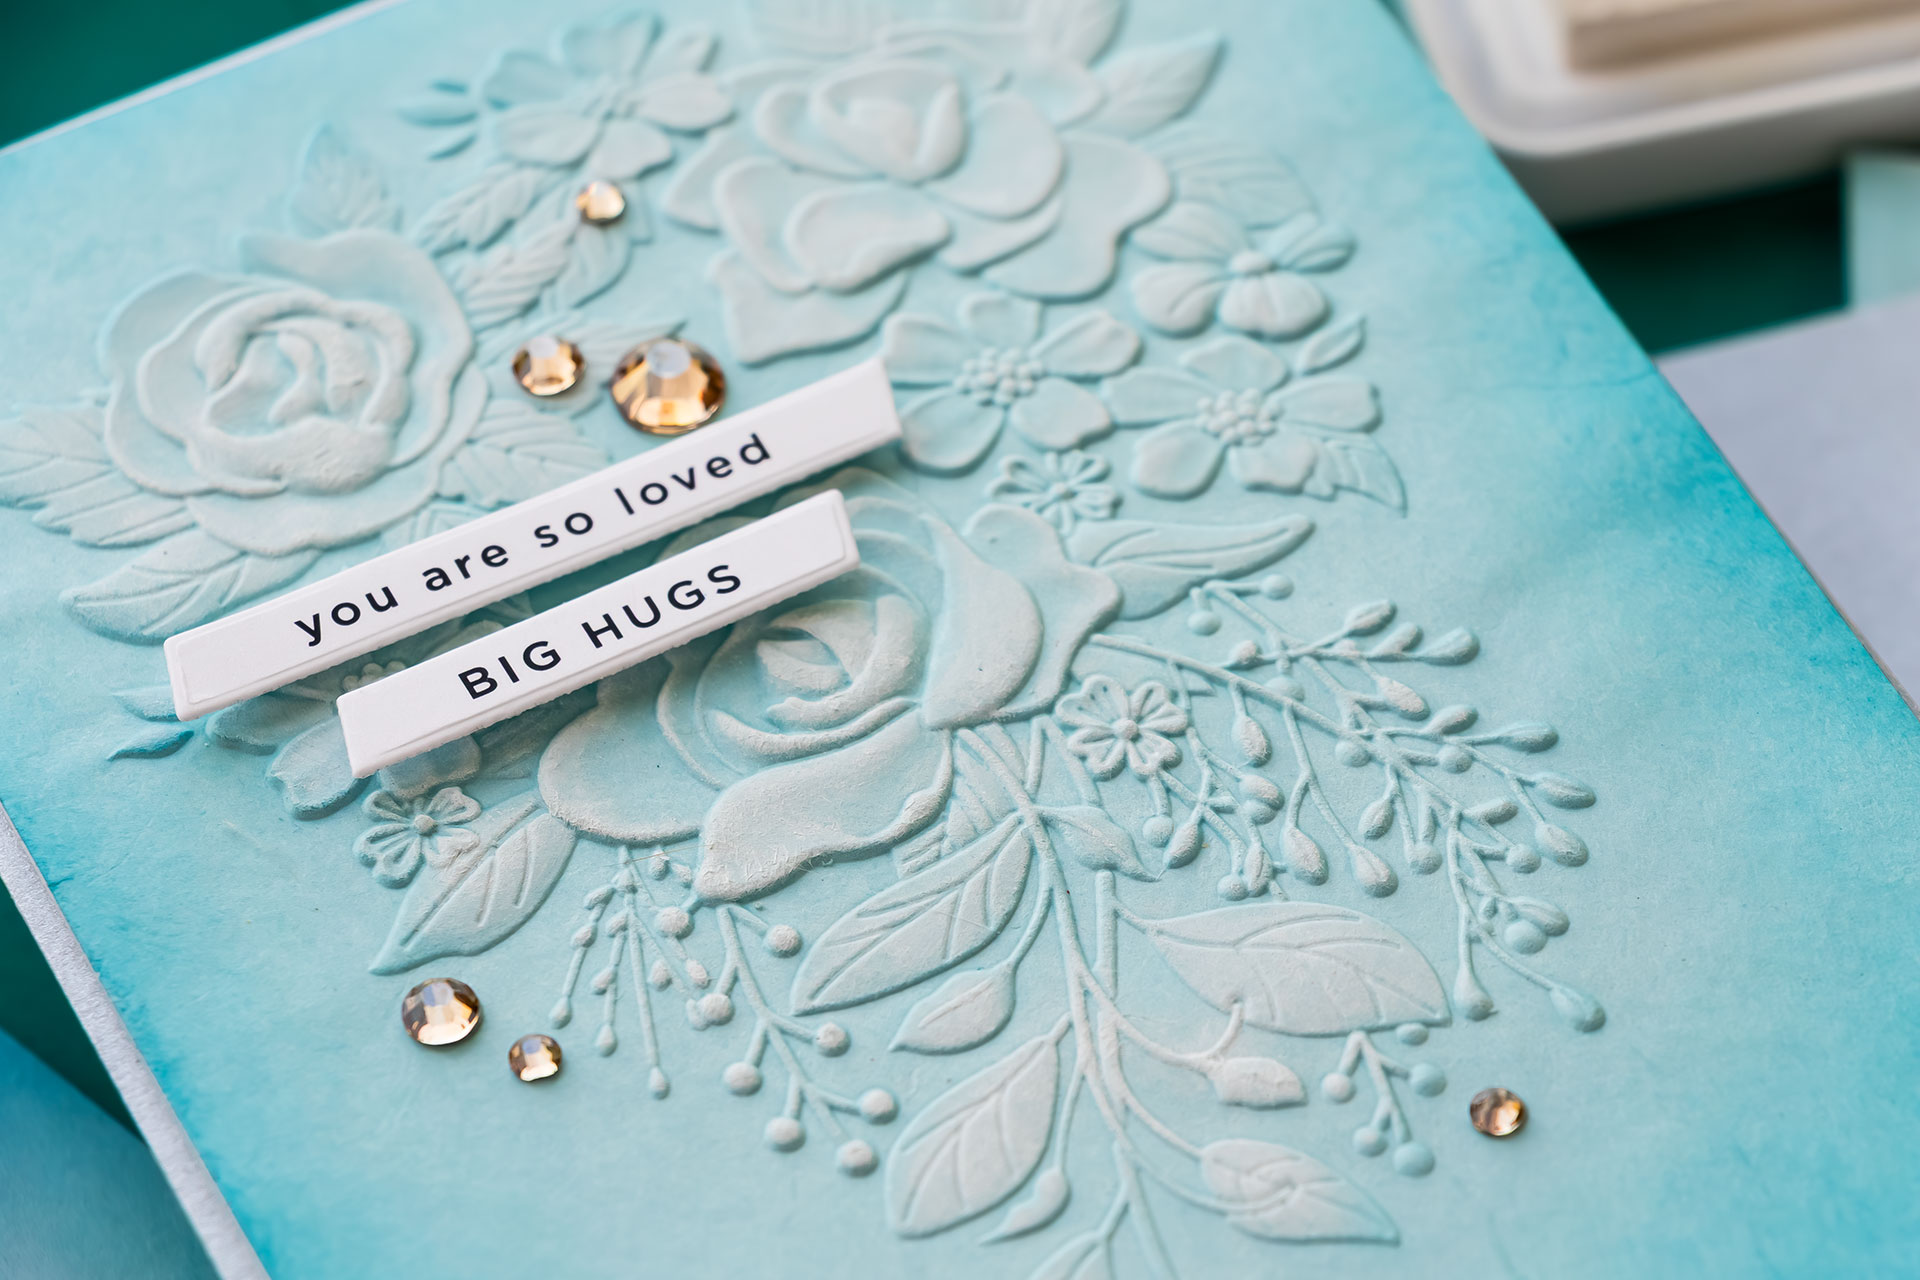
Version Two: Adding Ink Blending
To add more depth, apply soft ink blending around the edges of the embossed panel using a coordinating ink color. Concentrate the color along the outer edges and gently blend inward.
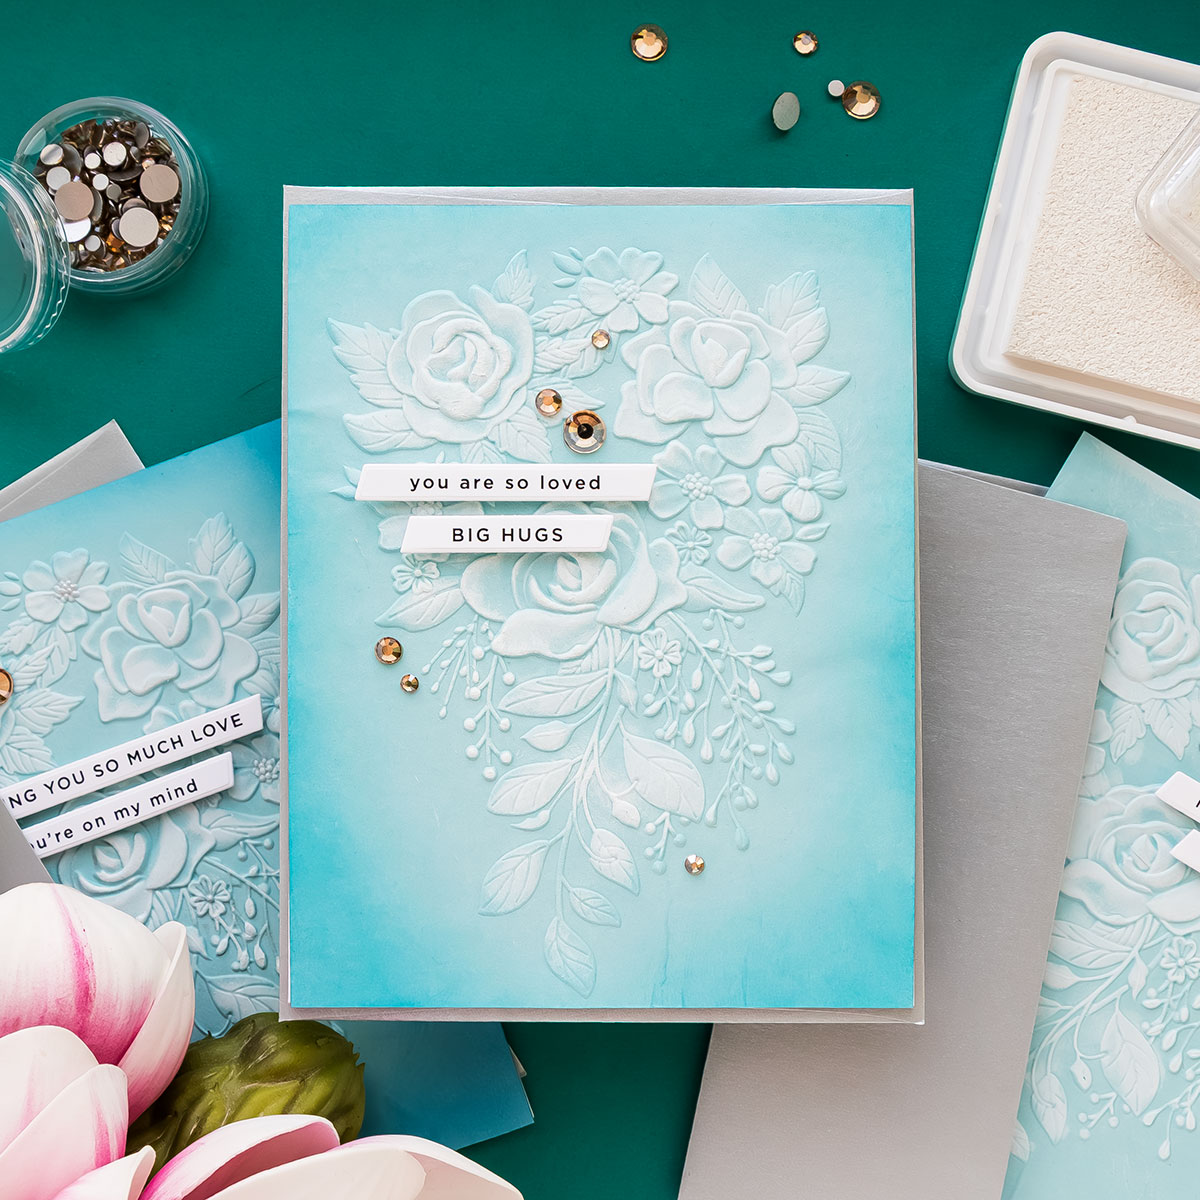
This technique frames the design and draws the viewer’s eye toward the center of the panel. Try to avoid heavily covering the white-highlighted areas so the raised details remain visible.
Version Three: A Touch of Subtle Sparkle
For the final stepped-up version, add a small amount of shimmer to the centers of the flowers. A light application of wax seal powder, metallic pigment, or a similar shimmering product works beautifully here.
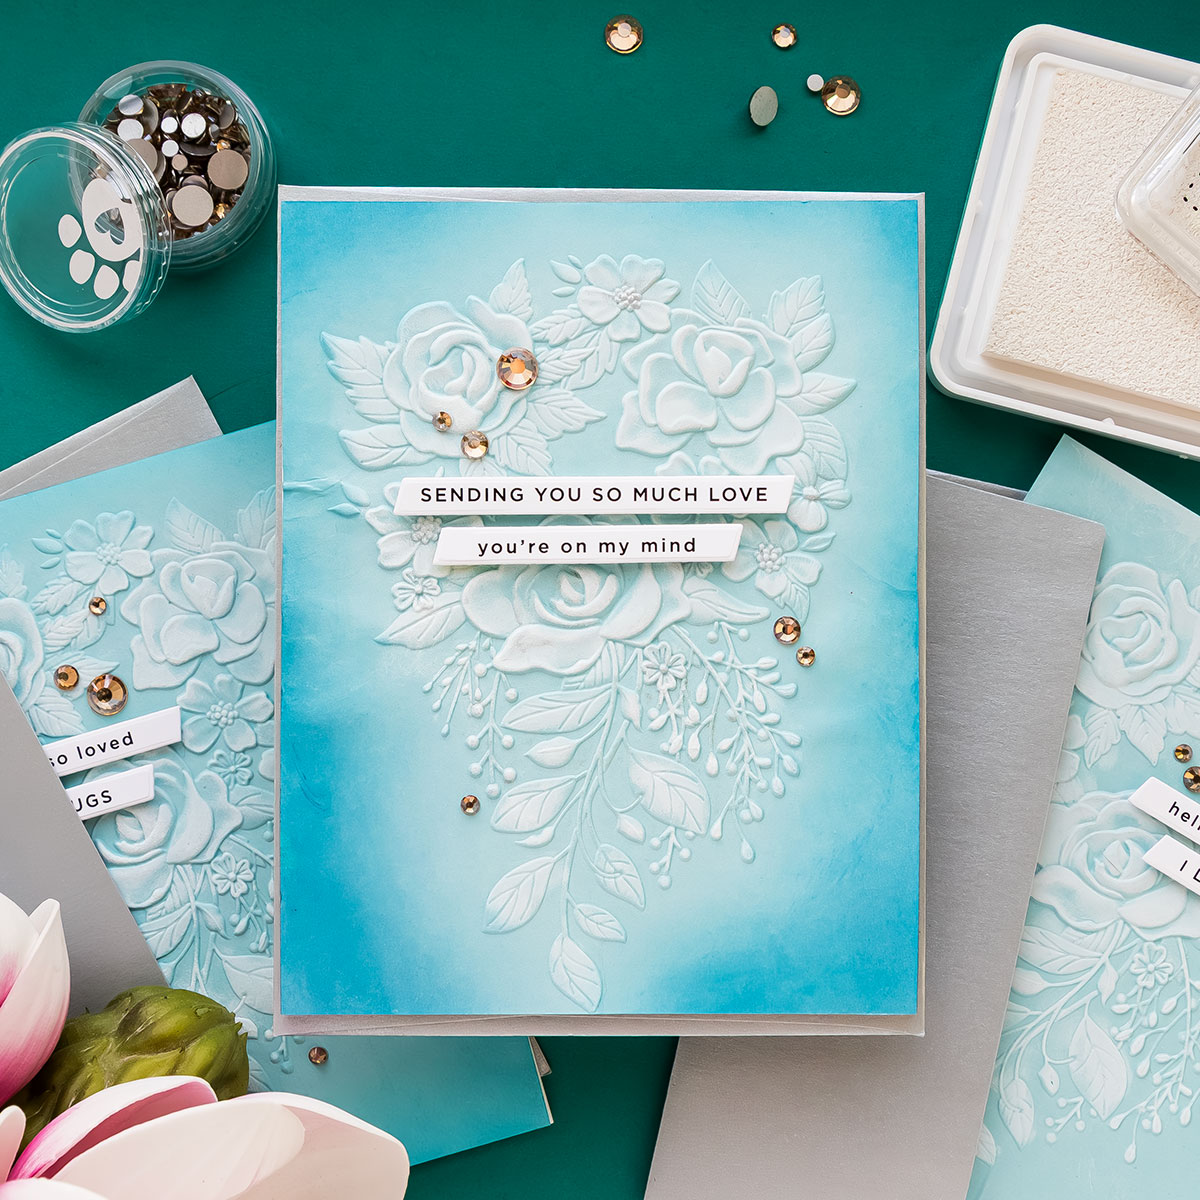
Use a small brush or your fingertip to lightly tap the product into the flower centers. The goal is to add just a hint of sparkle that catches the light without overwhelming the design.
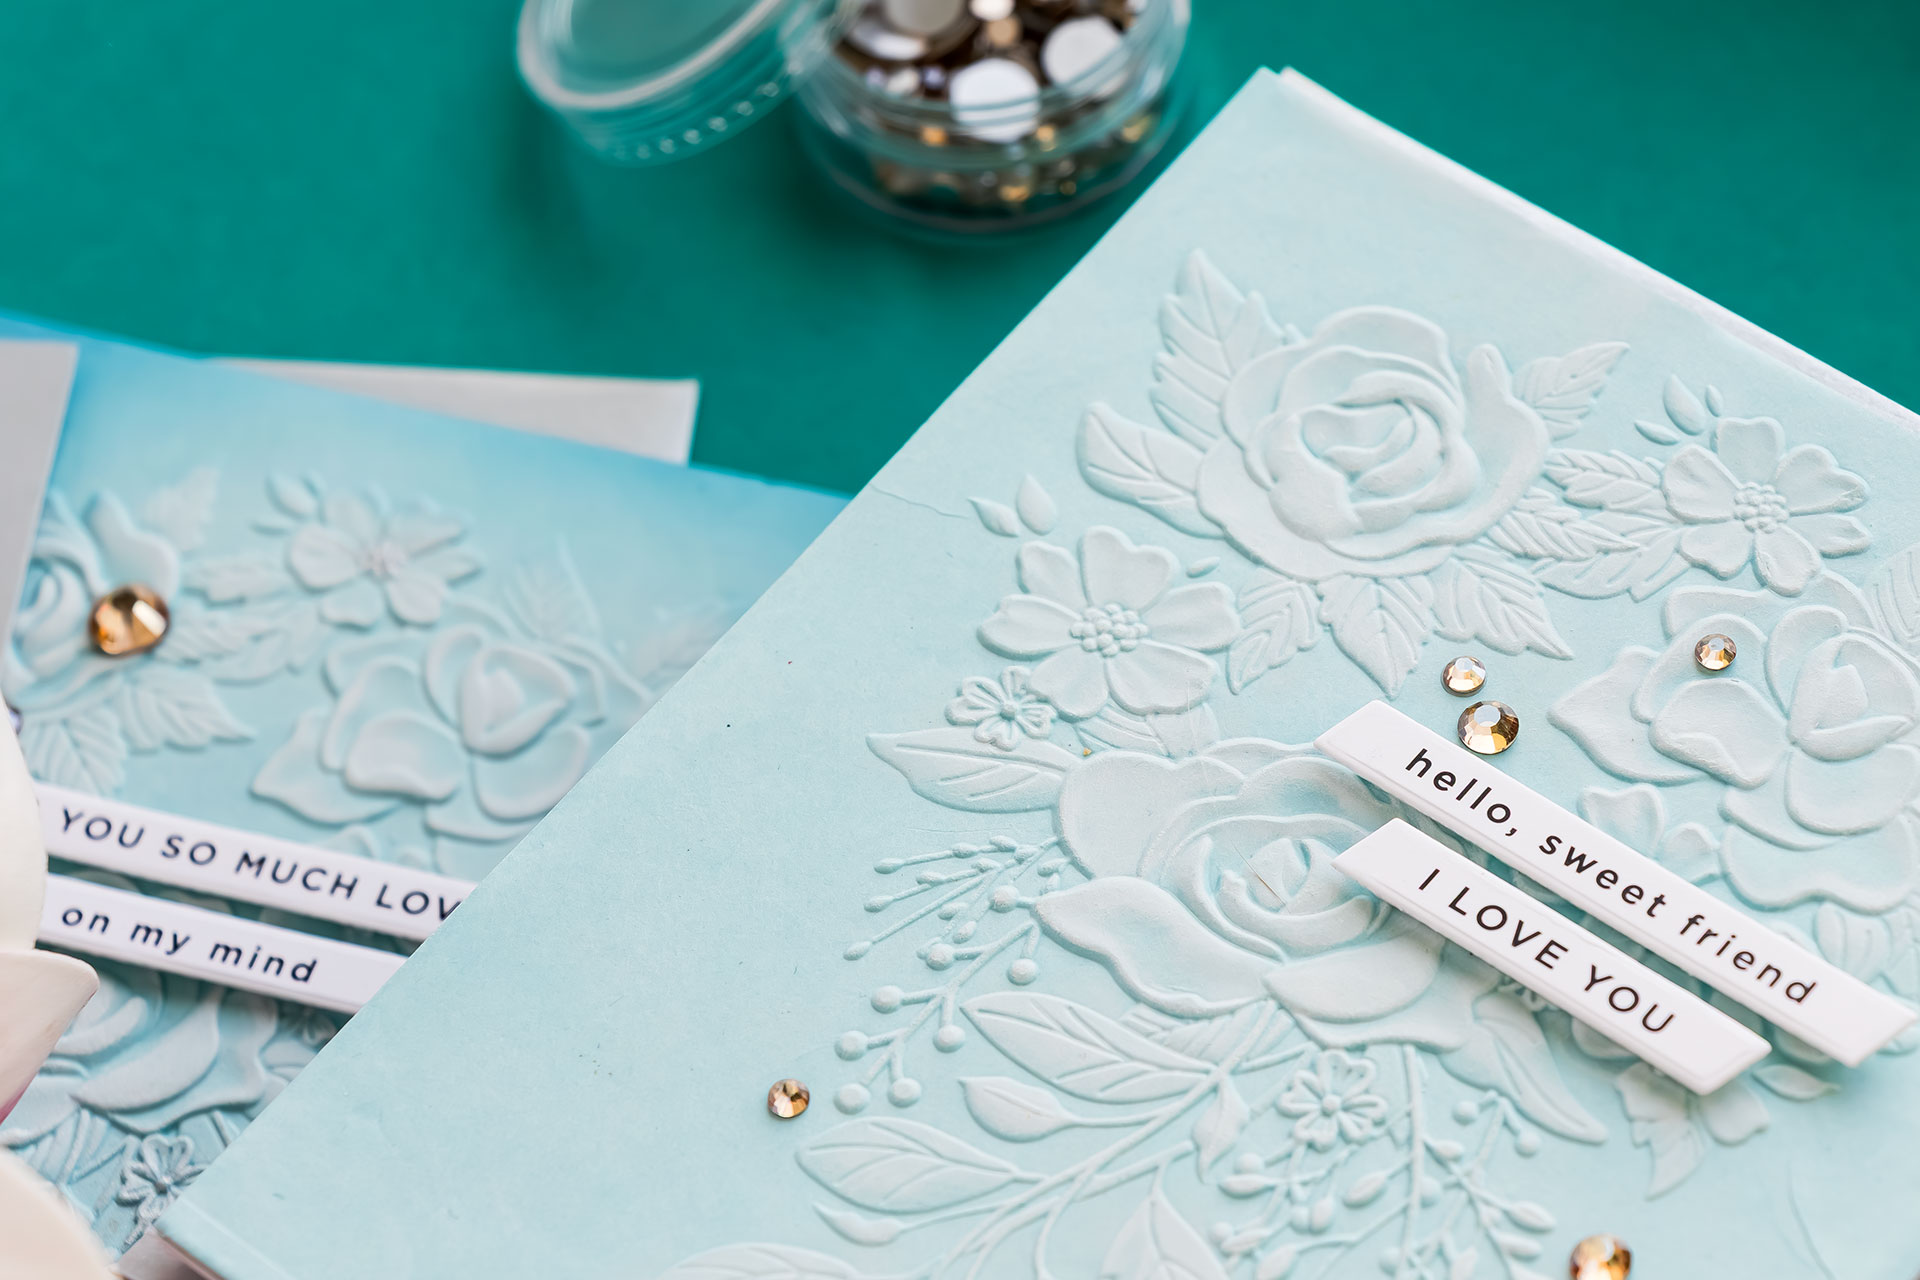
Finishing the Cards
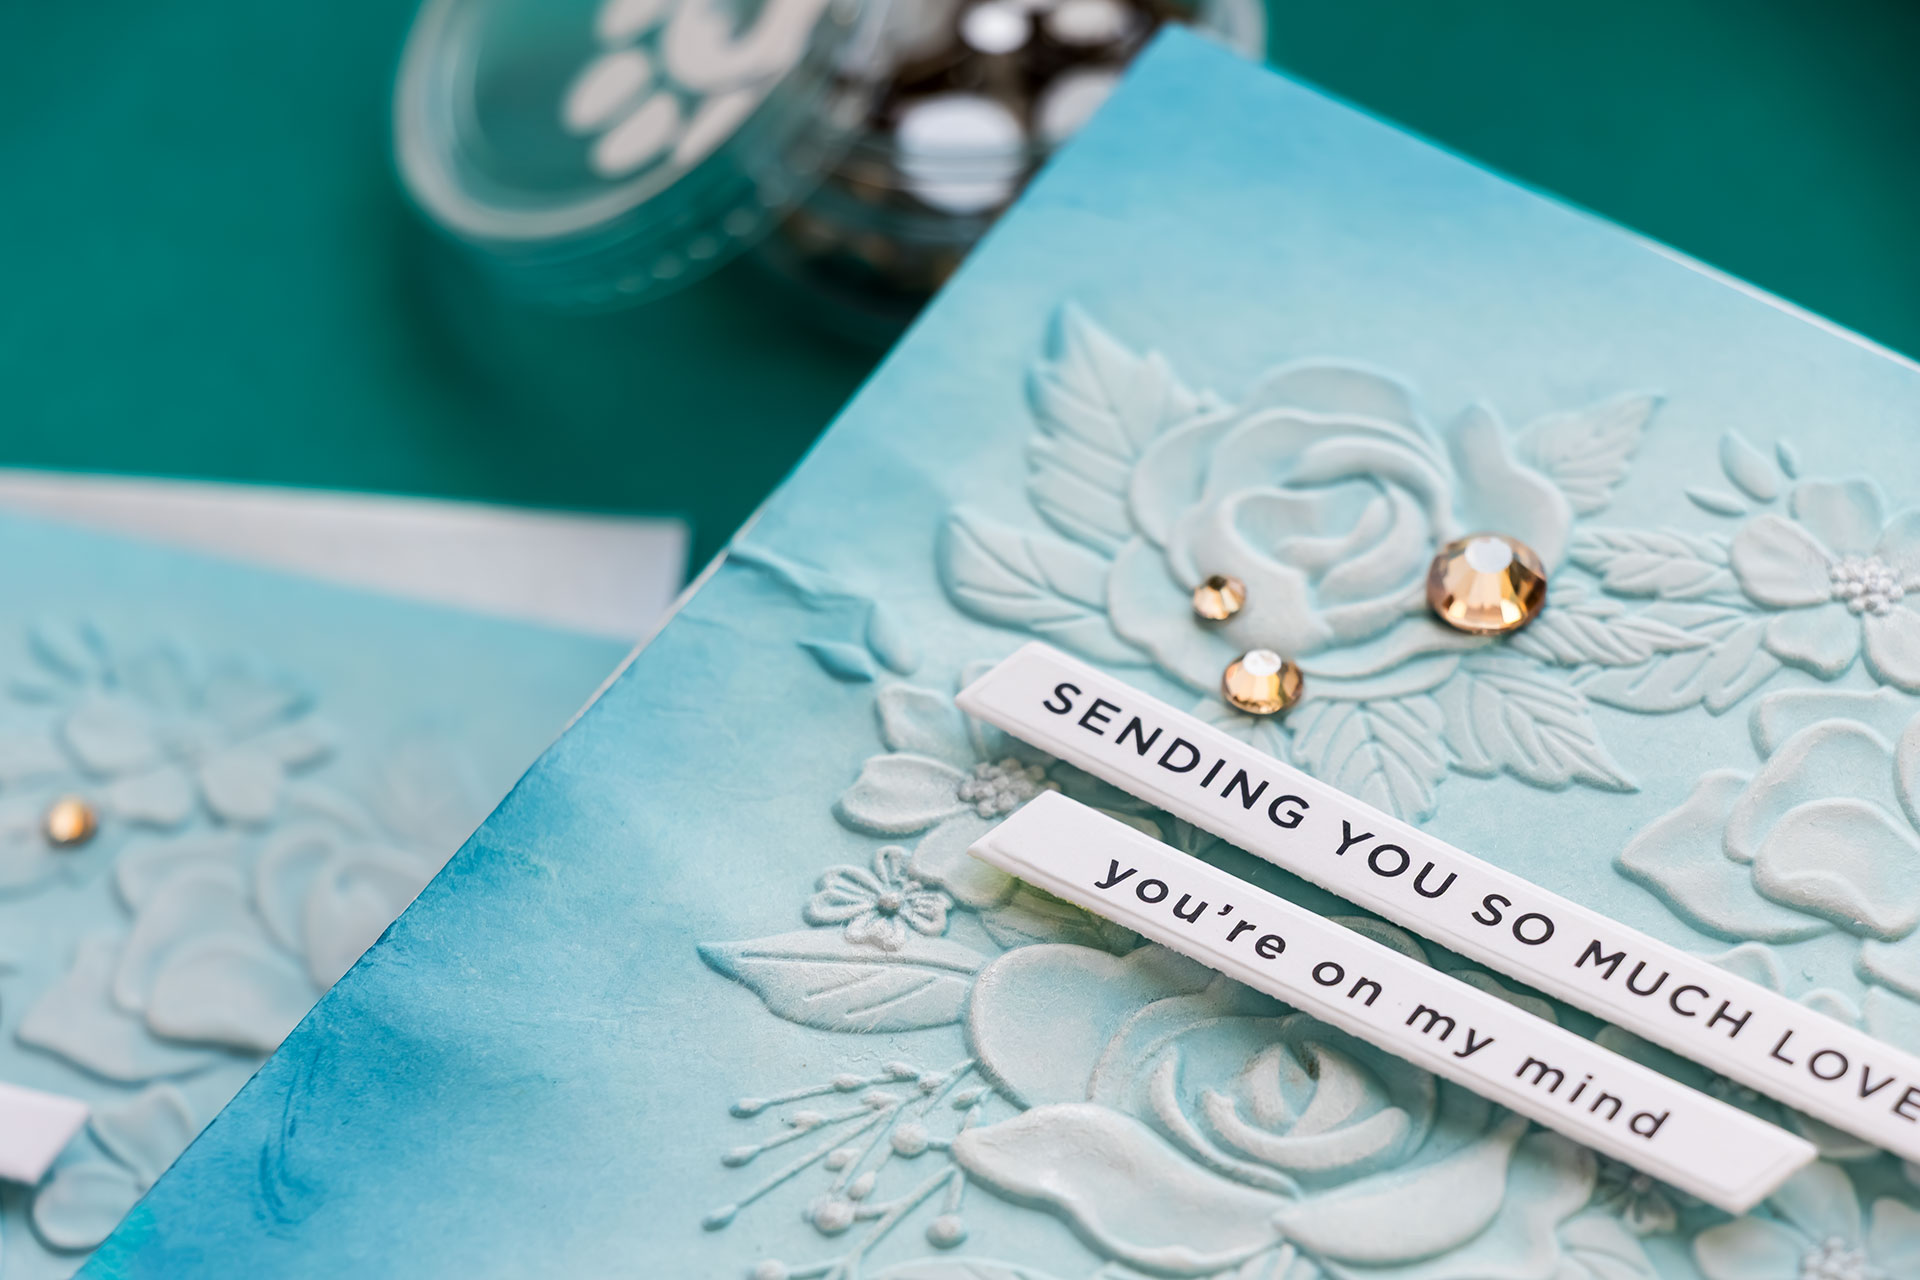
To finish the cards, I added pre-printed sentiment strips. These are a quick and convenient way to complete multiple cards. The strips can be trimmed with scissors, a paper trimmer, or coordinating dies designed to cut them into clean labels.
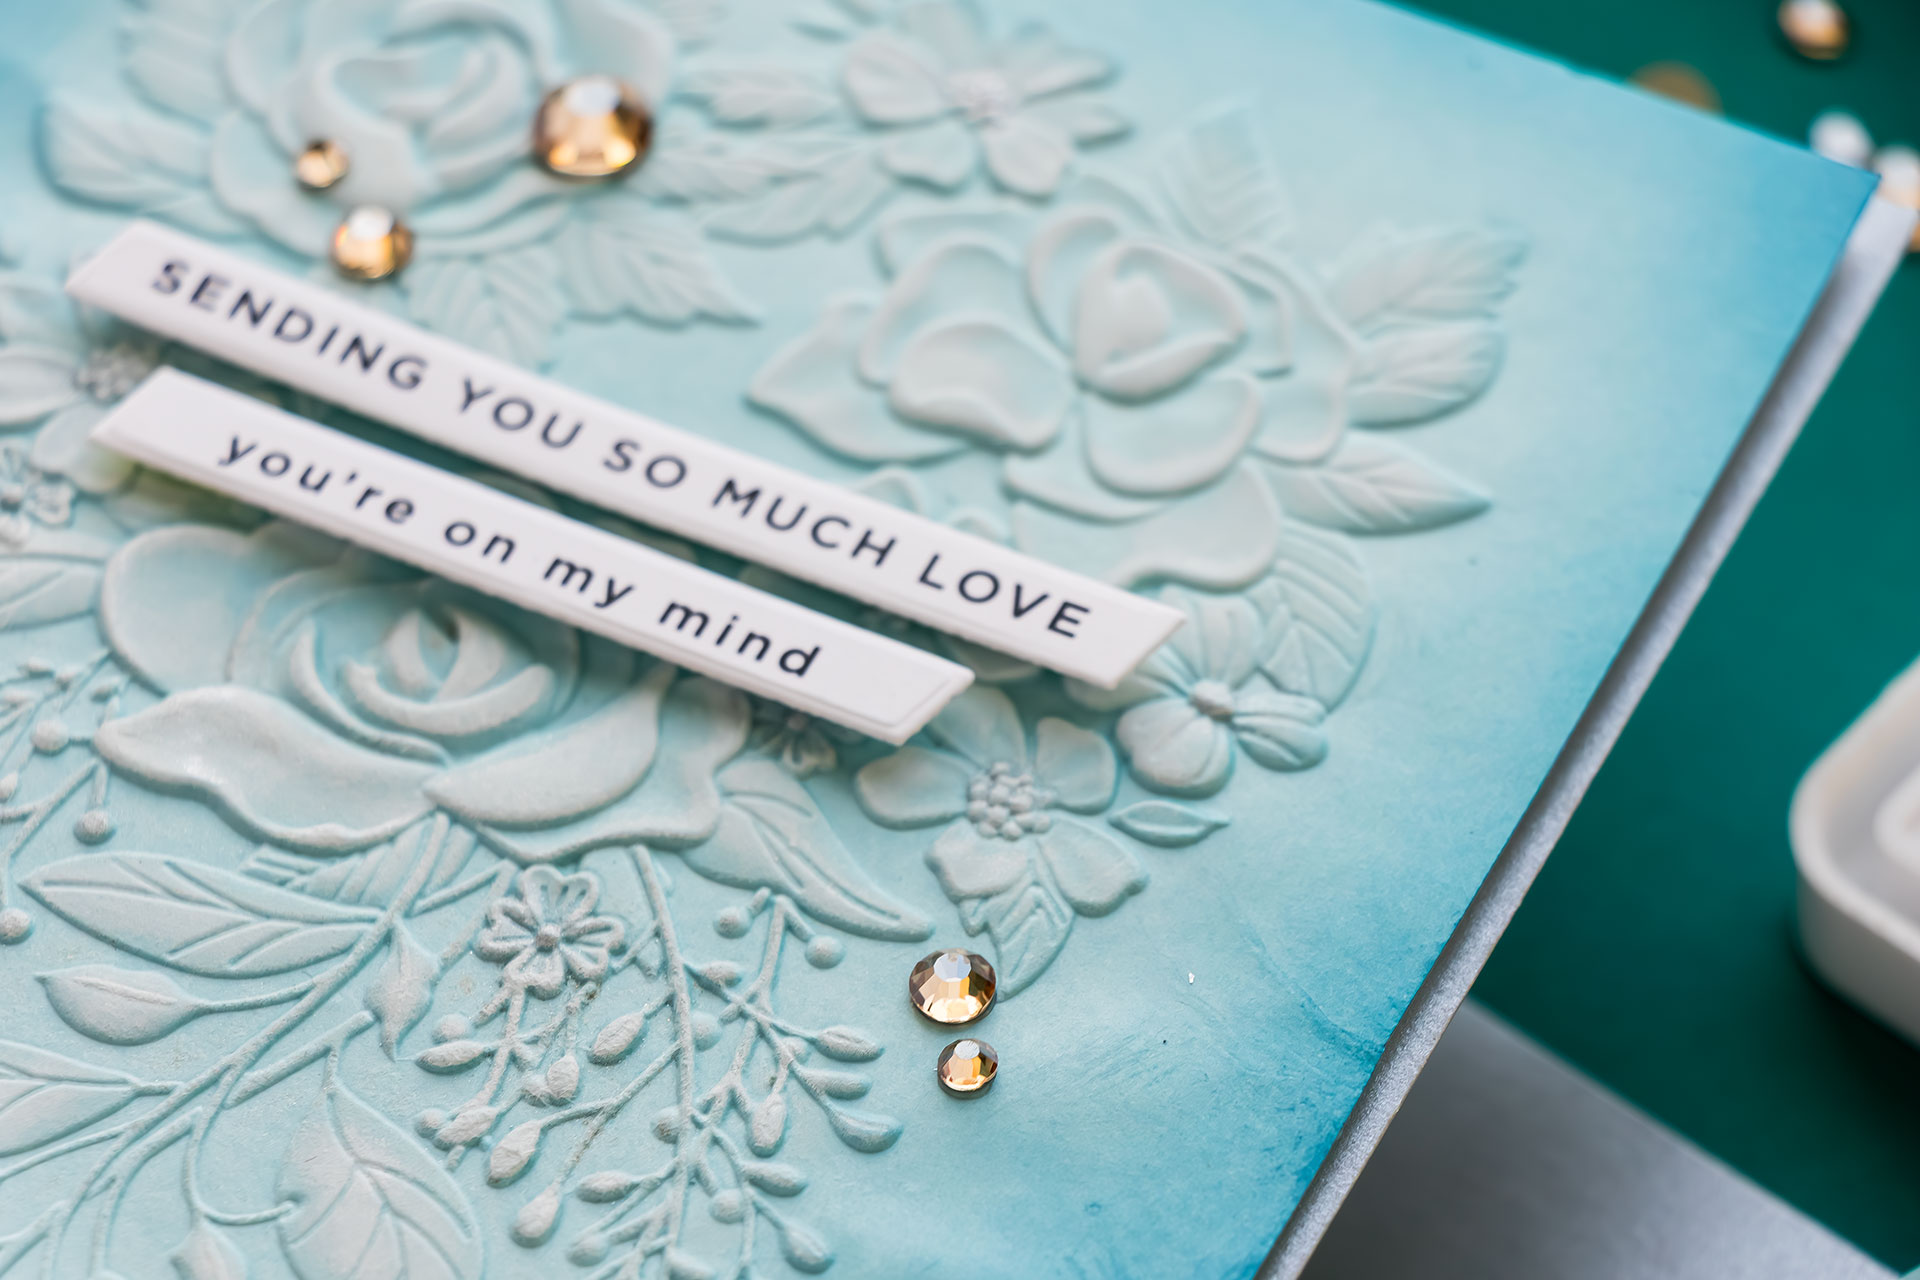
I attached the sentiments using foam adhesive to add dimension and help them stand out against the textured background.
The embossed panels were then adhered to A2 top-folding card bases. Because the cardstock shrinks slightly during embossing, I trimmed the card bases just a bit to ensure everything aligned neatly. A few coordinating gems provide the final finishing touch.
Why 3D Embossing Folders Are So Versatile
One of the things I love most about 3D embossing folders is how much visual impact they create with very little effort. A single folder can produce many different looks depending on whether you leave it clean and simple, highlight the raised areas, add ink blending, or incorporate shimmer.
If you have detailed embossing folders in your stash that haven’t seen much use lately, I hope this project encourages you to pull them out and experiment. A few simple techniques can transform a basic embossed panel into a beautiful finished card.
Thank you so much for joining me for another Yippee for Yana episode. I’ll see you again soon.
SUPPLIES
I’m listing the products I used below. Click on the link to go directly to the product. Where available, I use compensated affiliate links, which means if you make a purchase, I receive a small commission at no extra cost to you. Thank you so much for your support!
 Simon Says Stamp Embossing Folder and Cutting Dies Fancy Rose Bouquet Shop at: SSS |
 CZ Design EZ Strips Love Shop at: SSS |
 Simon Says Stamp EZ Strips Slanted Rectangles Wafer Dies Shop at: SSS |
 Simon Says Stamp Pawsitively Saturated Ink Pad Ocean Shop at: SSS |
 Simon Says Stamp White Pigment Ink Pad Shop at: SSS |
 Simon Says Stamp Pawsitively Dazzling Gems Gold Shop at: SSS |
 Simon Says Stamp Surf Blue Cardstock Shop at: SSS |
 Spellbinders Platinum 6 Machine With Universal Plate System Shop at: SSS |
 Simon Says Stamp White A2 Top Fold Scored Cards Shop at: SSS |
 Simon Says Stamp Pawsitively Everything 6 Inch T Square Ruler Shop at: SSS |
 Spellbinders Silver Bullion Wax Seal Powder Shop at: SSS |
 Simon Says Stamp Blending Brush Set Large Shop at: SSS |
 Tonic Studios 8.5 Inch Paper Trimmer Shop at: SSS |
 Bearly Art Mini Precision Craft Glue Shop at: SSS |
 Simon Says Stamp Place and Score Embellishment Wand Shop at: SSS |
 Mighty Mister Spray Bottle Shop at: SSS |
 White Foam Adhesive Strips – 2mm Shop at: SSS |