

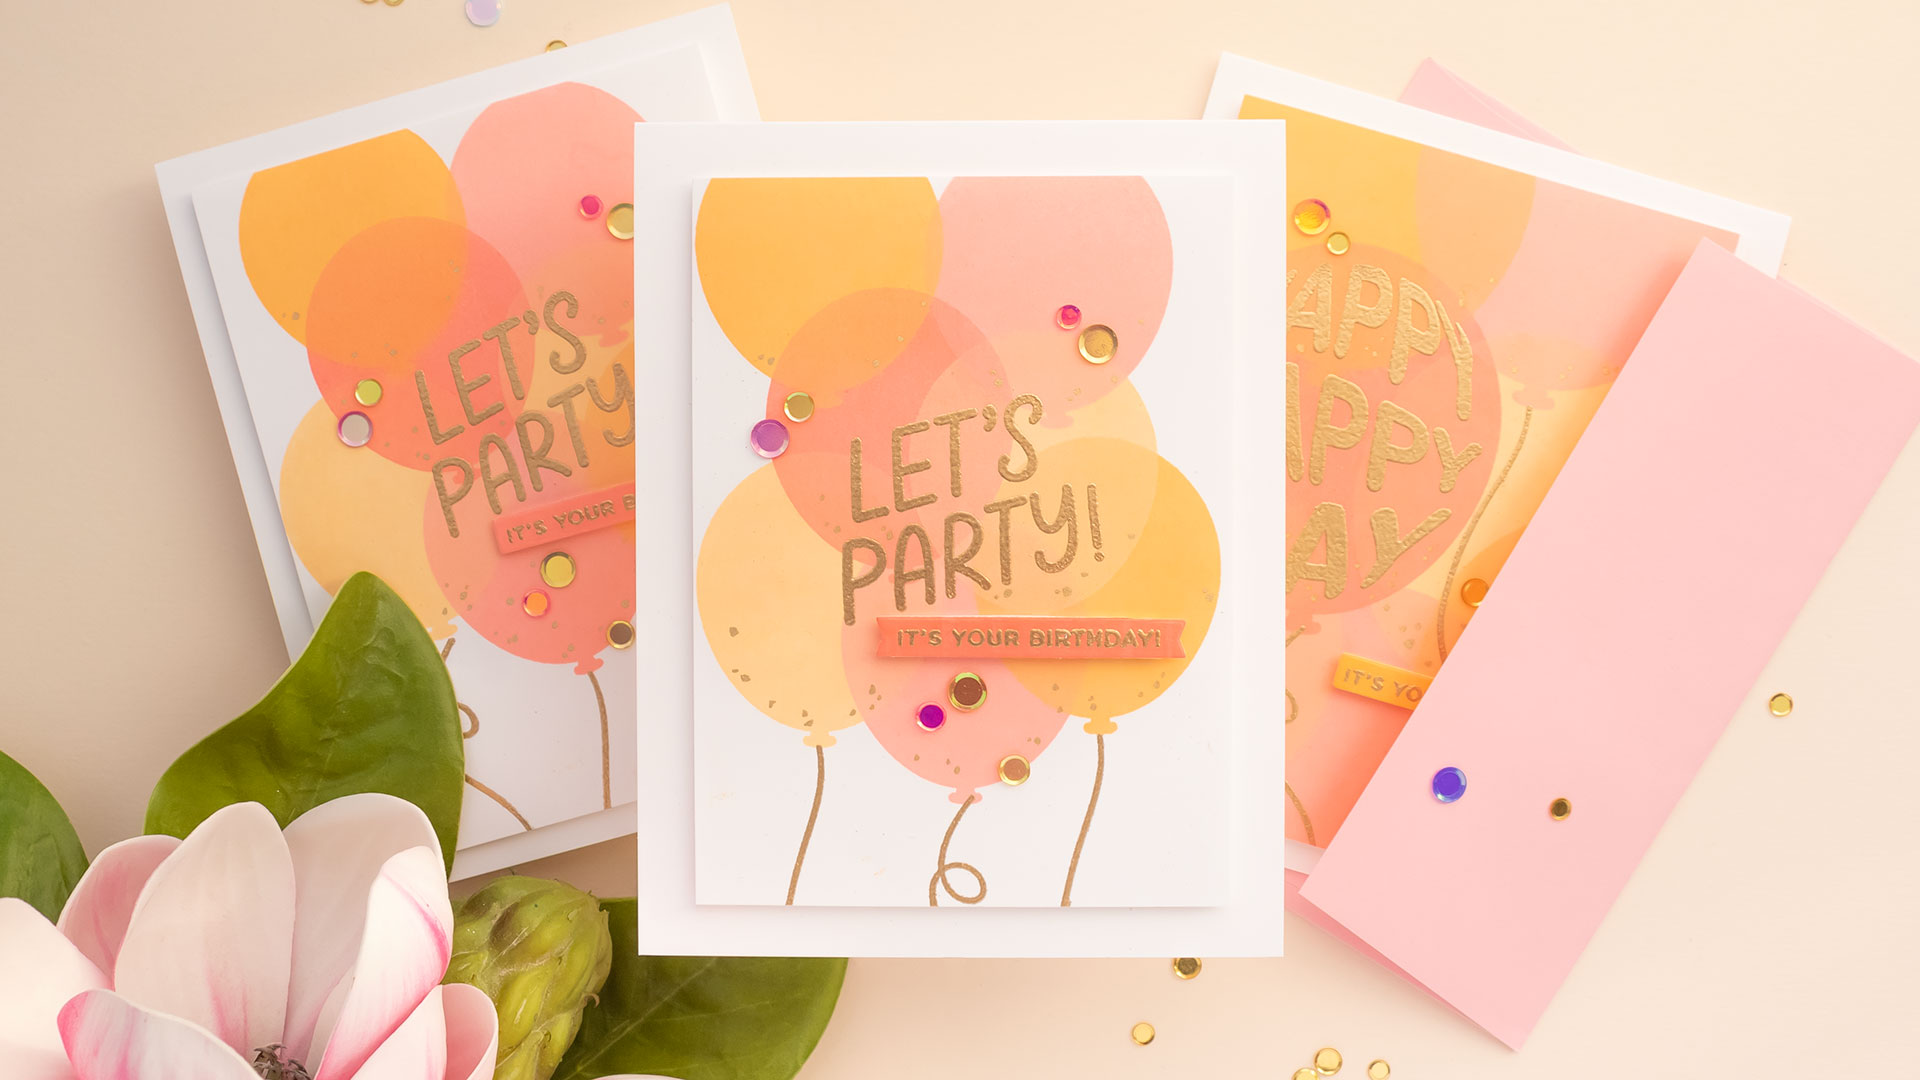
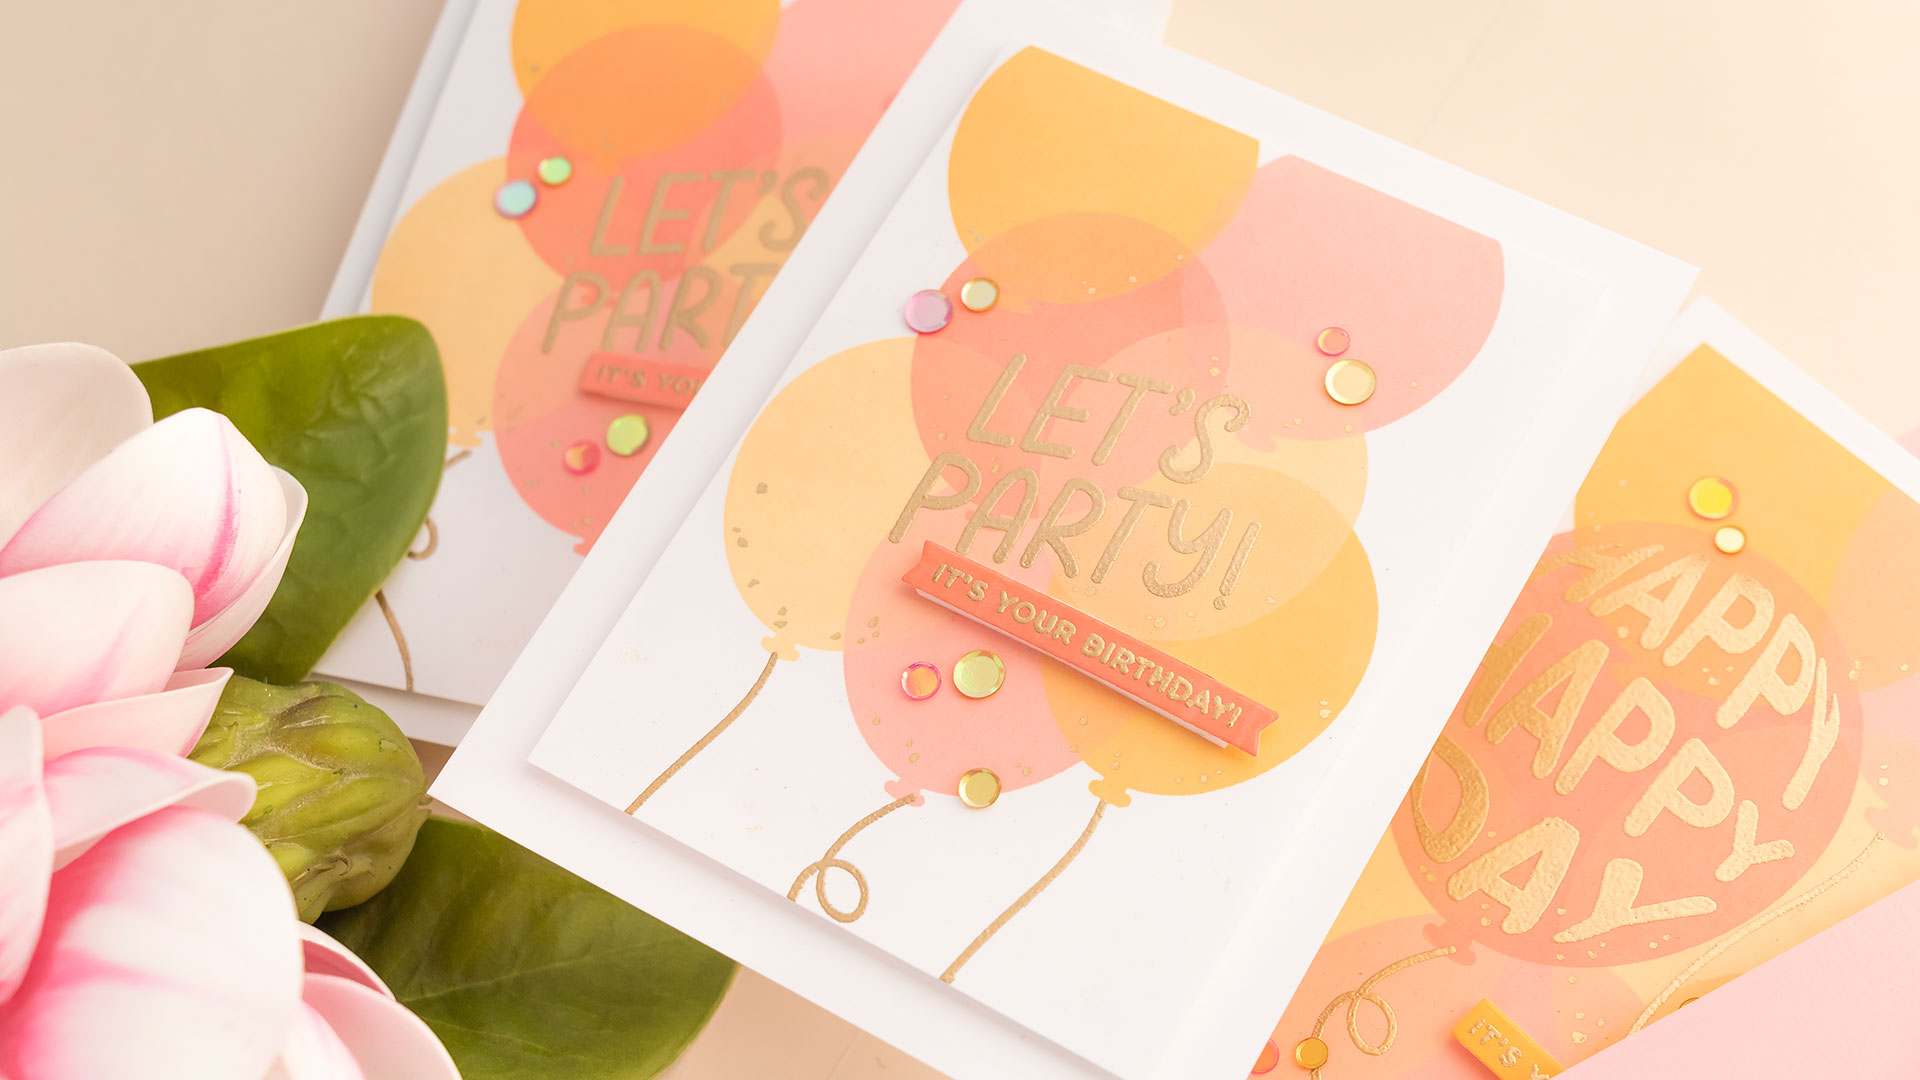
Hello, crafters. Welcome back for another Yippee For Yana video! In this video, I am stamping simple Birthday cards using the Balloon Greetings stamp set. The idea for my project today is to stamp a balloon cluster or a balloon background using various colors of ink.
Like this project? Pin it and save for later | Curious about my project photography? Click for details.
VIDEO TUTORIAL
Watch the video below or on my Youtube channel.
CARD DETAILS
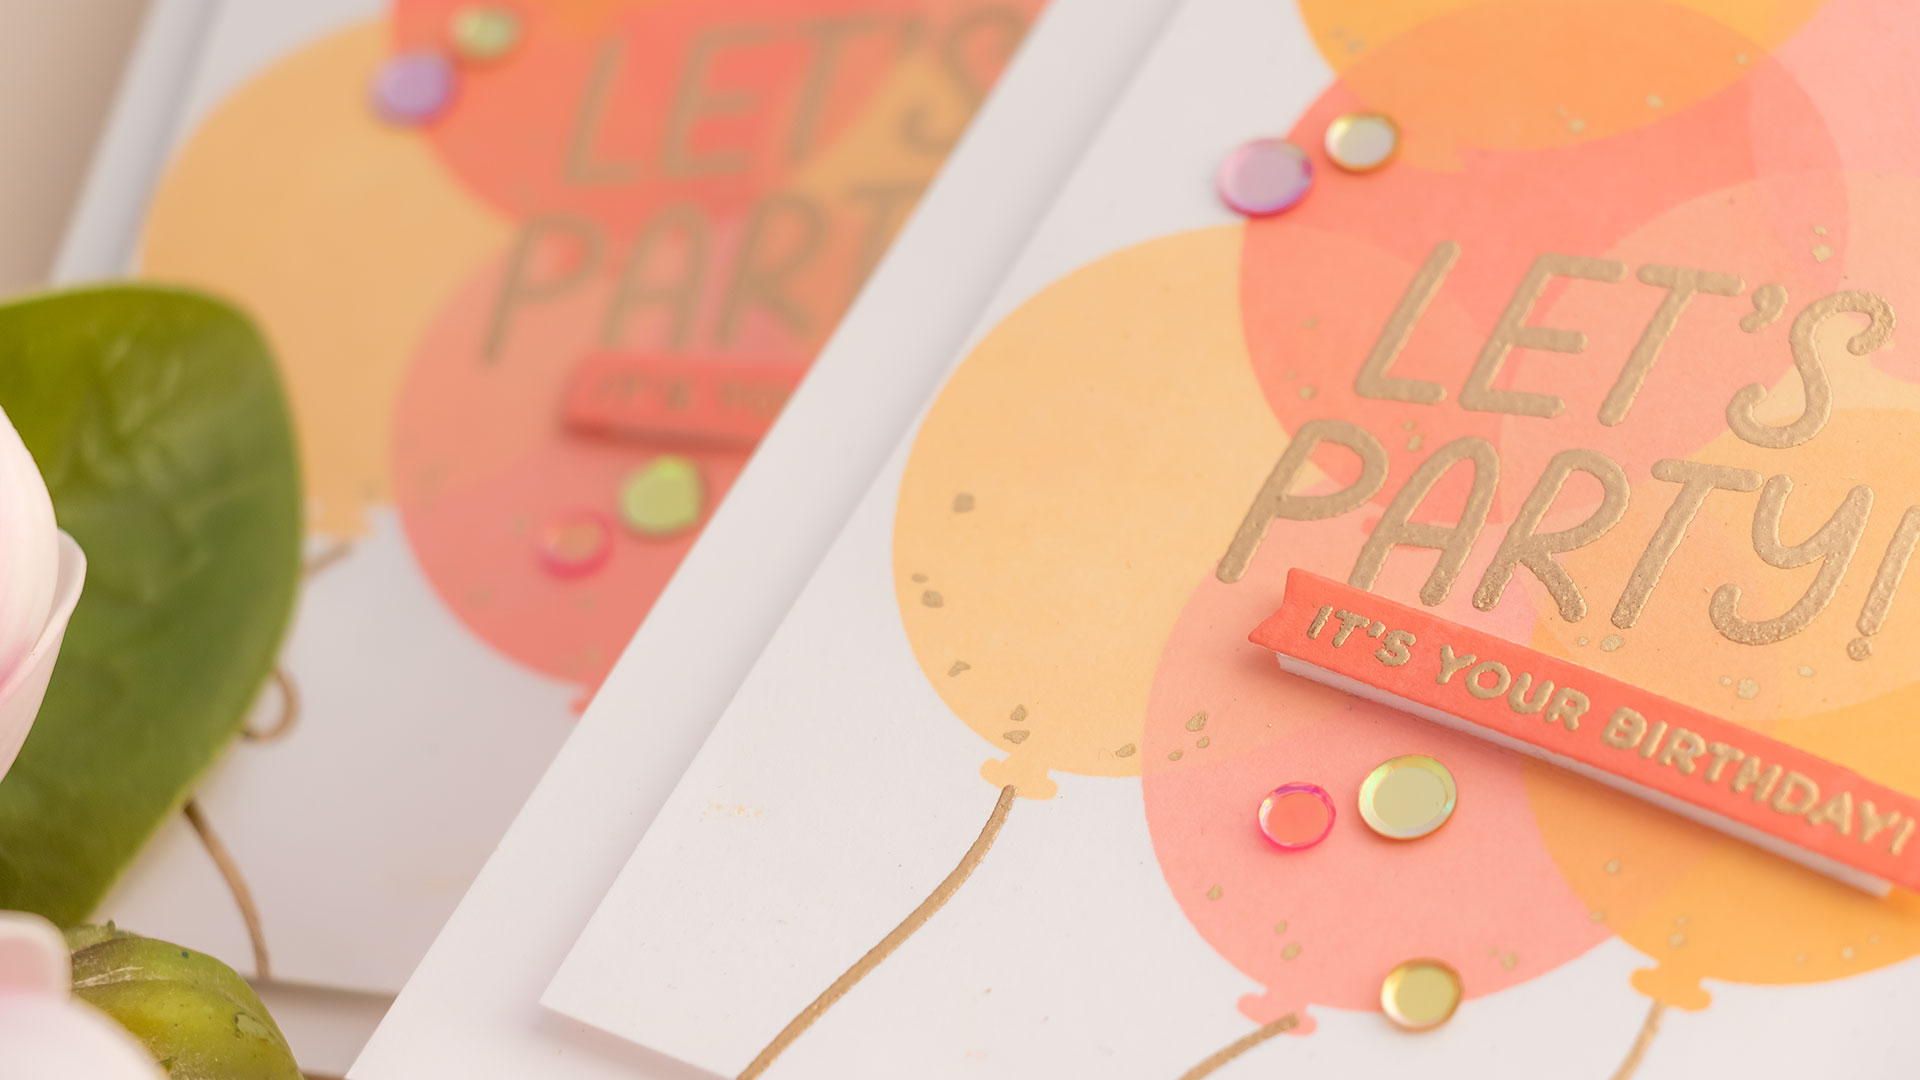
I have my mini-MISTI stamping tool and white cardstock panel already placed inside the MISTI. I found I needed to double-stamp each balloon so using MISTI works well. I started with the color Melon, and stamped it onto my cardstock. Next, I cleaned the stamp using the stamp shammy and re-positioned it on my panel to stamp the next balloon. I wanted to overlap the images as must as possible, to create the illusion of some balloons being placed in the foreground and some in the background. The next ink color I used was Cheeky.
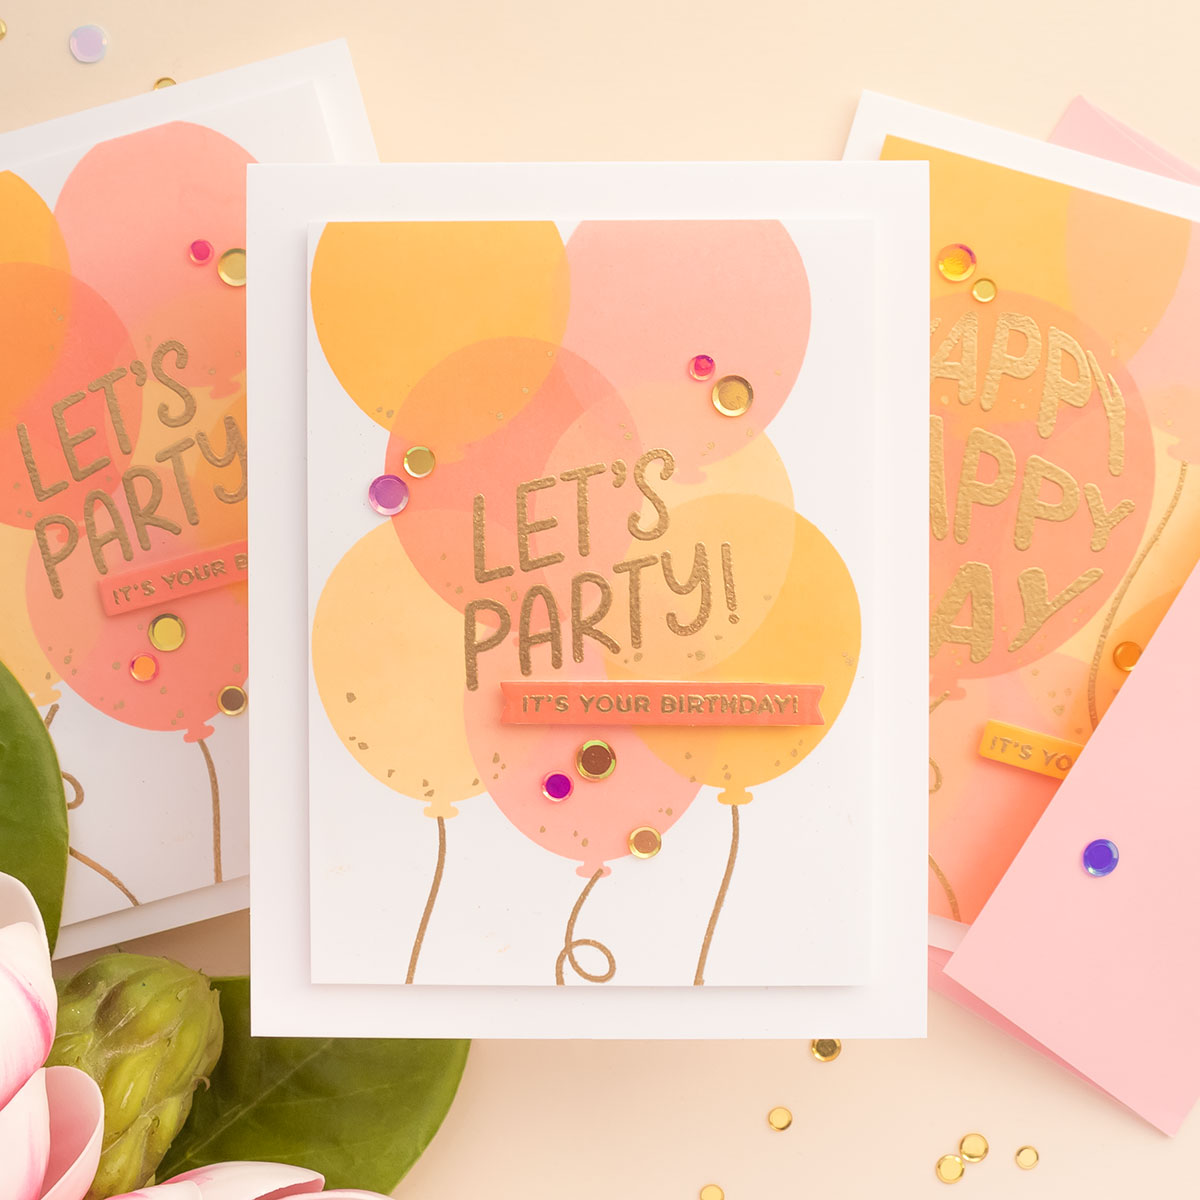
The inks I am using today are the Simon Says Stamp Positively Saturated inks, they are very easy to clean off a stamp, and it is easy to go from one ink color to another as they don’t stain stamps. These are the perfect inks for this type of stamping. I picked 4 colors of ink for each background. I stamped 3 balloons in the bottom row and next 2 balloons in the row above it, and 2 more in the very top row. I also used Blush and Cantaloupe.
With this smaller balloon, I didn’t fill the entire background, but I rather made a grouping of the balloons. I also used the bigger balloon image and stamped it in a similar way filling the background in, since that balloon is much bigger it worked well to fill the entire card background.
You can change the colors to adapt the design to make a masculine card, just pick blues and greens for your balloons.
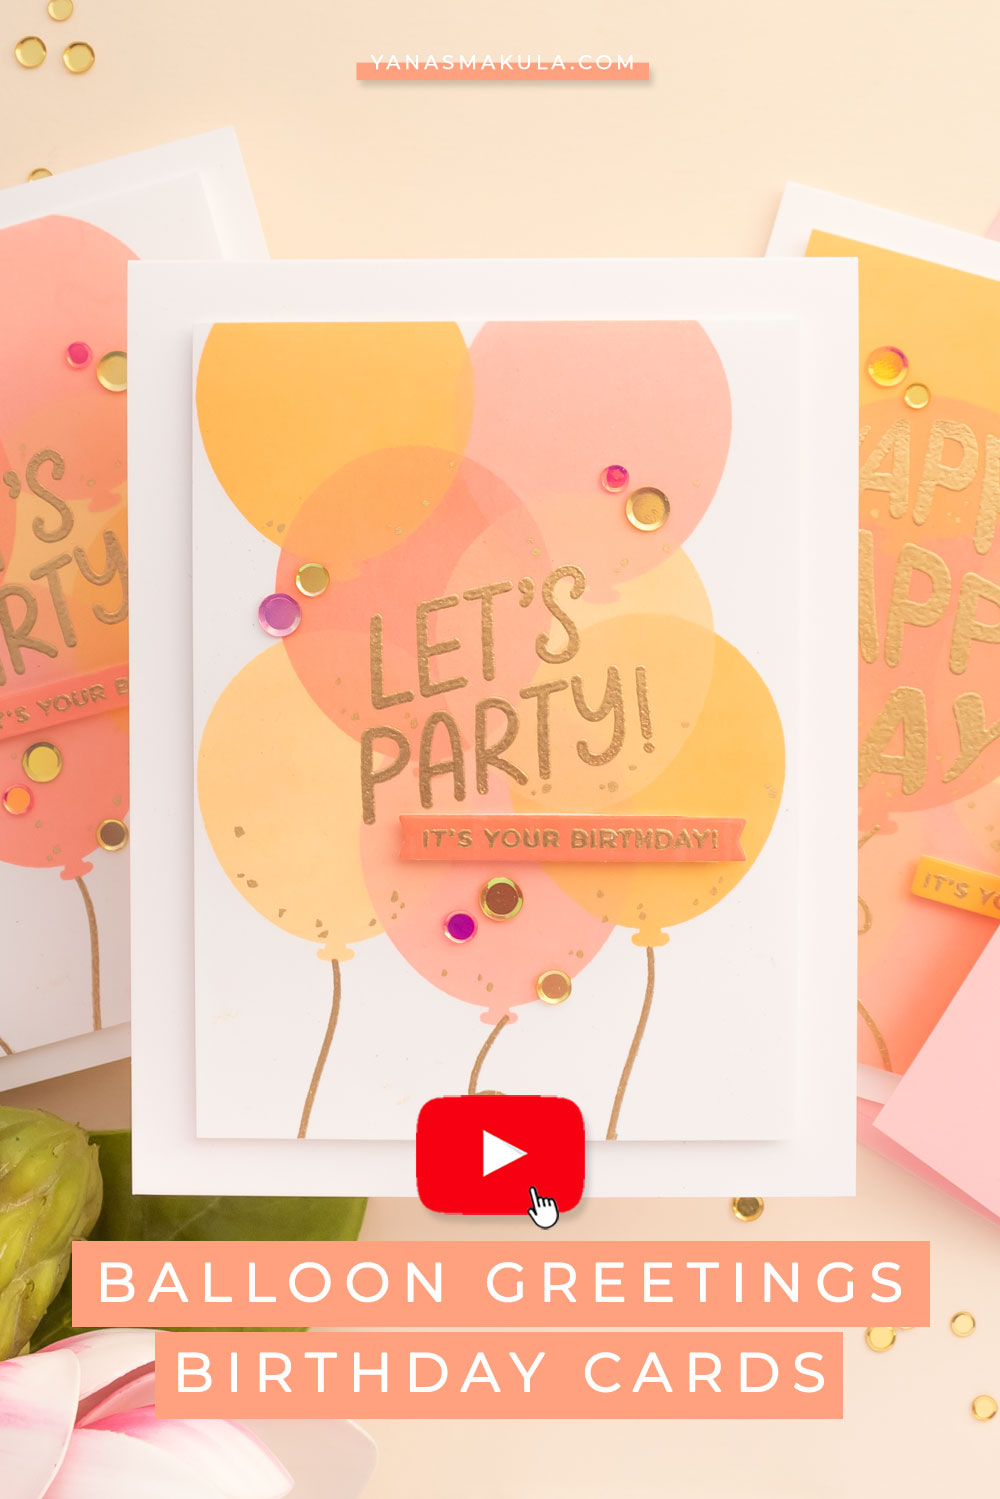
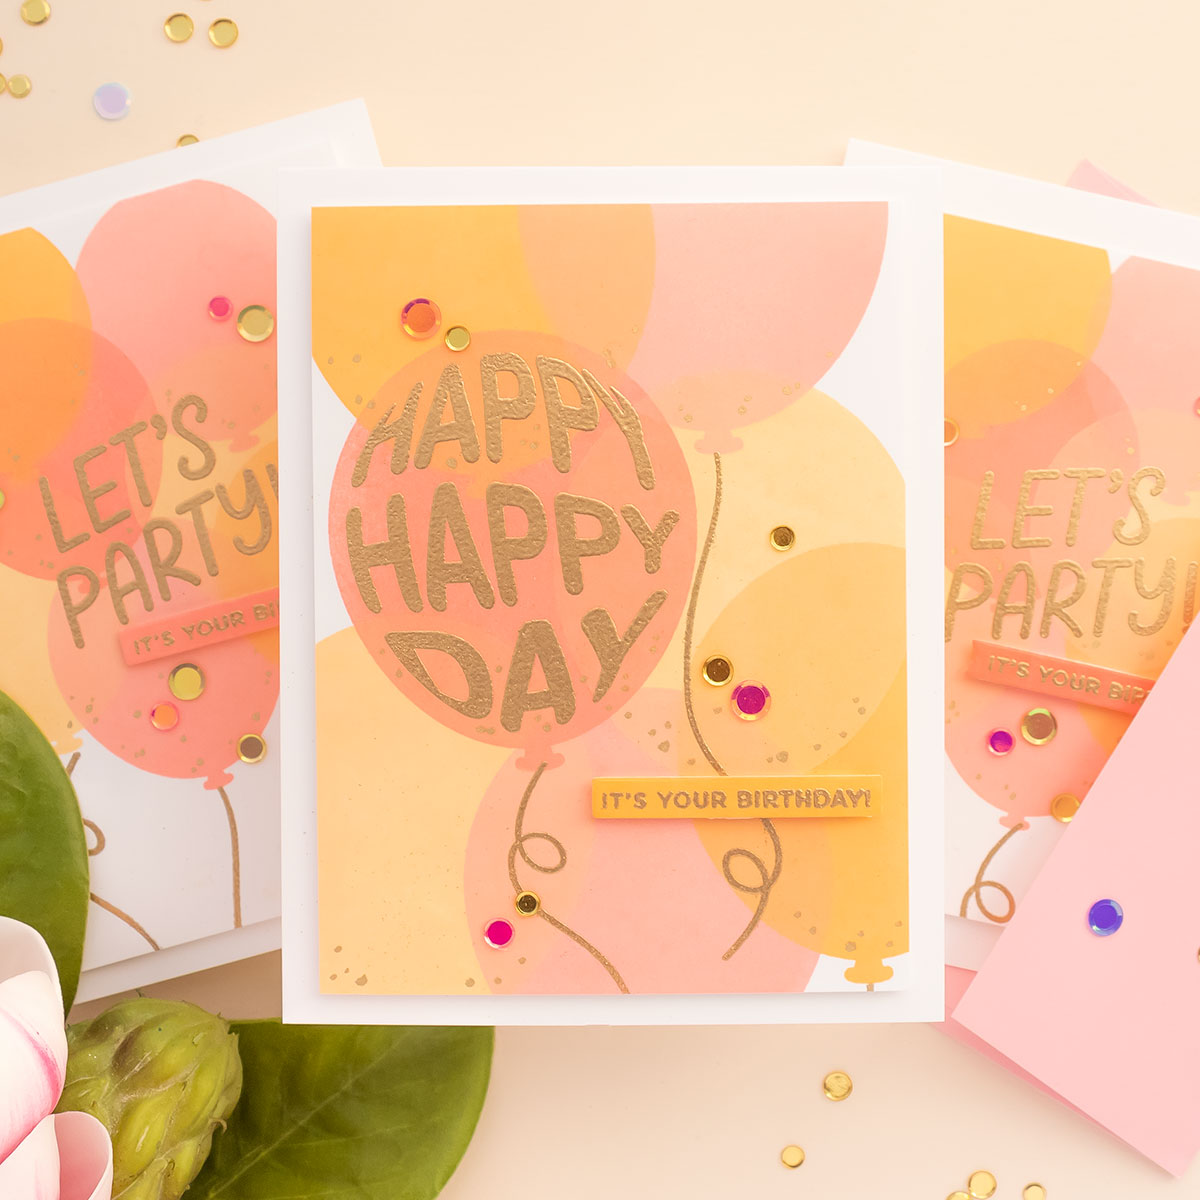
The next step is to add a sentiment to our backgrounds. I wanted to do heat embossing, gold for the feminine card and silver for the masculine card. To do heat embossing on a stamped background, I needed to make sure the background was bone dry. So, I used my heat tool to dry it.
Next, I trimmed my panels to either 3 3/4 x 5” or 3 1/2 by 4 3/4”, I wanted the balloons to go outside the edge of my panels, so the size of the panel depended on the balloon placement. If the balloons were spread out, I only trimmed the panel to 3 3/4” x 5”, but if they were clustered tightly in the center, I had to trim the panel down a bit more.
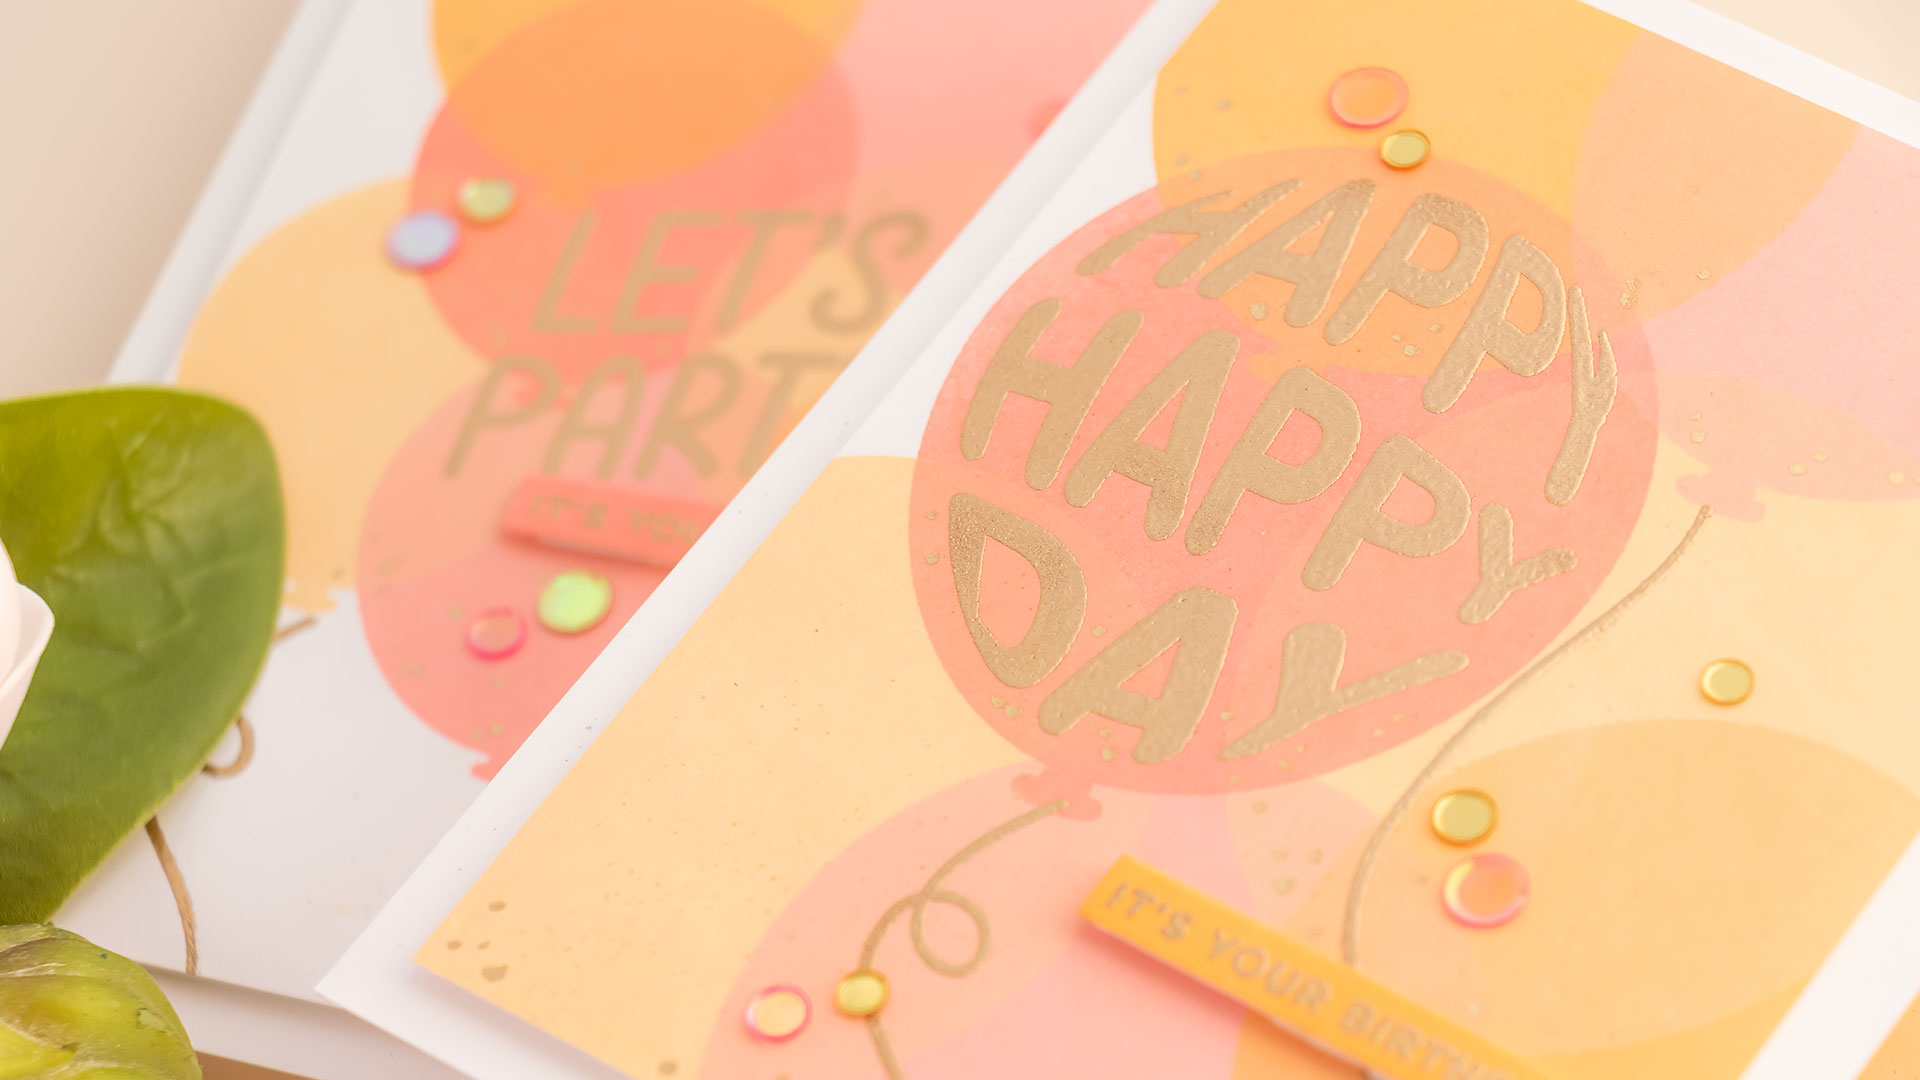
Next, I went back to my mini MISTI and used it to stamp the sentiment. Since these balloons are smaller, the sentiment doesn’t fit inside the balloon. So, I just have the sentiment in the center of the panel spanning across the balloons. I treated my panel with an anti-static powder tool, inked up the stamp with clear embossing ink, and stamped it. Next, I added Simon’s Antique Gold embossing powder and heat set it to melt it.
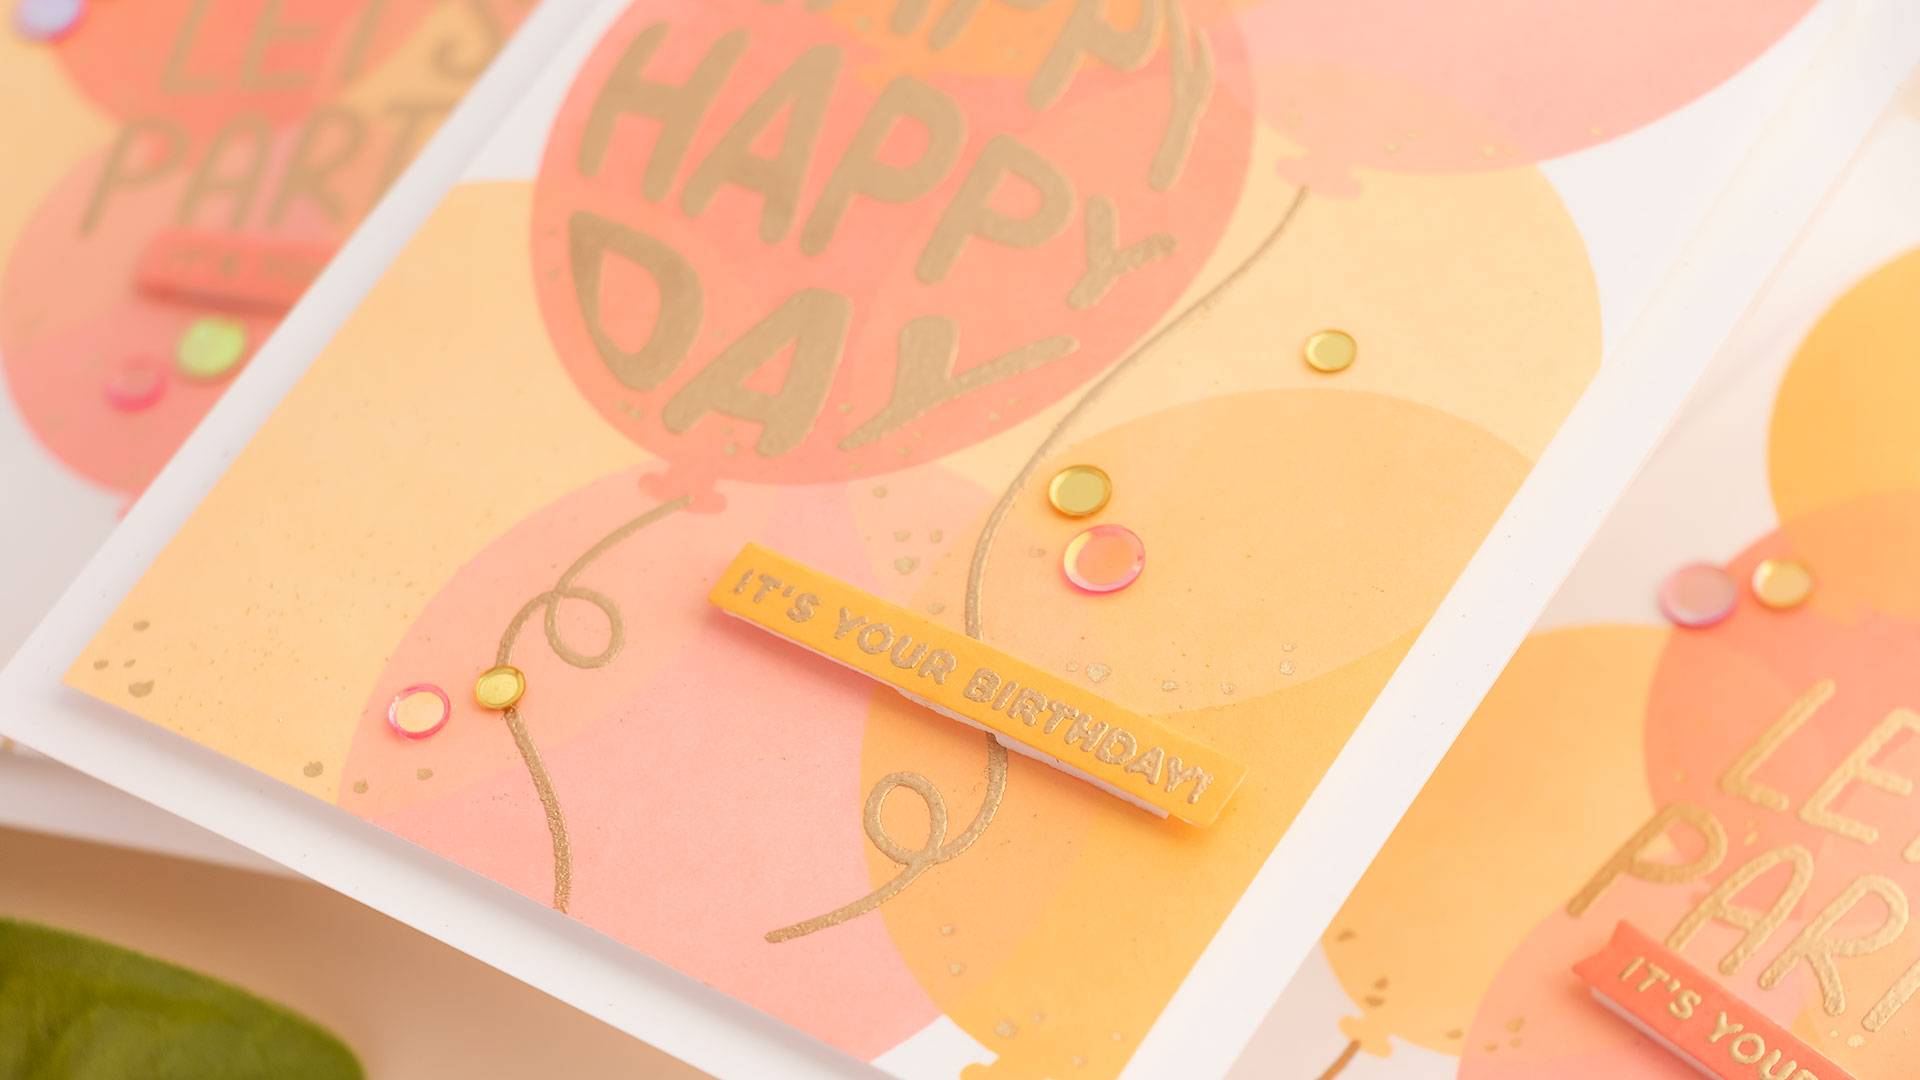
I then stamped the balloon strings in the same way – there is one balloon string image in the set, but you can rotate it to have 2 different string designs on your card, and that’s what I did.
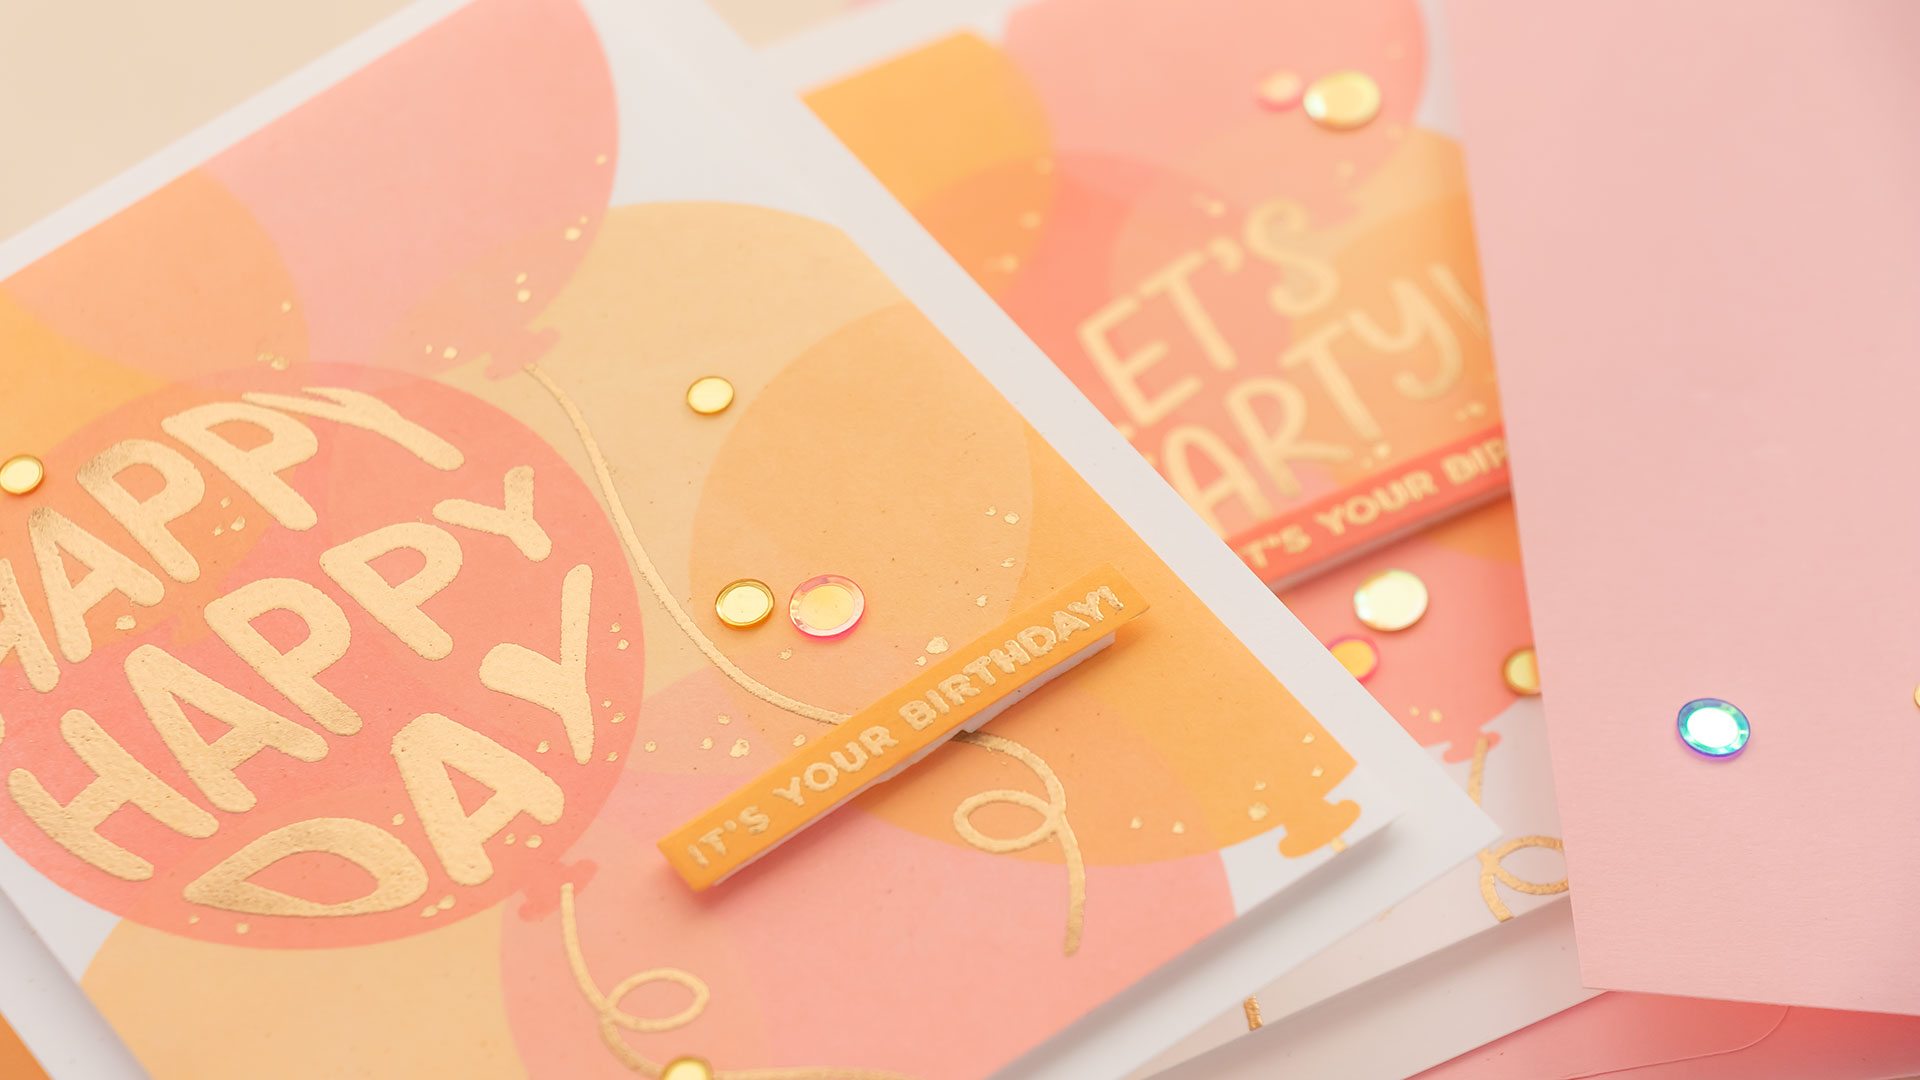
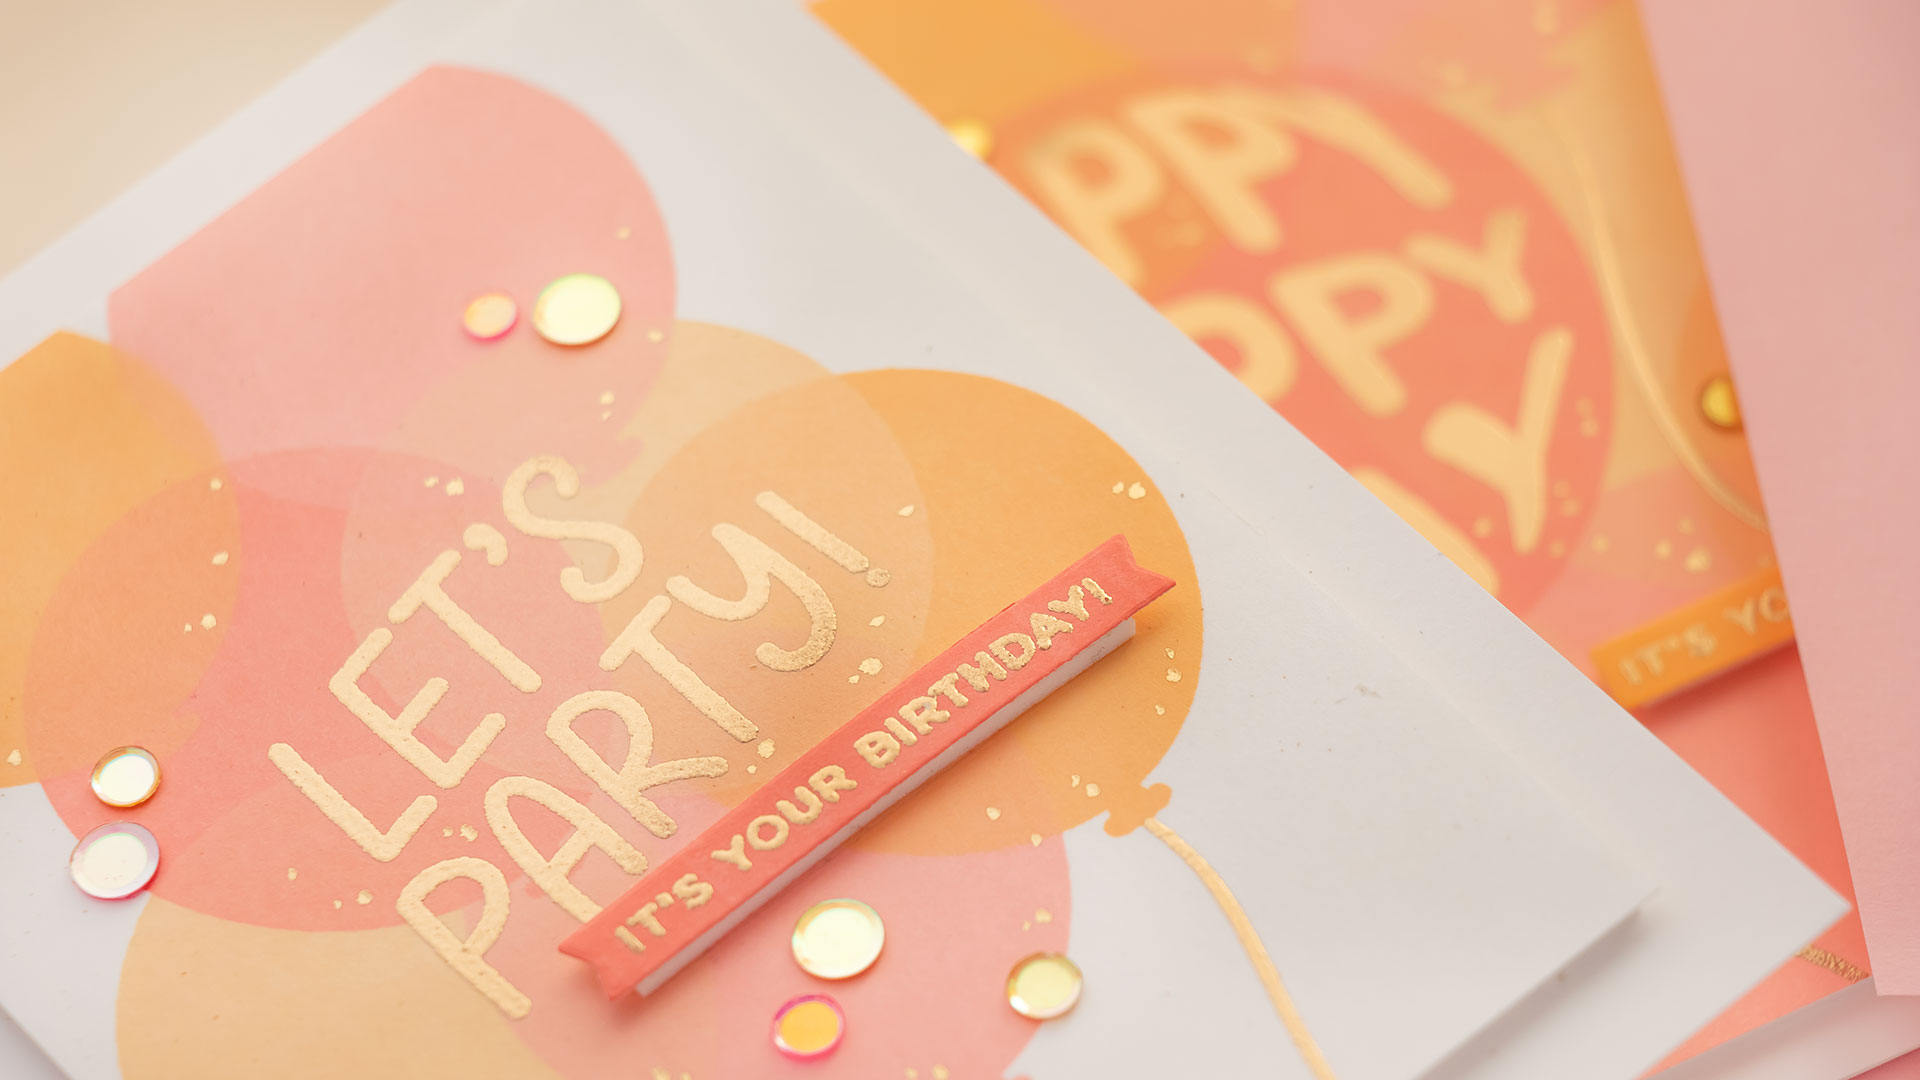
Next, I wanted to heat emboss a sub sentiment, and I wanted it embossed on colored cardstock, to make sure my paper would match the color of the stamped balloons I made my own cardstock by swiping the ink pad on the white cardstock panel. This gave me a piece of paper that matched the balloon stamping perfectly! I used my heat tool to dry the paper, tested it for dryness and once it was perfectly dry, I heat embossed a sub sentiment in gold embossing powder. Next, I used a banner die from my stash and cut it out in my Spellbinders Platinum 6 die-cutting machine.
Next, I cut a piece of white fun foam, just slightly smaller than my stamped panel, I added double-sided tape to the foam and adhered it to the back of my stamped panel. This helped flatten the panel, as it warped slightly from all the heat that I applied to it, and it also added dimension to my card.
I used a foam strip to pop up the heat-embossed sentiment strip. Next, I embellished the card with several colorful sequins – I picked pink and gold to match the color of the stamped balloons, I scattered them around the sentiment, which added some playful movement to the card, and finally, I used a gold pen and added some gold dots to the base of each balloon, this created the illusion of confetti inside the balloons, and it just helped pull the card together. I love the way it turned out!
Have fun stamping!
SUPPLIES
I’m listing the products I used below. Click on the link to go directly to the product. Where available I use compensated affiliate links which means if you make a purchase I receive a small commission at no extra cost to you. Thank you so much for your support!
 Simon Says Stamp White A2 Top Fold Scored Cards Shop at: SSS |
 New & Improved Platinum Six Machine With Universal Plate System Shop at: SSS |
 CZ Design Clear Stamps Balloon Greetings Shop at: SSS |
 Simon Says Stamp White Cardstock 120LB Shop at: SSS |
 Mini MISTI Stamping Tool Shop at: SSS |
 Spellbinders Clear Embossing & Watermark Ink Pad Shop at: SSS |
 Pretty Pink Posh Sparkling Clear Confetti Mix Shop at: SSS |
 Simon Says Stamp Antique Gold Embossing Powder Shop at: SSS |
 Simon Says Stamp Pawsitively Saturated Ink Pad Blush Shop at: SSS |
 Simon Says Stamp Pawsitively Saturated Ink Pad Cheeky Shop at: SSS |
 Simon Says Stamp Pawsitively Saturated Ink Pad Cantaloupe Shop at: SSS |
 Simon Says Stamp Pawsitively Saturated Ink Pad Melon Shop at: SSS |
 Lawn Fawn Stamp Shammy Cleaner Shop at: SSS |
 Be Creative Tape 3mm Sookwang Shop at: SSS |
 Ek Success Powder Tool Applicator Shop at: SSS |
 Wagner Precision Heat Tool Shop at: SSS |
 Jewel Picker Tool Shop at: SSS |
 Fun Foam Sheets Shop at: SSS |
 Bearly Art Mini Precision Craft Glue Shop at: SSS |
 Simon Says Stamp Sequins Hugs Shop at: SSS |
Love these card ideas and will be giving them a try! Thanks for sharing! Happy New Year! I hope and pray that 2023 will be a better year for you and for all of Ukraine.
These are so pretty – really lovely colours
Happy New Year from Australia – I hope that 2023 brings an end to this stupid Putin war.
My goodness these are so beautiful Yana!