Hello, friends! Today I have a video with MFT Stamps Something to Squawk About stamp set.
Like this project? Pin it and save for later | Curious about my project photography? Click for details.
VIDEO TUTORIAL
Watch the video below or on my Youtube channel.
Like this video? Please give it a big thumbs up (you can do this on Youtube video page right under the video) and share it with a crafty friend! Leave me a comment too, I love hearing from you!
CARD DETAILS
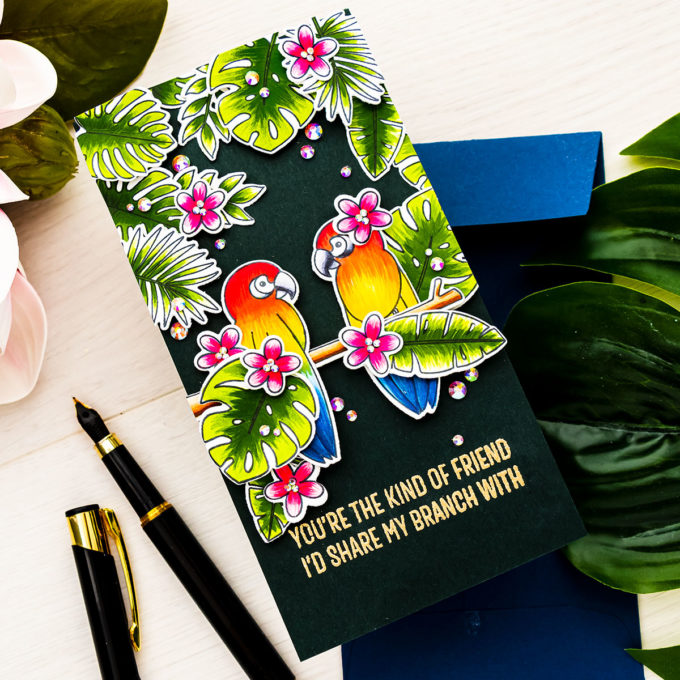
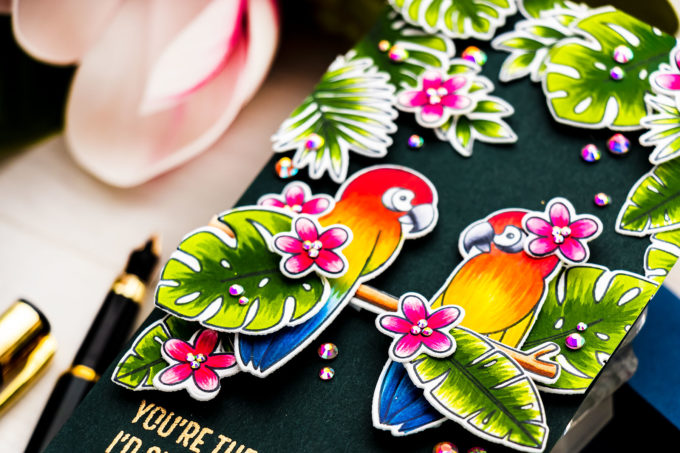
I started working on my card by stamping the images from the Something to Squawk About in memento tuxedo blank ink onto smooth white cardstock. I used my mini MISTI stamping tool and stamped 2 panels – I have the birds, the branch, a bunch of leaves, and also some flowers.
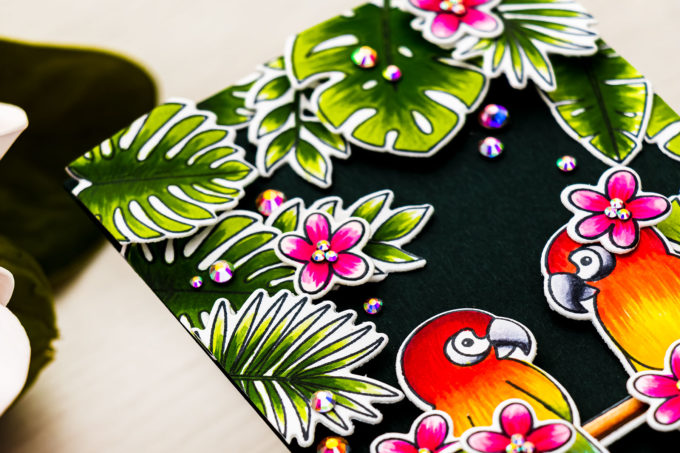
I used Copic markers and did some quick coloring to bring these images to life! I went with Flick style coloring for the most part and flicked the color from my markers onto the paper. I used YG03 as the lightest green, YG17 as medium green, and YG67 as a dark green to color all of the leaves green.
I love to use this flick style coloring method as it allows me to easily add a bit of texture to my images. To create the flicks I typically hold the marker at the very end and gently flick the color onto the paper leaving visible brush strokes.
I used this technique and these exact colors to color all of the leaves. I did leave a bit of white on some of these images, creating natural-looking highlights. You can always add a highlight using a white pen, but I prefer, if possible to leave the paper white. I can do that using this flick style coloring technique.
Next, to color the little flowers I used hot pinks – RV09 as the darkest pink, RV06 as the medium color, and RV00 as the lightest color. I didn’t worry too much about the flower centers as I was planning to either color them white using a white pen or add some gems on top to add sparkle.
I also used pencils, Polychromos by Faber Castell to add detail to my images. I flicked some additional color onto the flowers using pinks and also added some detail onto the leaves with green pencils. Pencils work rather well with or on top of Copic markers – these are a great medium to use to add additional detail to your images.
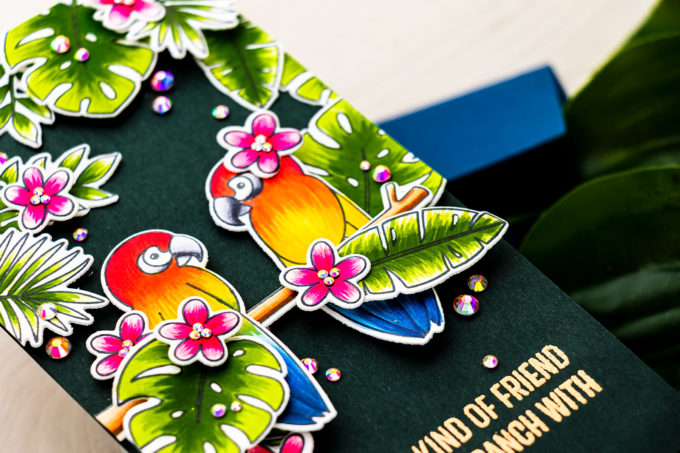
I also colored the branch brown using E37 darkest brown, E33 medium brown, and E31 lightest brown marker. And here once again I added detail using a dark brown pencil. Pencils can be sharpened to a very sharp point allowing you to add even the smallest details to your images.
As for the birds, I colored them in bold tropical colors starting from red, to yellow, to blue. I used R39 as a darkest red, R27 as medium red, and R24 as the lightest red to color the head of the bird red, next, I slowly transitioned onto yellow coloring the birds using Y19, my darkest yellow, Y08 medium yellow, and Y11 – lightest yellow.
To color the tail I used blues – B99 as the darkest blue, B34 as a medium but and B21 as the lightest blue. I then brought the yellow onto the blue mixing these together and creating orange. I first just applied the color using my markers and then came back in and added flicks using the same color markers and also colored pencils.
I used cool gray markers to color the beaks – C7, C5, C3, and C1. I also added a touch of C9 to deepen the shadows.
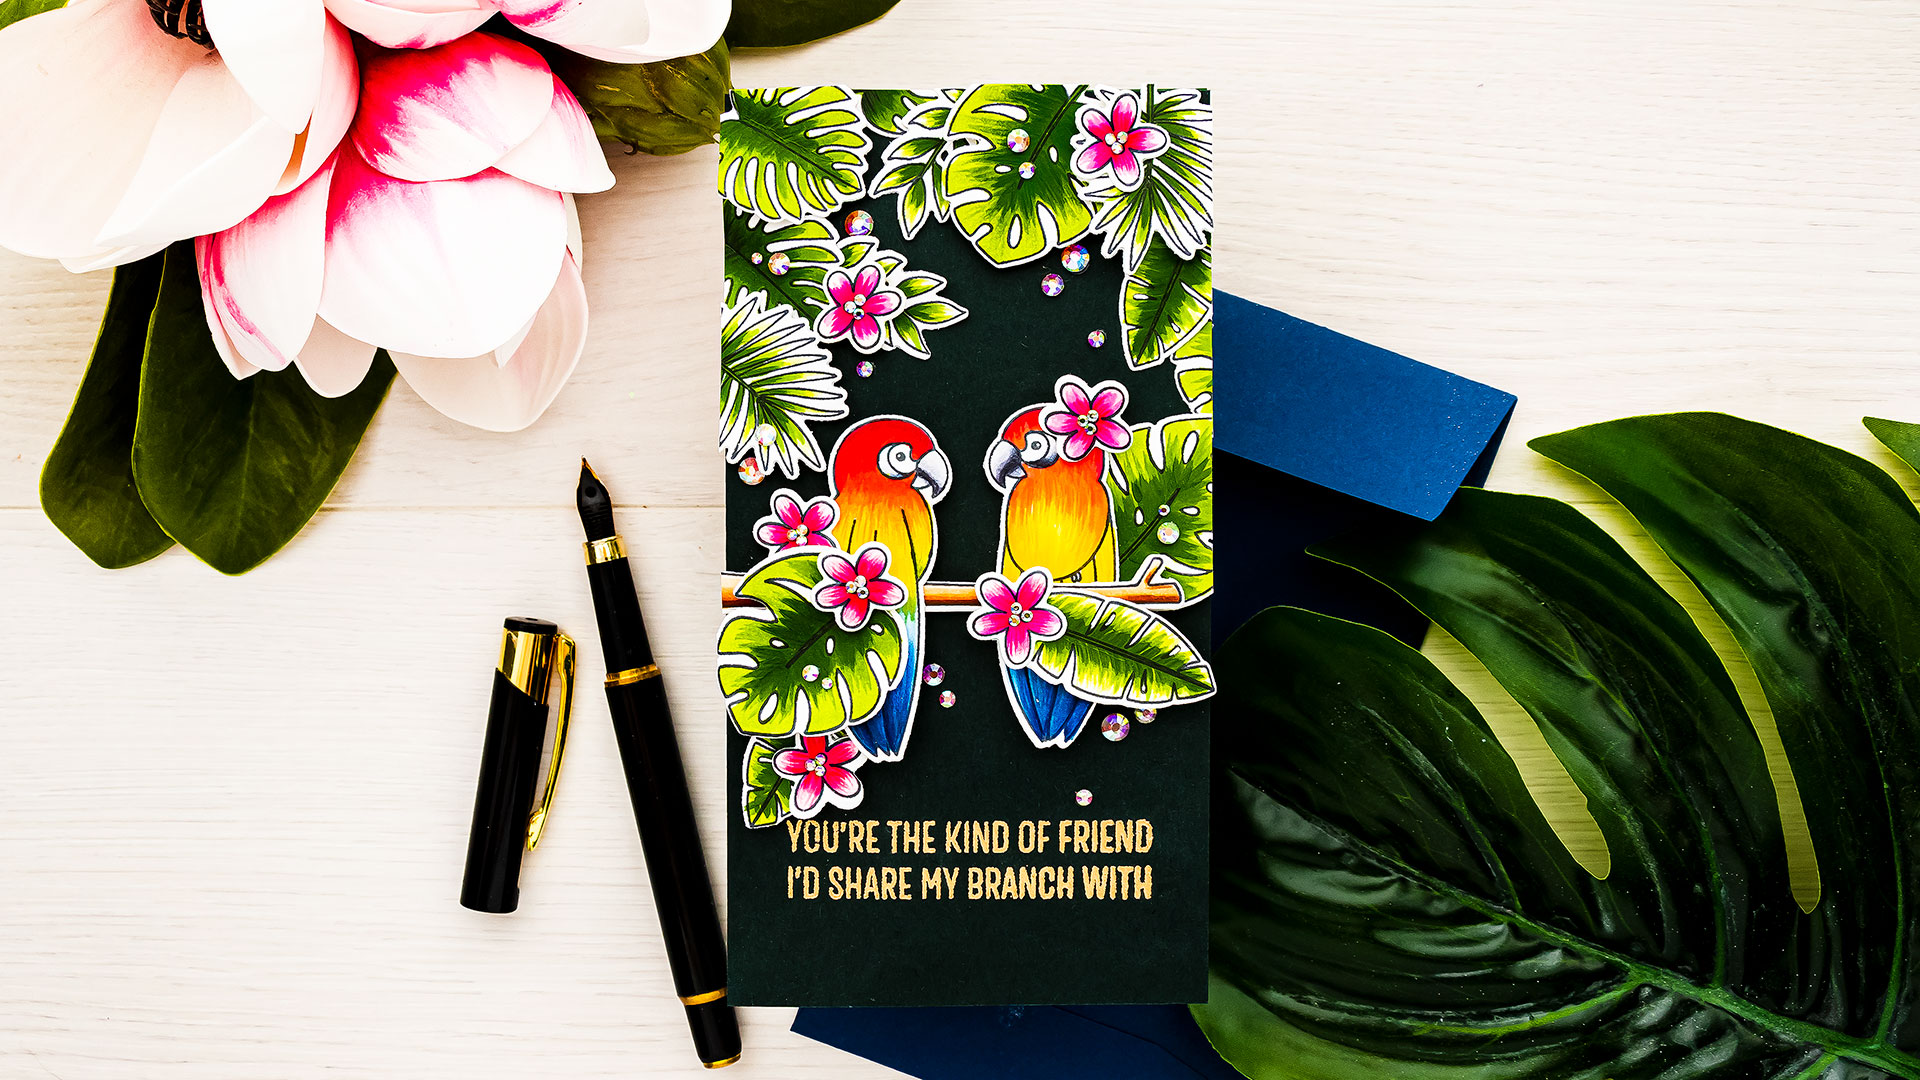
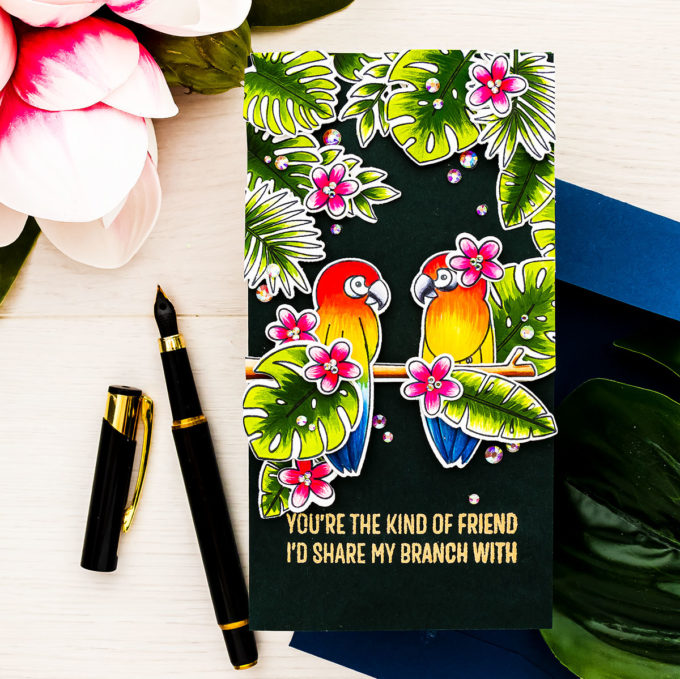
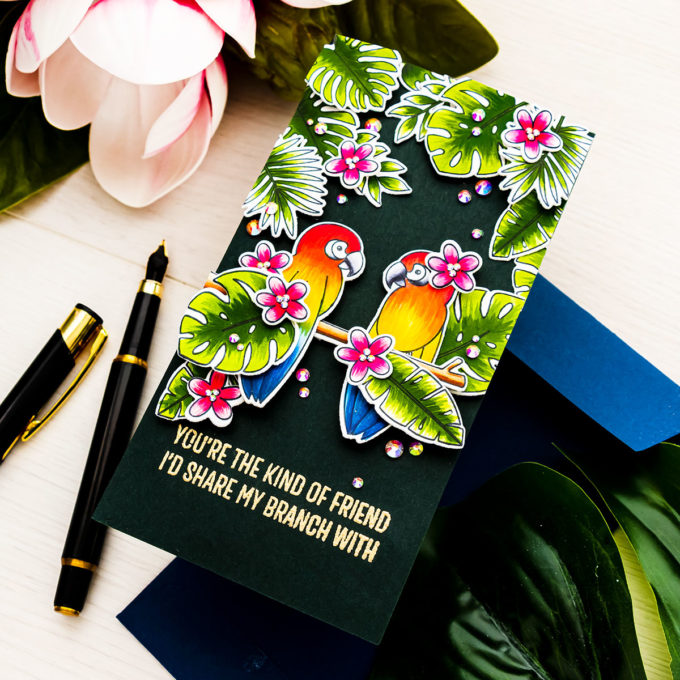
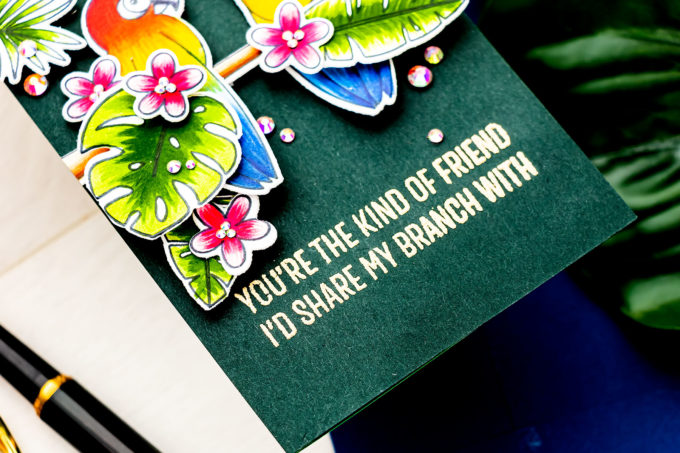
With the coloring done, I cut the images out using coordinating dies. Next, I cut a panel of dark green cardstock and heat embossed one of the sentiments from this stamp set in gold embossing powder – it reads – you’re the kind of friend I’d share my branch with.
I also made a mini slimline card base – it measures 3 1/4 x 6 1/4” and adhered sentiment panel on top. I used light green cardstock for the card base – just to change things up a bit as I didn’t want the card to be white.
Next, I used a combination of foam adhesive squares and glue and adhered my die cuts onto the card creating a scene. I have a branch in the center of the card and my two birds sharing it. I also have a lot of tropical foliage surrounding the birds and framing the scene a bit from the top. I love that this stamp set includes the little flowers as well – they added a perfect touch of pink onto this card.
I used my scissors and trimmed the excess die cuts off and finally finished the card off by adding a bunch of gems. I did dress up the flower centers by adding 3 tiny gems in the center – I love how they sparkle in the light!
Have fun stamping!
SUPPLIES
I’m listing the products I used below. Click on the link to go directly to the product. Where available I use compensated affiliate links which means if you make a purchase I receive a small commission at no extra cost to you. Thank you so much for your support!
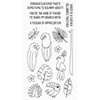 MFT Something to Squawk About Shop at: SSS | AN/HA |
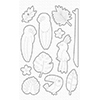 MFT Something to Squawk About Die-namics Shop at: SSS | AN/HA |
 Spellbinders Platinum Die Cutting Machine Shop at: SSS | SC | SB | AZ |
 Simon Says Stamp Card Stock Midnight Green Shop at: SSS |
 Simon Says Stamp White Cardstock 120LB Shop at: SSS |
 Neenah 110 Lb Solar White Cardstock Shop at: SSS | AZ |
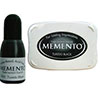 Memento Tuxedo Black Ink Pad Shop at: SSS | SC | AZ |
 Mini Misti Stamping Tool Shop at: SSS | SC | AN/HA | AZ |
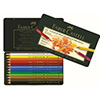 Faber-Castell Polychromos 12 Set Shop at: SSS | AZ | BL |
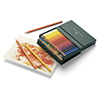 Faber-Castell Polychromos 36 Set Shop at: AZ | BL |
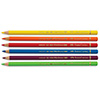 Faber-Castell Polychromos Colored Pencils Shop at: BL |
 Faber-Castell Polychromos 24 Set Shop at: SSS | AZ | BL |
 Faber-Castell Polychromos 60 Set Shop at: SSS | AZ | BL |
 Faber-Castell Polychromos 120 Set Shop at: AZ | BL |
 HERO ARTS CLEAR EMBOSSING & WATERMARK INK Shop at: SSS | SC | AN/HA | AZ |
 EK SUCCESS POWDER TOOL APPLICATOR Shop at: SSS | SC | AZ |
 Simon Says Stamp Antique Gold Embossing Powder Shop at: SSS |
 HERO ARTS HEAT EMBOSSING GUN Shop at: SSS | SC | AN/HA | AZ |
 Copic Sketch Marker Y11 Pale Yellow Shop at: SSS | AZ | BL |
 Copic Sketch Marker Y08 Acid Yellow Shop at: SSS | PPP | AZ |
 Copic Sketch Marker Y19 Napoli Yellow Shop at: SSS | AZ |
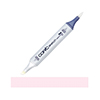 Copic Sketch Marker RV00 Water Lily Shop at: SSS | AZ | BL |
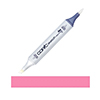 Copic Sketch Marker Rv06 Cerise Bright Pink Shop at: SSS |
 Copic Sketch Marker RV09 Fuchsia Shop at: SSS | AZ |
 Copic Sketch Marker R24 Prawn Shop at: SSS | AZ | BL |
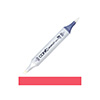 Copic Sketch Marker R27 Cadmium Red Shop at: SSS | AZ | BL |
 Copic Sketch Marker R39 Garnet Shop at: SSS | AZ | BL |
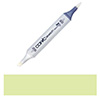 Copic Sketch Marker YG03 Yellow Green Shop at: SSS | AZ | BL |
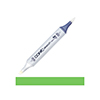 Copic Sketch Marker YG17 Grass Green Shop at: SSS | AZ | BL |
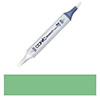 Copic Sketch Marker YG67 Moss Shop at: SSS | AZ | BL |
 Copic Sketch Marker B99 Agate Dark Blue Shop at: SSS | AZ | BL |
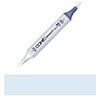 Copic Sketch Marker B21 Baby Blue Shop at: SSS | AZ | BL |
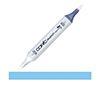 Copic Sketch Marker B34 Manganese Blue Shop at: SSS | AZ |
 Copic Sketch Marker C5 Cool Gray Grey Shop at: SSS | PPP | AZ | BL |
 Copic Sketch Marker C7 Cool Gray Shop at: SSS | PPP | AZ | BL |
 Copic Sketch Marker C9 Cool Gray Grey Shop at: SSS | AZ | BL |
 Copic Sketch Marker E31 Brick Beige Shop at: SSS | AZ | BL |
 Copic Sketch Marker E33 Sand Shop at: SSS | AZ | BL |
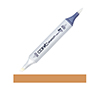 Copic Sketch Marker E37 Sepia Shop at: SSS | AZ | BL |
 Bearly Art Mini Precision Craft Glue Shop at: SSS | SB | AZ |
 Tonic Studios 8.5 Inch Paper Trimmer Shop at: SSS | SC | AZ | TS |
 White Foam Squares Shop at: SSS | SC | SB | AZ |
 Spellbinders Crystal Mix Color Essential Gems Shop at: SSS |


Gorgeous card … the bright colours are so striking on the dark background!
Really pretty card. The colors on the birds was amazing. Tried the flicking per your instructions but need more practice. HMMM! Maybe should have gotten out the colored pencils? Thanks for showing us your tips and techniques.
OMG! the bird colors are fantastic! the polychromo pencil details are brilliant! LOVE the dark green background— really makes the birds POP! I like the “non-white” card base as well…Just TERRIFIC! I gotta get this stamp set!
Thanks for blowing my card supply budget out the window!! 🙂
Gorgeous card Yana!!! I love your colorful birds!!