


One of my favorite parts about cardmaking is photography! I am an amateur photographer (my hubby and his Dad are both very good at this and they always give me tips) and I love to creatively style my projects when I take photos for my blog. While there’s still a lot for me to learn (I never change the settings on my camera as I am simply afraid to mess things up) I wanted to share a little bit about various props I use to make my photos better.
I am breaking this post into a few sections for easy reading/scanning. I hope you’ll find this information useful! Feel free to share with your friends or ask questions in the comments section.
LAY FLAT PHOTOGRAPHY
Since our move to Arizona my space is very limited (we live in a one bedroom apartment), thus I prefer lay flat photography for my projects. What is “lay flat”? This simply means that the object you want to photograph lays flat on a surface and the camera is located directly above it.
With lay flat I need no more than 4 sq feet of space on my desk to take good photos. In the past I used to take different style photos (I still love and I take them from time to time) but that kind of styling requires a lot more room which I don’t have.
BACKGROUNDS
When going for a lay flat picture one of the most important elements in your photo is the background. There are many different websites that sell gorgeous professional backdrops for photos (Debby Hughes has some listed on her blog). I am yet to shop there lol! Instead I use everyday household items and surfaces as backgrounds.
BACKGROUNDS – YOUR FURNITURE
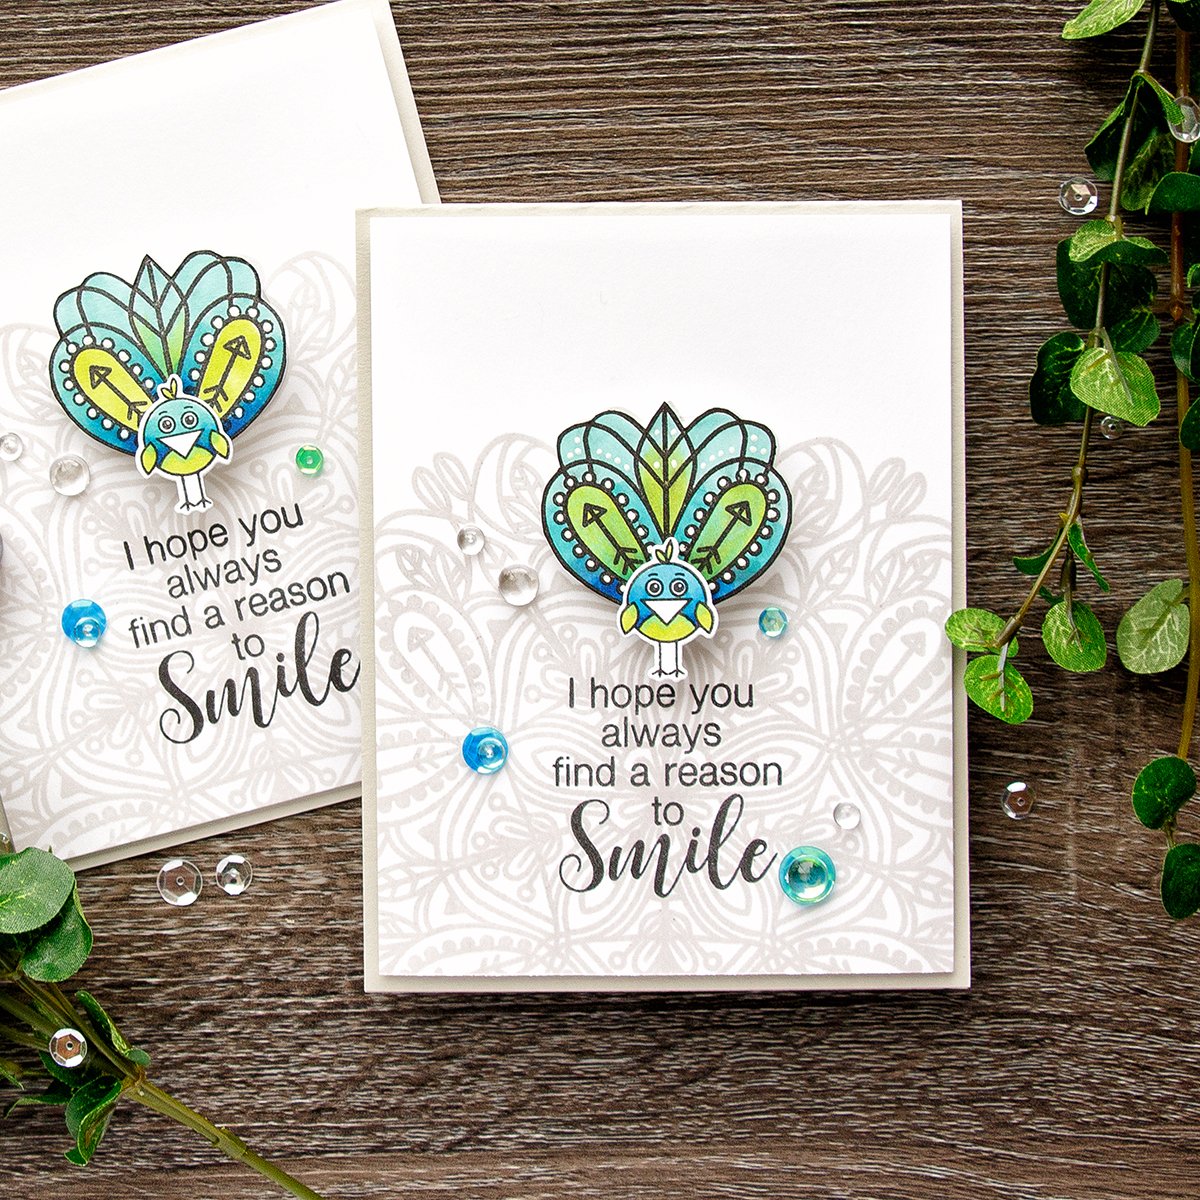
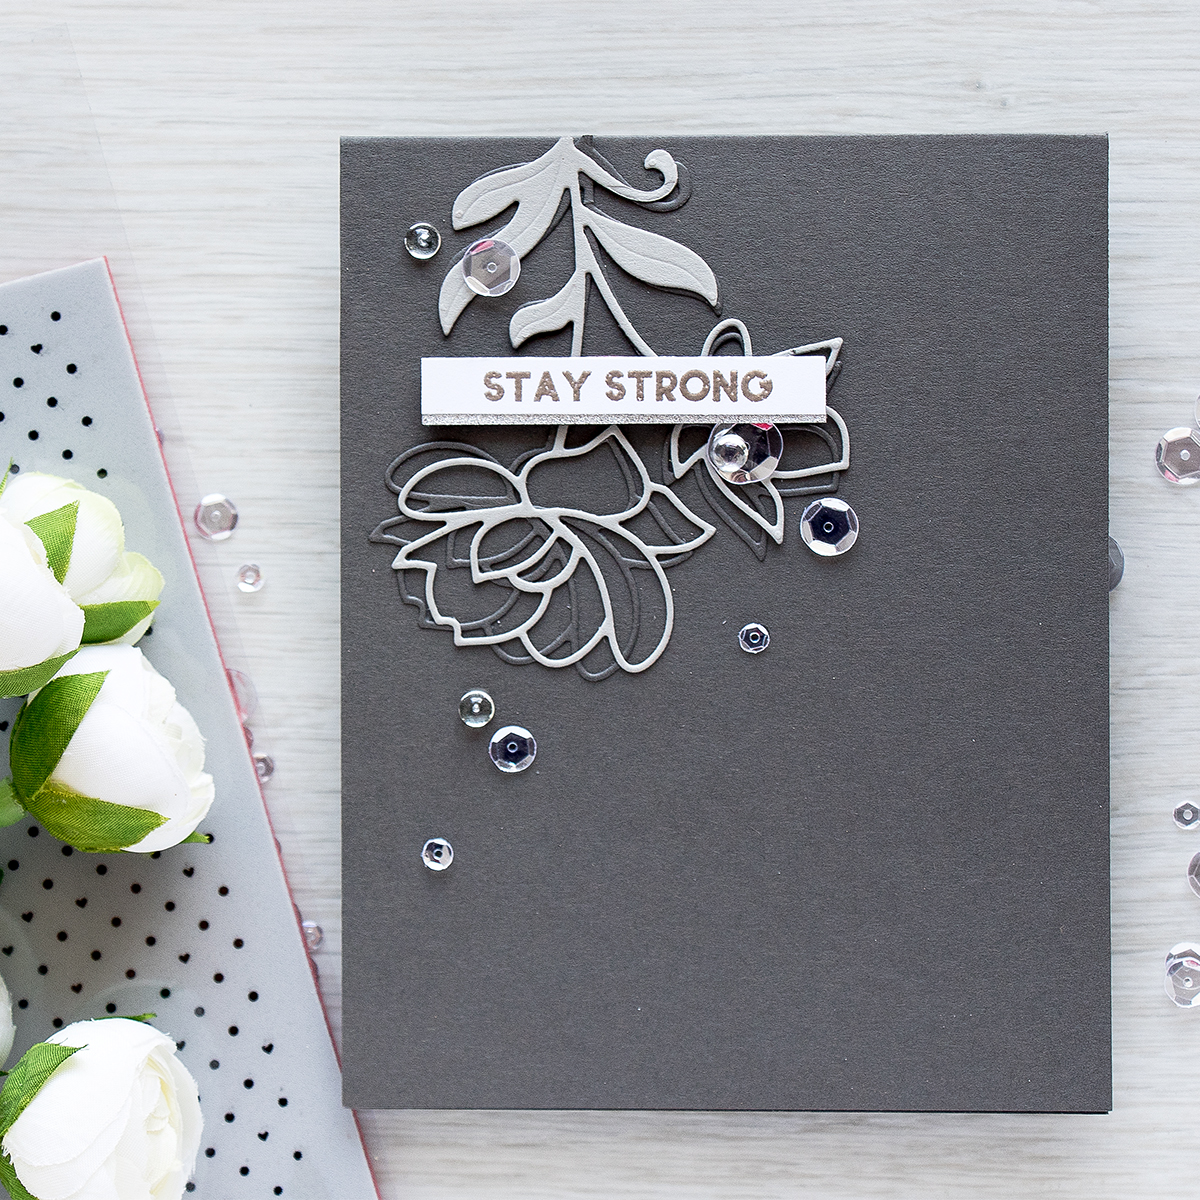
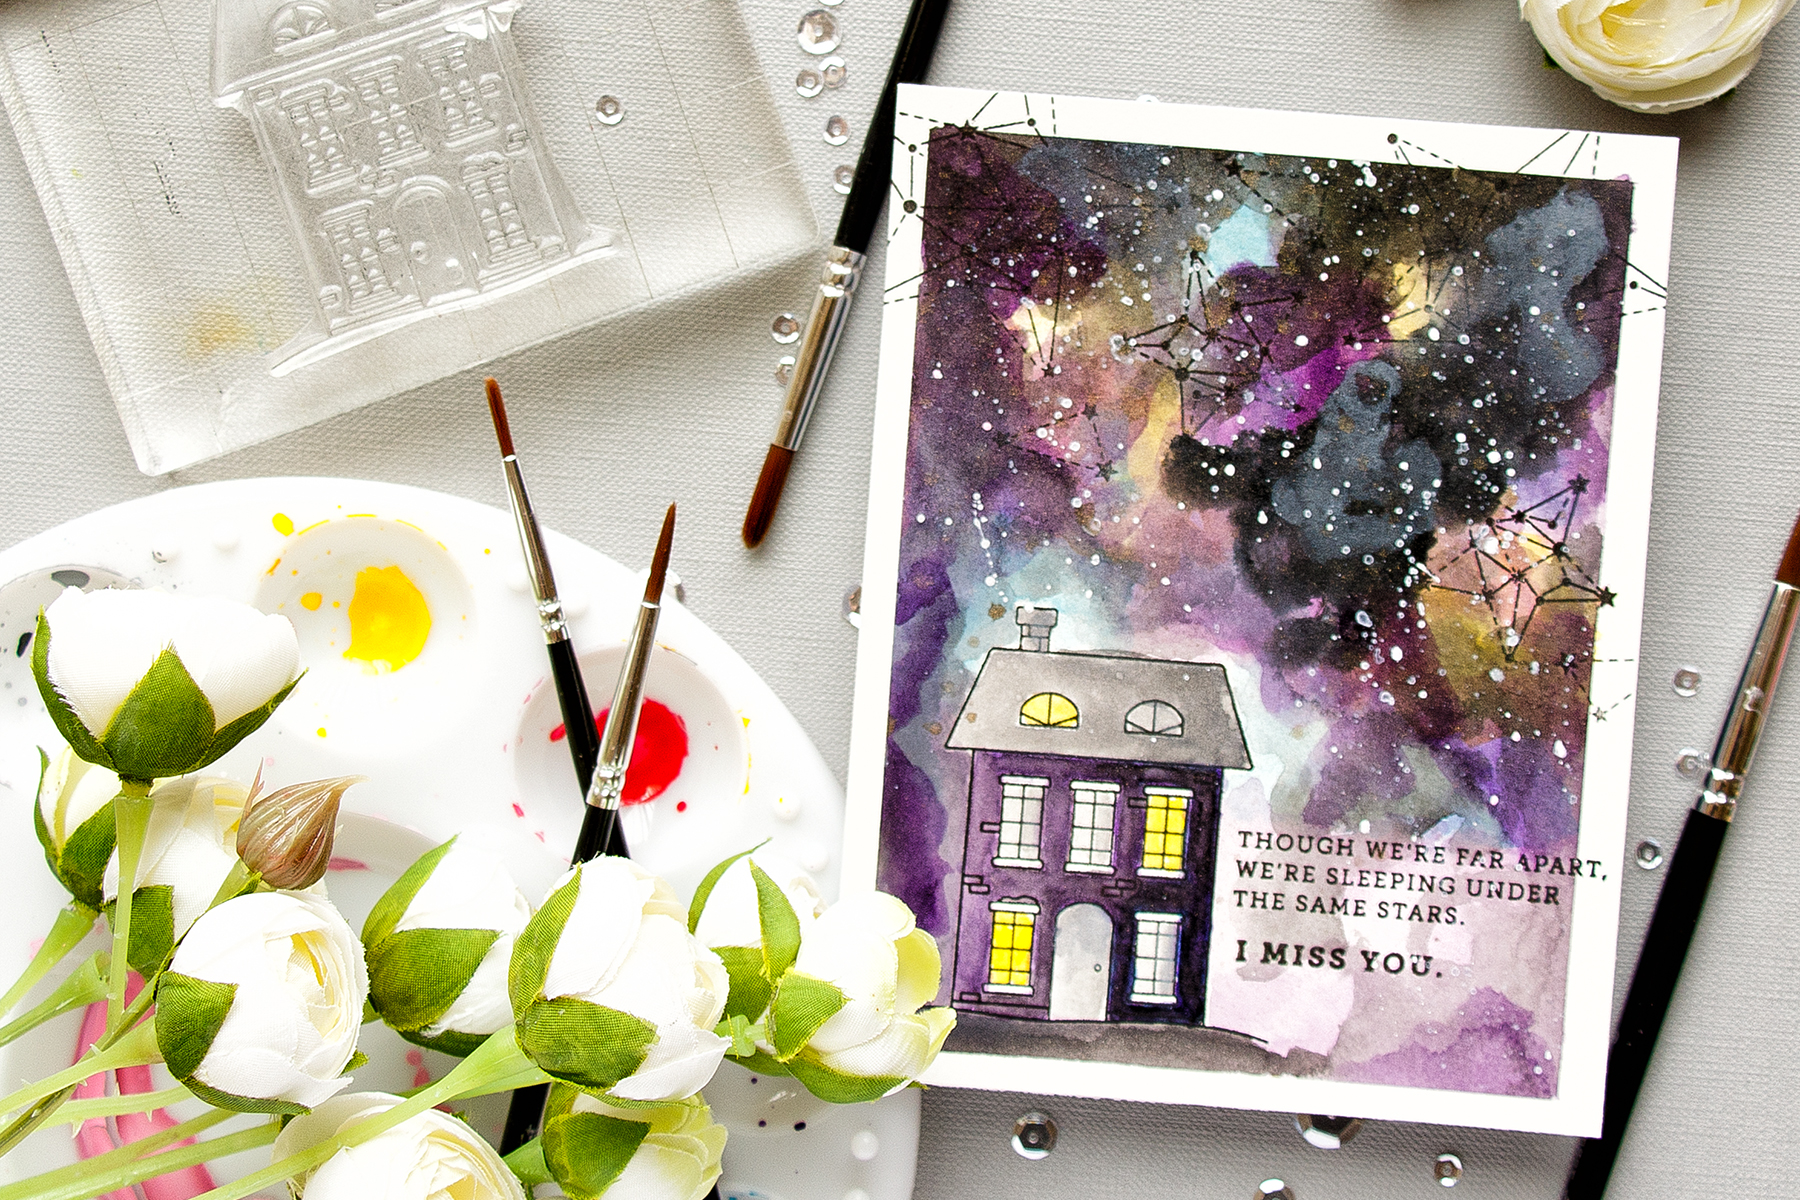
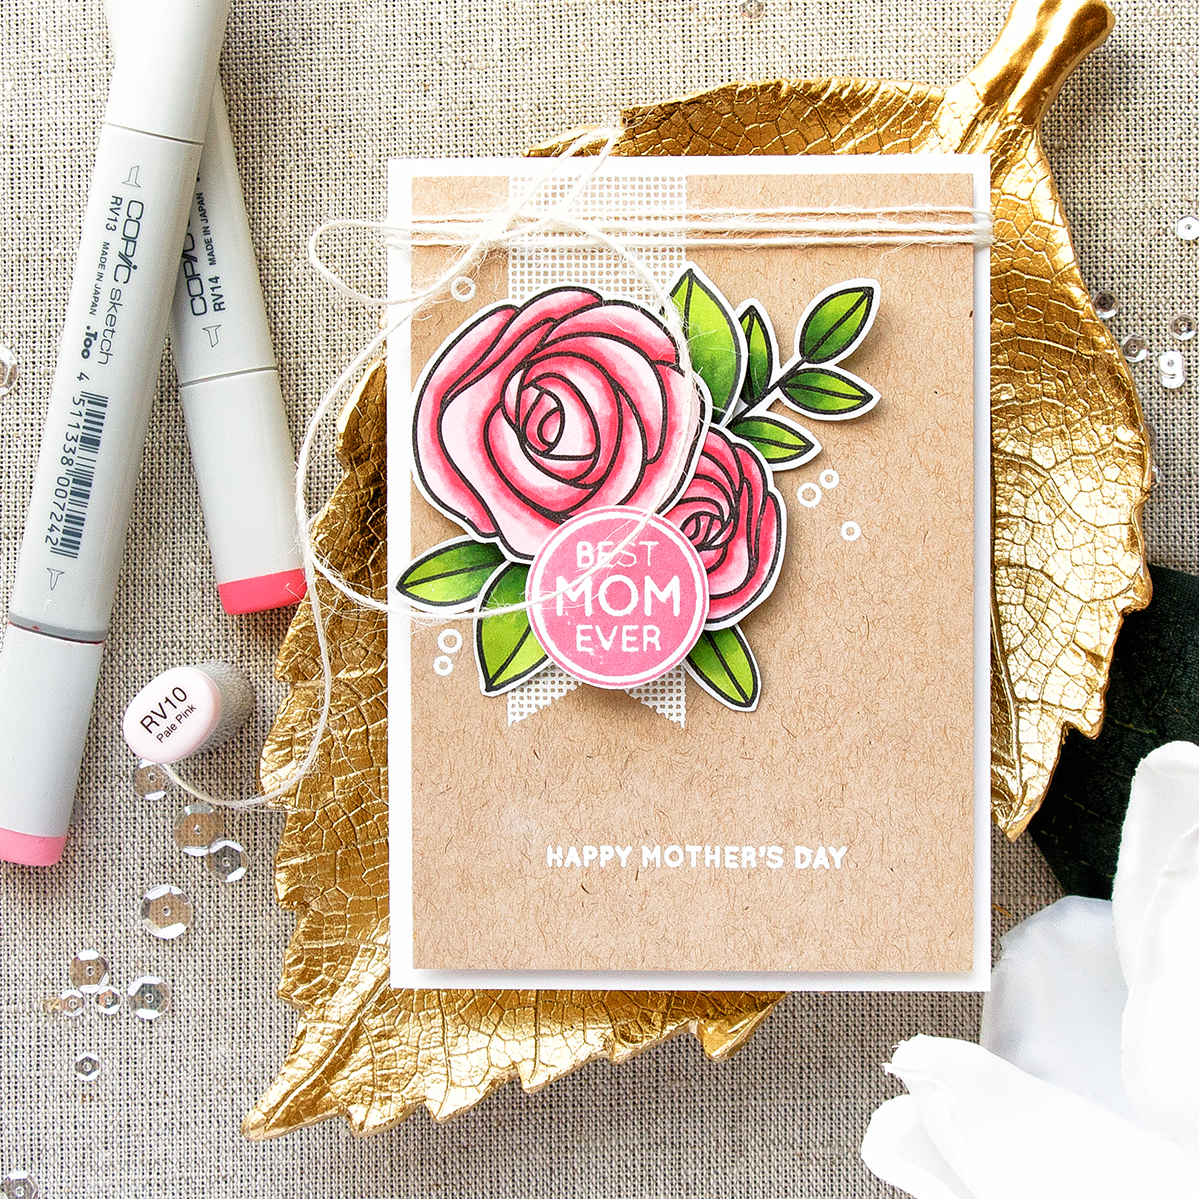
One of the backgrounds I use most often is the surface of my computer desk. When I was shopping for this desk I knew I would use it for photos so I kept that in mind when picking out the color and texture of the wood. I love to use it for simple, almost one-layer light projects. The dark color of the background helps the card colors pop. Click image to see bigger photos.
![]()


BACKGROUNDS – ON THE FLOOR
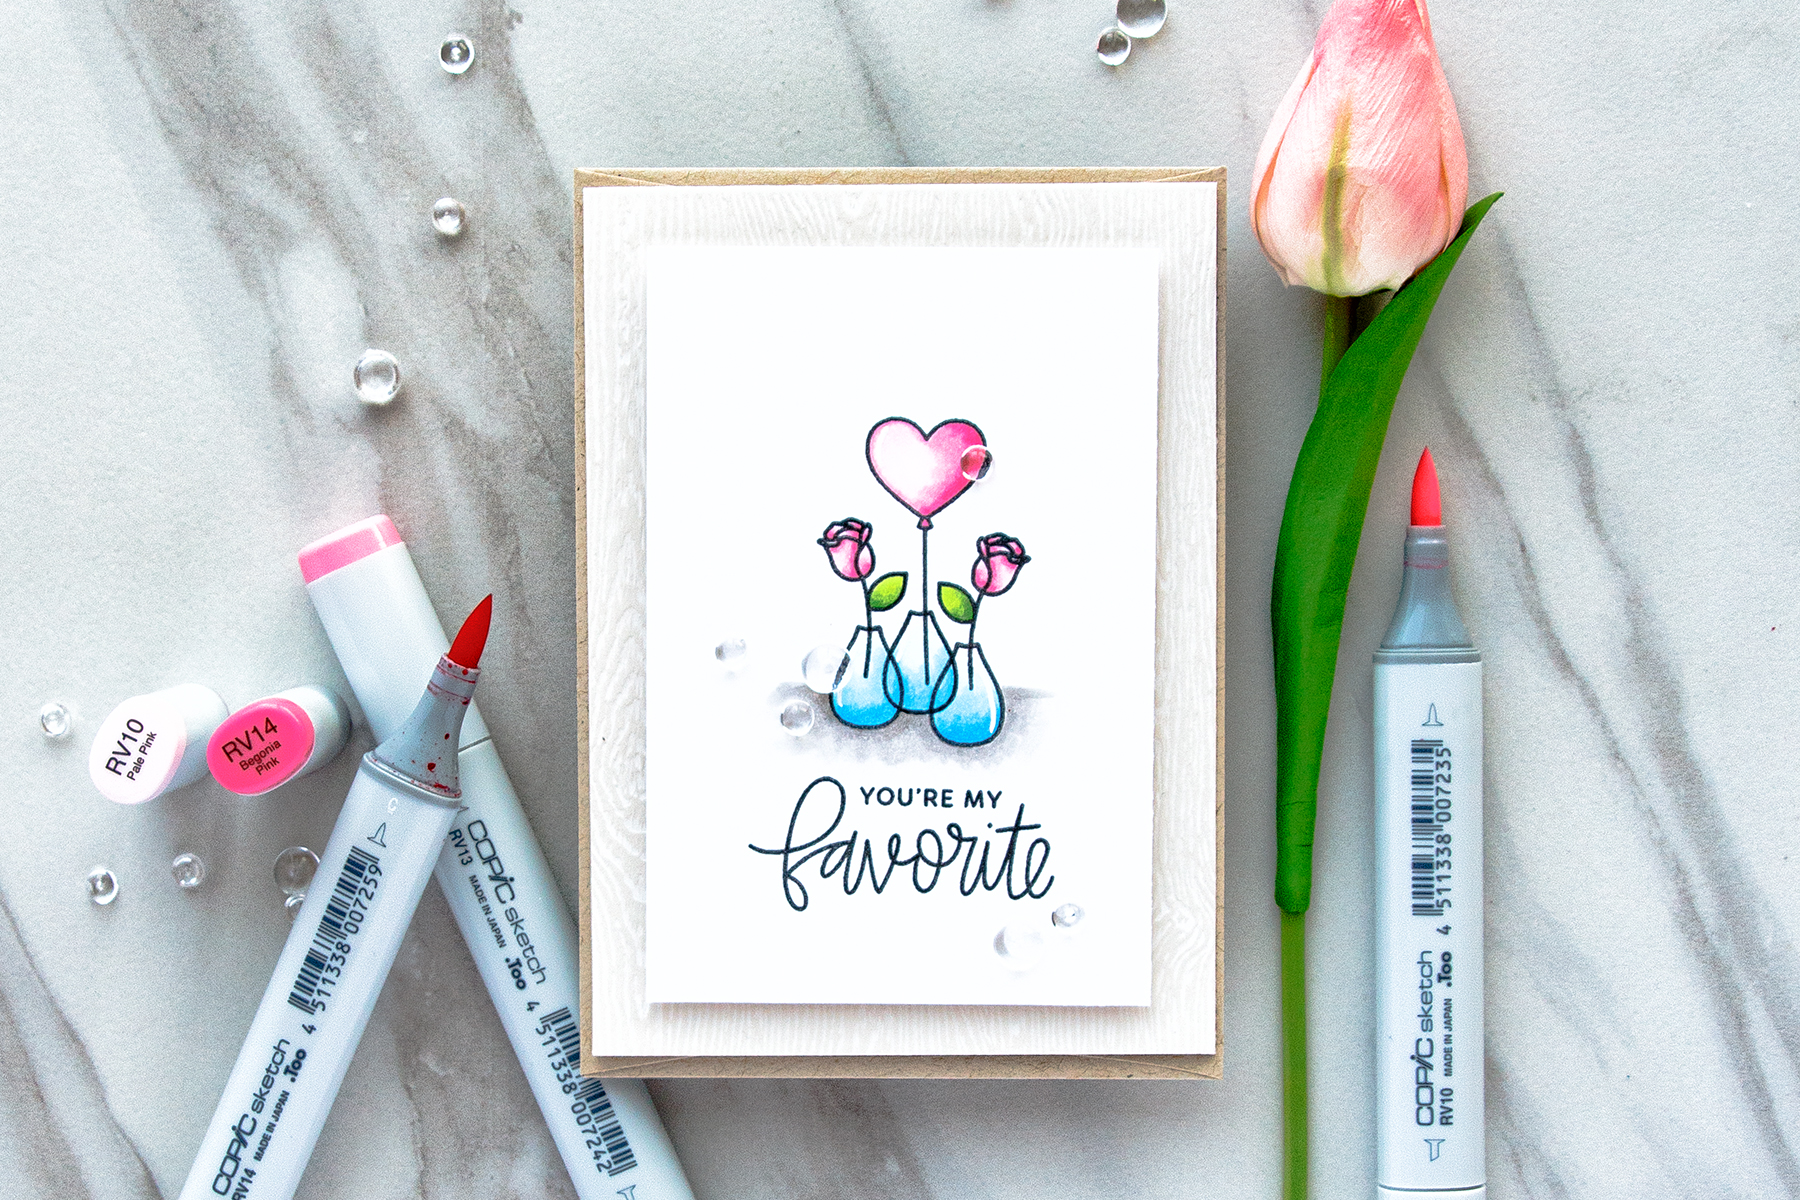
For a light woodgrain background I like to use a floor board. This is an actual floor board I brought with me from Ukraine. My Mom has this exact floor in her bedroom and when she had this floor installed there was one left over board which I kept for my photos. I had it cut slightly smaller and now often use it when I need to take vertical or skinny horizontal photos. It is very narrow so it doesn’t always work for every photo, but it works great for small 4 Bar cards.
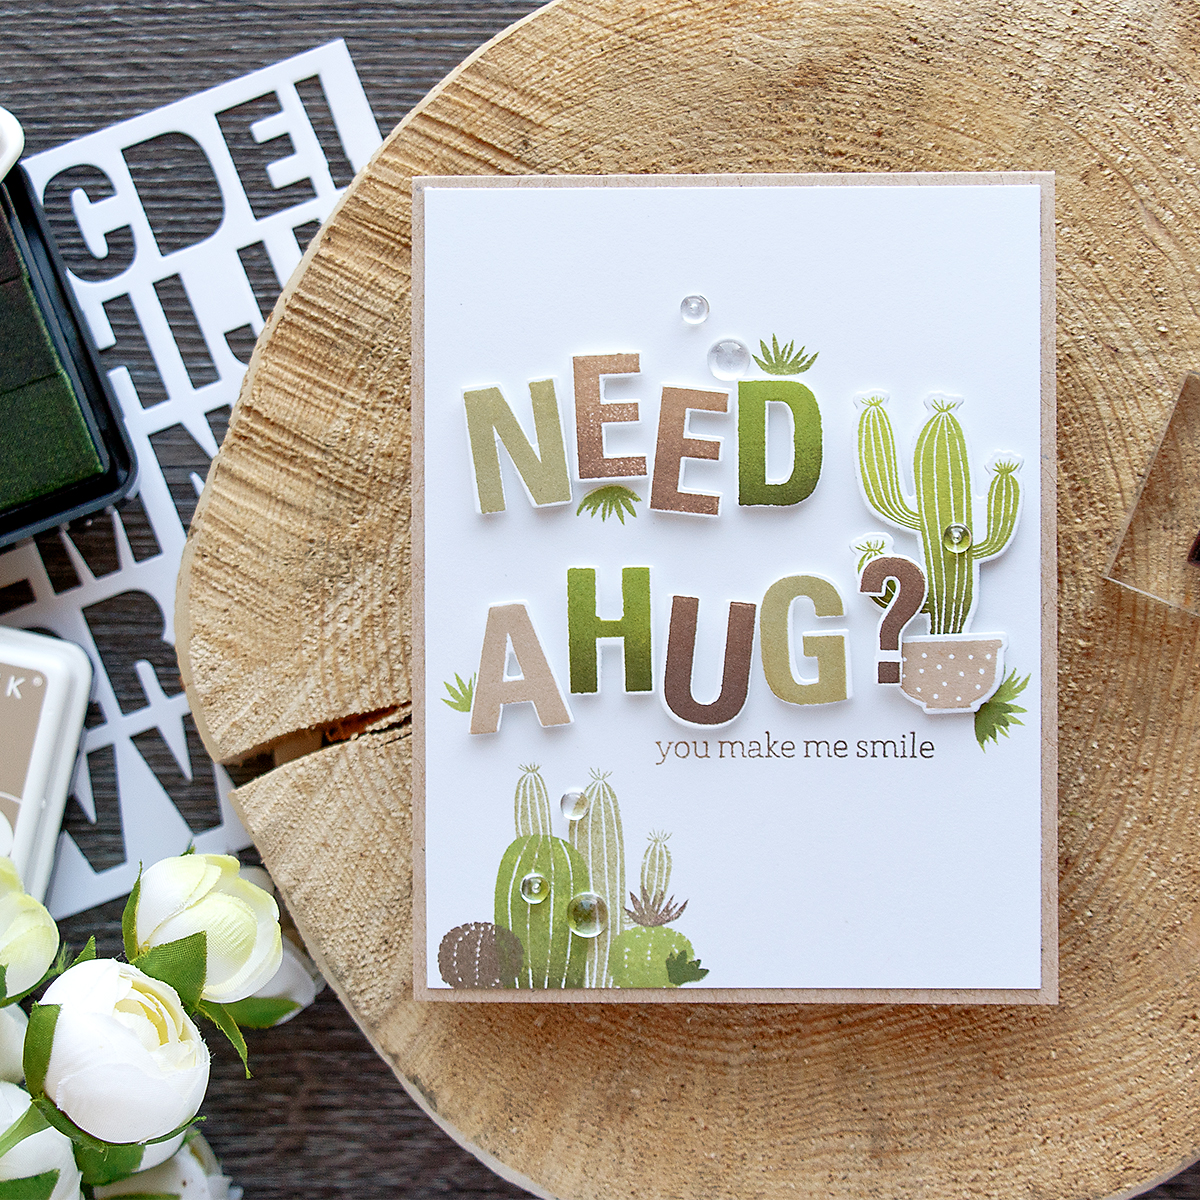
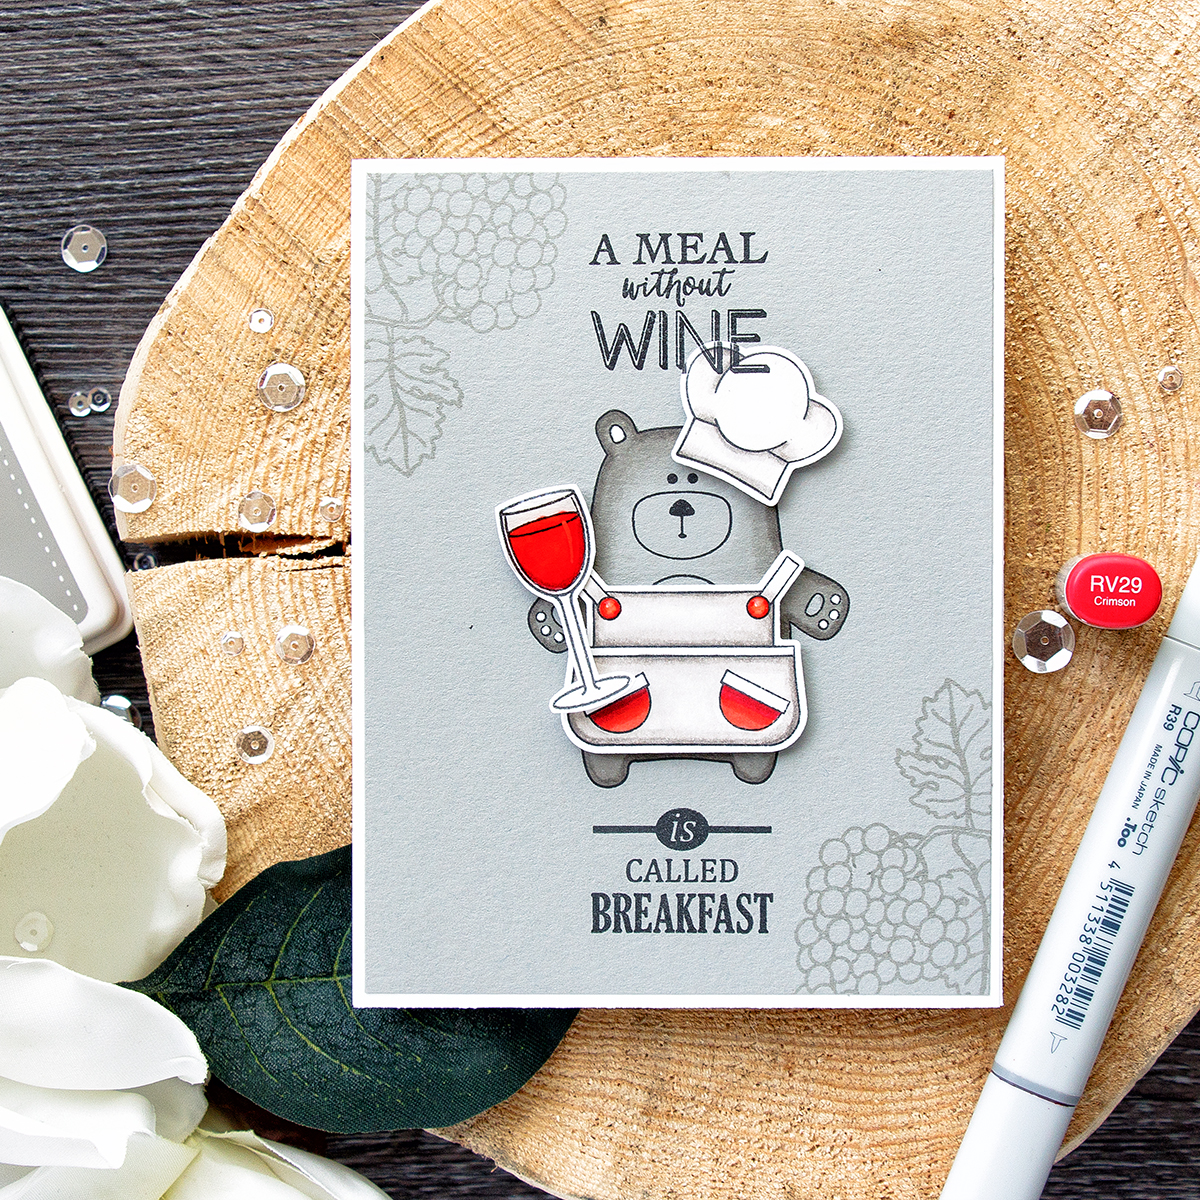
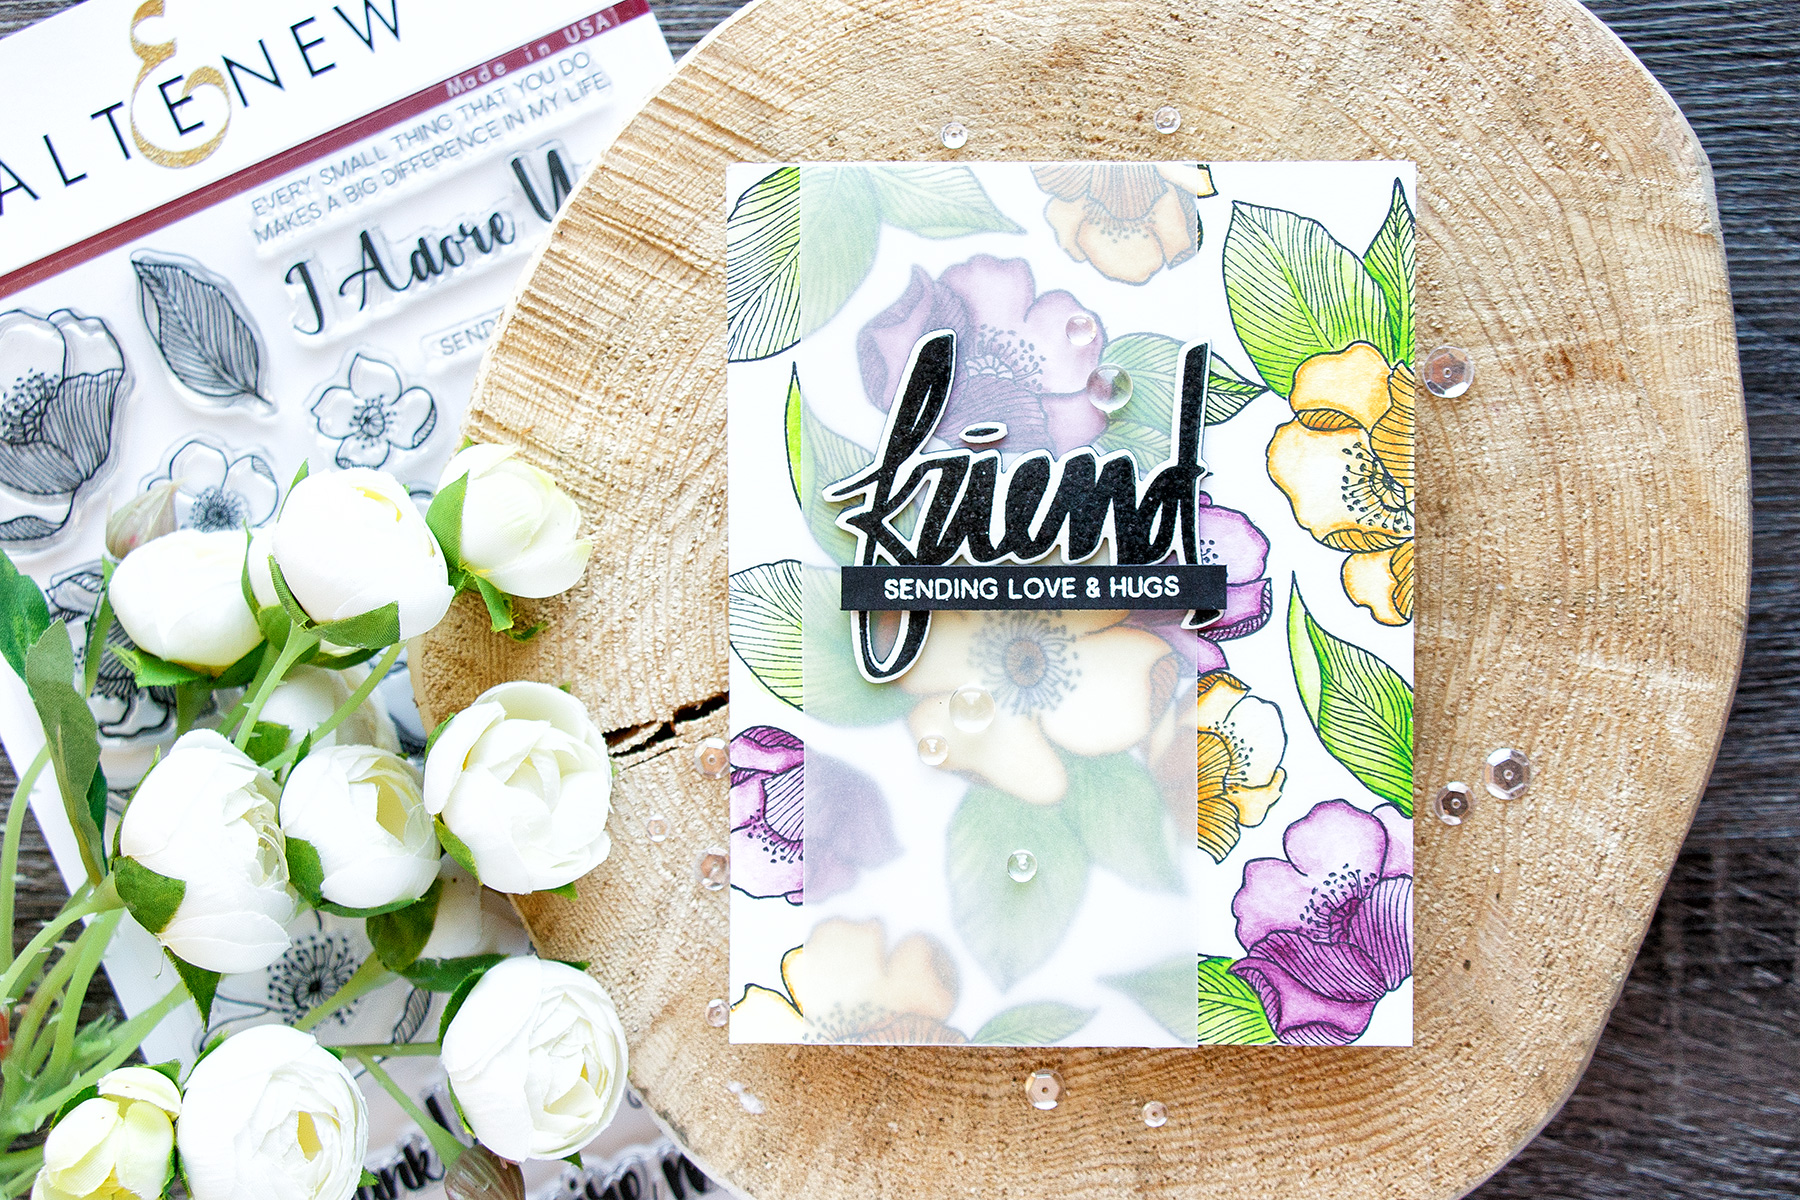
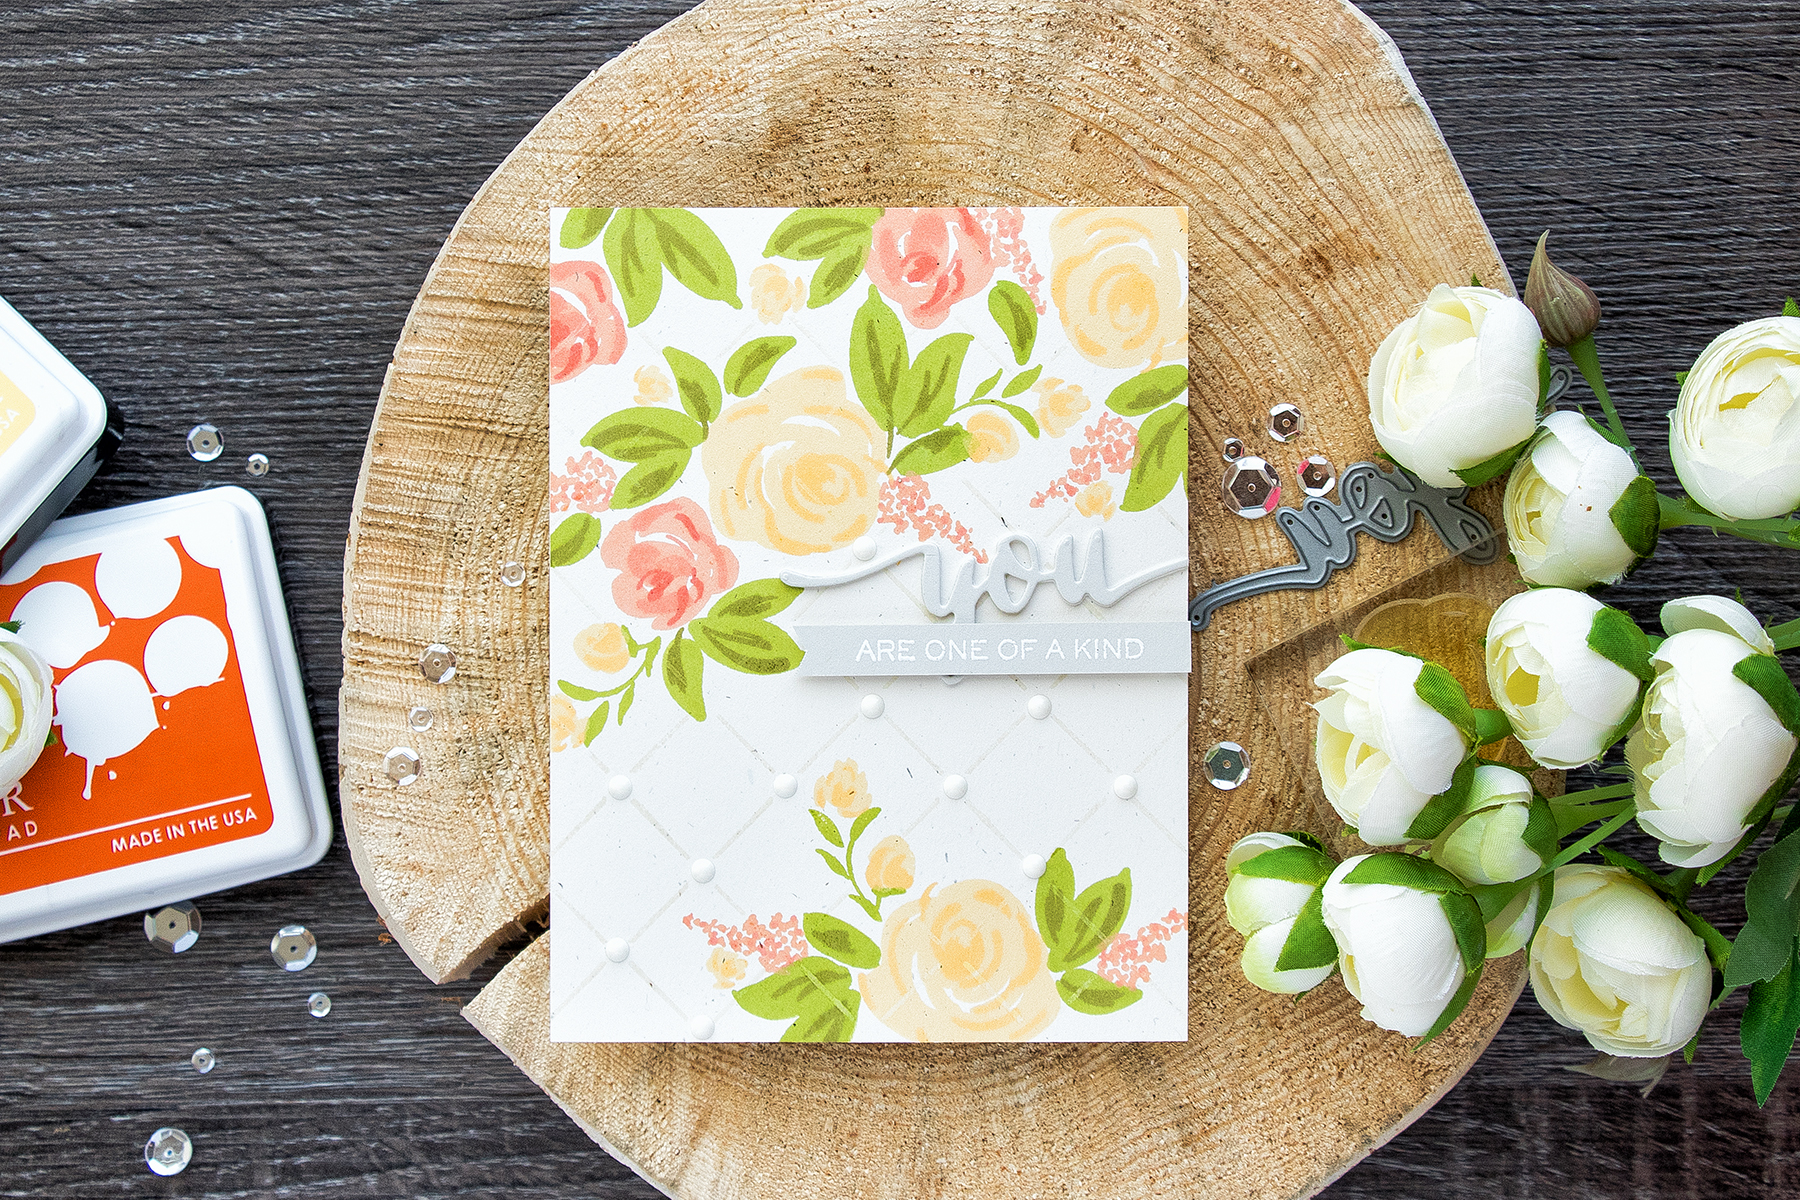
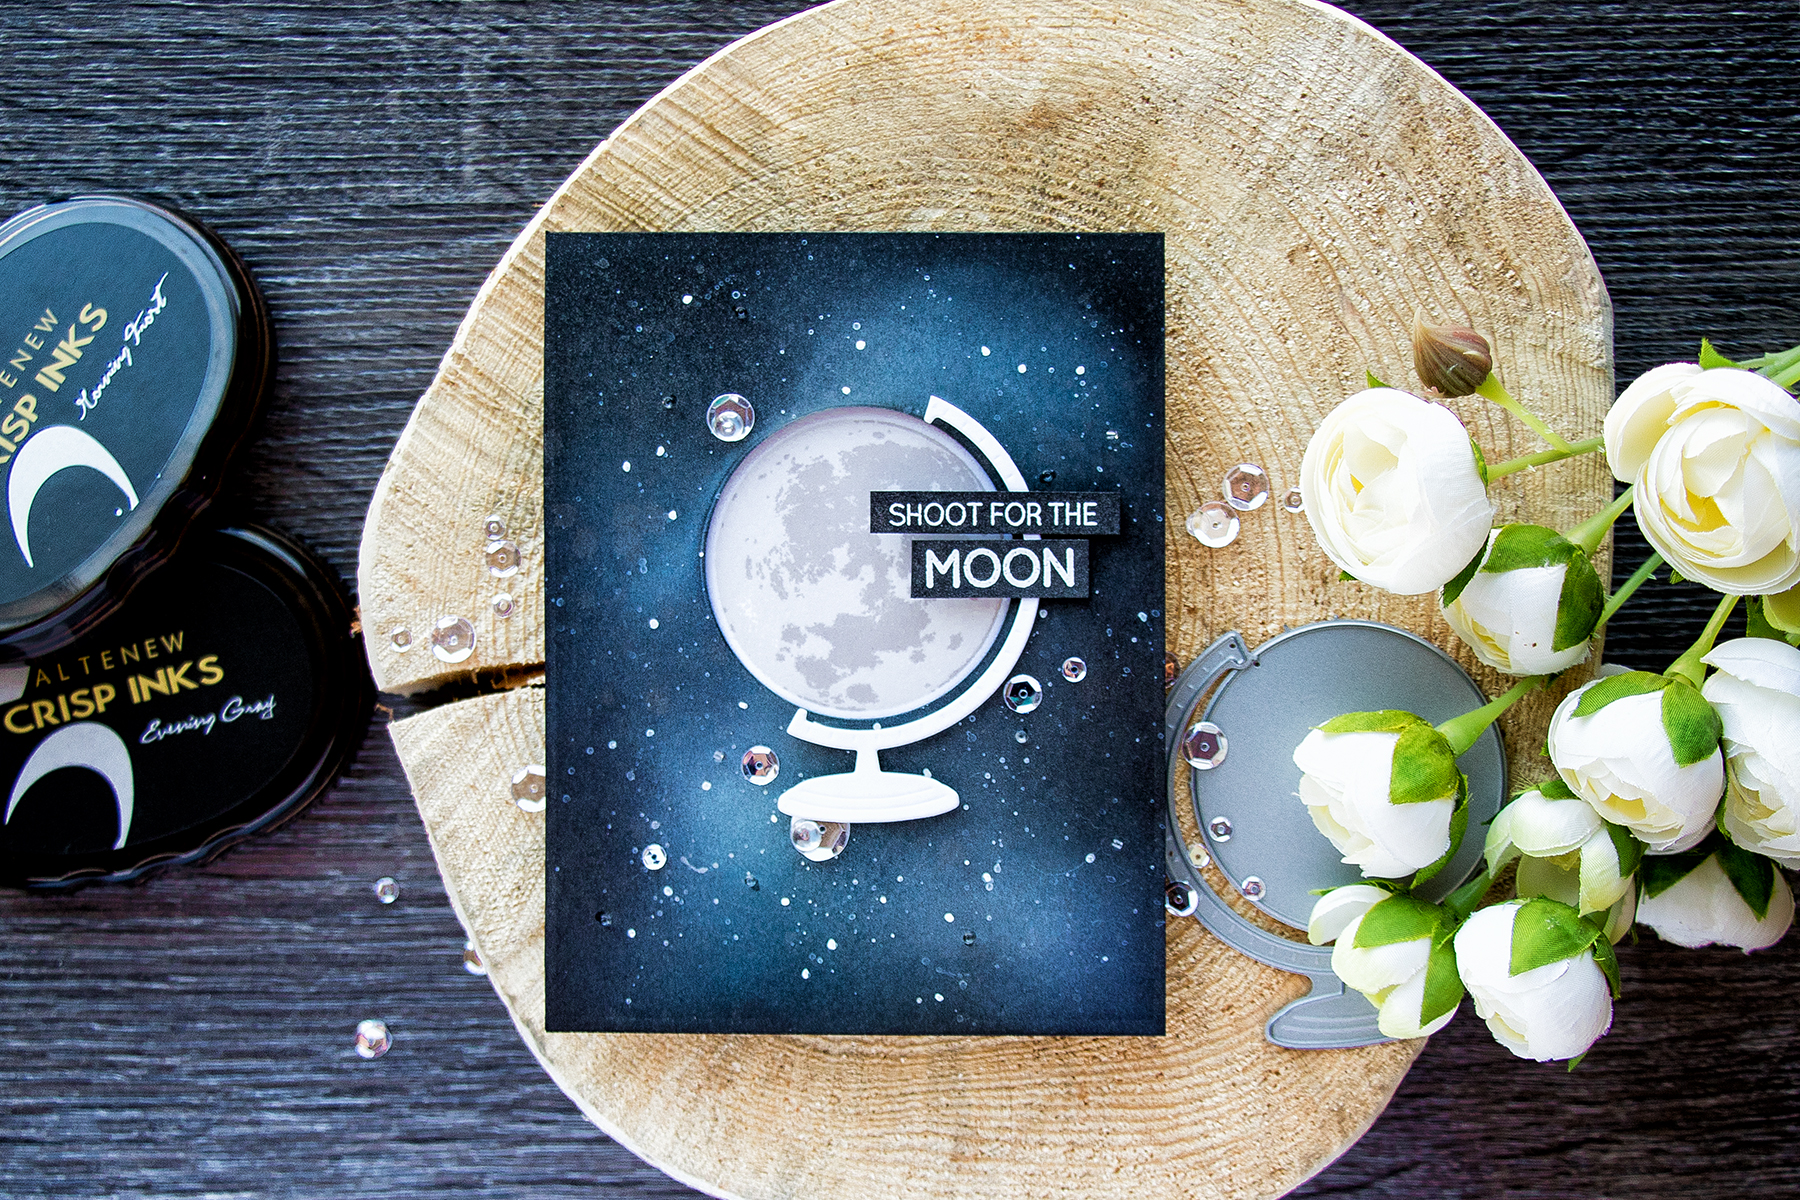
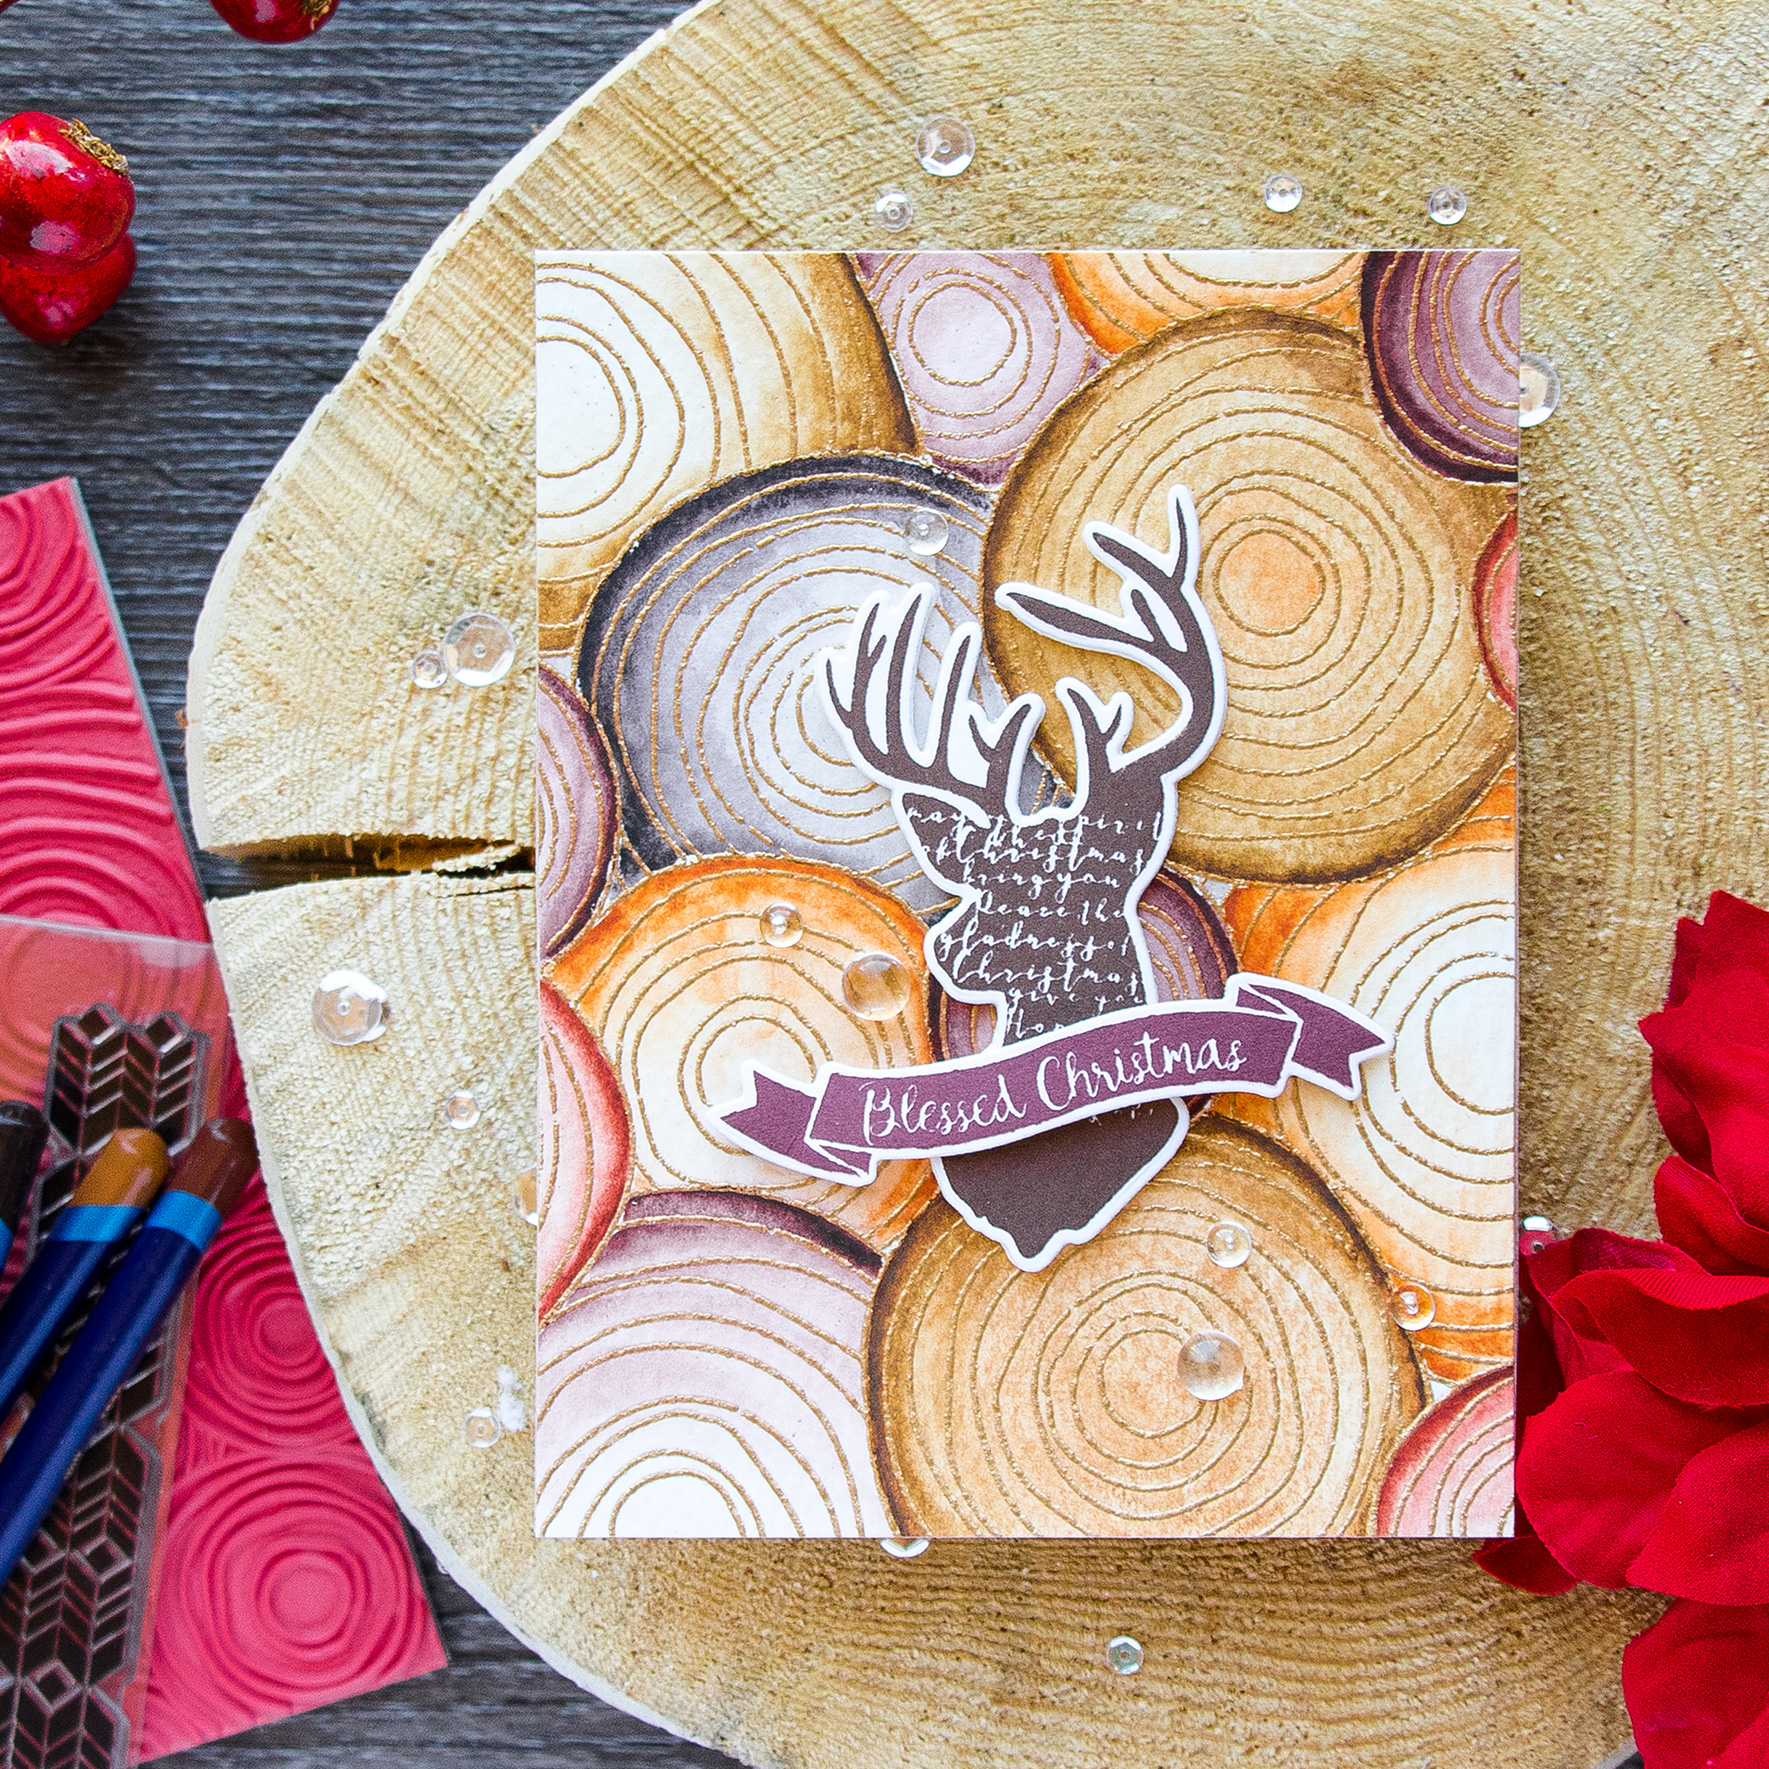
BACKGROUNDS – WOOD SLICE
This is something I recently bought for just $5 at Junk In The Trunk. This is a natural, unpolished, unstained, very uneven slice of wood. I find it works great for Fall or floral projects. I love to use it on my desk to “break up” the background and add some movement to my photo.
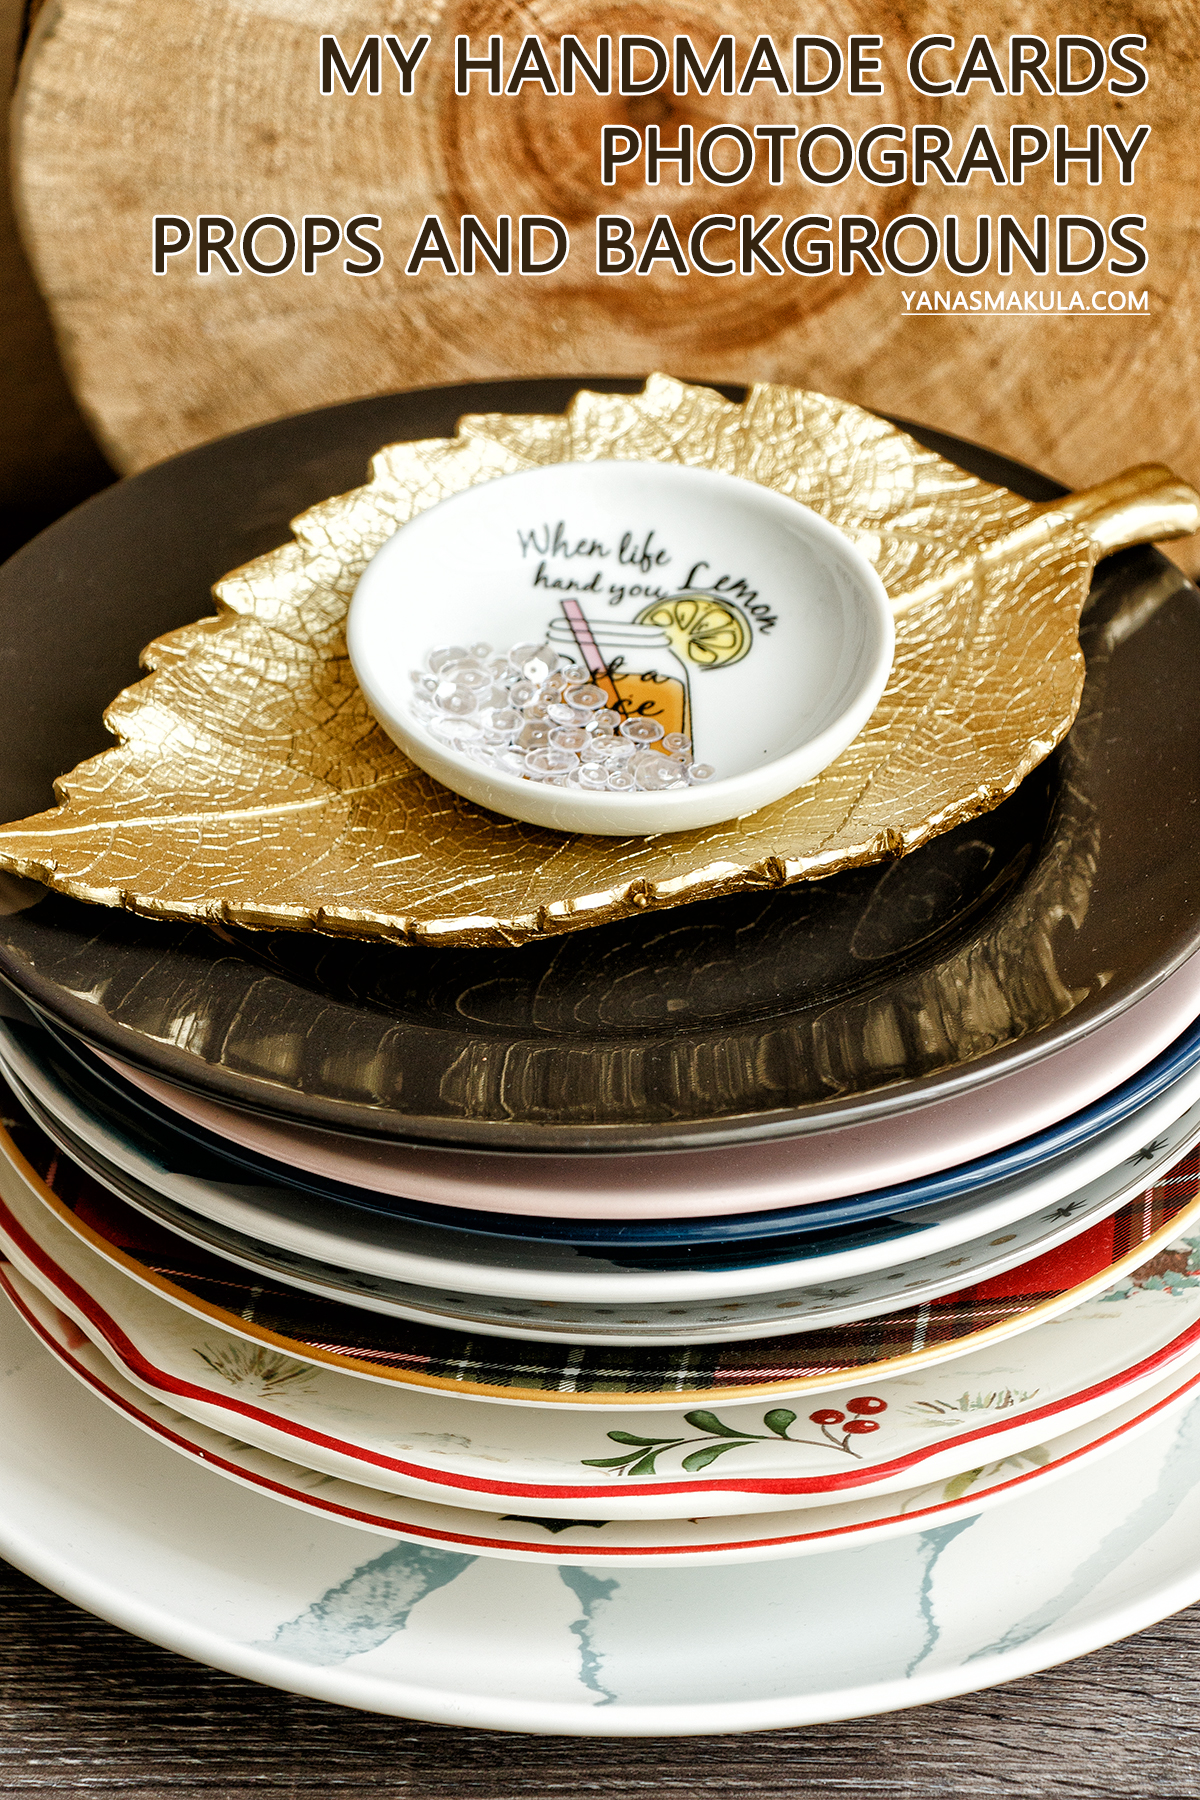
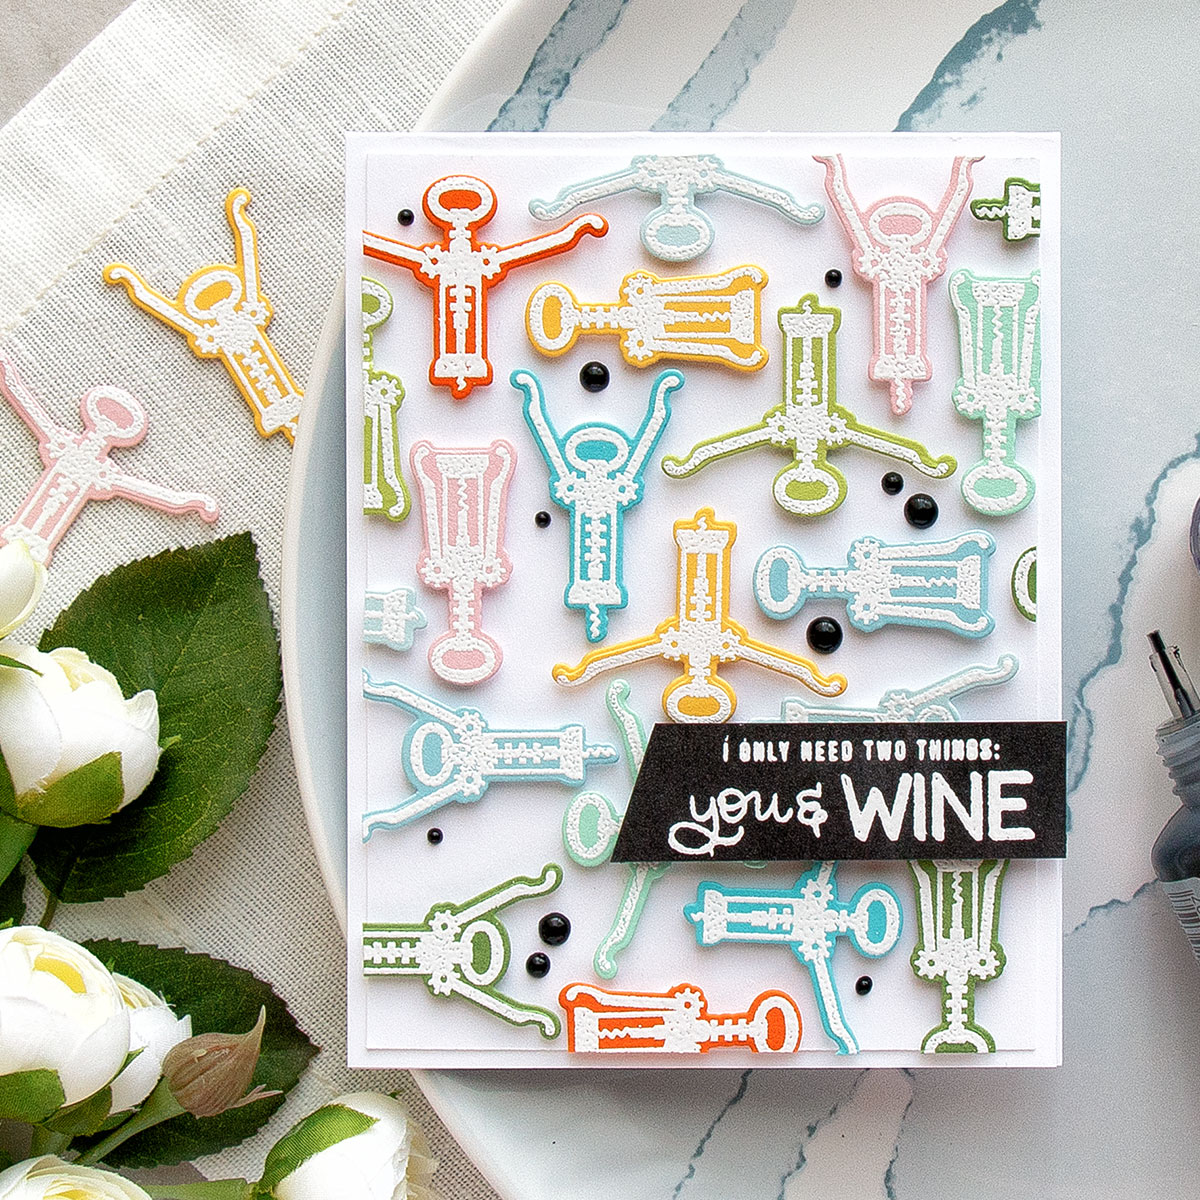
BACKGROUNDS FROM THE KITCHEN
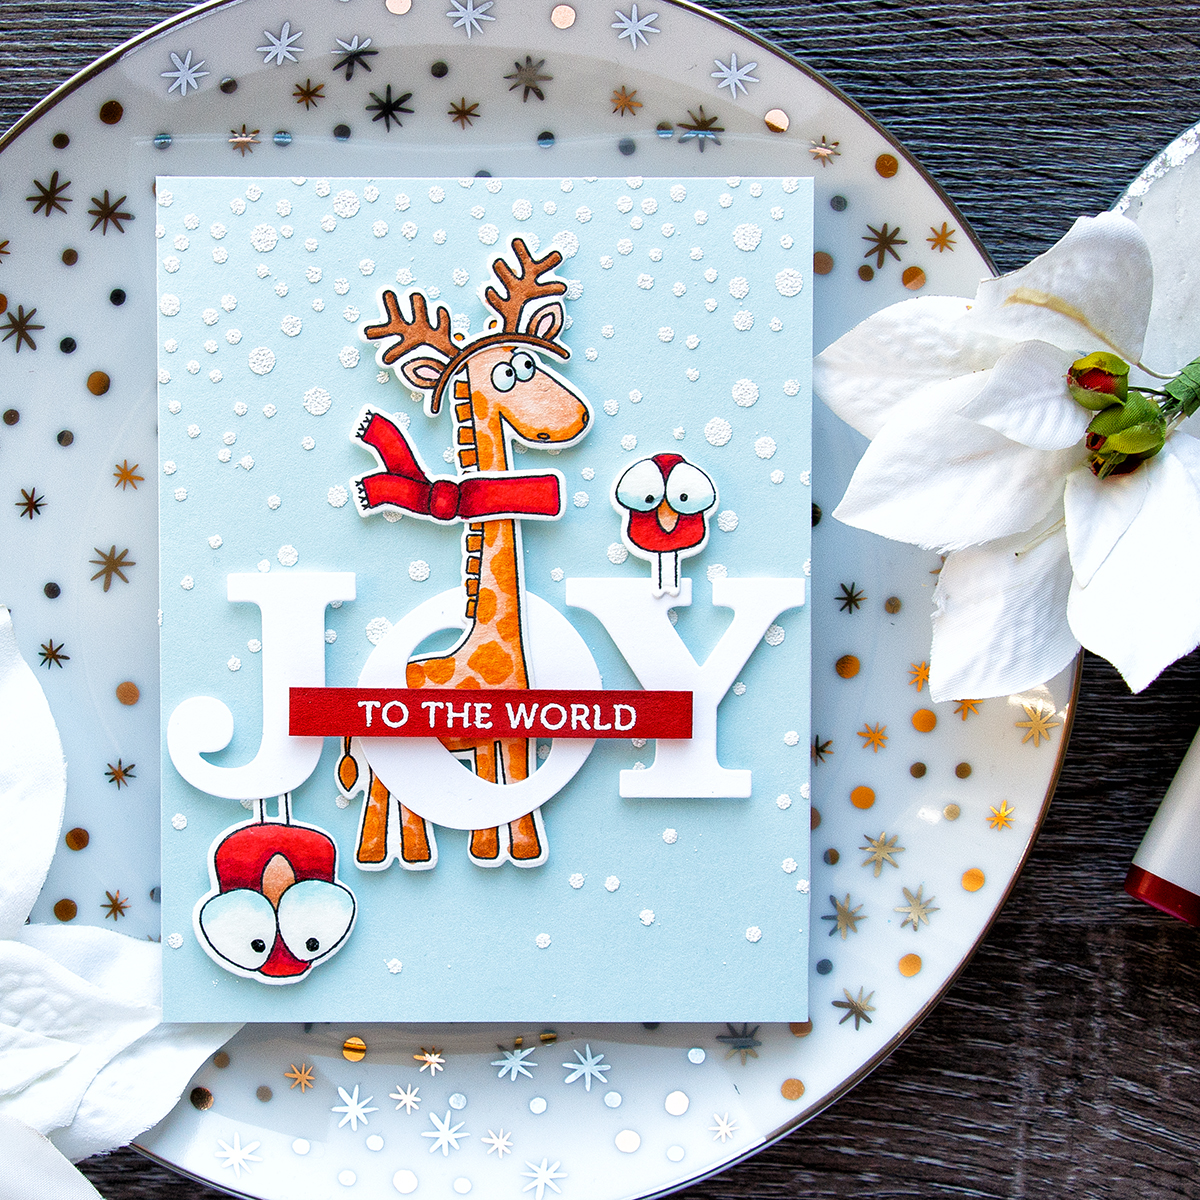
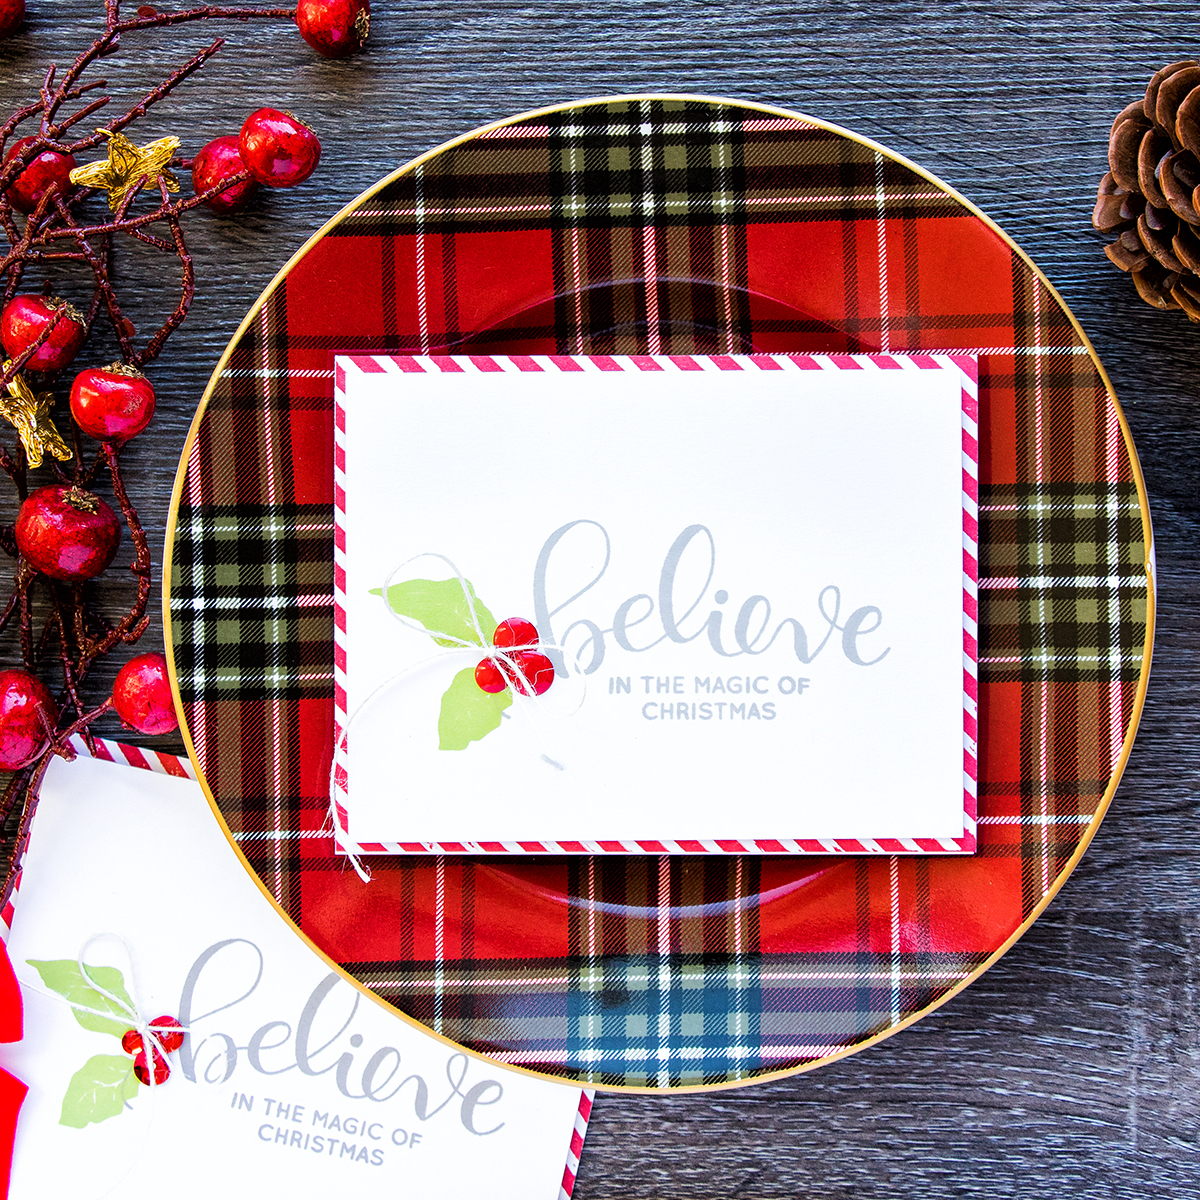
Ceramic plates are fantastic for taking photos. I prefer to use matte plates, but shiny plates also work really well. These are regular dinner plates you can find at any store. I got mine from TJ Maxx, Walmart, Pier 1 and IKEA. I don’t buy the whole plate set, only a single plate and keep it near my desk with all of my photo props (I don’t keep these in the kitchen).
I only have a handful of plates as it’s hard to find a good design that does not compete with the card, but rather complements it. Keep in mind even a plain white plate can work great as a background prop.

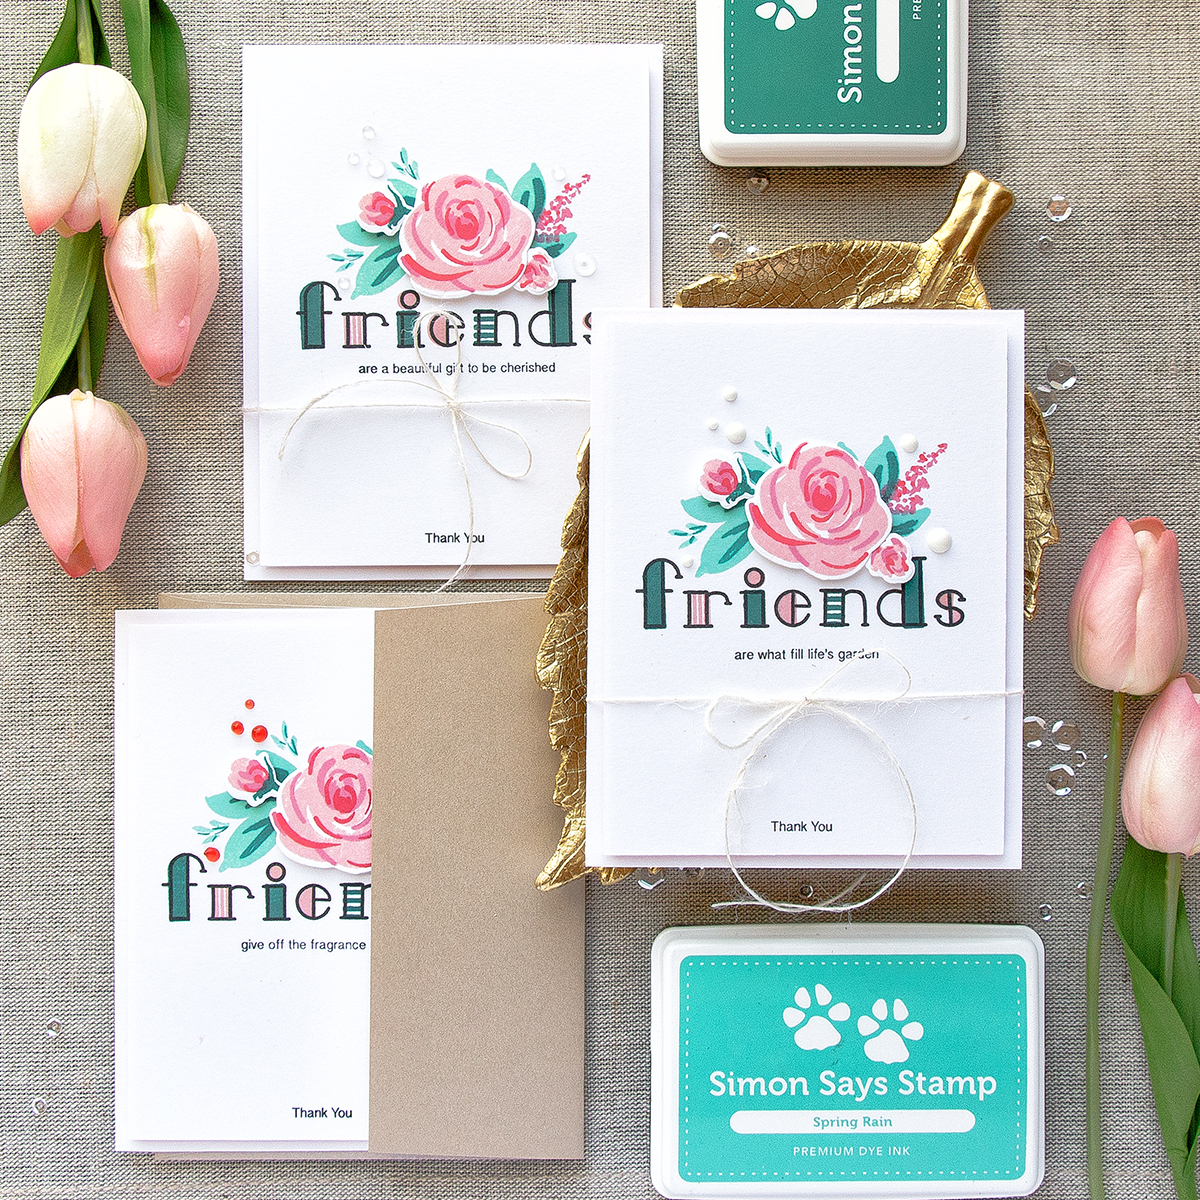
BACKGROUNDS FROM THE LINEN CLOSET
Neutral colored, natural fabric or non-shiny plastic placemats and napkins make great backgrounds. Bright colored items can be used as backgrounds as well, but you’ll be limited to using them for just 1 or 2 projects, so don’t go buying every color placemat you can find. You can find these at just about any home decor store. I bought mine at Ikea and Walmart.
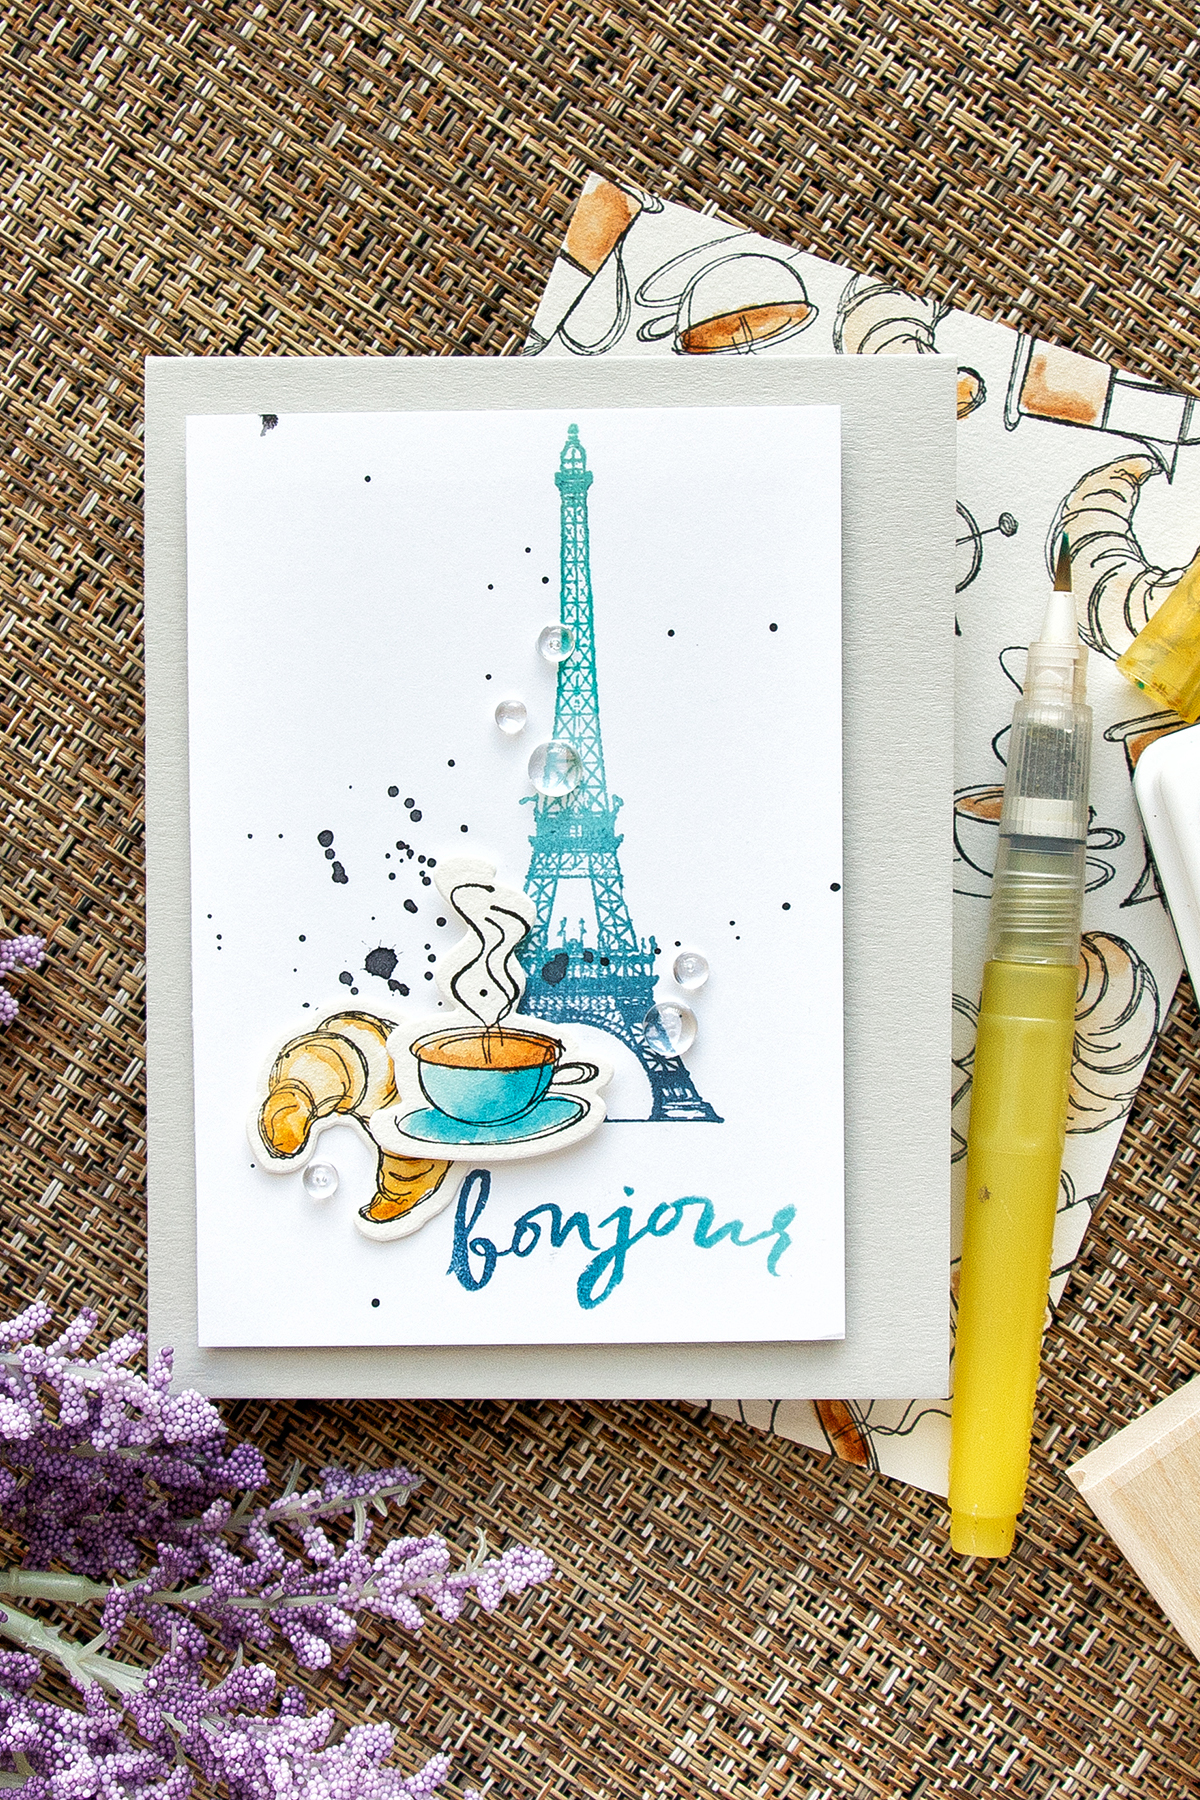
This is a $2 plastic placemat from Walmart


BACKGROUNDS – TILE
I was pleasantly surprised to learn that one can buy tile by 1 piece (instead of a pack) here in the USA. I went to Home Depot and Lowes and picked up a marble-looking tile (for under $2) and two self adhesive plastic tiles (for under $1 each). You might already have a pretty tile somewhere in your home, check the kitchen or bathroom floor or even the balcony for a nice background.
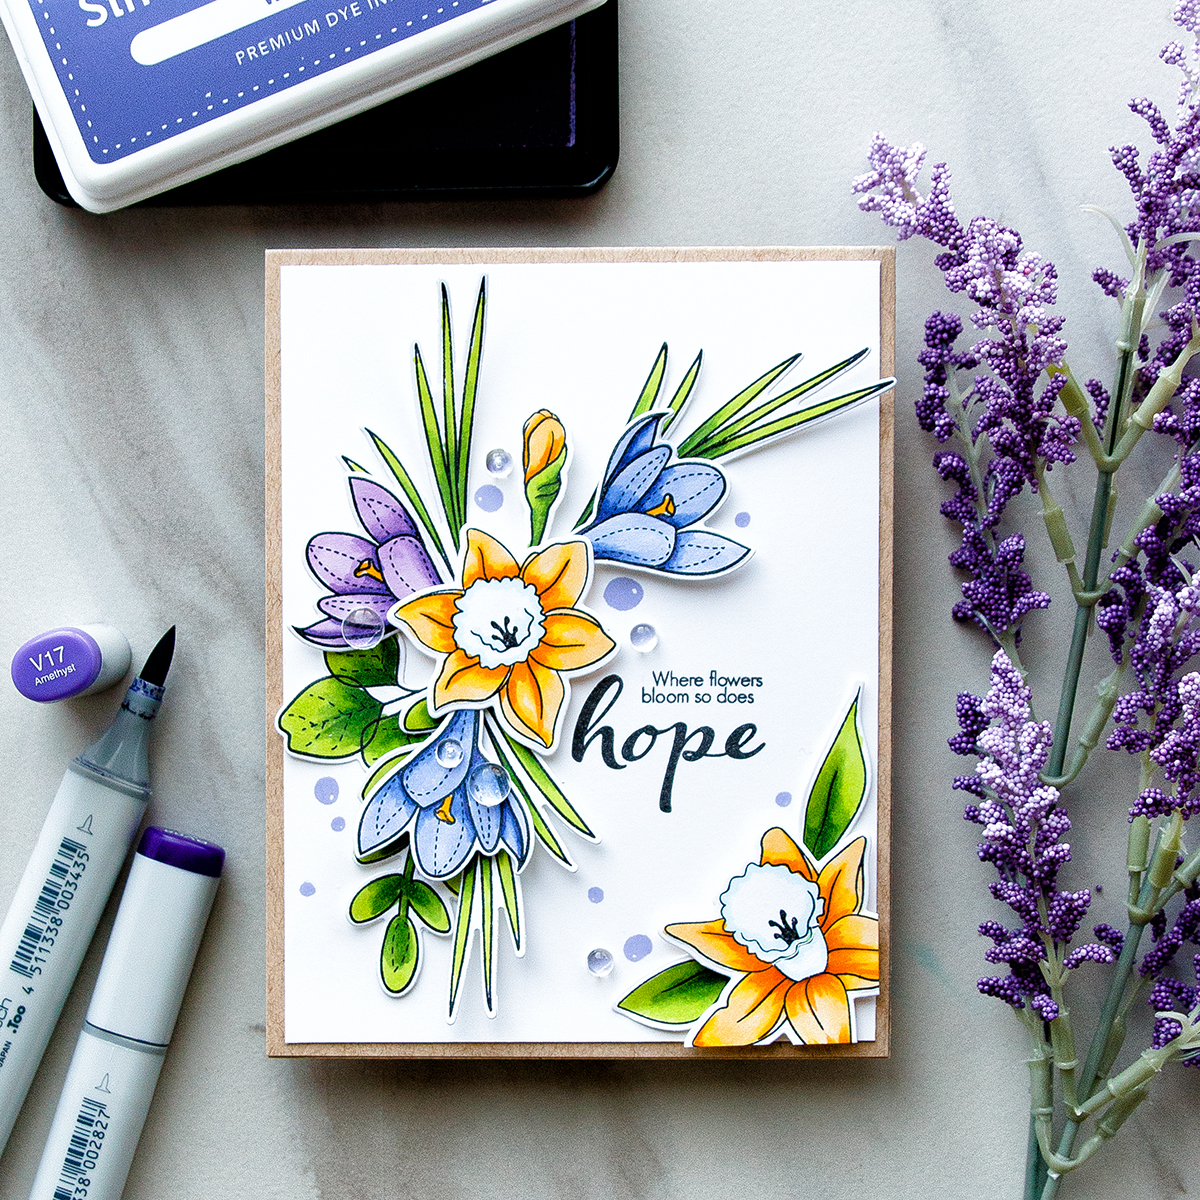
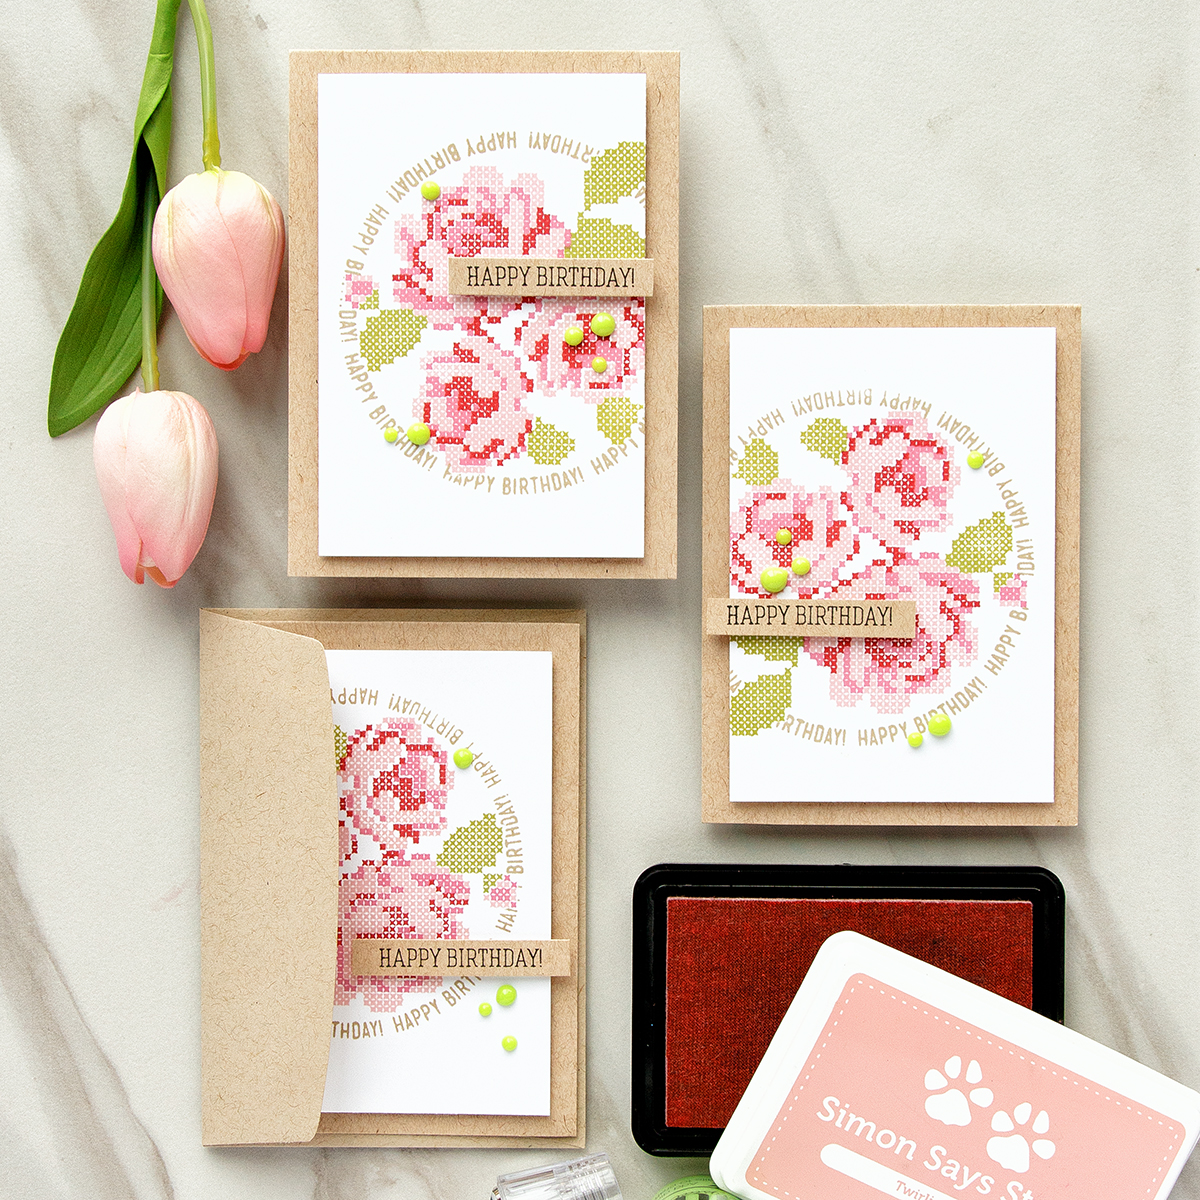
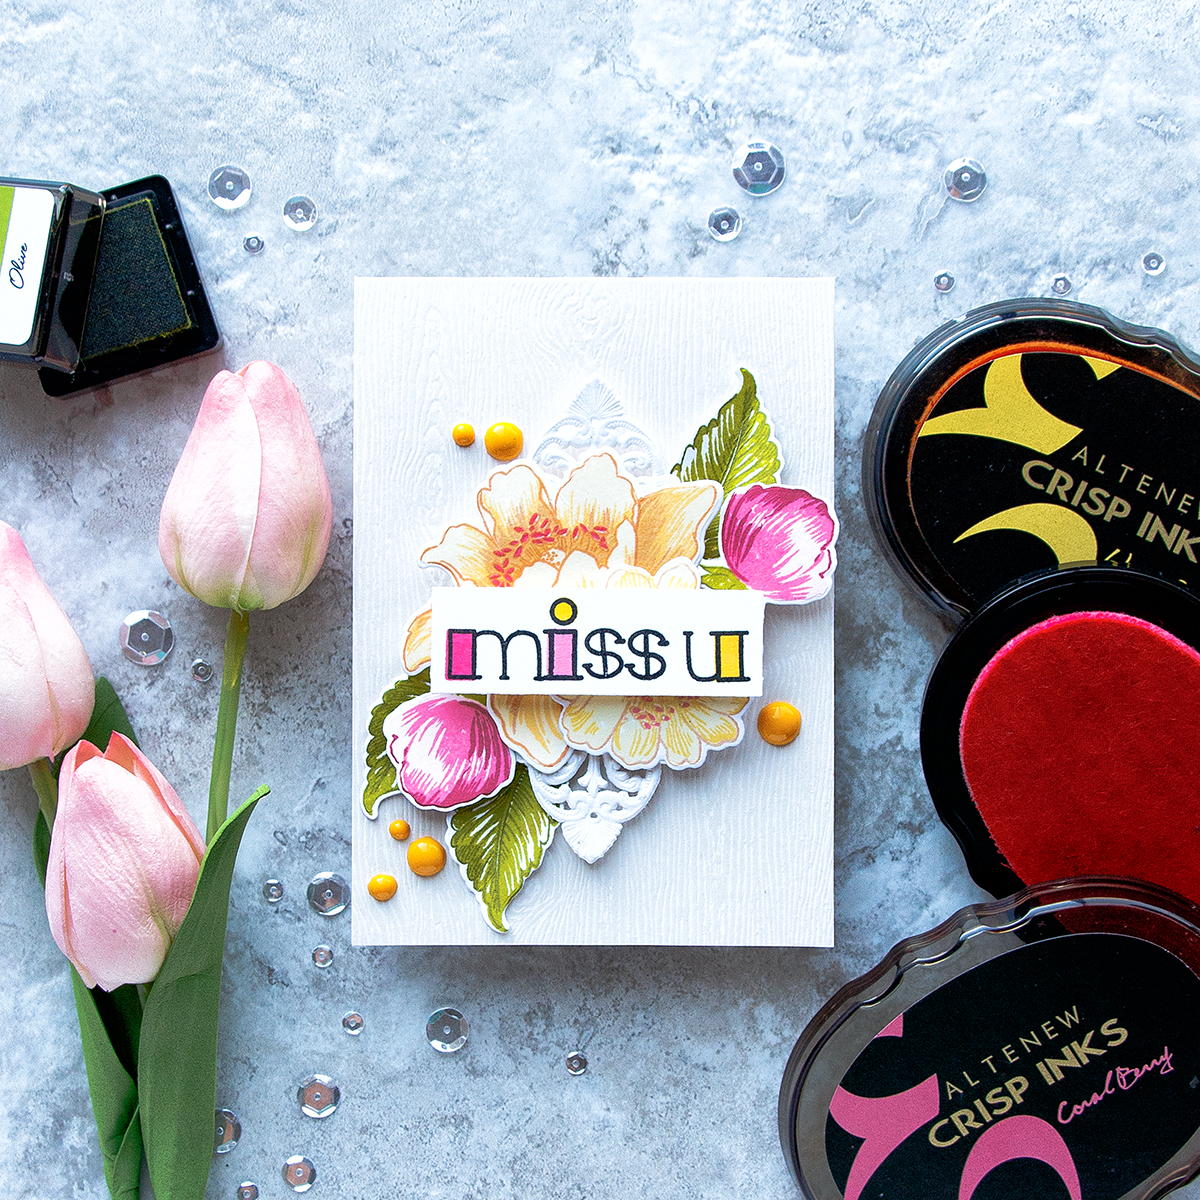
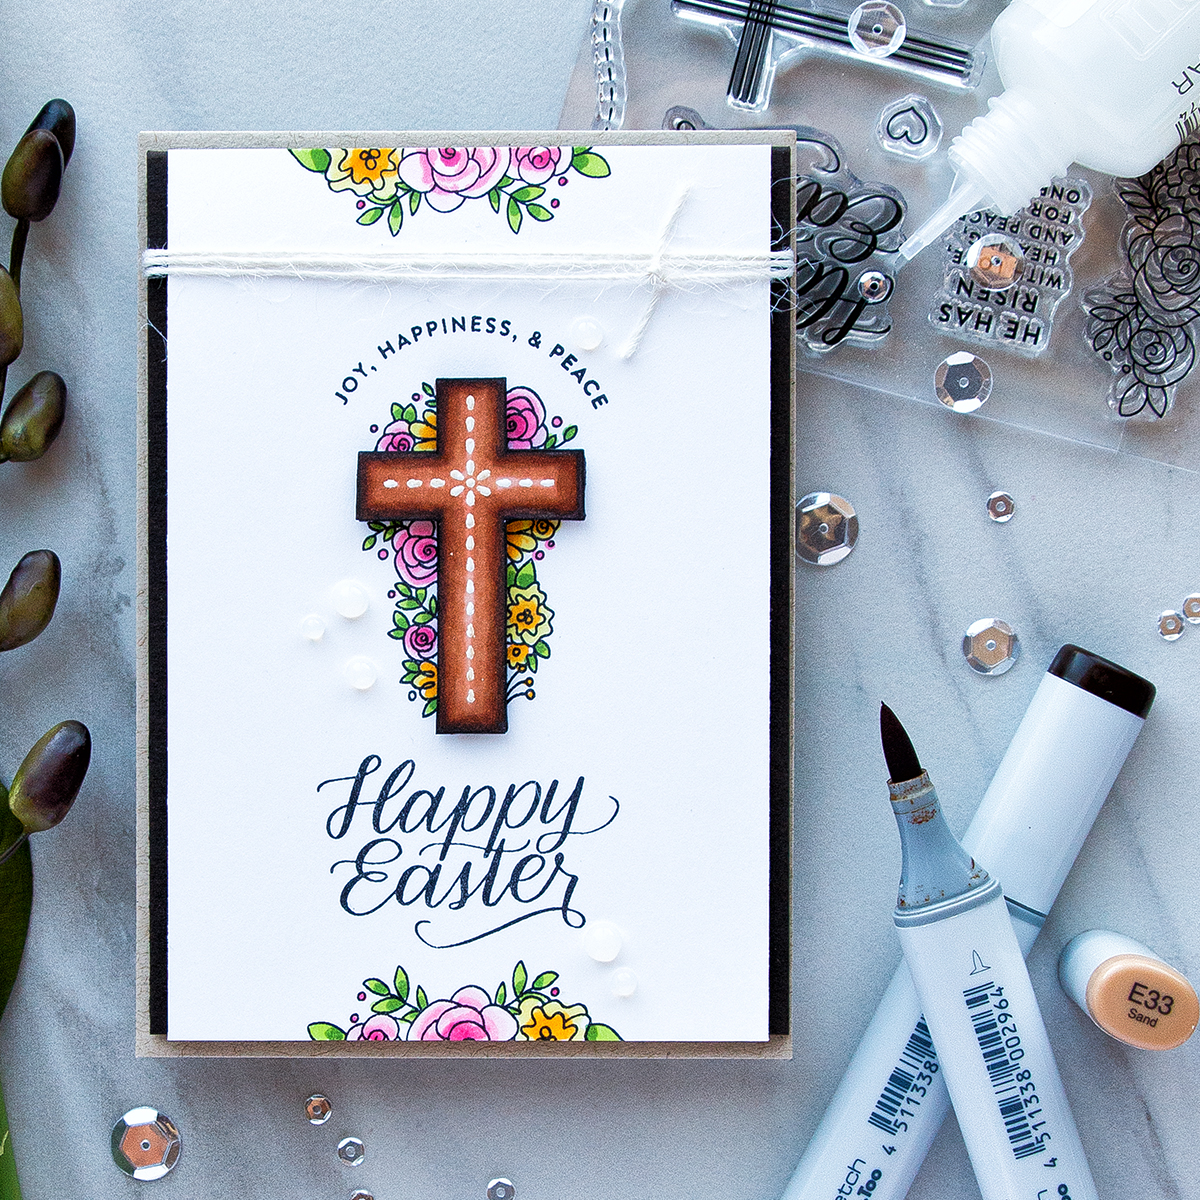
PHOTO PROPS
There are many, many items one can use a photo prop. I always look for simple home decor pieces to include in my photos (and decorate my home with) and I also tend to use my supplies in photos as well.
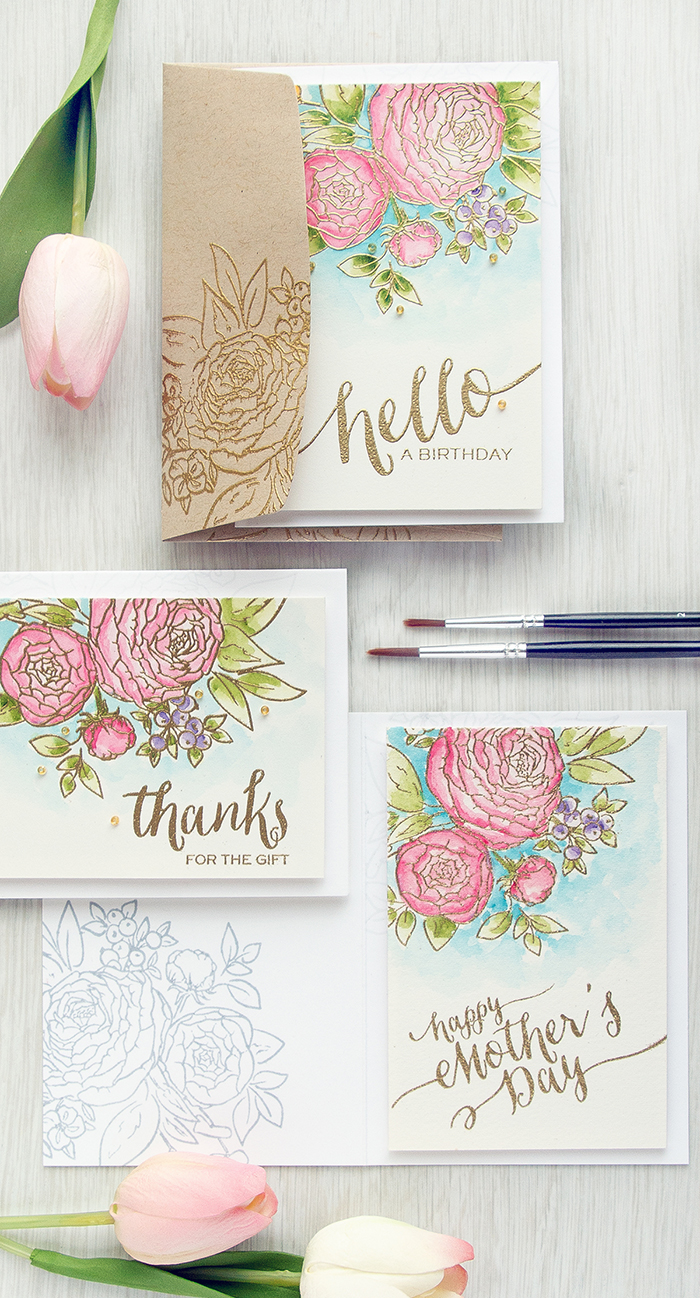
PHOTO PROPS – FLOWERS & GREENERY
I love to use silicone flowers for my photos (I also have some fabric flowers, but I don’t quite love them as much, they don’t look very real). I used to have a huge collection of flowers, now I scaled down to just a handful seasonal, however I am always looking for new florals to add to my collection.

I also love to use simple greenery instead of flowers. This doesn’t always work, but it offers a nice change to my photos.
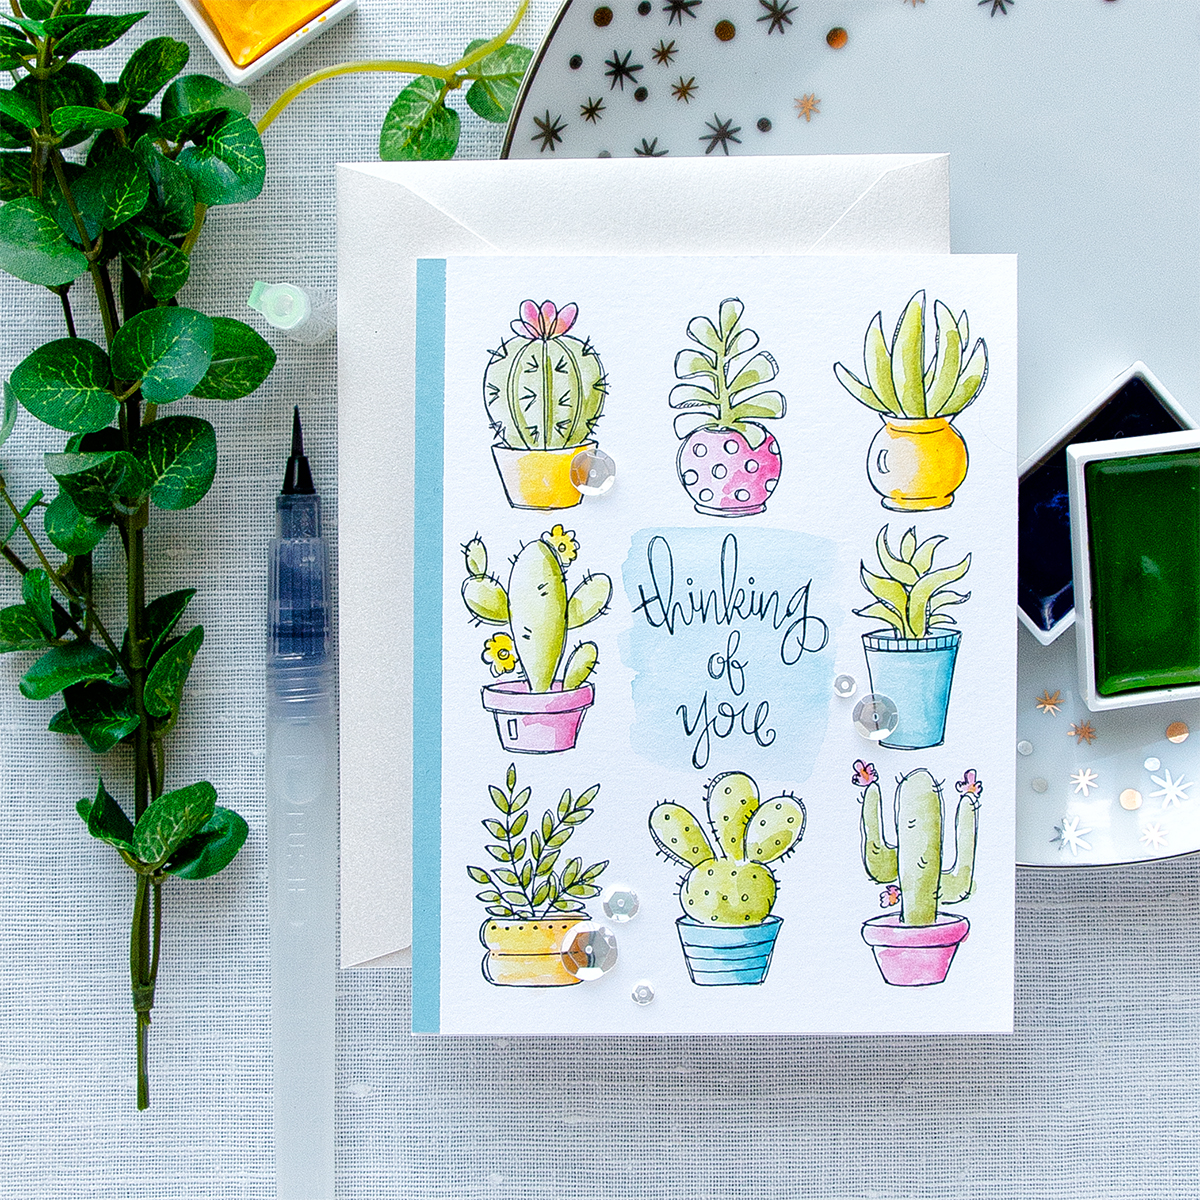
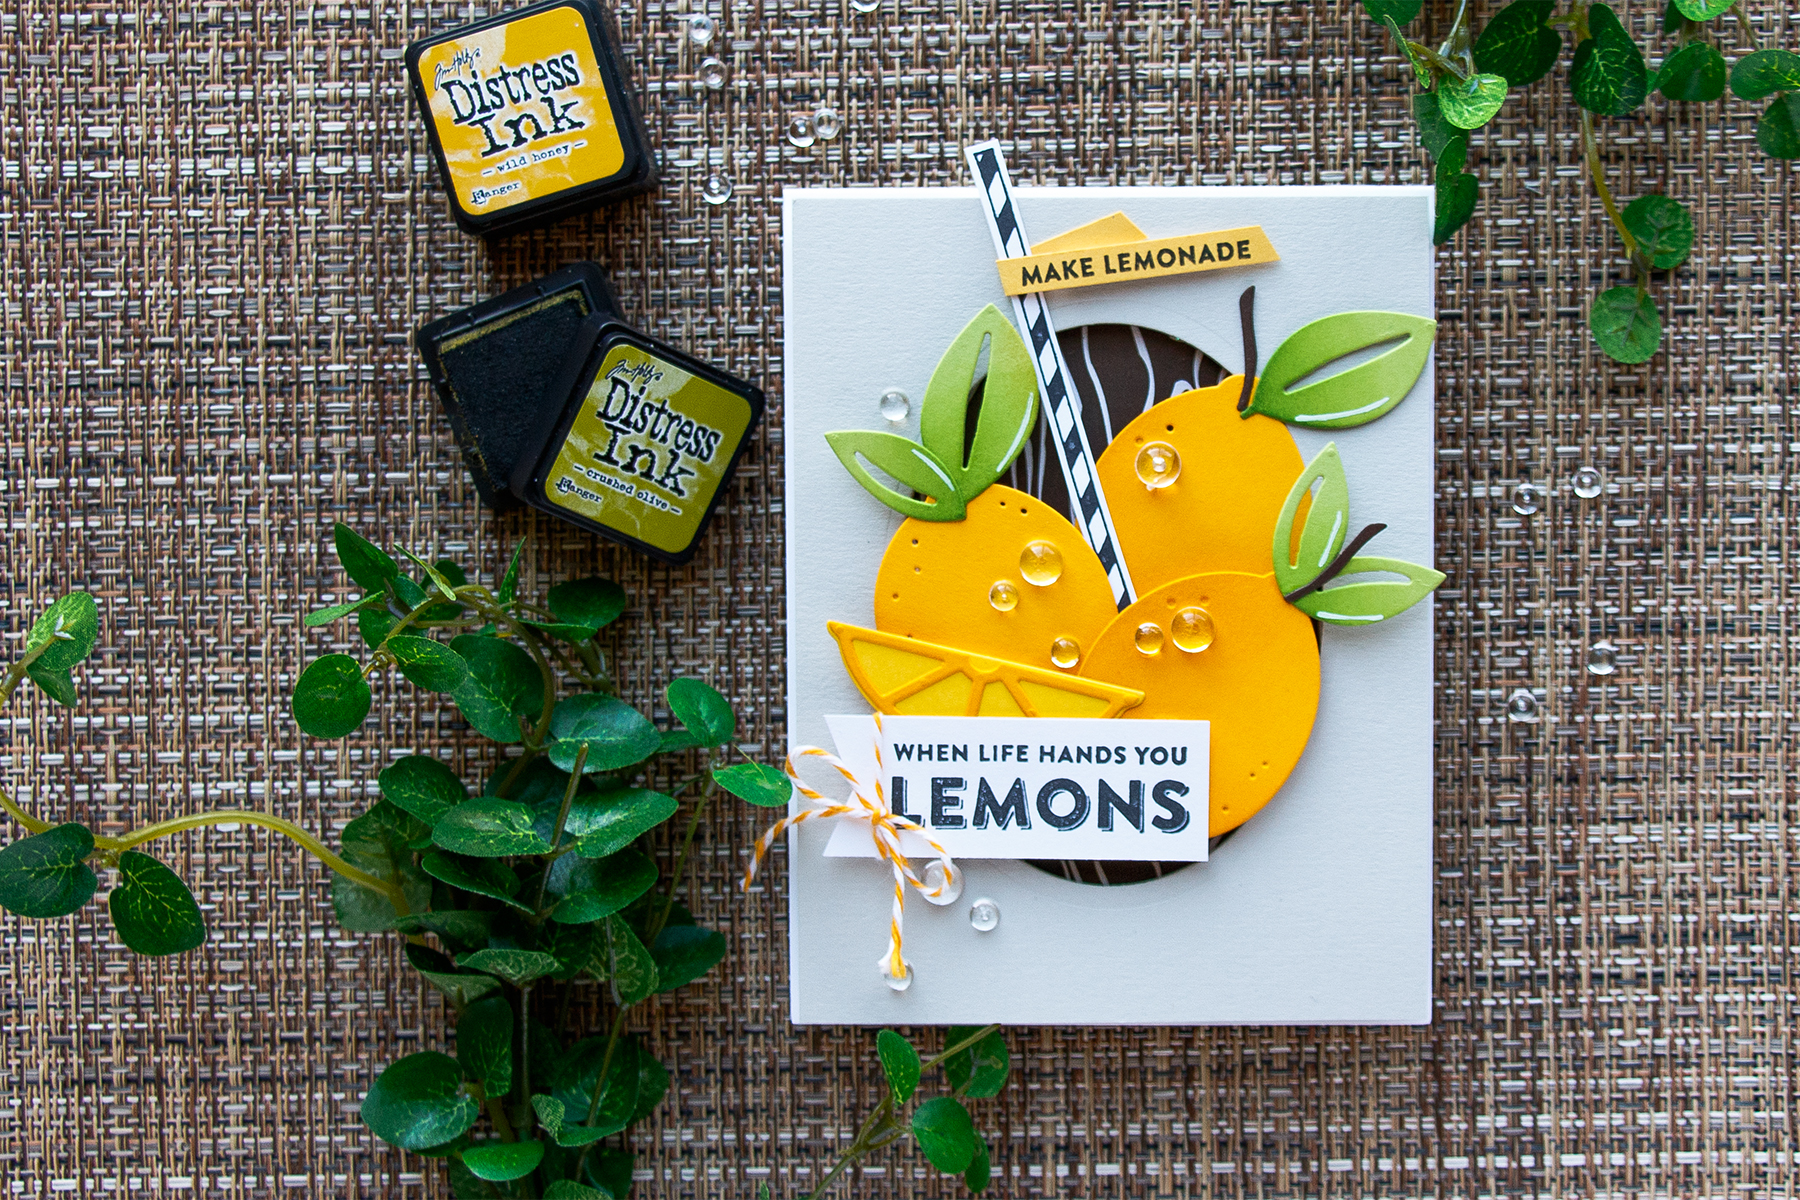
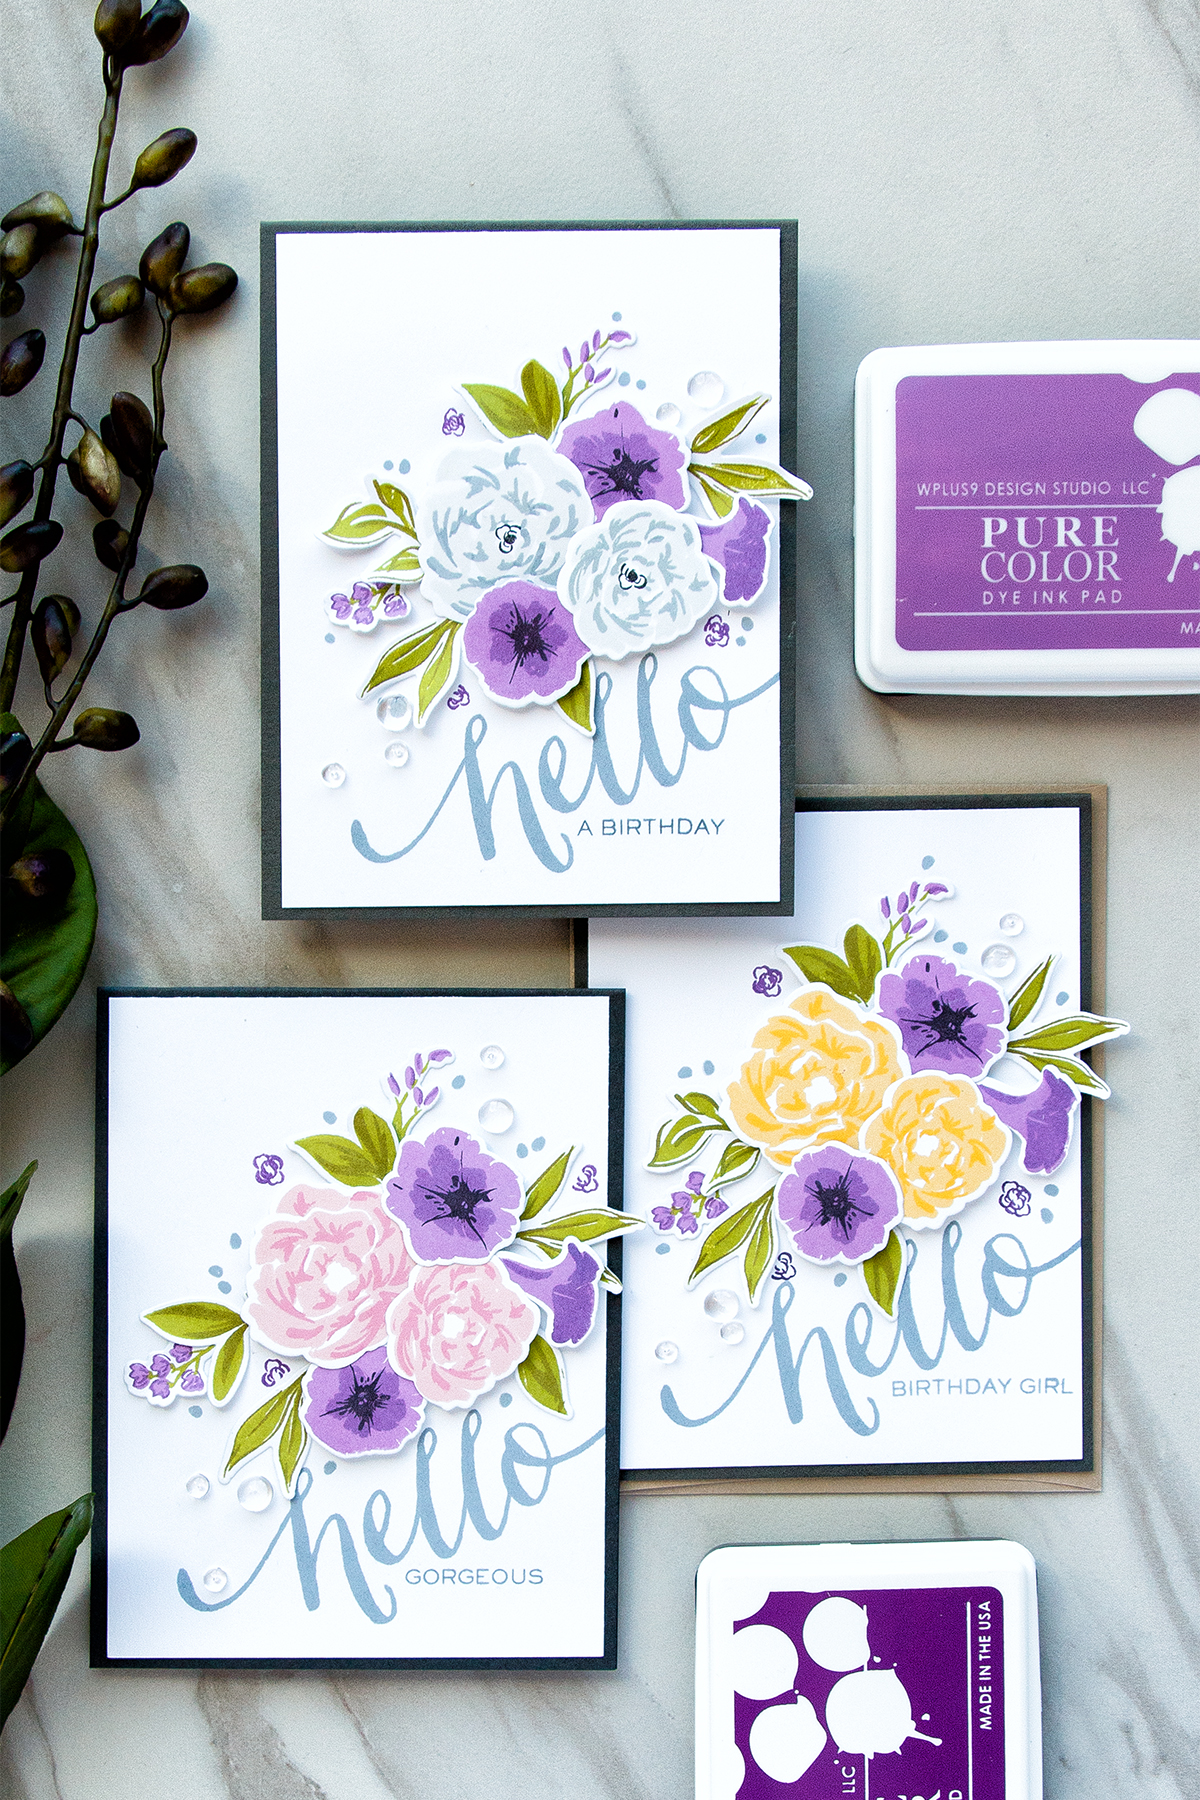
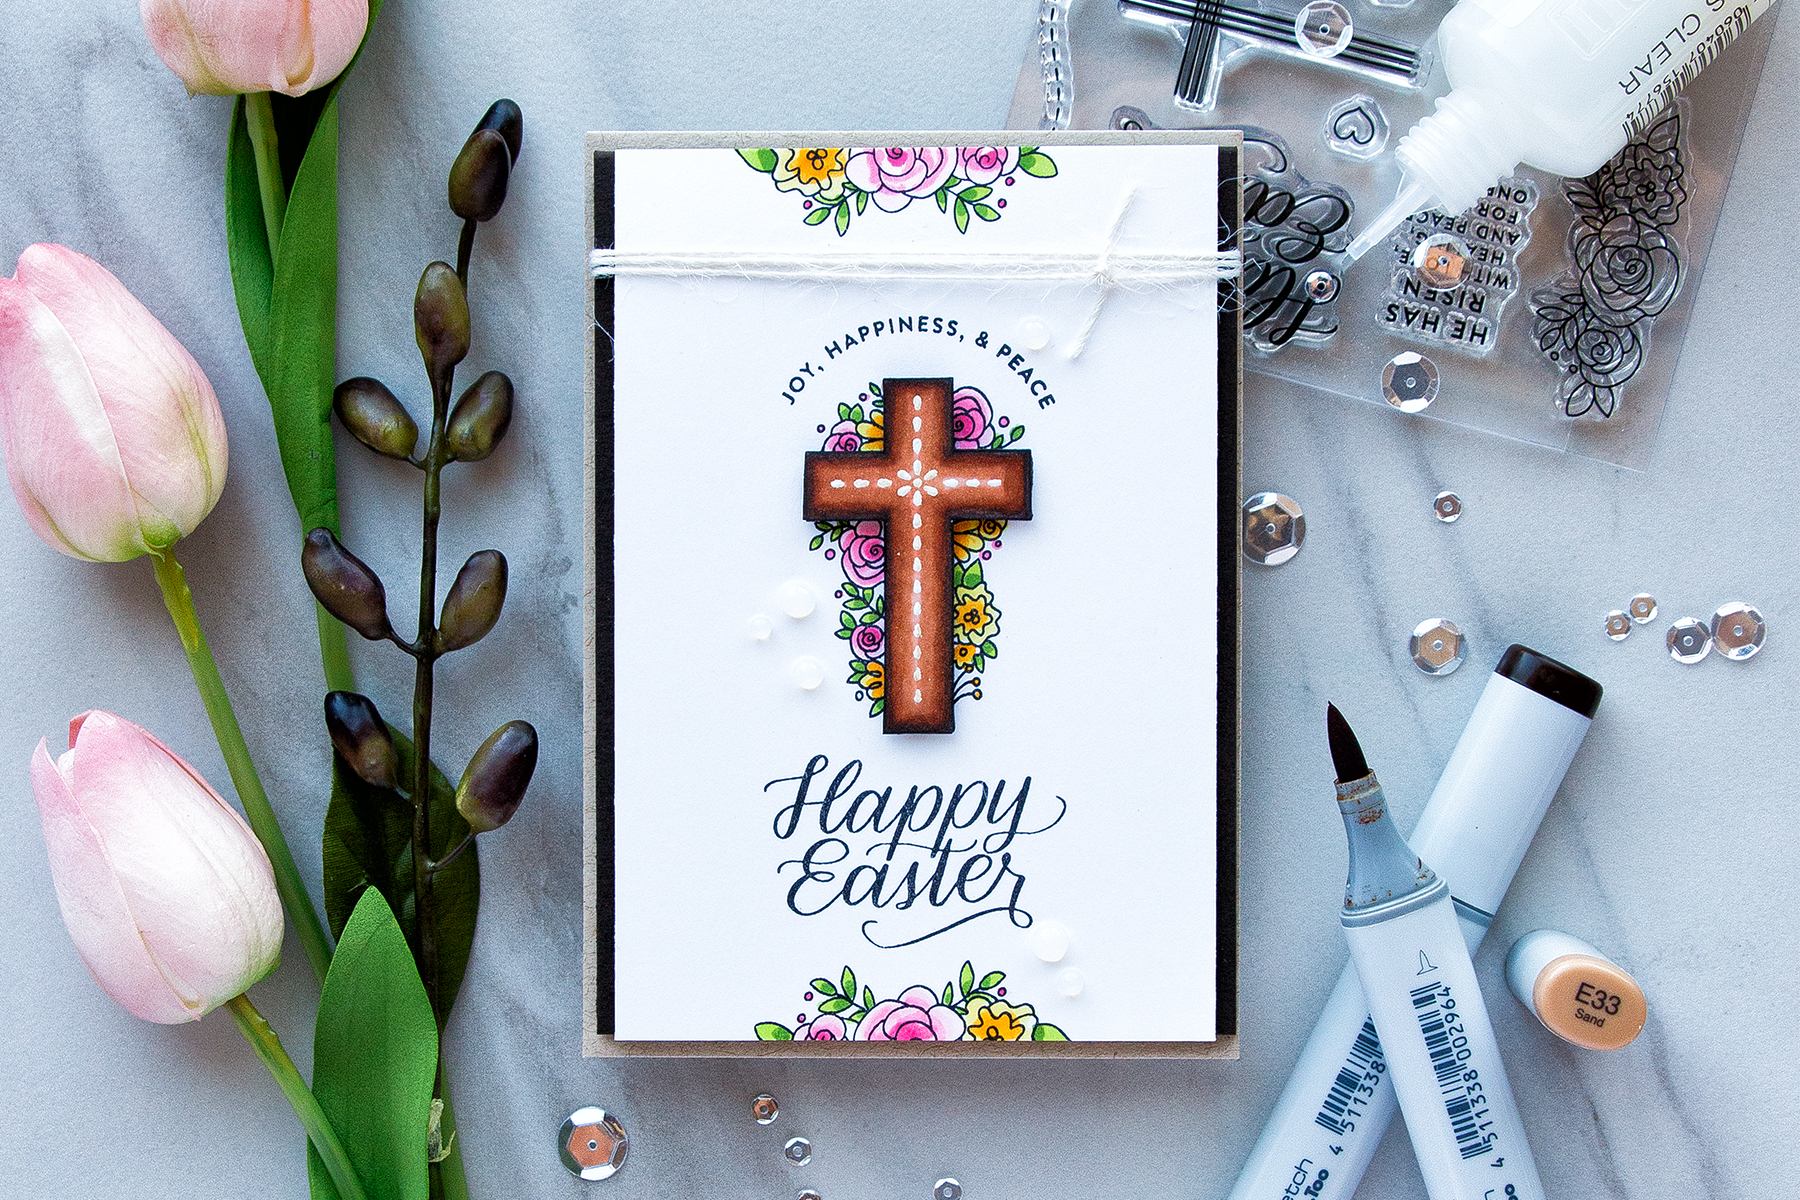
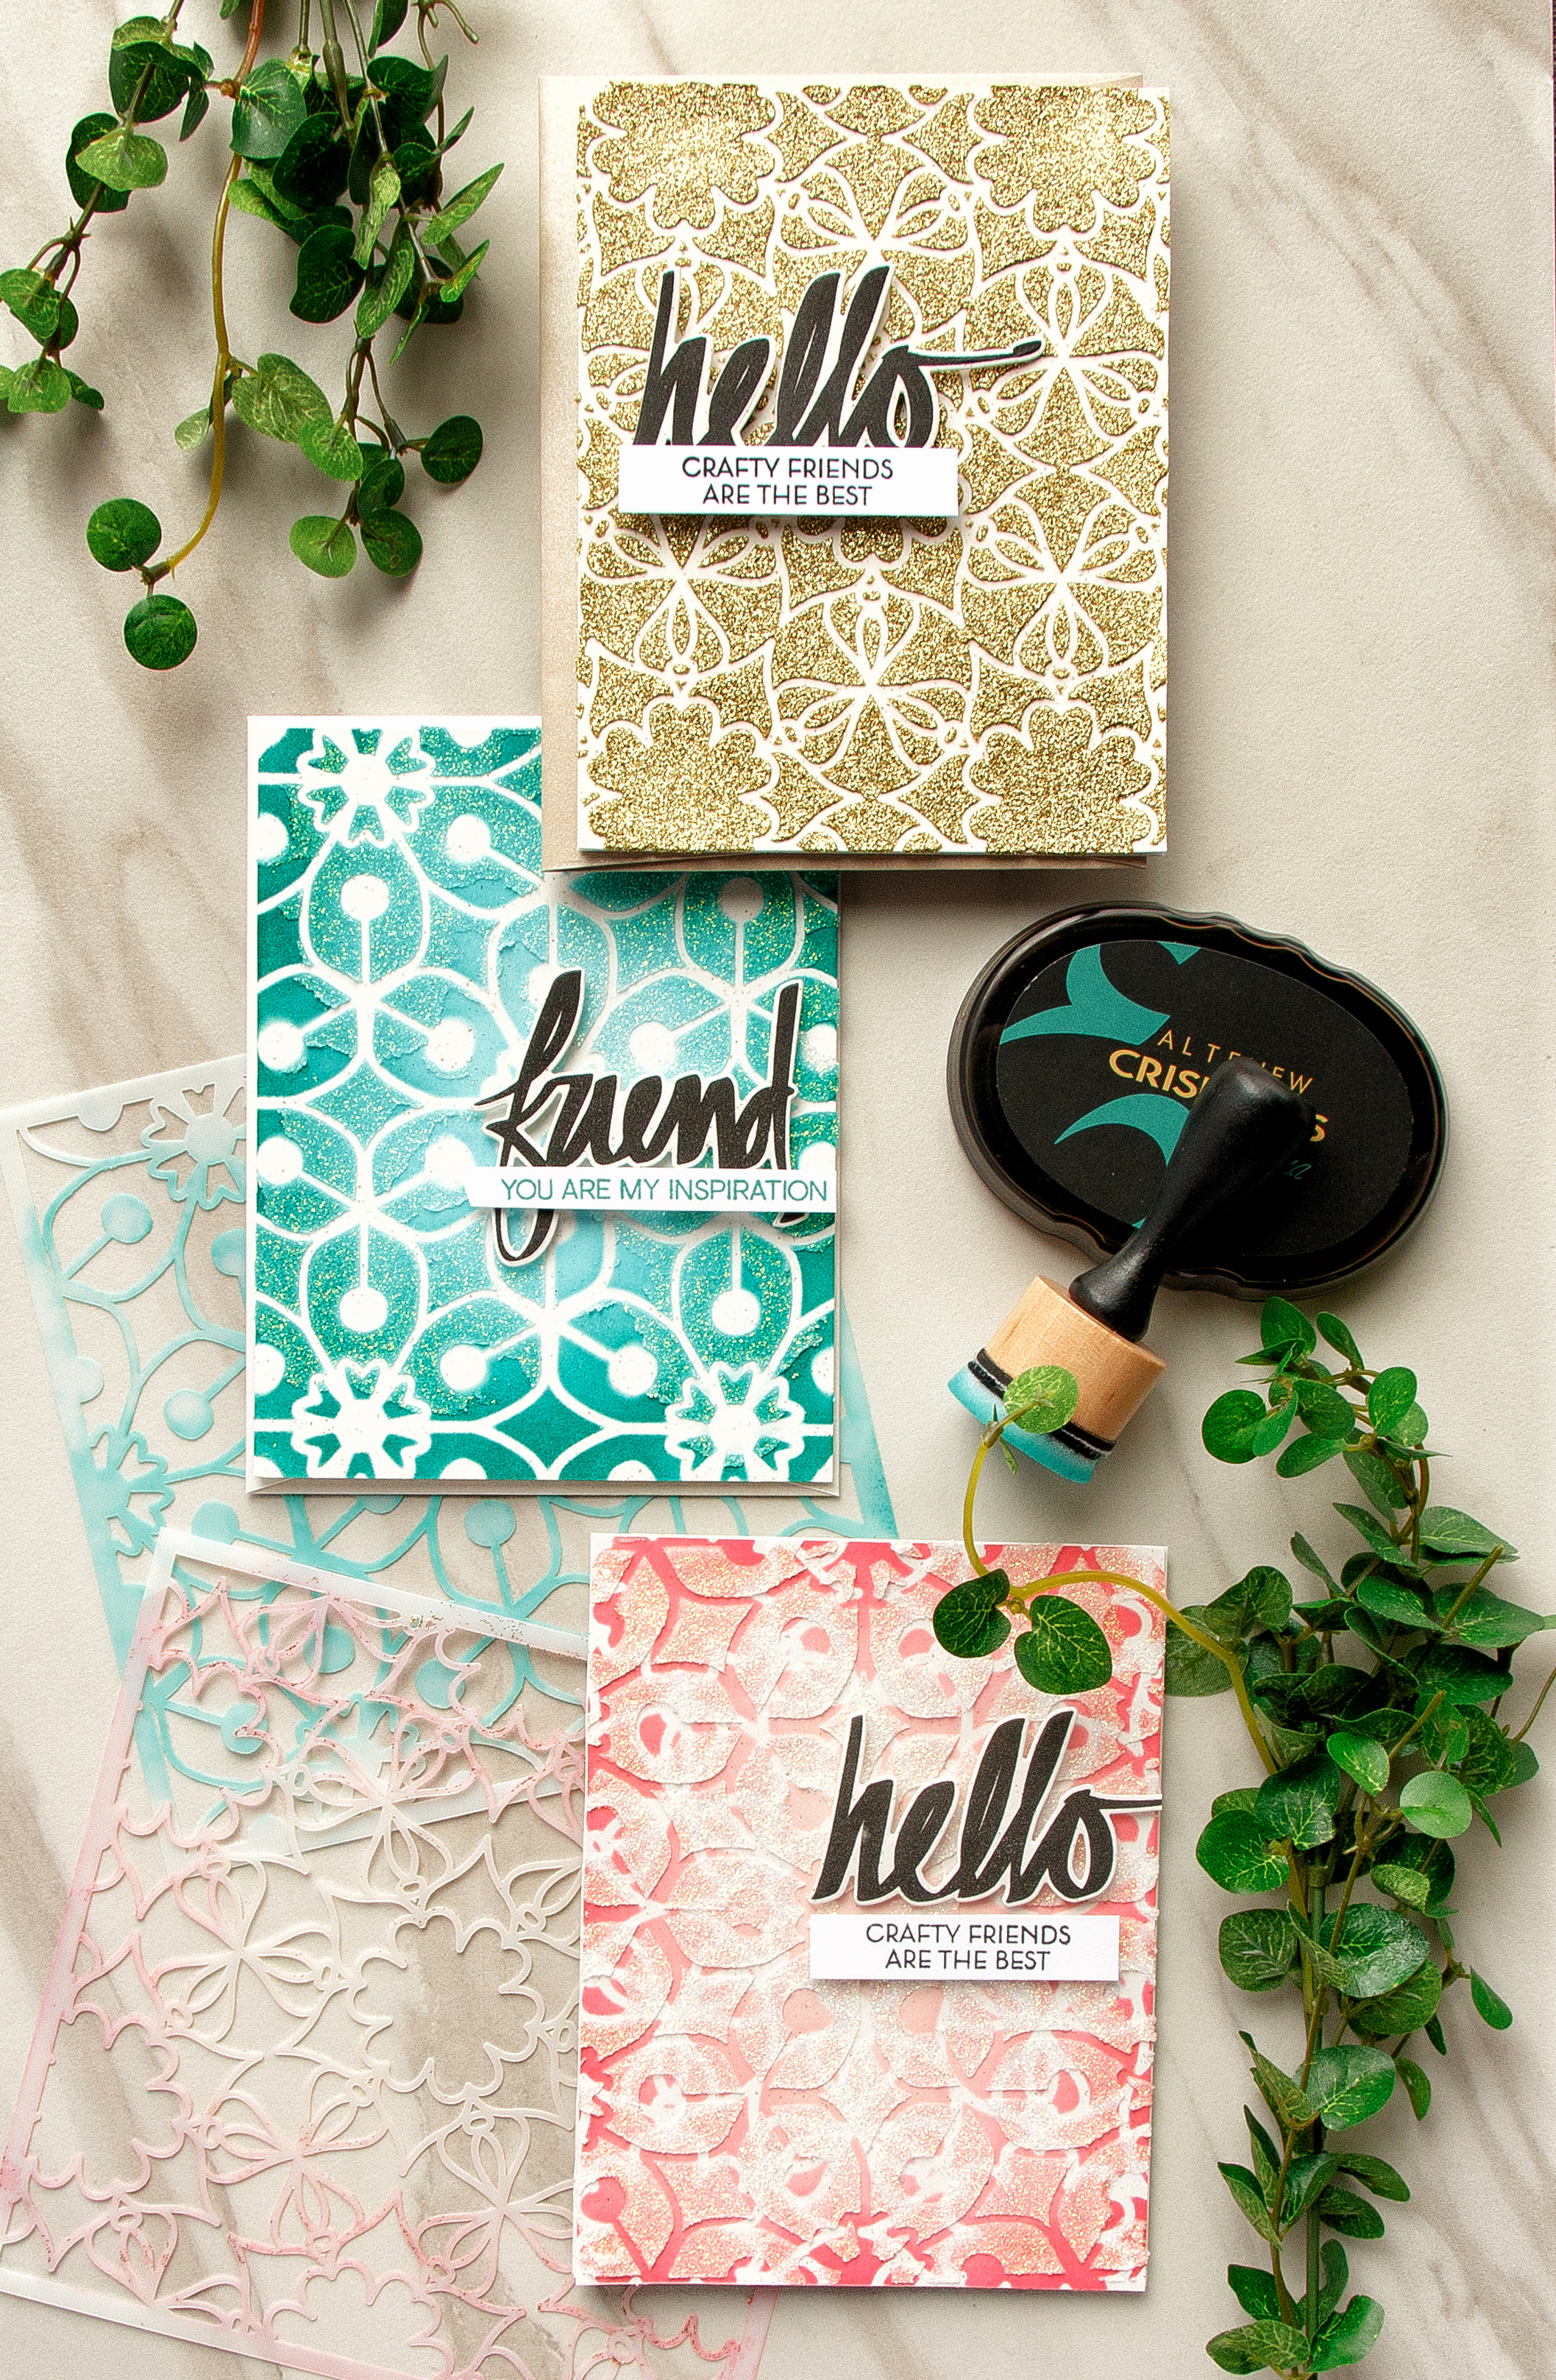
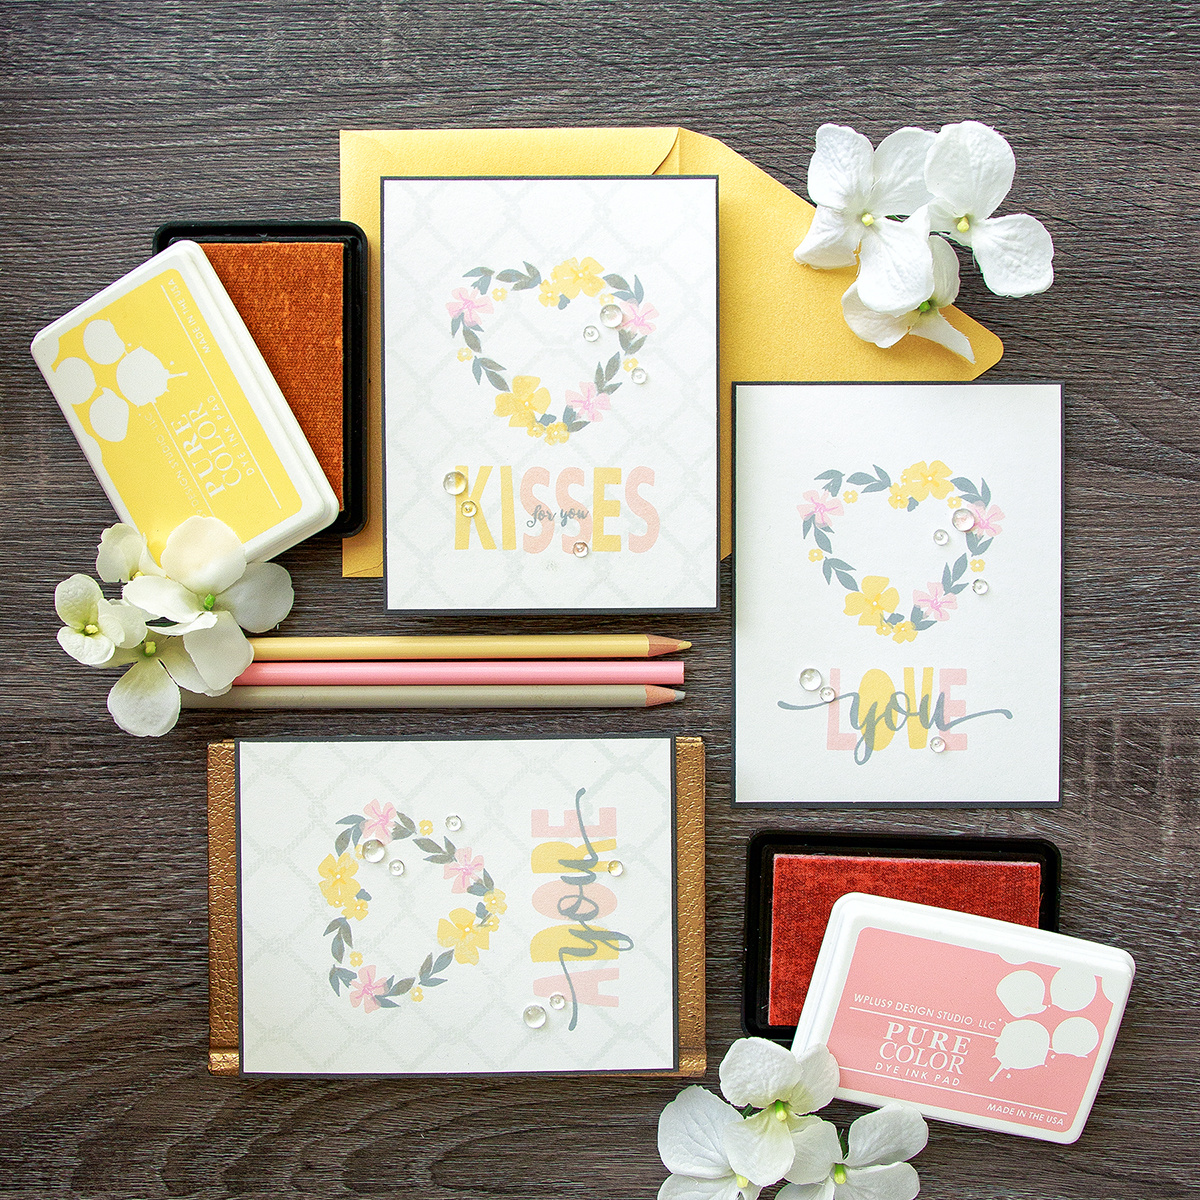
PHOTO PROPS – CRAFT SUPPLIES
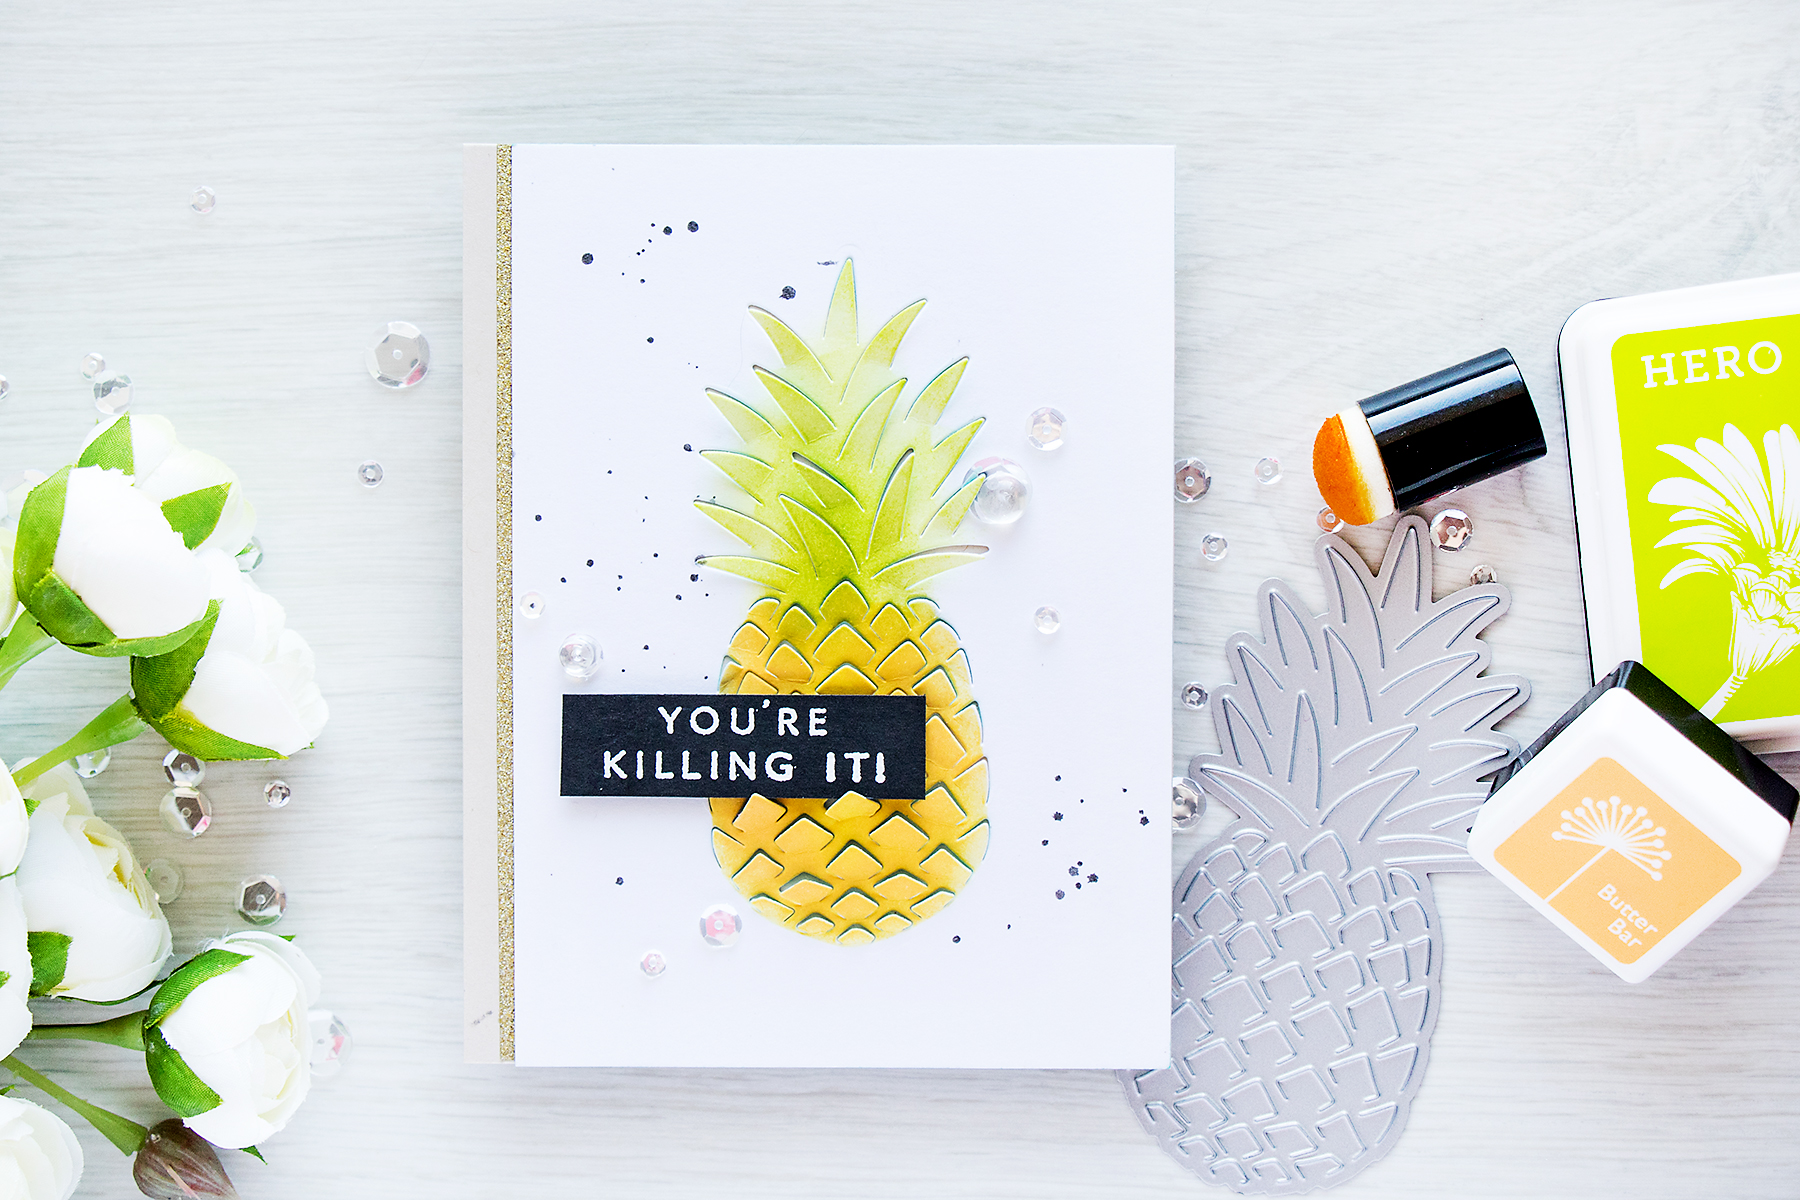
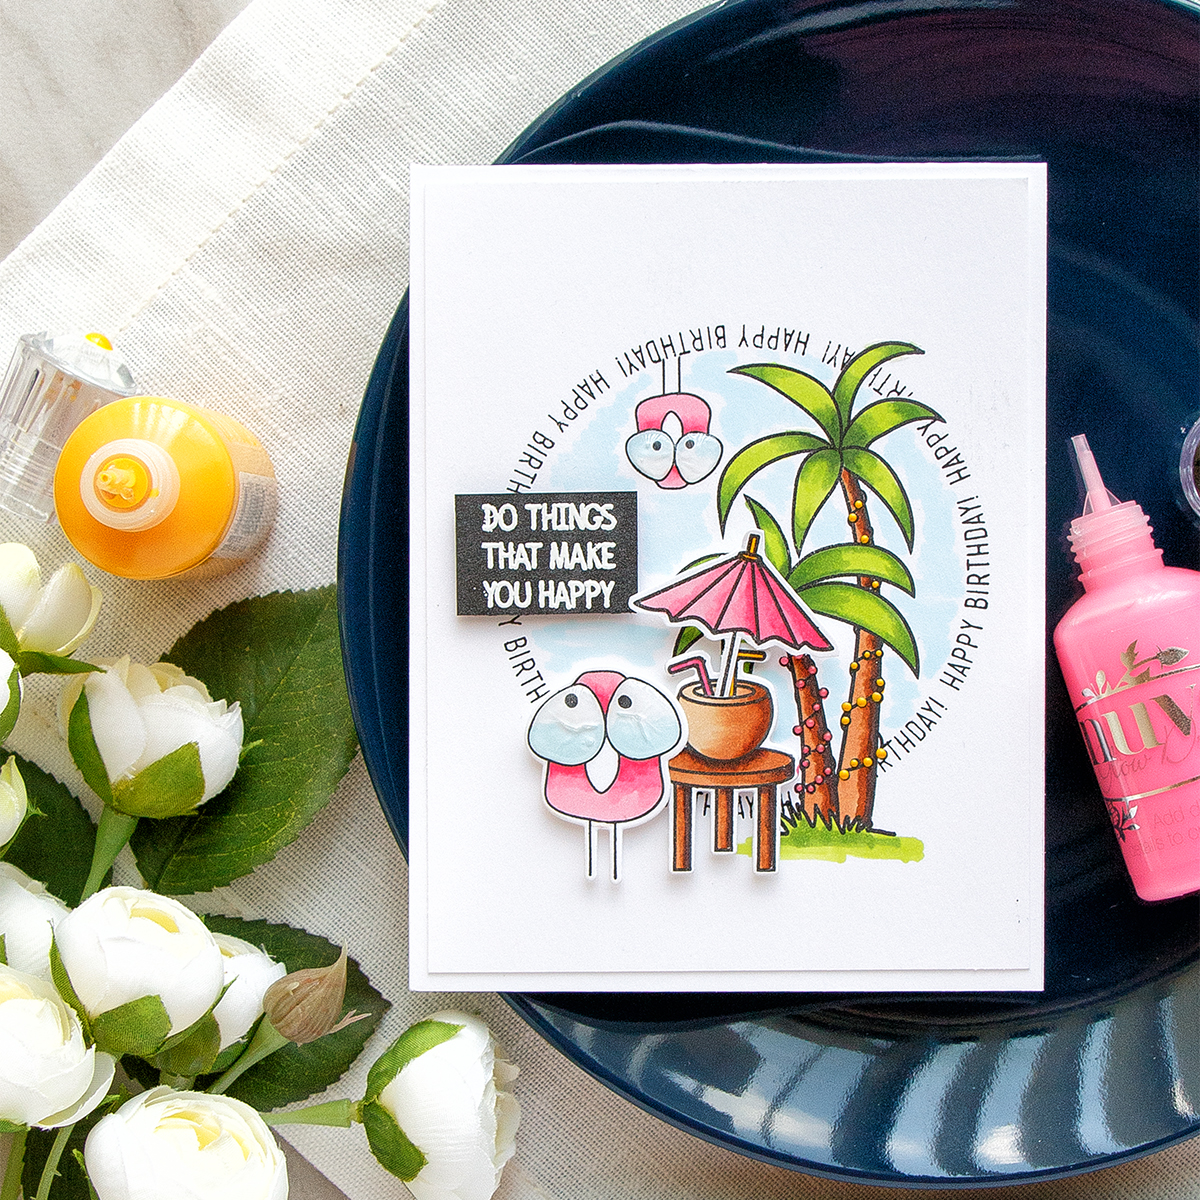
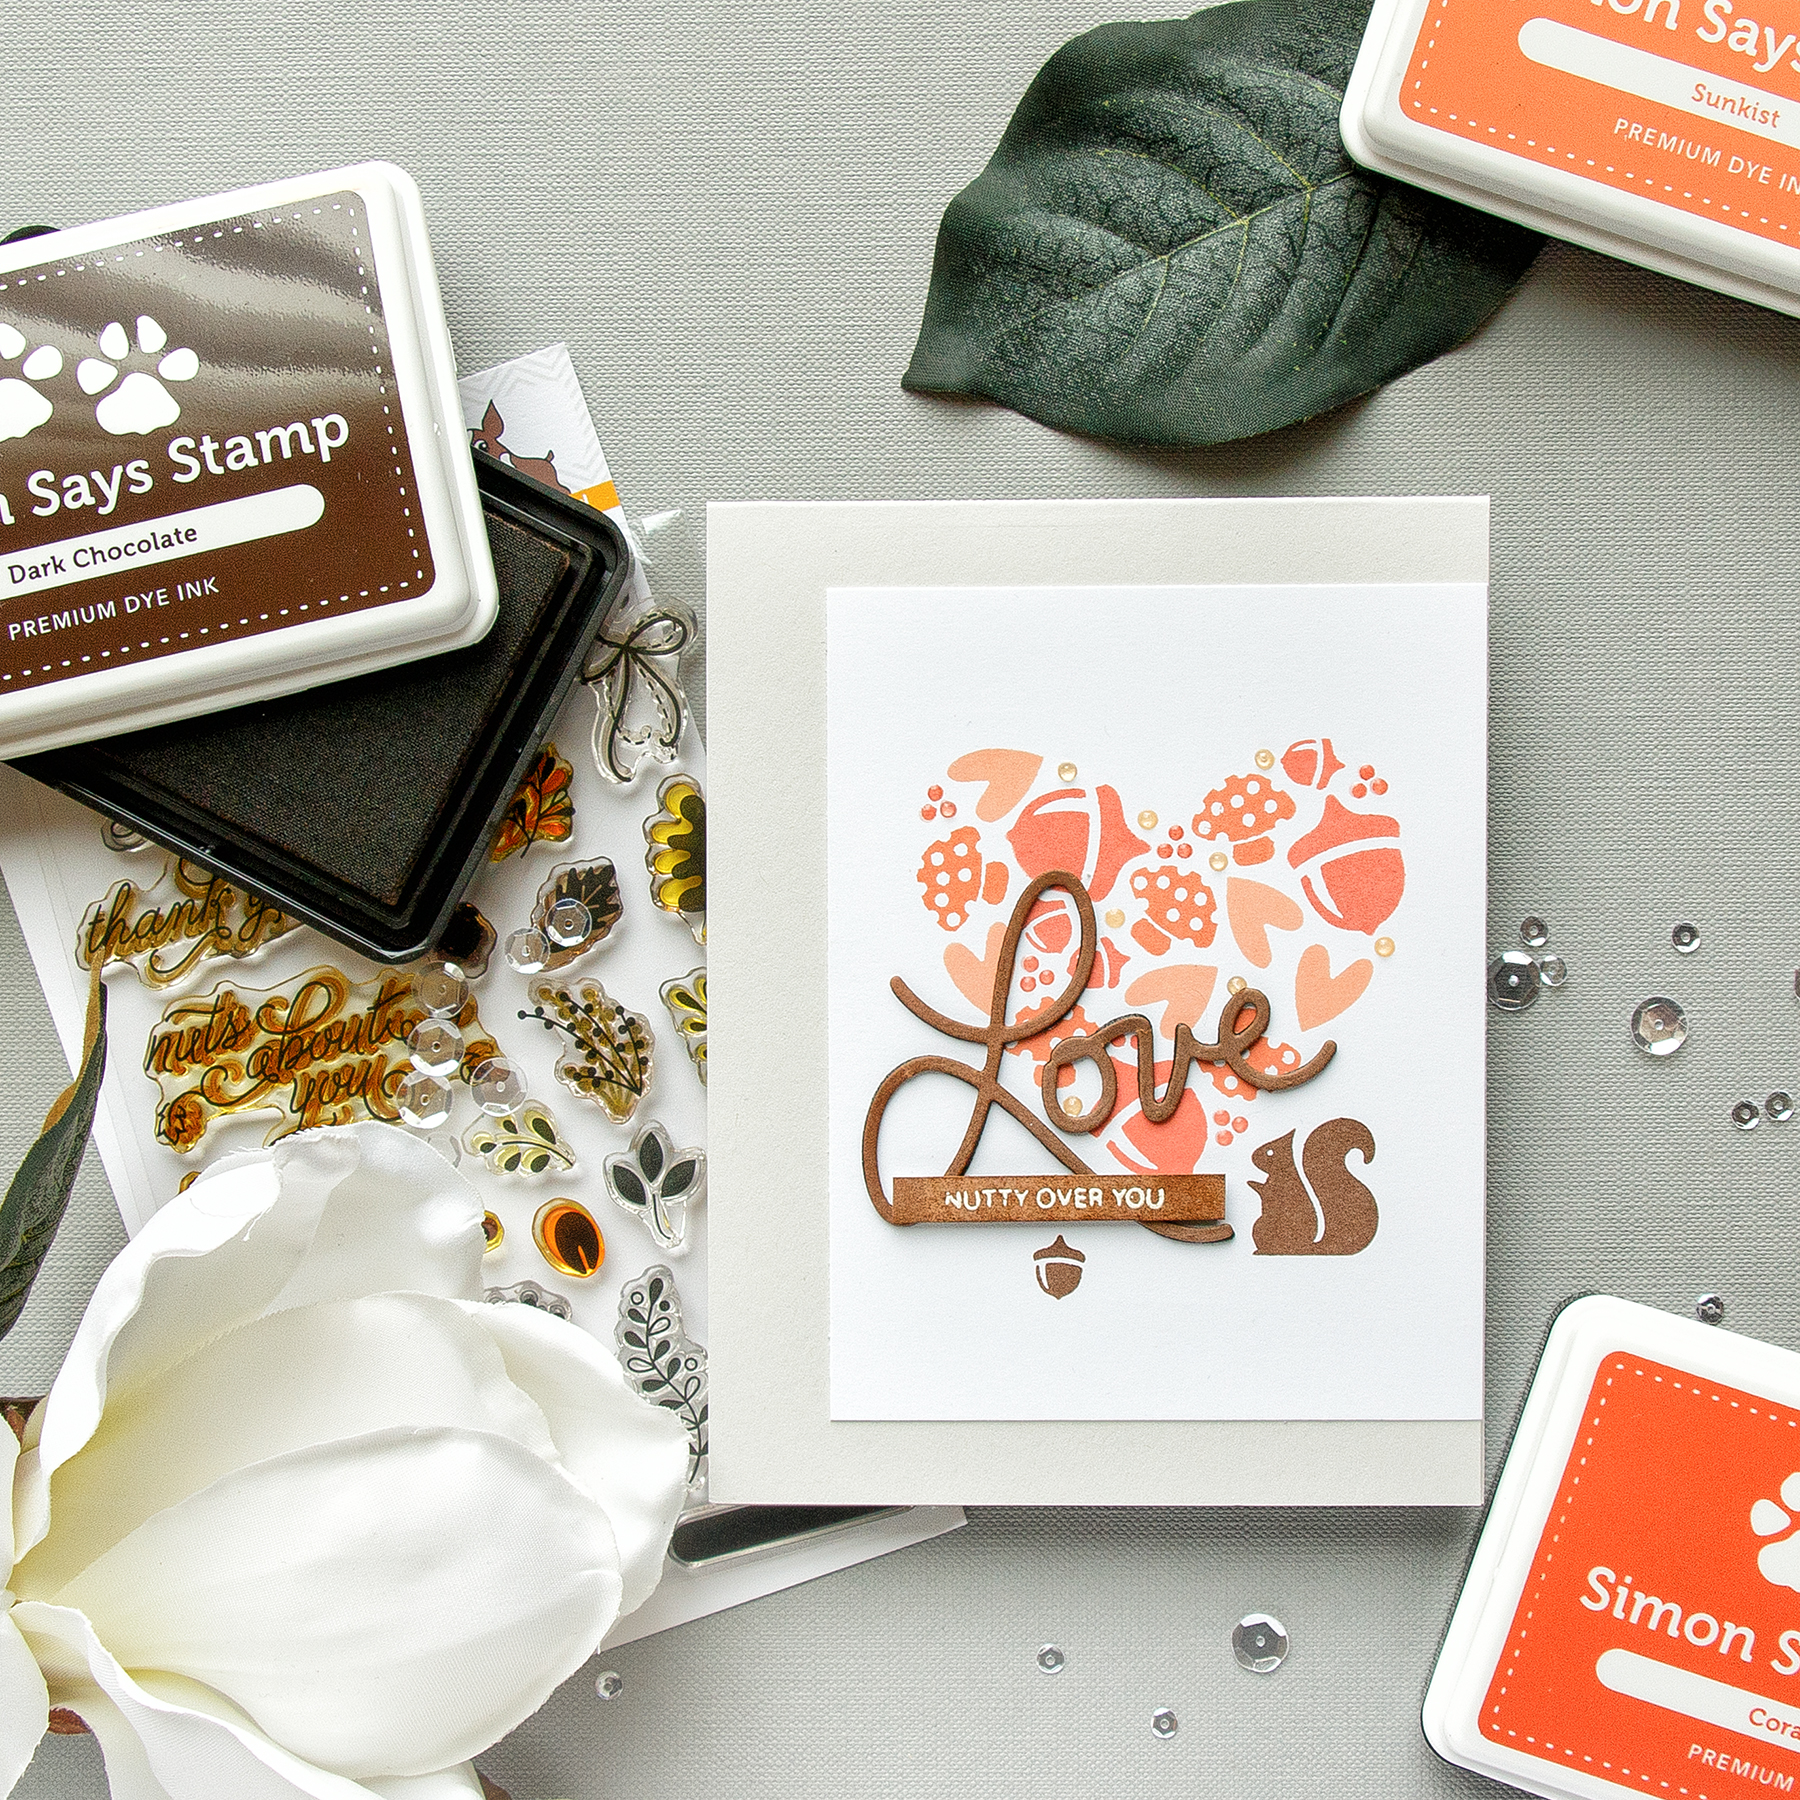
Whenever I photo a project where I did a bit of coloring I try to include coloring mediums I used. Ink pads, brushes, even stamp sets all make great props for photos. Other ideas include: watercolor pans, pretty pens, pencils, stamp sets and dies, additional stamped and die cut pieces, washi tape, twine.
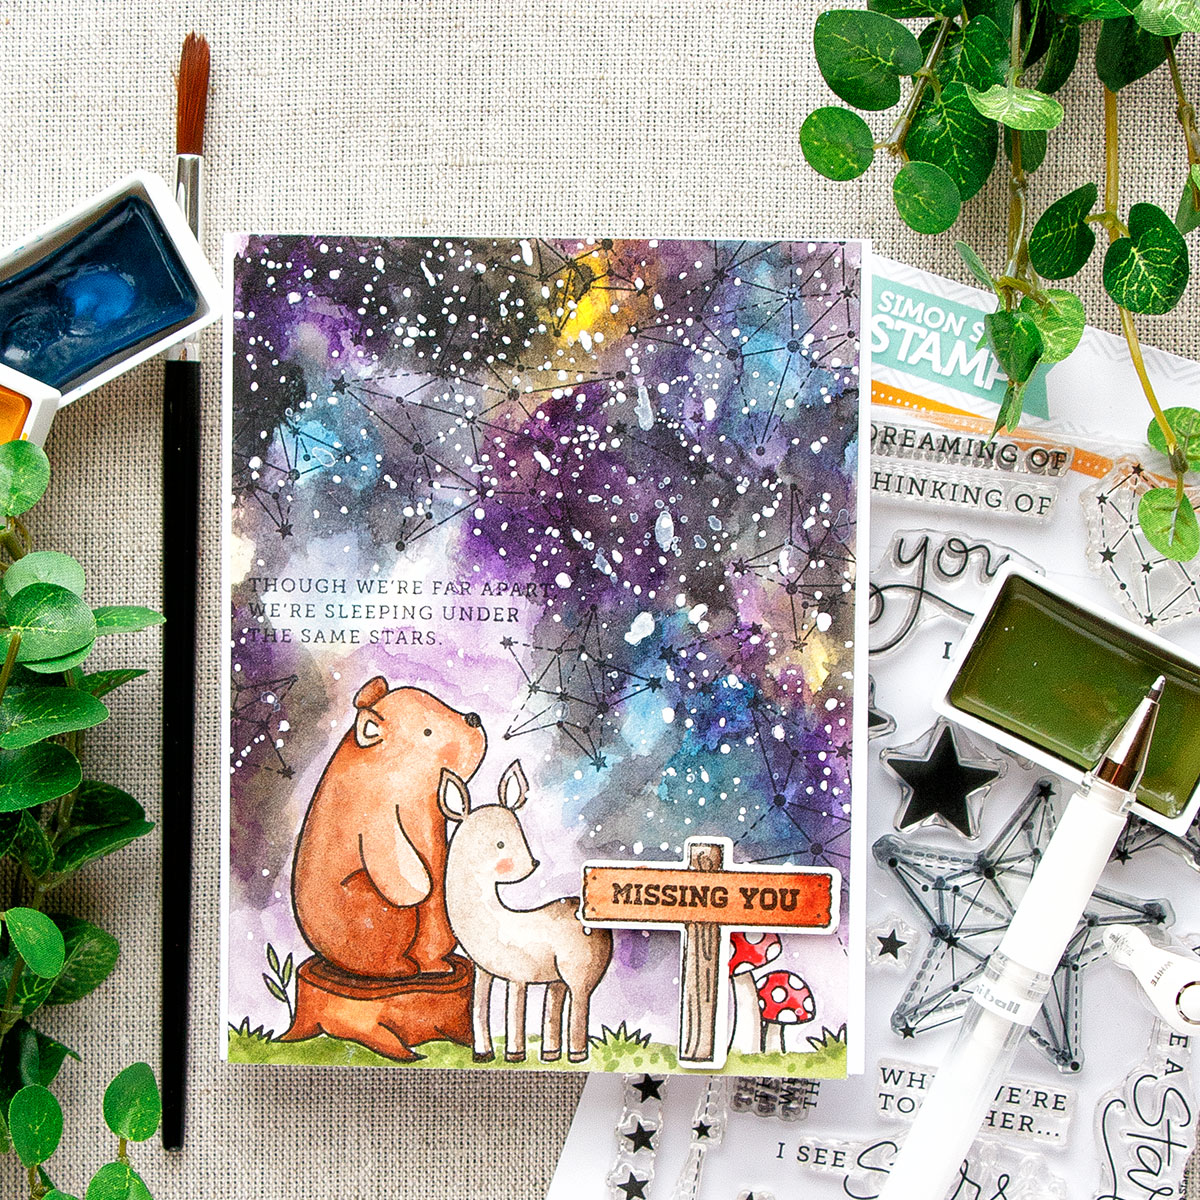
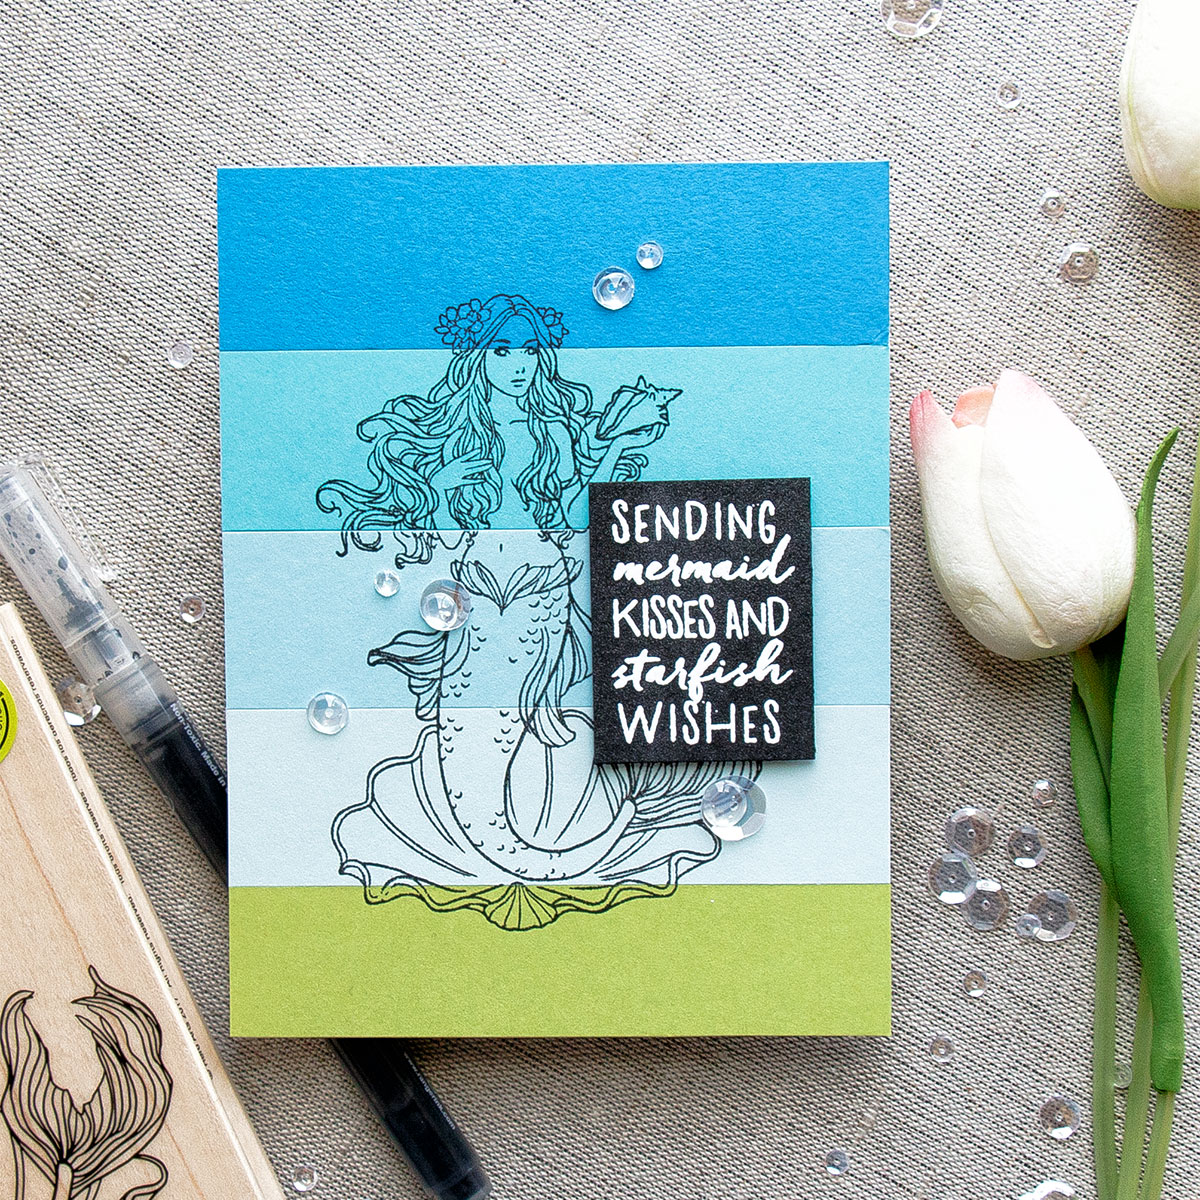
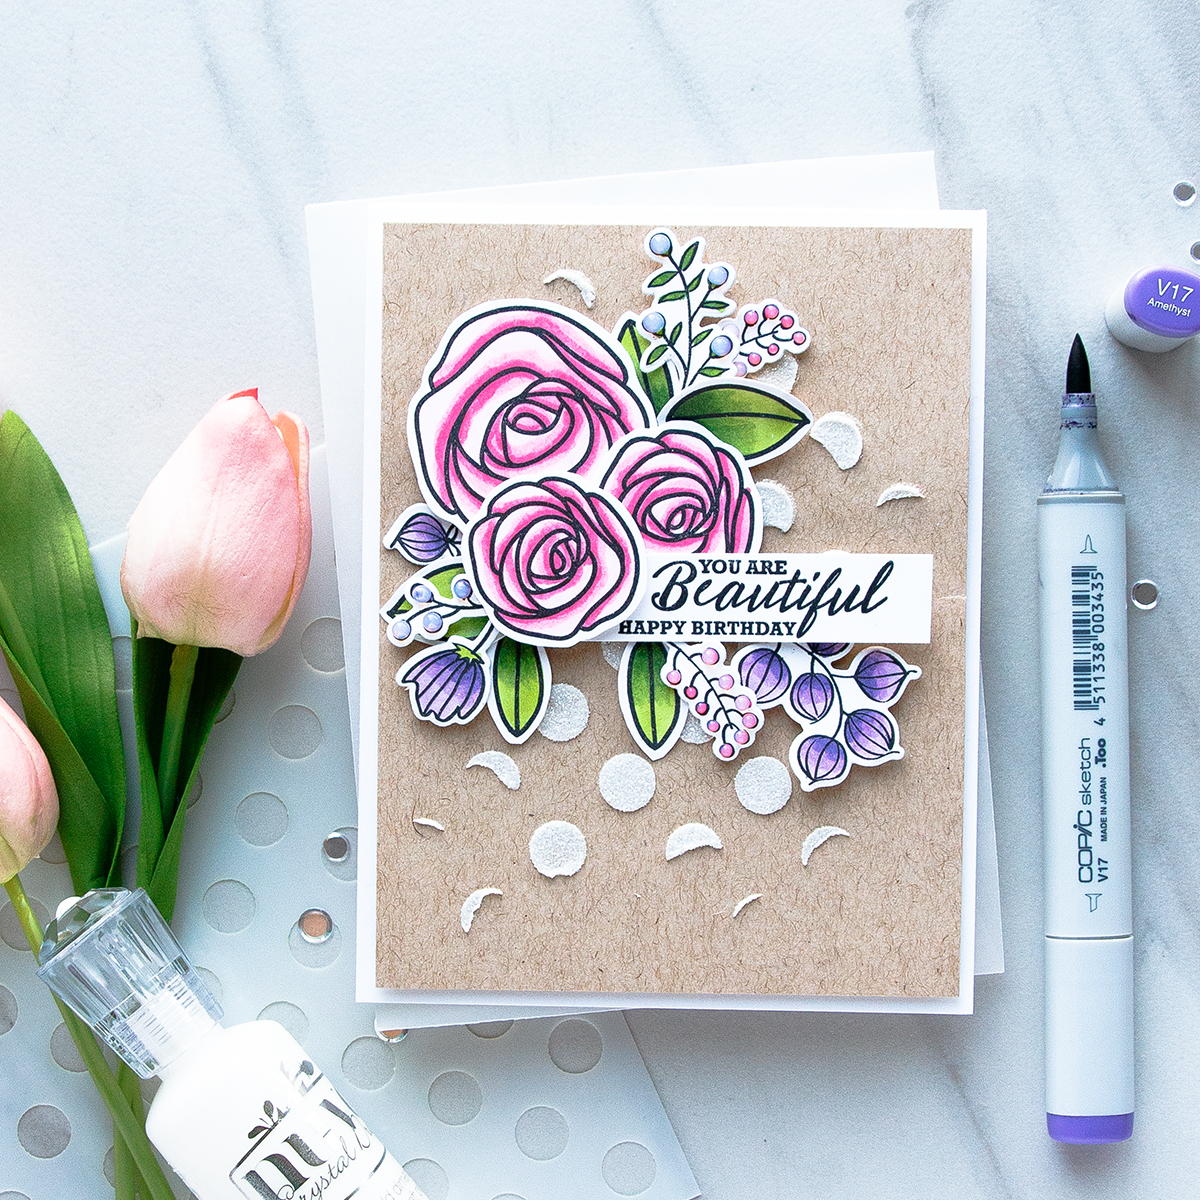
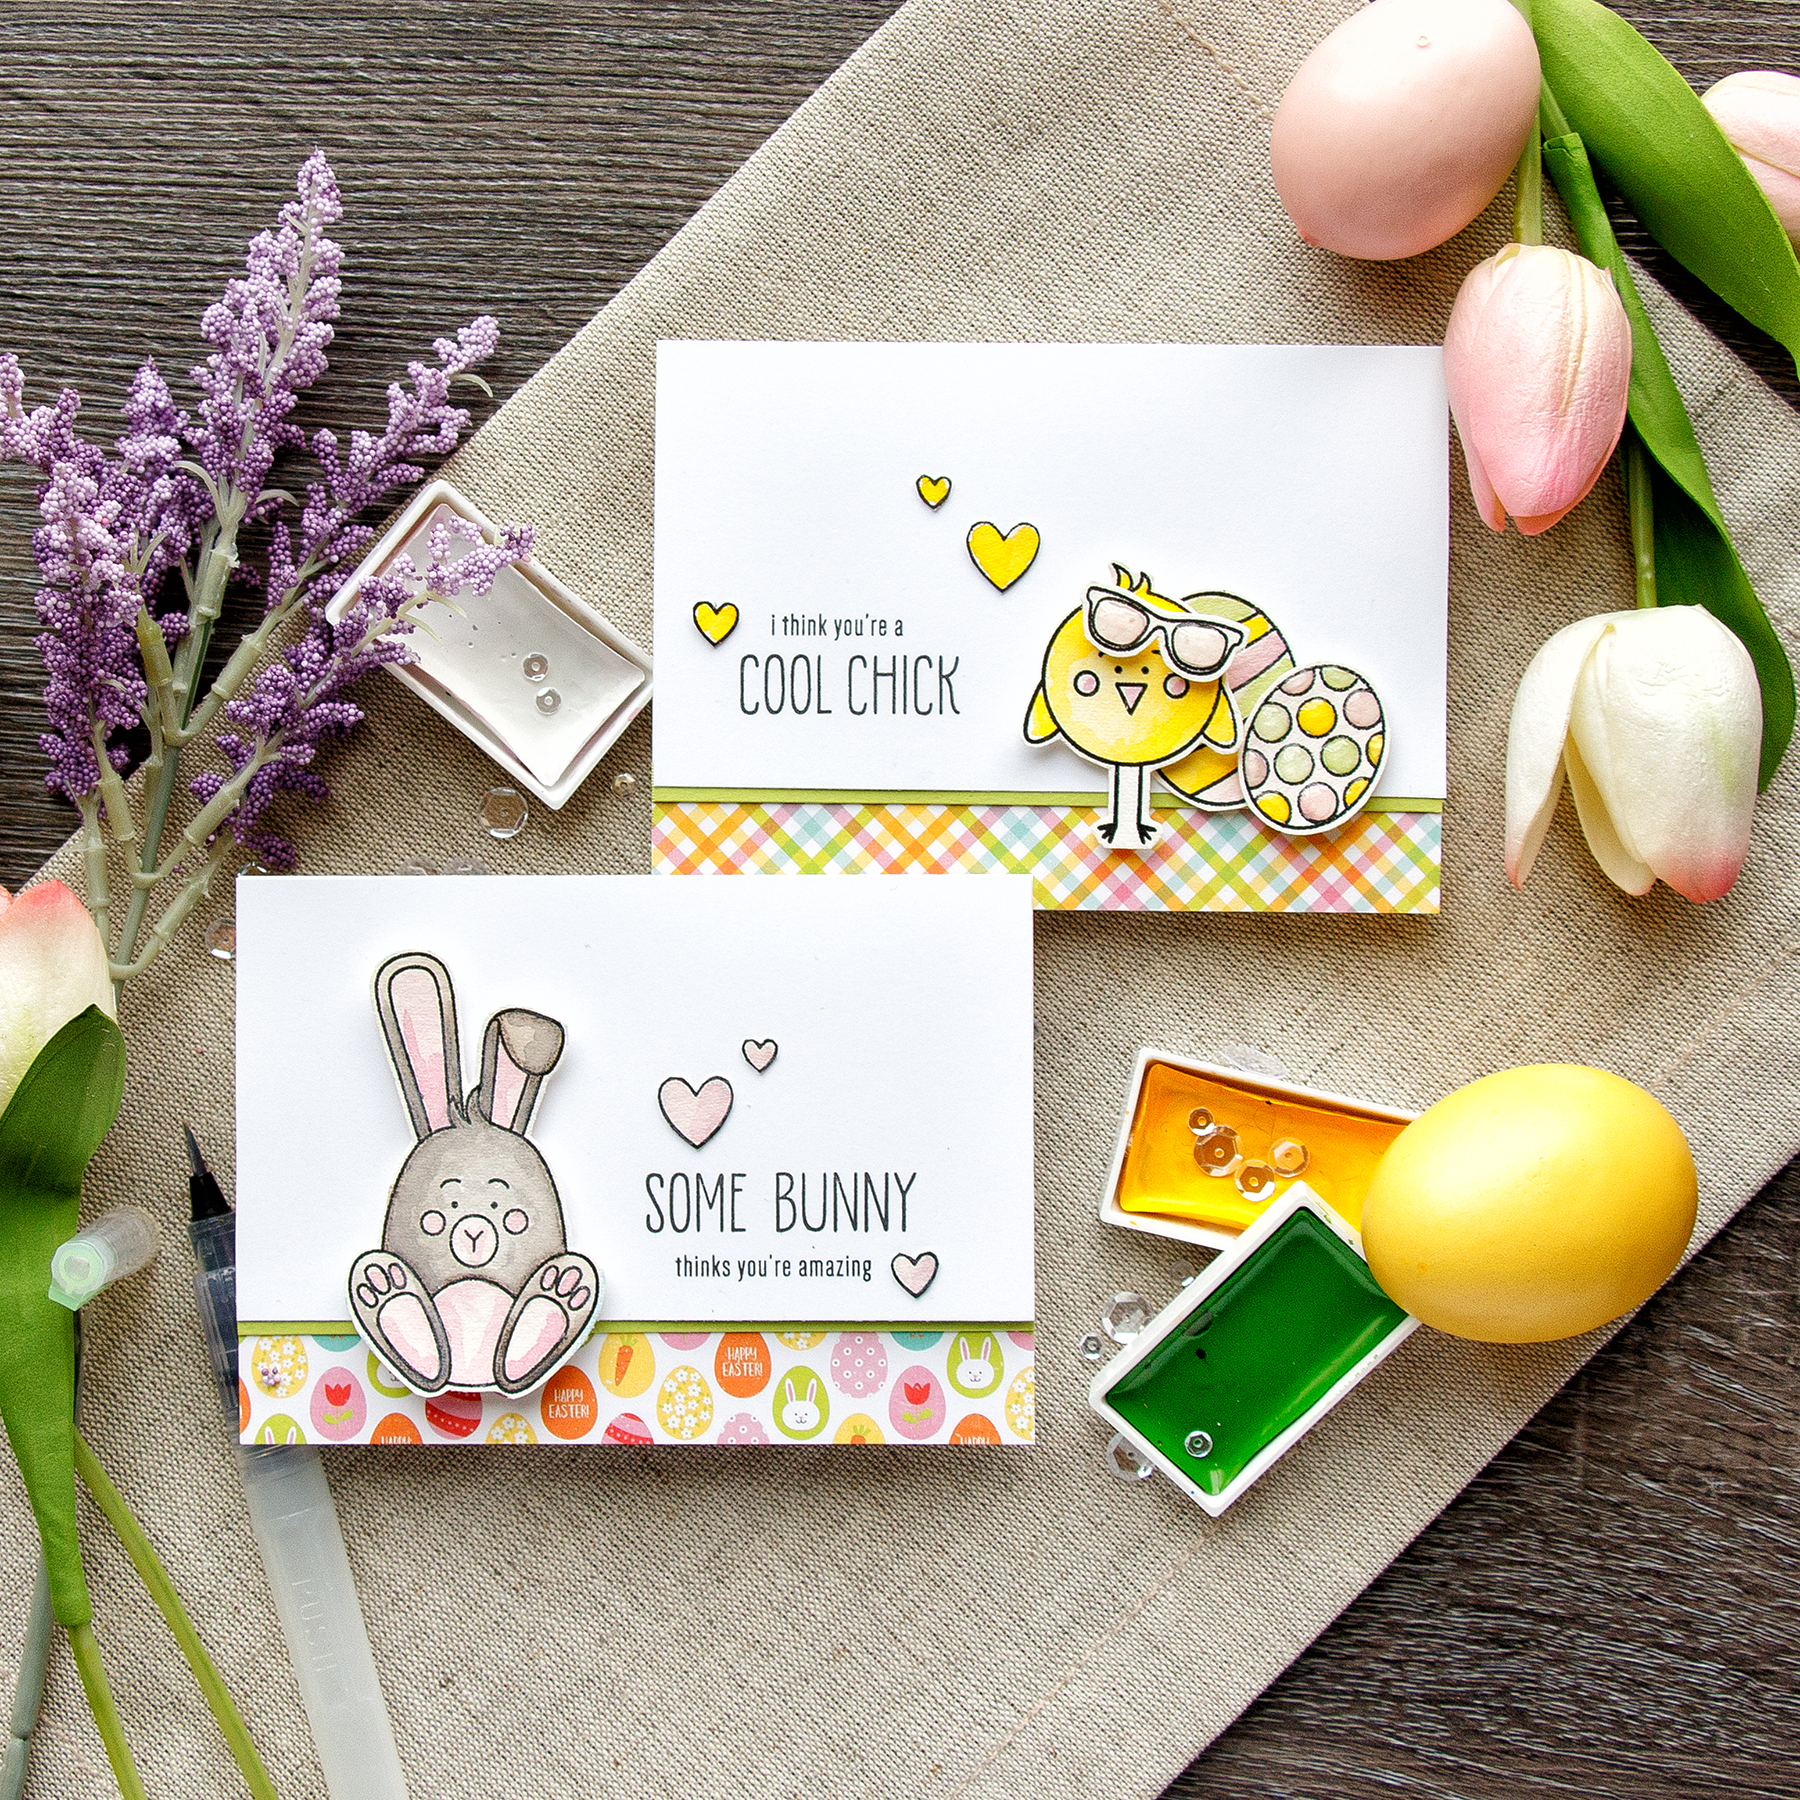
PHOTO PROPS – SEQUINS
Sequins make everything better! I seem to always sprinkle a few sparkling clear sequins from Pretty Pink Posh around my focal point. I love to use this particular sequin mix because it is a bit sparkly, it is clear (and thus goes well with any project) and has a good variety of sizes. I keep my photo sequins separately from my crafting sequins – they are stored in a small dish in my desk where I take my photos.
![]()
CAMERA & GEAR I USE
The camera I use to take photos is (affiliate link used at no additional cost to you) Canon EOS 7D MARK II along with EFS 18-135mm lens. I also have an external Flash which I used to use a lot (Speedlite 580EX II) but hardly ever use these days as I much prefer taking photos with natural light next to a window. I use a step stool to be able to stand directly above my styled photo. I also often use one or two $1 whiteboards to reflect light and block the color from whatever color shirt or pants I’m wearing.
I take my photos in RAW and always edit them in Photoshop.
CONCLUSION
It is very easy to get carried away with all the specialty photo props and equipment. I am not saying do not invest in high quality professional items, but do first look around your home to see what you can use. You might have a gorgeous wood or tile floor or a beautiful collection of napkins and placemats that can be used as backgrounds. If you have a garden – you can try picking fresh flowers to use as props.
As for the camera – if you have good lights you can take wonderful photos using just your phone.
I hope this blog post has been useful and encouraging. Feel free to leave me a comment, ask questions, email. I am just an amature, but I love what I do and I think this is what matters most.
Awesome thanks for the inspiration always a pleasure to watch your videos! Great tips!
LOVE your cards and photograph! Can I ask what your settings are set to on your camera?
Hello, Carolyn! So sorry I didn’t reply to your question right away, my blog marked it as spam and I didn’t see it until now. I send you an email with details 🙂
Yana I have struggled to get the super crisp close ups you manage to although have a good lens and camera – what settings do you use please?
Thanks….I now feel mega lazy for often taking a photo last thing at night when I have finished a card and have no energy
I have a good garden so must use that more. I have to learn to use something a bit better than Picassa to edit on the computer or just the iPad stuff on here. I am a bit past ladders but did drag my tripod out. Need to try that. I end up using mini wooden or clear plastic easels and then am stuck with the trapezoid shape in the photo……thanks for pushing me with some inspiration. I use a Sony DSL as it takes my pre digital Minolta lens.
I would love to try video. But need a keen teen to guide an old lady. Lol. Thanks
Yana, thank you for taking the time to post the tips for taking photos of greeting cards and to think that I already have a lot of props that can be used This will come in handy the next time that I take a picture of my cards.
Thanks for such wonderfully useful tips, Yana. Your photography always looks professionally done and always showcases your cards so beautifully. Your tips will have me looking for props throughout my home. Thanks so much for sharing. ~HUGS~
#kindnessmatters
Beautiful pictures.
You give a lot of great tips, especially about using items you already have in the home. It’s so easy to get carried away and want to jump in the car to go spend money when it might not be necessary. Your photography is gorgeous, thank you for the inspiration!
Thank you for this wonderful information and for sharing it!
I’m so glad I read this post. I love all your ideas and you give lots of good tips. I struggle with photography of my cards and your information was super helpful. Thanks!
ßome very helpful tips here Yana. I will def. be referring back here for reminders. TFS this info.
I love just about all of your work.
Have a Merry Christmas and a very Happy Holiday Season!
Thank you,
Regina
Love your work!!!
Such a treat is this lesson. Thank you!
Great article and very, very helpful. I love the way you stage your photos and am attracted not only by your wonderful card images, but what went into making the shot extra special. Thanks so much for inspiring.
These were all such great tips, thank you! I always do the same background for my card photos and I’m excited to spice it up a bit.
I am interested in knowing what camera you use for your video tutorials. I have always wanted to learn how to do these.
Great ideas. Thanks for sharing. Your photos are lovely and your cards are amazing too.
Your photos always look great. These are great tips.
Your cards are always so amazing and stunning beyond belief! Thank you for sharing them with us!
Marie Smith. Thank you for sharing valuable tips. Need to improve photography of my cards
Thank you Yana for taking the time to create this long post full of useful ideas and inspiration. You are very talented.
I’m wondering if you can share how you get the card to stay flat. This seems to be my biggest issue with trying to do a flat lay – the card likes to open a little… hoping you’ve a trick you can share.
Hey Tara,
Sorry I’m so late replying to this.
I use removable tape on the inside of the card when I take photos. Always helps me to keep them flay.
Thanks for all the fantastic tips on photographing cards. I will definitely take a look around the house for possibilities and in the stores for supplies!!
I love the card that illustrates the section on tile backgrounds for your photographs– the one with the daffodils and crocus flowers. Can you tell me what stamp/die set was used for that one?
thank you, Lynn! You can see details & supplies for this card here https://www.yanasmakula.com/simon-says-stamp-where-flowers-bloom-so-does-hope-new-beginnings-release/
Thank you for the helpful photography tips.
Hey ! This blog post was super duper helpful! Love it ! Thanks a bunch! I have one question, once you have made a card then what time do you photograph it? You photograph one project at a time or many different projects all at the same time ?
Hi Yana,
You have an adorable card in your section for photography, props and backgrounds. The saying on the card is “Where flowers bloom so does hope” I recognize this as Gina K, but I would love to know the stamp set you used for the flowers. You do such beautiful work!
Thanks,
GREAT IDEAS! Cards are always beautiful. Appreciate the tips… hadn’t though much about background… but I will now!
Hi Yana, Love your work! I’m interested in finding out what type of computer that you use. IPAD, MAC or PC…
I just read your post on taking photos . . . I loved all your tips, these are things even I might be able to do! I don’t have a great camera, just my phone . . . but I have some very pretty plates that my father handpainted back in the 1940’s, and I am going to find a way to incorporate them, thanks to your suggestions! I love your card making style, and recently made some cards using a video of yours. The friends who received them said, “wow!”
thank you, Yana, for all the inspiration!
Wow, this was so interesting and informative. Thank you so much for sharing!
Yana, I just found this, and I appreciate it so very much. I have tried to incorporate some of these things into my card photography, but I appreciate your sharing where you find some of these things. You say are afraid to change the settings on your camera and yet you shoot RAW and process in Photoshop. You know more about photography than you give yourself credit for! You have become one of my biggest inspirations, so I have come to look forward to seeing all your videos!
Thank you so much for your wonderful tips! Your photos are an inspiration and I will think about how I can improve my plain photos I post on my blog.
The right background makes a huge difference in how the viewer perceives the project. The enjoyment value increases when the artist takes the time to feature the project in an attractive setting. Thank you for the inspiration! This was one of my favorite posts! And that’s saying a lot because I absolutely love everything you do! ❤️
So very grateful for all your tips. My hands get a bit shaky if I am too far away from the subject I am taking a photo of. I would also like to know what settings you use. When you say you use whiteboards, do you just make a makeshift box to cut out the reflection?
I am a huge admirer of your work and your photos are always so pretty!
How do you position the whiteboards when taking photos? I love using just a desktop by a window to take photos in natural light but sometimes I have issues with the color and pictures turn dark…Your help is greatly appreciated.
Hugs,
Samra
Oh My Gosh Yana! I love your ideas for using household items (i.e., tiles, floorboards, plates, flowers, greenery, sequins, craft supplies, etc.) in your photos. After reading your explanations and suggestions, I went back through to look at the photos again and sure enough those items are in all of your photos! I find that I don’t usually notice many of the specific items but they subtly help you create a mood or feeling or ambiance that makes your photos showcase your cards so beautifully and be so quick to grab the attention of your viewers/readers. I am definitely going to try some of your ideas when I photograph my cards and other makes. Thank you for sharing so much inspiration.
Thanks for some great tips!
Thanks so much for all your tips for photographing cards… your layouts always look amazing…. My hubby takes wonderful photos so I always try to get tips from him but it’s a steep learning curve…. Stay safe and well x
absolutely LOVE your blog. es from ON CAD
I can’t believe I’m just now reading this post! One of my goals is to take better photos of my cards and these tips help a lot! Thank you!
This is such a fabulous post in so many ways. Photographing cards- they look great. And the many beautiful cards! Thanks for all the inspiration. I wish you the best in Arizona!
That you for this, I use my cell phone, but never thought about all the things I could use as props.