

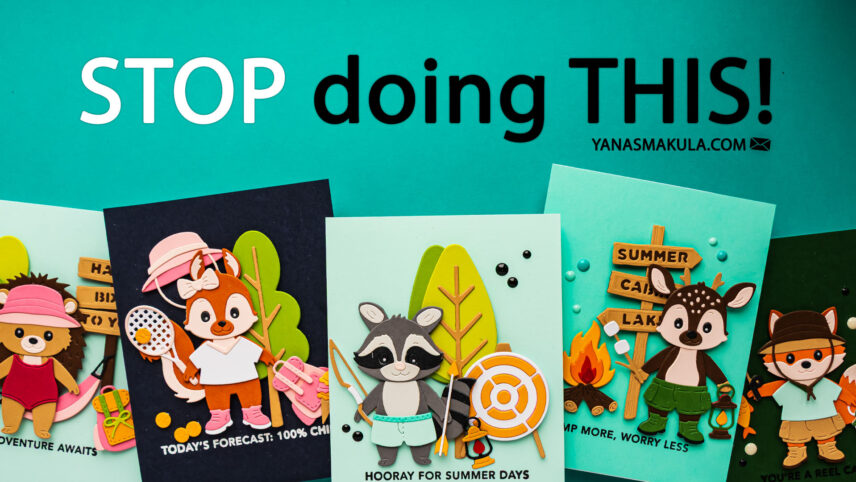
Today I’m sharing a set of six handmade cards along with six simple cardmaking tips that can instantly improve your results. While these cards feature a fun summer camp theme with die-cut critters and accessories, the ideas I’m sharing are evergreen and can be applied to any style, any supplies, and any occasion.
I spent a few hours die-cutting elements and building small scenes, and instead of just walking you through each card, I wanted to focus on techniques and design decisions that truly make a difference. If you’ve ever felt like your cards are missing something or just don’t look quite “finished,” these tips will help.
VIDEO TUTORIAL
Watch the step-by-step video below or over on my YouTube channel.
TIP 1: LET YOUR FOCAL ELEMENTS DO THE WORK
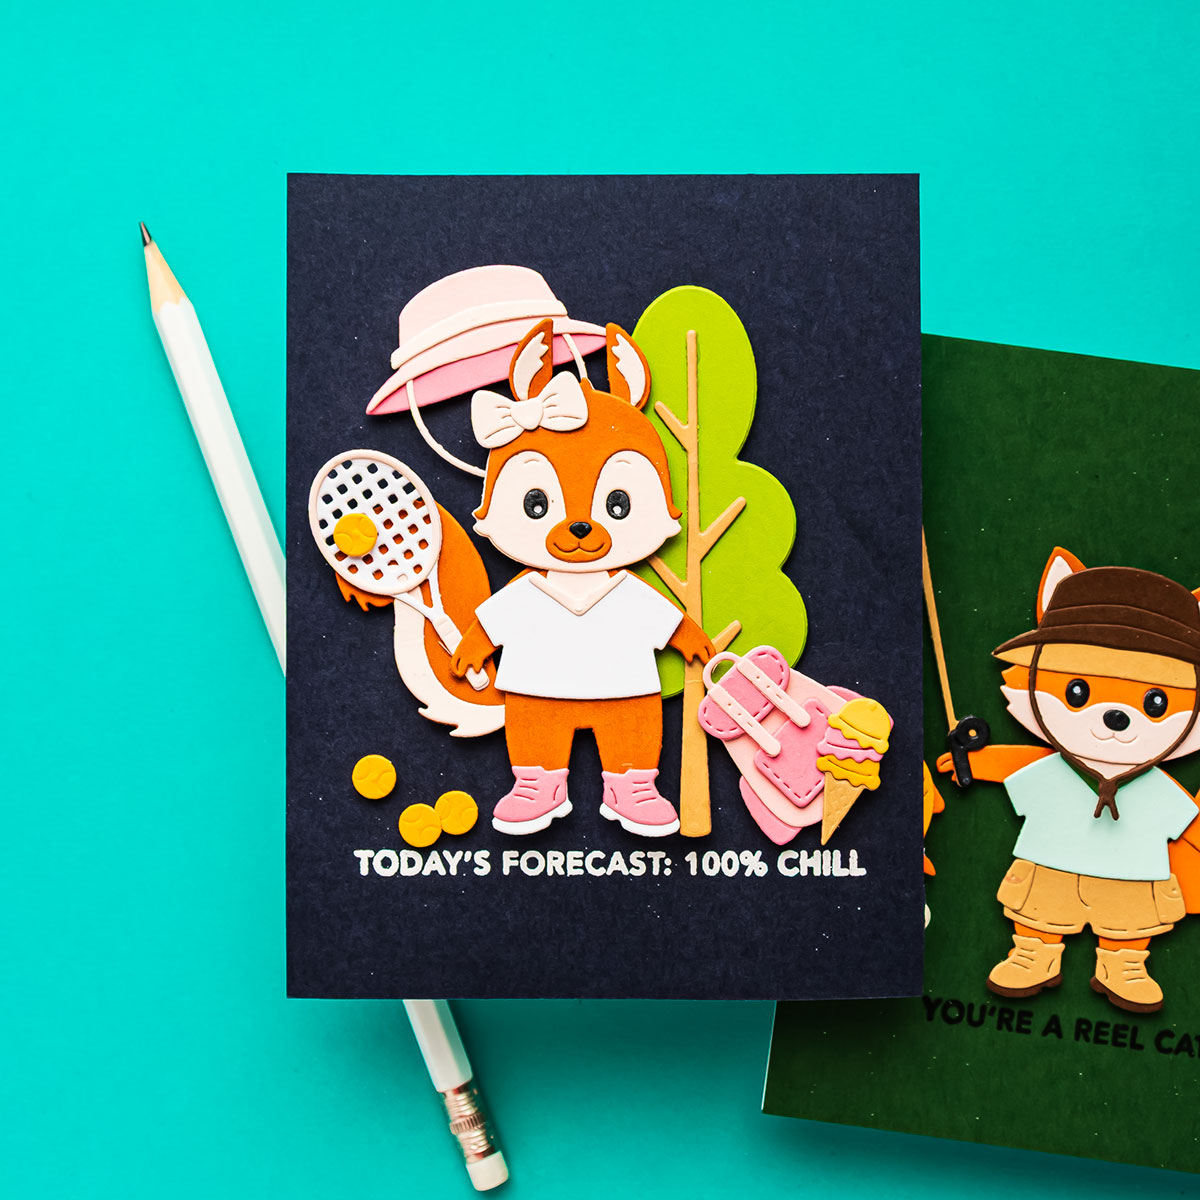
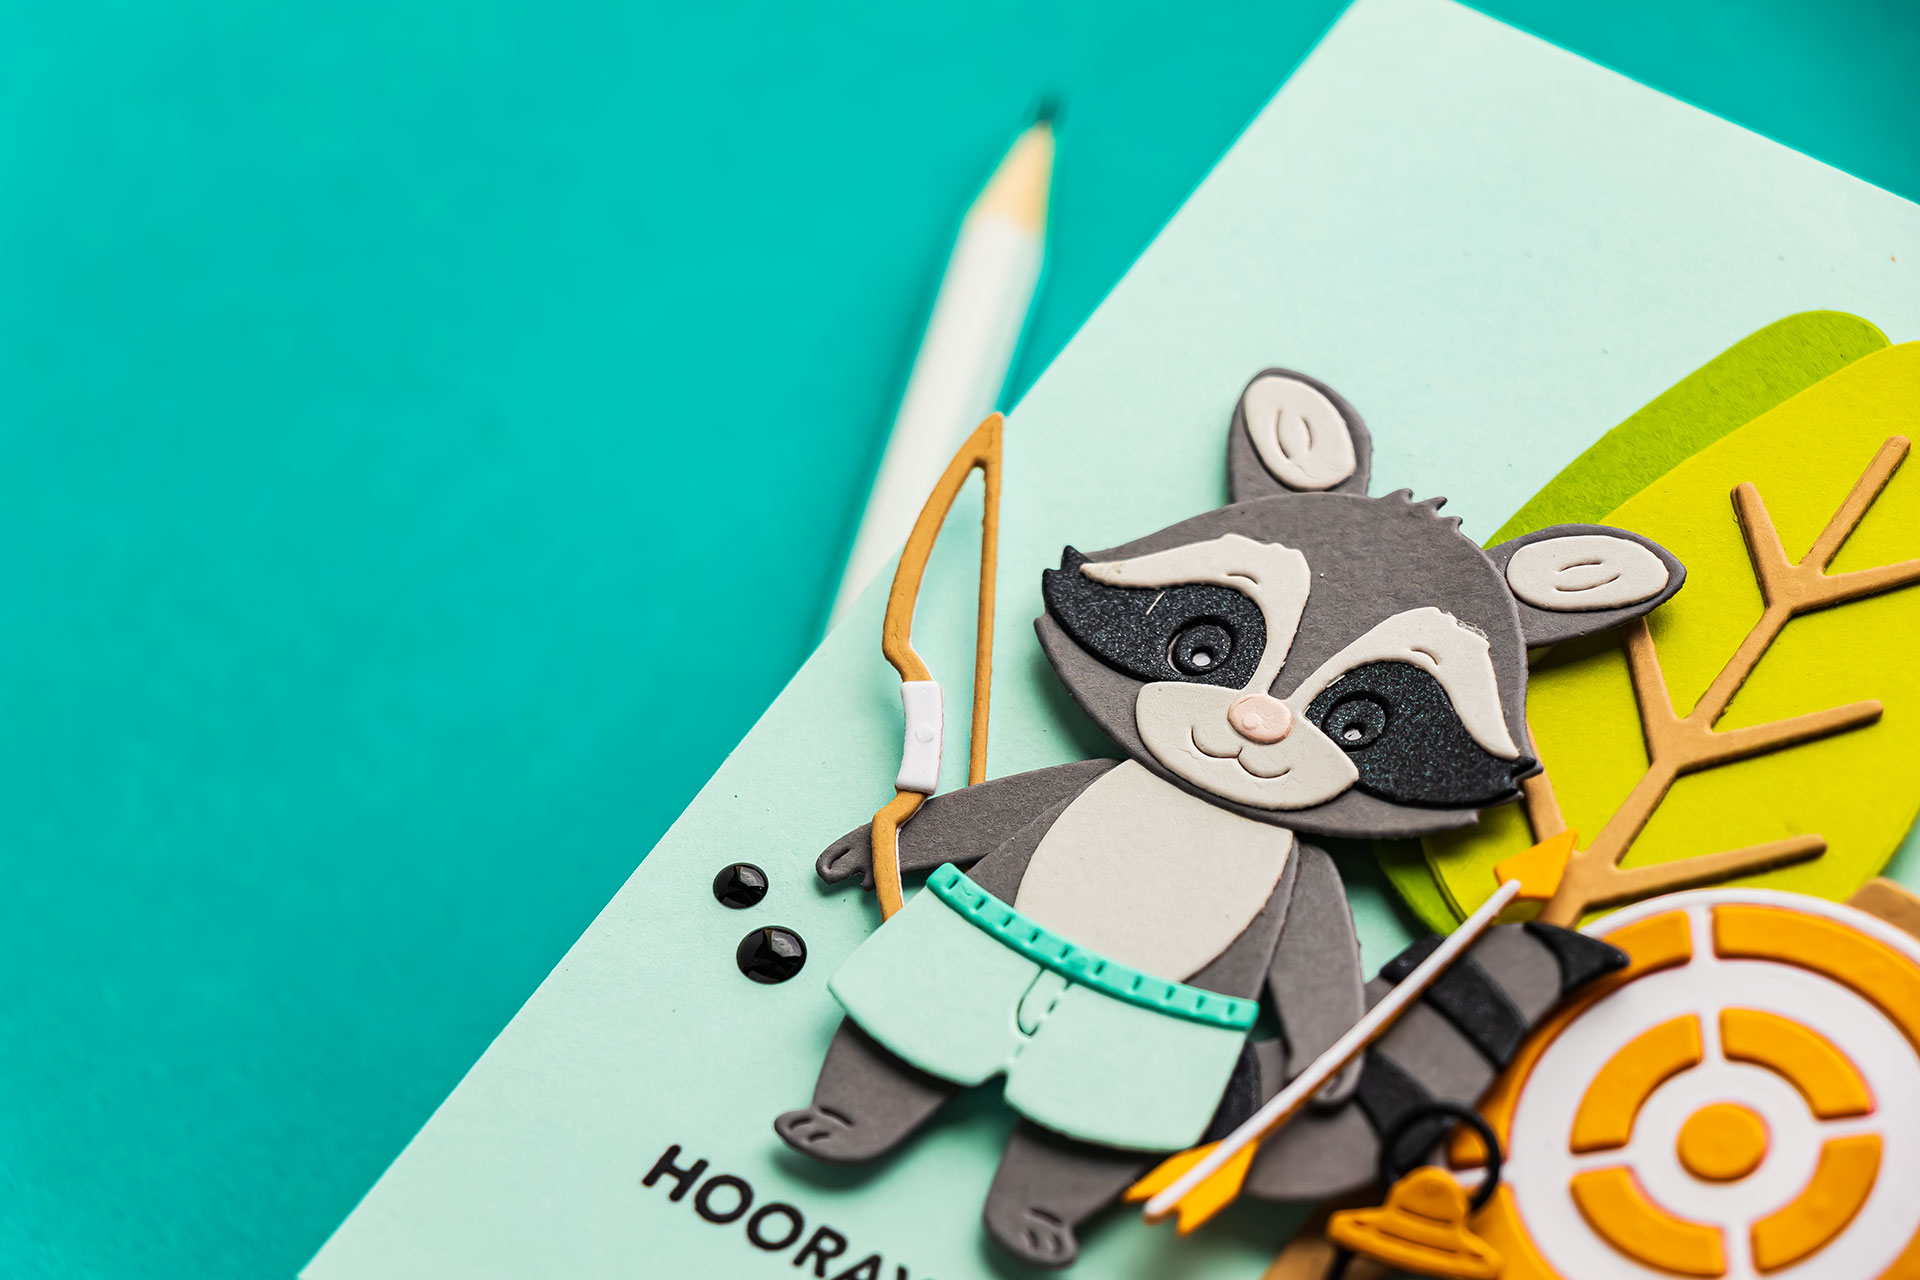
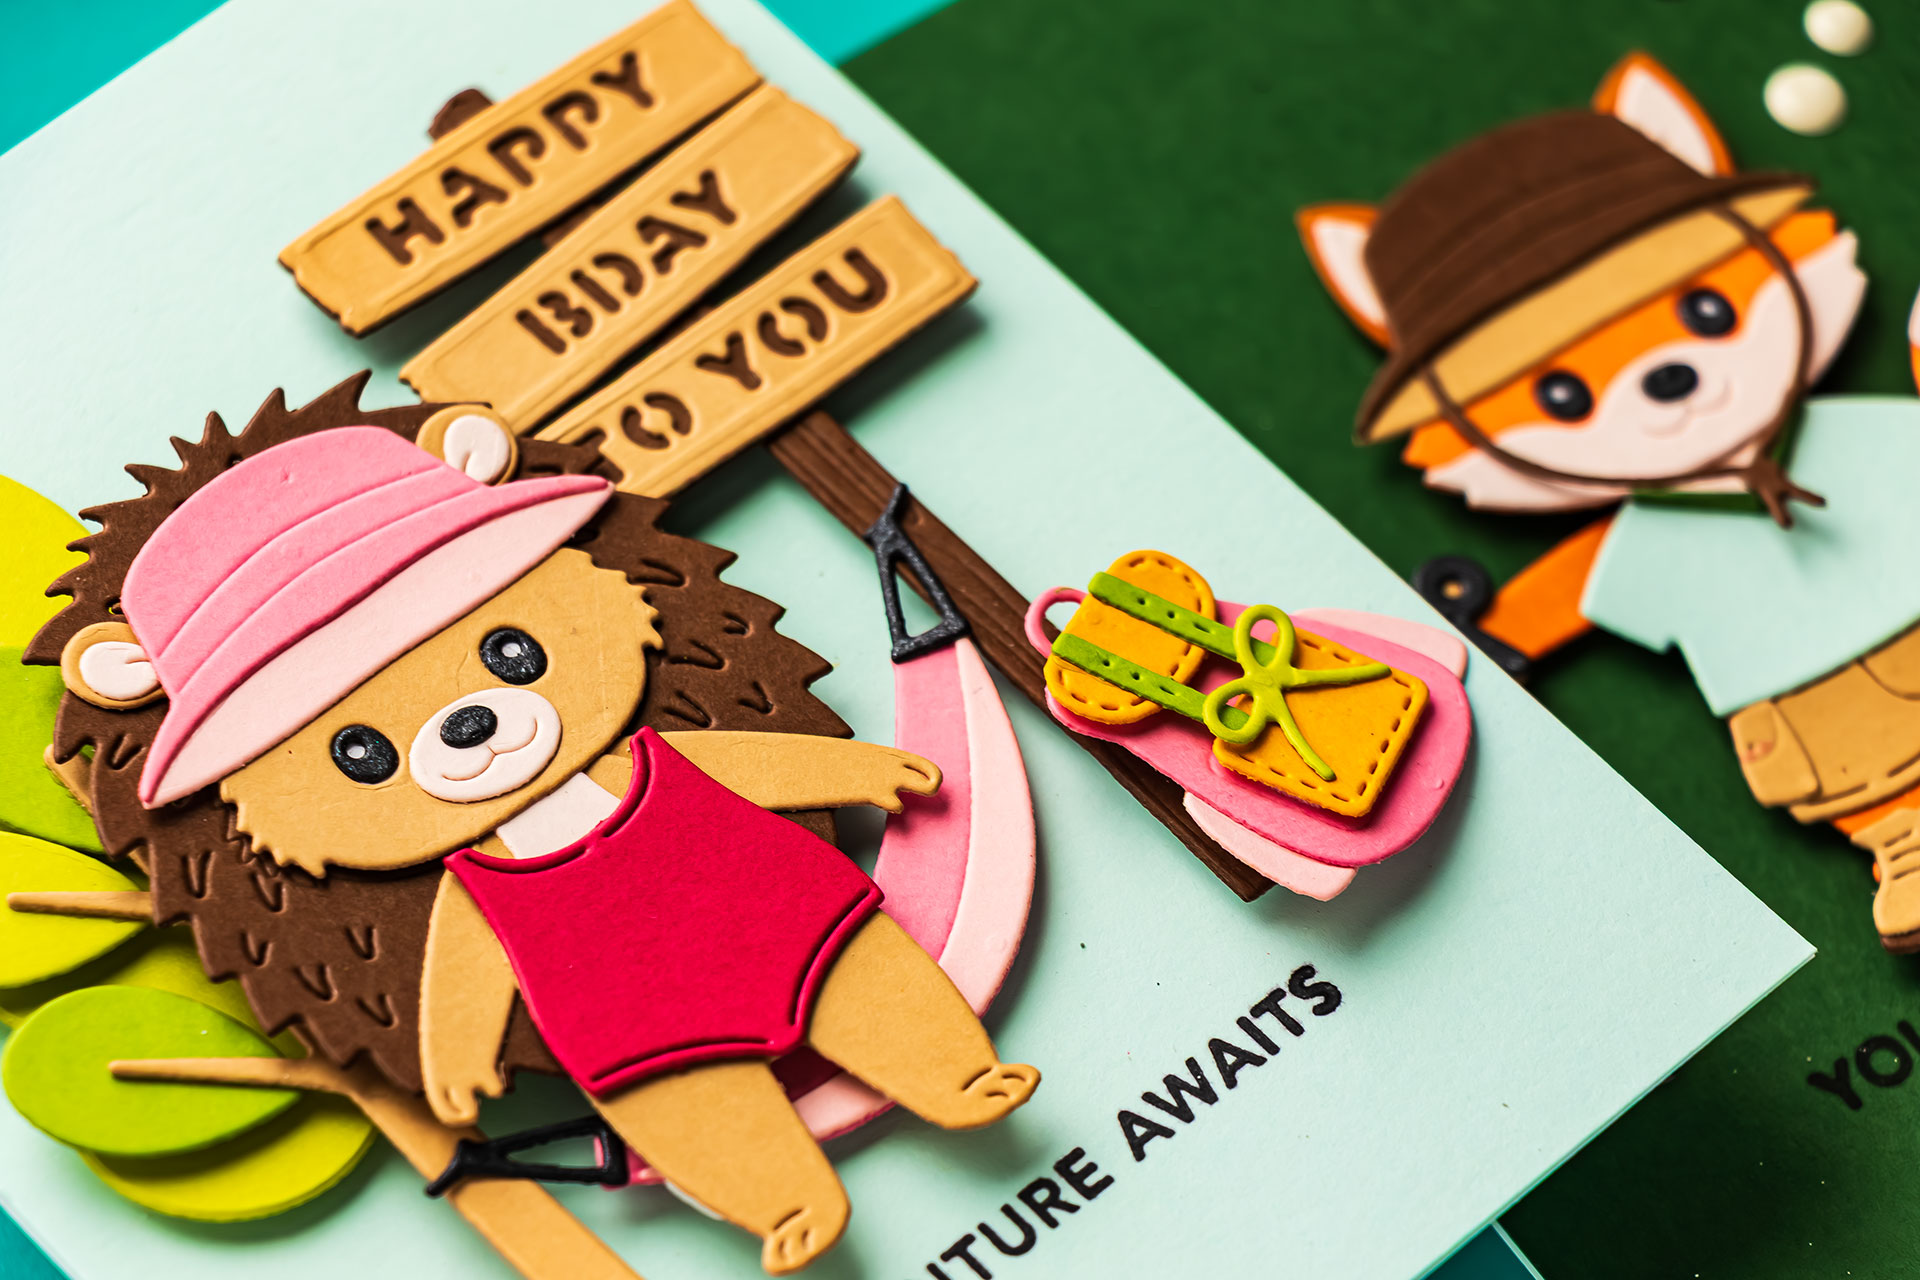
You don’t always need a detailed background. For my first card, I used a simple colored cardstock panel and let the die-cut elements take center stage. When your focal point is strong, adding more to the background can actually distract from it.
Using clean backgrounds allows your eye to go exactly where it should. It also speeds up the process and keeps your design looking polished.
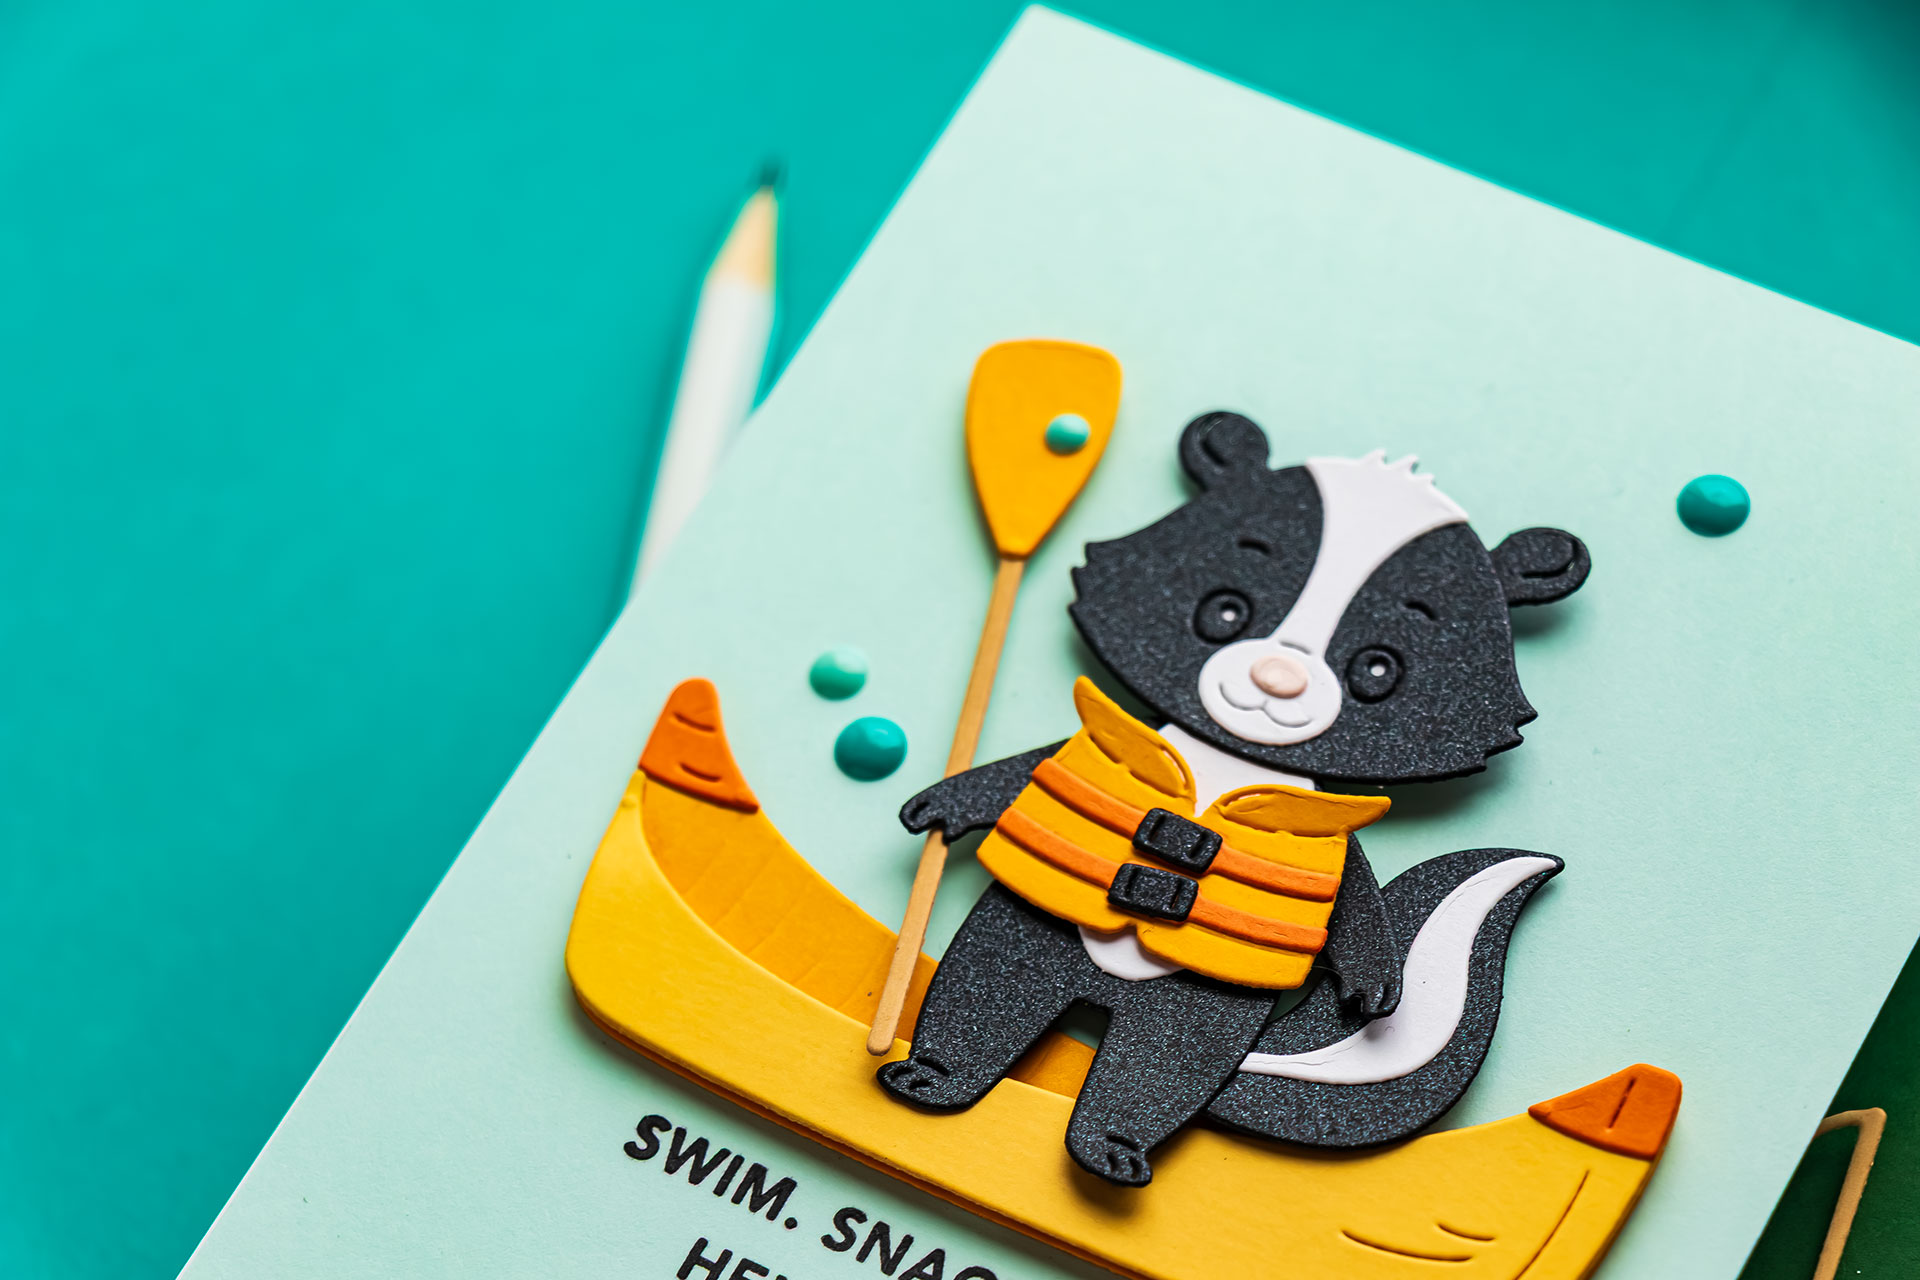
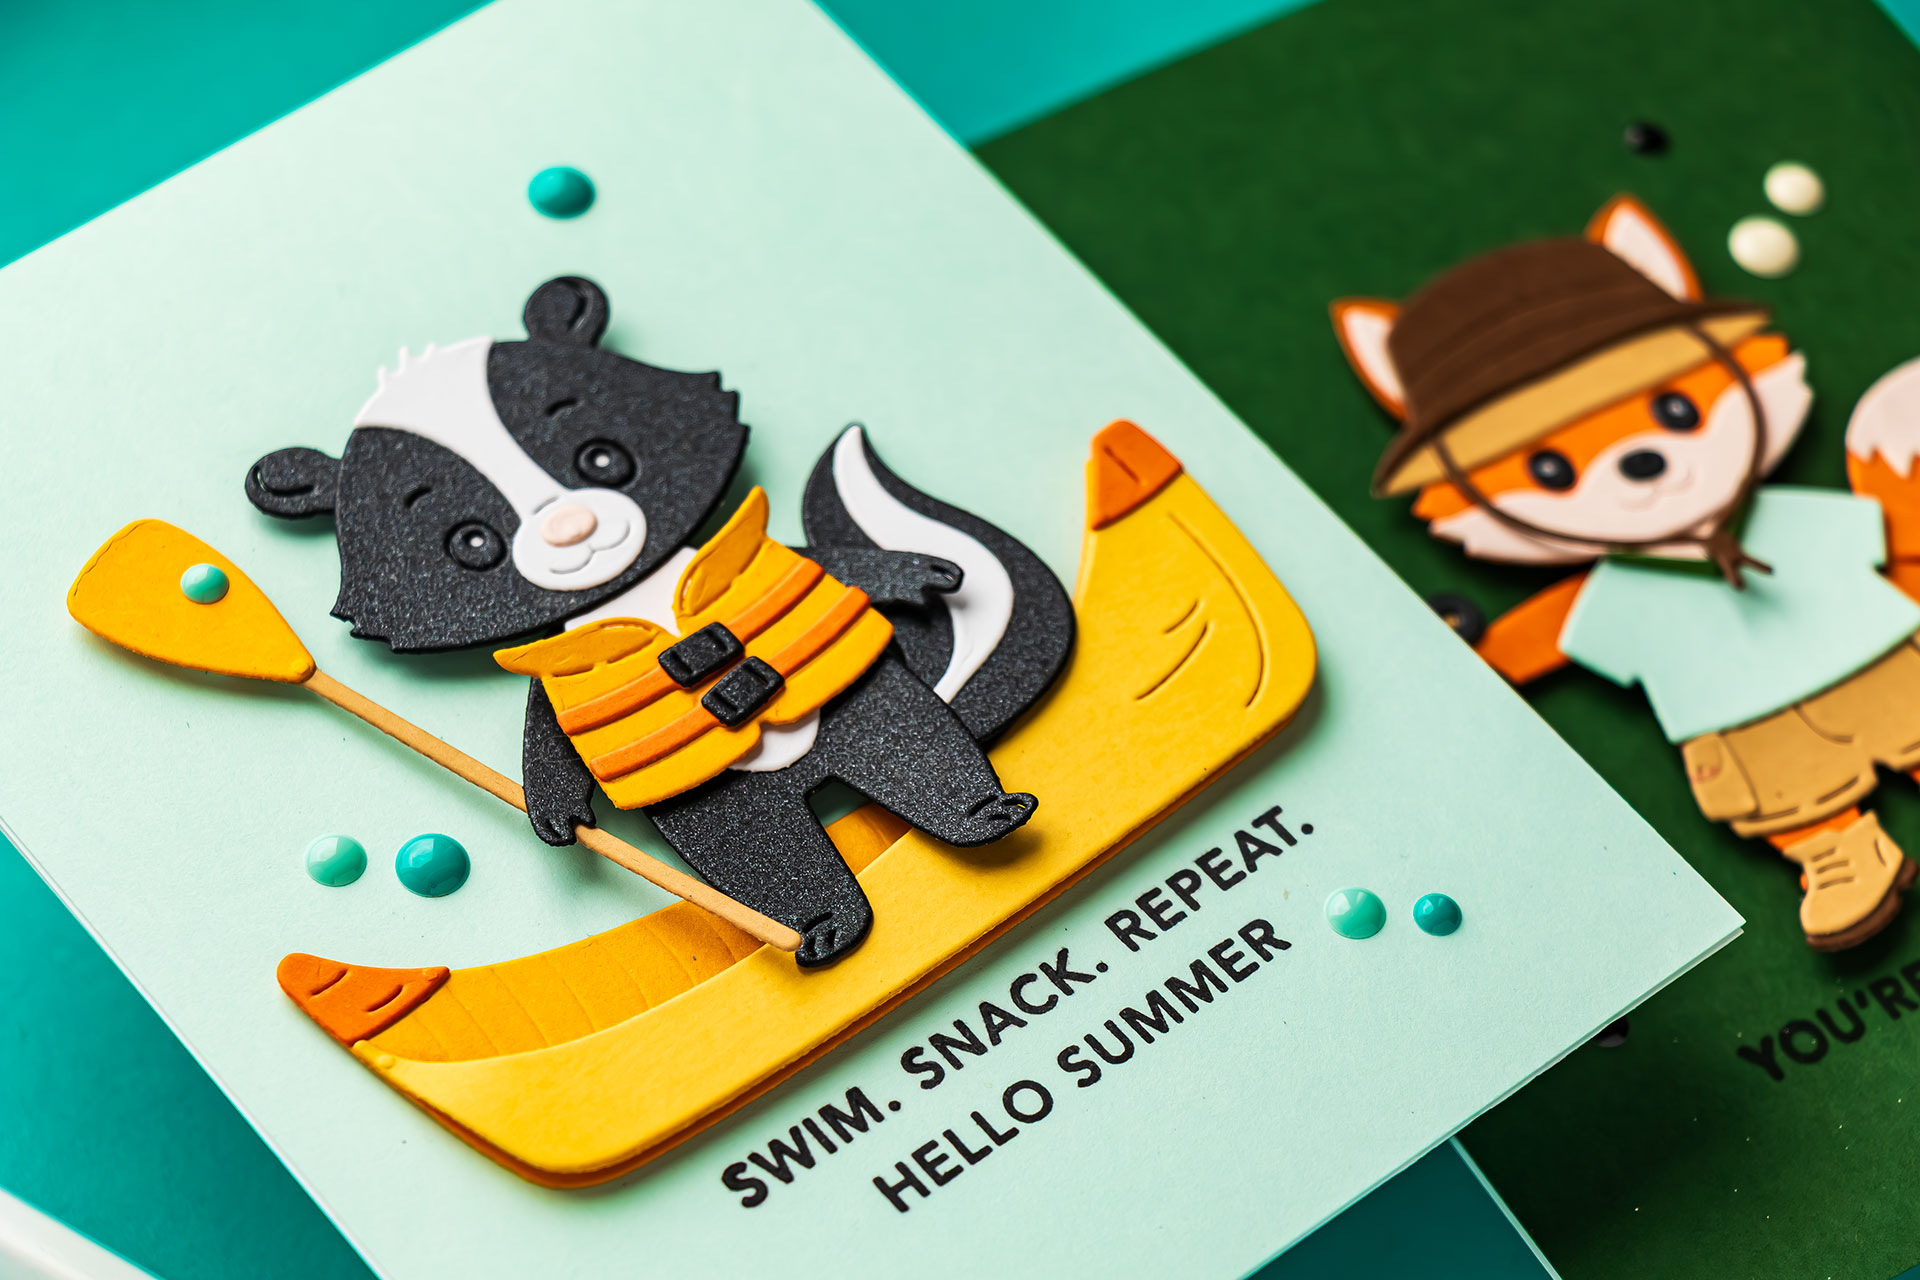
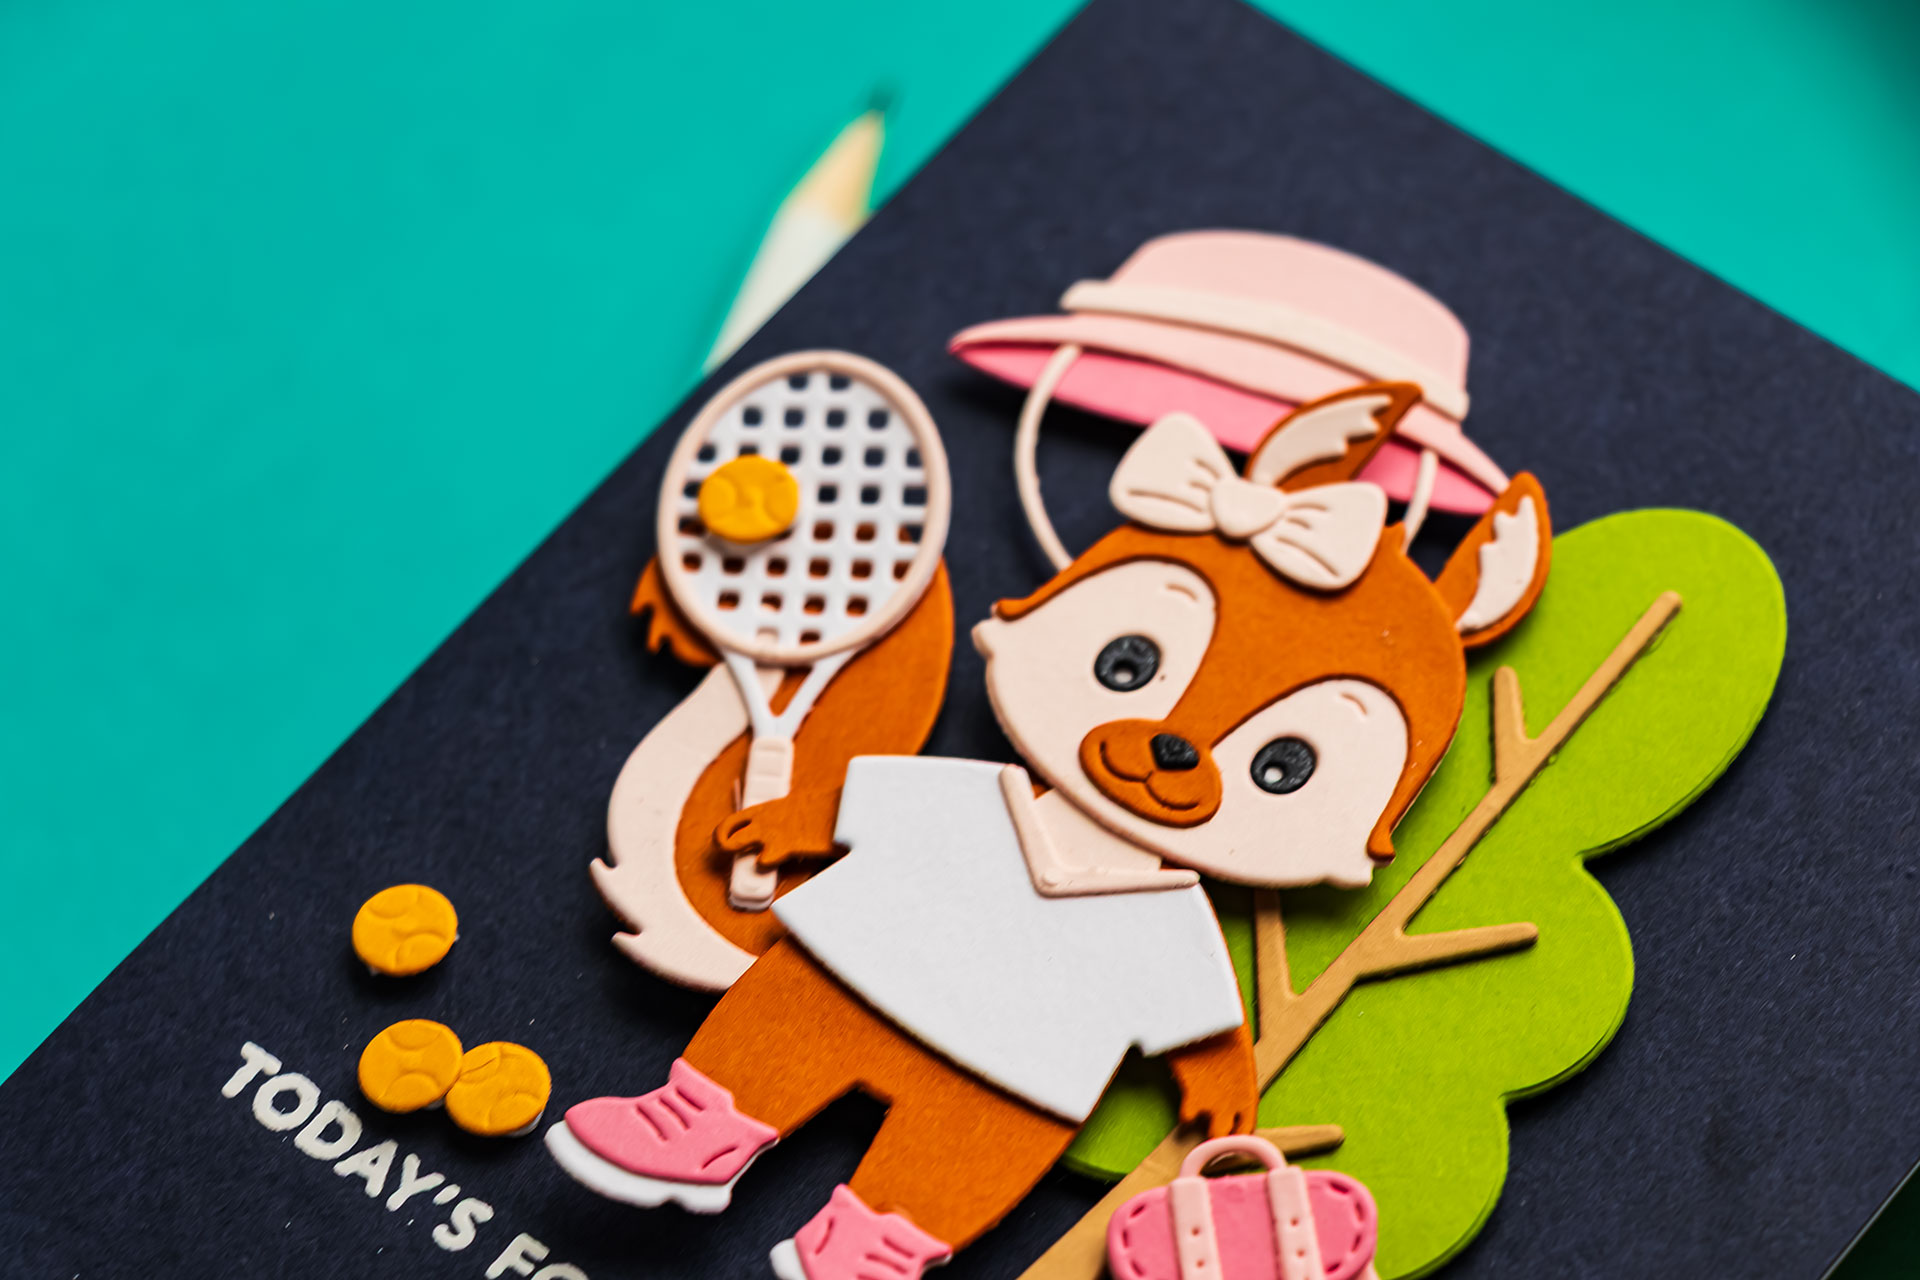
A small detail that makes a big difference is using slightly different shades of the same color when assembling die cuts. This adds depth without adding complexity.
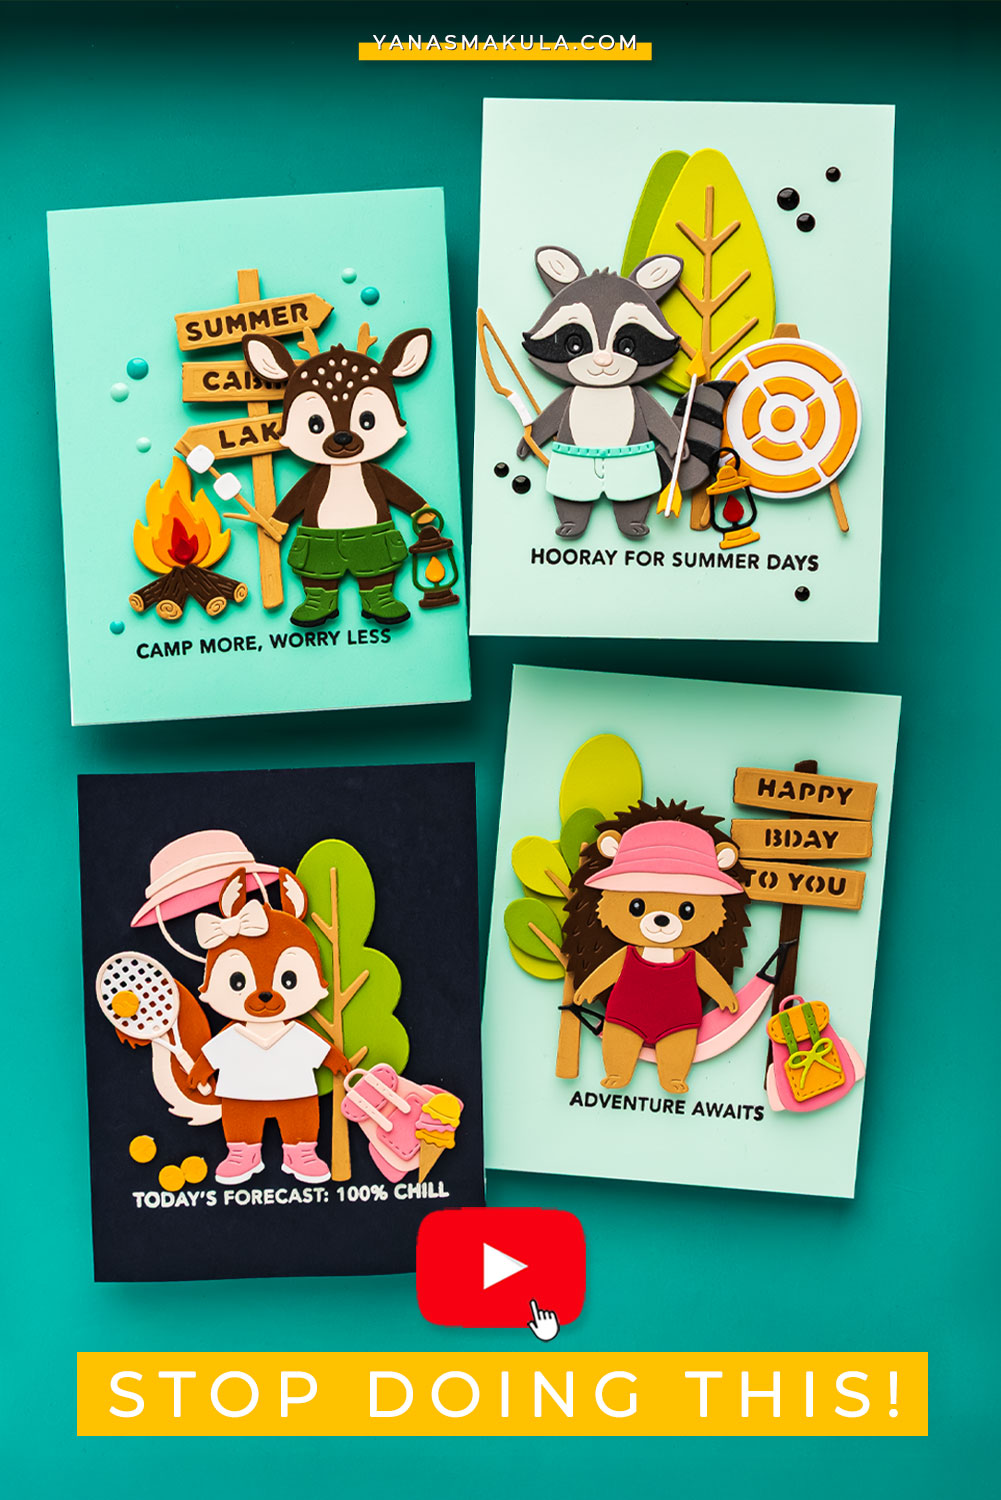
TIP 2: BUILD YOUR SCENE IN LAYERS
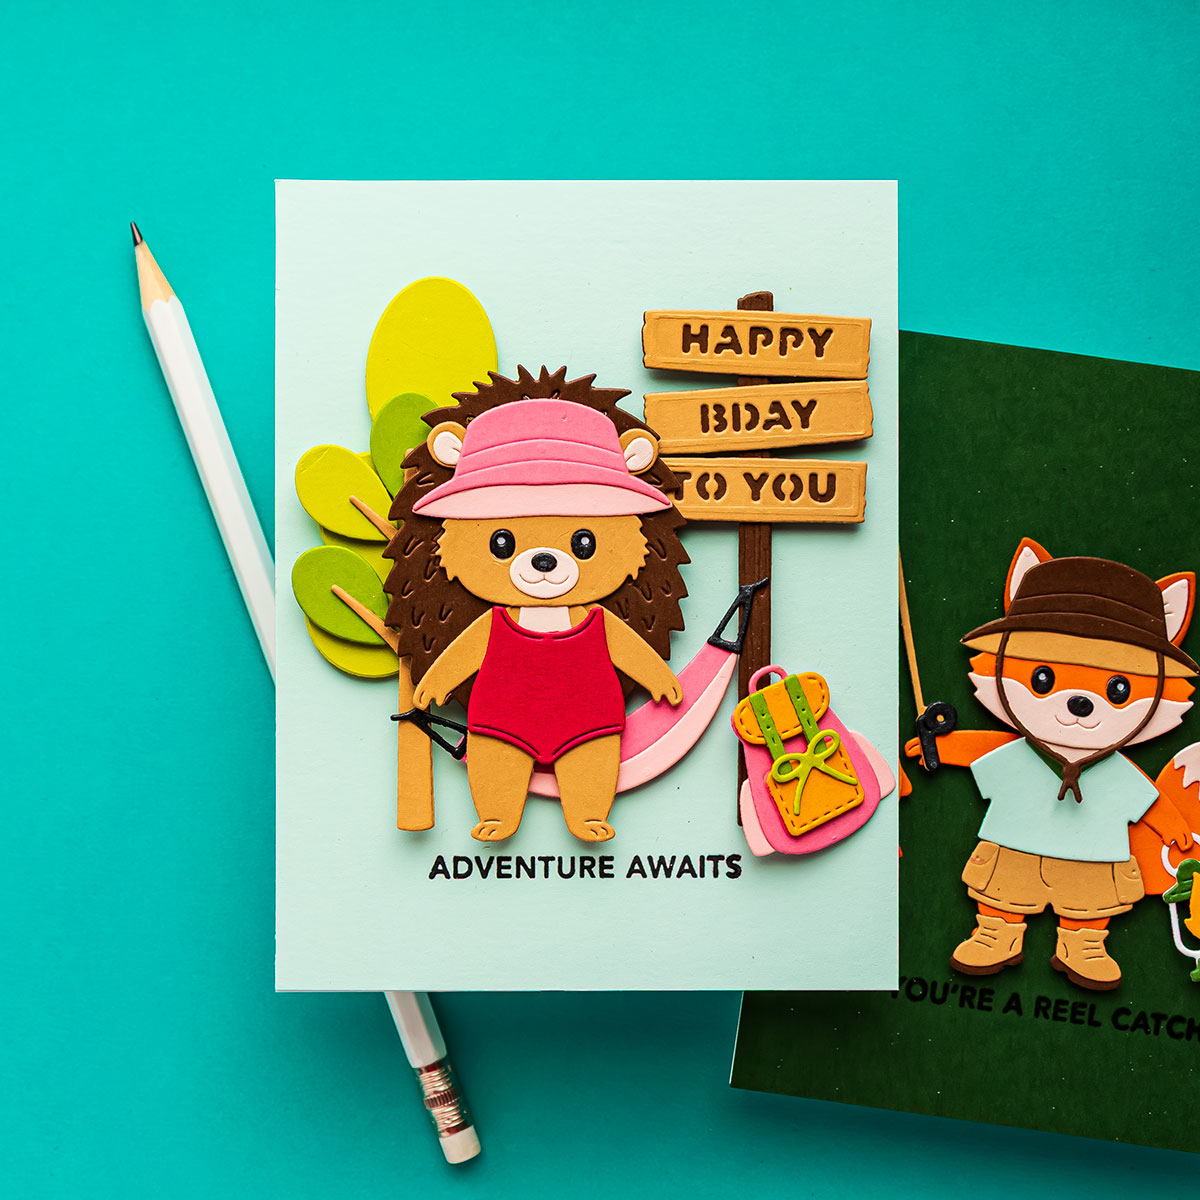
If you enjoy creating scenes, think about layering your elements. Start with your background elements, then add midground pieces, and finally your main character or focal point. This creates a natural sense of depth and makes your card feel more intentional.
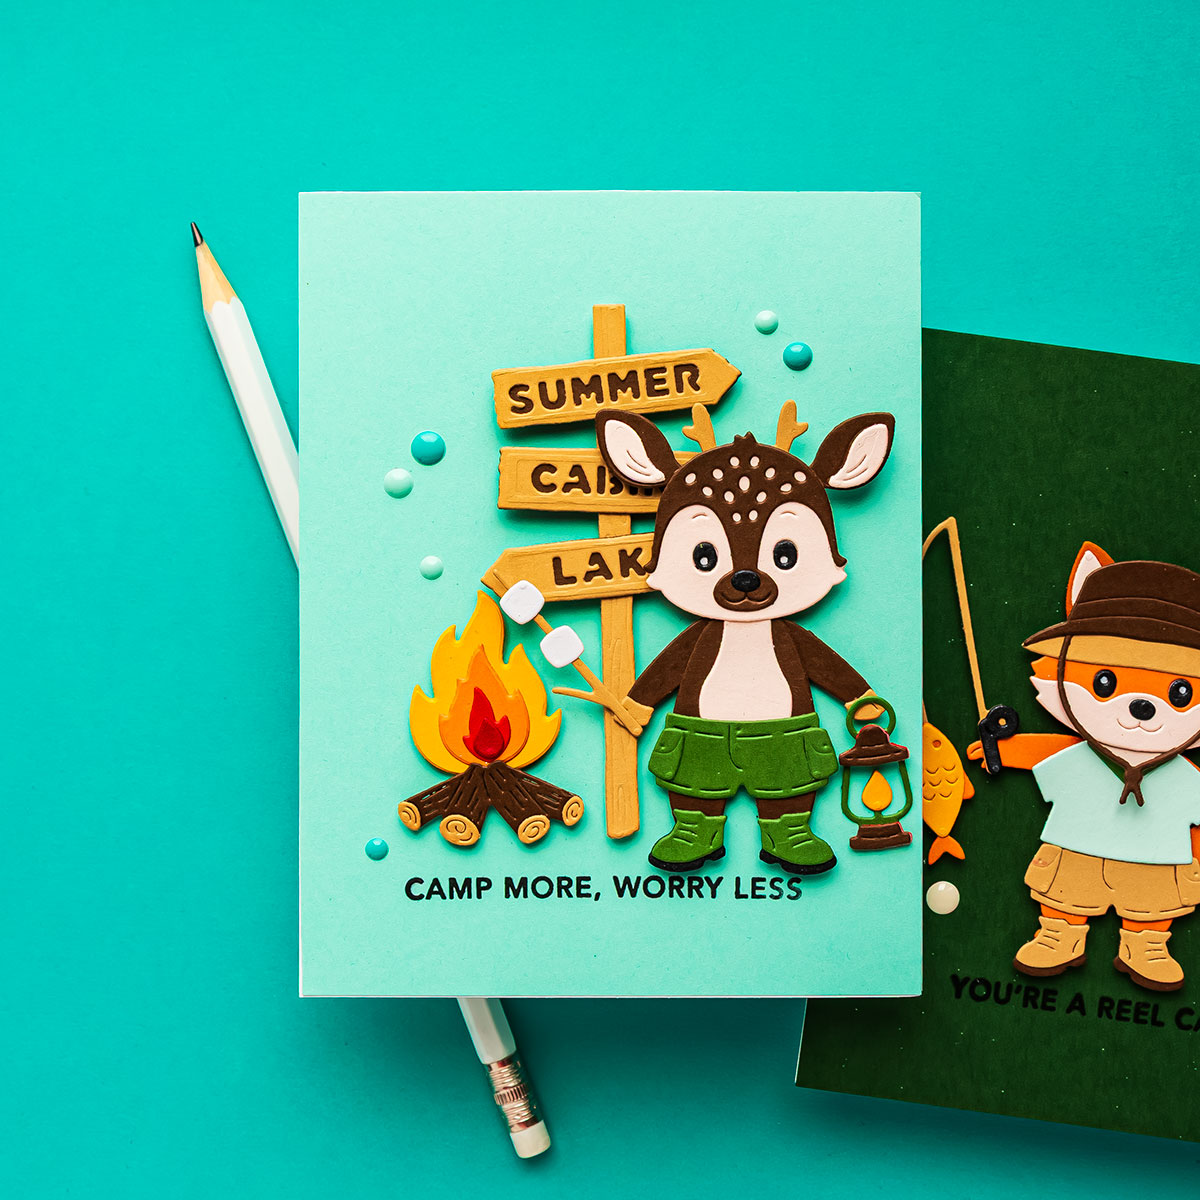
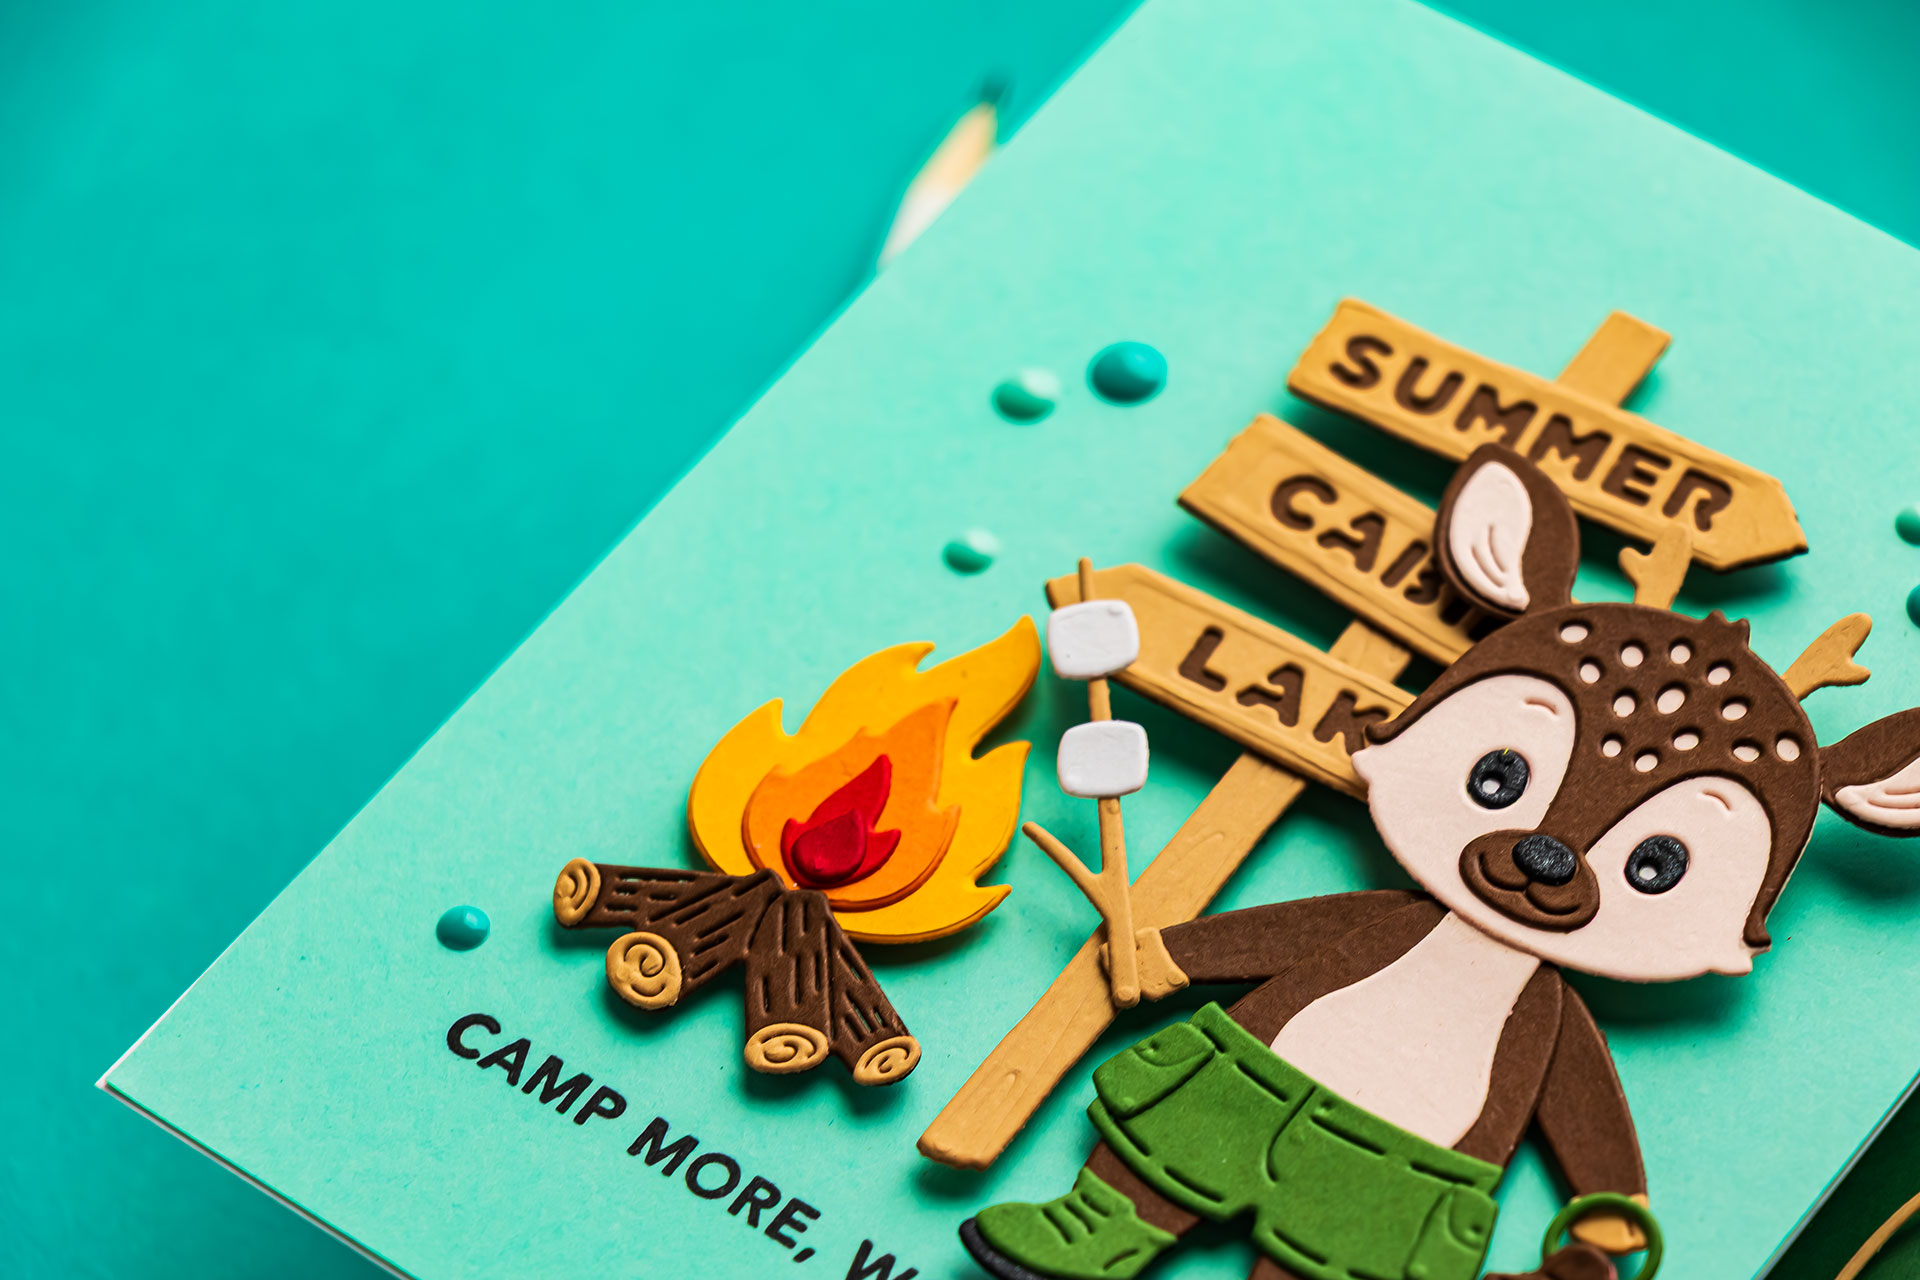
For one of my cards, I placed a sign first, then added a campfire, and finally positioned the critter in front. Even without ink blending, this layering creates dimension.
You can also mix foam adhesive and liquid glue to vary the height of elements and enhance this effect.
TIP 3: USE DIMENSION TO ADD INTEREST
When working with simple designs, dimension becomes especially important.
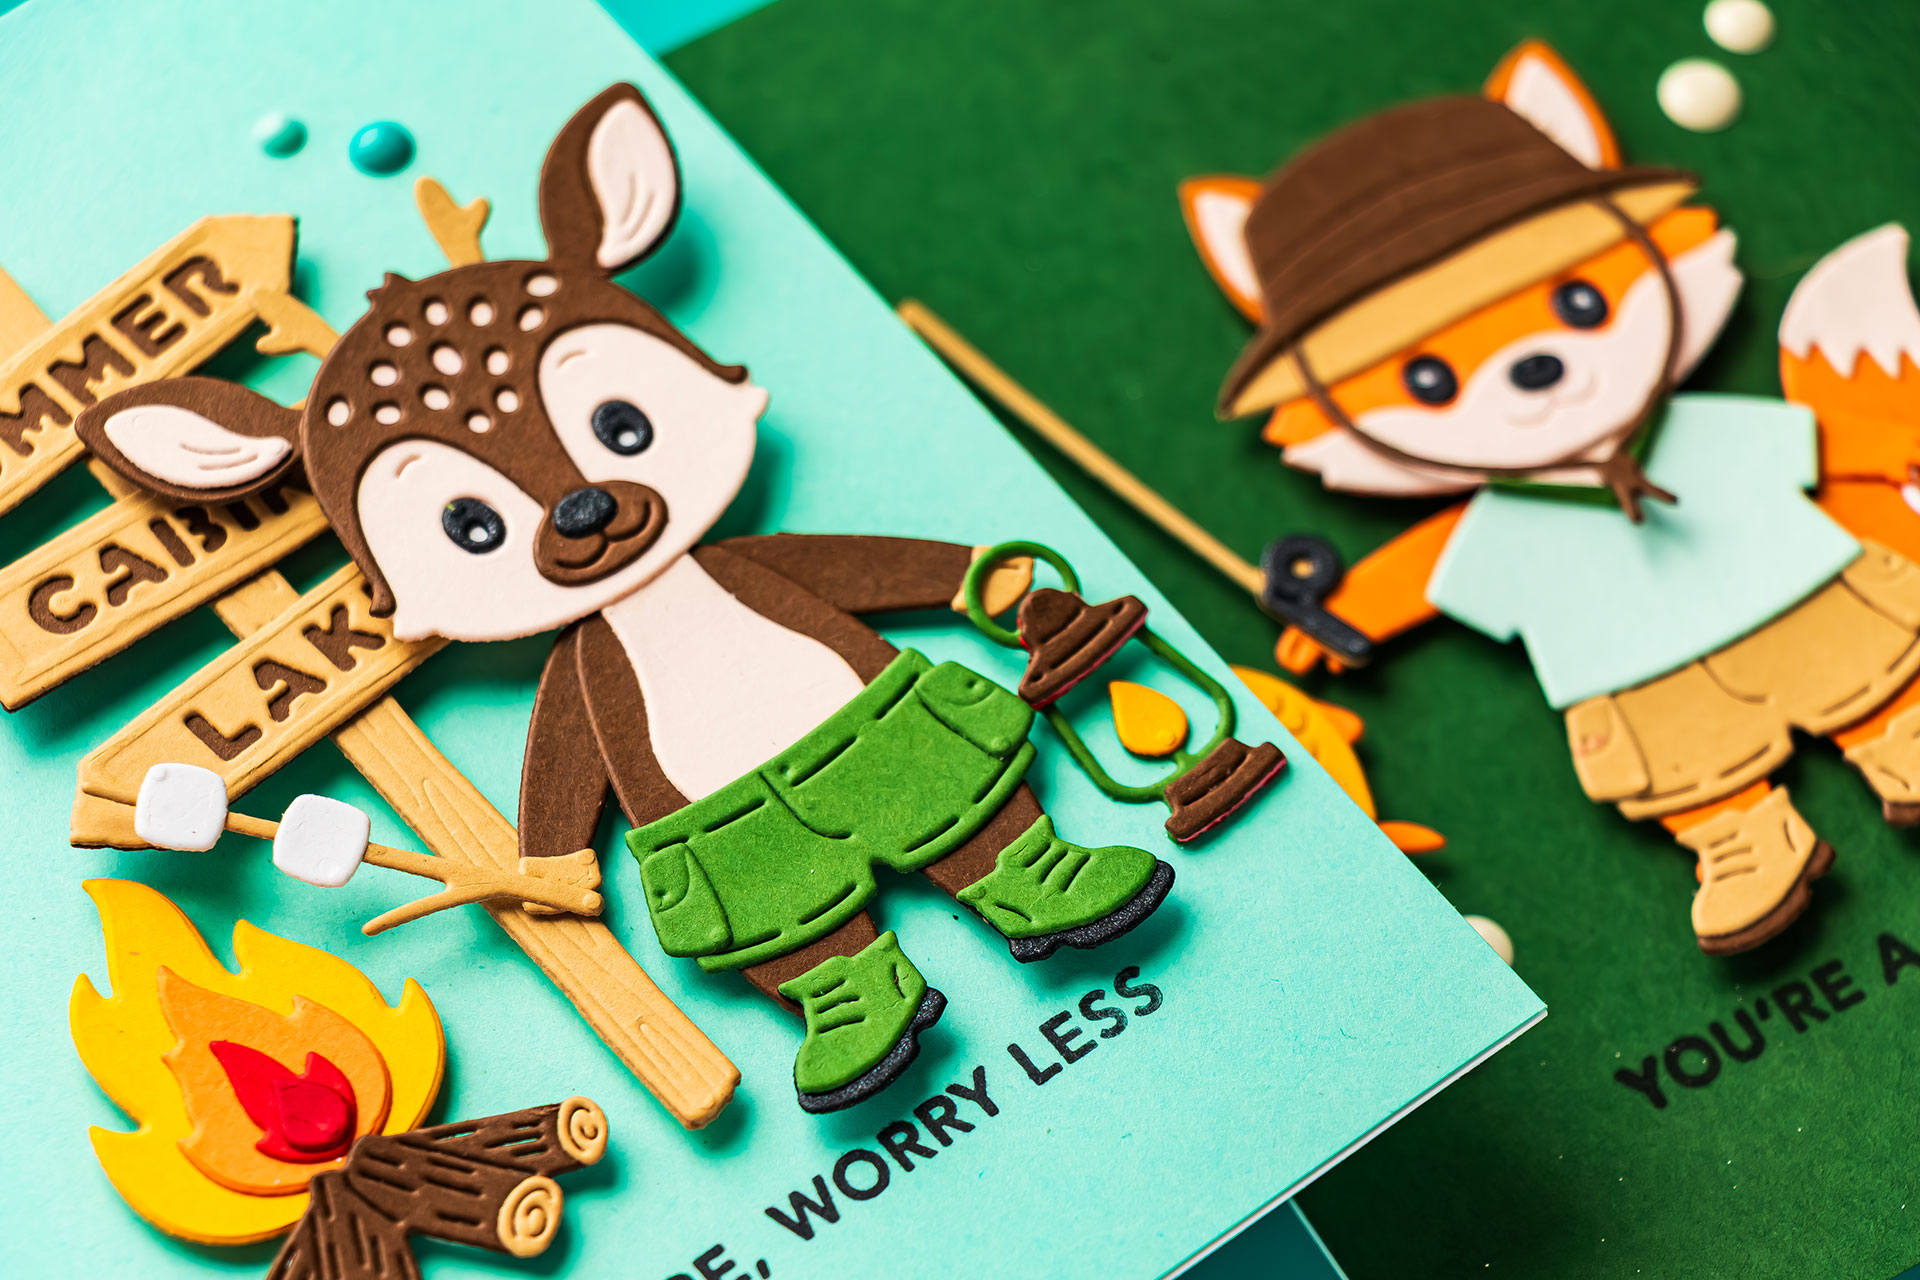
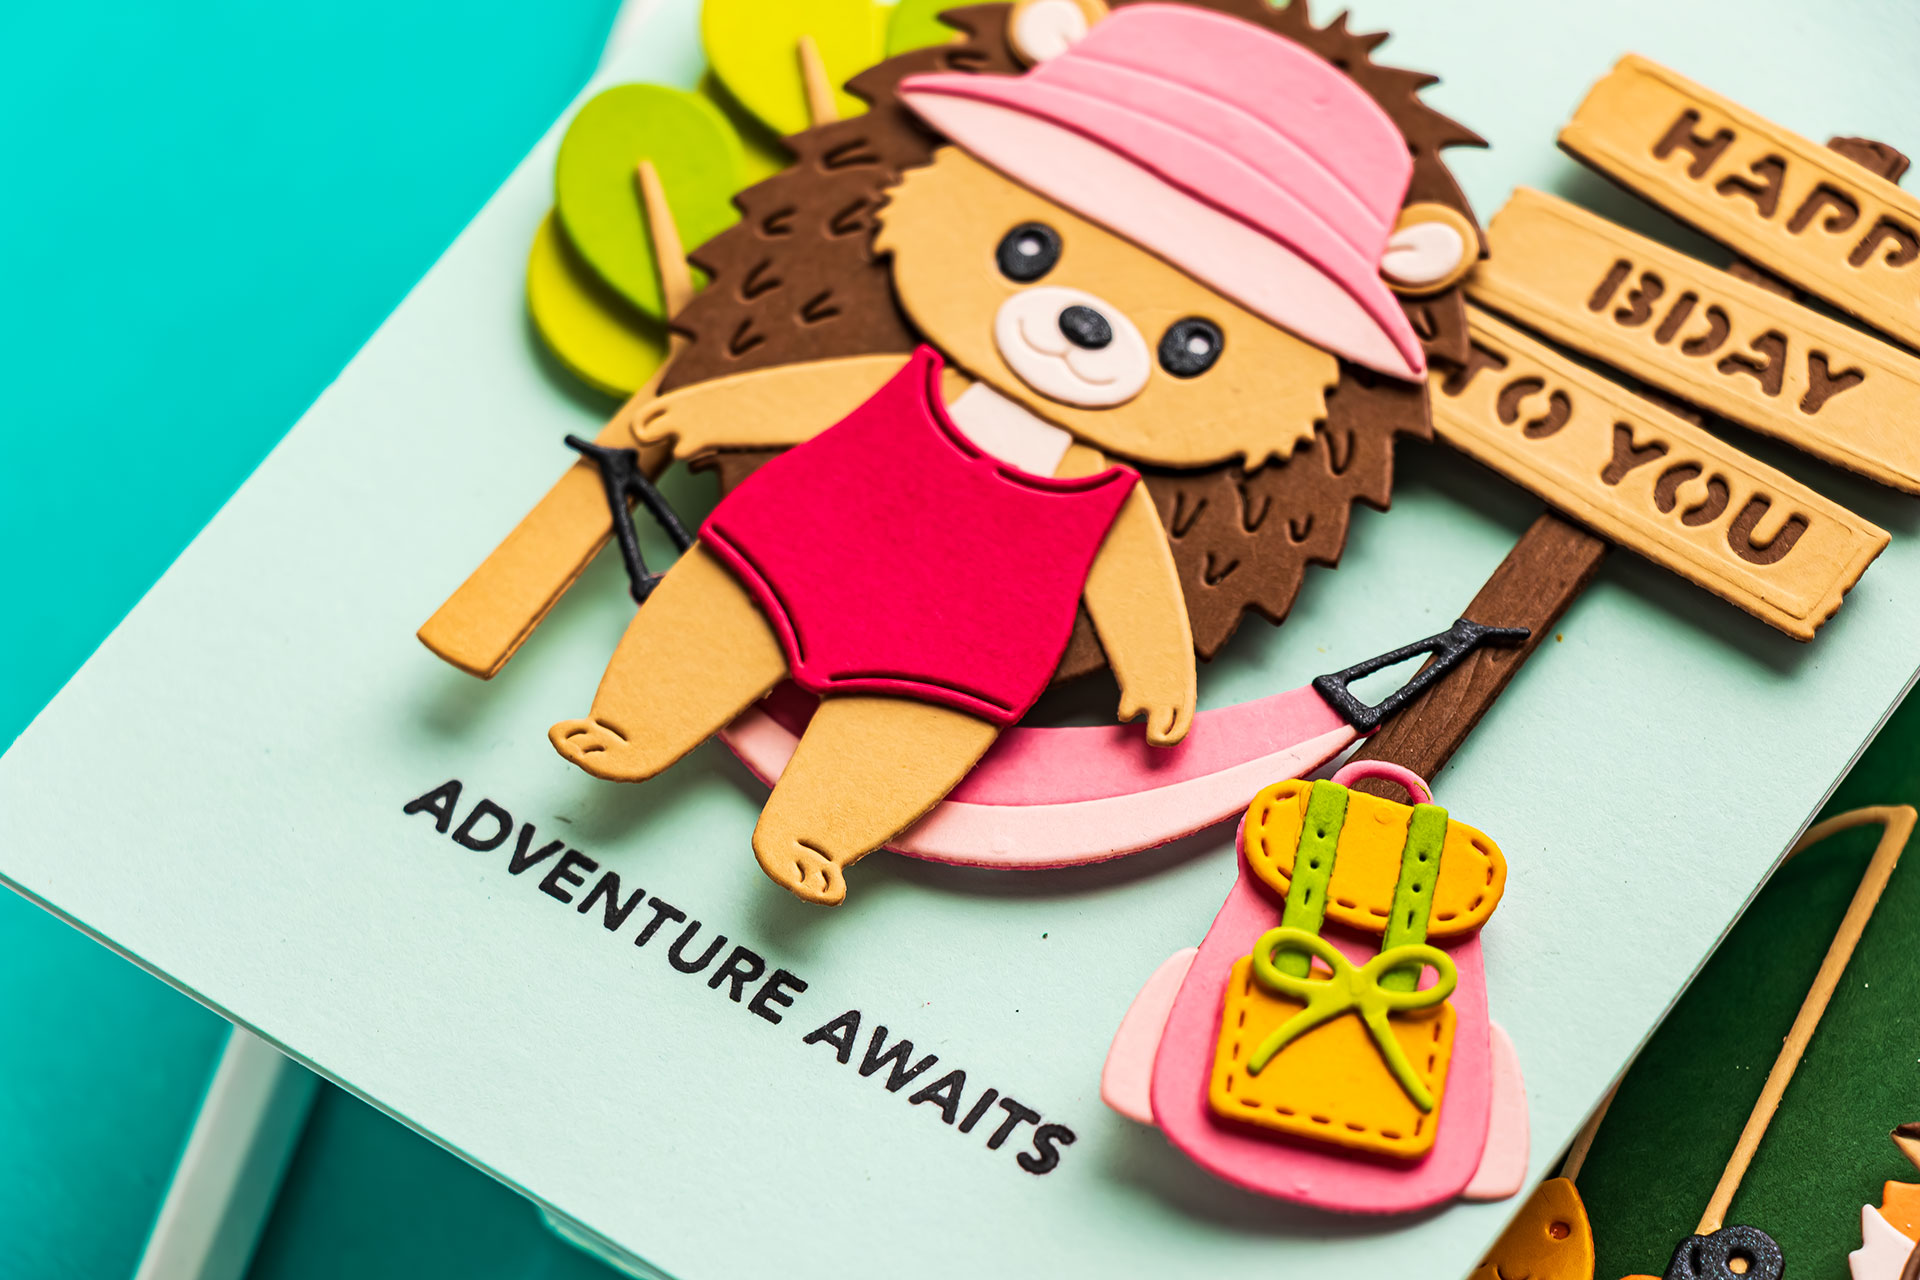
Foam adhesive is one of the easiest ways to make your elements stand out. Raising your die cuts slightly off the background adds shadows and separation, which makes the card more visually interesting.
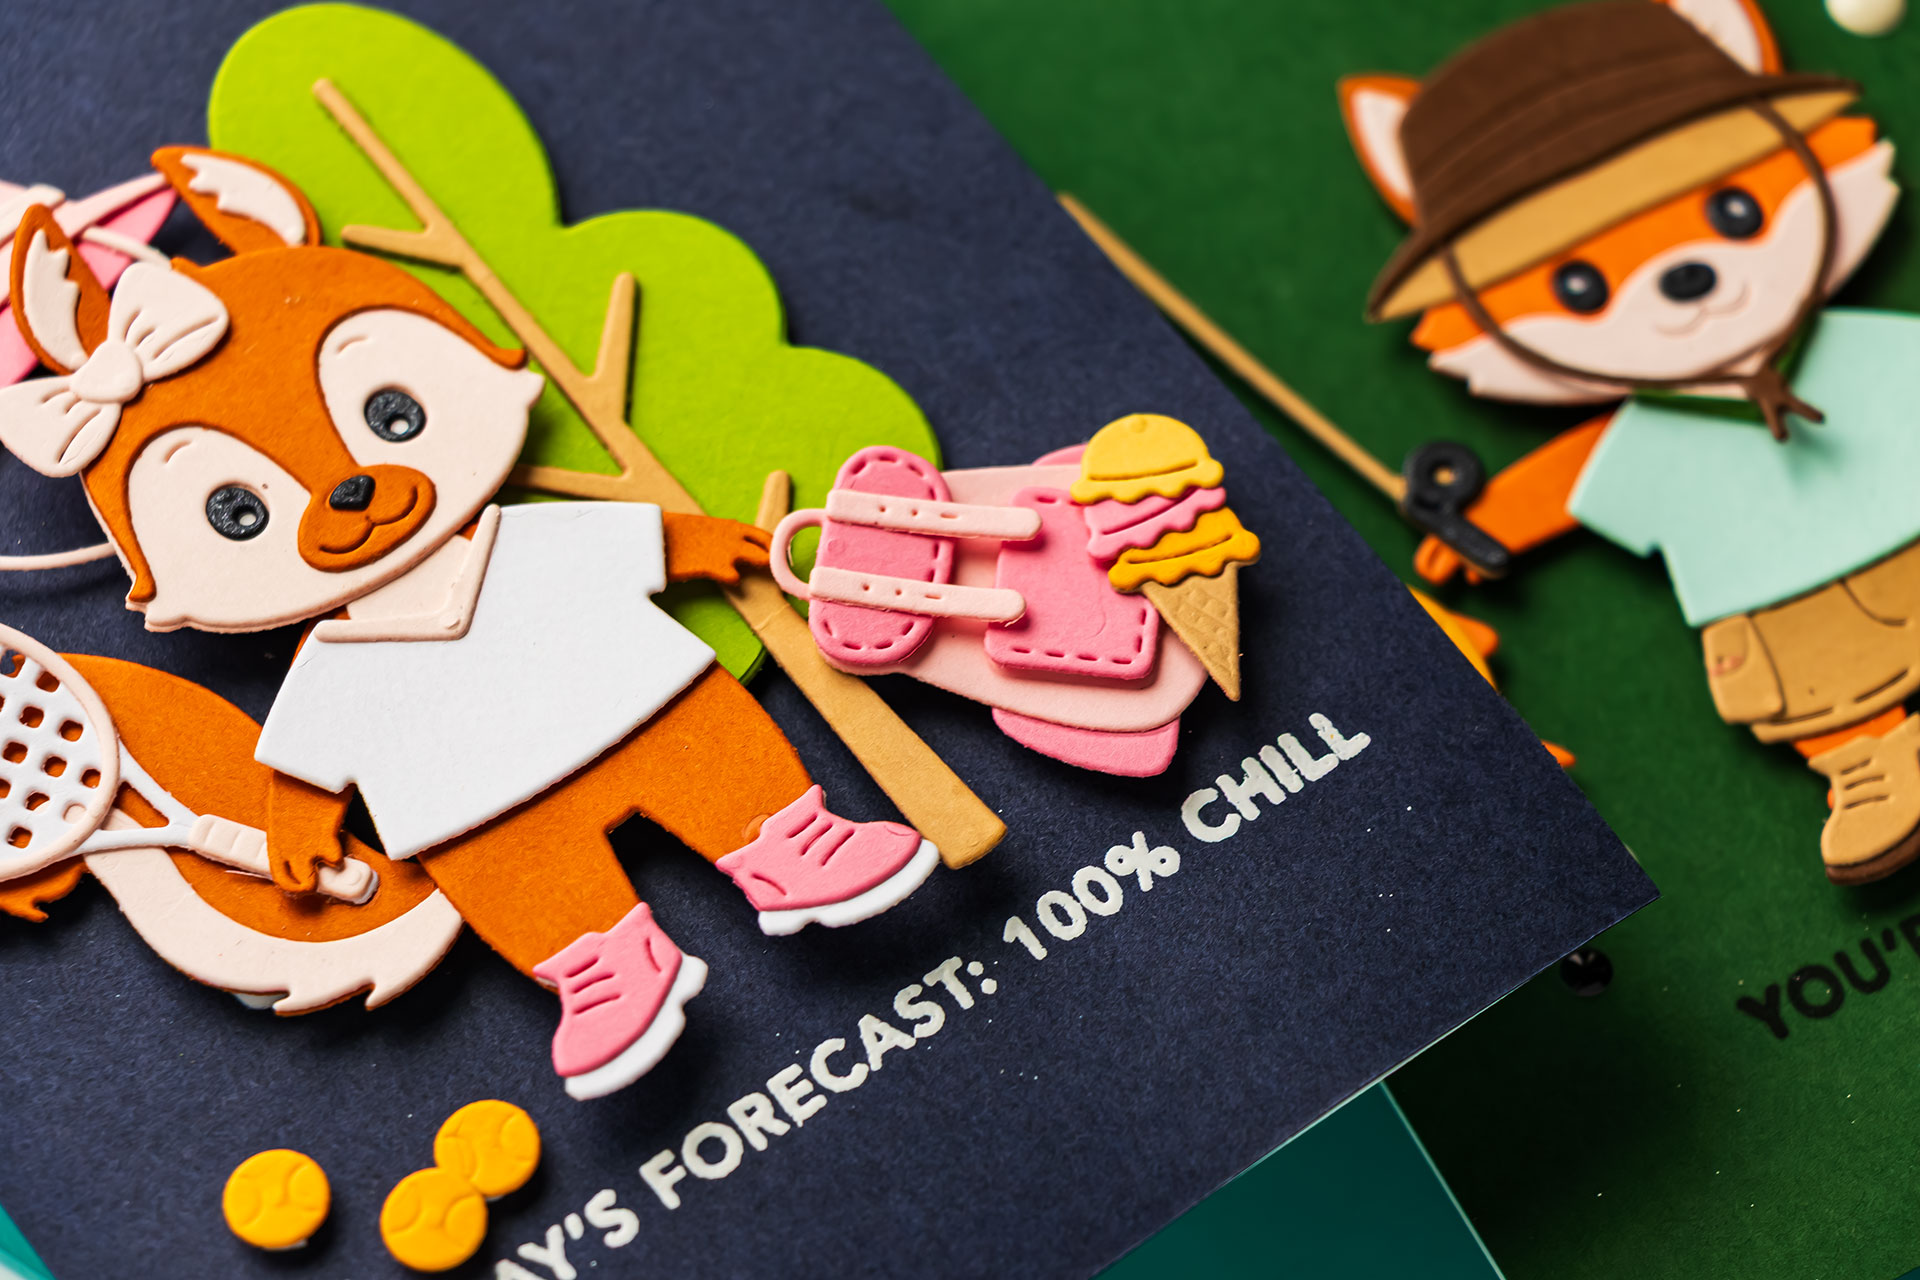
On darker backgrounds, I also recommend heat embossing your sentiments. Regular stamping can get lost, while embossing keeps the sentiment crisp and readable.
TIP 4: USE SENTIMENTS AS DESIGN ELEMENTS
Instead of adding your sentiment at the very end, try incorporating it into your design from the beginning.
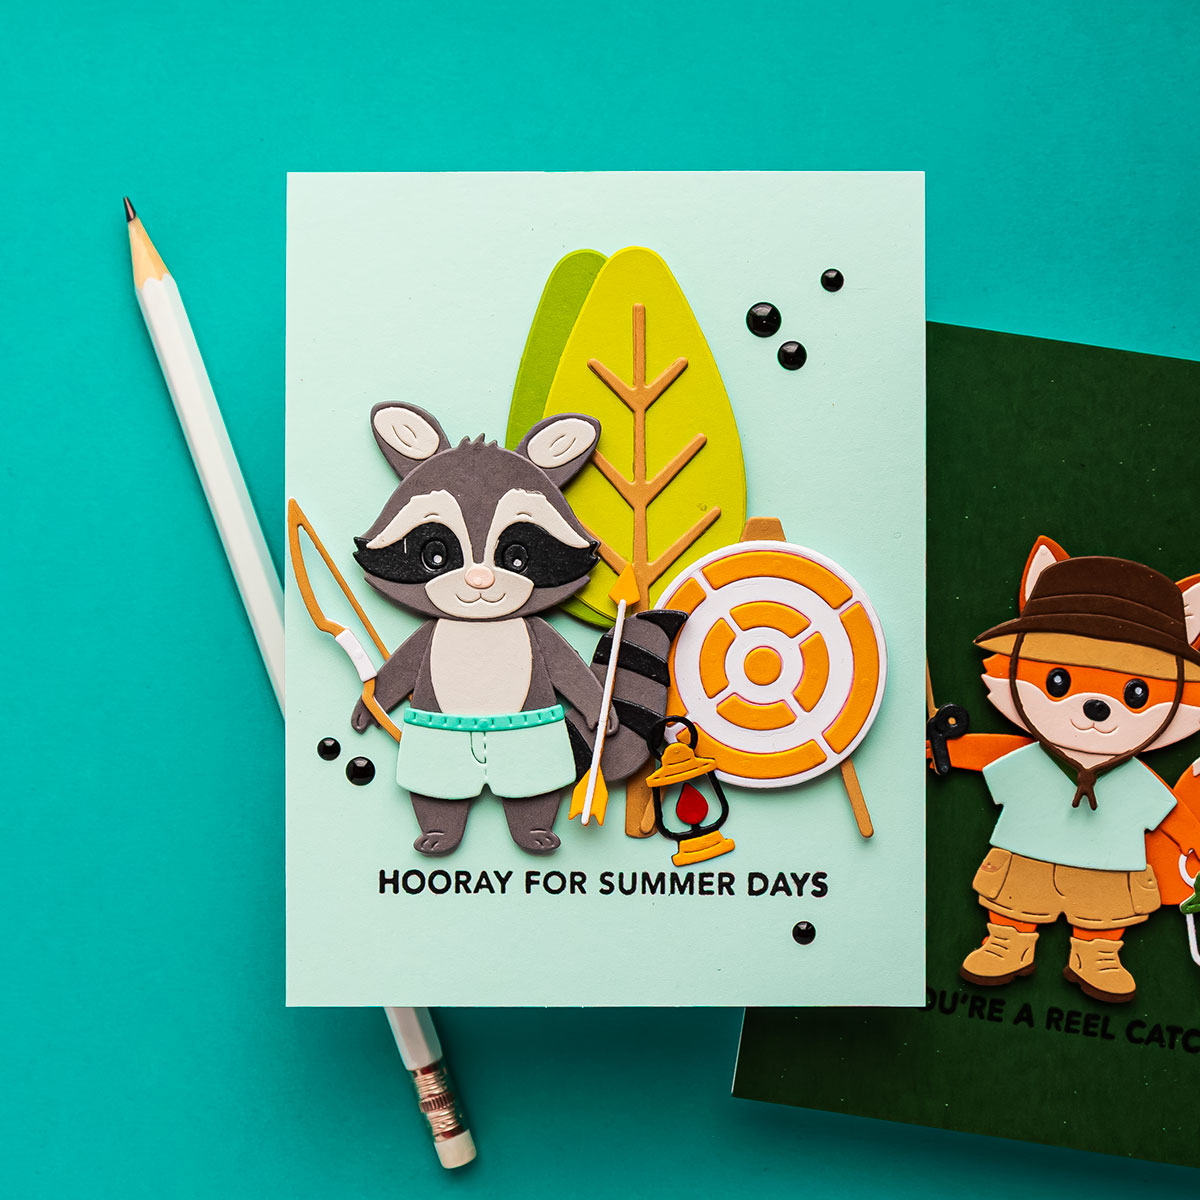
On several of these cards, I placed the sentiment along the bottom edge. This acts as a visual anchor and helps ground the scene.
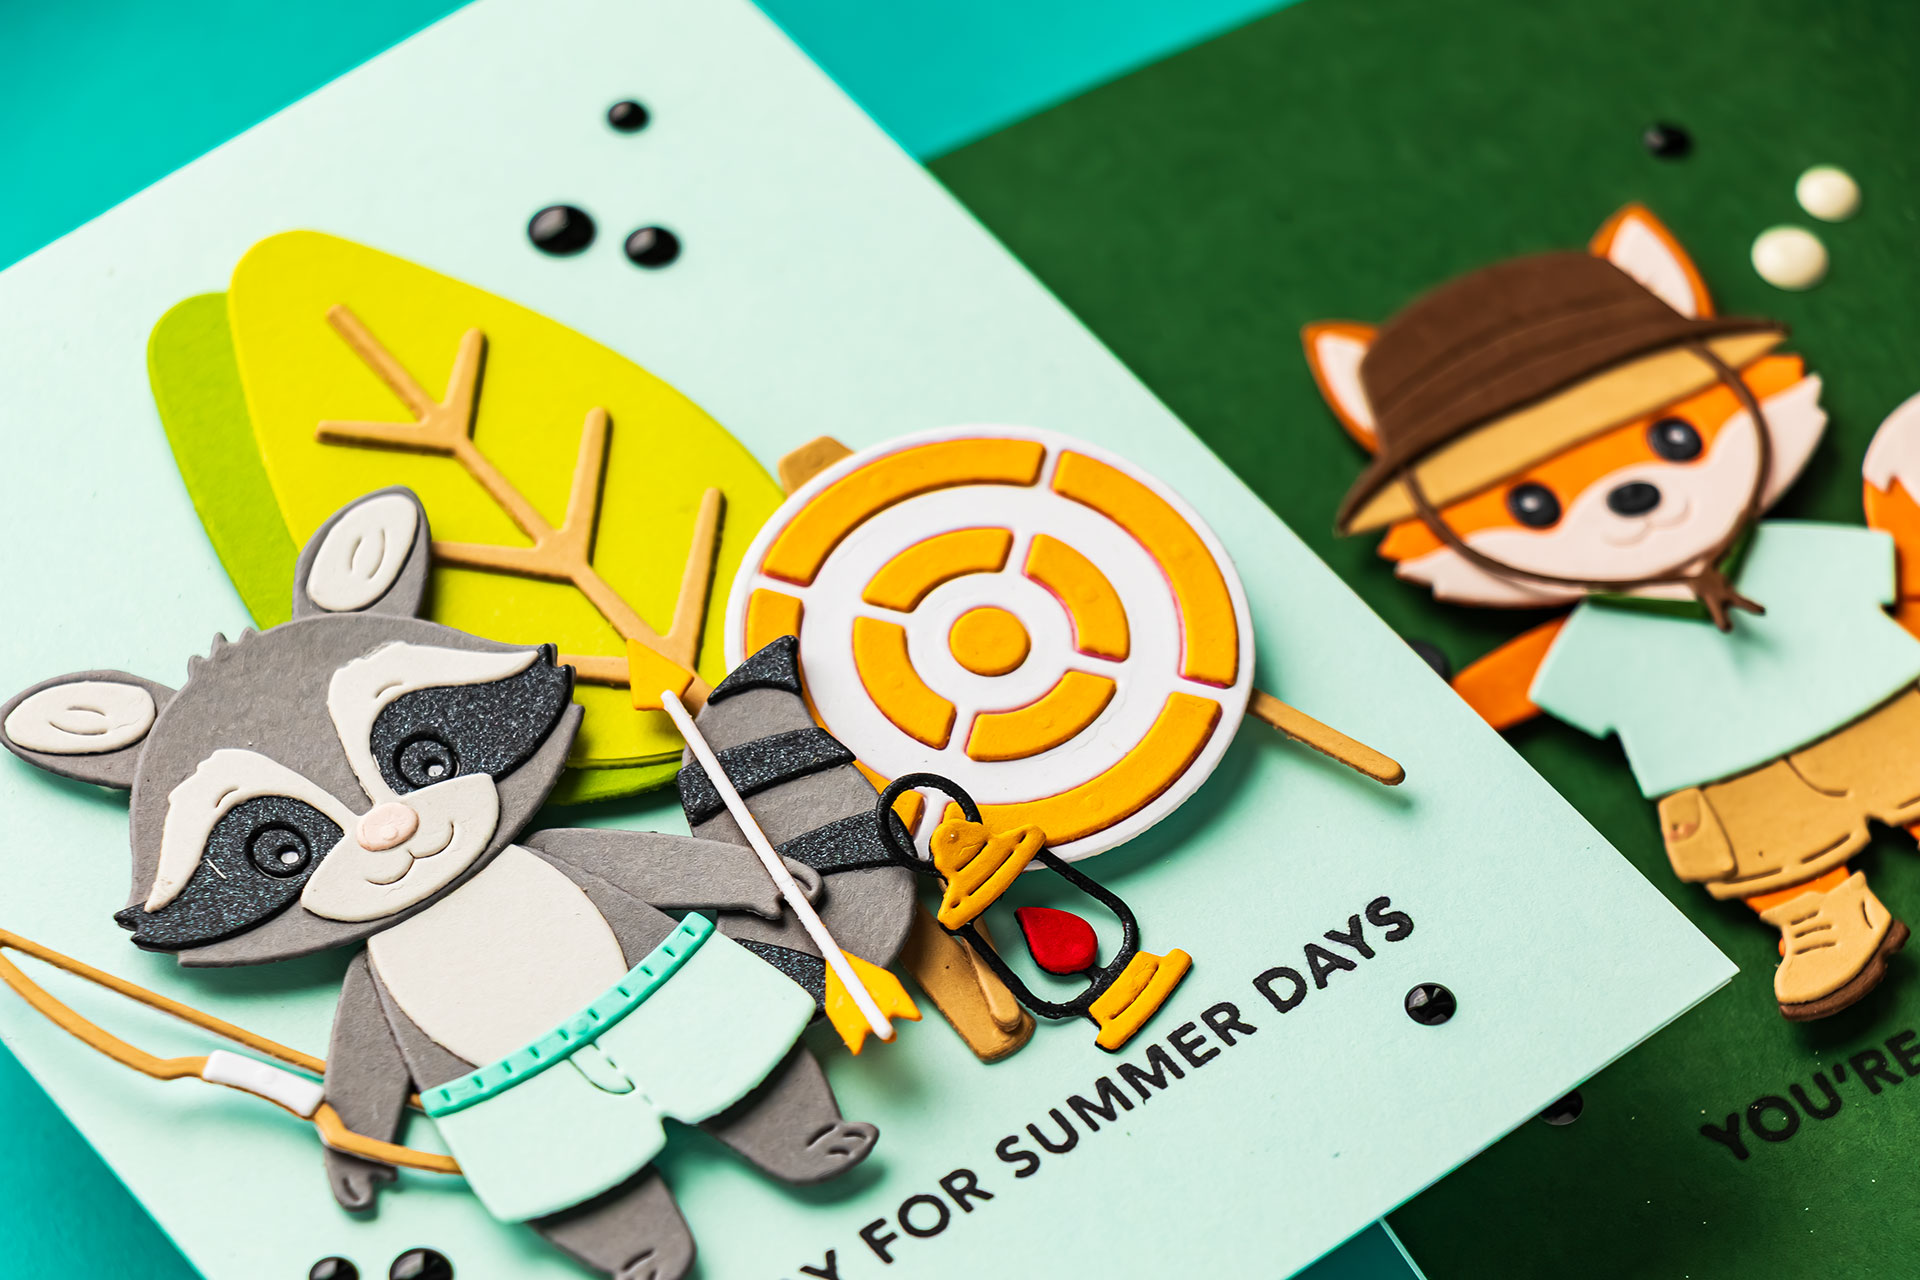
It also creates a consistent layout and makes it easier to arrange your elements above it. This is a simple trick, but it can completely change how balanced your cards look.
TIP 5: CUSTOMIZE YOUR DIE CUTS
Die sets are meant to be flexible. You don’t have to use every element exactly as intended. Change colors, mix pieces from different sets, or use accessories in unexpected ways.
For example, I experimented with different outfit combinations and accessory placements to give each character a unique look.
This is where your personal style really starts to show. Treat your supplies as building blocks rather than fixed designs.
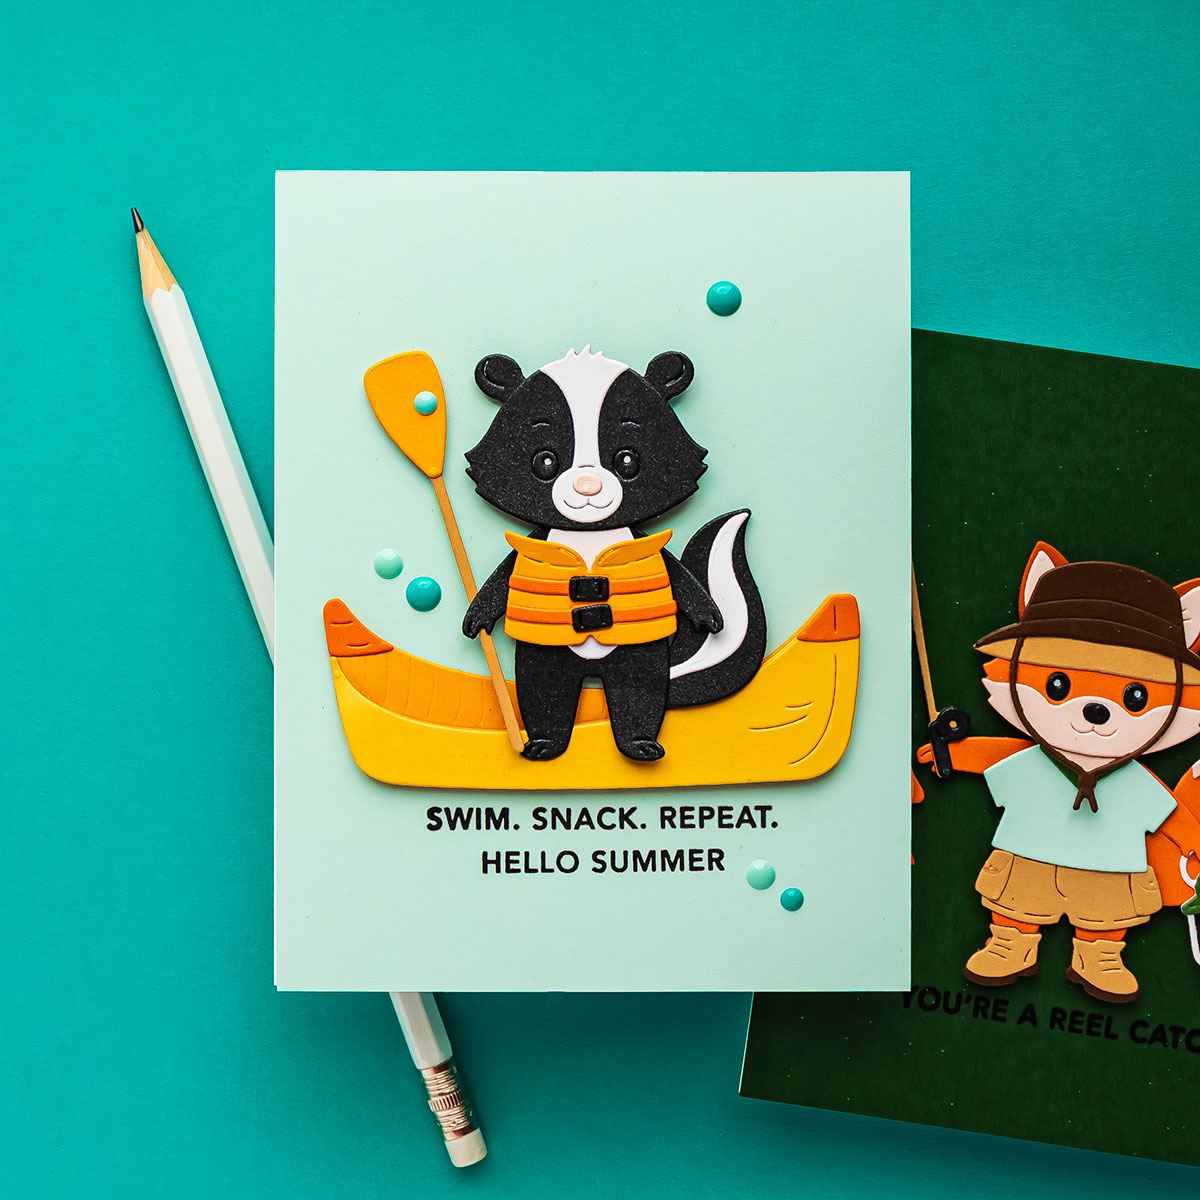
TIP 6: REPEAT COLORS FOR A COHESIVE LOOK
If a card ever feels slightly off, color is often the reason. Repeating colors across different elements helps tie everything together and creates a cohesive design.

On my final card, I used the same colors in the clothing and accessories. Even though the layout is simple, the repeated color palette makes it feel complete and intentional. This is one of the easiest ways to elevate your cards without adding extra steps.
These six cards came together quickly, but each one highlights a simple design principle that can make a big impact. You don’t need complicated techniques or a large collection of supplies to create something beautiful. Often, it’s just about making thoughtful choices with layout, color, and dimension.
If you try any of these tips, I’d love to know which one made the biggest difference for you.
SUPPLIES
I’m listing the products I used below. Click on the link to go directly to the product. Where available, I use compensated affiliate links, which means if you make a purchase, I receive a small commission at no extra cost to you. Thank you so much for your support!
 Summer Camp I Want It All! Bundle by Allison Frazier Shop at: SB USA | SB UK |
 Camp Days Etched Dies by Allison Frazier Shop at: SB USA | SB UK |
 Trails End Etched Dies by Allison Frazier Shop at: SB USA | SB UK |
 Splash Days Etched Dies by Allison Frazier Shop at: SB USA | SB UK |
 Trailside Trio Etched Dies by Allison Frazier Shop at: SB USA | SB UK |
 Summertime Sentiments Clear Stamp Set by Allison Frazier Shop at: SB USA | SB UK |
 Lakeside Memories Layered Stencil by Allison Frazier Shop at: SB USA | SB UK |
 Woodland Trio Etched Dies by Allison Frazier Shop at: SB USA | SB UK |
 Spellbinders Platinum 6 Machine With Universal Plate System Shop at: SSS | PFS | SB USA | SB UK | AMZ |
 Spellbinders Guillotine Paper Trimmer Shop at: PFS | SB USA | SB UK | SC |
") Altenew Crafty Necessities: Mountain Pine Cardstock (10 sheets/set) Shop at: AN |
 Spellbinders Brushed Black Cardstock Shop at: SB USA | SB UK | SC |
 Spellbinders Wild Berry ColorWheel Cardstock Shop at: SSS | SB USA | SB UK | SC |
 Spellbinders Carrot ColorWheel Cardstock Shop at: SSS | SB USA | SB UK | SC |
 Spellbinders Indigo ColorWheel Cardstock Shop at: SSS | SB USA | SB UK | SC |
 Spellbinders Beeswax ColorWheel Cardstock Shop at: SSS | SB USA | SB UK | SC |
 Spellbinders Seaside ColorWheel Cardstock Shop at: SSS | PFS | SB USA | SB UK | SC |
 Spellbinders Waterfall ColorWheel Cardstock Shop at: SSS | SB USA | SB UK | SC |
 Spellbinders Tutu ColorWheel Cardstock Shop at: SSS | SB USA | SB UK | SC |
 Spellbinders Saffron ColorWheel Cardstock Shop at: SSS | SB USA | SB UK | SC |
 Spellbinders White Foam Adhesive Strips – 2MM Shop at: SB USA | SB UK |
 Spellbinders Dimensional Two Tone Teal Enamel Dots Shop at: SSS |
 Bearly Art Mini Precision Craft Glue Shop at: SSS | SB USA | AMZ |
 Glassboard Studio Super Strong Magnets Shop at: GBS |
 Glassboard Studio Glass Craft Mat – Code YANA15 Shop at: GBS |
 White Foam Adhesive Strips – 2mm Shop at: SSS | SB USA | SB UK |