


Hi everyone! In this video, I will show you how to create a Copic marker colored & heat embossed floral card on a dark background.
I like my cards to be simple, yet dramatic and I often achieve that drama with the help of dark-colored cardstock. I also love to color with Copic markers as I find coloring with Copics to be quick and efficient. It’s one of my favorite coloring mediums.
Like this project? Pin it and save for later | Curious about my project photography? Click for details.
VIDEO TUTORIAL
Watch the video below or on my Youtube channel.
Like this video? Please give it a big thumbs up (you can do this on Youtube video page right under the video) and share it with a crafty friend! Leave me a comment too, I love hearing from you!
CARD DETAILS
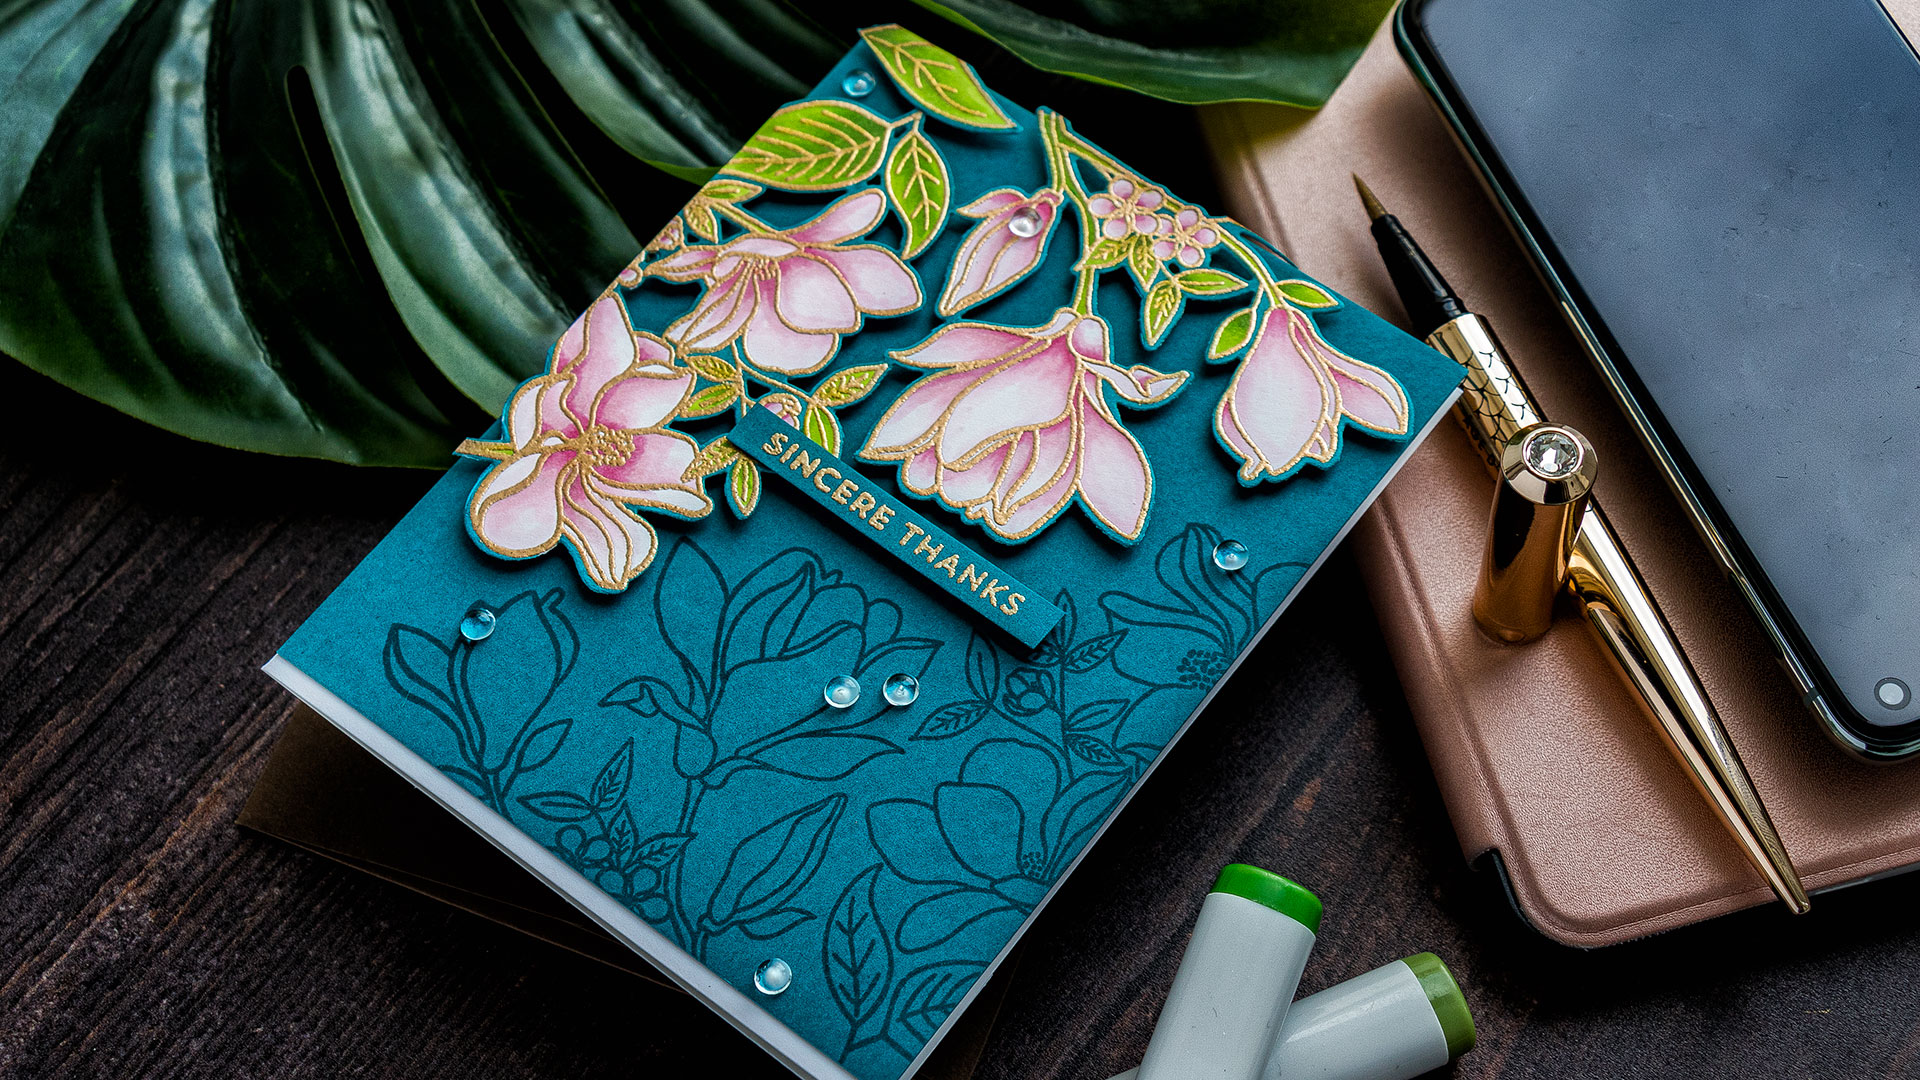
As you may know, coloring with Copic markers or any other alcohol markers is not possible on dark cardstock due to the nature of that coloring medium. Yet, on this card, it looks like I colored the flowers directly on the background. I achieved this look with the help of a simple trick I’ll share with you today.
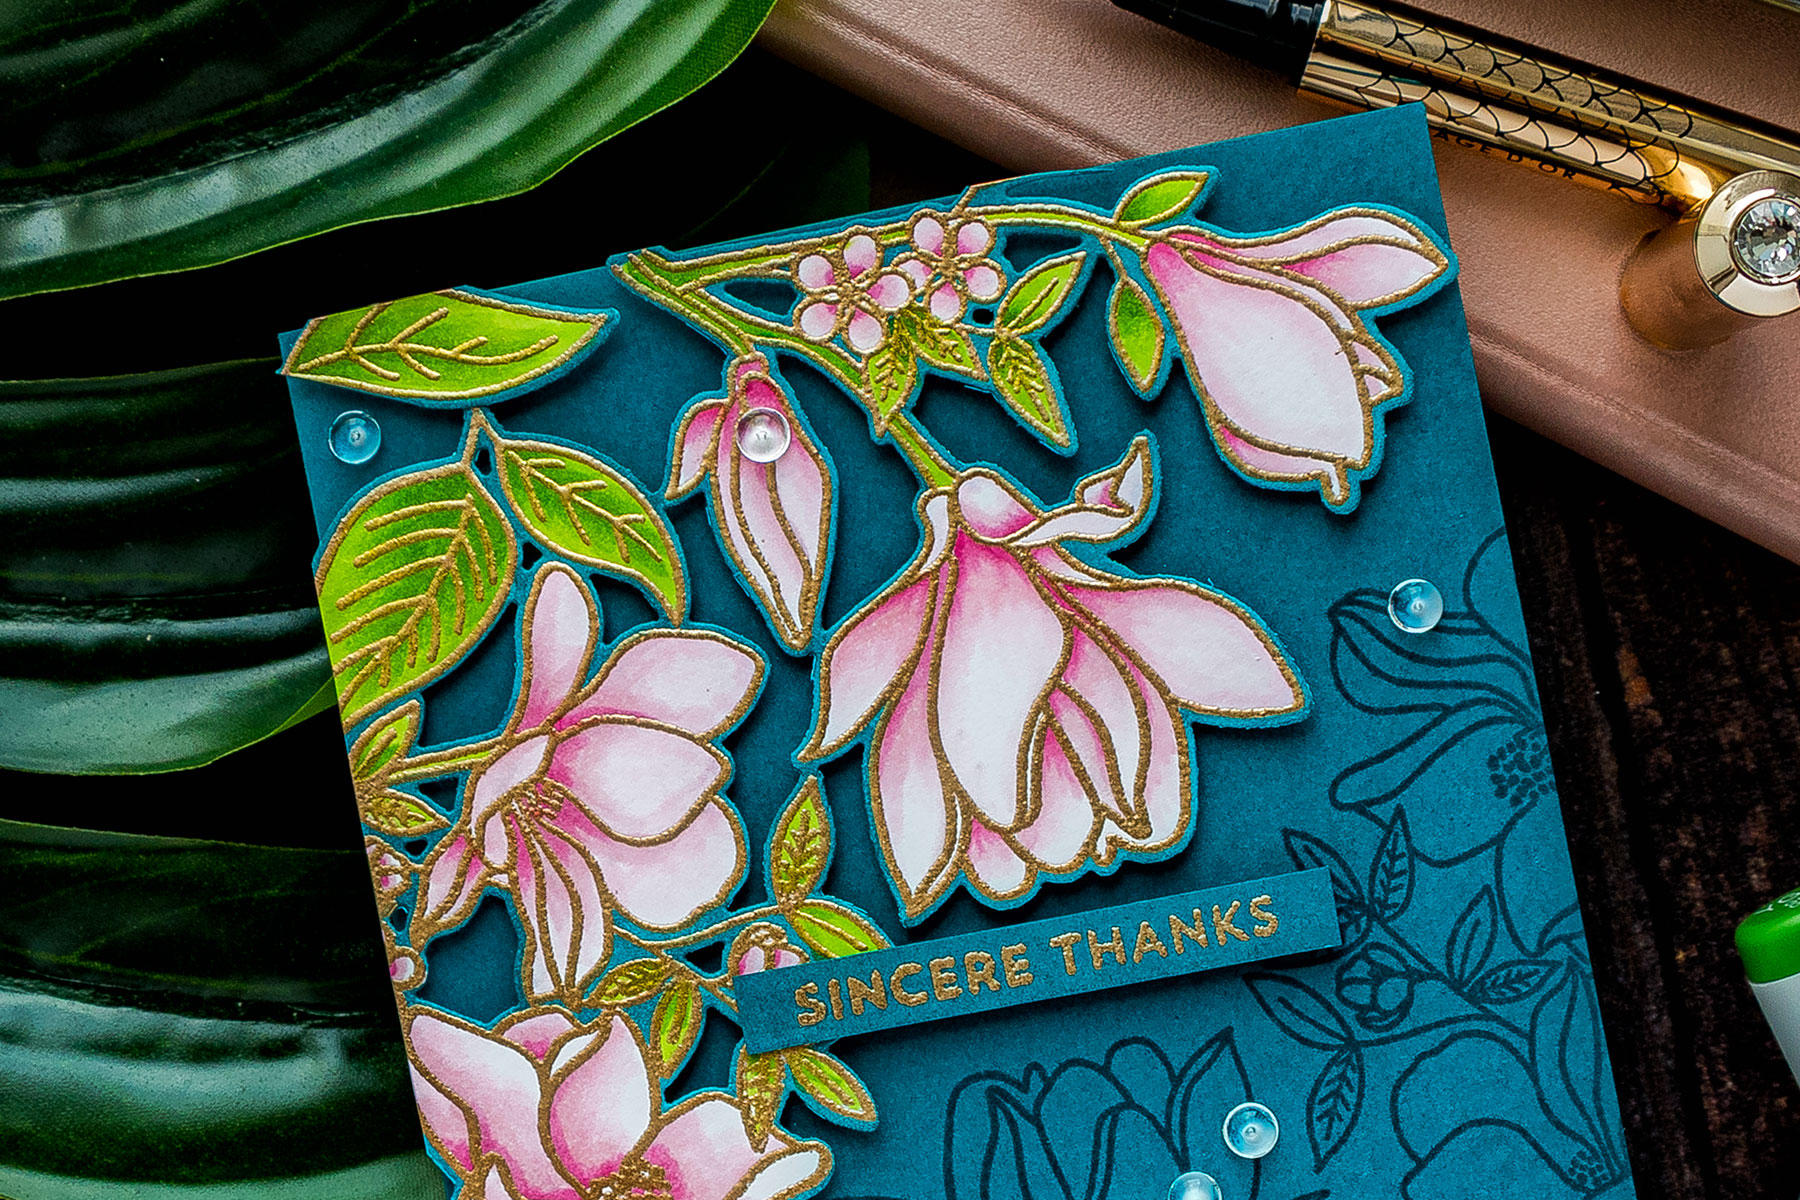
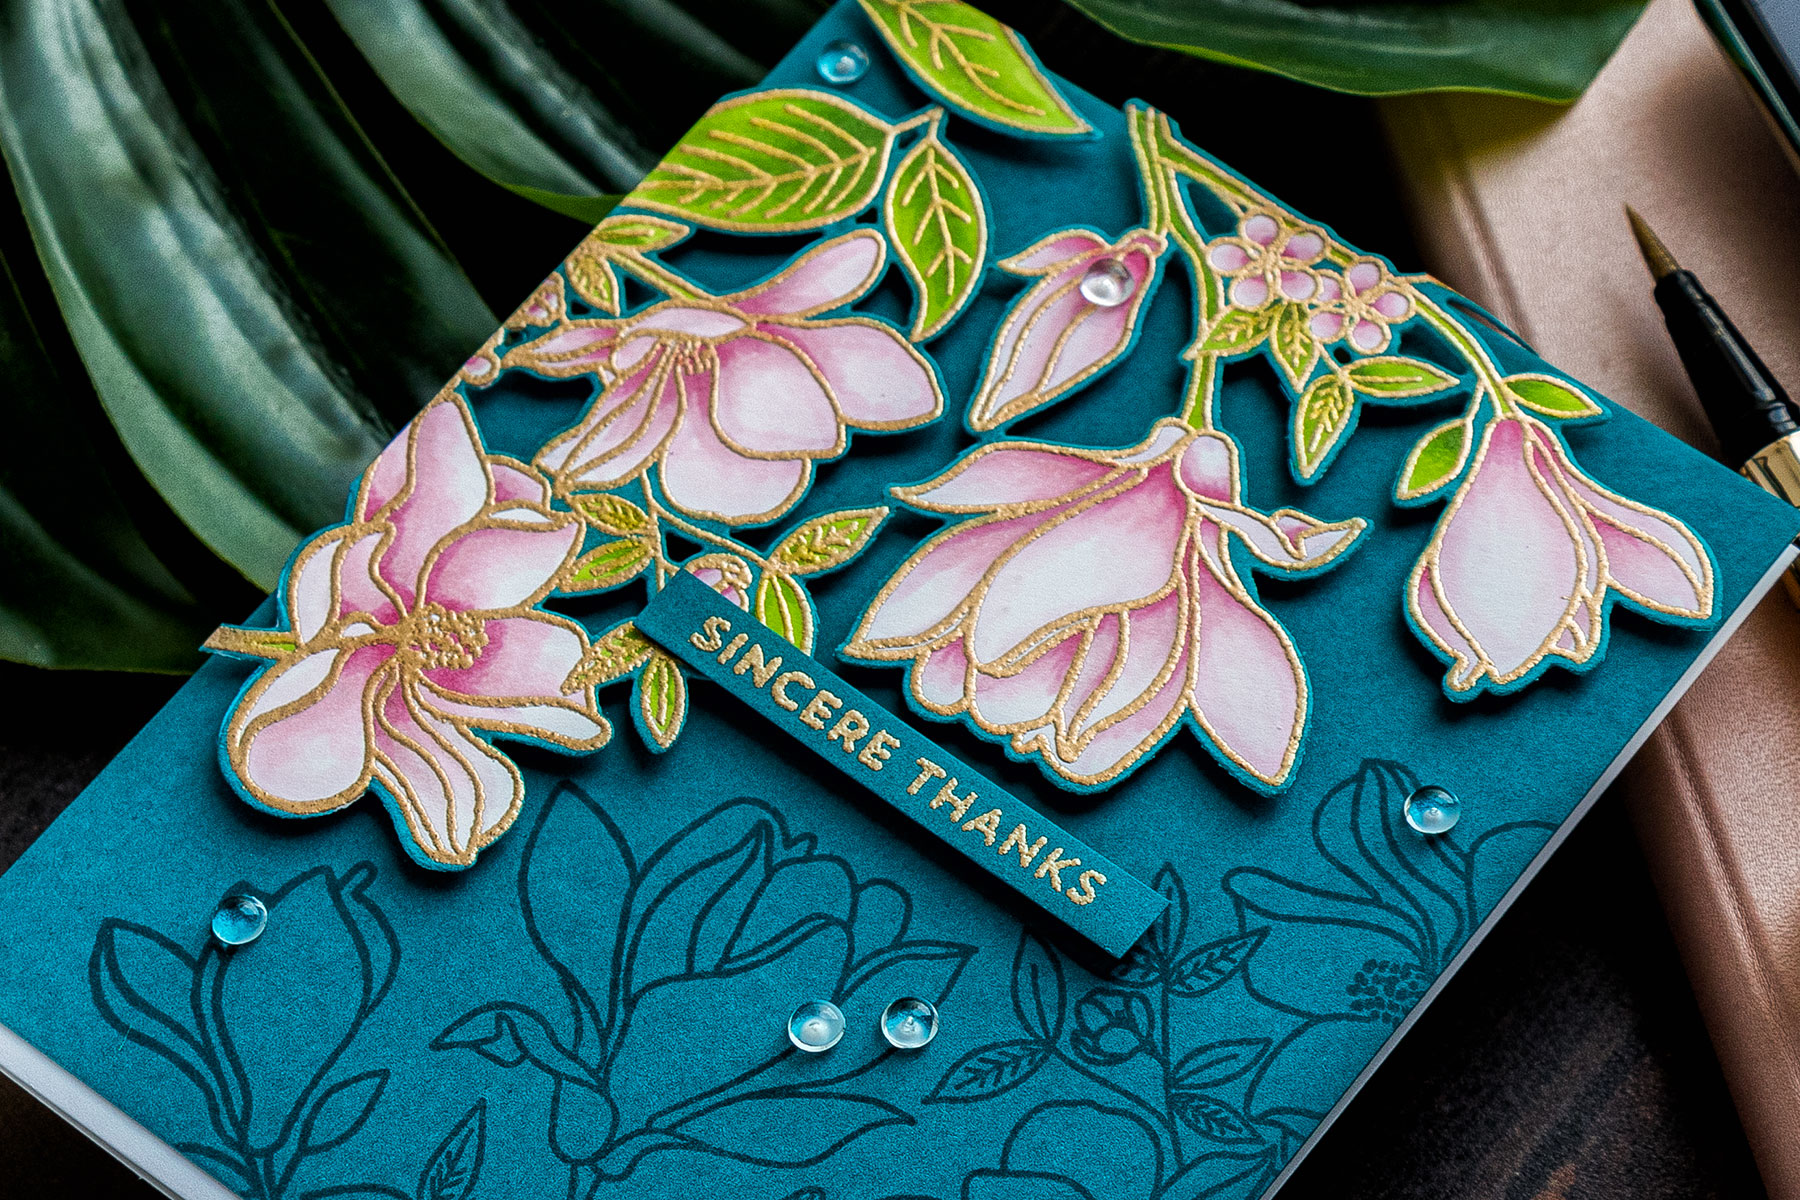
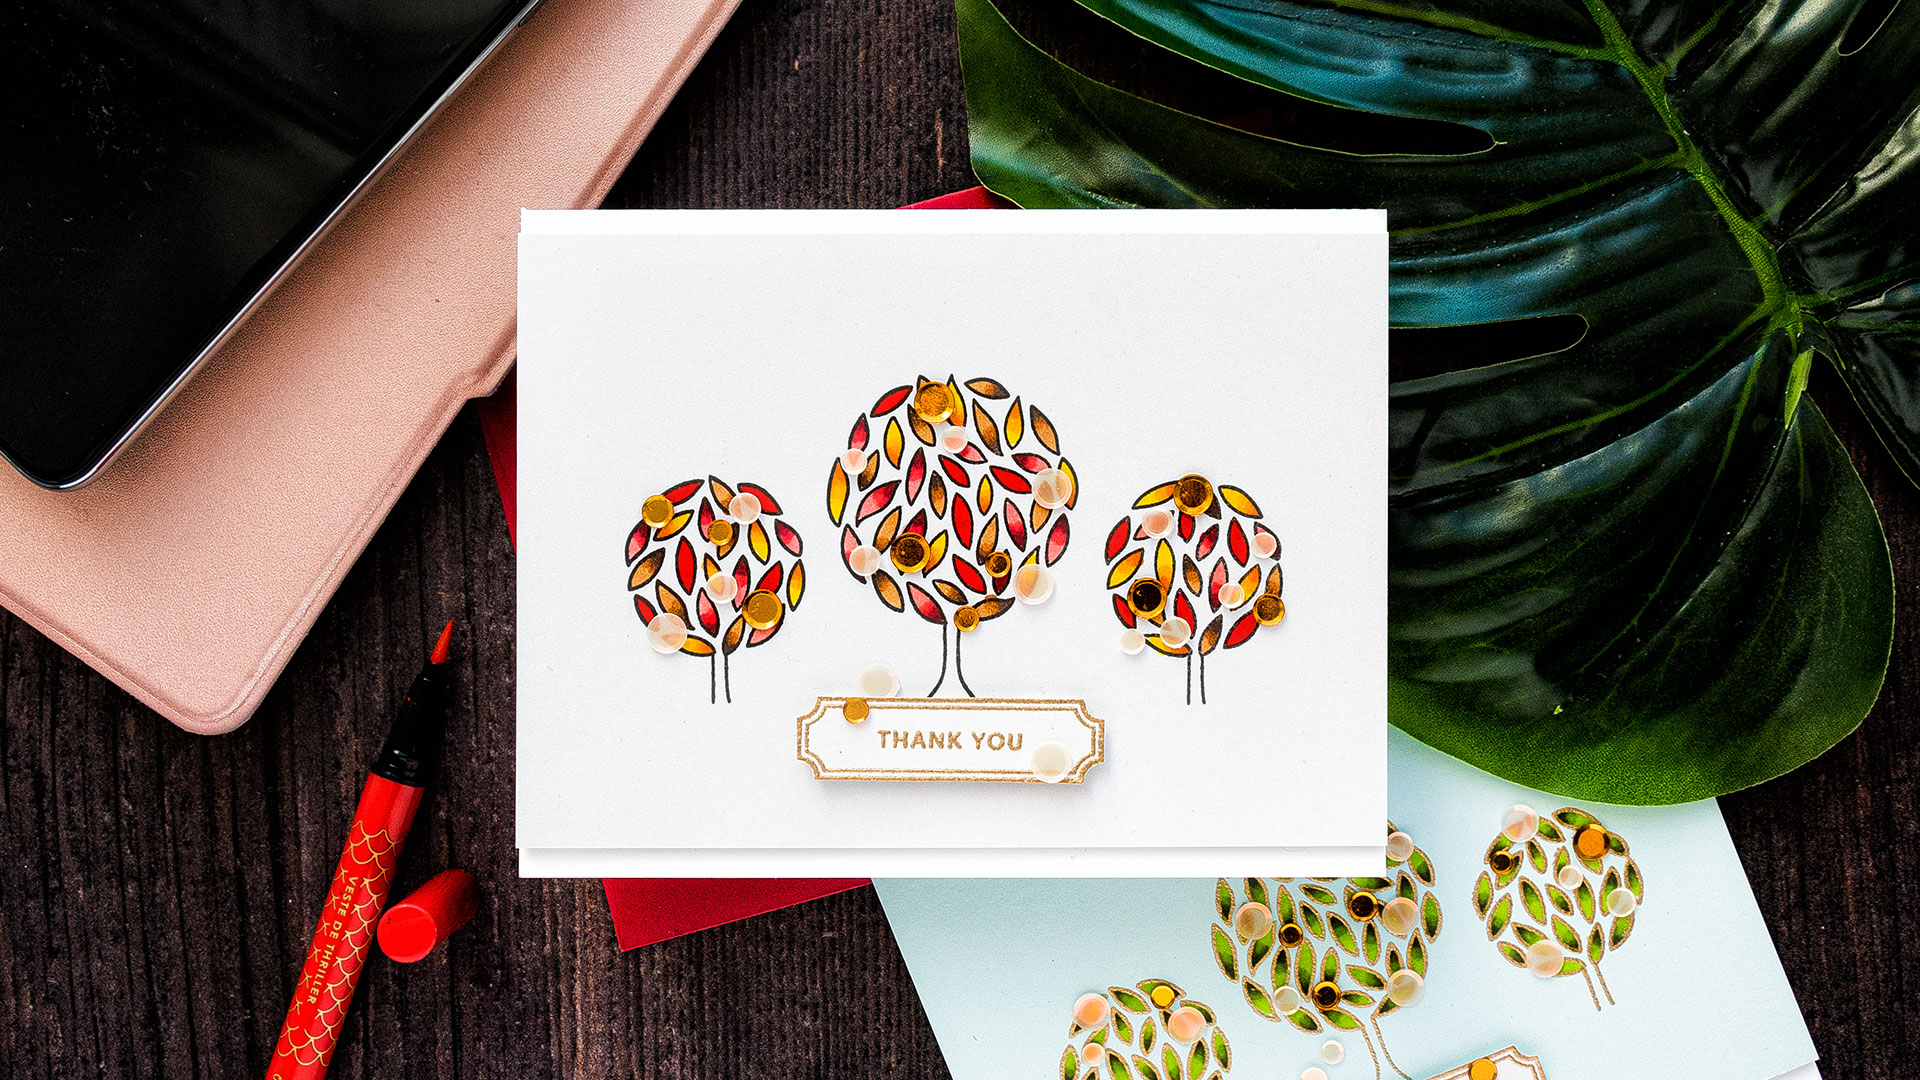
I started by stamping a beautiful floral cluster from MFT Floral Focus stamp set. On my finished card, the image is heat embossed and colored with Copic markers.
It’s best to never color with your Copics over something that is heat embossed as you run the risk ruining you marker tip. Yet, I still love the look of a simple Copic colored image and heat embossed outline.
I often forgo the rule of not coloring with Copics over heat embossing and I just try to be very careful, but not everyone is like me and you might not want to do this. So I’ll show you a workaround so that you can still have this look, but not have to color with Copic over heat embossing.

My plan is to stamp this image twice, first in black alcohol marker friendly ink and then in clear embossing ink and heat set with embossing powder. But, I’m not stamping the image twice right away. First, I’m stamping it in black Copic marker friendly ink on white cardstock.
The trick is to use a MISTI stamping tool for this (or similar tool). Once you stamped the image, do keep the stamp in the MISTI and do not remove it. It’s important to keep it as this will allow us to heat emboss the same image in the same spot on the same piece of paper later.
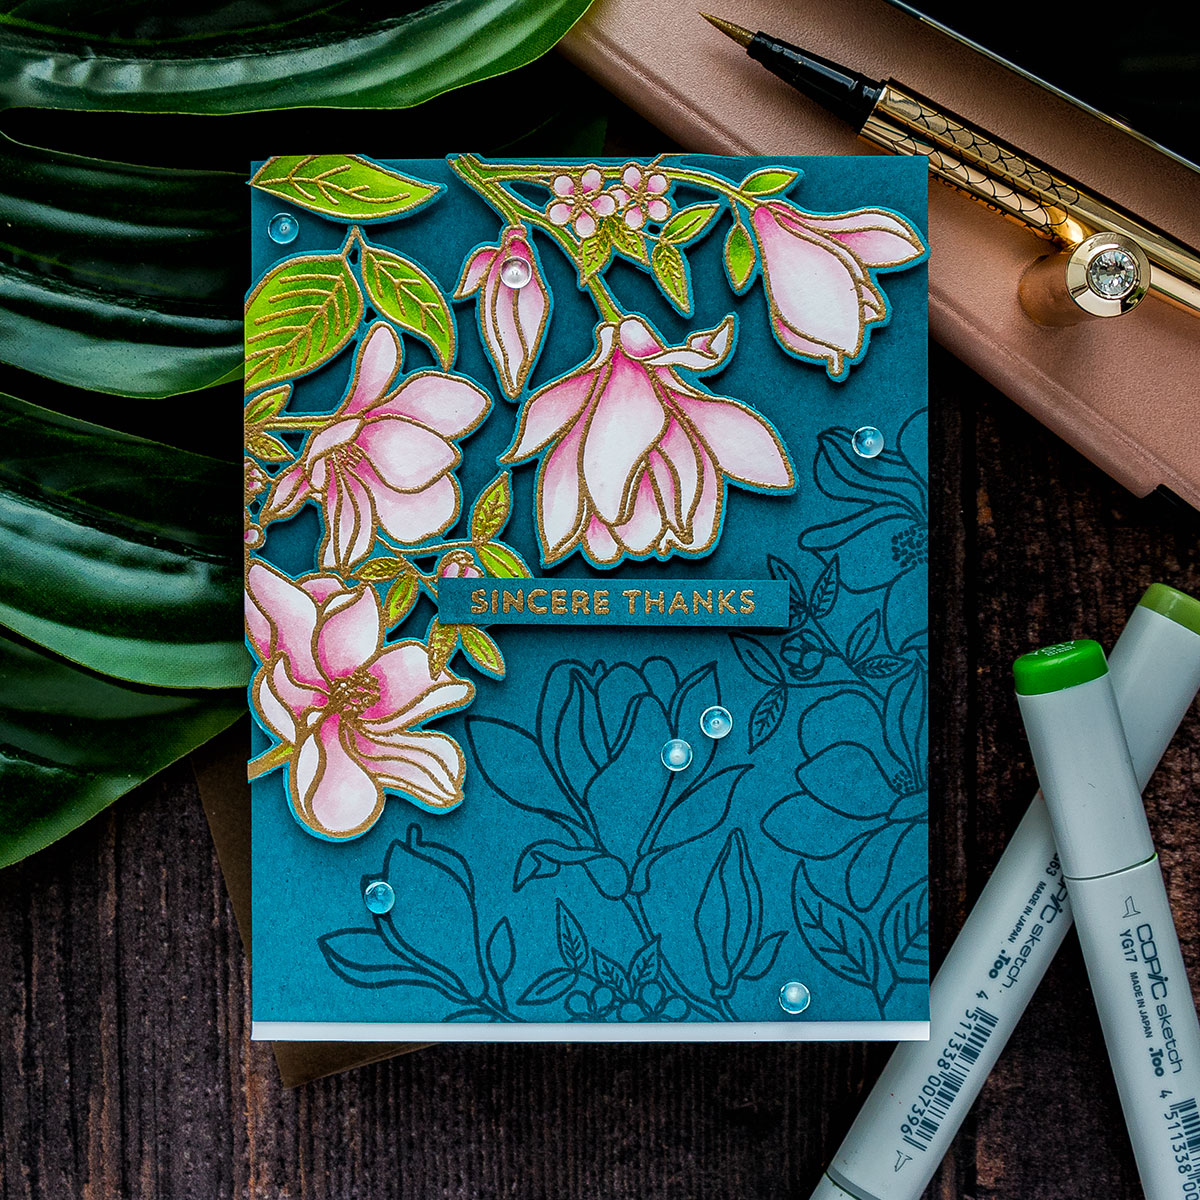
The next step is coloring! You can color however you like, using whatever colors you prefer. I’ve been enjoying using subtle shades of pink with some lively greens so those are the colors I’ll be coloring this with. The pink colors I used are RV34, RV11, RV13, and RV00. To color the leaves I used YG03, YG17 and YG63 colors.
Before I move to add the heat embossed outline I let the ink dry on my panel. This is a crucial step and you want to make sure to either give the panel some time to dry or zap it with a heat tool. Next, I’ve placed the panel back in my mini MISTI with the stamp positioned as it was before and heat embossed the image over it.
So there you have it – a workaround the heat embossing and Copic coloring.
You color first and heat emboss your image later. It’s a bit more work and there’s always the risk that the image will not match up, but it’s well worth the effort in the end.
I cut the cluster out with the help of a coordinating die in my die-cutting machine, you can also fussy cut it, but using a die makes it so much easier. I love to use dark backgrounds for my projects. I picked a dark blue-green one for this card and my plan was to foam mount the cluster over it. The cluster hoverer, because it was colored on white cardstock has a white outline to it. The cluster on my finished card doesn’t have any visible outline and thus it blends with the background and just looks a lot better. It looks as if it was colored on the background itself.
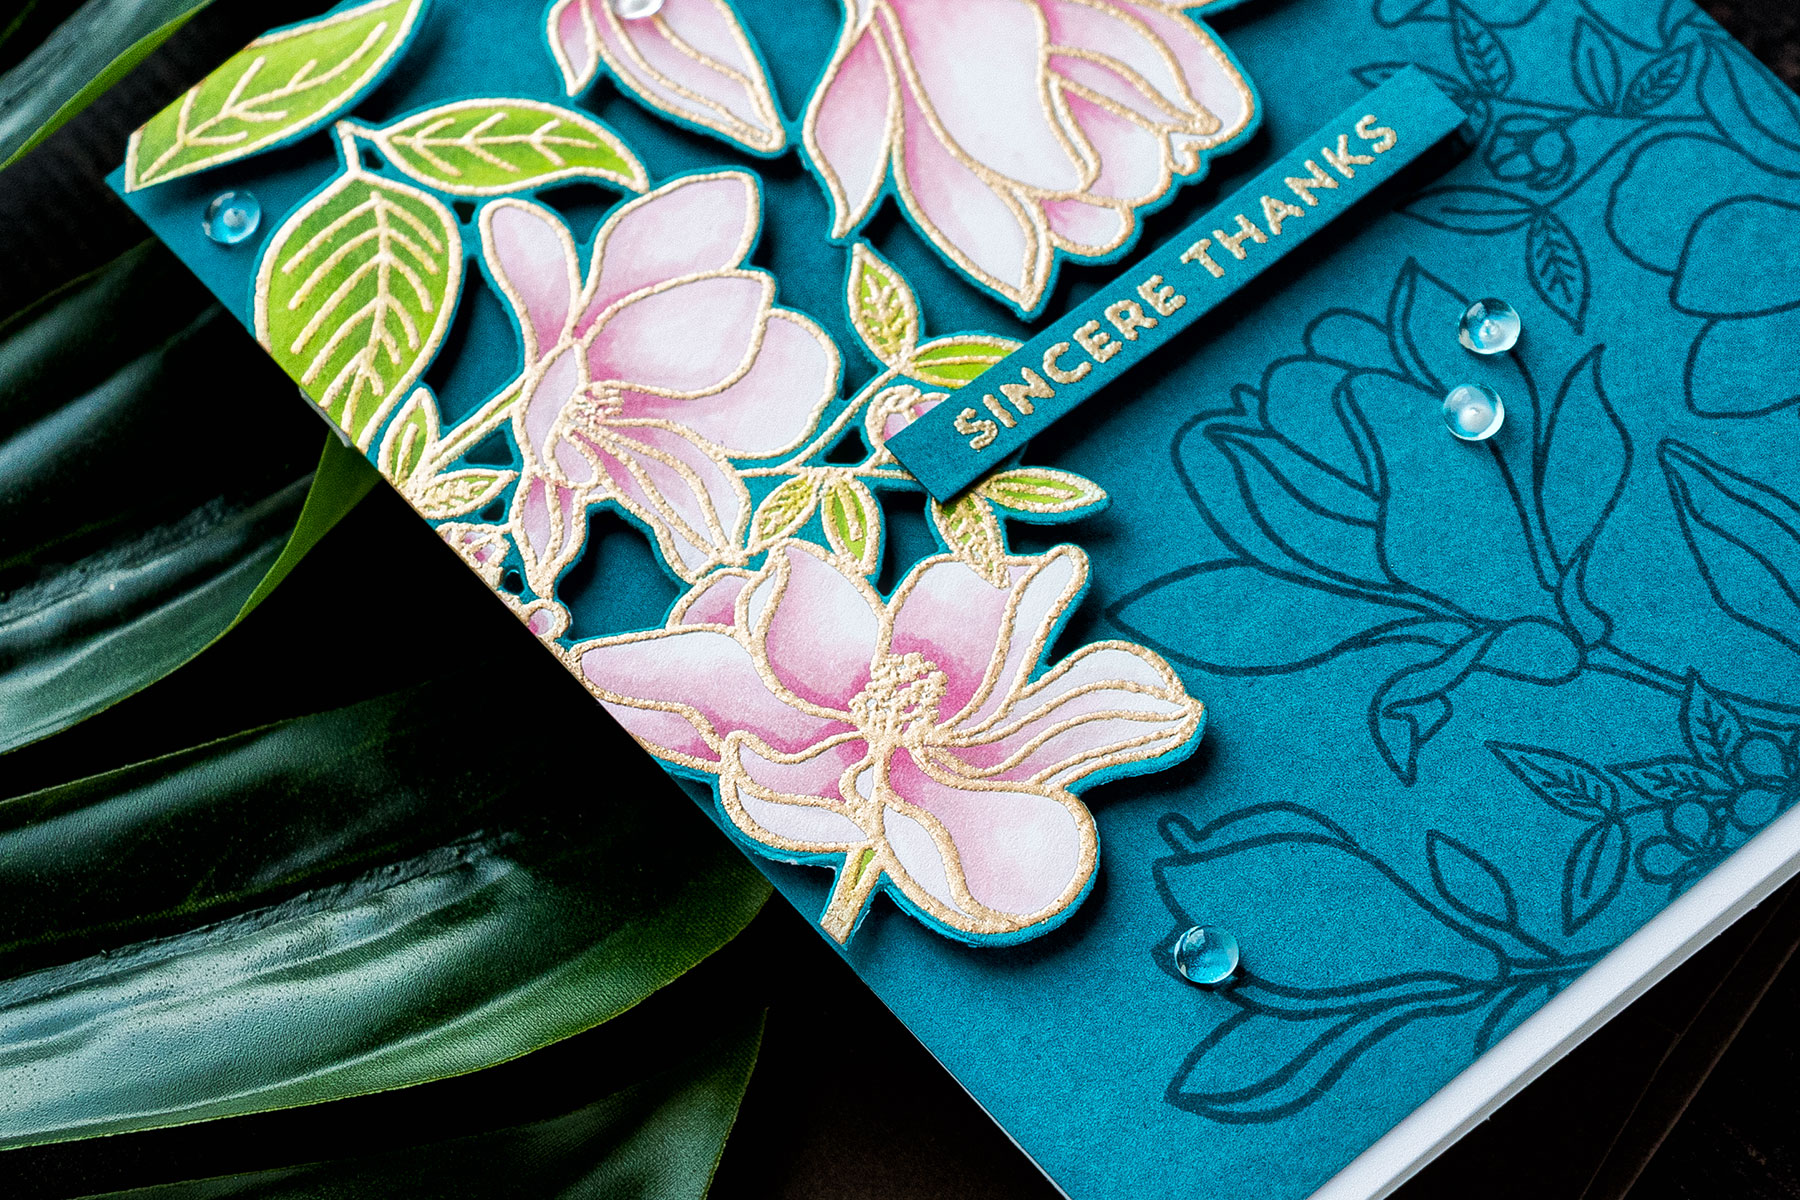
This is easily done with a simple trick that requires just a bit more coloring. I’ve looked through my Copic collection and I have picked a marker that matches in color to the background paper. I used this marker to color the white outline of my die cut. If you are afraid to color next to the heat embossing you might want to color it before heat embossing and even before you die cut the cluster. I’m okay coloring next to the heat embossing so I don’t mind.
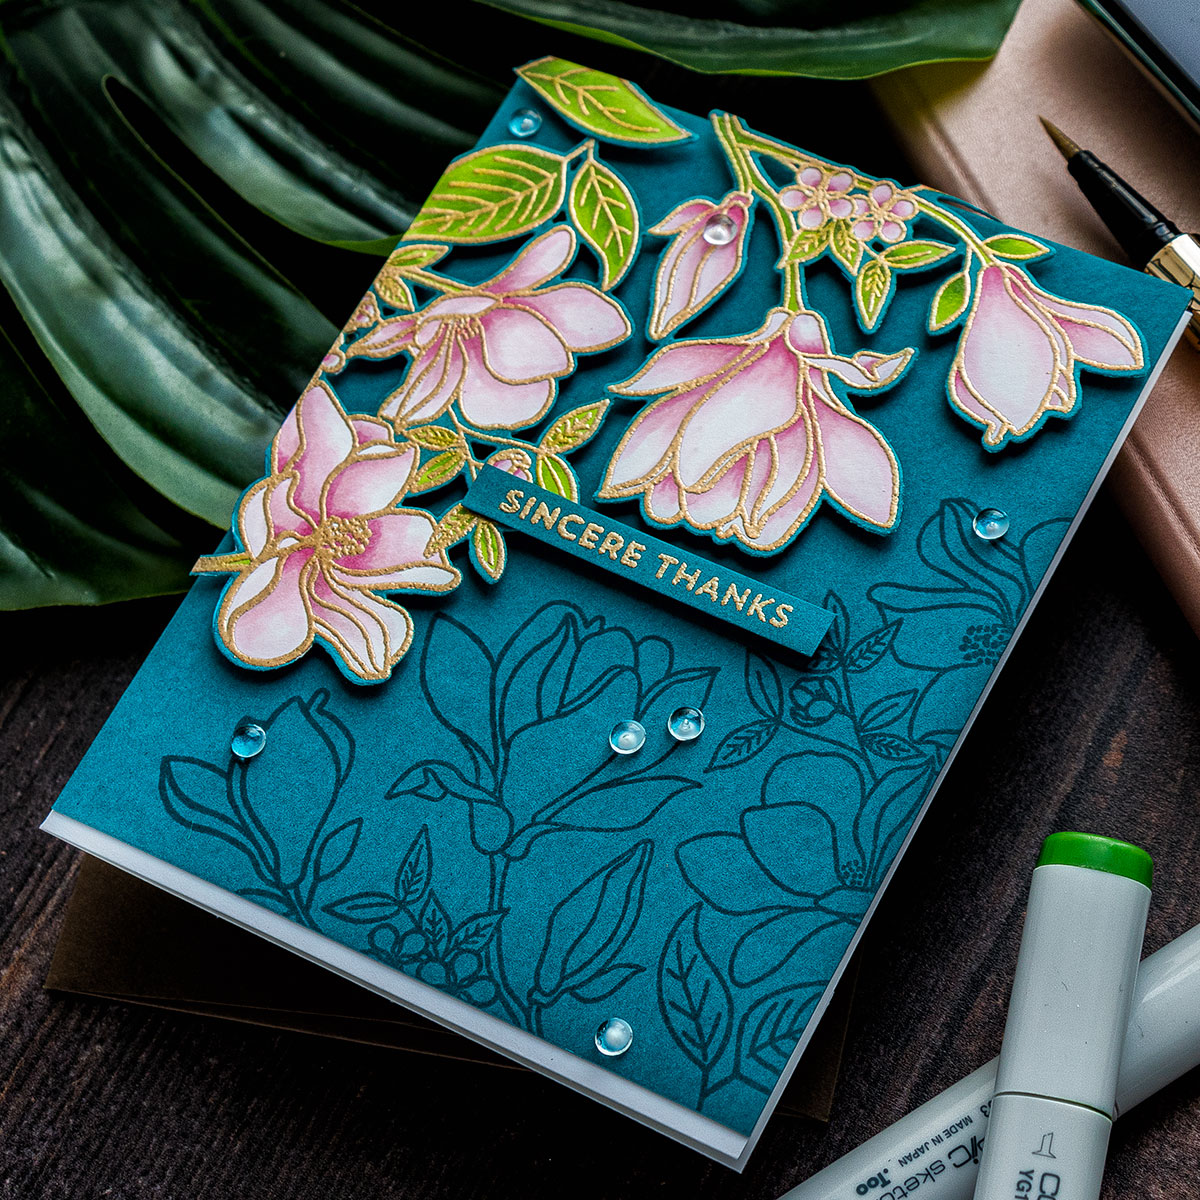
I foam mounted the die-cut onto the panel, going outside the edges just a bit. For a sentiment for this card, I picked one that reads Sincere Thanks and heat embossed it in the same embossing powder on the same color cardstock as my background. The sentiment comes from the Bitty Thanks & Gratitude stamp set. I trimmed it to a skinny strip and foam mounted to the card overlapping the floral cluster just slightly.

Finally, I created an A2 white card base, I trimmed the front panel to 4 1/4 x 5 1/4”, added it to the card base with the help of foam adhesive. You can skip the foam adhesive and use regular adhesive if you’d like to keep the card on the flatter side. Finally, if you want to add something a little extra to the card you can embellish it with your favorite dots or drops or gems.
SUPPLIES
I’m listing the products I used below. Click on the link to go directly to the product. Where available I use compensated affiliate links which means if you make a purchase I receive a small commission at no extra cost to you. Thank you so much for your support!
 My Favorite Things Floral Focus Clear Stamps Shop at: SSS | MFT |
 My Favorite Things Floral Focus Die-namics Mft1554 Shop at: SSS | MFT |
 My Favorite Things Bitty Thanks and Gratitude Stamps Shop at: SSS | MFT |
 Spellbinders Deep Sea Die Cutting Machine Shop at: SSS | SC | SB | AZ |
 Neenah Classic Crest 80 Lb Desert Storm Shop at: SSS | AZ |
 Hero Arts Hero Hues Premium Cardstock Adriatic Shop at: SSS | SC | HA | AZ |
 Simon Says Stamp Big Momma Foam Tape Roll Shop at: SSS |
 Simon Says Stamp Embossing Ink Pad Shop at: SSS |
 Hero Arts Heat Embossing Gun Shop at: SSS | SC | HA | AZ |
 Hero Arts Brass Embossing Powder Shop at: SSS | SC | HA | AZ |
 Memento Tuxedo Black Ink Pad Shop at: SSS | SC | AZ |
 EK Success Powder Tool Applicator Shop at: SSS | SC | AZ |
 Mini Misti Stamping Tool Shop at: SSS | SC | HA | AZ |
 Copic Sketch Marker RV00 Water Lily Shop at: SSS | AZ |
 Copic Sketch Marker RV11 Pink Shop at: SSS | AZ |
 Copic Sketch Marker RV13 Tender Pink Shop at: SSS | AZ |
 Copic Sketch Marker Rv34 Dark Pink Shop at: SSS | AZ |
 Copic Sketch Marker YG03 Yellow Green Shop at: SSS | AZ |
 Copic Sketch Marker YG17 Grass Green Shop at: SSS | AZ |
 Copic Sketch Marker YG63 Pea Green Shop at: SSS | AZ |
 Copic Sketch Marker BG09 Blue Green Shop at: SSS | AZ |
 Tonic Deluxe Adhesive Nuvo Glue Shop at: SSS | SC | AZ | TS USA |
 Crystal Ninja Crystal Katana Pick Up Tool Shop at: SSS | MFT | AZ |
") Pretty Pink Posh 4MM Clear Droplets (small) Shop at: SSS | MFT |
MORE INSPIRATION
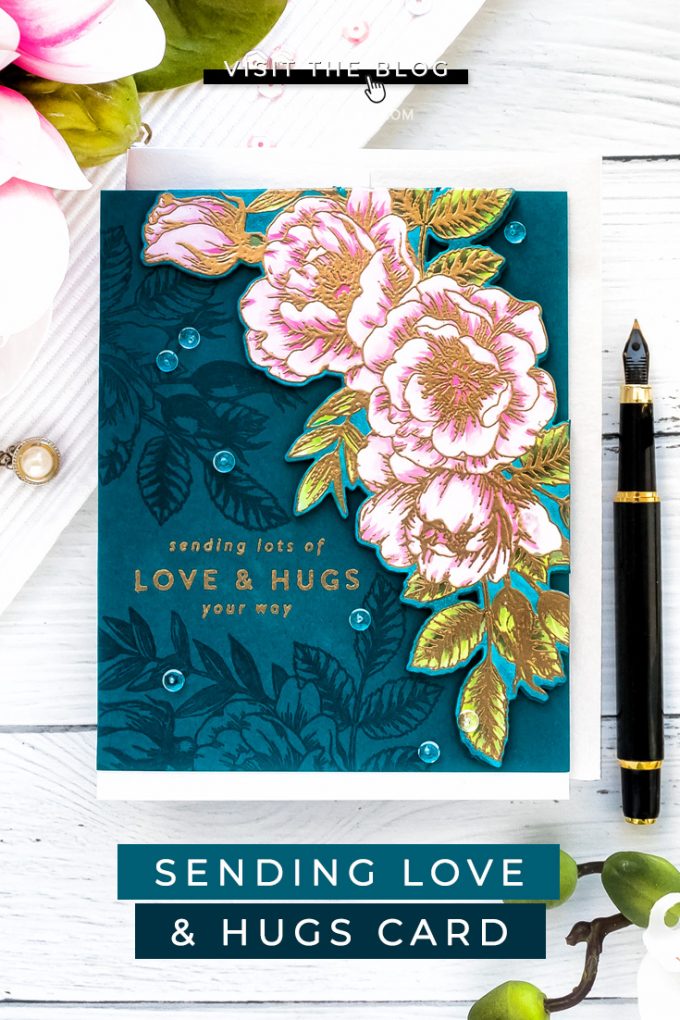
I’ve since used this trick again and have even created a very similar card design using different supplies. Check it out below:


Yana, this is absolutely gorgeous!
Thank you, I’m so glad you liked it!
So stunning, definetly want to try this out for myself x
Thank you, Andrea! I hope you do give it a go.
Wow! This is gorgeous!! I don’t own Copics but I did get your point of coloring and heat embossing later! Thank you for the workaround 🙂 Also, initially I thought you had colored the flowers on the blue cardstock! Great effect by coloring the diecut borders <3 <3
awww, thank you! Yes, that can be done using colored pencils, but it is a LOT more work.
Gorgeous card…I definitely want to try this!
I hope you do! Thank you, Karen.
Beautiful card. Thank you for the video and the tips you shared.
Glad you liked it, Daria!
AMAZING! love that background cardstock color! and the pinks go perfectly with it! STUNNING!
oh it really is one of my favorite cardstock colors! Thank you, June!