

Hello, friends! I continue to share cards I created using Spellbinders – Quilt It Collection. You can find first project here, second one over here and the third one here.
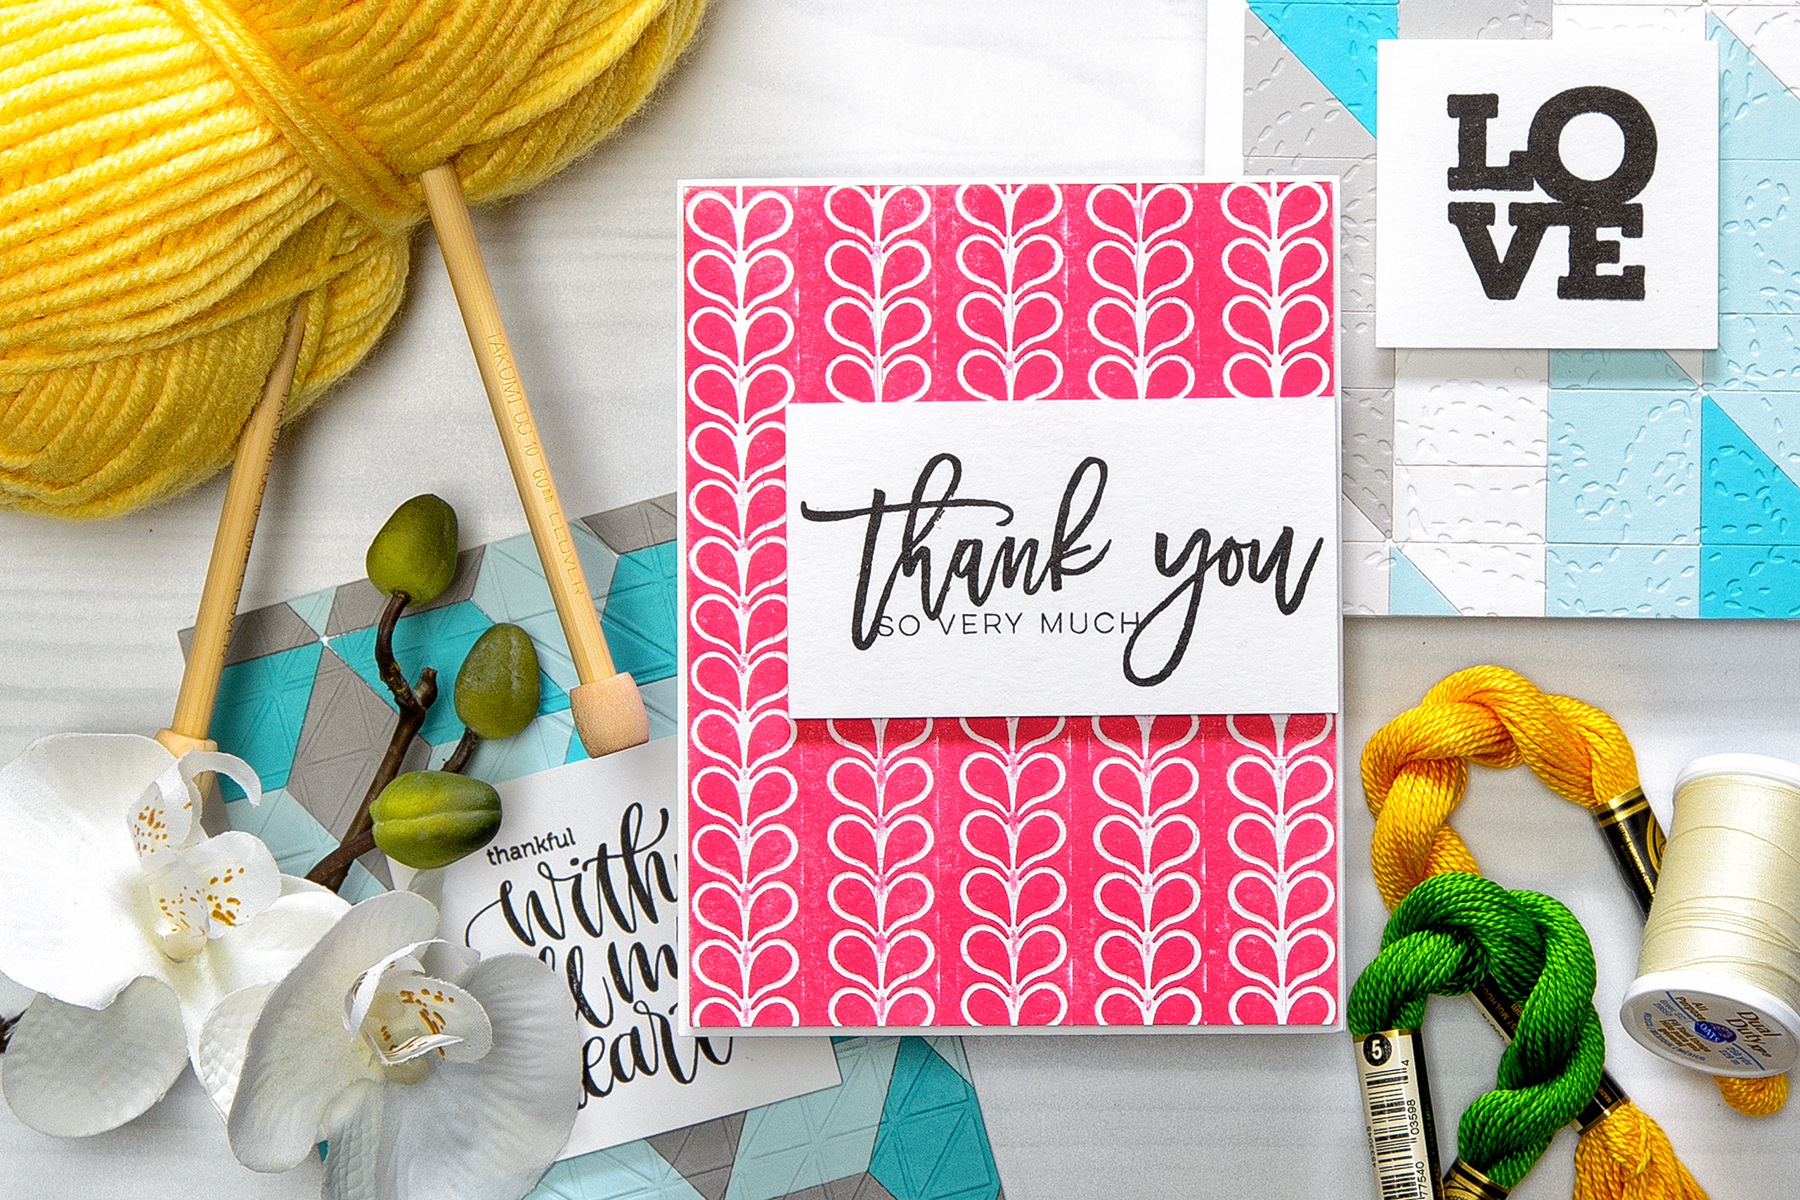
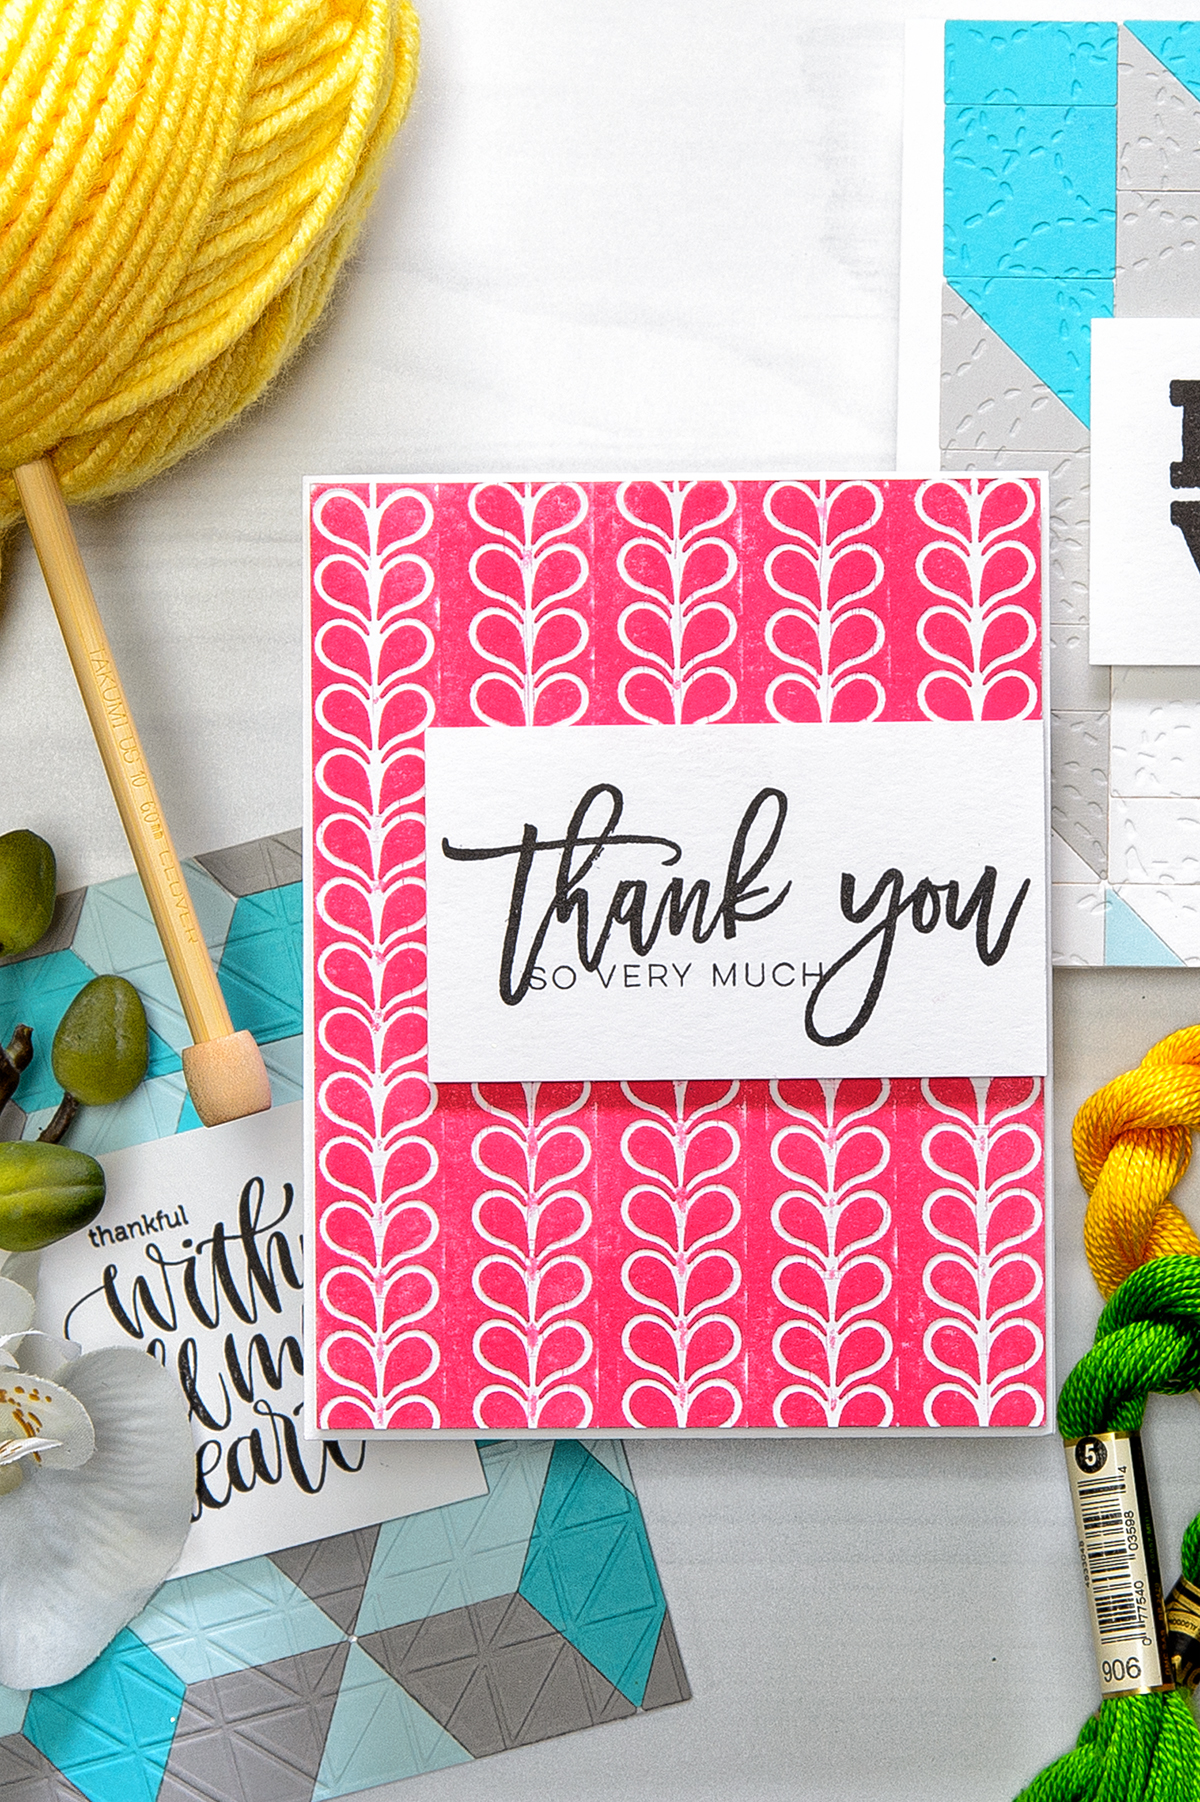
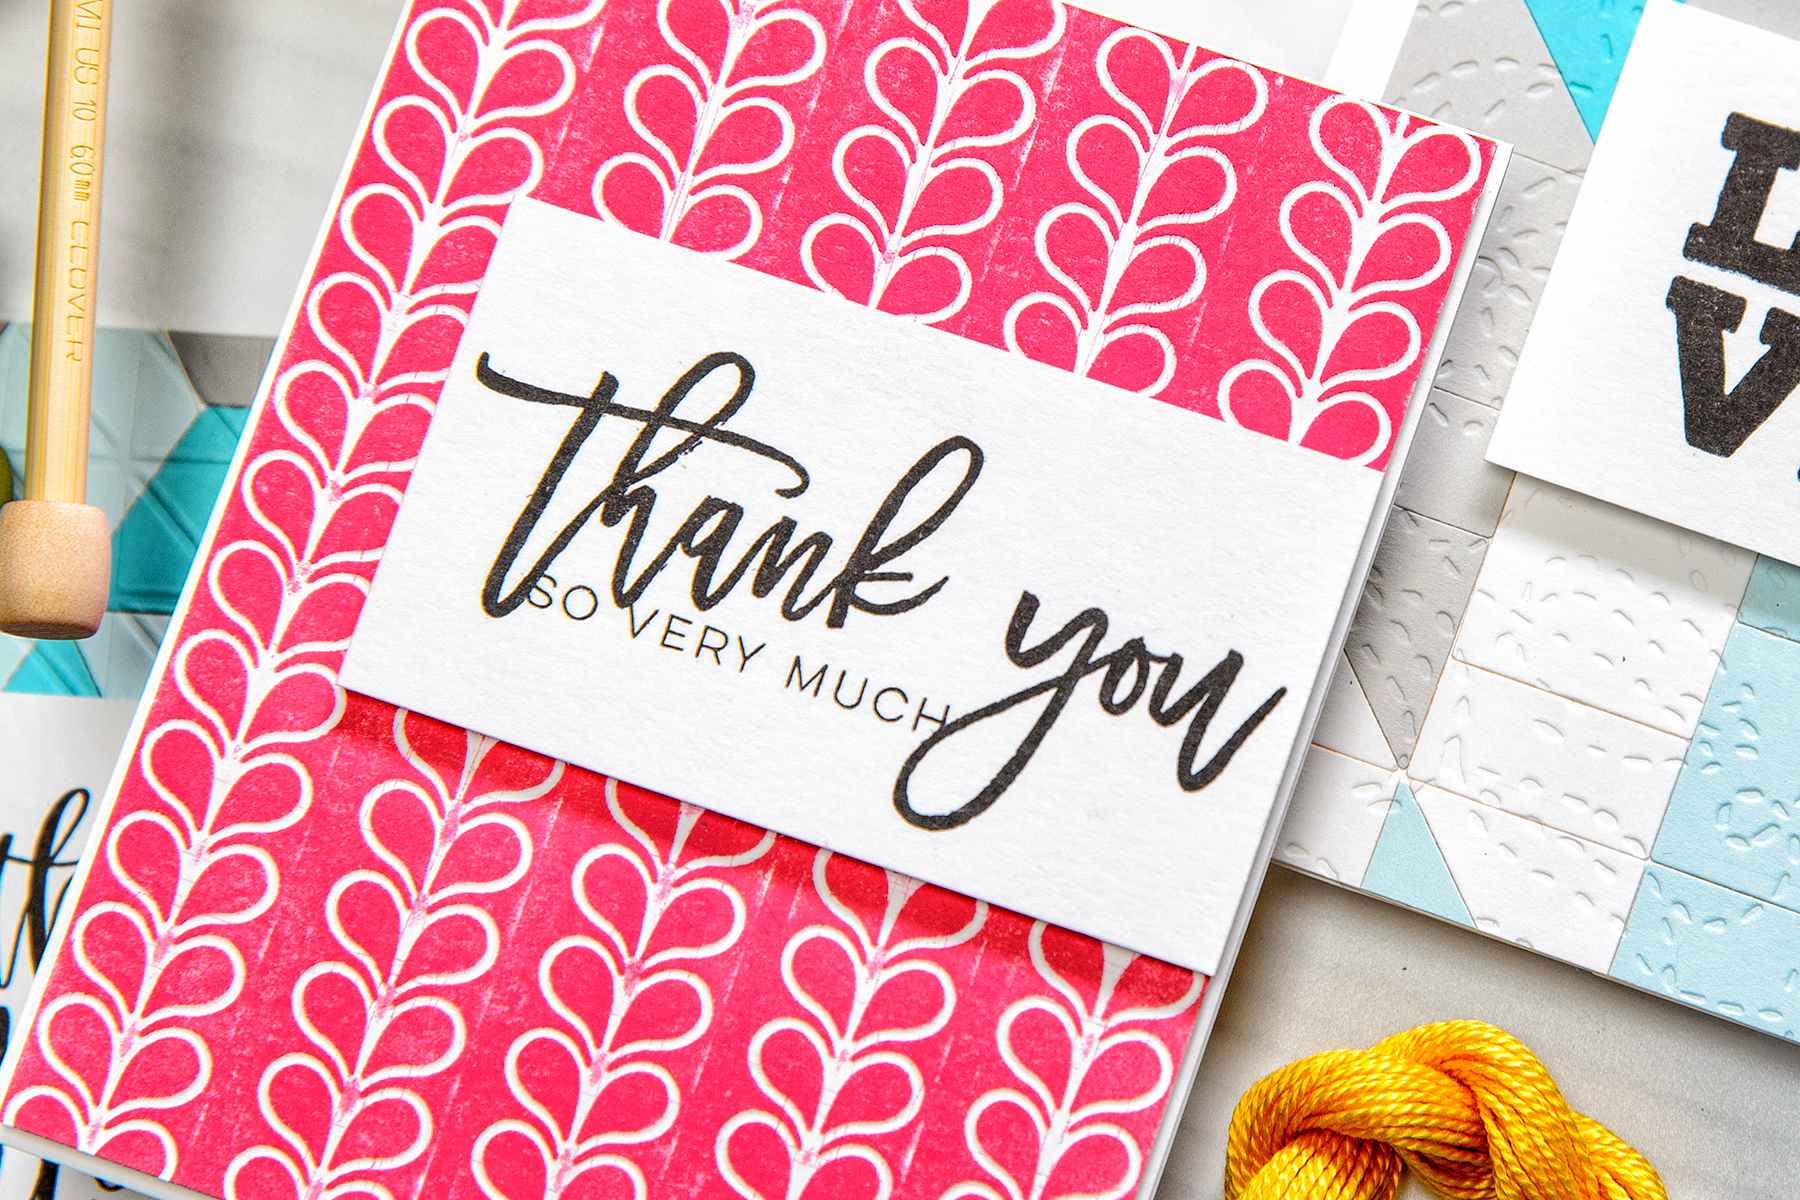
To create this card I used an embossing die from the Stitched Borders set. There are several border type dies in this set, they all emboss and are meant to be used with the quilt dies, or of course, can be used on its own like I am sharing here.
Like this project? Pin it and save for later | Curious about my project photography? Click for details.
CARD DETAILS
I used my cutting sandwich and cut this die 5 times into my background. Because this die doesn’t actually have a cut edge, it only created an embossed impression onto my paper. You can emboss with it, but it would be tricky to emboss 5 times and not flatten part of the embossing.
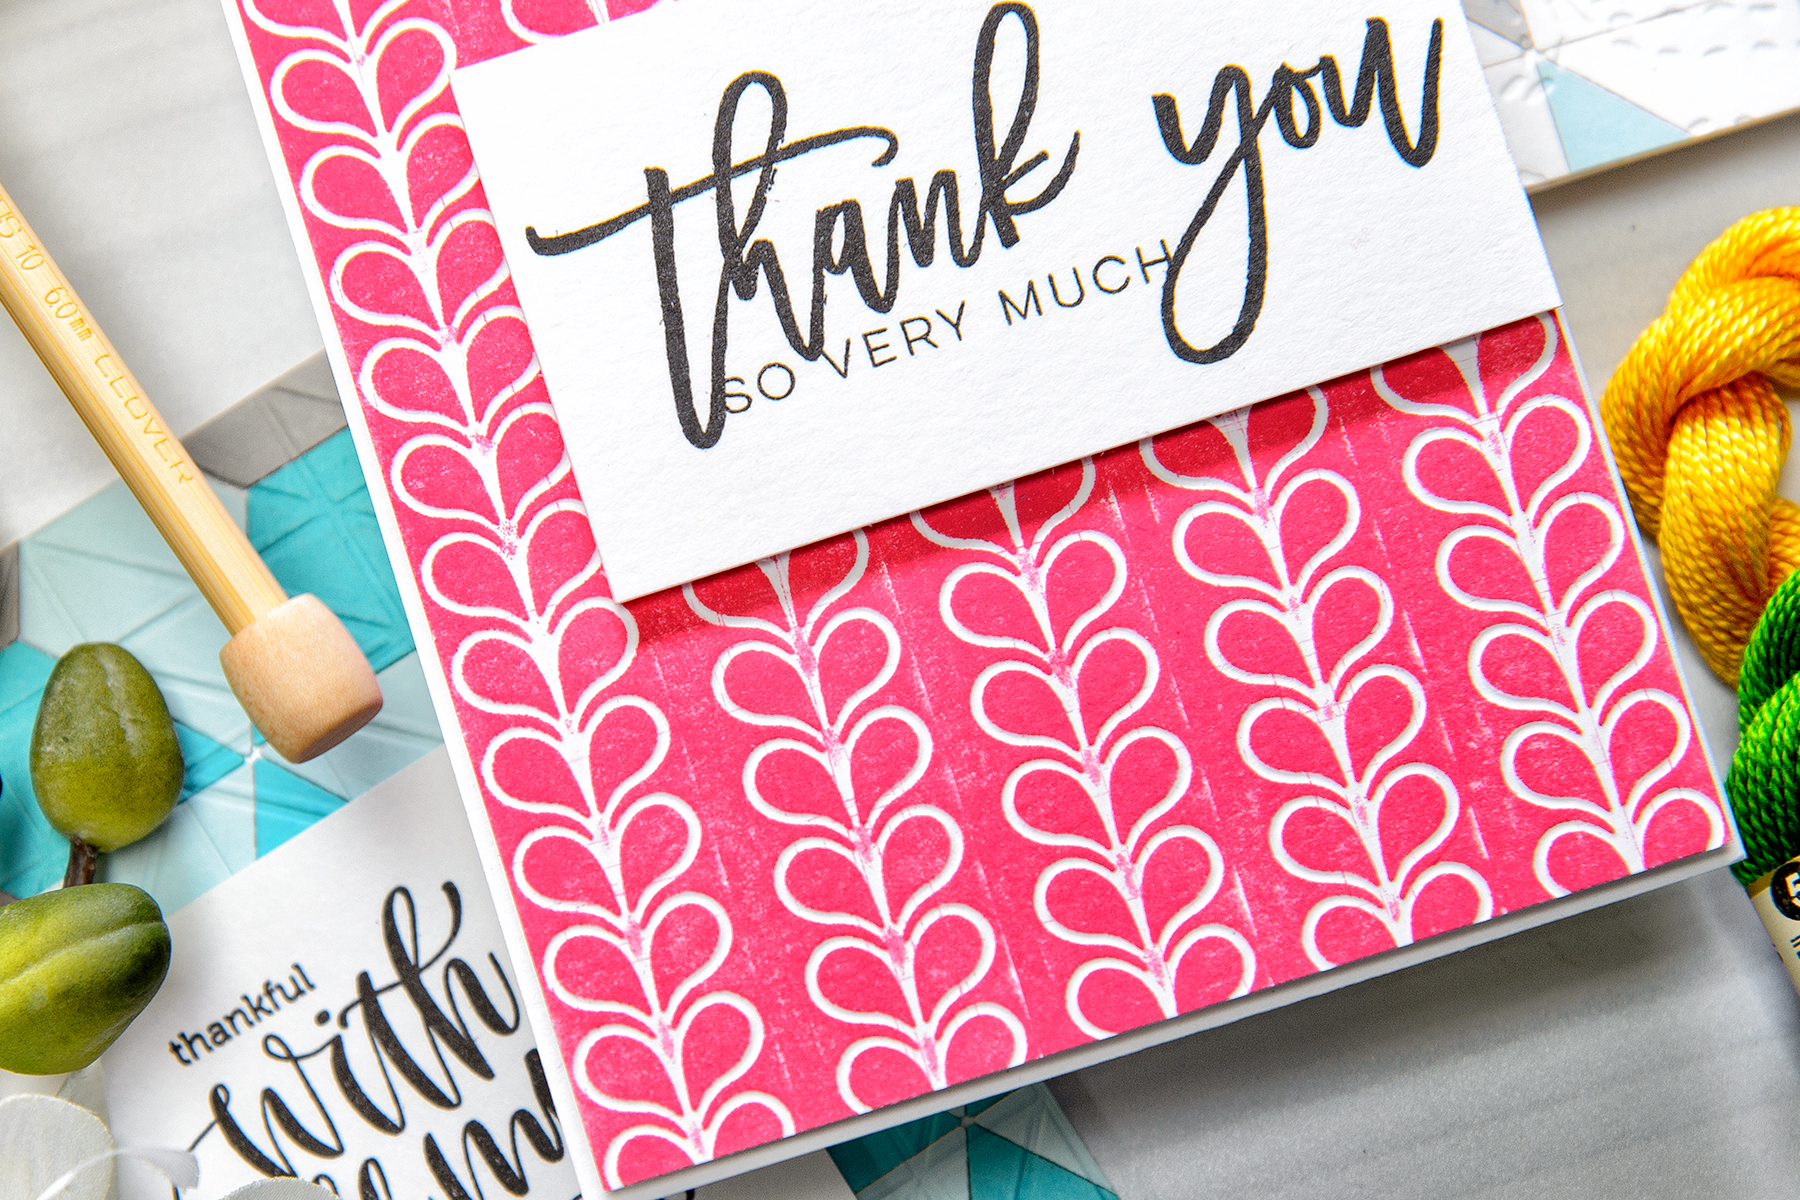
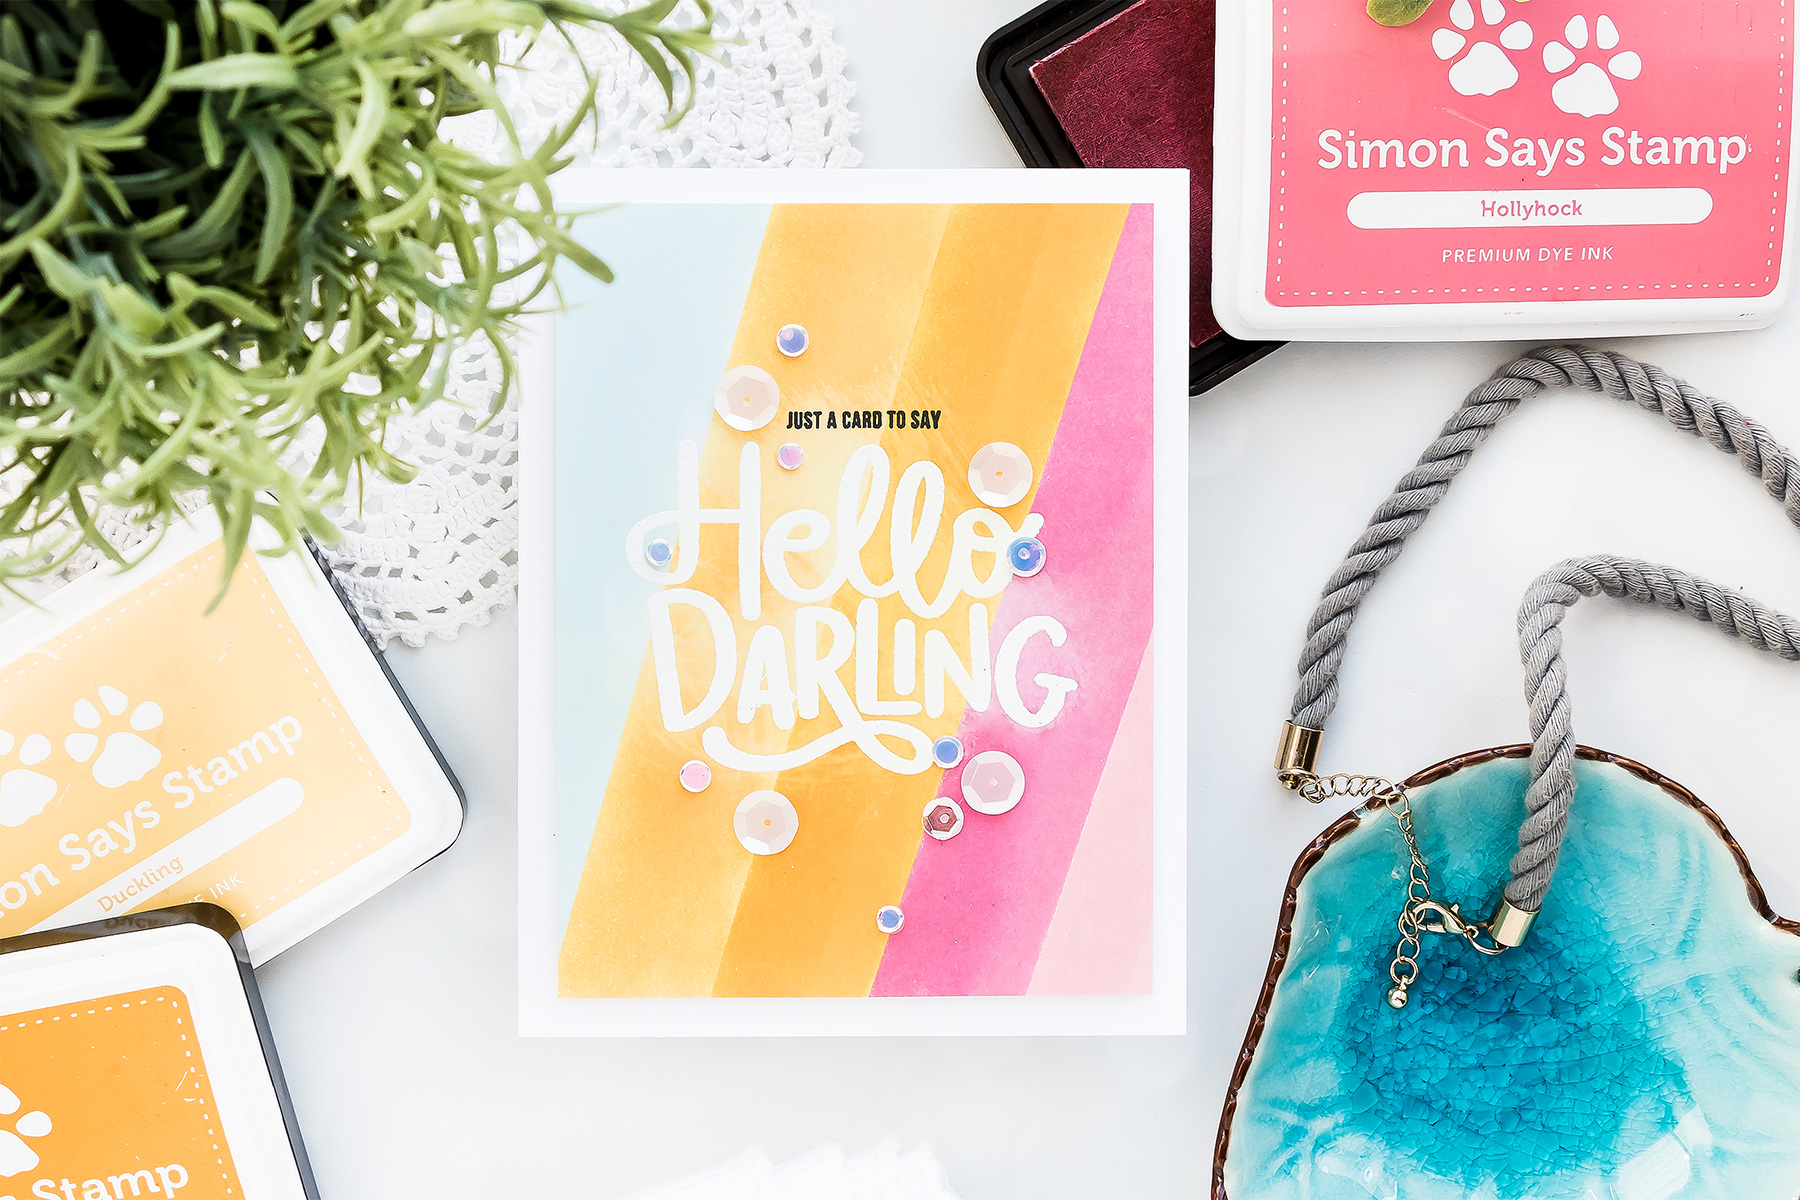
To add color onto my background I used a brayer and pigment ink. I shared an inked background brayer technique a few weeks ago, I used a very similar approach to ink up the background of this card.
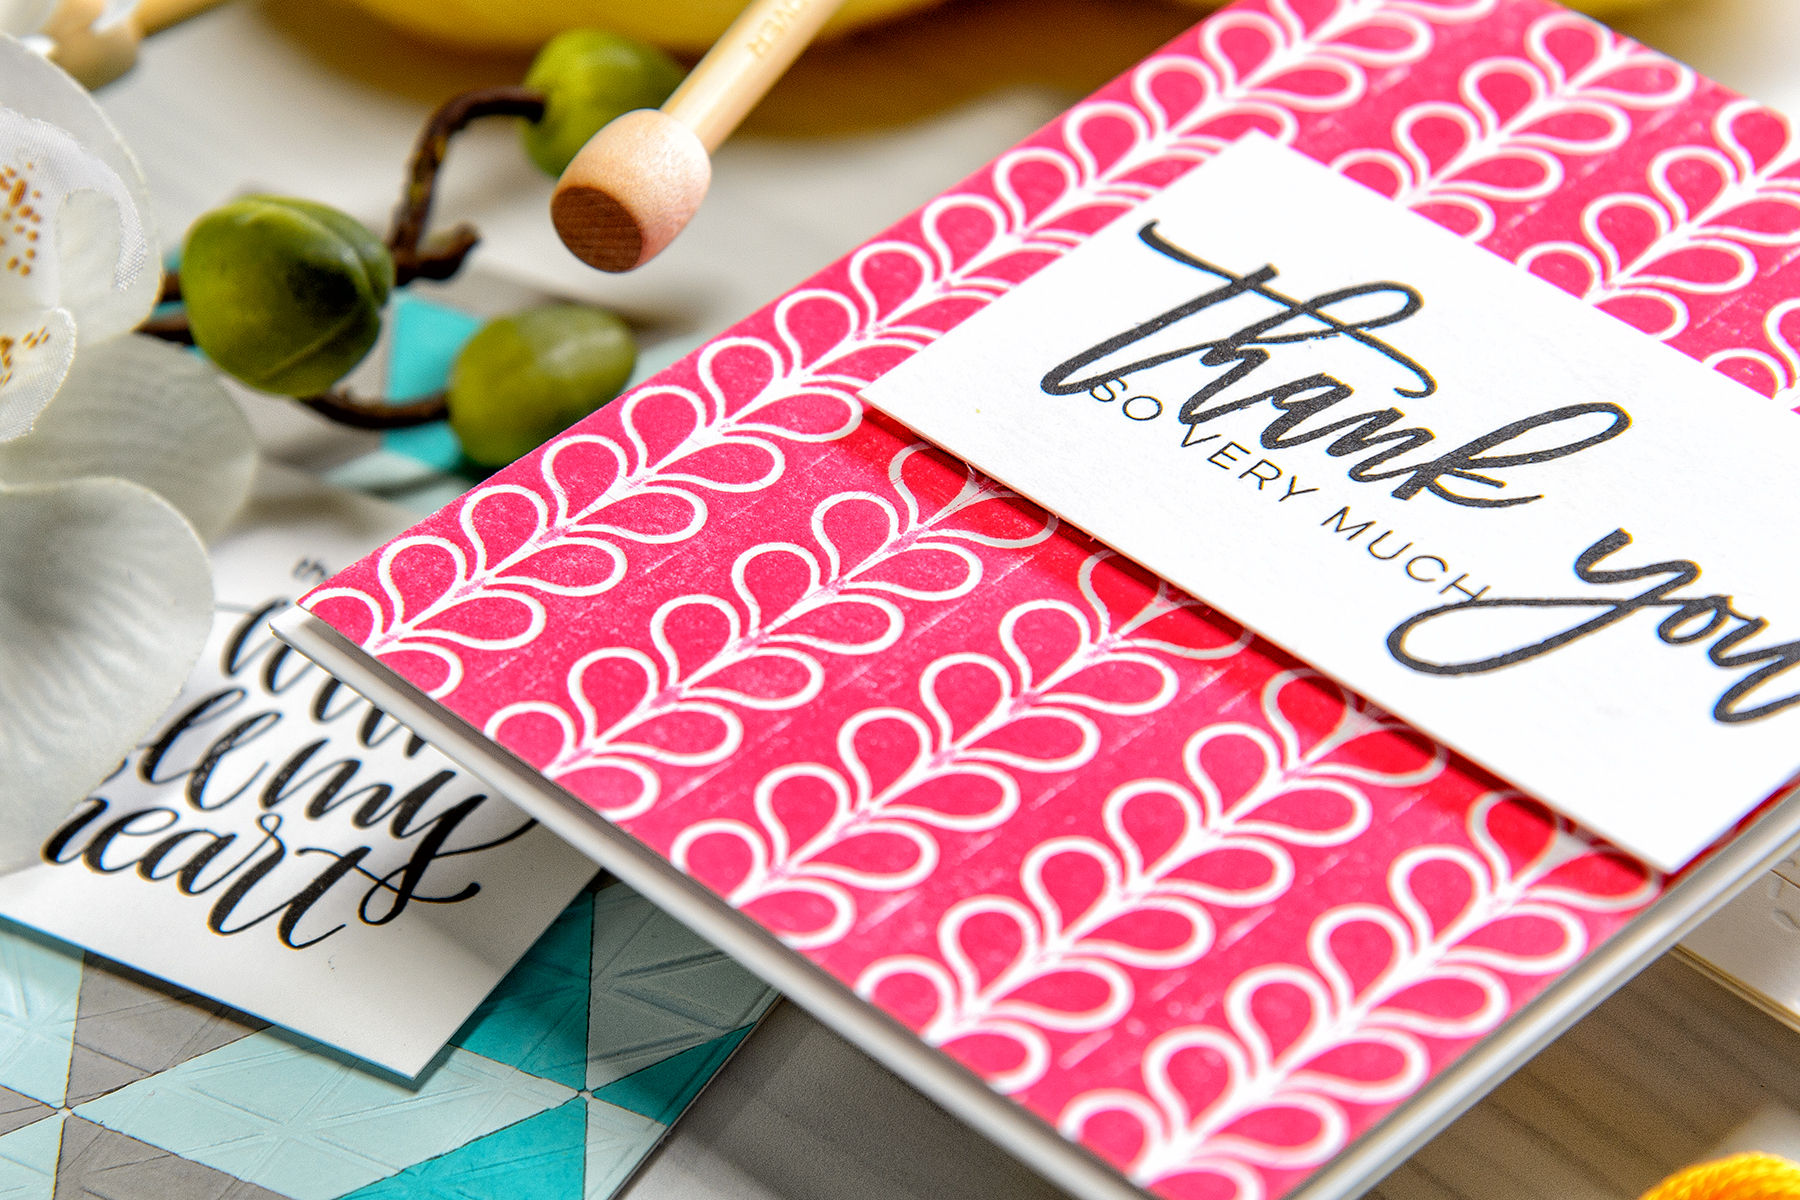
After my background was inked I foam mounted it onto an A2 top folding card base and added a “Thank You So Very Much” sentiment panel on top. Simple, easy and striking!
SUPPLIES
I’m listing the products I used below. Click on the link to go directly to the product. Where available I use compensated affiliate links which means if you make a purchase I receive a small commission at no extra cost to you. Thank you so much for your support!
 Spellbinders Stitched Borders Dies Quilt It by Lene Lok Shop at: SSS | SC | SPEL | AZ |
 Spellbinders Tool ‘n One Shop at: SSS | SC | SPEL | AZ |
 Spellbinders Tool and Accessories Tool ‘n One Brayer Tip Shop at: SSS | SC | SPEL |
 Spellbinders Platinum 6 Die Cutting Machine Shop at: SSS | SC | SPEL | AZ |
 Simon Says Stamp Intense Black Ink Shop at: SSS |
 Neenah 110 Lb Solar White Cardstock Shop at: SSS | AZ |
 Right at Home Script Greetings Clear Stamp Shop at: SSS |
 White Fun Foam 12 Pack 9 x 12 Shop at: SSS | AZ |
 Scor-tape 2 1/2 Inch Crafting Tape Shop at: SSS |
 Avery Elle Raspberry Pigment Ink Pad Shop at: SSS |
PIN THIS PROJECT
Are you on Pinterest? I’d love for your to pin this project if you like it! Thanks!


Lovely 🙂
How simple and yet stunning! I bought a brayer a while back but haven’t used it yet. I’m looking for a way to use an embossing folder and then put color on only the raised (embossed) part. Thought maybe a brayer might work. Would you consider doing a video or more on brayer techniques? And/or using a brayer with embossing folders??? I know there are many videos out there using a brayer with an embossing folder that will add color to the background of the embossed design. Any other tips? Hope this makes some sense!!!????!! Thank you, Yana.
Thank you, Debbie! I actually have a similar kind of video on my to do list, just haven’t had the opportunity to film it yet 🙂
very nice!!
Hi, Beautiful card. I also have a Brayer and I have had it hanging behind me for years and never once used it, WHY, because I really don’t understand what it is for, lol. I would also love to see some videos on it. Thanks and I also would like to thank you because I won the Blog Candy over at Simon Says Stamp this week because I left a comment on their blog on a card you did for yippee for yana, it was an AWESOME card, so thanks for that and the amazing cards you create.
awww, thank you, Tracey! And congratulations!
Yes, filming a video with brayer techniques is definitely on my to do list! Just need to find time to actually get it done 😀
Hi Yana ~ These are absolutely stunning!! Thank you so much for continuing to share so many wonderful project ideas with the rest of us paper crafting lovers! ~HUGS~
#kindnessmatters
Awesome.
Yana, this is a great idea–using the quilting strips for the card background. Thanks for sharing it.
What? Get out! I thought you used PP here. This is just genius!