

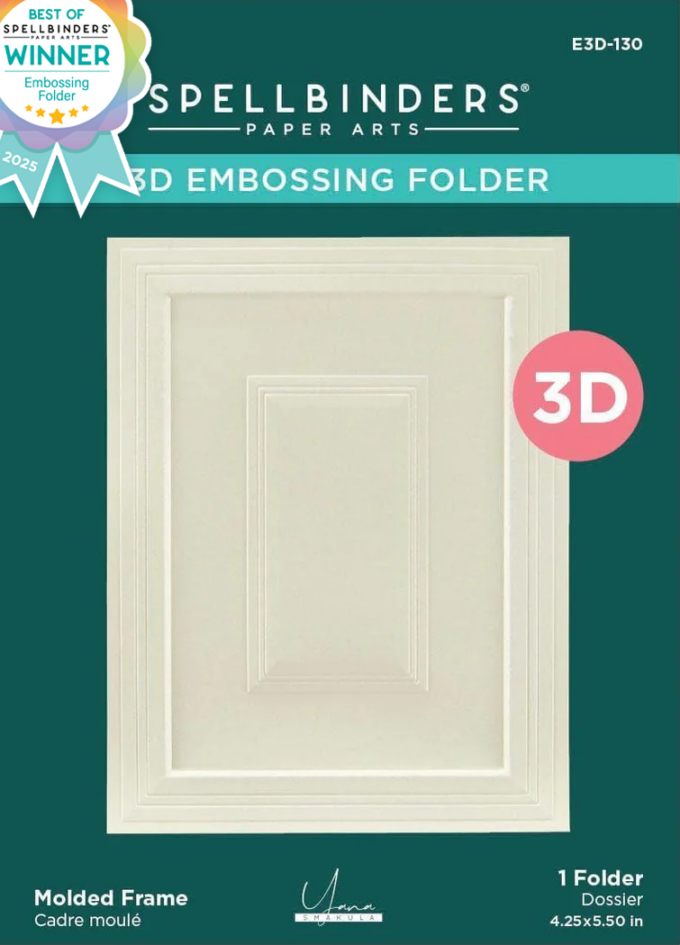
Let’s talk about one of my all-time favorite tools – and apparently yours, too. The Molded Frame Embossing Folder was voted Best Embossing Folder by Spellbinders for 2025, and I still find that completely surreal. Thank you for loving this design as much as I do.
I’ve already shared a few projects using this folder in the past, but over the last several months, it has lived on my desk. I’ve used it on countless cards, experimented with different techniques, and discovered just how versatile it really is.
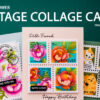
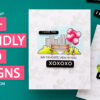
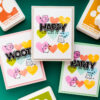
So today, I’m sharing six different ways you can use the Molded Frame Embossing Folder to get more mileage and more creativity out of this one tool.
VIDEO TUTORIAL
Watch the video below or on my YouTube channel.
A Quick Look at the Folder
This is a 3D embossing folder from Spellbinders, designed for A2 cards (4¼” × 5½”). You’ll need the Universal Plate System with a Platinum or Platinum SIX machine to use it (it does work in other machines – see Spellbinders Compatibility Chart for 3D embossing folders).
The design itself was inspired by the shaker-style cabinets in my kitchen – proof that inspiration really does come from everyday life. I wanted a structured, elegant frame that would naturally draw the eye toward the center of a card, leaving plenty of space for sentiments or focal images.
While we did explore a 5″ × 7″ version during development, it didn’t pass testing. Rather than compromise quality, we focused on delivering a folder that produces consistent, beautiful results every single time.
Why This Design Works So Well
The Molded Frame creates a strong visual border while leaving generous open space in the center. That makes it perfect for:
-
Centered or offset sentiments
-
Small focal images
-
Glimmer, hot foil, or BetterPress greetings
-
Portrait and landscape cards
It truly works for everyday cards, seasonal cards, and everything in between.
1. Layer Two Embossing Folders
One fun way to add interest is to combine this folder with another embossing folder. Try embossing a subtle 2D pattern first, then run that same panel through the Molded Frame folder. The original texture softens slightly, but it still adds depth within the frame. Watch video HERE.
Geometric or linear designs work especially well here.
2. Color Blocking with Embossed Panels
Emboss two panels in different colors, then trim and piece them together. This creates a bold, modern background with lots of movement—perfect when you want a statement card without a lot of extra embellishment. Watch the video HERE.
Simple, fast, and very eye-catching.
3. Partial Embossing for a Fade-Out Effect
Partial embossing adds a touch of the unexpected. By embossing only part of the panel, the design gently fades away instead of stopping abruptly. It almost looks unfinished – but in an intentional, interesting way. Watch the video HERE.
You can fade the embossing from the top, side, or bottom, depending on your layout.
4. Die-Cut the Panel for a Decorative Edge
Another favorite technique is to die-cut the panel first, then emboss it. Using rectangle dies with decorative edges gives you a slightly smaller panel with beautiful detail along the outside – perfect for clean but elevated card designs. Watch the video HERE.
Check your stash – you may already have dies that work perfectly with this folder.
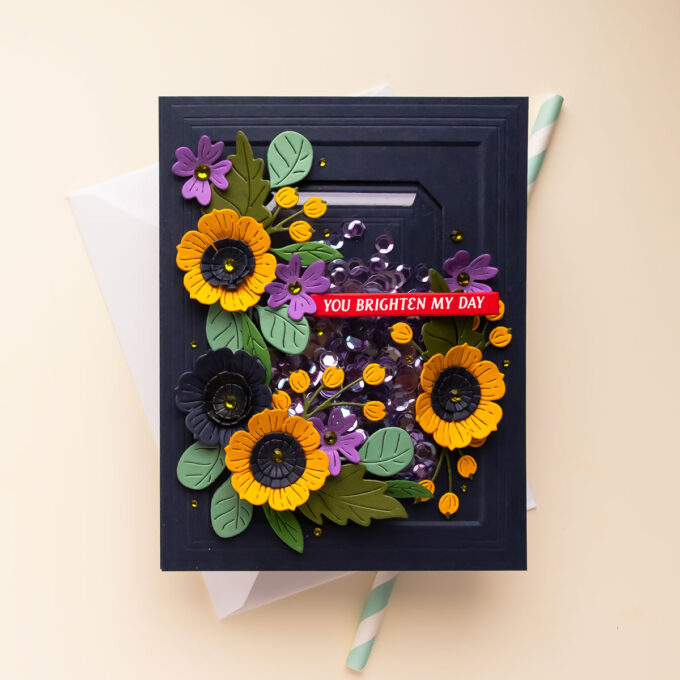
5. Turn It Into a Shaker
Because of the geometric layout, this folder is ideal for shaker cards. Cut an opening in the center, add a shaker dome or window, and even emboss a panel inside the shaker for extra detail. Watch the video HERE.
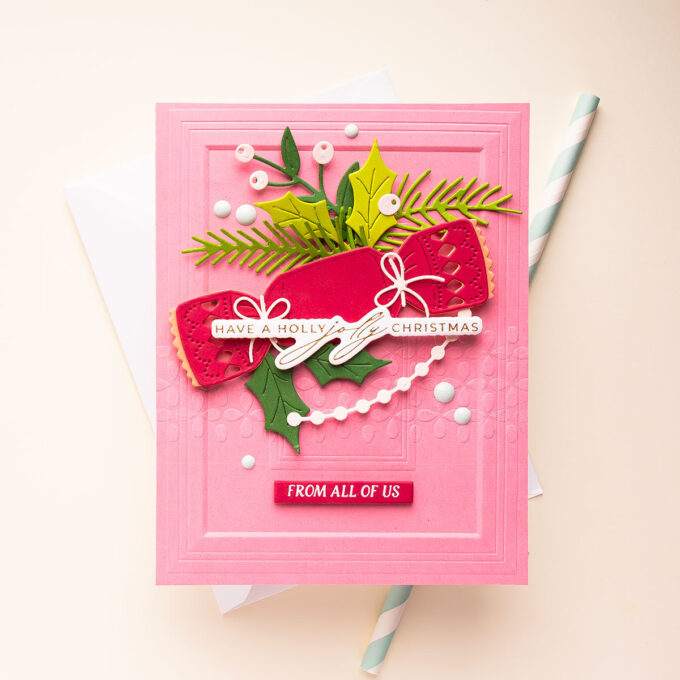
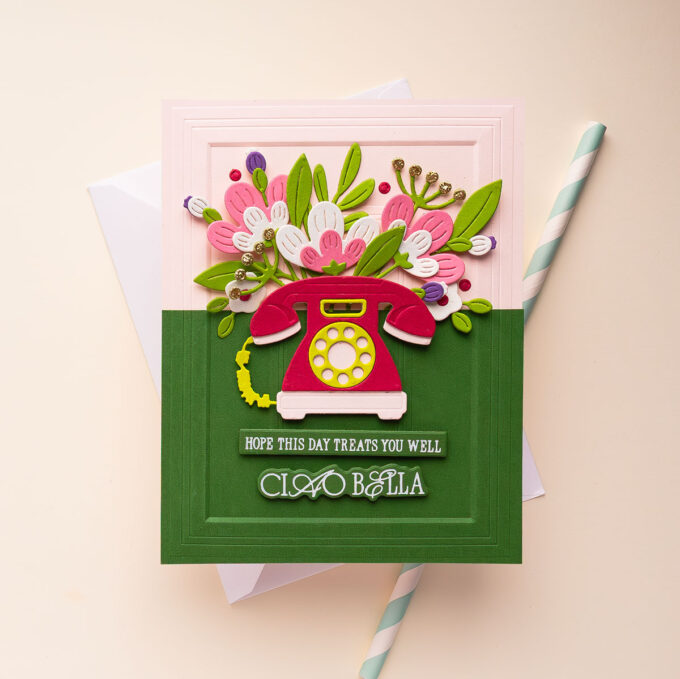
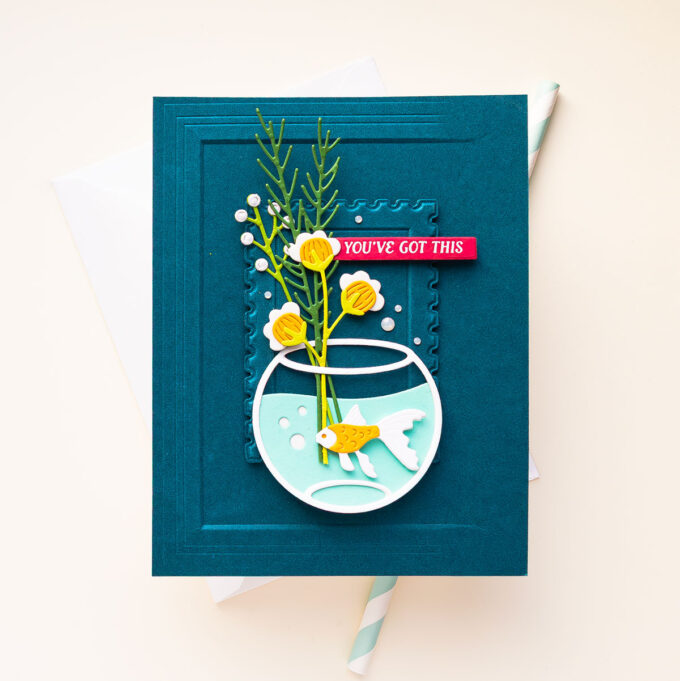
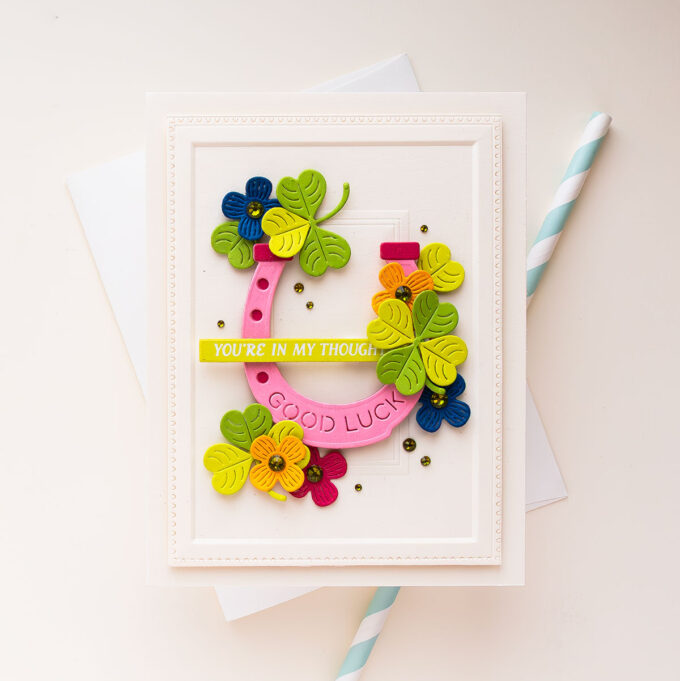
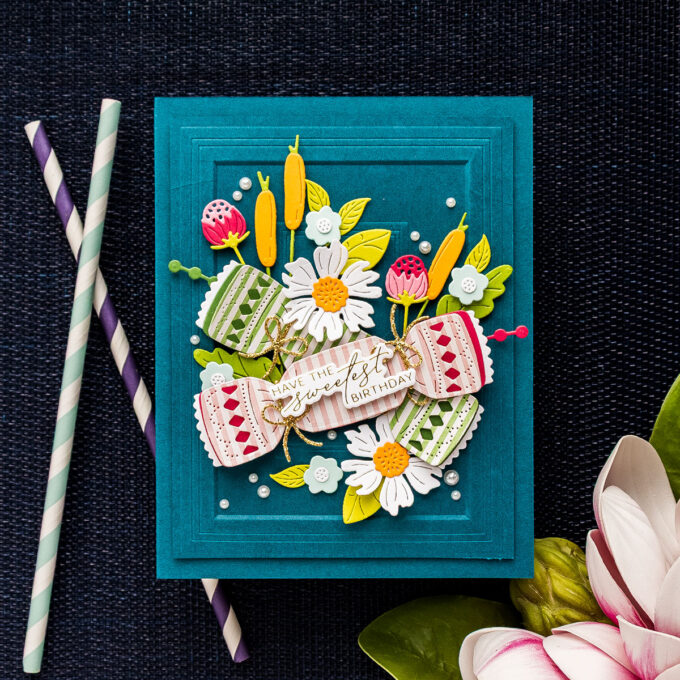
6. Make It Bigger!
You can also use the embossed panel on a larger card base. Mounting it onto a slightly bigger card gives you a framed look while allowing space for larger florals or embellishments. Watch the video HERE.
This embossing folder continues to be one I reach for again and again – sometimes I even have to remind myself to use something else. It’s versatile, timeless, and works beautifully across styles and occasions.
If you already own it, I hope these ideas inspire you to try something new. If you don’t, it’s still available at Spellbinders, and I’ve linked it below.
As always, I’d love to hear from you – what techniques do you enjoy using with embossing folders? Let me know in the comments.
Thank you so much for being here,
Yana
SUPPLIES
I’m listing the products I used below. Click on the link to go directly to the product. Where available, I use compensated affiliate links, which means if you make a purchase, I receive a small commission at no extra cost to you. Thank you so much for your support!
 Spellbinders Molded Frame 3D Embossing Folder Shop at: SSS | SB USA | SB UK | AMZ | PFS |
 Exclusive Lilac Shimmer Platinum 6 Die Cutting & Embossing Machine – 6″ Platform Shop at: SB USA | SB UK |
 Spellbinders Platinum 6 Machine With Universal Plate System Shop at: SSS | SB USA | SB UK | AMZ | PFS |
 Spellbinders XL Universal Plate System for the Platinum Machine Shop at: SSS | SB USA | SB UK | PFS |
Spellbinders Universal Plate System (P6 Accessory Bundle) Shop at: SSS | SB USA | SB UK | AMZ | PFS |
 Spellbinders Compact Universal Plate System – 3.5″ x 9.0″ Shop at: SSS | SB USA | SB UK | PFS |


Your cards are so beautiful!!!!!
Thank you so much!! That truly means a lot to me — I’m so glad you enjoyed them!
Love all your cards and thanks for all these fun techniques!!