


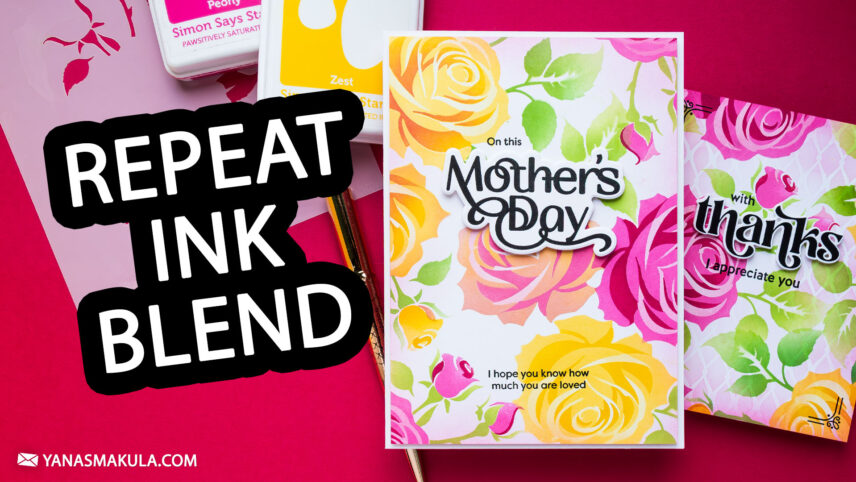
Hello and welcome back for another Yippee For Yana video! Today I’m sharing a fun technique that involves turning a single focal point image into a dynamic, eye-catching background using nothing but repetition. I’m using the gorgeous Elegant Rose Stencil Set from Simon Says Stamp to demonstrate how easy it is to create a beautiful, layered background with a few simple steps.
Like this project? Pin it and save it for later | Curious about my project photography? Click for details.
VIDEO TUTORIAL
Watch the video below or on my YouTube channel.
WHY REPETITION WORKS SO WELL
While the Elegant Rose Stencil Set is typically used for creating a stunning single rose image, I wanted to explore how to create a much bolder and dynamic look by repeating the design to cover an entire background. The result is gorgeous, full of dimension, and visually interesting!
LET’S DIVE INTO THE PROCESS
To get started, I used a full 8.5” x 11” sheet of Neenah Solar White Letter Cardstock to create several backgrounds in one go. This way, I could cut the cardstock into smaller pieces for multiple cards. A full sheet of letter-sized paper gives me enough material for four A2 card backgrounds or two 5×7 card backgrounds, so you can really get the most out of your ink blending session.
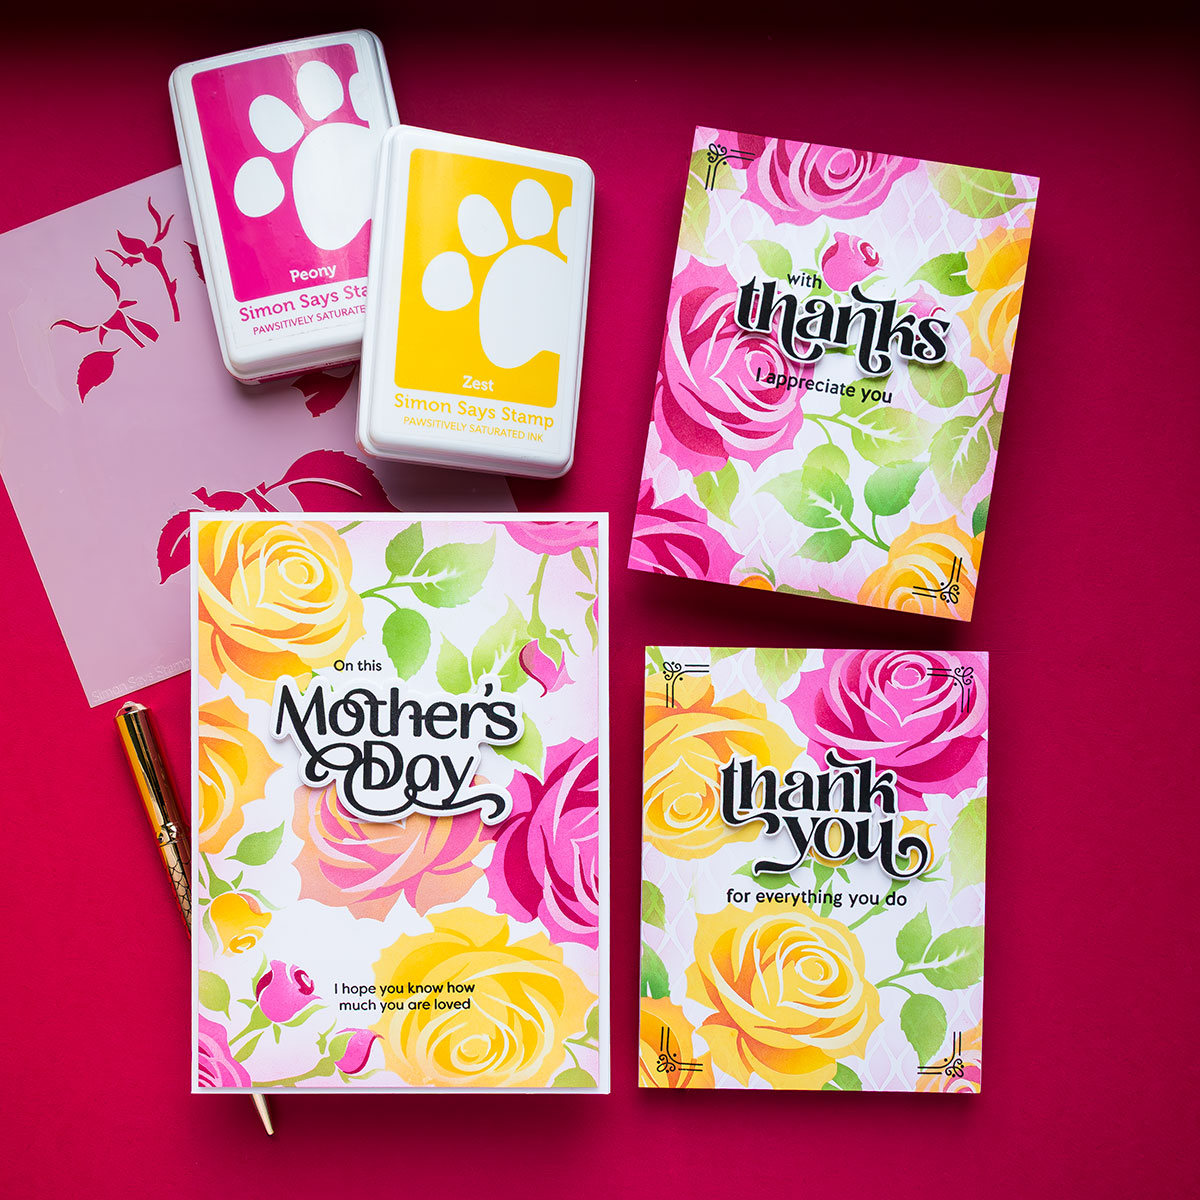
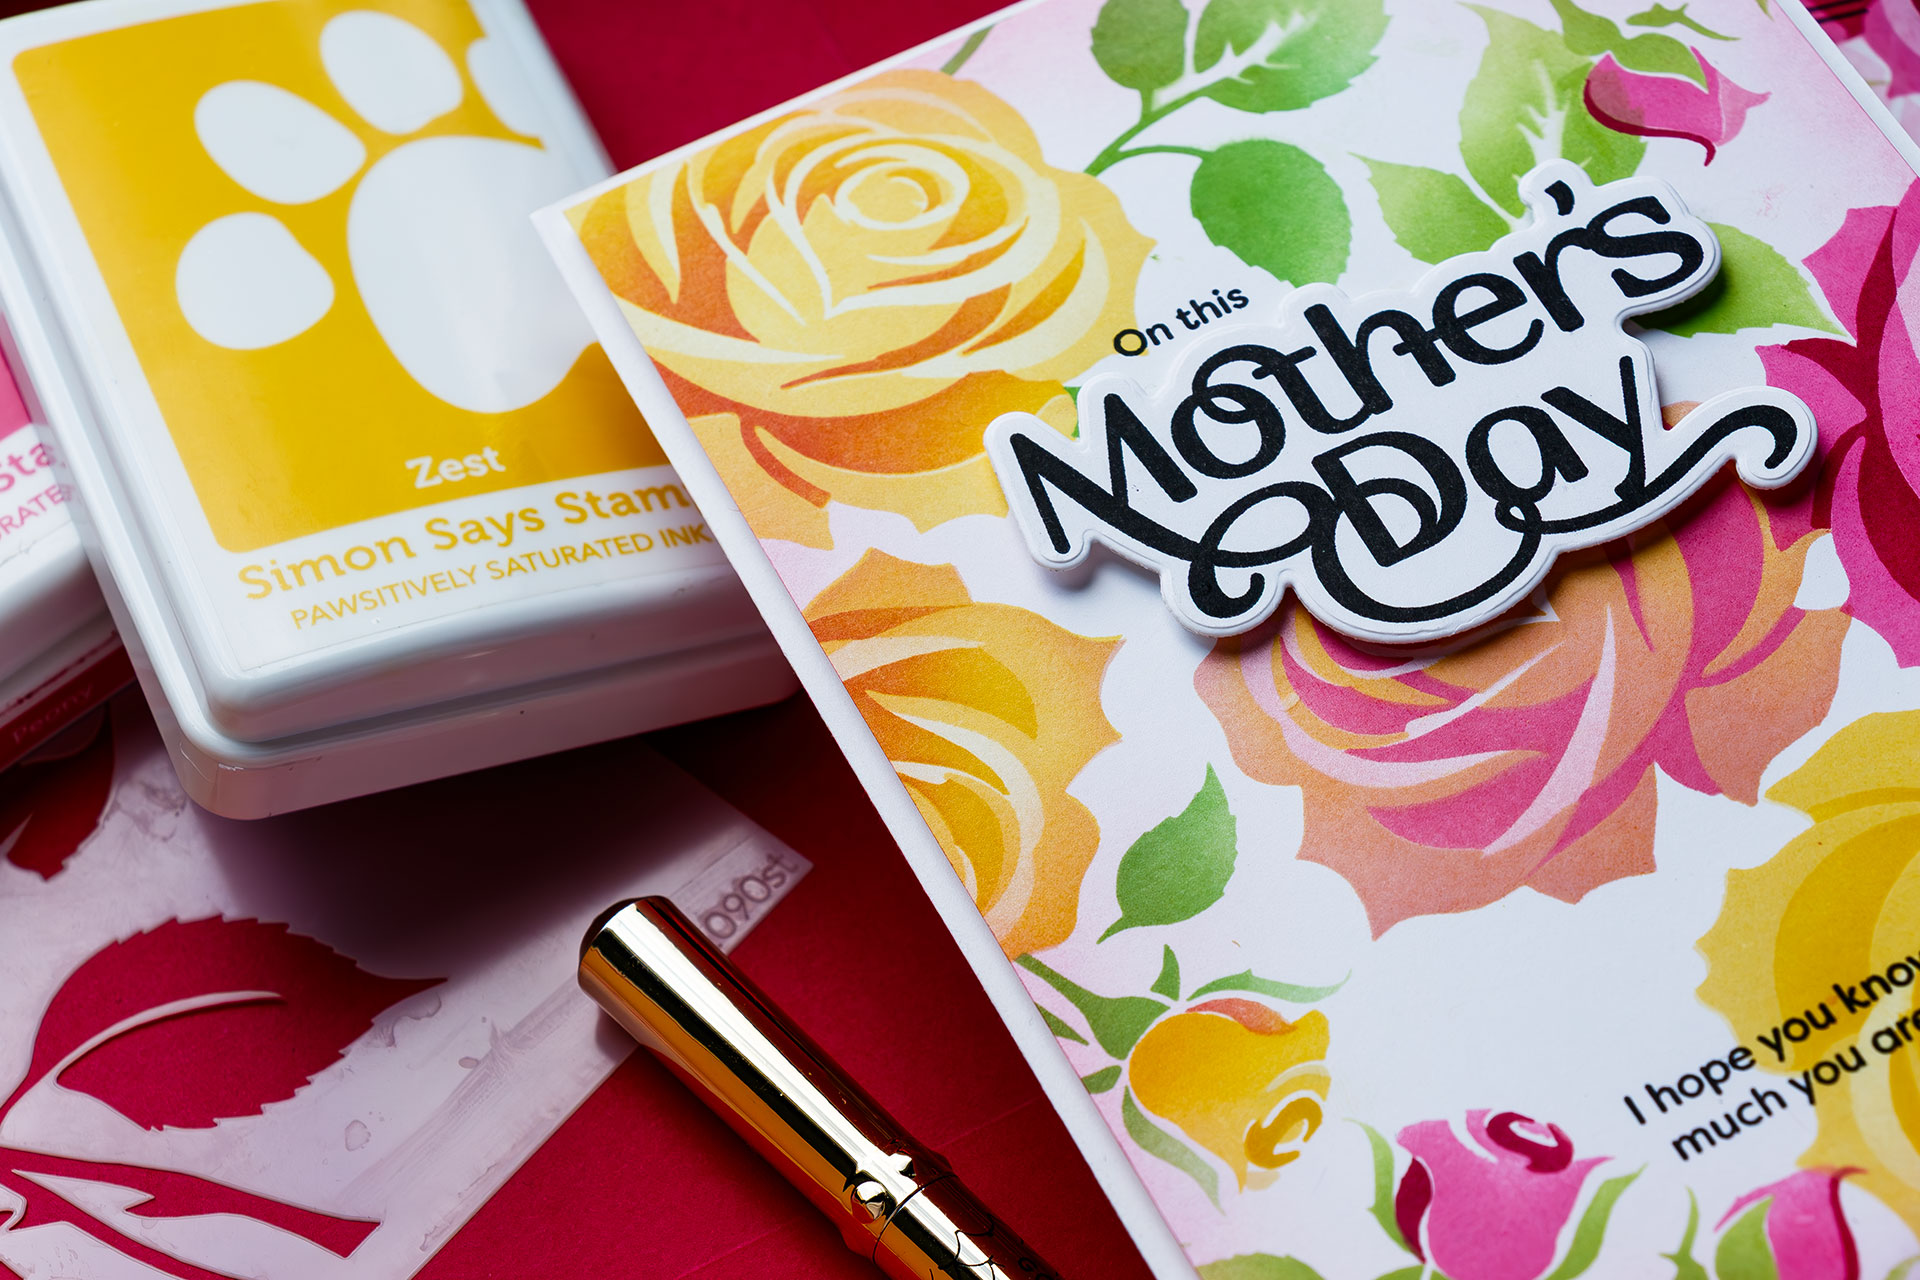
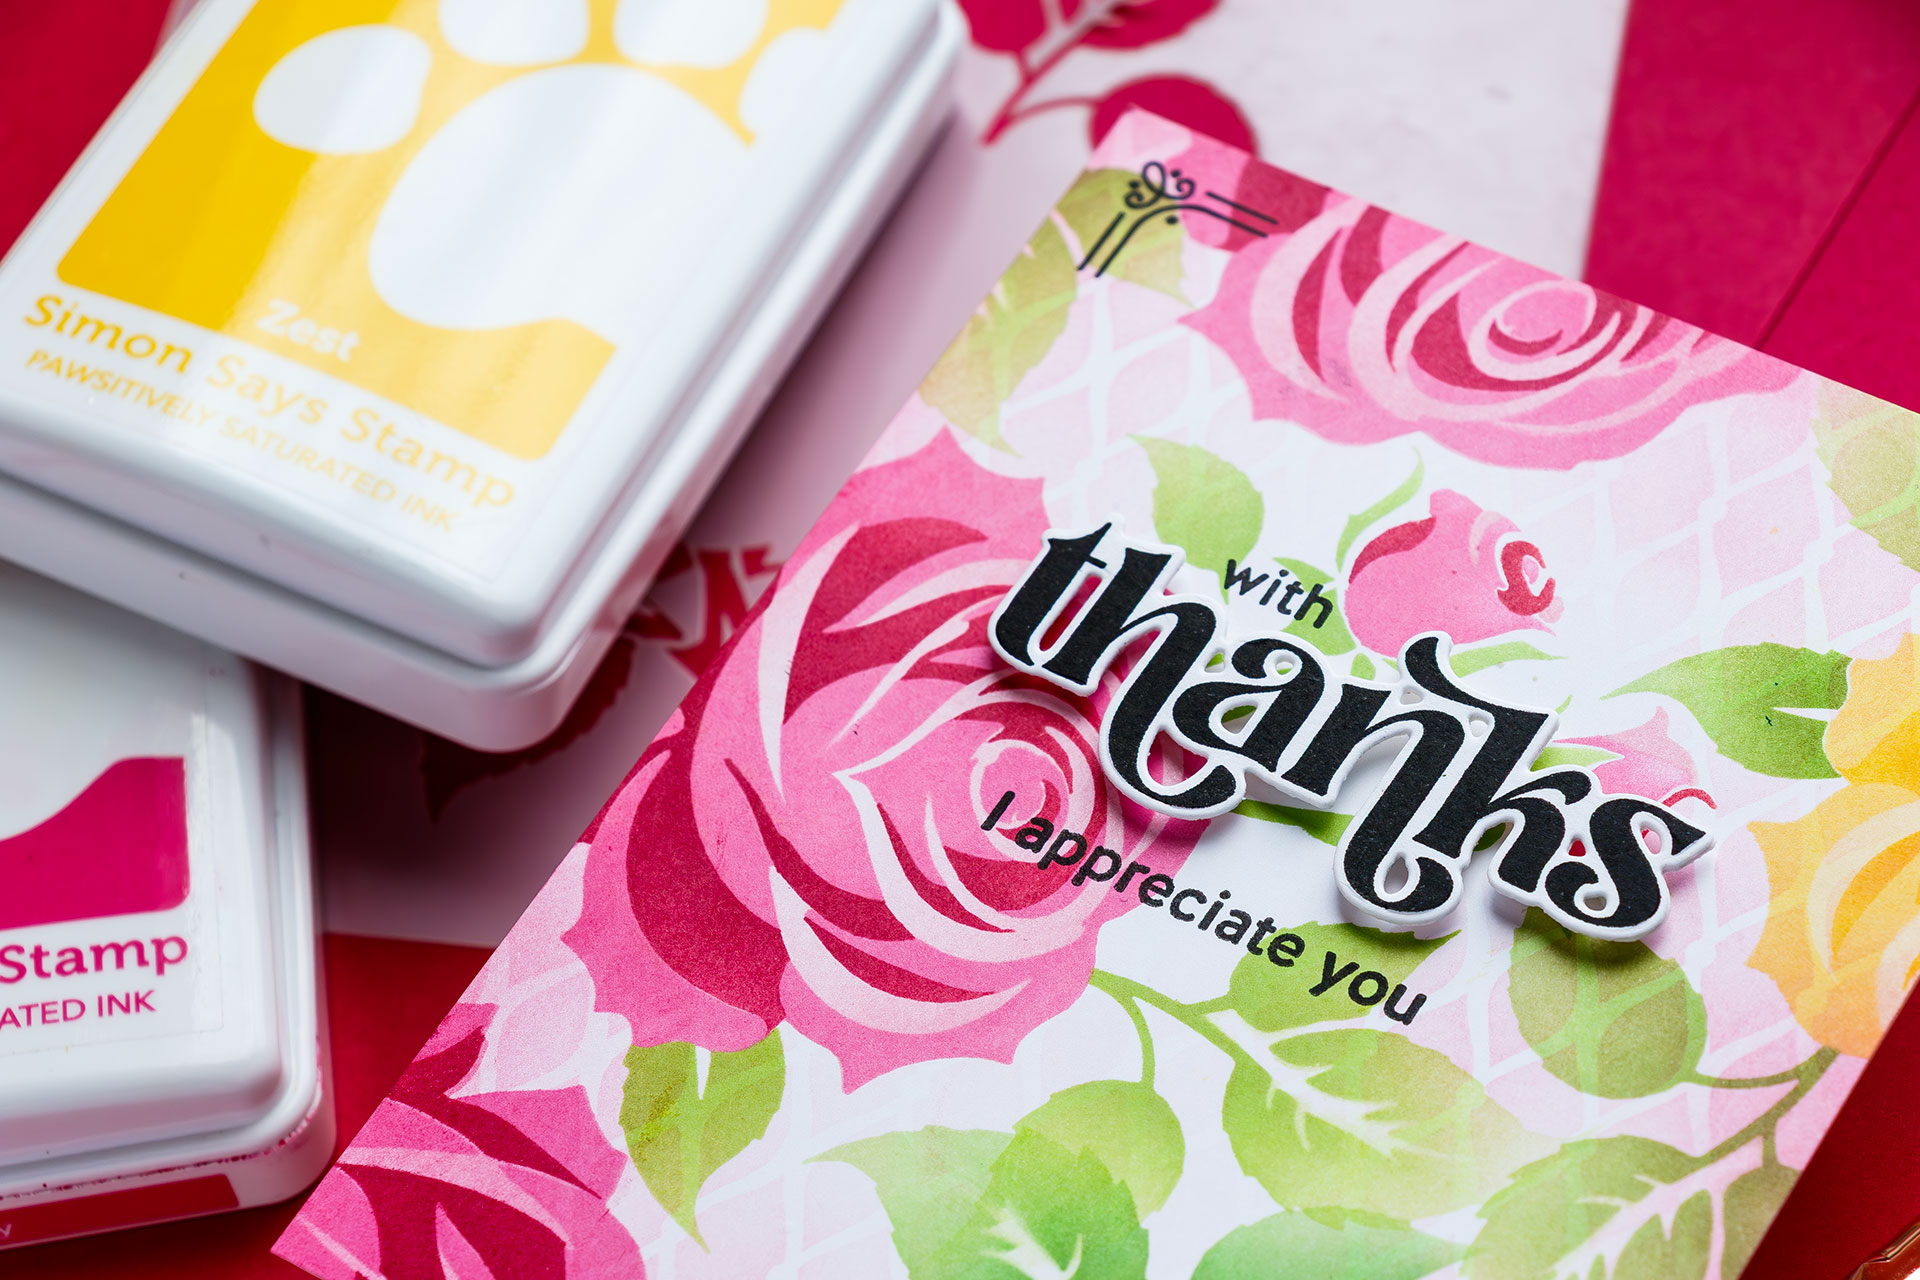
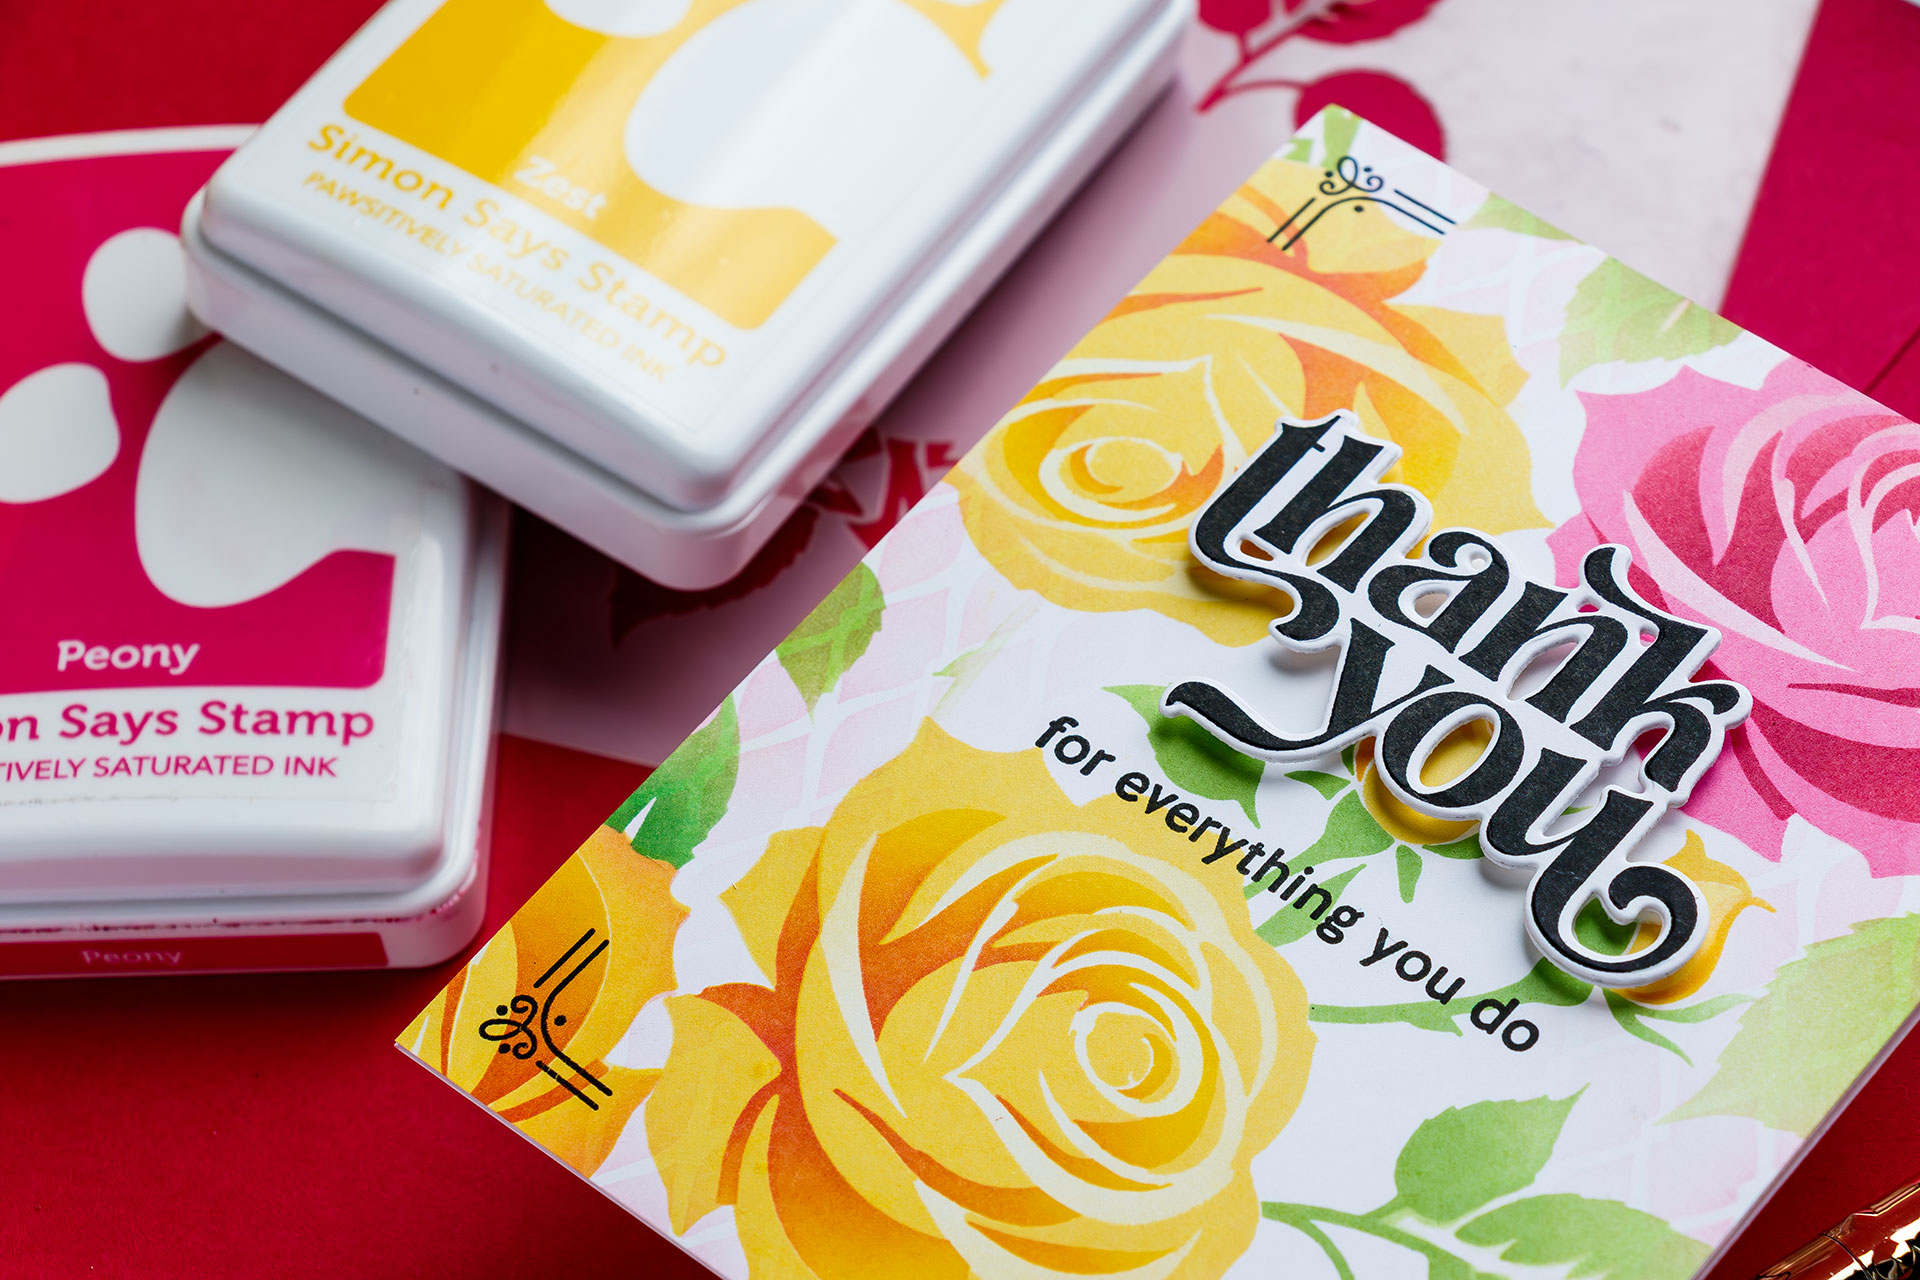
For my color palette, I began with a warm yellow gradient using Butter, Zest, and Honey. I added some contrast with Guava, Peony, and Cherry for the roses, and I mixed in Celery and Pearfection for the leaves to add depth and dimension. I love how this combination of warm and cool tones made the flowers really pop off the background.
BUILDING DEPTH AND TEXTURE
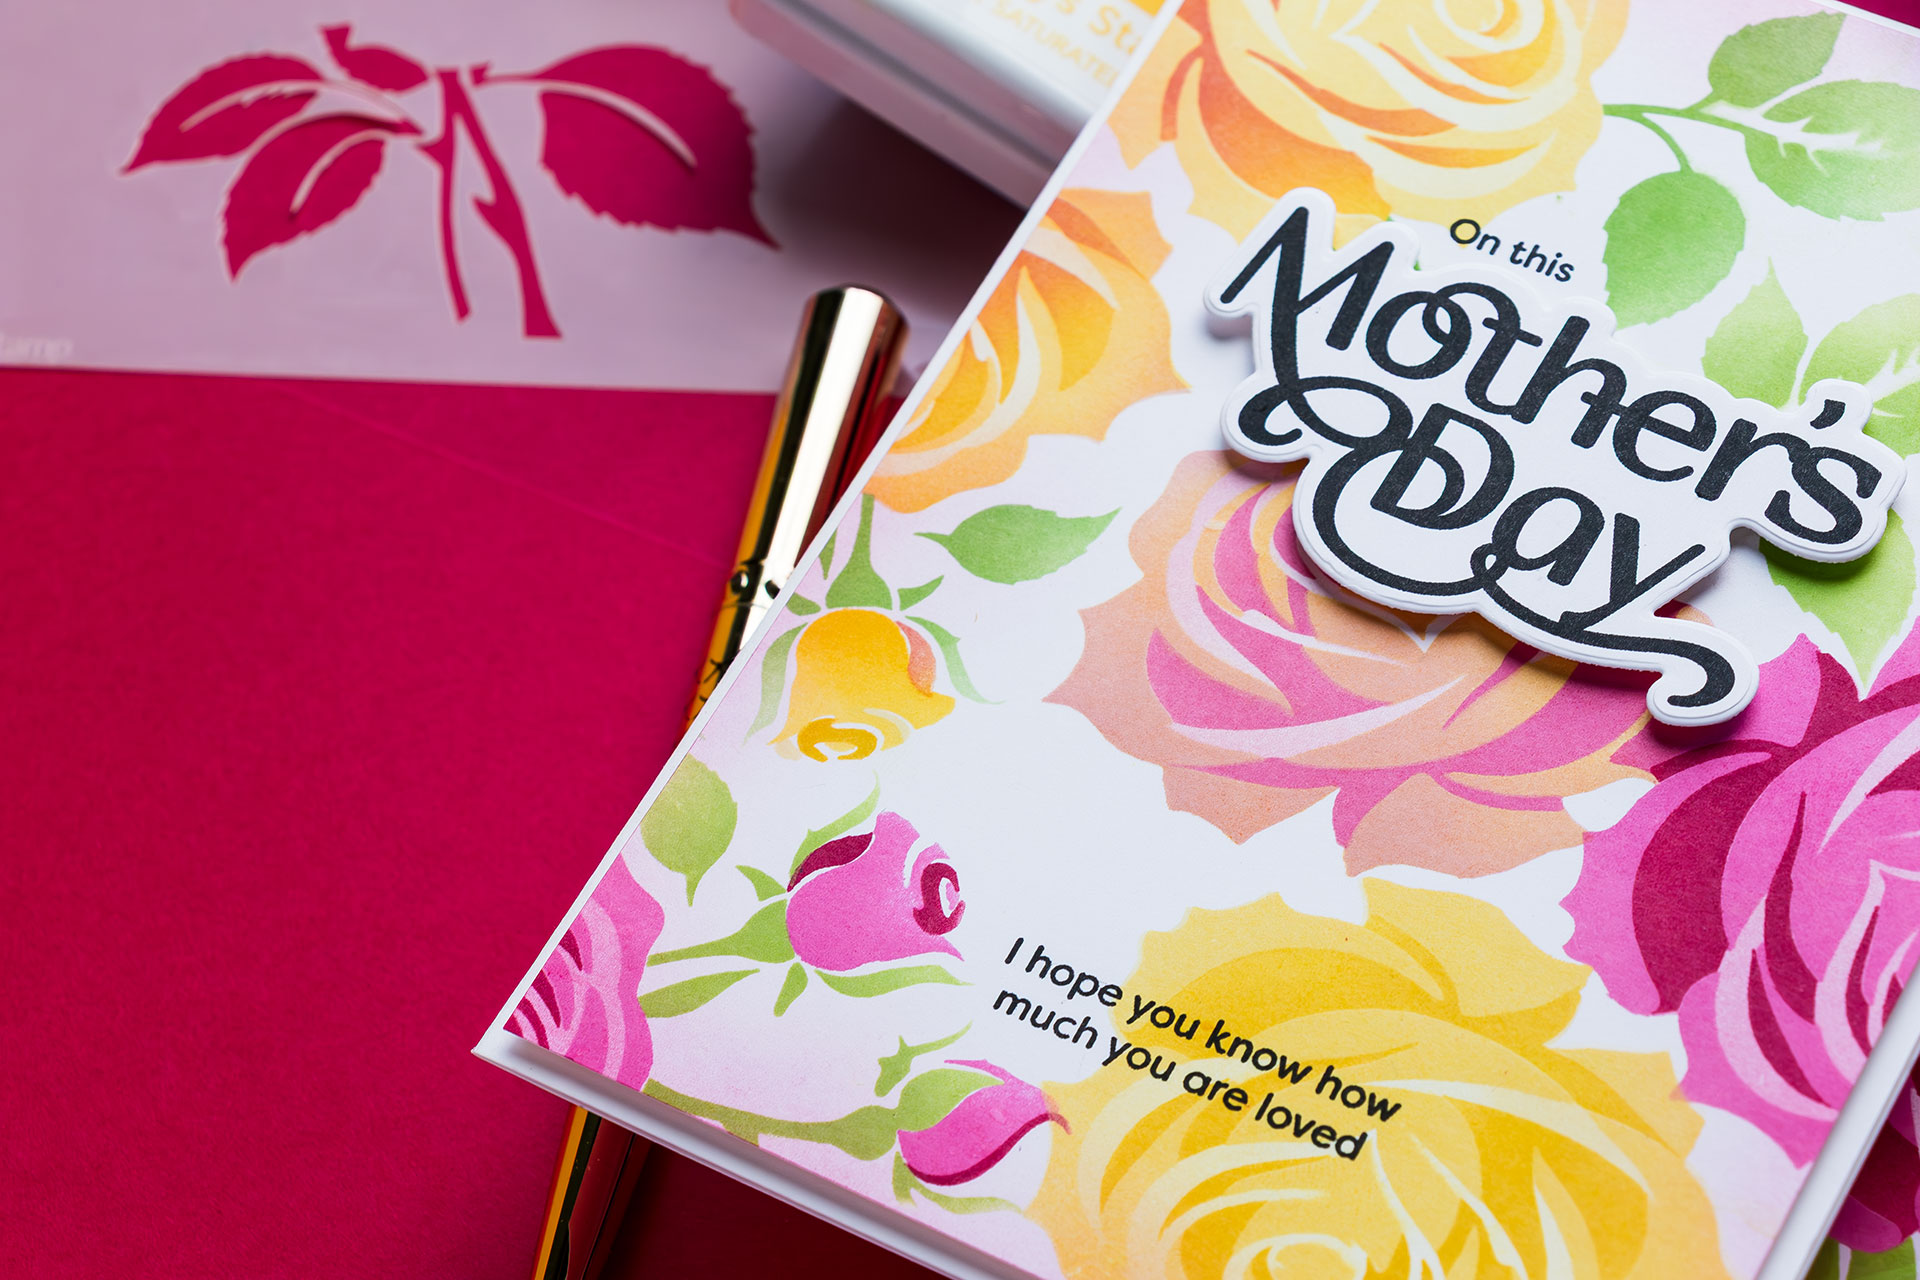
The Elegant Rose Stencil is a four-layer stencil, making it easy to create a lot of depth and texture in your flowers. The trick here is to use a light, medium, and dark shade of each color to build layers gradually, allowing the flowers to become vibrant and full of life.
REPETITION
One of the things I love about this technique is how repetitive it is, and how soothing that repetition can be. I started in the center of my large sheet and worked outward, carefully aligning the stencil each time to create a seamless pattern of roses. I didn’t simply repeat the design exactly; I played around with different orientations for the flowers to add a bit of variation and interest. It was therapeutic to slowly layer the ink, and the end result was a full, rich background.
CUTTING AND ASSEMBLING
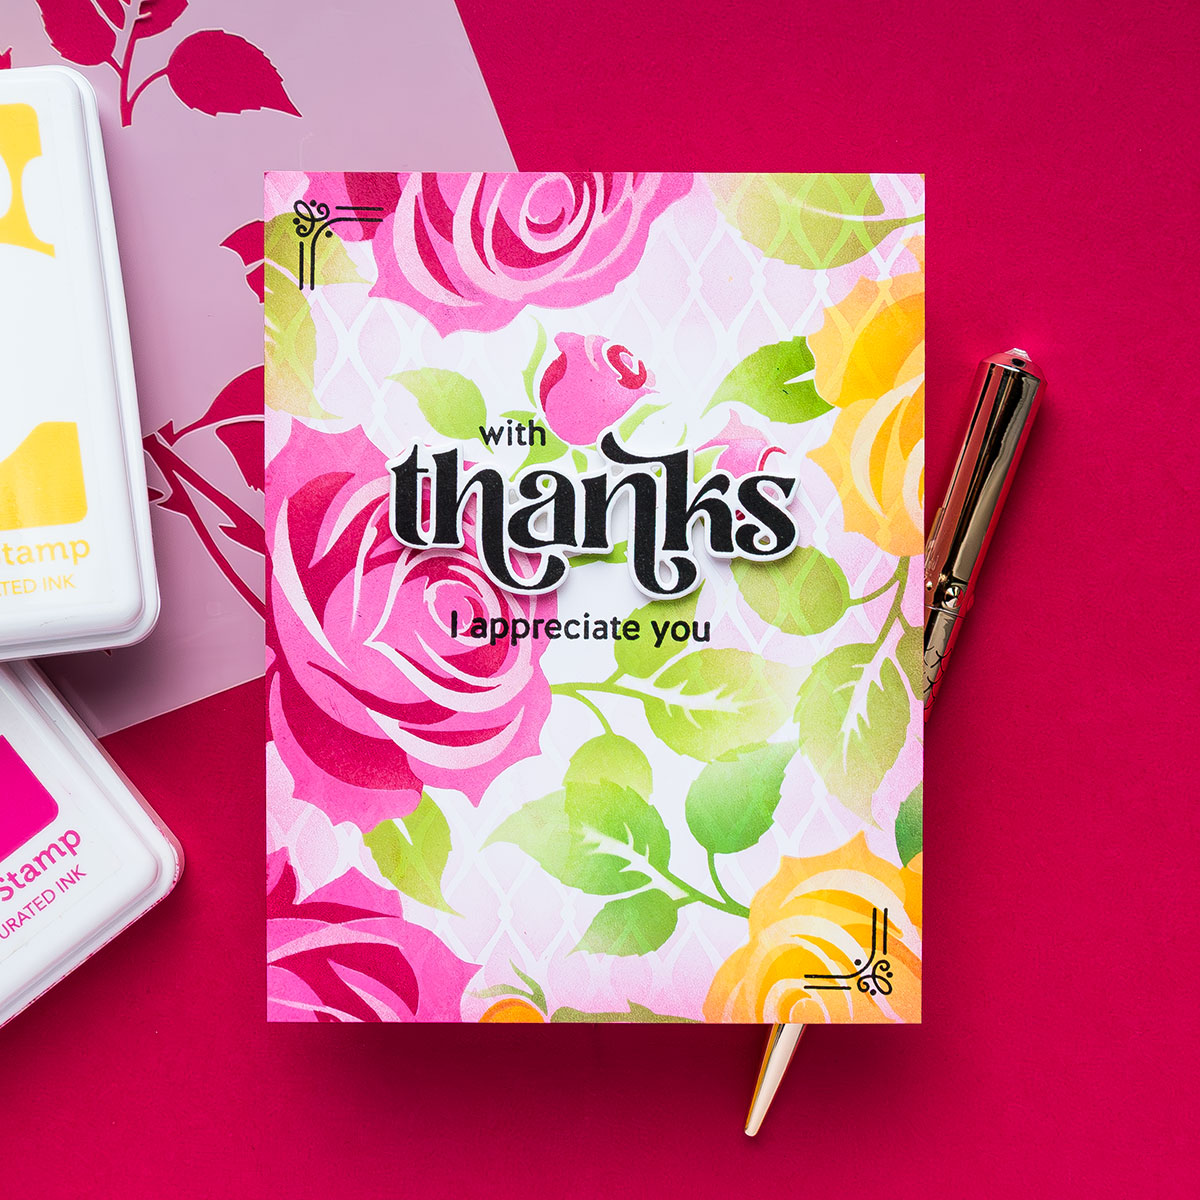
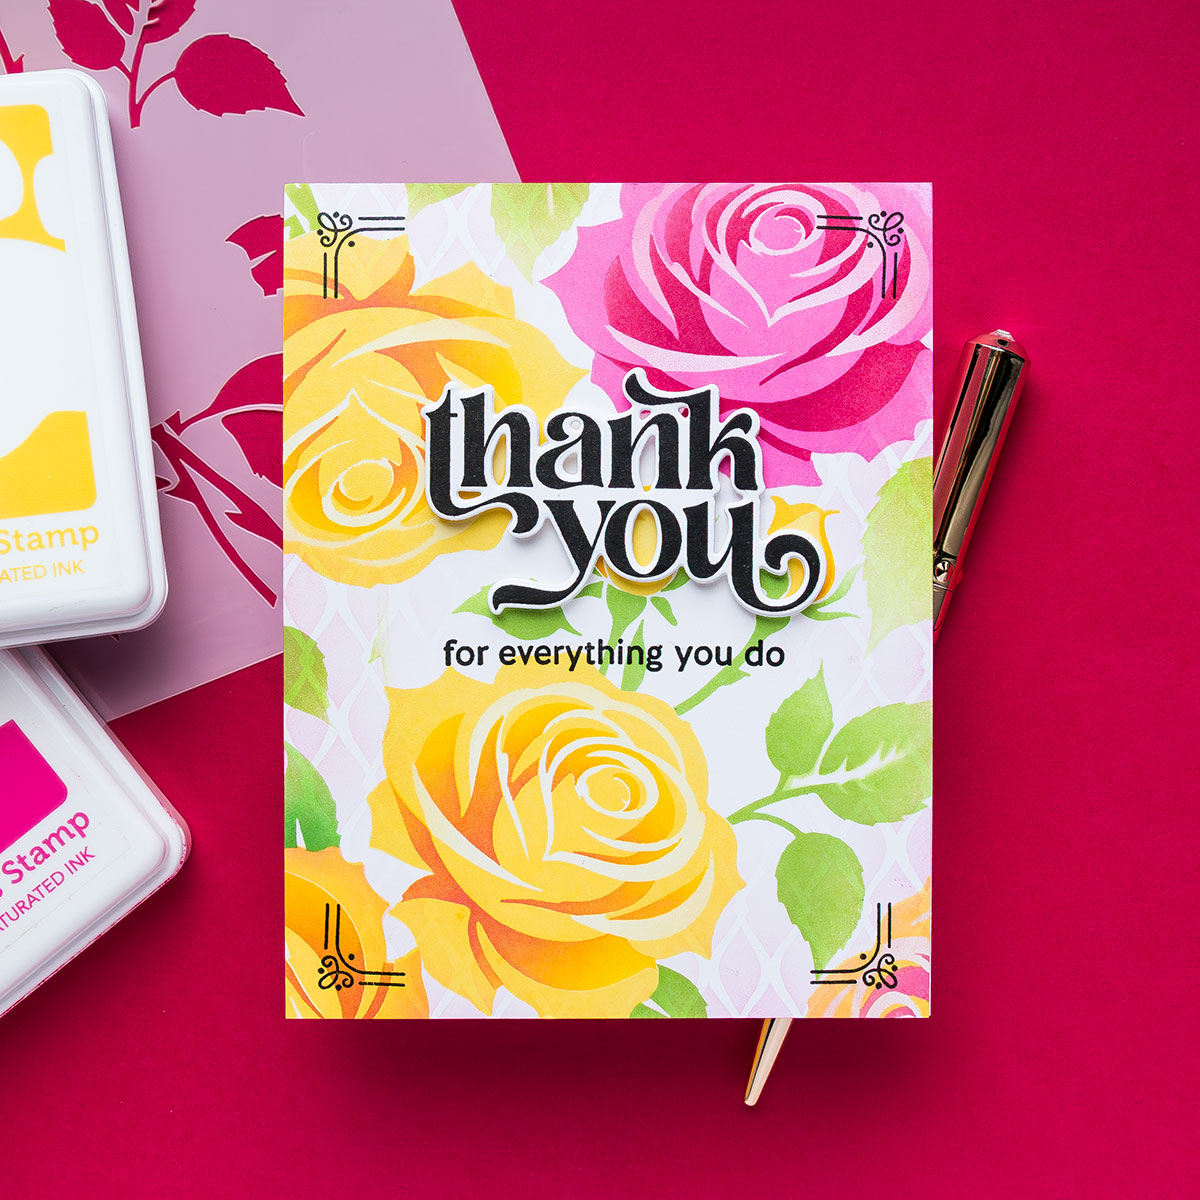
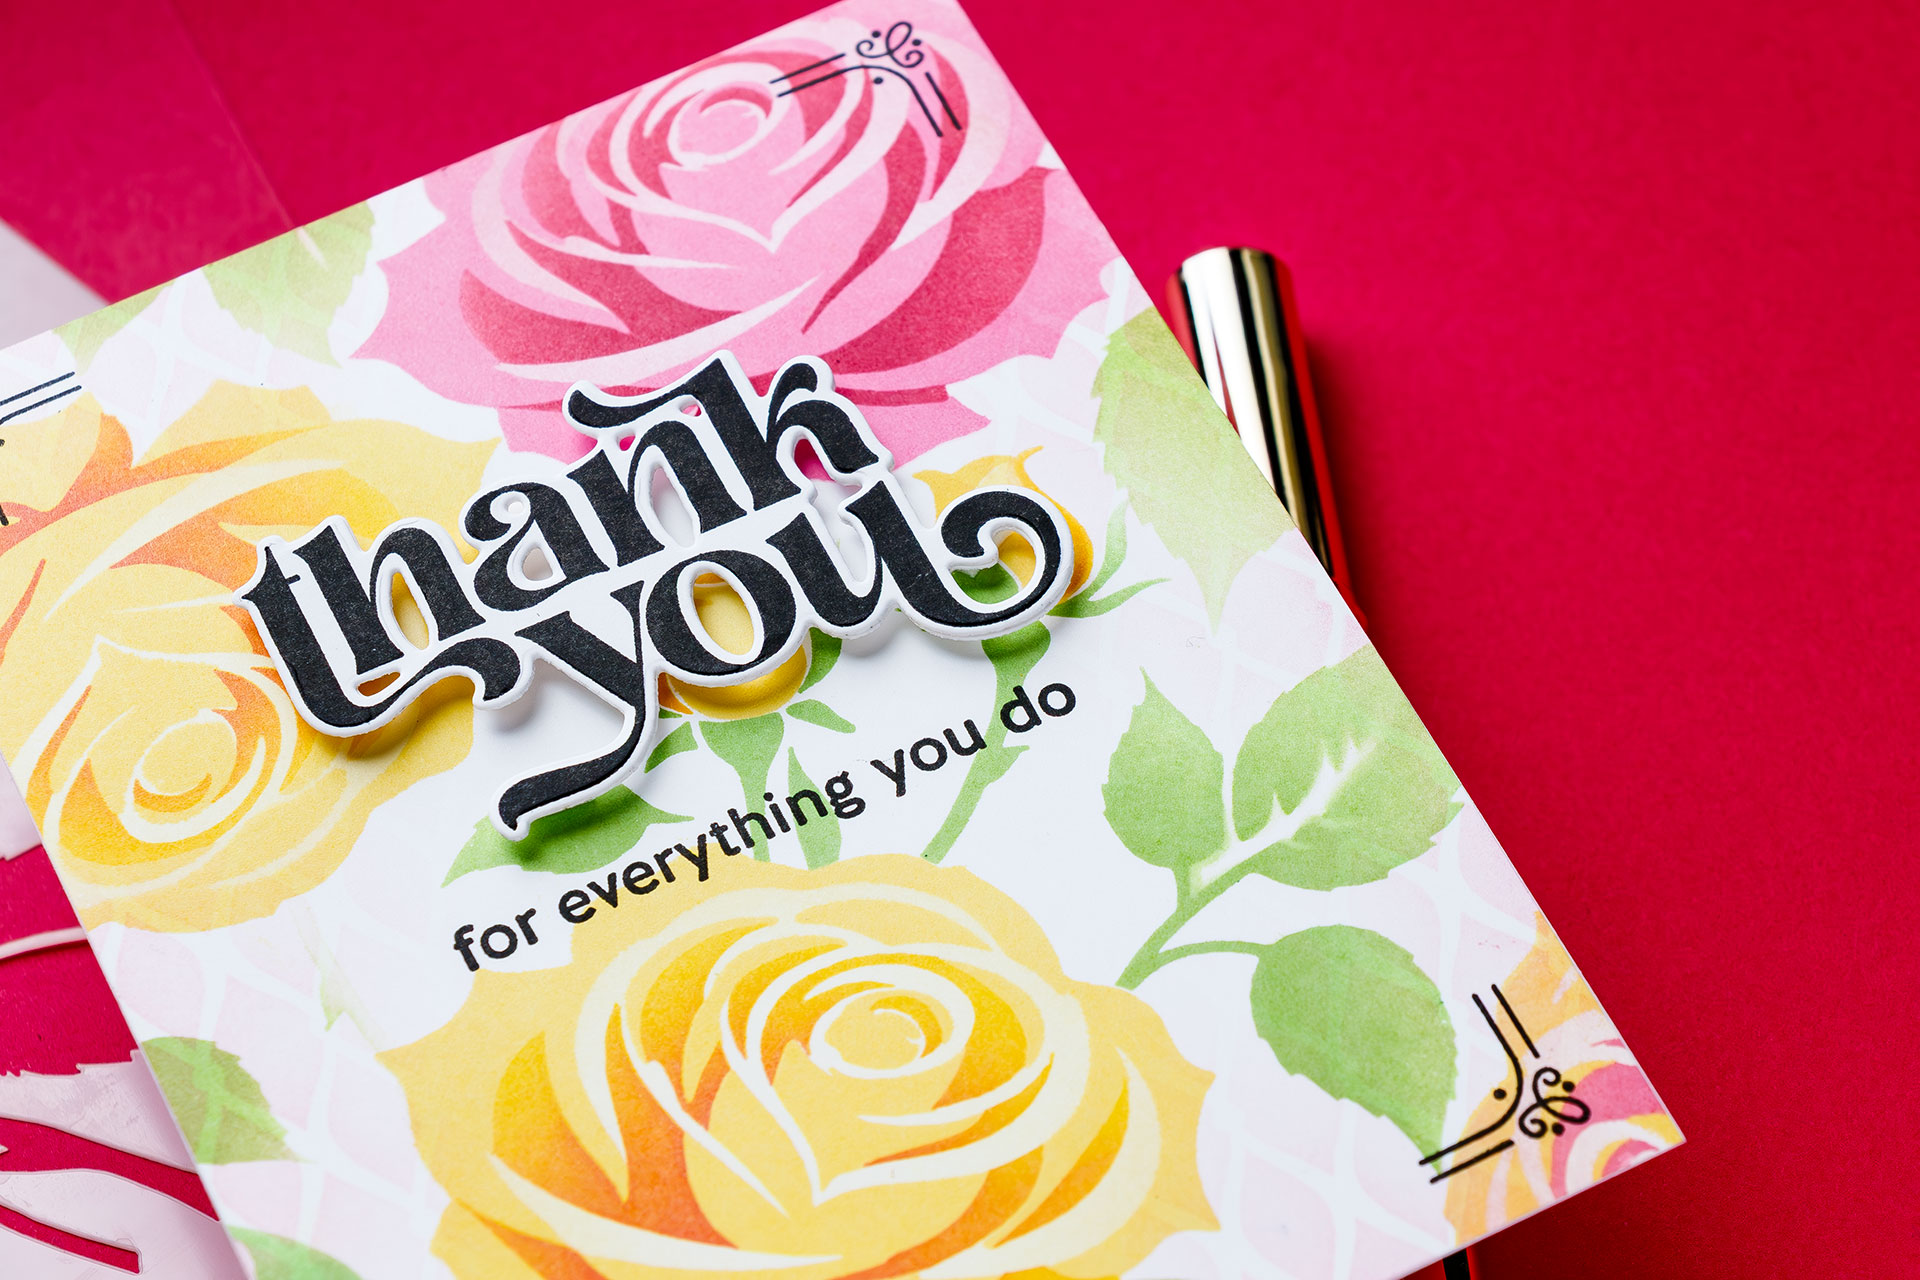
Once I was happy with the blending, I used my paper trimmer to cut my large background into smaller pieces: one for a 5×7 card and two for A2 cards. For the 5×7 card, I decided to add some light pink ink blending around the edges to help focus attention toward the center. For the A2 cards, I used a delicate lattice stencil to add a subtle, complementary layer of texture over the roses.
ADDING SENTIMENTS
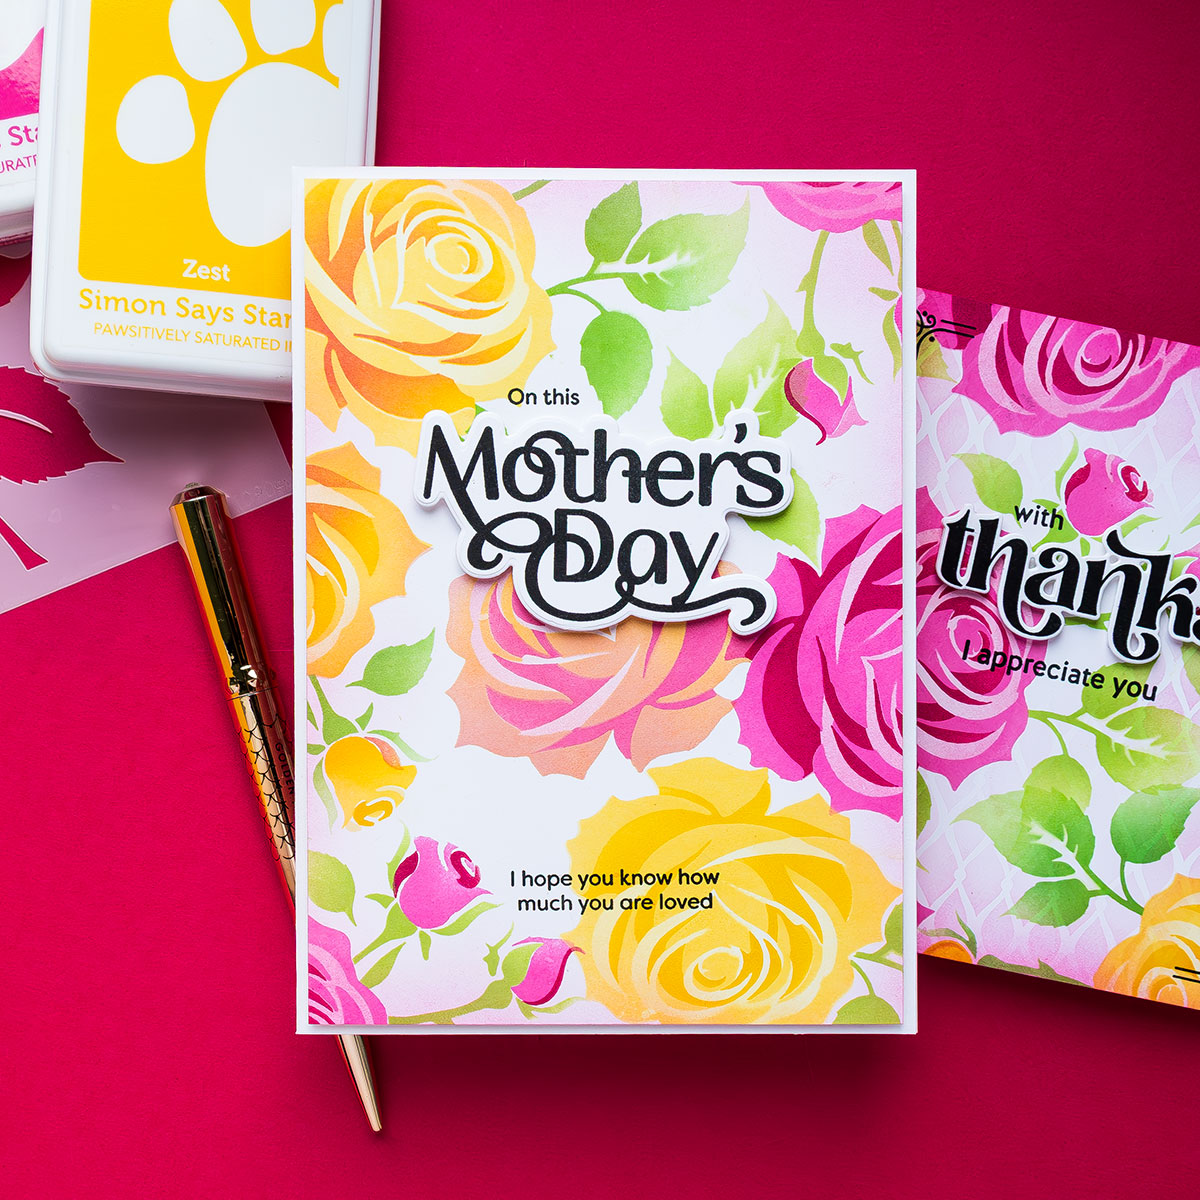
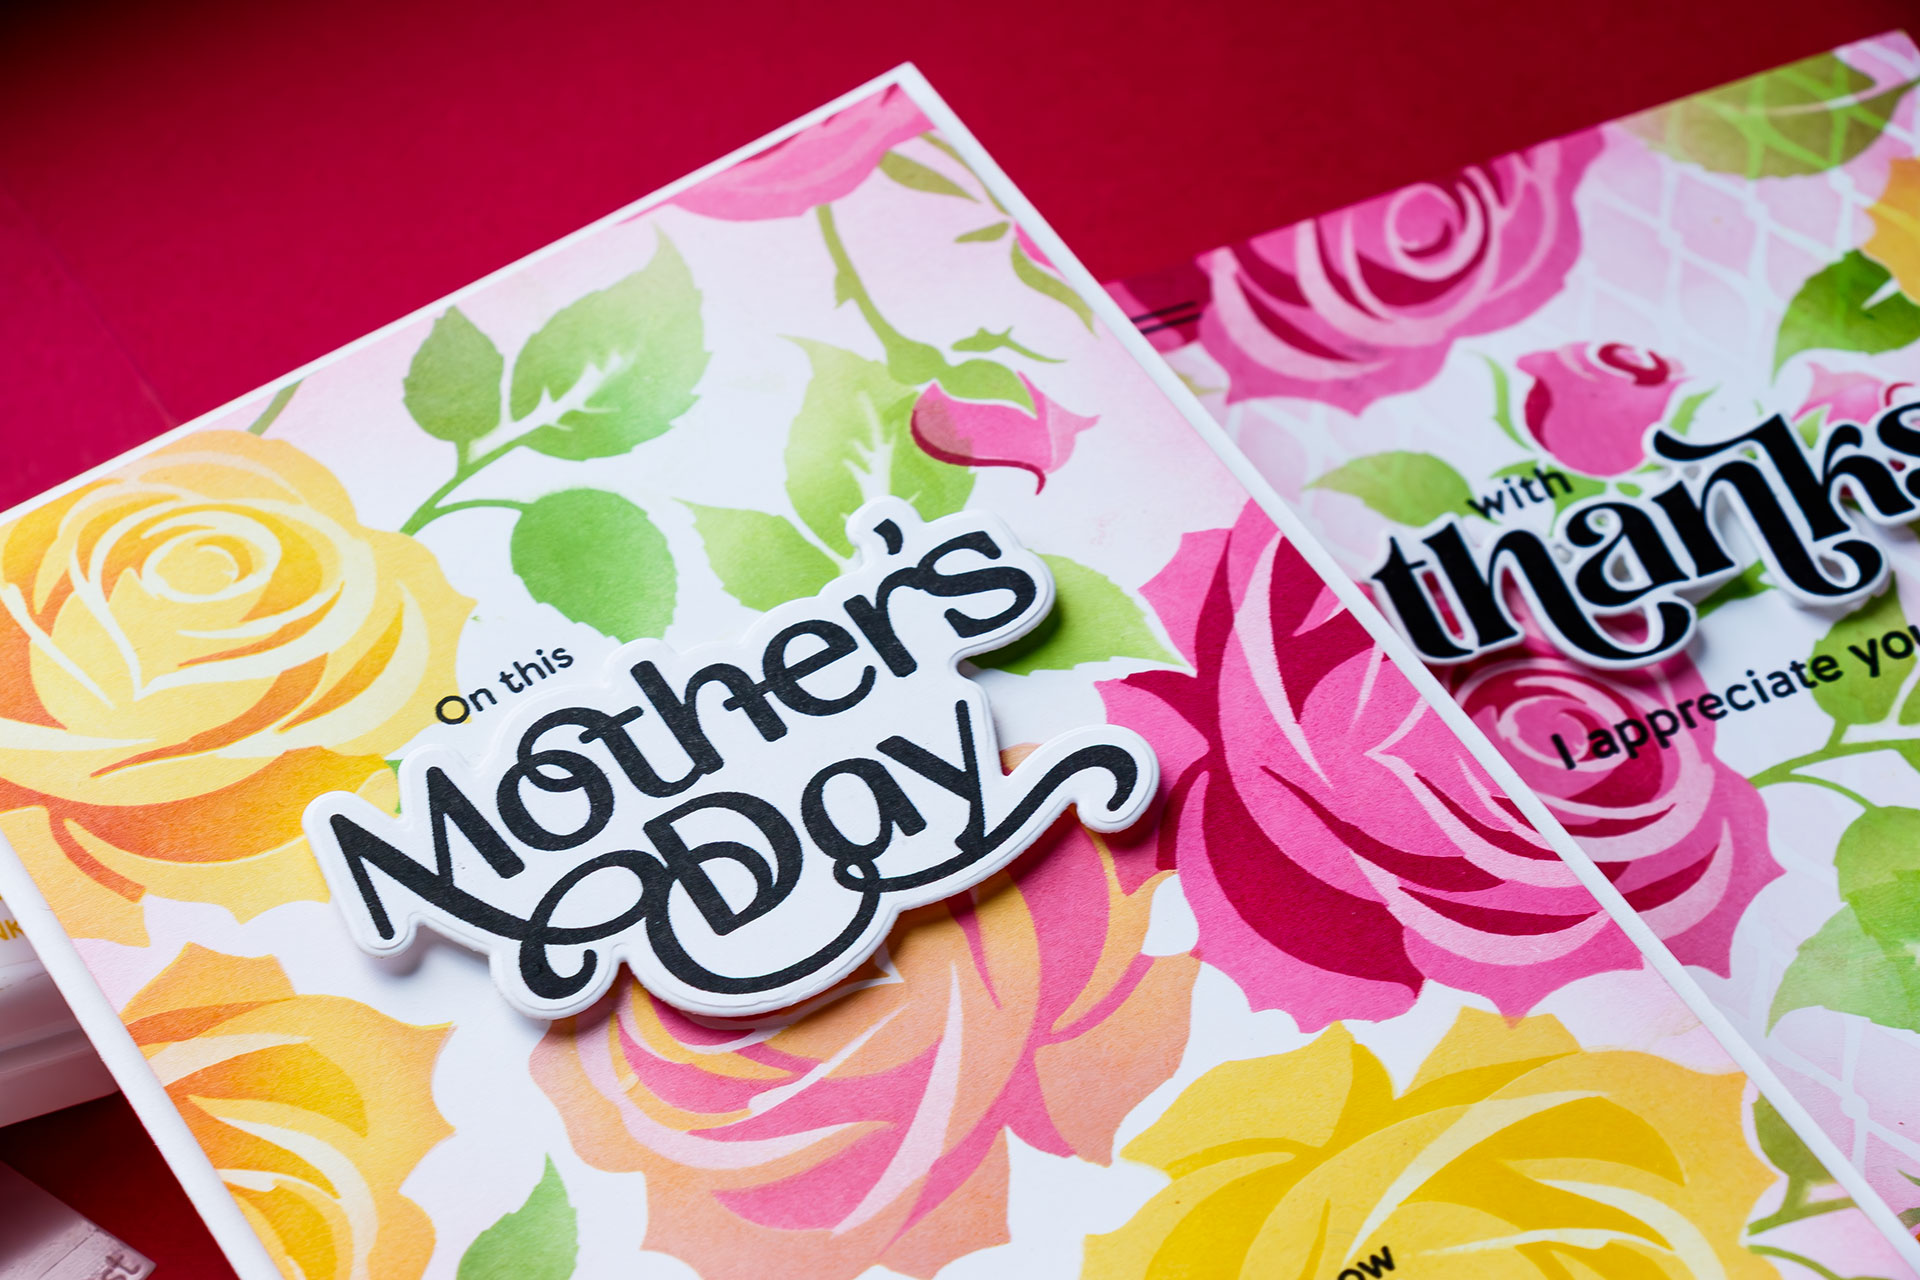
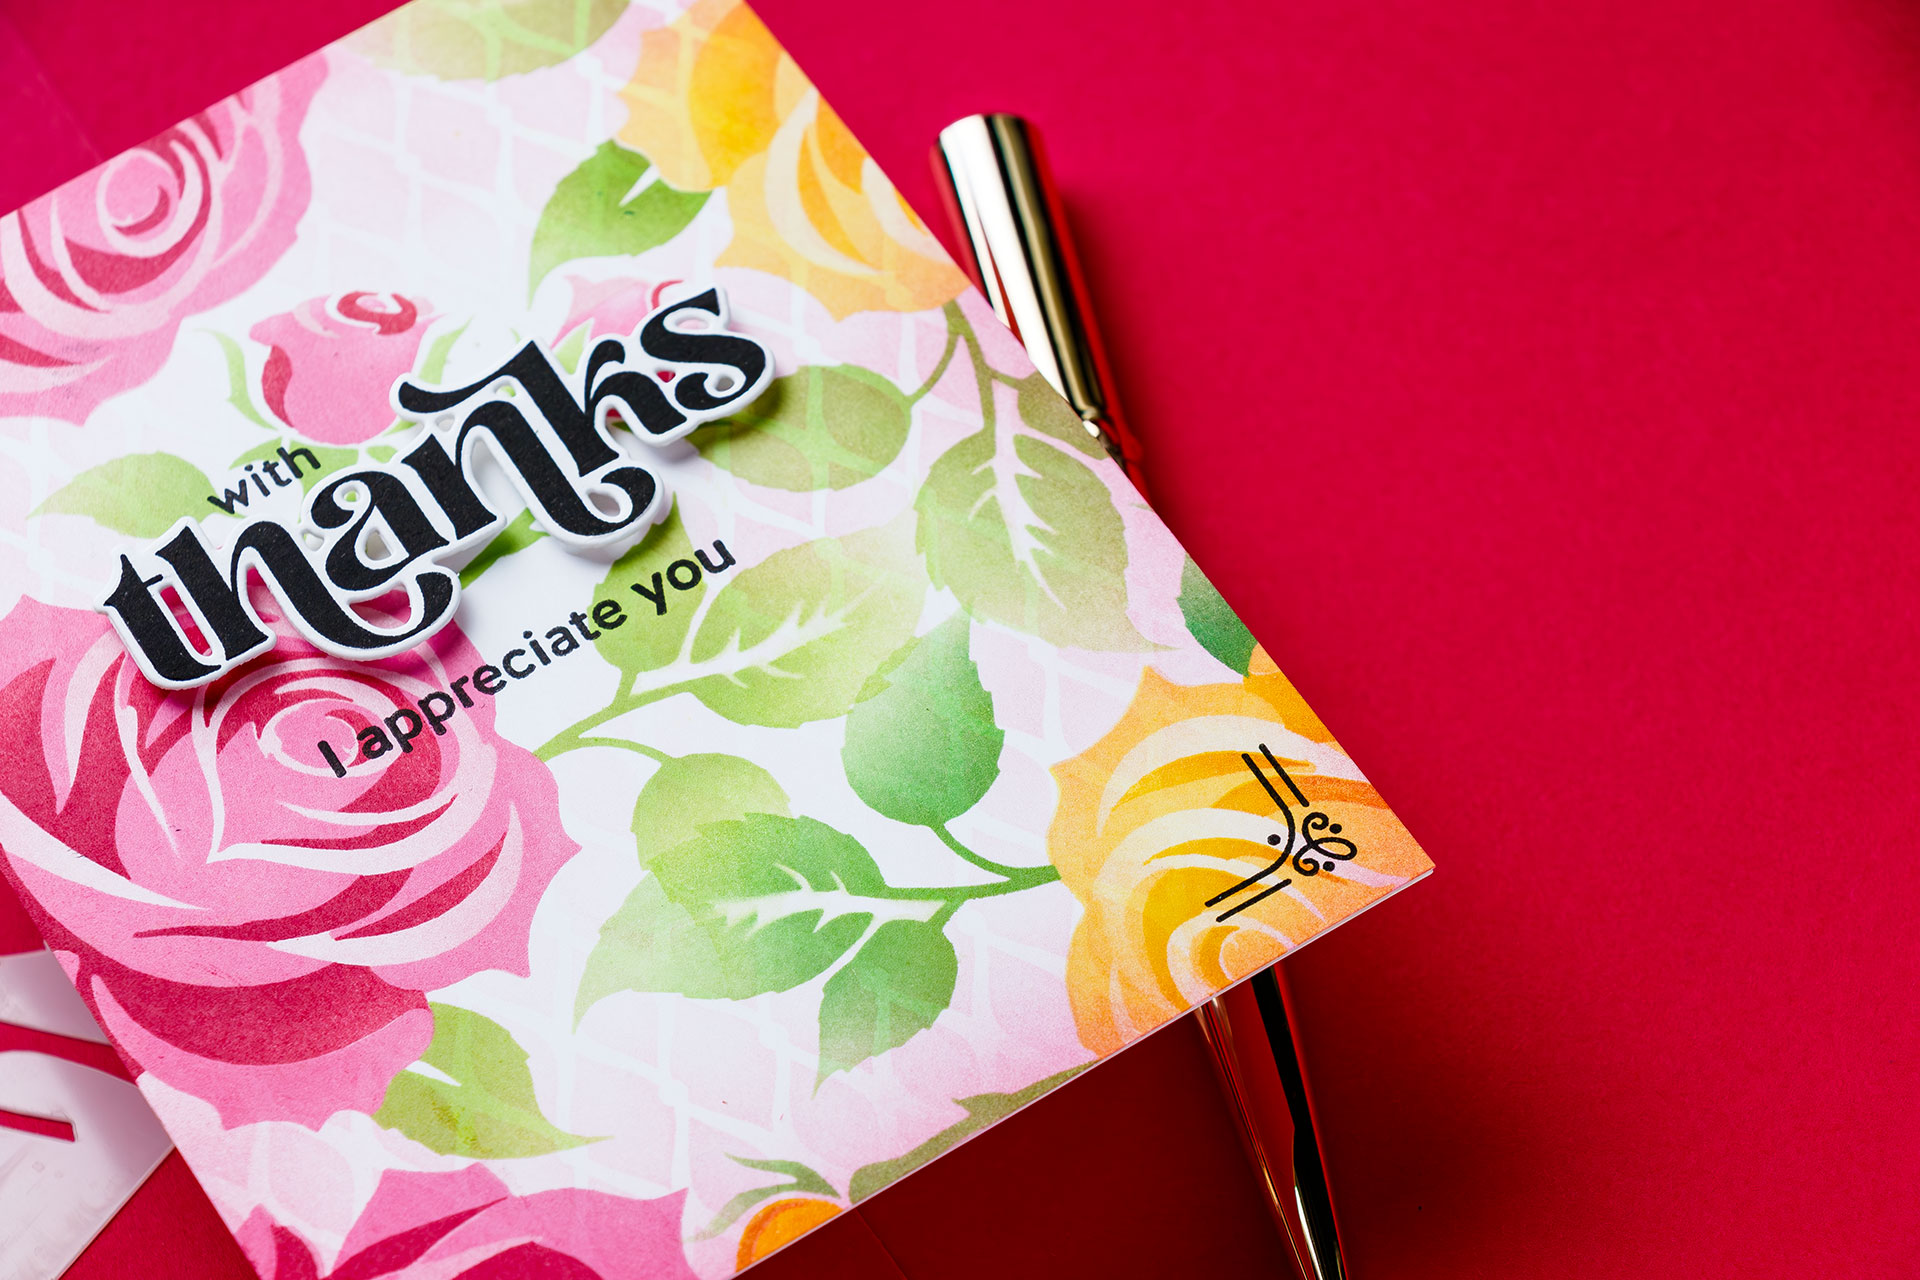
For the sentiments, I chose Simon Says Stamp’s Mother’s Day and With Thanks stamp sets. I stamped the sentiments with Versafine Onyx Black Ink, cut them out using the coordinating dies, and popped them up with foam adhesive squares to add a bit of dimension. The black ink on top of the soft, colorful roses really made the sentiments stand out.
THE FINISHED CARDS
I’m so pleased with how these cards turned out! The repetition of the roses really brought the background to life, and the layering of colors gave it a rich, textured feel that’s perfect for any occasion. This technique is so versatile and can be customized to fit any stencil or color combination that you love.
GIVE IT A TRY!
I encourage you to experiment with your own favorite stencils and colors to see how you can use repetition to create dynamic, beautiful backgrounds. The beauty of this technique is that it’s easy to achieve, and the results are always impressive.
 Thanks for joining me today—I hope you feel inspired to try this technique and create something beautiful! Happy stamping, and I’ll see you next time!
SUPPLIES
I’m listing the products I used below. Click on the link to go directly to the product. Where available, I use compensated affiliate links, which means if you make a purchase, I receive a small commission at no extra cost to you. Thank you so much for your support!
 Simon Says Stamp Set of 4 Stencils Elegant Rose Shop at: SSS |
 Simon Says Stamp Stencil Delicate Lattice Shop at: SSS |
 Simon Says Stamps and Dies Mother’s Day Shop at: SSS |
 Simon Says Stamps and Dies With Thanks Shop at: SSS |
 Neenah 80lb Solar White Cardstock Shop at: SSS |
 Tsukineko Versafine Onyx Black Ink Shop at: SSS |
 MISTI Stamping Tool Shop at: SSS |
 Simon Says Stamp Pawsitively Saturated Ink Pad Celery Shop at: SSS |
 Simon Says Stamp Pawsitively Saturated Ink Pad Pearfection Shop at: SSS |
 Simon Says Stamp Pawsitively Saturated Ink Pad Guava Shop at: SSS |
 Simon Says Stamp Pawsitively Saturated Ink Pad Peony Shop at: SSS |
 Simon Says Stamp Pawsitively Saturated Ink Pad Honey Shop at: SSS |
 Simon Says Stamp Pawsitively Saturated Ink Pad Zest Shop at: SSS |
 Simon Says Stamp Pawsitively Saturated Ink Pad Cherry Shop at: SSS |
 Simon Says Stamp Pawsitively Saturated Ink Pad Butter Shop at: SSS |
 Simon Says Stamp Blending Brush SET SMALL Shop at: SSS |
 Simon Says Stamp Blending Brush Set Large Shop at: SSS |
 Bearly Art Mini Precision Craft Glue Shop at: SSS |
 Simon Says Stamp 3D Foam Squares White Shop at: SSS |
 Spellbinders Best Ever Craft Tape Shop at: SSS |
 Altenew Stamp Conditioning Large Eraser Set Shop at: SSS |
 Spellbinders Platinum 6 Machine With Universal Plate System Shop at: SSS |

These are stunning Yana
Thank you so much! I’m so glad you think so! It was so fun creating these backgrounds, and I’m thrilled with how they turned out!
Love the corner stamp detail. It really steps up a card.
Thank you! I’m so glad you love the corner stamp detail—it really does add that extra something to the card! It’s such a simple touch, but it makes a big impact!
I love how you used this stencil set! Your cards are gorgeous!
Thank you so much! I’m so happy you love how I used the stencil set! It was such a fun one to work with, and I’m glad the cards turned out beautifully!