


Hello and welcome back for another Yippee For Yana video! Today we are going to talk about hot foil stamping with the Spellbinders Glimmer Hot Foil System.
Hot Foil Stamping is still relatively new and I know a lot of people find it quite intimidating. Maybe you’ve tried it in the past and didn’t have good results, so you’ve set your Glimmer aside, or maybe you have a machine but it is gathering dust in your closet as you haven’t had the chance to learn how to use it, or maybe you haven’t even heard about hot foil stamping at all and it is all completely new to you – this video will share some basics of how foil stamping, I’ll give you my best tips, share some dos and don’ts and hopefully will help you get started with this wonderful technique.
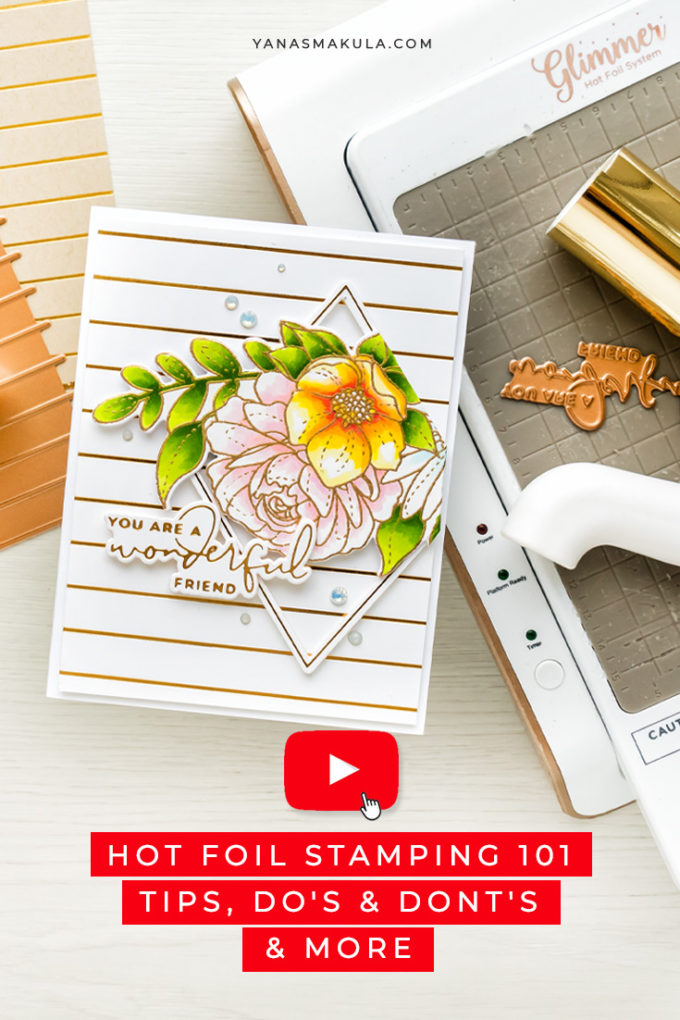
Like this project? Pin it and save for later | Curious about my project photography? Click for details.
VIDEO TUTORIAL
Watch the video below or on my Youtube channel.
Like this video? Please give it a big thumbs up (you can do this on Youtube video page right under the video) and share it with a crafty friend! Leave me a comment too, I love hearing from you!
THINGS YOU’LL NEED FOR HOT FOILGIN (BESIDES GLIMMER MACHINE)
Aside from the Glimmer machine, you will need a few other things to do hot foil stamping. Let’s take a look at some of them.
- Glimmer Foil. You’ll need to use specialty foil for hot foil stamping. If you have foil from a laminator machine, such as Minc, that foil will not work in Glimmer and vice versa, those are different foils, so make sure you get the correct type of foil for hot foil stamping.
- Magnetic pick-up tool. The plates can get very hot during the foiling process, so a tool is needed to safely remove the plates from the hot surface of the Glimmer machine. This tool has a built-in magnet to help you pick up the hot glimmer plates from the surface of the Glimmer machine. The tool has a button to deactivate the magnet which releases the plates. The tool can be used by both right-handed and left-handed crafters, I am left-handed and you can see I can easily use it.
- Foil cutter – Quick Trimmer. It is designed to help you cut foil to size. This minimizes foil waste, it prevents scratches on the foil, it lets you cut the foil in a straight line, something that is nearly impossible to do when you use scissors and something very handy when you use my hinge method to attach the plate onto the paper. The cutter comes with 2 blades, one for cutting paper (because you can use this tool to cut paper) and one for cutting foil.
- Proper paper. Paper is what matters the most when you do hot foil stamping. If you use the wrong type of paper, you will not get good foiled results. It’s like with all the other techniques in cardmaking – you need to use the proper surface for the specific type of medium you plan to apply onto that surface. You know how we have specialty paper for ink blending, for Copics, for watercolor – same with foiling. I like to use Simon’s 120 lb or 130 lb cardstock for my projects – it always performs really well and gives me great results. Watch THIS video on my Youtube channel to learn more about various types of paper for hot foiling.
HOT FOIL STAMPING DO’S & DONT’S
- The correct side of the foil. The foil has to go pretty side to the hot foil plate, they have to kiss. If you place the foil the incorrect side up, you’ll foil your glimmer plate, not your paper. Foiling the plate doesn’t affect it, you continue foiling using this plate, the presence of foil on its surface will not affect the results. You can clean it, if you want, using a product like Un-du or any other sticker remover, just don’t scrape it or scratch it off the surface of the plate as that will damage it.
- Don’t foil after heat embossing. The heat from the Glimmer Hot Foil system will re-melt the embossing powder and will mess up your embossed piece, plus the embossing powder might transfer onto the surface of your glimmer hot foil system. If you must combine heat embossing with hot foil stamping, you’ll need to do the hot foil stamping first and the heat embossing last.
- Tape your plates and your foil onto the paper. This is very similar to taping your dies onto your paper when you are using a coordinating die over a stamped image. You want to make sure your die doesn’t shift when you cut, so you tape it. The same goes for the glimmer plates – you don’t want the plate to shift, as that might result in double foiling or a little halo, tape the plate onto the paper, this will give you better results.
- Don’t ever tape over anything that’s been foiled. Any low tack tape will stick to the foil and will lift some of it up, so if you tape over the foiled image you run the risk of that tape picking up the foil and removing it from your paper.
- Use my hinge method whenever possible to get perfect placement. I like to use a piece of low tack tape (Spellbinders Best Ever craft tape) and make a hinge to attach the plate onto the paper. This helps me to align the plate on the paper, flip it away, add foil (this is where it is important to have that nice straight edge that you can create with the foil trimmer, it can align against the tape), flip the plate back into position, use another piece of tape and foil away knowing that nothing is going to shift.
FOILING PROCESS STEP BY STEP
The glimmer machine comes with 2 shims – there’s a clear plate/shim and a milky plate/shim. You need to use both of them when foiling on paper. The reason there are these 2 plates instead of one plate, is this allows you to foil on different types of materials. For example, you can foil on leather. Leather is thicker than paper, so you’d skip using the milky plate and just use the clear plate.
I like to add an 80lb cardstock shim, and I just stick it in between the 2 plates. This works for me and for my die cutting machine, you might not need to add a shim.
Glimmer needs to be used in conjunction with a die-cutting machine, you can’t use it by itself. Glimmer is compatible with various die-cutting machines on the market (Spellbinders Platinum, Platinum 6, Sizzix BigShot, Sizzix BigKick, Sizzix Big Shot Plus, Sizzix Big Shot Express, Tim Holtz Vagabond, We R Memory Keepers Evolution, and more). It is not compatible with Cuttlebug. My first die-cutting machine was a Cuttlebug.
Place the glimmer plate, paper, and foil onto the surface of the Glimmer Hot Foil System. Press the timer button. Add your shims. Once the timer light turns solid green, undock the platform and slowly send it through your die-cutting machine to apply pressure and foil. Next, bright the platform back to the docking station, make sure you dock it so that it remains hot for your next foiling process, and then remove the plates, use your magnetic tool to remove the glimmer plate from the platform, if you used tape – gently peel it off and enjoy your beautiful foiled result! Do be careful, the glimmer plate will get hot, so avoid touching it for the first few seconds to allow it to cool. The machine does come with a cooling mat that works as a cool spot to house the hot plates.
CARD DETAILS
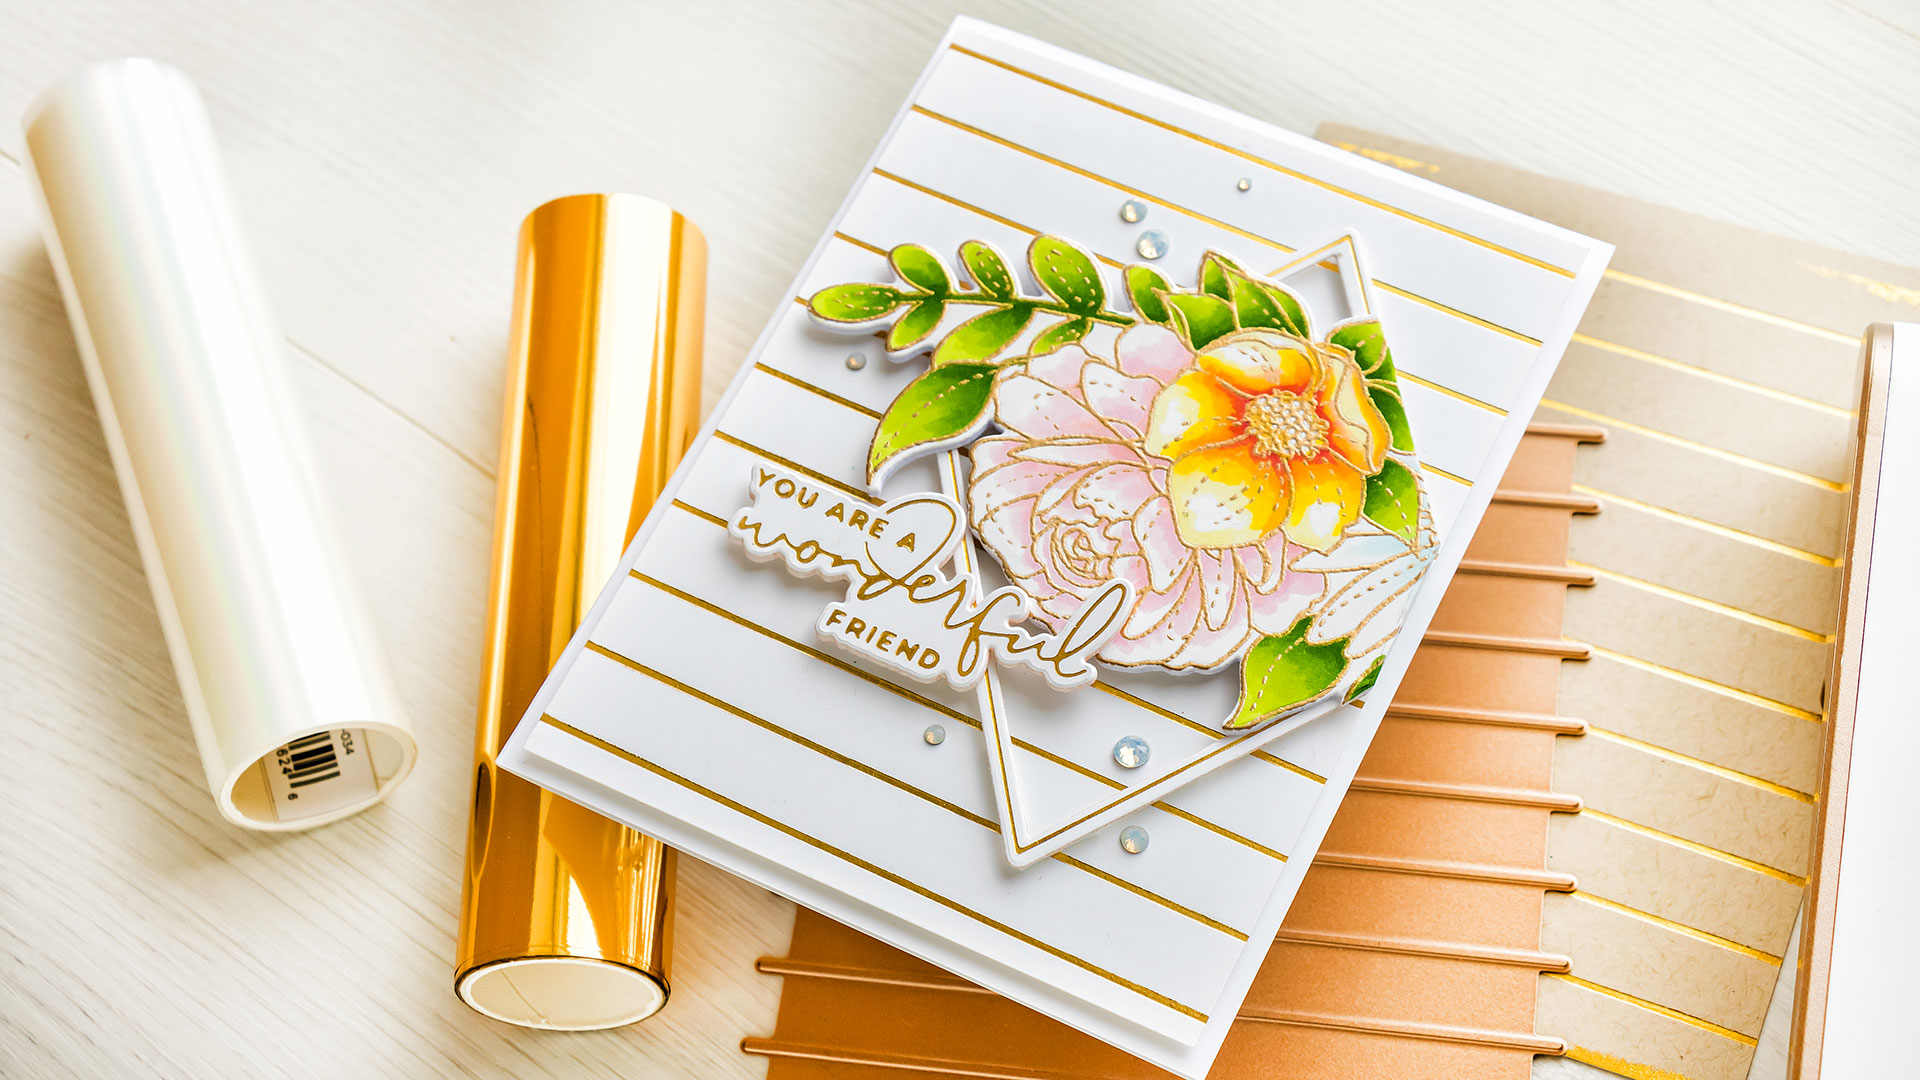
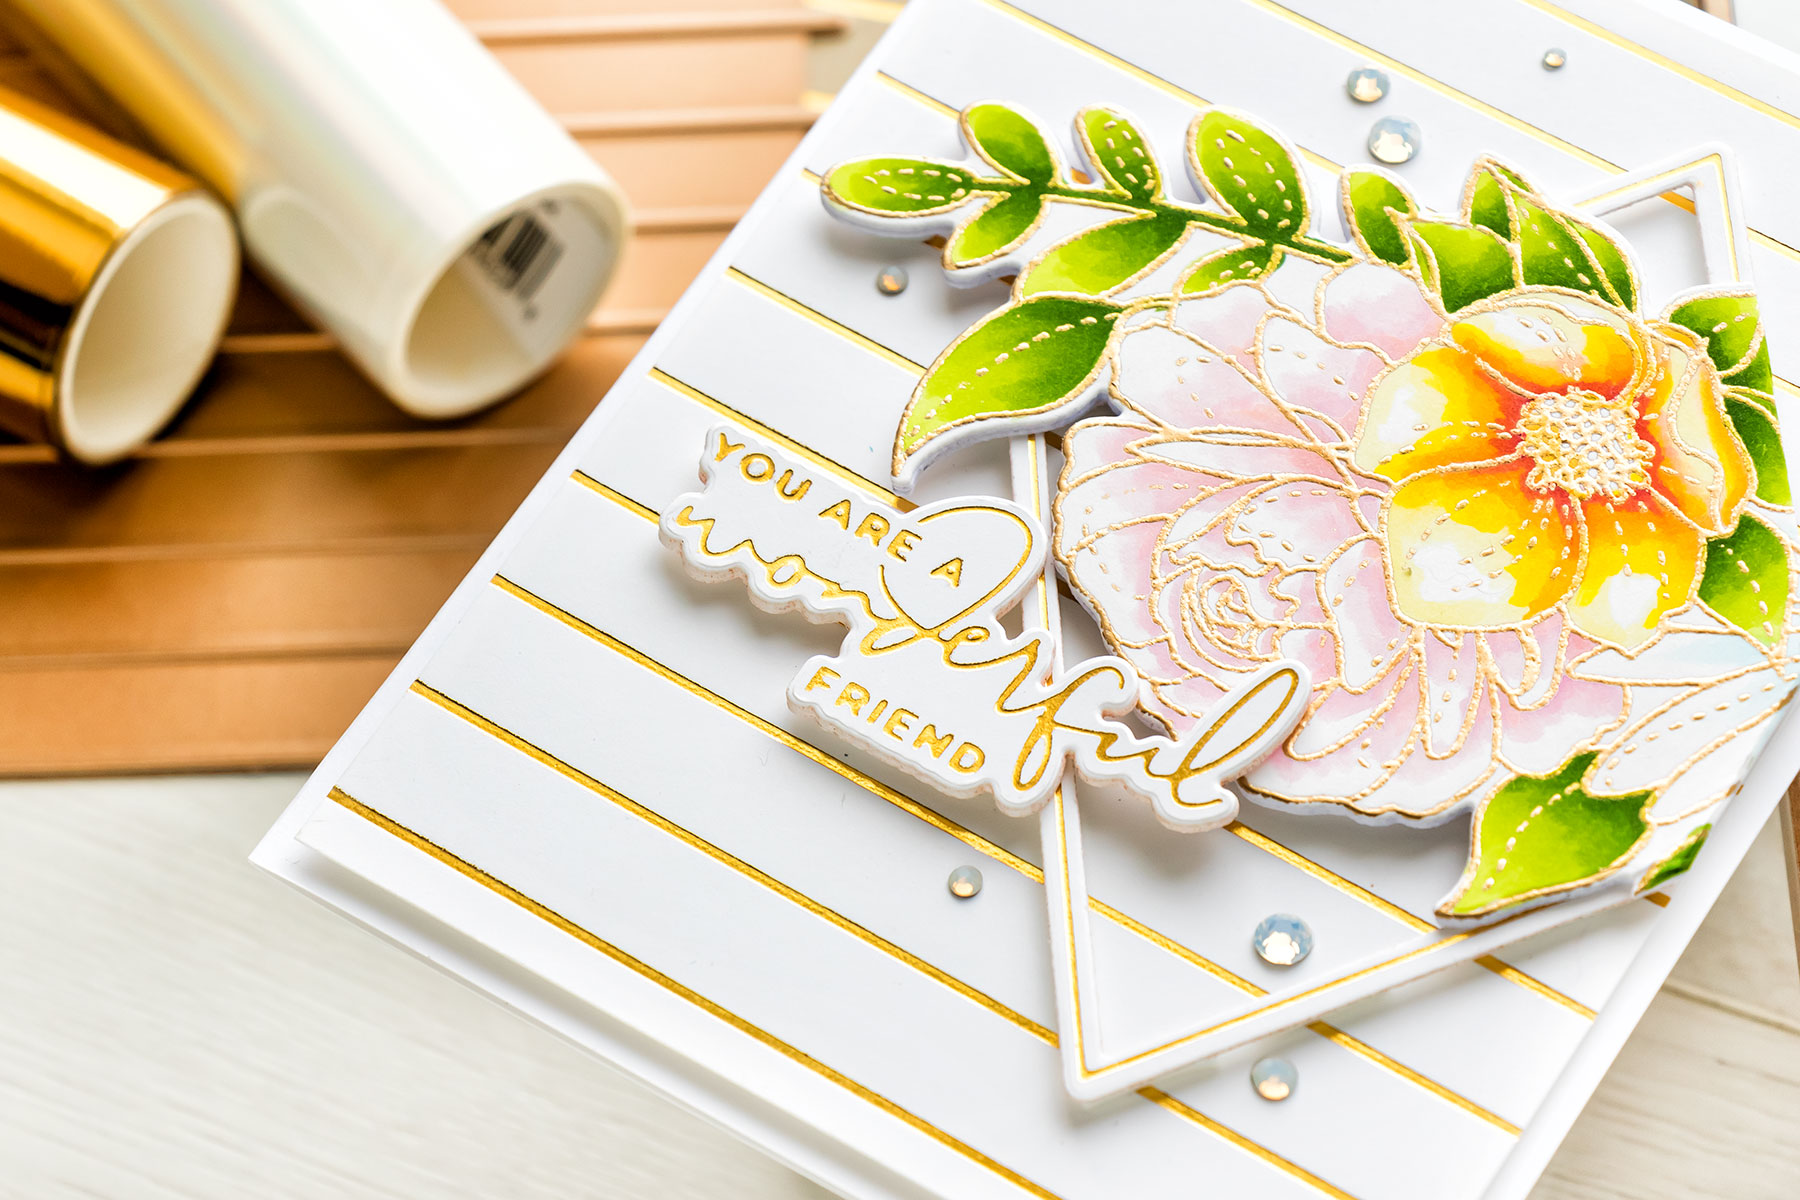
I made a simple foiled card using some of the pieces I foiled – I have the Skinny Stripe background and also a diamond frame, this is from my Diamond Floral Frame set and I’ve cut the frame out using the coordinating dies. I didn’t mention this before, but hot plates, like stamps, often come with coordinating dies allowing you to cut your foiled designs out.
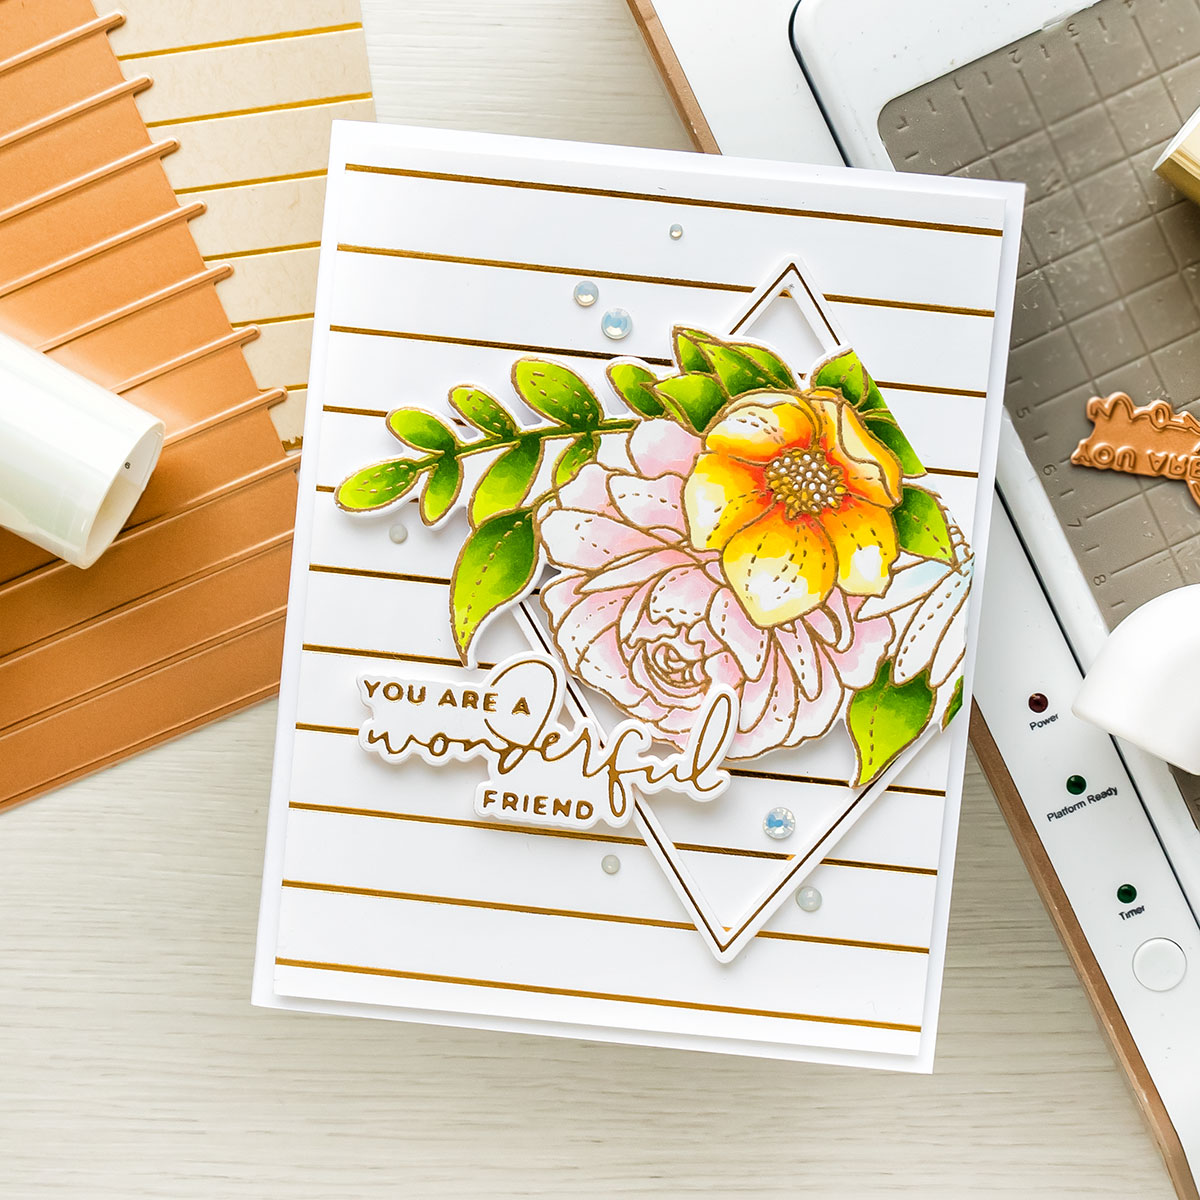
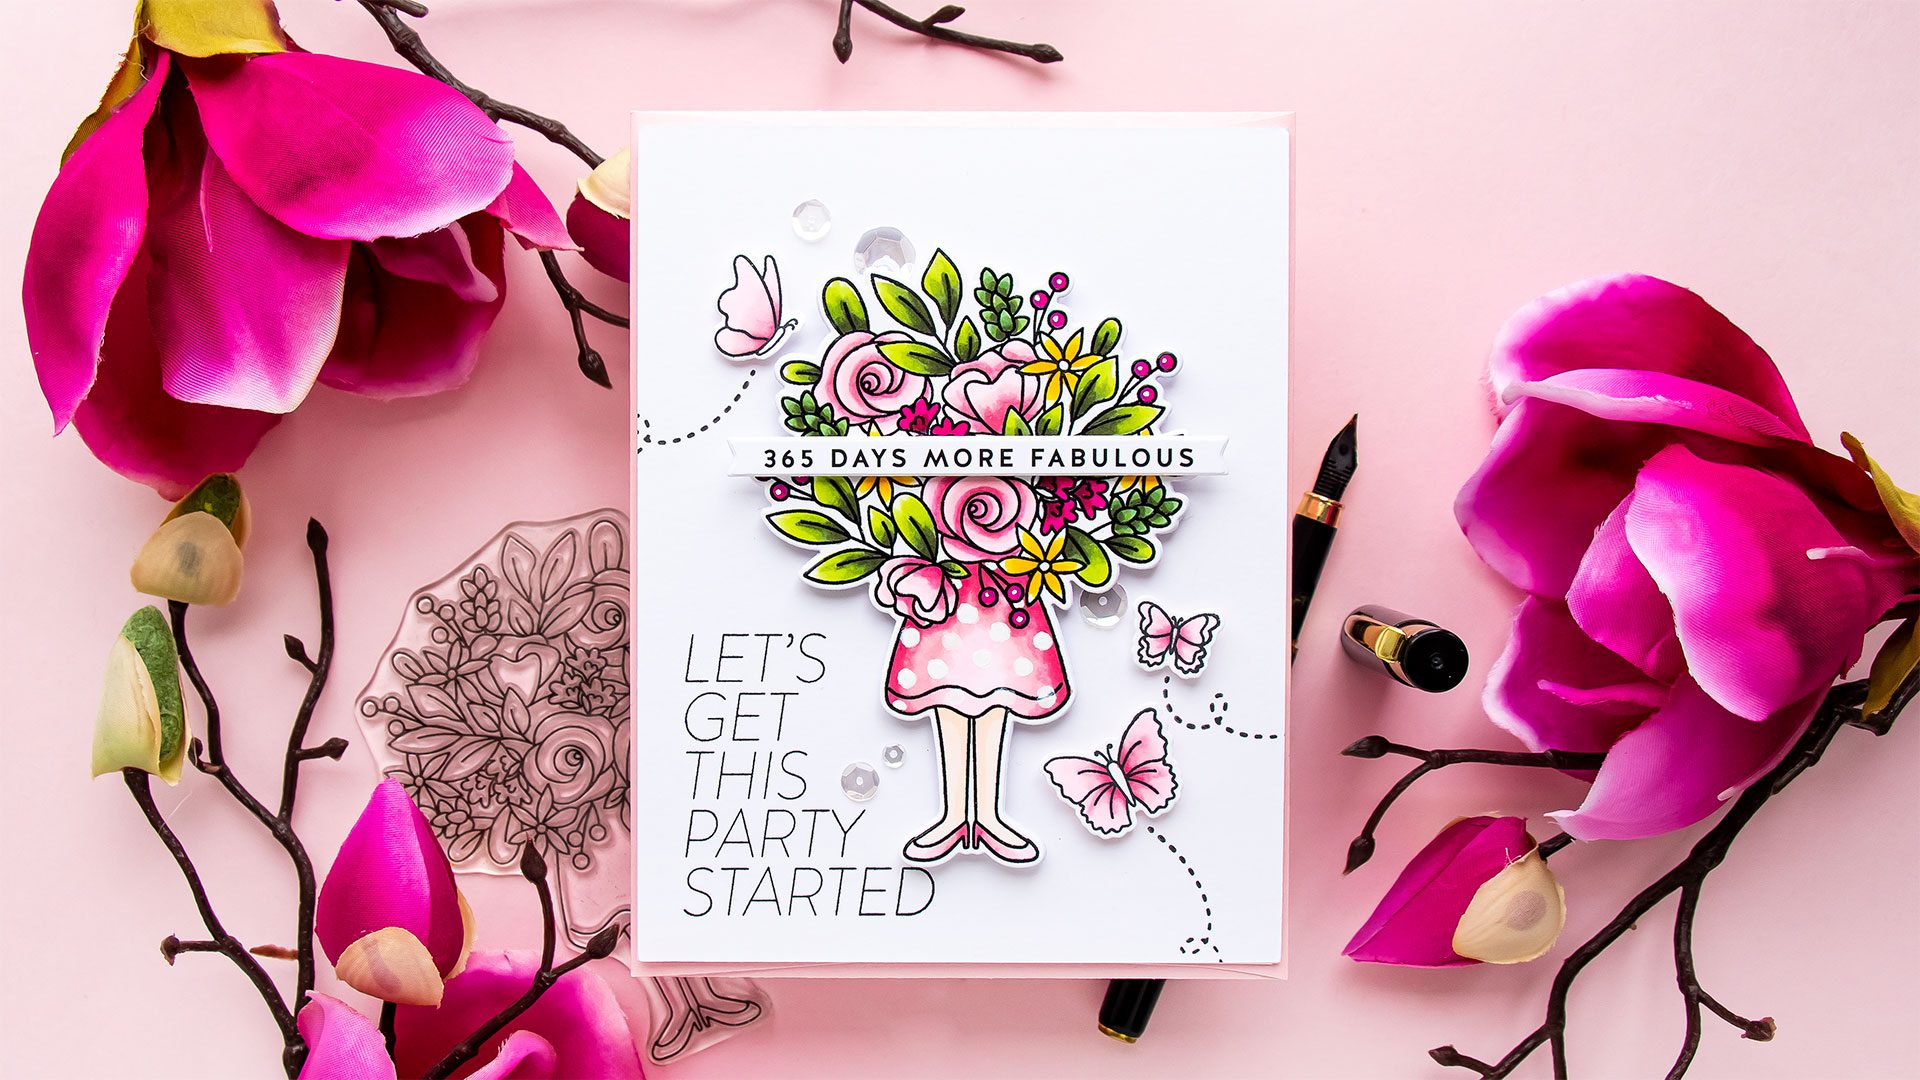
I love to combine hot foil stamping with heat embossing and coloring. I created this little floral piece for my card by heat embossing the outline in Simon’s Antique gold embossing powder and coloring the image with Copic markers. This beautiful floral cluster comes from Simon’s Spring Bouquet stamp set.
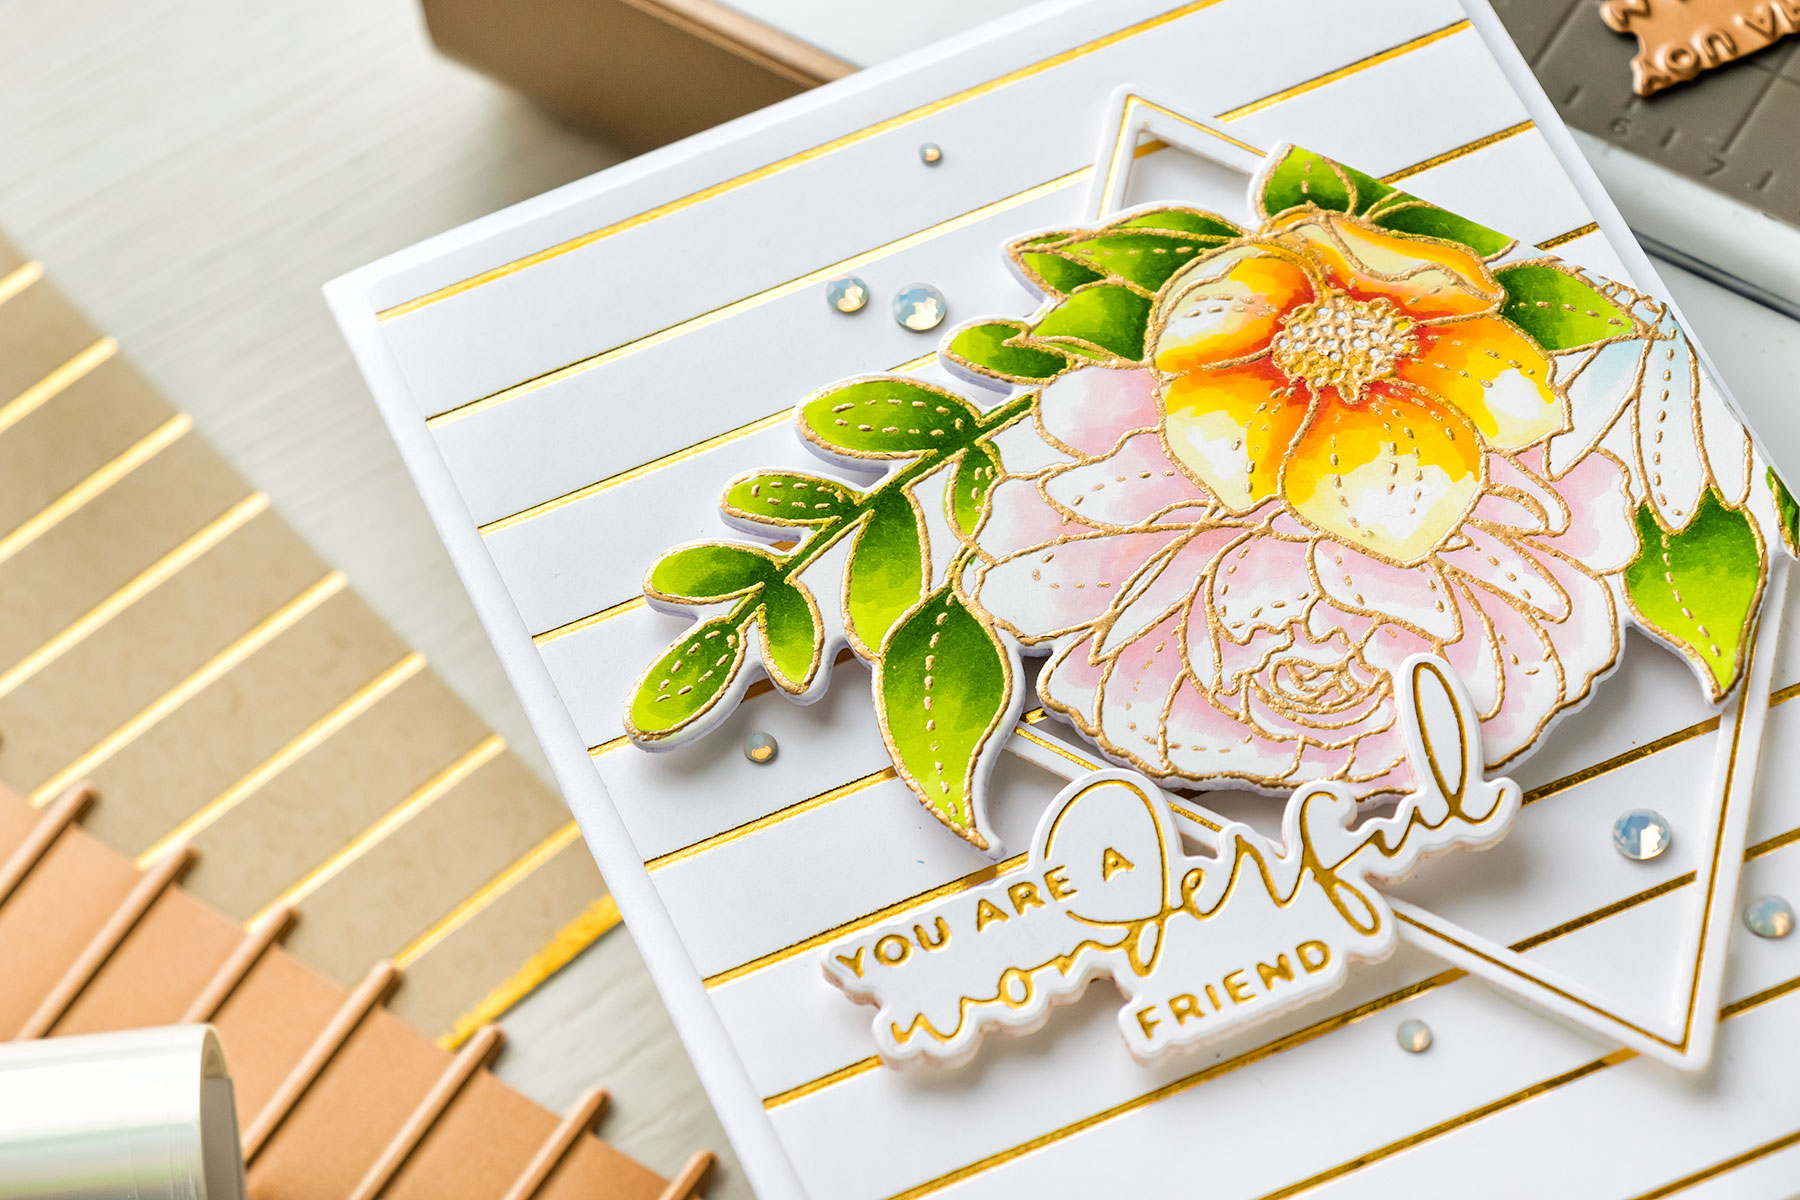
I added a sentiment from my Yana’s Special sentiments set. I went with a simple card design – I trimmed the background to 4 x 5 1/4”, I added a diamond frame and floral cluster, I did place it upside down as I wanted the flowers to trail downward, and next, I added the sentiment overlapping the frame slightly. I foam mounted the panel onto the A2 white card base and finally added some gems from Spellbinders.
I hope you’ve found this glimmer back to basics video helpful and you are ready to dive into hot foil stamping! Let me know if you have any questions and have fun foiling!
SUPPLIES
I’m listing the products I used below. Click on the link to go directly to the product. Where available I use compensated affiliate links which means if you make a purchase I receive a small commission at no extra cost to you. Thank you so much for your support!
 Spellbinders Glimmer Hot Foil System Shop at: SSS |
 Spellbinders Glimmer Hot Foil Roll – Gold Shop at: SSS |
 Spellbinders Glimmer Hot Foil Roll – Polished Brass Shop at: SSS |
 Spellbinders Magnetic Pick Up Tool Shop at: SSS |
 Spellbinders Quick Trimmer Shop at: SSS |
 Spellbinders Quick Trimmer Replacement Blades Shop at: SSS |
 Simon Says Stamp White Cardstock 120LB Shop at: SSS |
 Simon Says Stamp Mega Thick White Cardstock 130LB Shop at: SSS |
 Spellbinders Blooming Floral Background Glimmer Shop at: SSS |
 Spellbinders Diamond Floral Frame Glimmer Shop at: SSS |
 Spellbinders Yana’s Special Sentiments Glimmer Shop at: SSS |
 Spellbinders Skinny Stripe Background Glimmer Shop at: SSS |
 Simon Says Clear Stamps Spring Bouquets Shop at: SSS |
 Simon Says Stamp Spring Bouquets Wafer Dies Shop at: SSS |
 Simon Says Stamps and Dies Spring Bouquets Shop at: SSS |
 Neenah 110 Lb Solar White Cardstock Shop at: SSS |
 Spellbinders Platinum Die Cutting Machine Shop at: SSS |
 Jewel Picker Pick Up Tool Shop at: SSS |
 Hero Arts Clear Embossing & Watermark Ink Shop at: SSS |
 EK Success Powder Tool Applicator Shop at: SSS |
 Simon Says Stamp Antique Gold Embossing Powder Shop at: SSS |
 Hero Arts Heat Embossing Gun Shop at: SSS |
 Copic Sketch Marker Y11 Pale Yellow Shop at: SSS |
 Copic Sketch Marker Y08 Acid Yellow Shop at: SSS |
 Copic Sketch Marker Y35 Maize Shop at: SSS |
 Copic Sketch Marker RV00 Water Lily Shop at: SSS |
 Copic Sketch Marker RV10 Pale Pink Shop at: SSS |
 Copic Sketch Marker RV09 Fuchsia Shop at: SSS |
 Copic Sketch Marker YG01 Green Bice Shop at: SSS |
 Copic Sketch Marker YG03 Yellow Green Shop at: SSS |
 Copic Sketch Marker YG17 Grass Green Shop at: SSS |
 Copic Sketch Marker B000 Pale Porcelain Shop at: SSS |
 Copic Sketch Marker B00 Frost Blue Shop at: SSS |
 Spellbinders Crystal Mix Color Essential Gems Shop at: SSS |
 Un-du Adhesive Remover Shop at: SSS |
 Bearly Art Mini Precision Craft Glue Shop at: SSS |
 Tonic Studios 8.5 Inch Paper Trimmer Shop at: SSS |
 Spellbinders Tool ‘n One Shop at: SSS |
 White Foam Squares Shop at: SSS |

Hi,
Can you use copic markers to color with on the New Spellbinders Glimmer Papers???
Copic doesn’t color well on Yupo paper.
Thank you so much for all this great information!
Fantastic information! I am getting much better results thanks to your tips and I am loving my Glimmer machine and hot foil plates! Your sentiments and dies are amazing! Thank you!
Since its first opening in August 1996, the firm has celebrated its silver jubilee in the restaurant production industry. This company’s headquarters are located in Baton Rouge, Louisiana, in the United States. Todd Cryps is the industry’s originator. As of right now, the rising cane is cultivated in more than 500 areas across the United States. This restaurant serves a variety of delicious cuisine items, including toast, coleslaw, chicken fingers, French fries, Texas, and soft beverages. This firm that raises cane has grown to employ over 3000 people.
An opportunity to win a $100 Cracker Barrel gift card is being offered by the firm. The organization respects and cherishes your opinions. The incentives are offered as a thank you for doing the survey.
Fulfilling customer needs is a major concern for the organization. Among them is Home Depot. It is a free store in America where the organization sells and provides administrations, tools, and development things. It was founded in 1978, for instance, forty years earlier in Marietta, Georgia, in the United States. The Atlanta Store Support Center in Cobb County, Georgia, is home to the organization’s headquarters in the United States. It began operating in several places in 2016, covering over 2274 areas.
Among other brands, the GM brand includes GMC, Chevrolet, and Cadillac. The GMGlobalConnect portal is a substitute for GM DealerWorld Web, along with five other portals that dealers utilize globally. All of this company’s dealers are connected through the GMGlobalConnect login portal.
Let’s discuss those incentives; it’s about giving back to YOU, not just about receiving input! You may win some amazing things with CVS Health’s contests. It’s like the icing on the cake for your insightful observations. Winners? Randomly selected, so it may be YOU! Feedback is not merely gathered for fun by CVS Health. They genuinely care about improving your experience. Additionally, they have some financial awards up for grabs because they value your honesty so much. That’s a win-win situation!