


Hi everyone! This is a second post from a Holiday Cards with Spellbinders and First Edition mini series I’m doing on my blog in December. You can find day #1 here.
I love combining various Spellbinders dies with patterned papers from First Edition (First Edition is a UK brand from Trimcraft, they have gorgeous papers with various effects like foil, gloss, embossing etc). These products seem to be made for each other and always, always produce stunning results. Over then next few weeks I plan to share a few of the cards I’ve made using this product combo.
Day #2

supplies can be found at the bottom of this post
Today’s card is going to be a larger 5 x 7 one. I usually make A2 cards so this is a rare occasion for me. Nonetheless, I hope you like it!
Instructions:
1. Cut/emboss dies #7 (die #1 is always the smallest) from the 5×7 Matting Basics A and Matting Basics B sets to create base panels for your card.
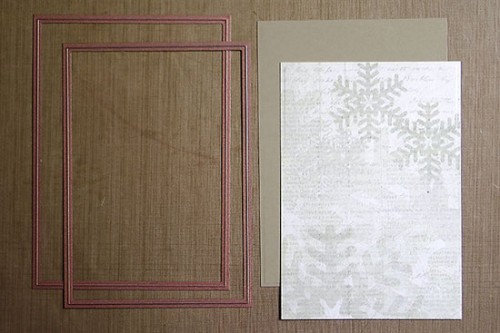
2. Glue the two together in the center, add ziz zag stitching around the perimeter. Cut/emboss die #4 from the Labels Forty Decorative Accents out of gold mirror cardstock. Turn that die cut into a frame using die #4 from the A2 Curved Matting Basics A.
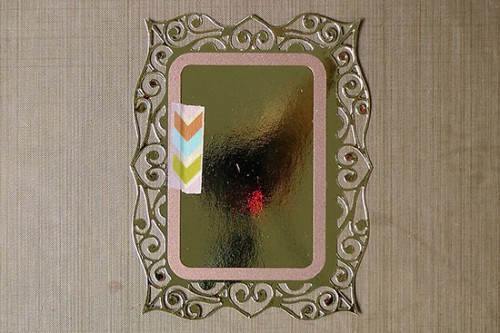
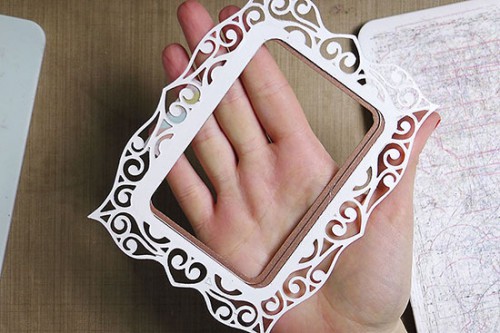
3. Because die #4 is not wide enough, slide it to the side and cut again to enlarge the opening of the frame.
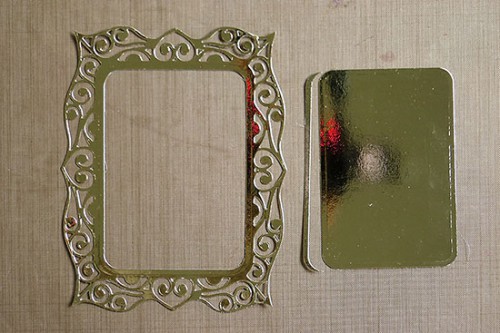
4. Cut/emboss die #3 from the Labels Forty Decorative Accents set.
5. Adhere die cut elements to stitched panels using foam adhesive.
6. Cut/emboss ornament from the Mix-N-Match Ornaments set out of gold mirror cardstock.
8. Tie ribbon into a bow, add die cut ornament and metal bells.
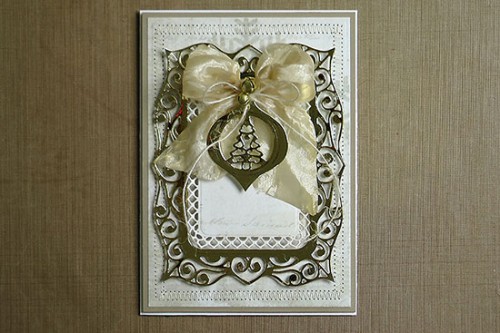
9. Cut/emboss tag from Back to Basics Tags set, heat emboss a sentiment using gold embossing powder. Adhere to card using foam adhesive.
Your card is finished! Enjoy!


Stunning card–the metallic ornament is so pretty.
This is so pretty!
Gorgeous!!!
I saw this card on Splitcoast Stampers and came over here to see your blog. This card is lovely, and I recently got the labels 40 dies so you have given me some ideas. Thank you.
Such a gorgeous card!
gold details look great!