Cardmaking for Beginners | Patterned Paper Cards with Spellbinders December Club Kit Extras
This post is also available in English
Hello friends and Merry Christmas! With this post, following the example of my post from last month, I decided to start a new series called “Cardmaking for Beginners” featuring entry level, very easy to make cards for those new in cardmaking. I hope you’ll find these posts useful!
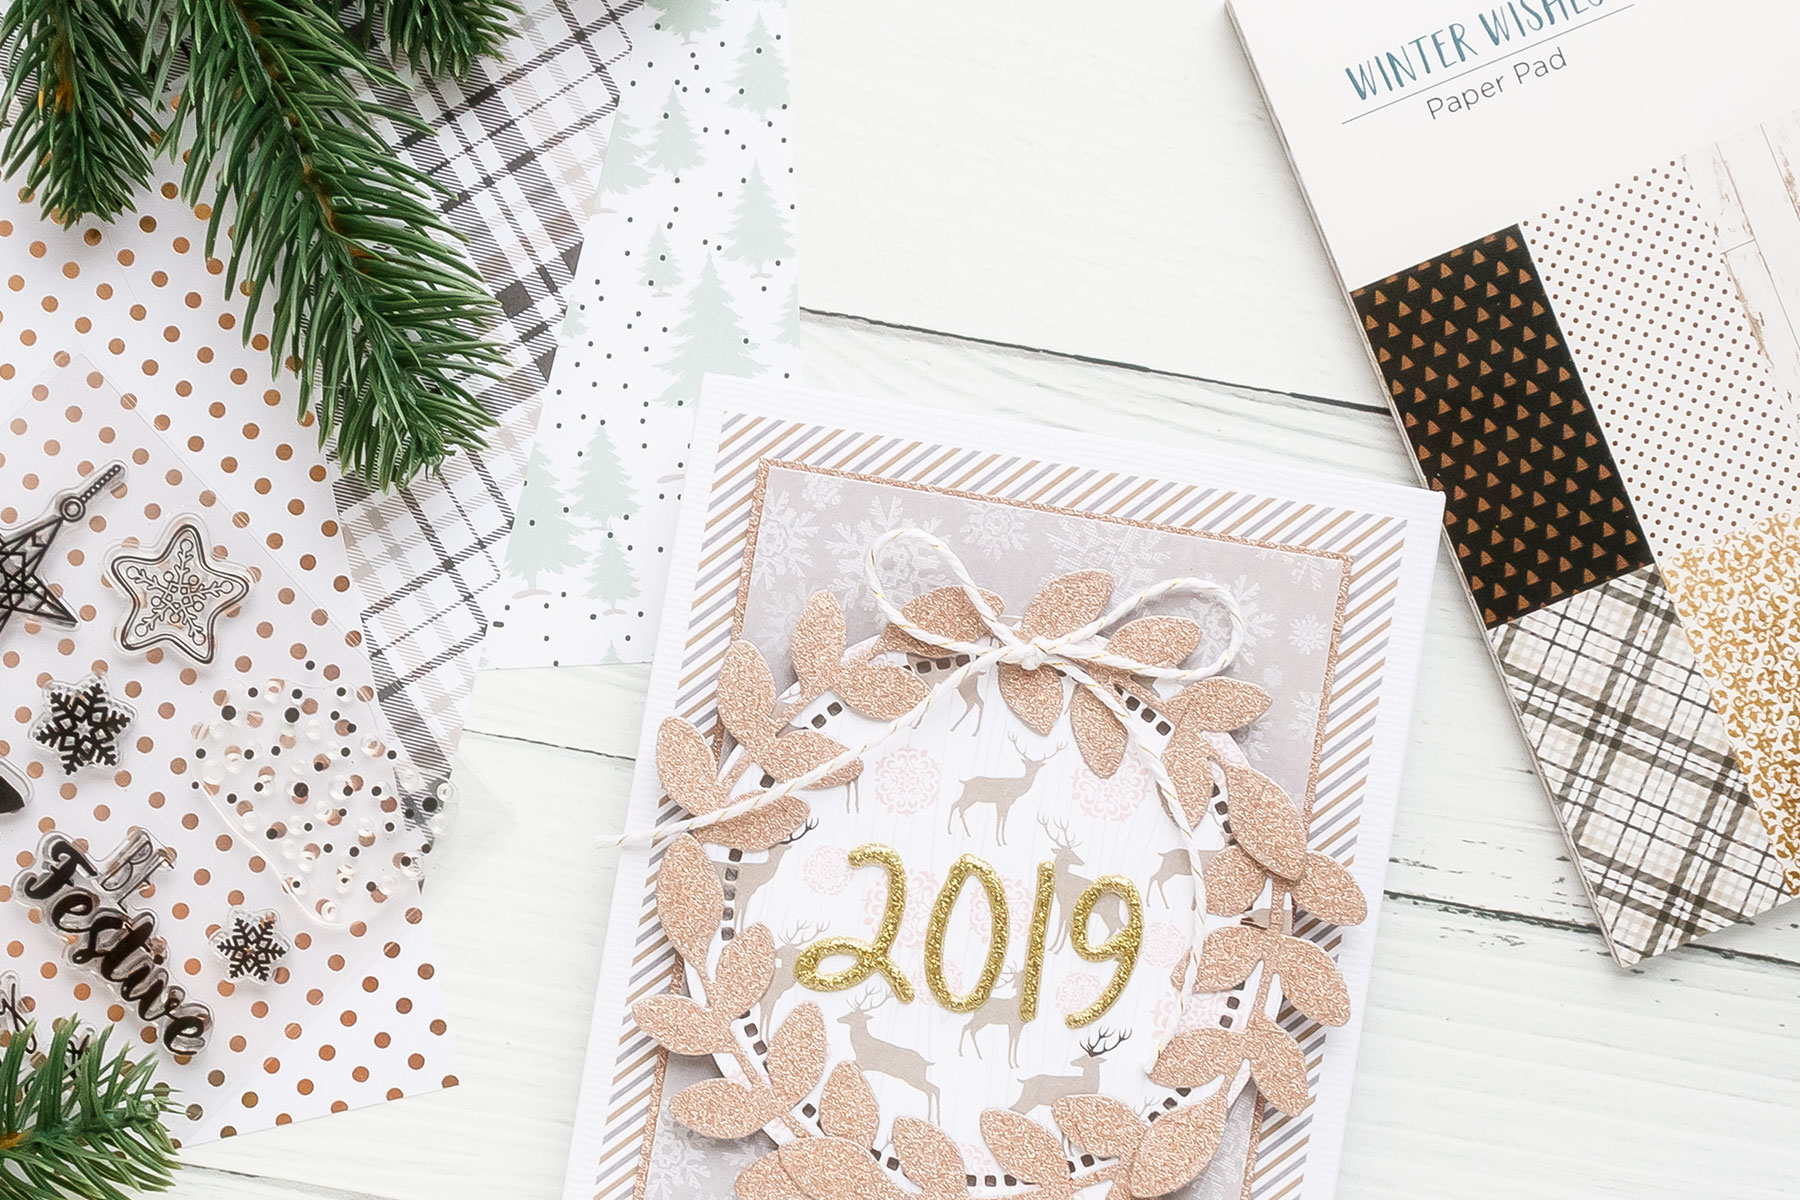
Today I have a few patterned paper cards to share all made using Spellbinders December Club Kit Extras. I used Winter Wishes extras from December card kit to make all of the cards I’m posting today. This month extras include: Gold Glitter Alphabet Stickers, Winter Wishes Mason Jar Stamp Set and Winter Wishes 6×6 Paper Pad.
All of these products are made in China, they are not premium quality, but they do make nice cards. They also make for a great gift for someone who’s new to cardmaking (perhaps you have a friend who’d like their hand at making handmade cards but doesn’t know where to start – these goodies would surely help someone dip their toes in cardmaking).
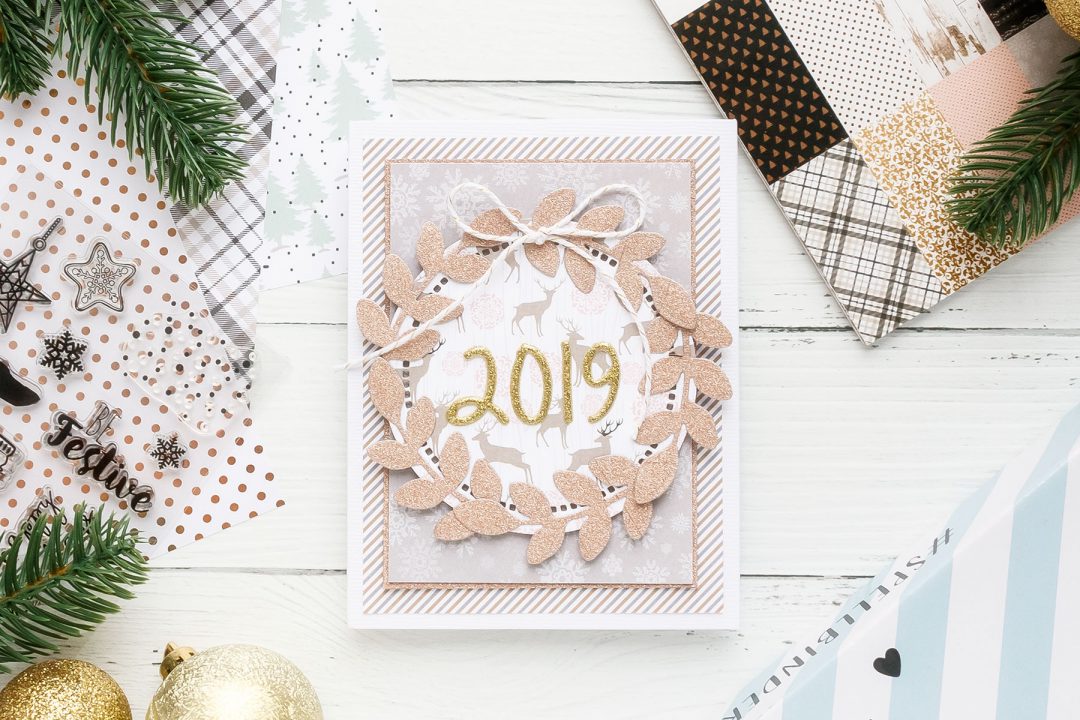
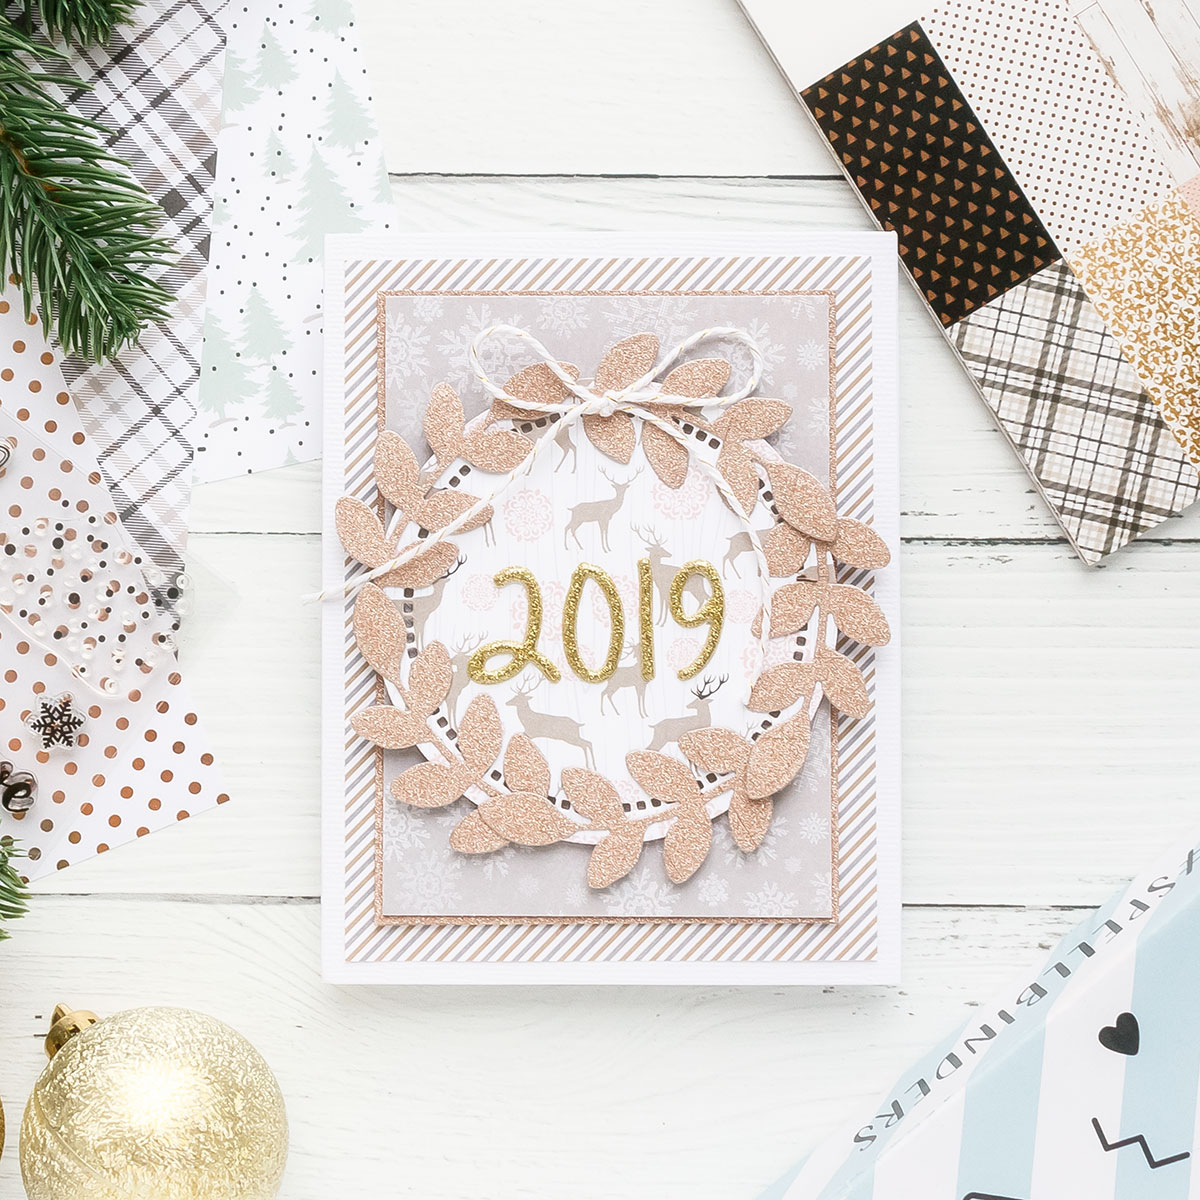
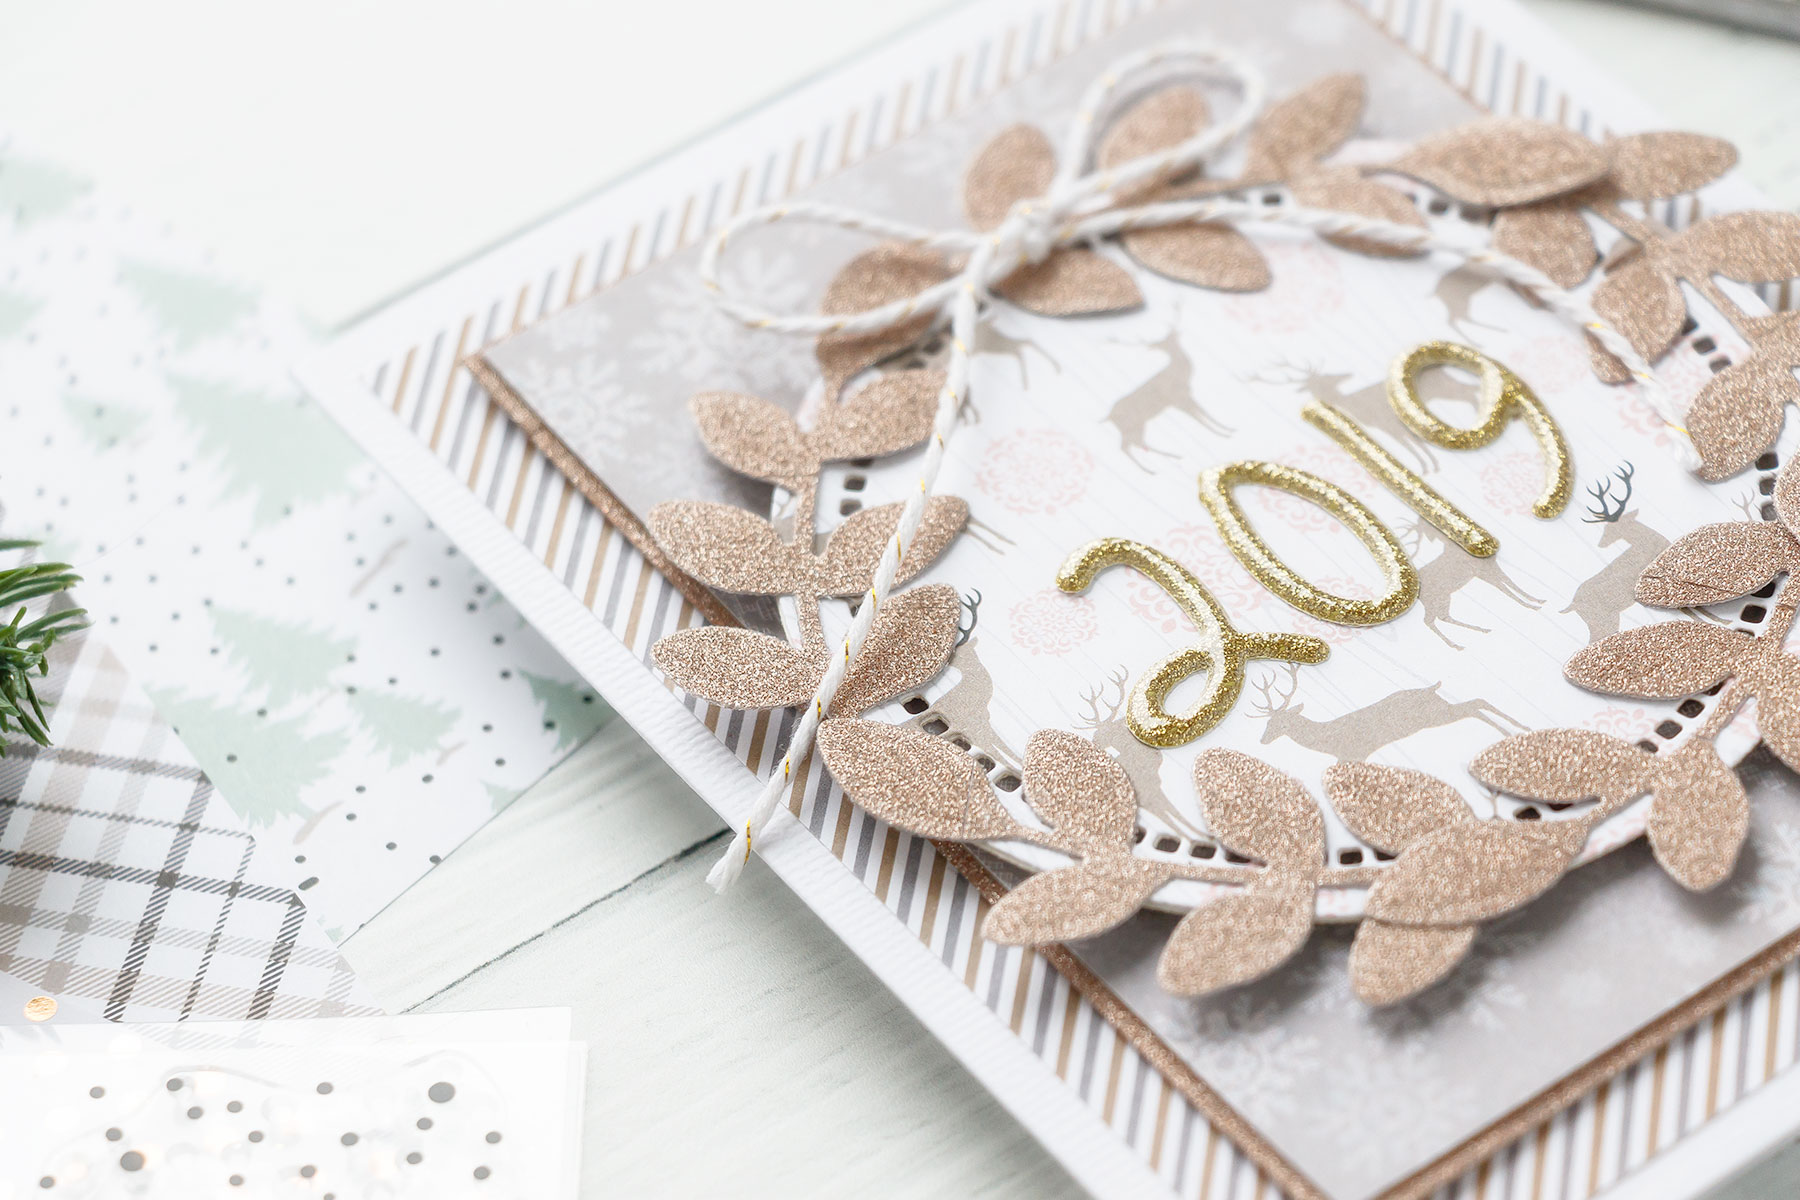
2019 WREATH CARD
Like this project? Pin it and save for later | Curious about my project photography? Click for details.
CARD DETAILS:
- Create A2 (4 1/4 x 5 1/2″) side folding card base using white cardstock.
- Cut diagonal stripe patterned paper to 3 3/4 x 5″. Adhere onto the card.
- Cut snowflake paper to 3 1/4 x 4 1/2 “, mat with glitter paper, adhere onto the card.
I made glitter paper I’m using for these cards by using glitter washi tape from December kit. I adhered strips of tape onto cardstock to create my own glitter paper.
- Die-cut Hemstitch Circle out of “deer” paper. Foam mount onto the card.
- Die-cut several branches out of glitter paper, adhere onto the card forming a wreath.
- Tie twine into a bow, adhere onto the card.
- Add 2019 using gold glitter stickers. Alternatively, you can spell something.
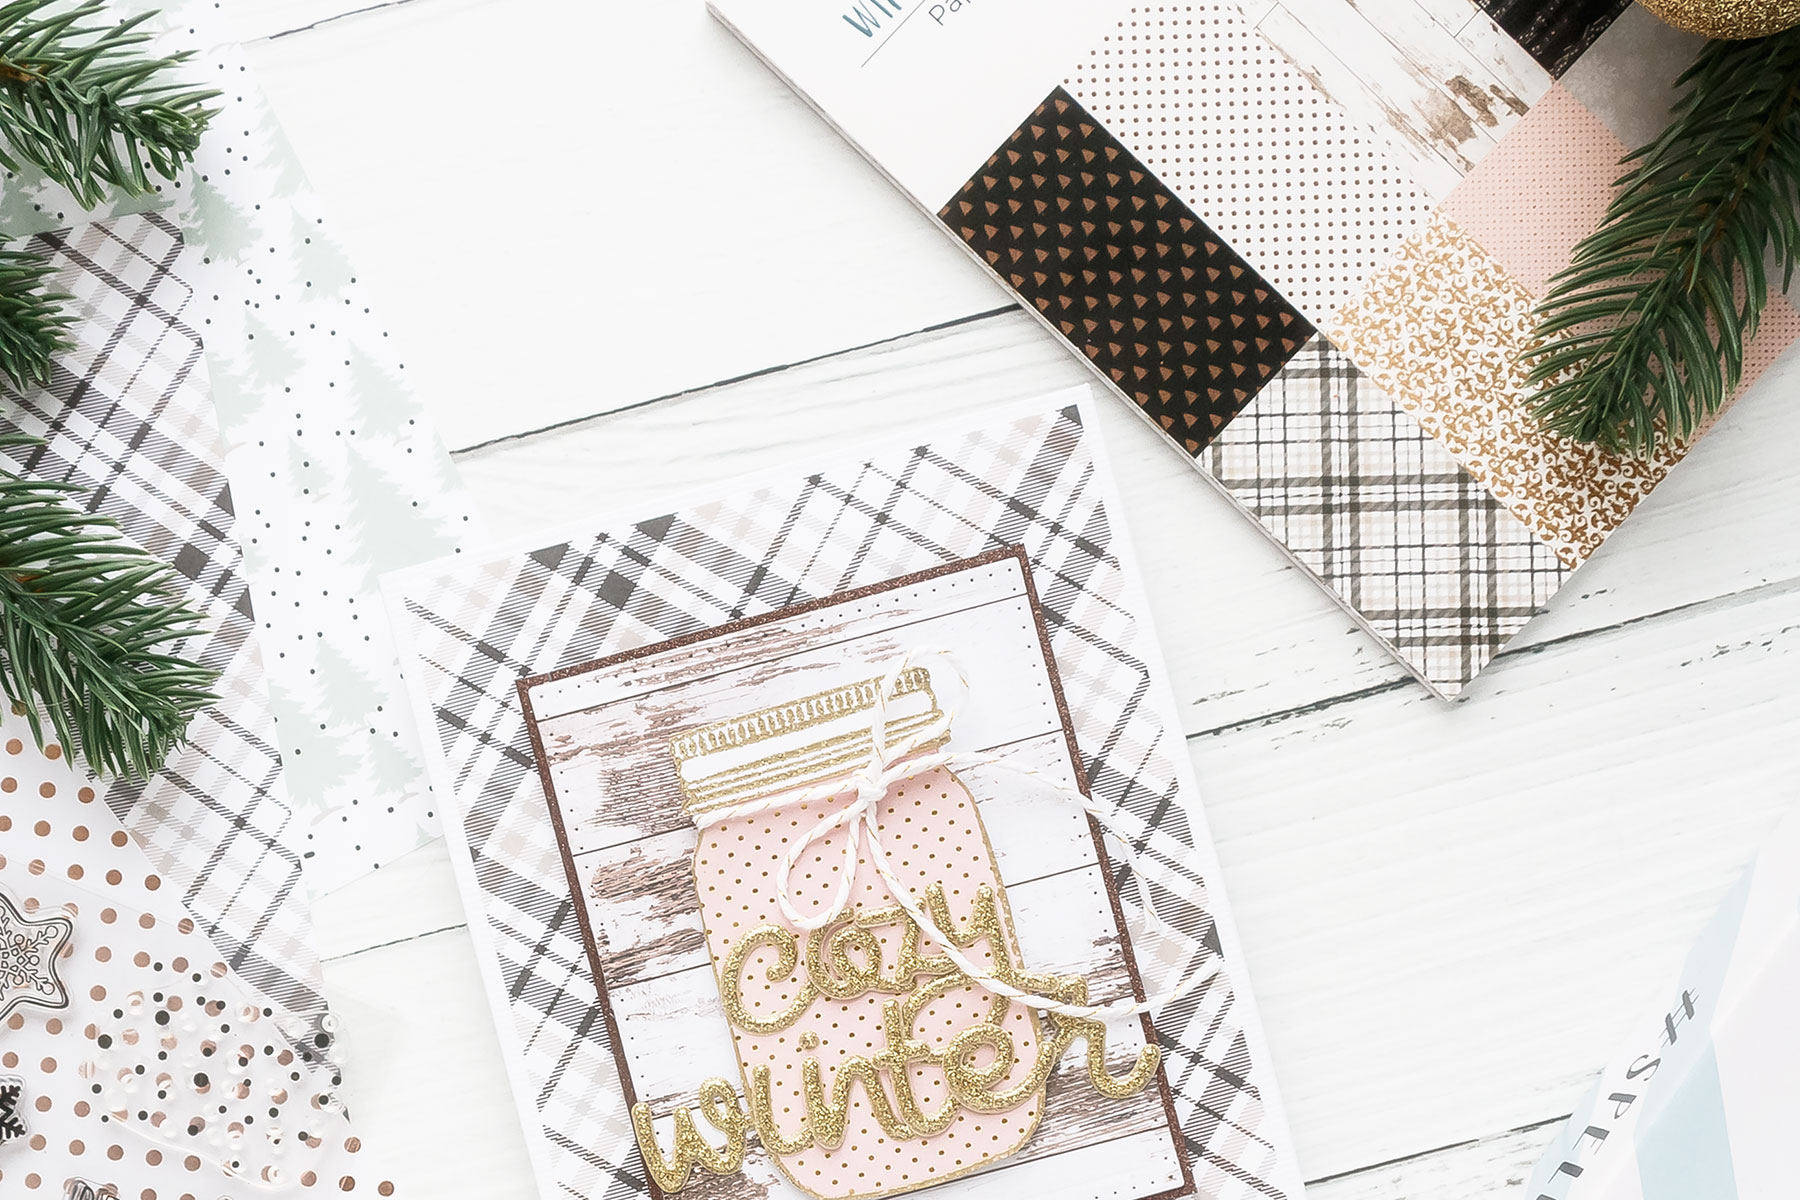
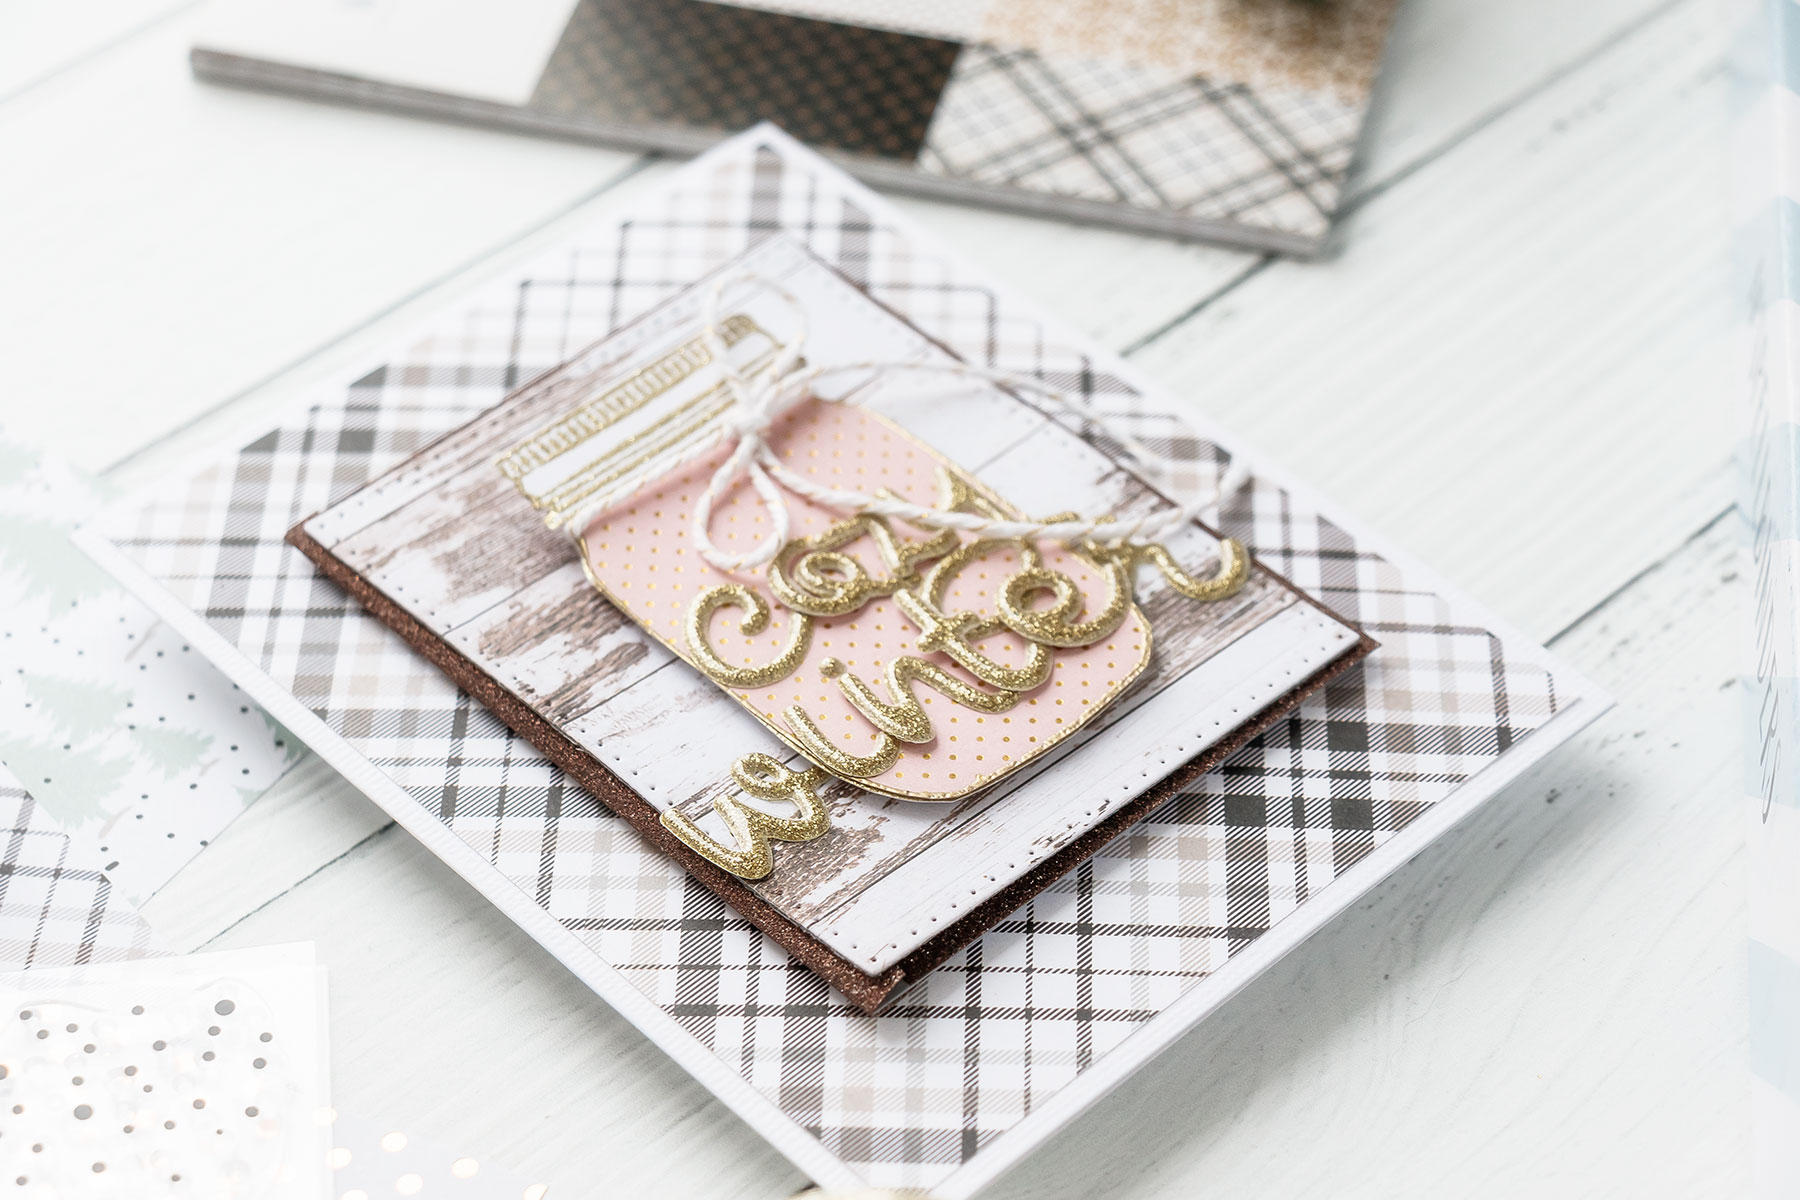
COZY WINTER CARD
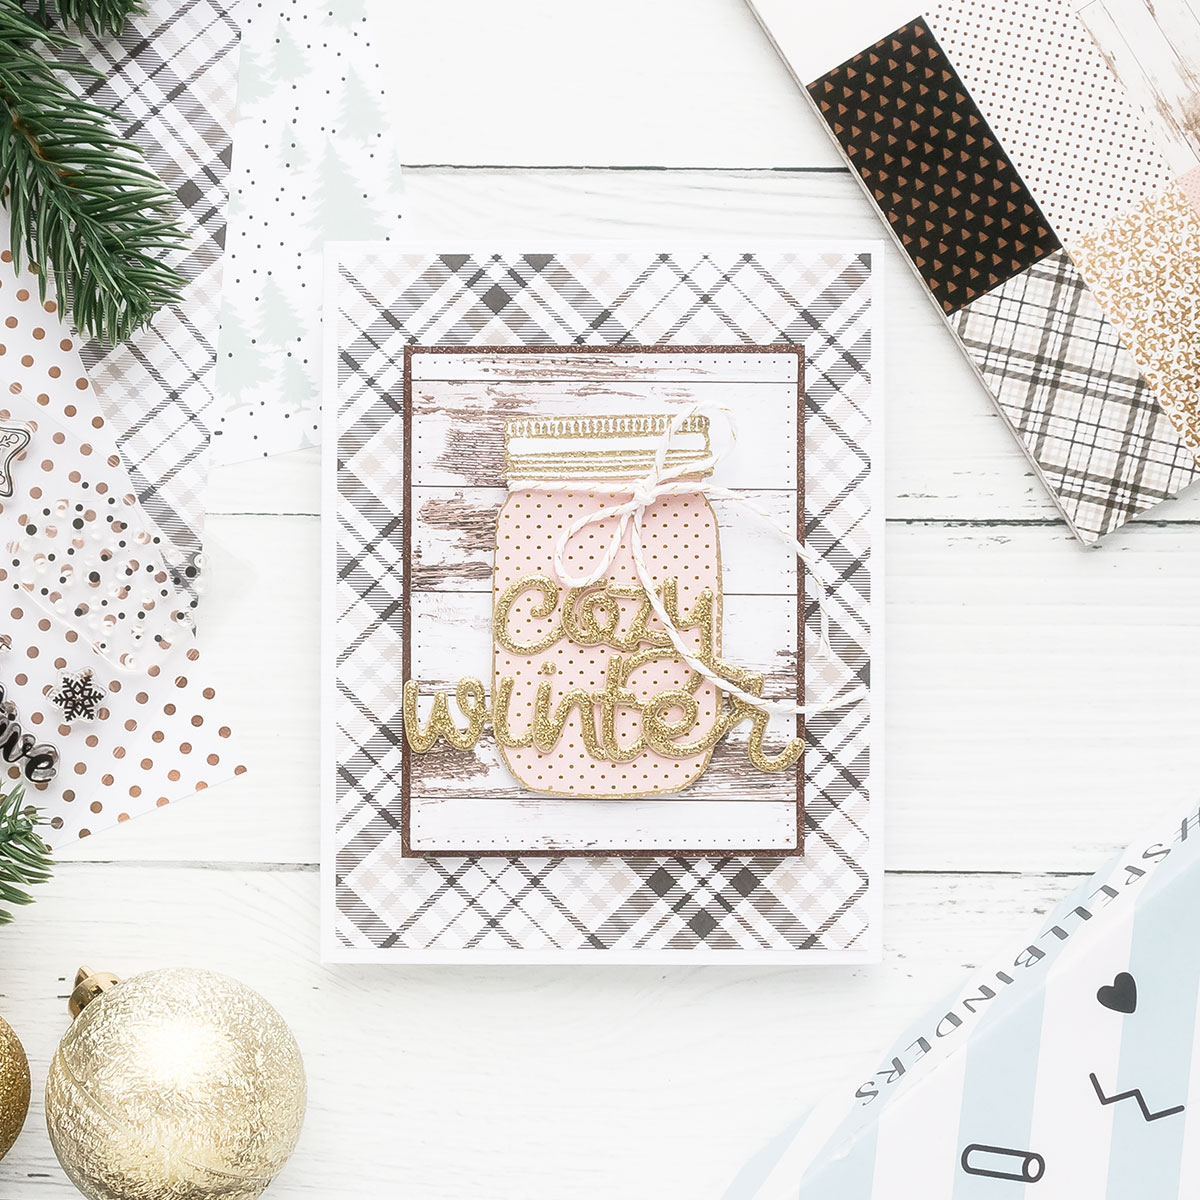
CARD DETAILS:
- Create A2 (4 1/4 x 5 1/2″) side folding card base using white cardstock.
- Cut plaid paper to 4 x 5 1/4″. Adhere onto the card.
- Die-cut woodgrain paper using pierced rectangle die. Mat with glitter paper, foam mount onto the card.
- Gold heat emboss mason jar onto white cardstock and pink polka dot paper. Cut out. Adhere white lid onto pink jar. Tie twine. Foam mount onto the card.
- Add “cozy winter” using gold glitter stickers.
SUPPLIES
I’m listing the products I used below. Click on the link to go directly to the product. Where available I use compensated affiliate links which means if you make a purchase I receive a small commission at no extra cost to you. Thank you so much for your support!
 Spellbinders Card Kit of the Month Membership Shop at: SB |
 Winter Wishes Gold Glitter Alphabet Stickers Shop at: SB |
 Winter Wishes Paper Pad Shop at: SB |
 Winter Wishes Mason Jar Stamp Set Shop at: SB |
 Spellbinders Hemstitch Circles Dies Shop at: SSS | SC | SB |
 Spellbinders Gift Twine Shop at: SB |
 Hero Arts Gold Embossing Powder PW100 Shop at: SSS | SC | HA | AZ |
 Hero Arts Heat Embossing Gun Shop at: SSS | SC | HA | AZ |
 Spellbinders Scored and Pierced Rectangles Shop at: SC | SB | AZ |
 Versamark Watermark Emboss Ink Pad Shop at: SSS | HA | AZ |
 Spellbinders Cinch and Go Flowers III Dies Shop at: SSS | SC | SB | AZ |
 ScraPerfect Crafting Pouch Shop at: SSS | AZ |
Karthikha Uday
25 Грудня, 2018Wonderful cards! 🙂 Merry Christmas!!
Karen Hale
25 Грудня, 2018Beautiful projects! Merry Christmas!
Kathy R
27 Грудня, 2018Thank you for sharing beautiful and elegant cards, and easy to make.
Andrea Hastilow
27 Грудня, 2018Really great advice & tips for beginners. Could have used a series like this twelve months ago when I first started, great idea Yana, looking forward to seeing more. Thank you
Tara Prince
28 Грудня, 2018Nice cards! I love the cozy winter one!!