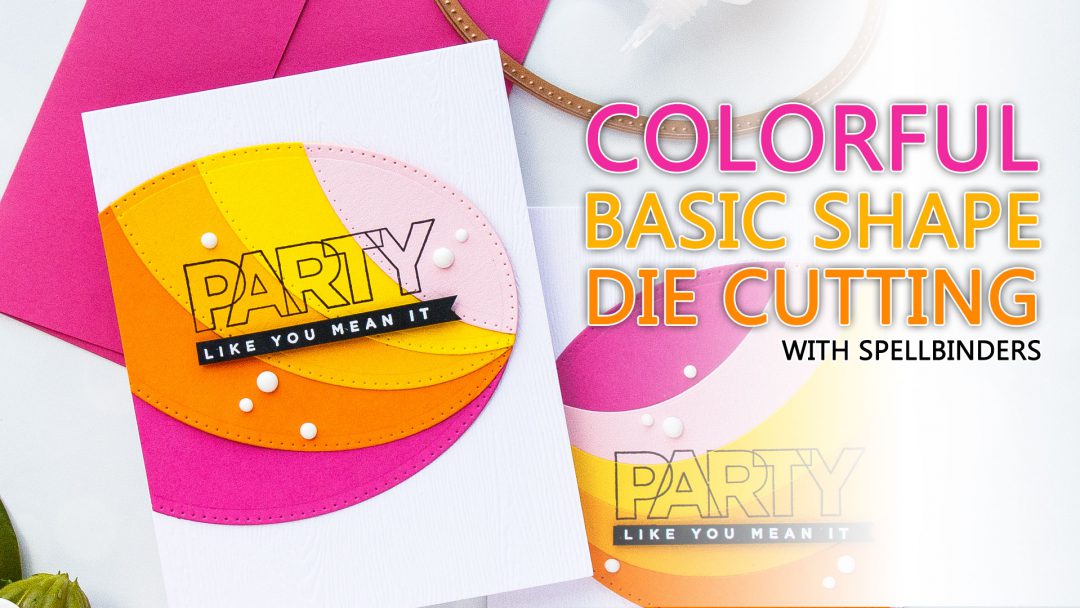
Spellbinders | Colorful Cards with Basic Shape Dies. Video. Blog Hop + Giveaway (Closed)
Hello friends! We’re moving early next week (I still have plenty to pack – I’m posting some photos on my Instagram Stories in case you’d like to see), but in the meantime I have new cards and a video to share. Today I’m joining Spellbinders March release blog hop and brining you 10 cards created using their March Classics release which is all about basic shape dies. I talk in detail about 2 projects in this post and video and I share supplies for the rest of the cards at the bottom of my post.
The cards I have today were created awhile back (aside from the 2 video projects) as part of the “packaging” projects – the cards that you see on the Spellbinders packaging. I had a blast making them as I wanted to share them with you as I believe that basic shape dies are always the must haves. If you have the basic elements – circles, ovals etc – you can use your other supplies and build upon them.
Like this project? Pin it and save for later | Curious about my project photography? Click for details.
As of September 2016 I work as an in-house creative designer at Spellbinders office in Phoenix. While I do a lot of work for them and create a number of different projects I am only sharing what I truly love made using their products here on my blog. I do not and never will share projects or mention products I not love.
VIDEO TUTORIAL
As always, I filmed a video tutorial showing how to create this project from start to finish. I’m hoping you’ll enjoy it. Watch it below or on my Youtube channel.
Like this video? Please give it a big thumbs up (you can do this on Youtube video page right under the video) and share with a crafty friend! Leave me a comment too, I love hearing from you!
If you are visiting my blog for the first time or have not yet subscribed – be sure to do so! I share lots of handmade projects every week delivering them straight to your inbox! I also occasionally share information about crafty sales and new product releases I love. Subscribe here.
CARDS DETAILS
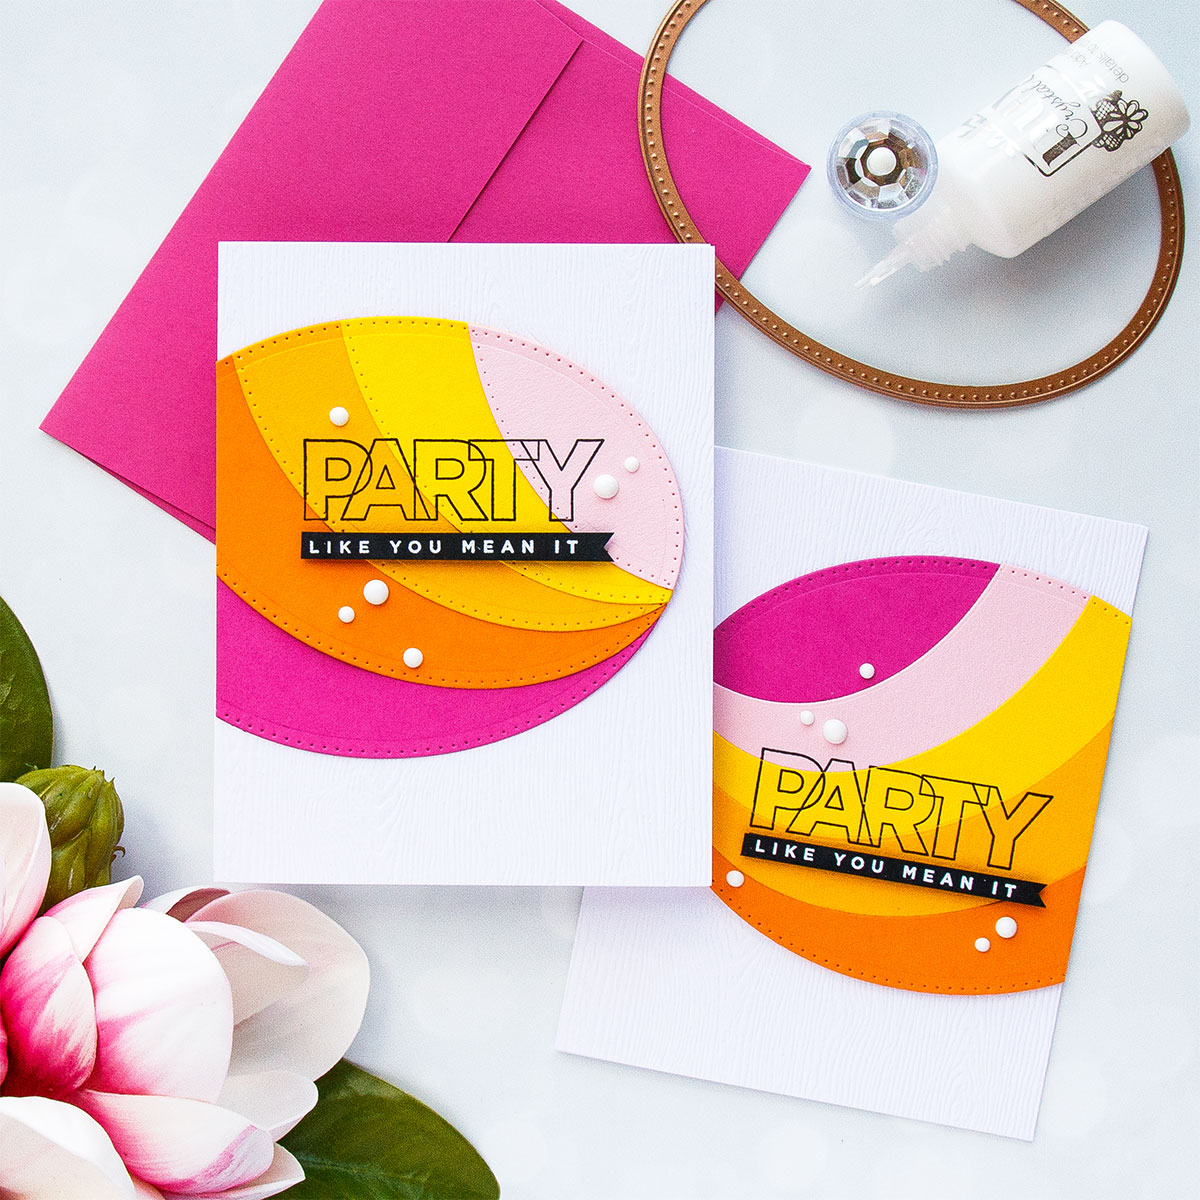
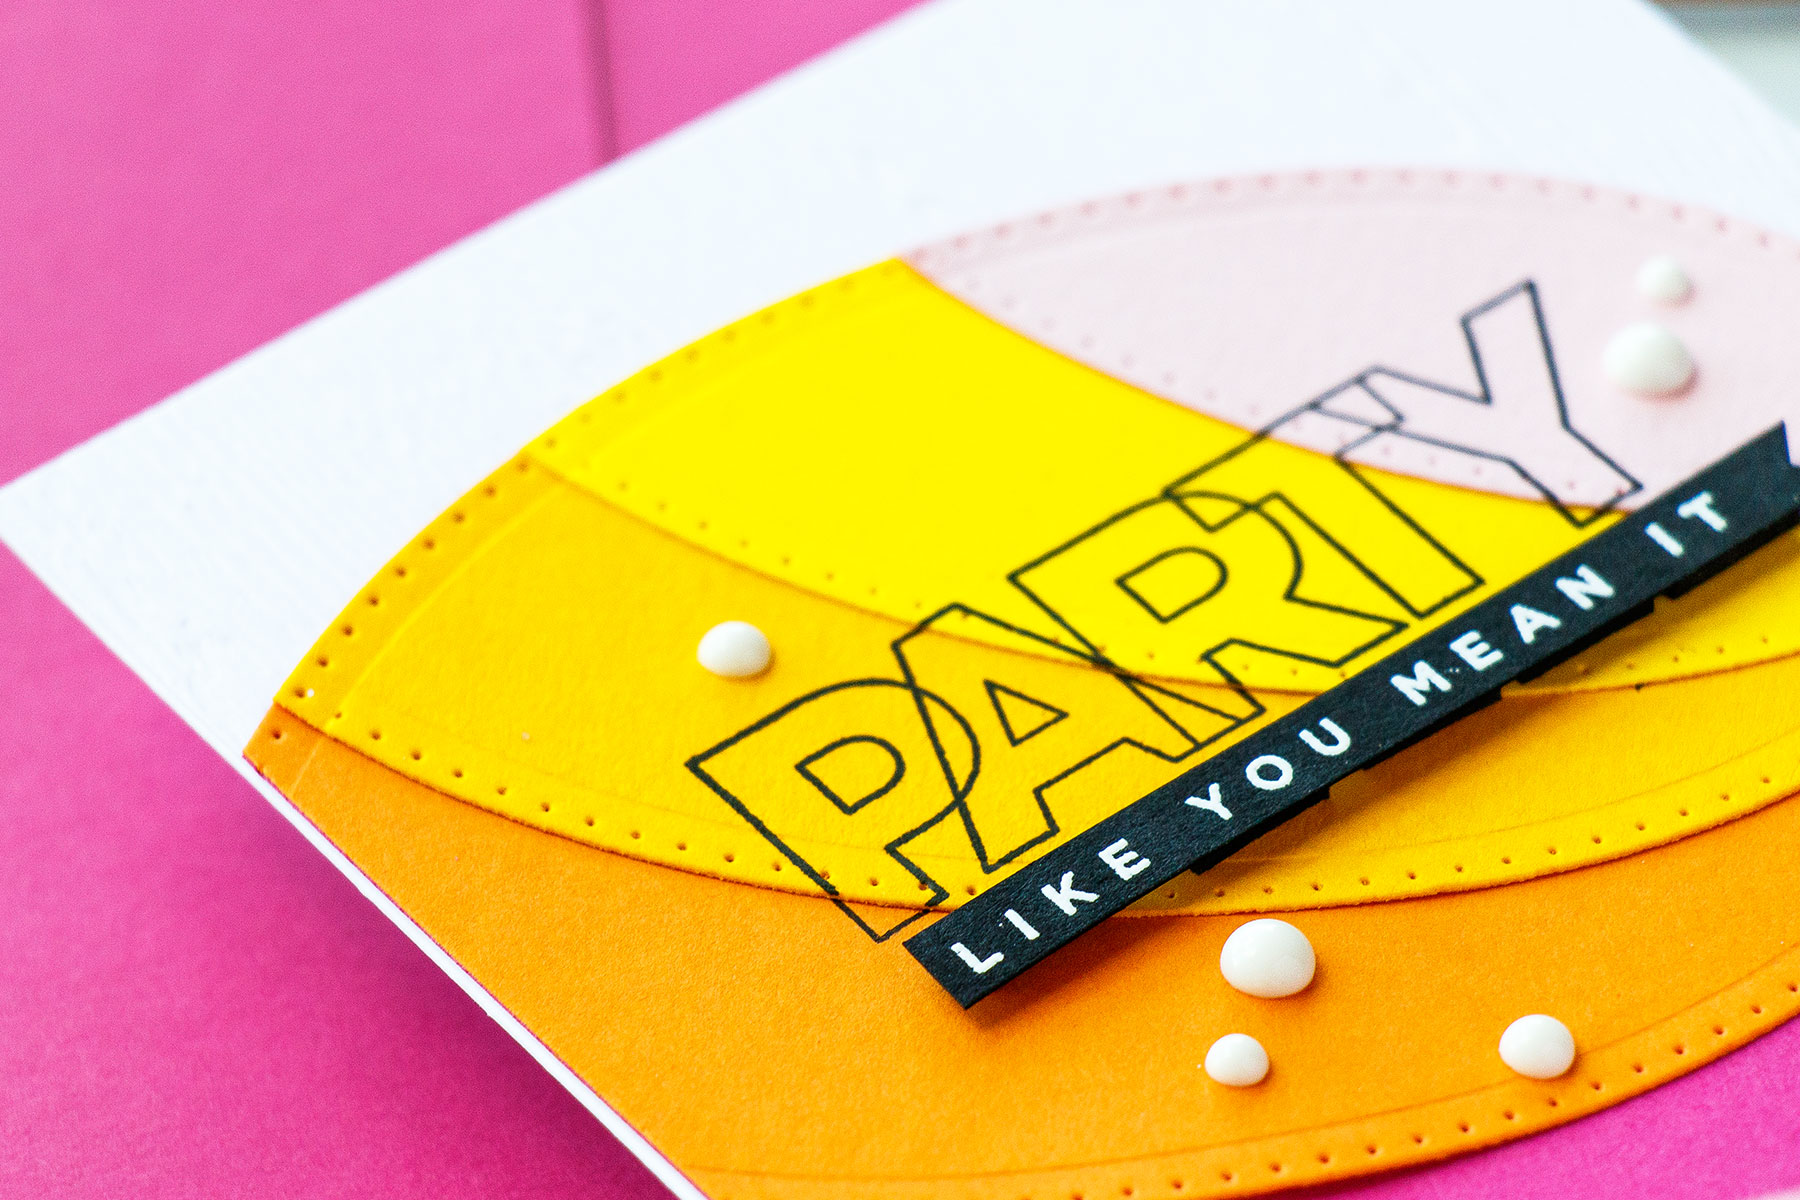
I used colored cardstock from Simon Says Stamp in Doll Pink, Orange Peel, Sunshine, Banana and Cotton Candy to die-cut the largest oval from the Scored & Pierced Ovals set. I arranged my ovals “fanning” them out on the base hot pink oval, taped them in place and die-cut once again one by one using same oval die to create colorful partial ovals.

To stamp the sentiment I used my mini MISTI tool and placed my ovals one by one inside the MISTI stamping sentiment onto each of the layers going across 4 of the ovals.
If you assemble your colored cardstock oval and than stamp sentiment you’ll ruin your piece as you will have different number of cardstock layers and you’ll end up overstamping the sentiment in one part and under stamping in another even if you use a stamp positioner. So stamping the sentiment onto each oval separately and than assembling the oval cluster is a better idea.
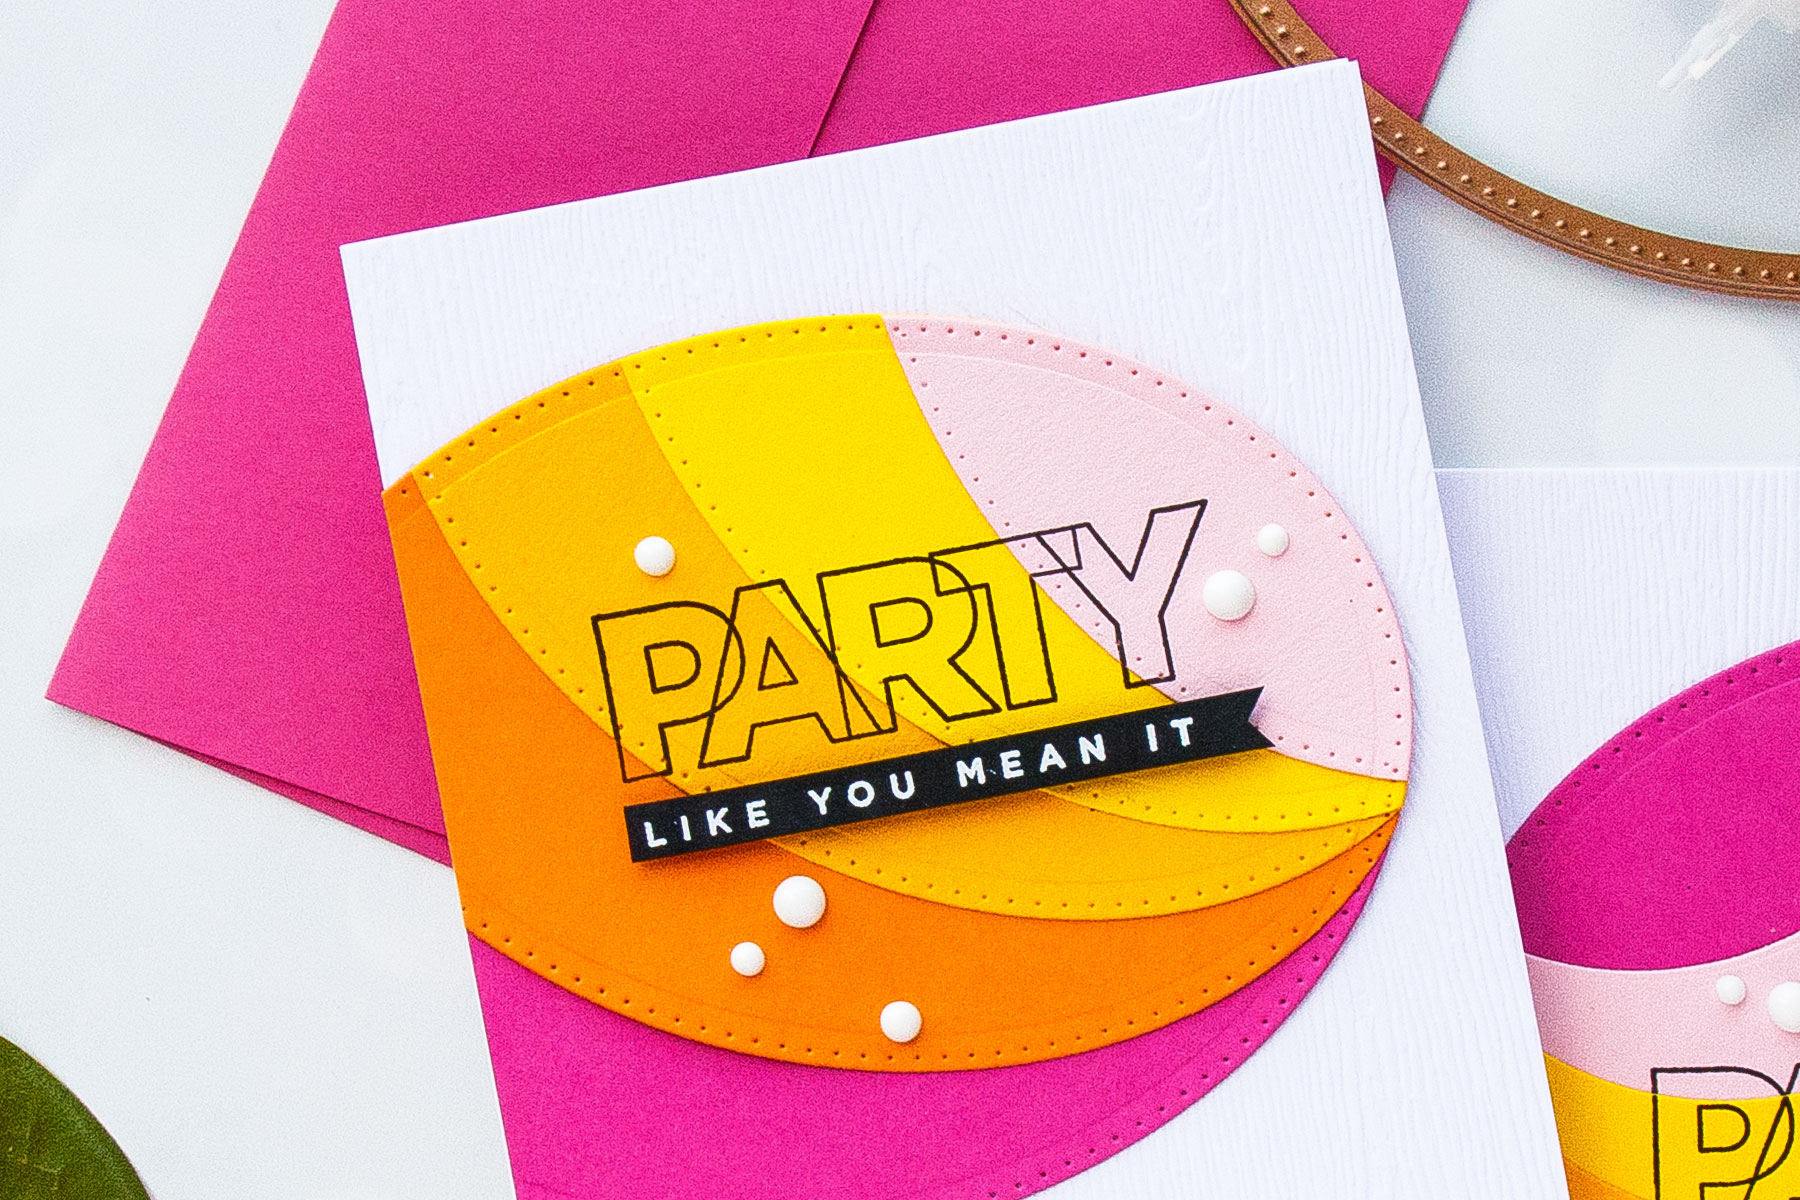
My sentiment reads Party Like You Mean it and it comes from the Birthday Palooza stamp set by Cathy Zielske for Simon Says Stamp. To have a lot of contrast I used black ink for stamping.
Once my stamping was done I adhered my ovals together forming a colorful oval cluster. Next, I used my paper trimmer and cut the oval to be able to fit it on an A2 card base.
I had a lot of leftover oval pieces, I saved those and used to create another, similar card. I just needed to die-cut one more hot pink oval for the base.
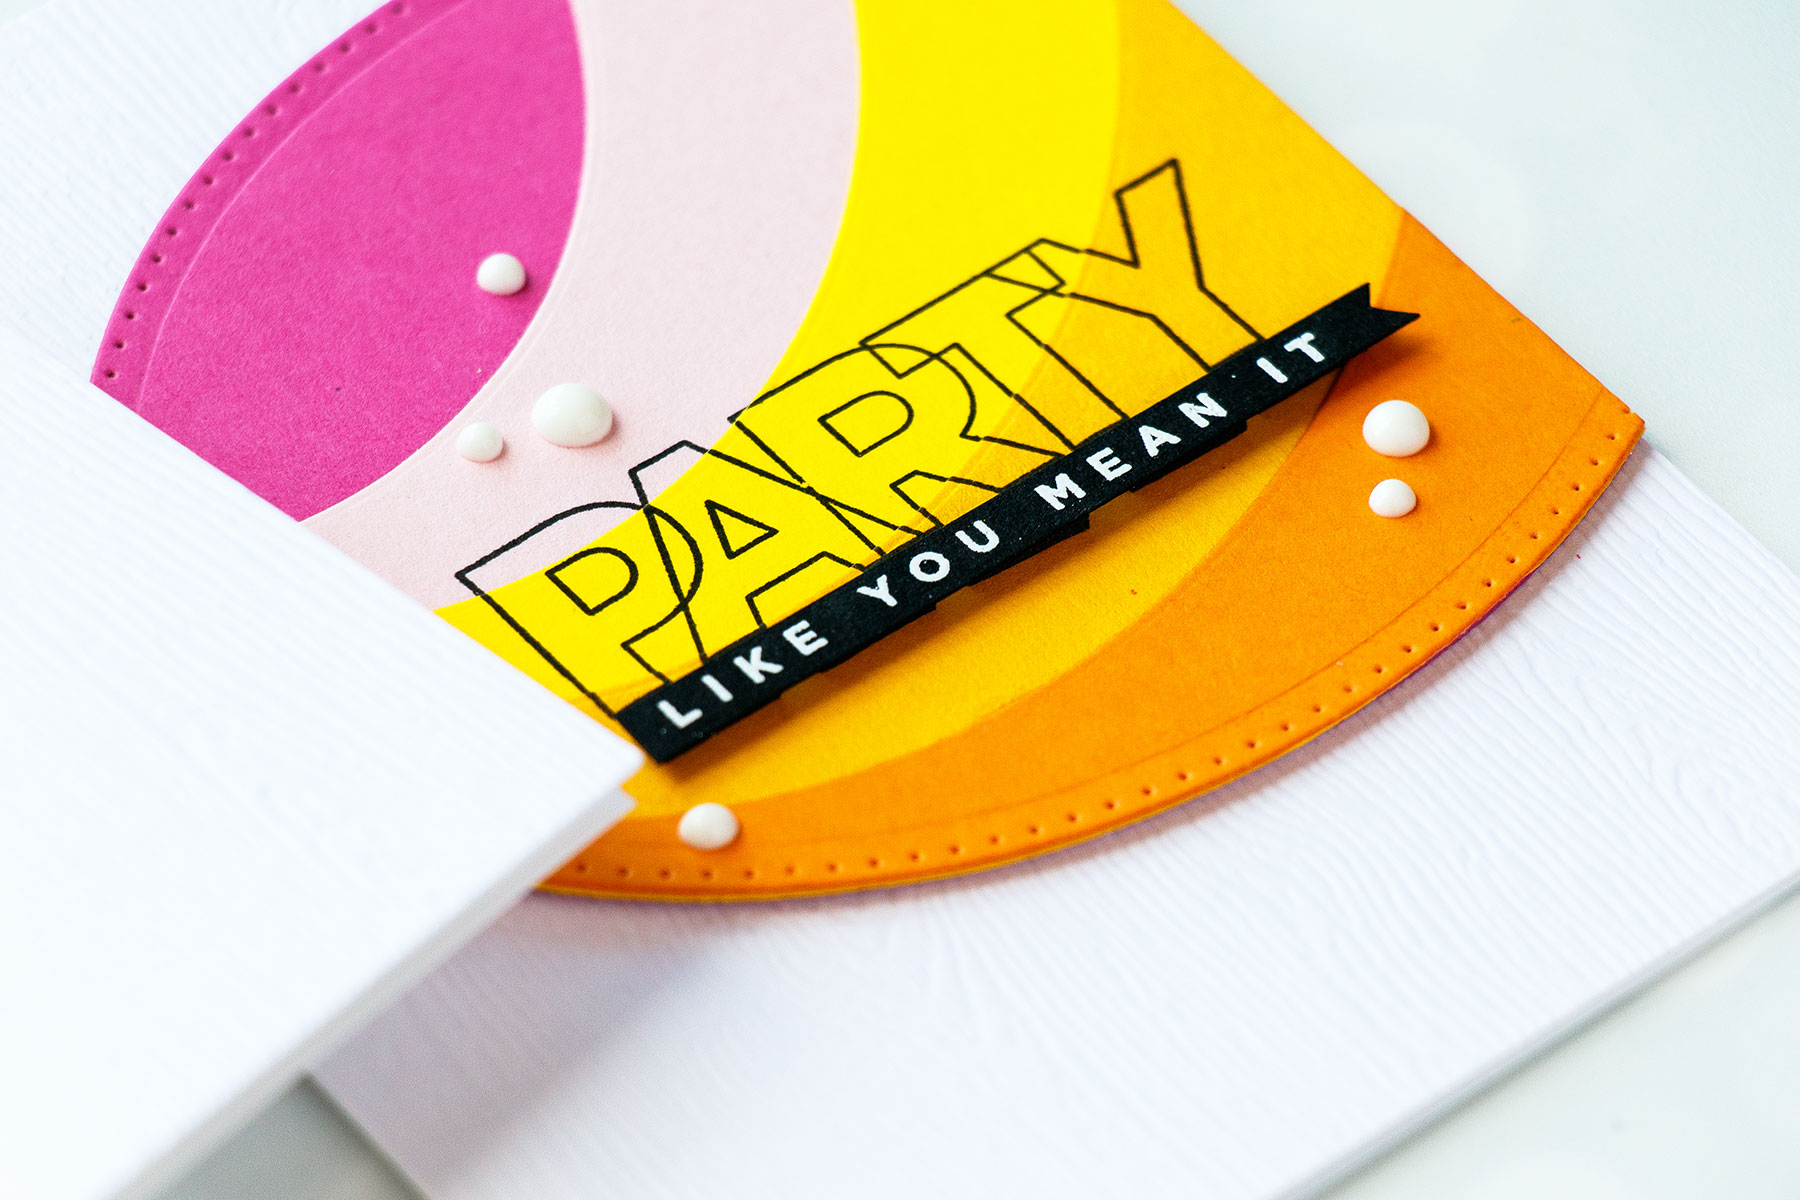
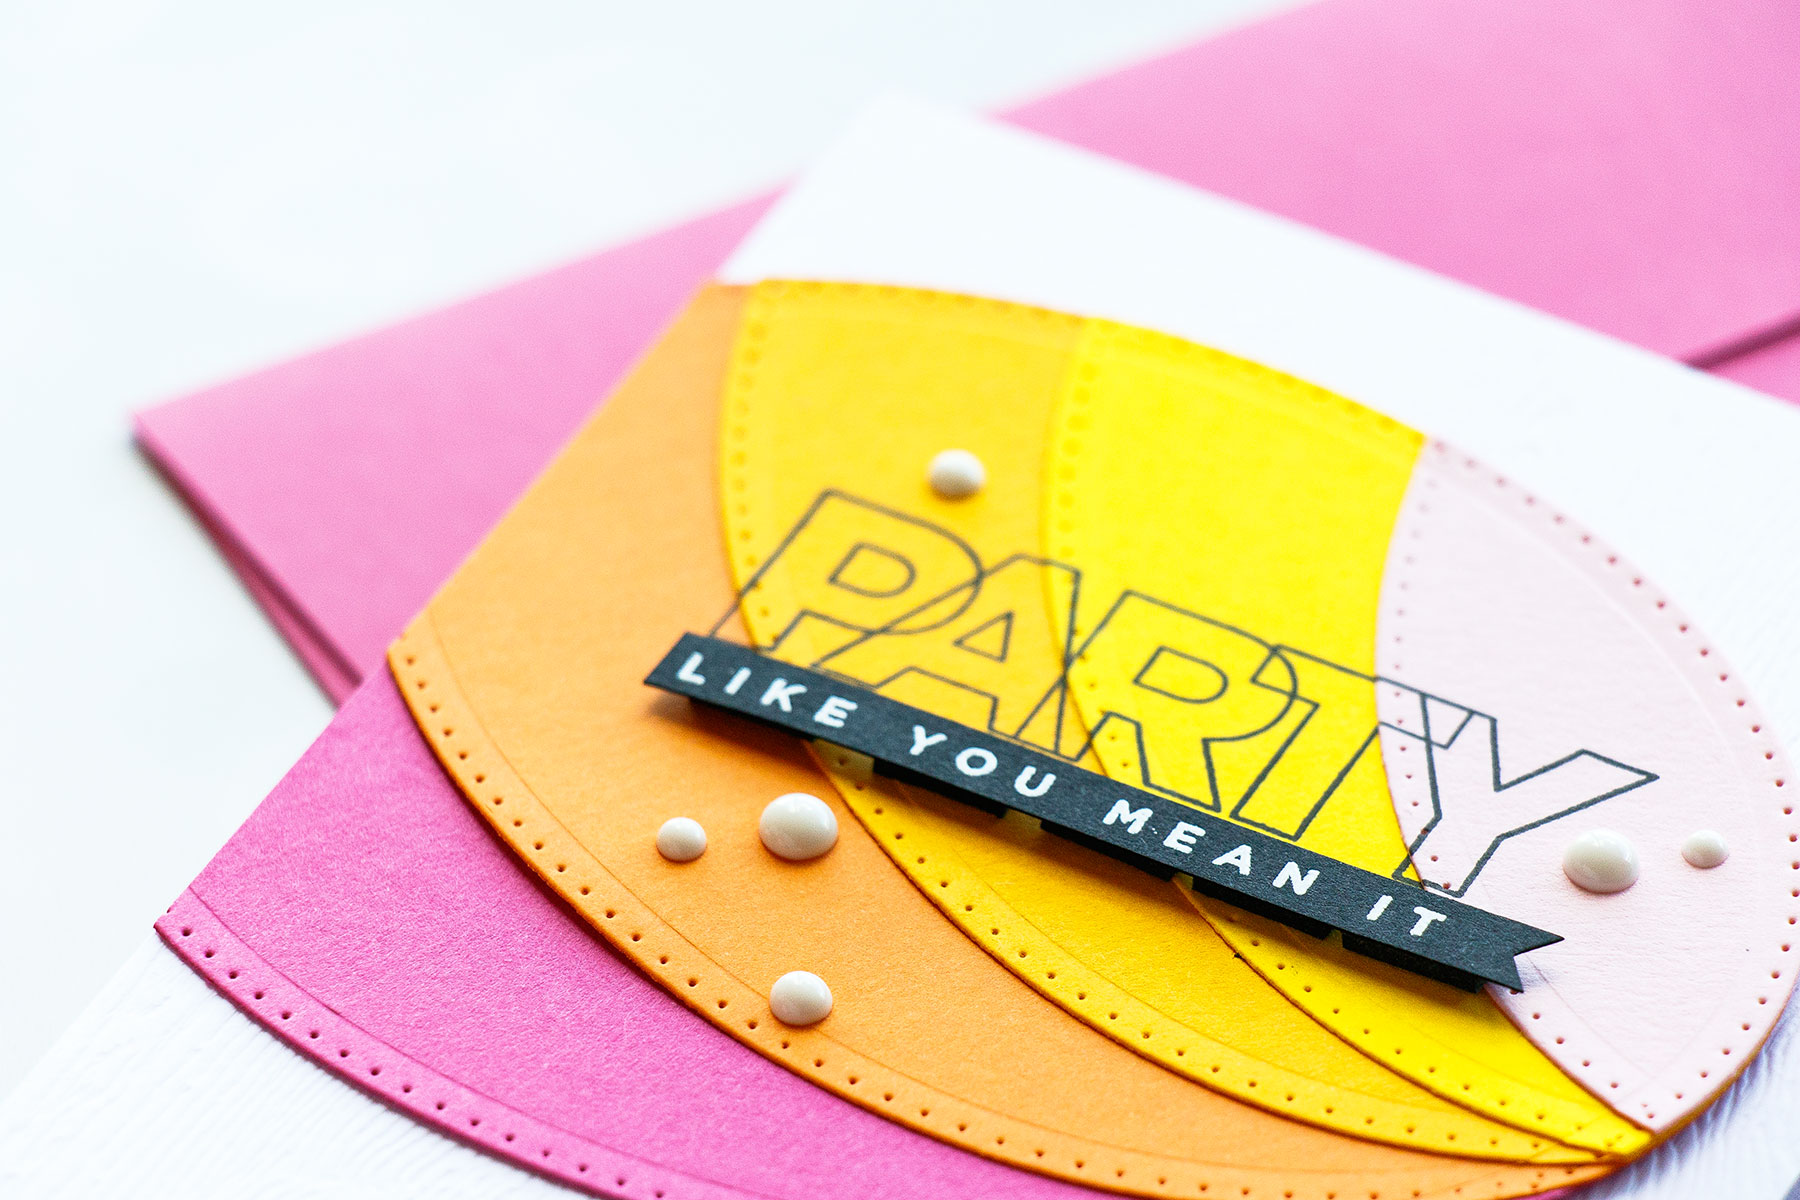
I adhered my oval onto a white card base covered with white woodgrain paper from Hero Arts. I love using this paper for super simple and clean projects as it adds a nice amount of detail to my cards. I also use black foam adhesive tape and foam mounted “Like You Mean It” right under the stamped “Party”.
Finally, I used Nuvo Drops in white and embellished my cards with a few drops here and there forming a visual triangle around the sentiments on the colorful ovals.
This handmade card uses Nuvo Drops as a final touch. Want to see 4 other ways you can use Nuvo Drops from Tonic Studios in card making? Check out this article – 5 Ways to Use Nuvo Drops.
MORE INSPIRATION
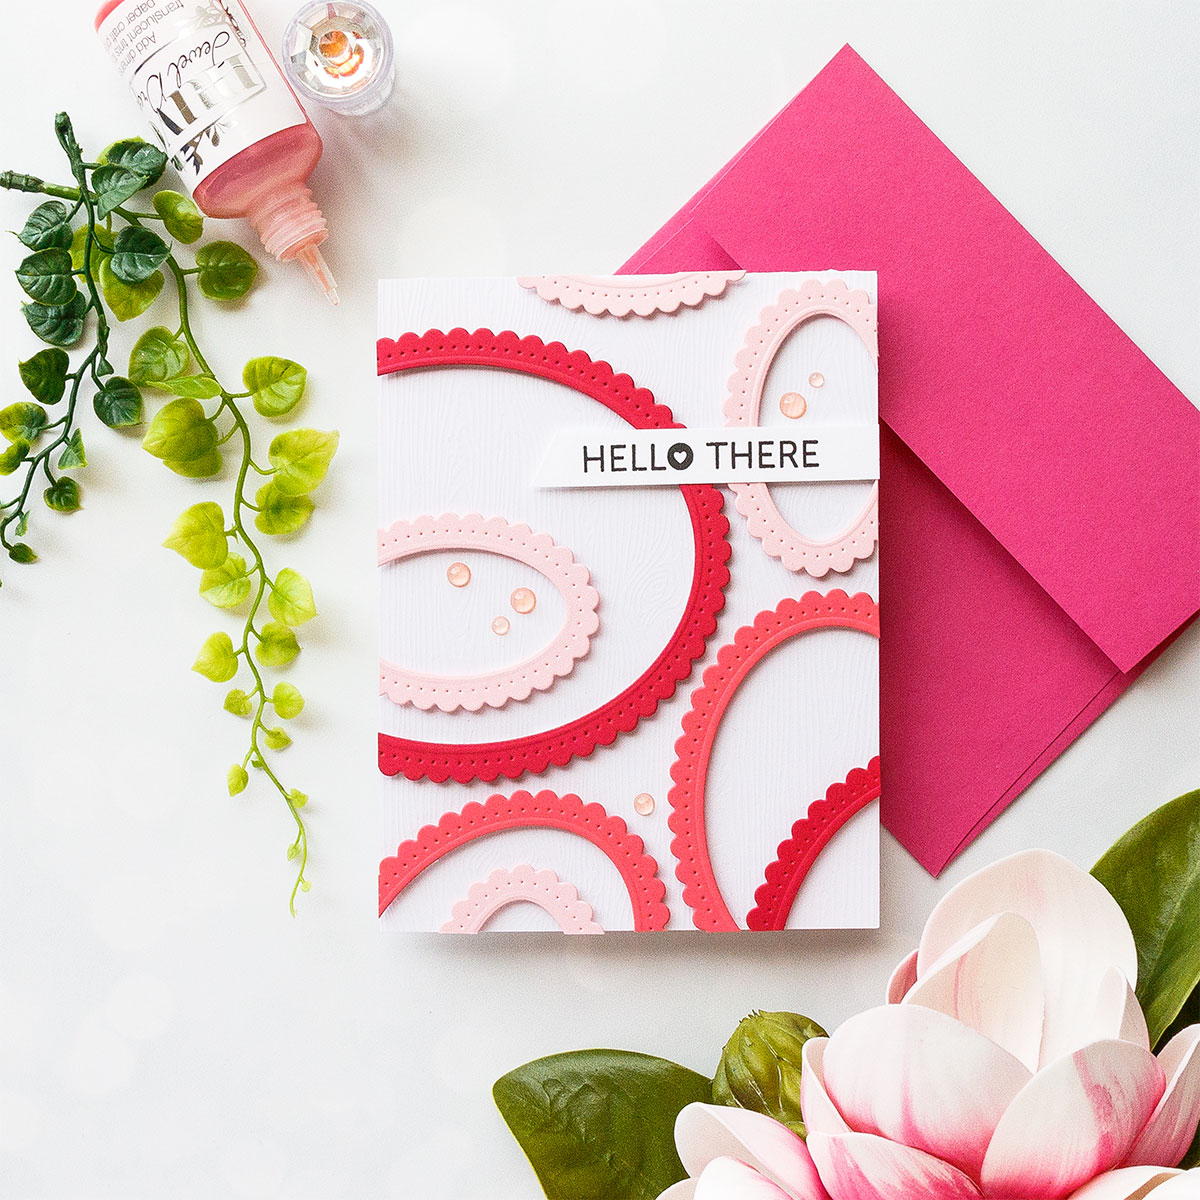
White cardstock (Neenah 110 LB), Colored Cardstock – My Colors Cardstock (Rose Chintz, Ballerina Pink, Watermelon Pink); White Woodgrain Cardstock; Clear Stamp – Mama Elephant Good Times; Black Ink; Fun Foam; Nuvo Jewel Drops in Rosewater
White cardstock (Neenah 110 LB), Colored Cardstock – My Colors Cardstock (Rose Chintz, Ballerina Pink, Antique Gold, Candied Yam); Clear Stamp – Mama Elephant Merci; Black Ink.
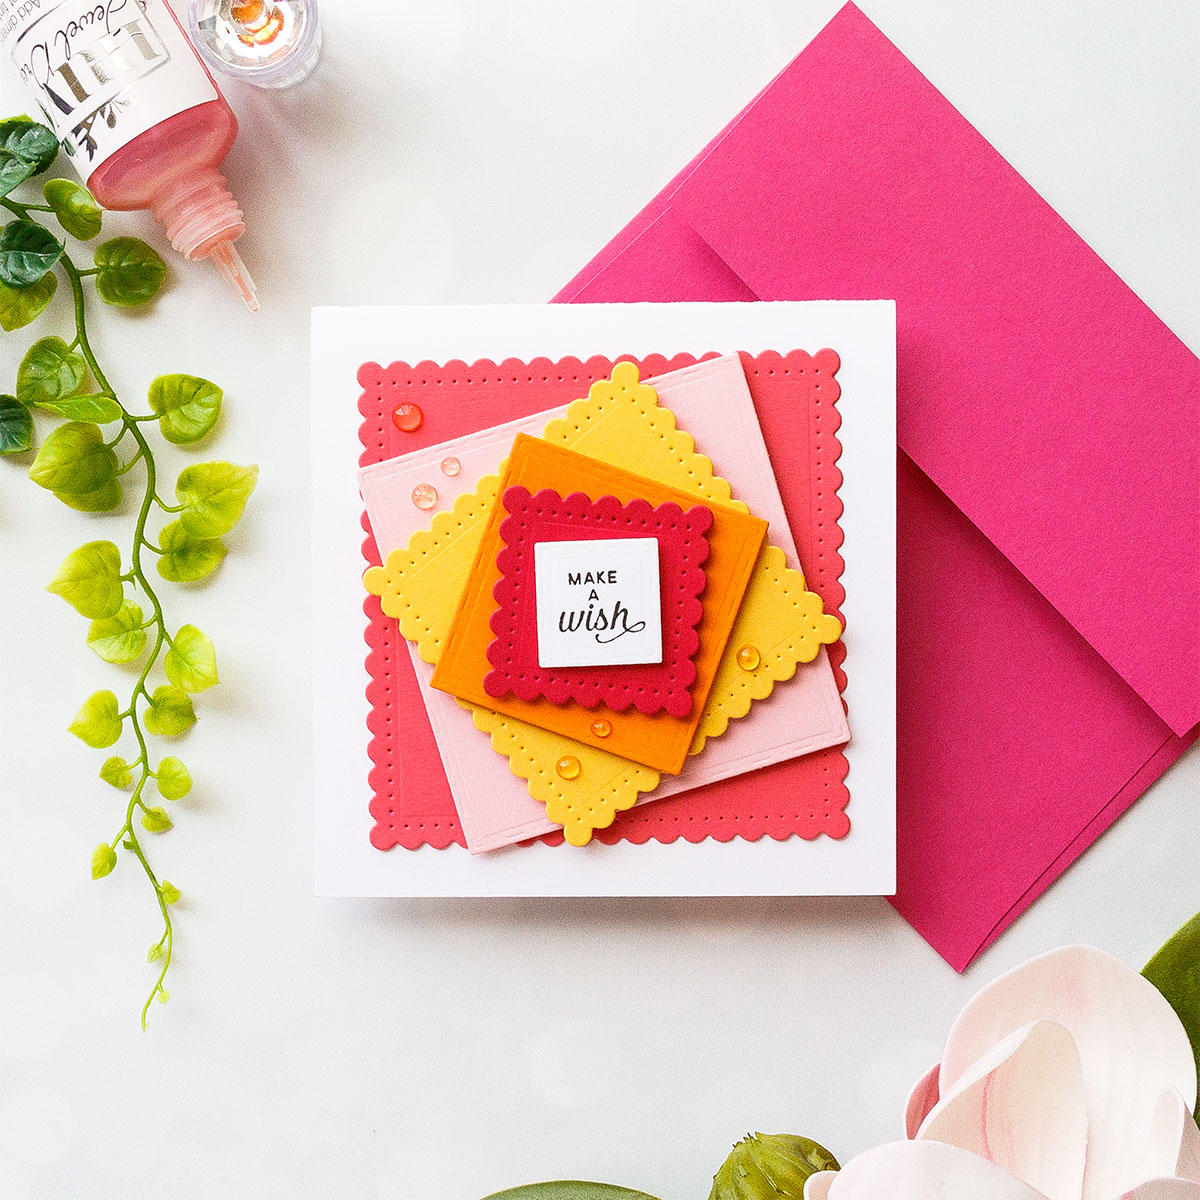
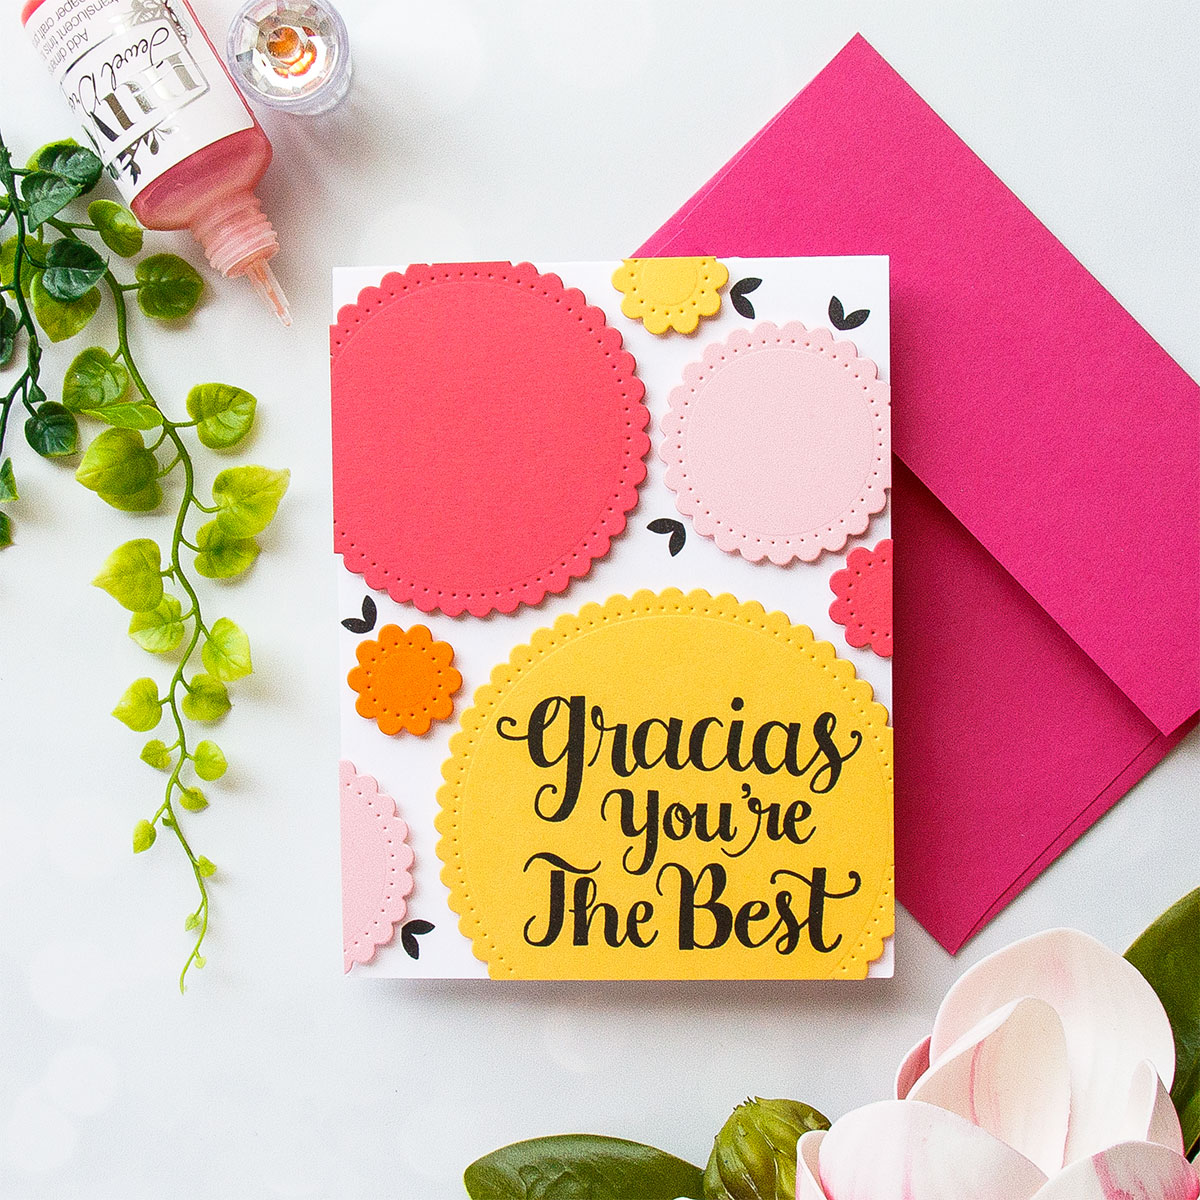
White cardstock (Neenah 110 LB), Colored Cardstock – My Colors Cardstock (Rose Chintz, Ballerina Pink, Watermelon Pink, Antique Gold, Candied Yam); Clear Stamp – Mama Elephant Mini Messages; Black Ink; Fun Foam; Nuvo Jewel Drops in Rosewater
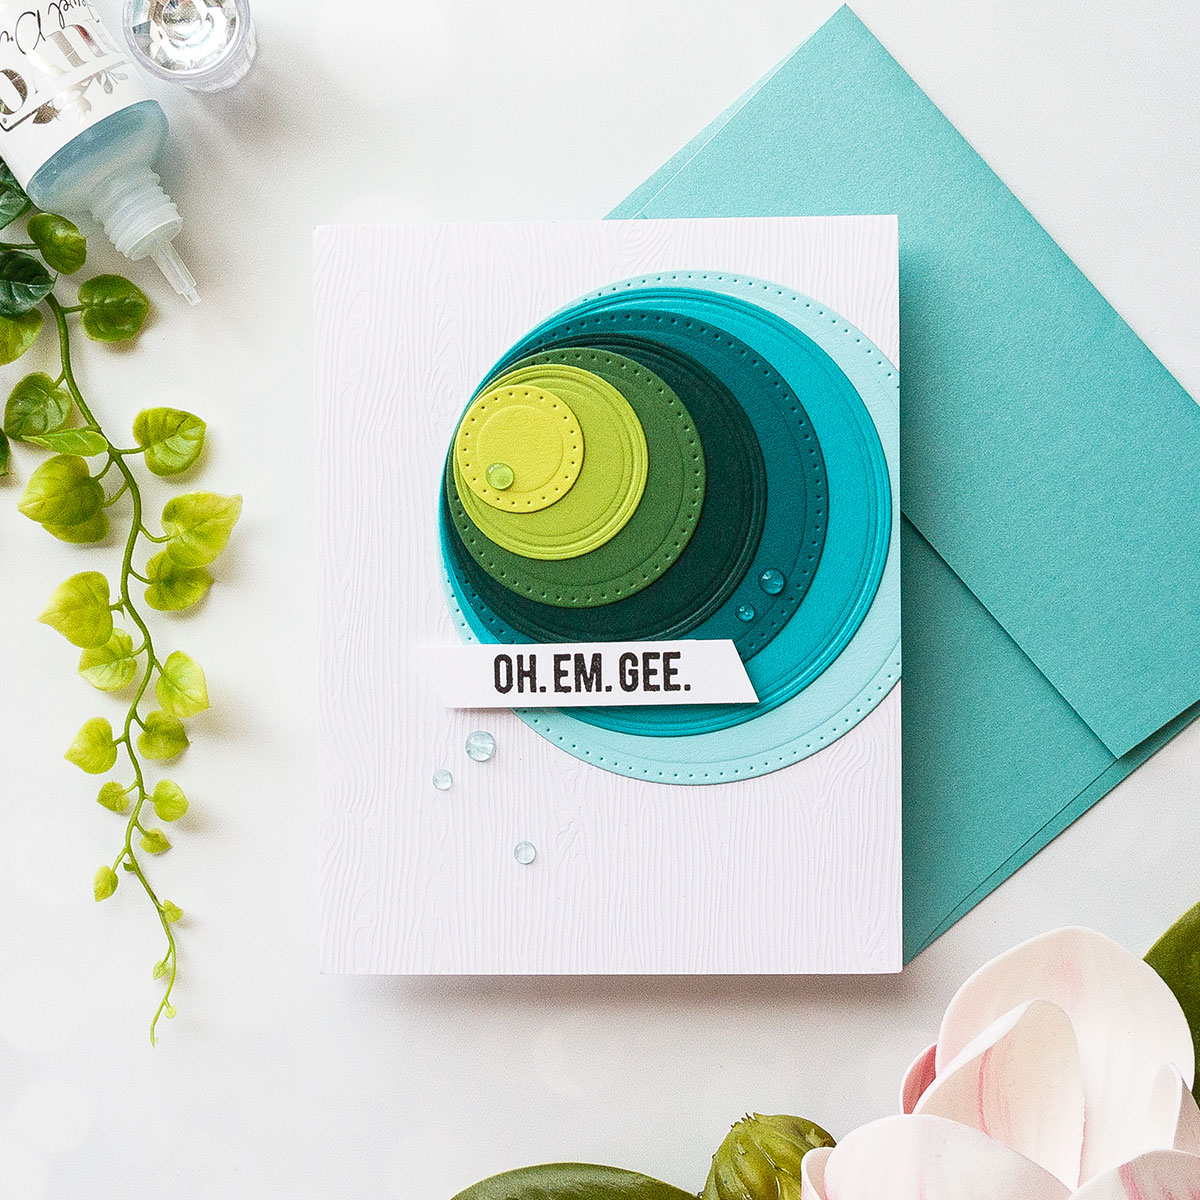
White cardstock (Neenah 110 LB), Colored Cardstock – My Colors Cardstock (Lemon Lime, Crisp Green, Herb Garden, Forest Green, Hunter Green, Tropical Sea, Pale Aqua); White Woodgrain Cardstock; Clear Stamp – Mama Elephant Good Times; Nuvo Jewel Drops – Sea Breeze; Black Ink.
Cynthia DeVoll
March 15, 2018Love the bold colors and shapes! Beautiful design. Thank you for the inspiration!
Ms. Petersen
March 15, 2018Wow. That was so interesting to watch. At first I was baffled as to how you would cut the pieces to make the whole oval, but was amazed at what an easy trick you came up with. I have a question–do you always cut each piece separately? Would it be possible to cut, say, two pieces of paper at a time? Anyway, I also wanted to say I LOVE the way your focal pieces are all slightly off-kilter. LOVE THAT! I feel like learned something new today, so thanks for that!
Ms. Petersen
March 15, 2018Ms. Petersen here–I forgot to add, I haven’t really used basic shapes for a long time, but seeing what you were able to do with them, I might pull mine out and try them again. 🙂
Danielle Dietz
March 15, 2018Love the bright fun colors and the awesome designs Yana!
Becca Yahrling
March 15, 2018Wow, fabulous ways to use all these awesome
dies, Yana.
Linda M.
March 15, 2018Your cards are always so pretty! Yes, I use shape dies a lot. Thanks for the chance to win!
Shawn Wenrich
March 15, 2018Yana where are you moving to? I was so excited to see when you moved here to Phoenix.
Laura Casselman
March 15, 2018Such beautiful designs and vibrant colors!
Tracey McNeely
March 15, 2018Love all these vibrant colours Yana!
Kathy H
March 16, 2018I really love these simple, card stock only cards. More please!
Bridget Weed
March 16, 2018This was so ingenious! I would have never thought to use simple shaped dies to be the masin element of a card. Very unique, bold & simple, all at the same time. Thanks for the ideas!
Valerija
March 16, 2018Wow, what darling cards. Love them all!
Kelsey Thomas
March 16, 2018I love your cards! All of the layers add so much interest! 🙂
Gina Bloyaert
March 16, 2018Hi Yana,
What a lovely cards i Will pick one for my Nice her sweet sixteen birthday.
Thx for sharing iT.
Mvg Gina Belgium
Carol Rossouw
March 16, 2018Wow ! What stunningly clever card designs with these classic shapes. Amazing inspiration!
Aimee LaCroix-Slocum
March 16, 2018Good luck with the move! Your cards are SO fun!! The video was great to see how your put it together and sharing your tips…..I definitely want to try this!
Linda Anderson
March 16, 2018Thank you so much for the video showing the inlaid ovals and how to get a perfect stamped sentiment. I am truly amazed by all of the creative craft people on this hop! I definitely will give this a try. Thanks again.
Patricia O'Malley
March 16, 2018Awesome projects!
Annette Hindes
March 16, 2018WOW!!!
Love all the colors & shapes!
Never thought of just shapes on a card
but you’ve opened up some new possibilities!
Kati Caprara
March 16, 2018Such vibrant and fun colors to go along with the fun shapes!! So creative!!
Anushree Vaish
March 16, 2018Love your Bold and Beautiful style…completely admirable!!
Fay Marie Gardner
March 16, 2018These cards are striking, so colorful!!
Jackie Price
March 17, 2018Fabulous cards!!! It sometimes amazes me what beauty can be made with basic die cut shapes and coloured cardstock. I’ve used basic shapes myself but nothing as elaborate as the cards you’ve made here. Love these!!
Kristina Hein
March 17, 2018I use basic shape dies all the time! Love your examples!
Sheri K
March 17, 2018I was in love with your first card, then I saw the rest! Simply amazing what you can do with simple shapes and colored card stocks. Thanks for sharing these wonderful cards and dies from Spellbinders.
lee
March 17, 2018I love your cards – always so bold and happy! tks!
Monika.buzsy
March 17, 2018Fun cards! Love the yellow hues and the interesting retro look.
Cynthia Cole
March 17, 2018Love all of these wonderful cards!
Beverly Jordan
March 18, 2018Yana, you are so darn talented and creative!! Am loving all of your beautiful color blocked geometric die cuts!!!! So fun to work with all the new Classic shapes and add them to my library of Spellbinders dies! Thanks for all the inspiration!
cardsbycara
March 18, 2018Oh, wow!! Such gorgeous ideas! I just love your style!!
FeM
March 18, 2018Wow this is so cool.
Marjorie DUMONTIER
March 18, 2018Oh my goodness !! Thanks for these awesome, gorgeous examples !!
[margessw@icloud.com]
Cathy M Morris
March 18, 2018Yana, What a great technique! I can’t wait to try it with the dies I have. I love the scalloped dies! Thanks for the inspiration.
Toni C
March 20, 2018All great cards! Love the one with the wobbler 🙂
lorraine turner
March 29, 2018This video tutorial was so enlightening, in showing us crafters that our shape dies can create fantastic projects without much else on a card base. Will definitely be thinking about this when I use my shape dies in the future. :O)